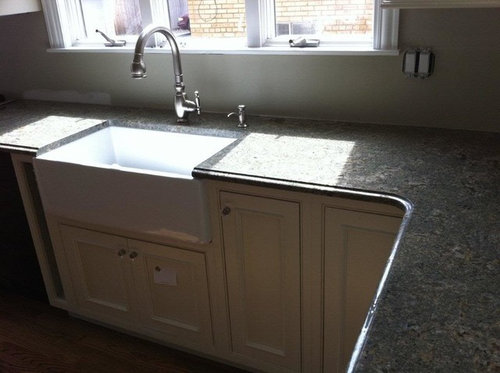
1. Kitchen Sink Backsplash Repair: How to Fix a Cracked or Damaged Backsplash
The kitchen sink backsplash is an important element to not only protect your walls from moisture and damage, but also to add style and personality to your kitchen. However, over time, it can become cracked or damaged due to everyday wear and tear. If you're facing this issue, don't worry - repairing a kitchen sink backsplash is easier than you might think.
Using simple techniques and tools, you can easily fix a cracked or damaged kitchen sink backsplash and have it looking as good as new. In this article, we'll walk you through the steps to repair a kitchen sink backsplash and provide tips on how to maintain it in the future. Let's get started!


1. Kitchen Sink Backsplash Repair: How to Fix a Cracked or Damaged Backsplash


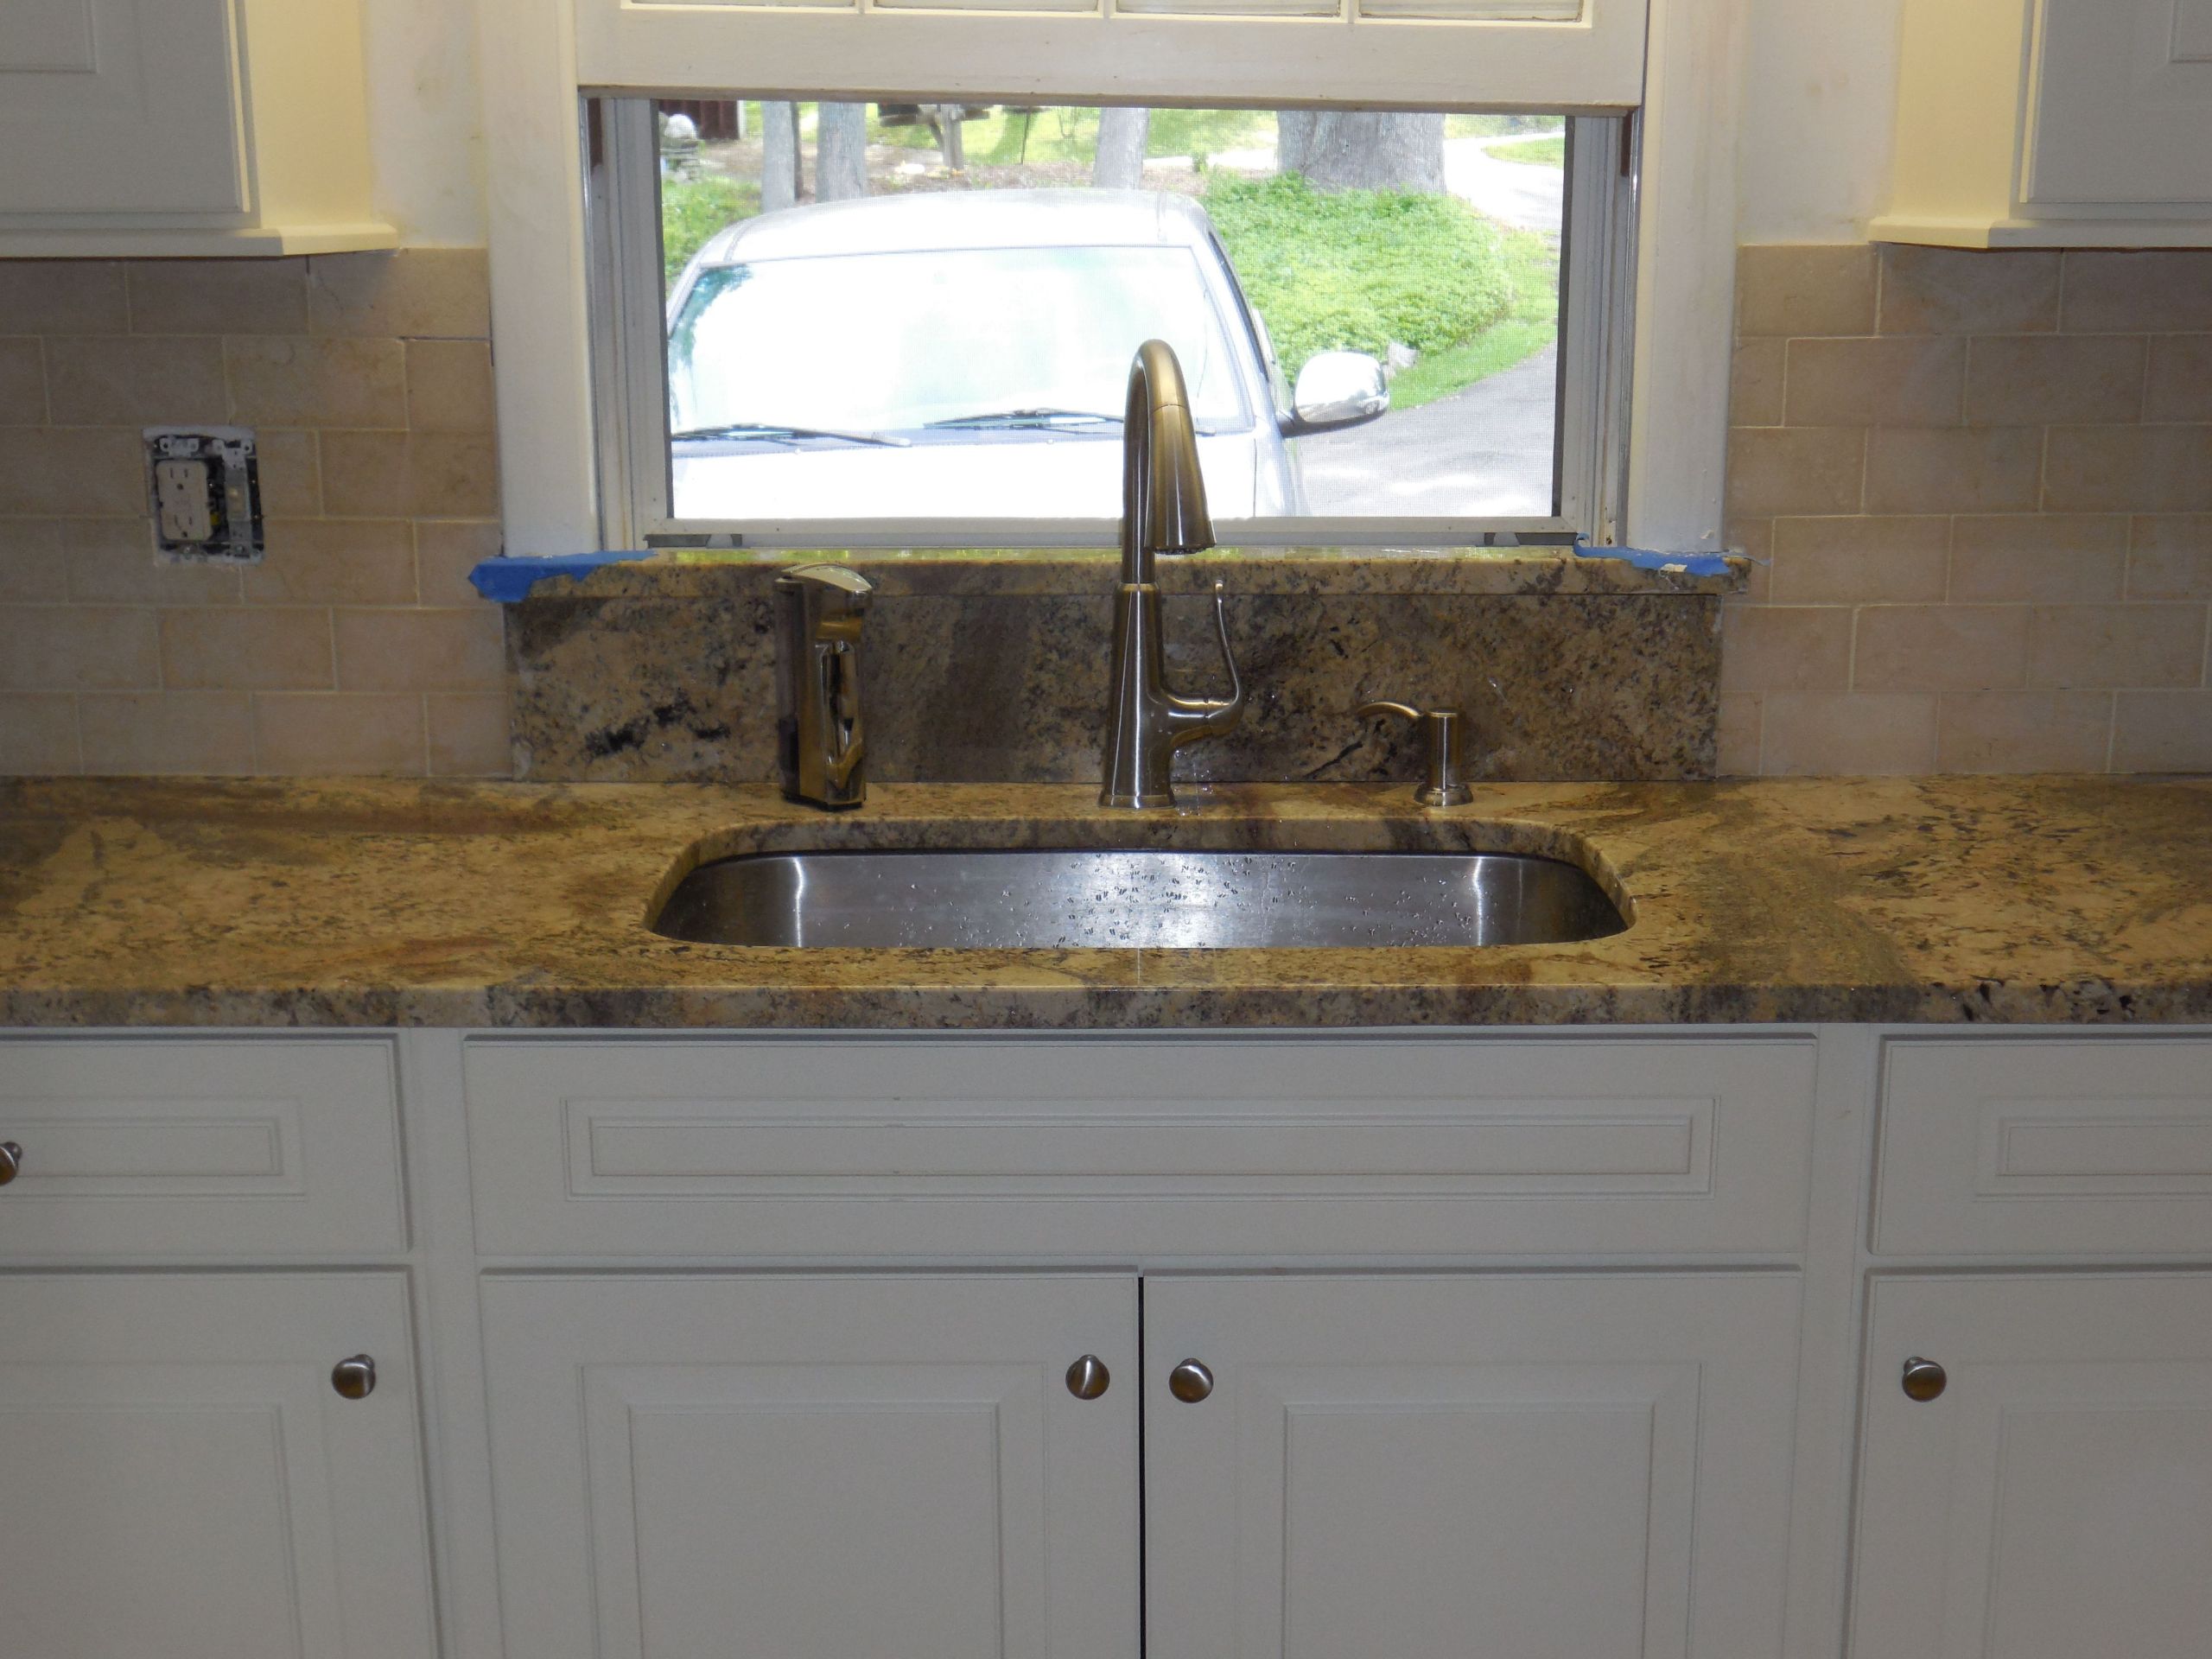
2. How to Repair a Kitchen Sink Backsplash | DIY | Home Matters | AHS
DIY repairs can save you time and money, and fixing a cracked or damaged kitchen sink backsplash is no exception. With the right tools and materials, you can easily repair the backsplash yourself and avoid hiring a professional.
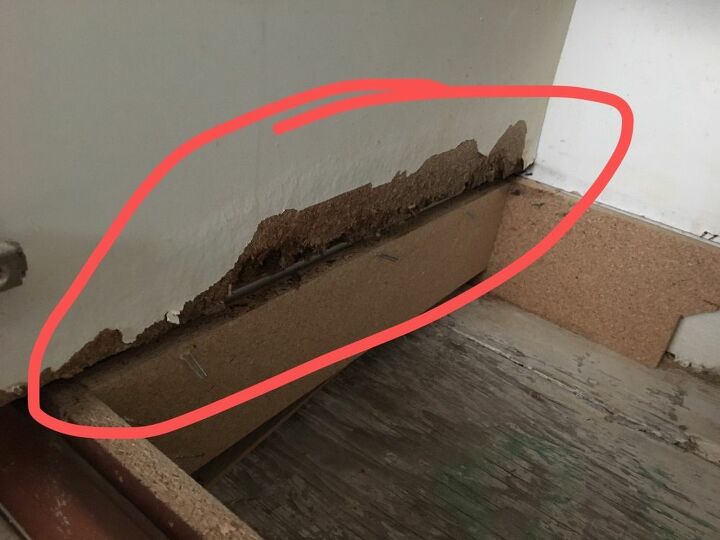
Start by assessing the damage and determining the cause. If it's a small crack or chip, it could be due to heavy use or an accidental impact. However, if the entire backsplash is damaged, it could be a sign of structural issues. Once you've identified the cause, follow these steps to repair your kitchen sink backsplash:


2. How to Repair a Kitchen Sink Backsplash


3. How to Replace a Kitchen Sink Backsplash | DoItYourself.com
If your kitchen sink backsplash is beyond repair, it may be time to replace it altogether. This may seem like a daunting task, but with the right tools and guidance, you can tackle it on your own. Follow these steps to replace a kitchen sink backsplash:


DIY


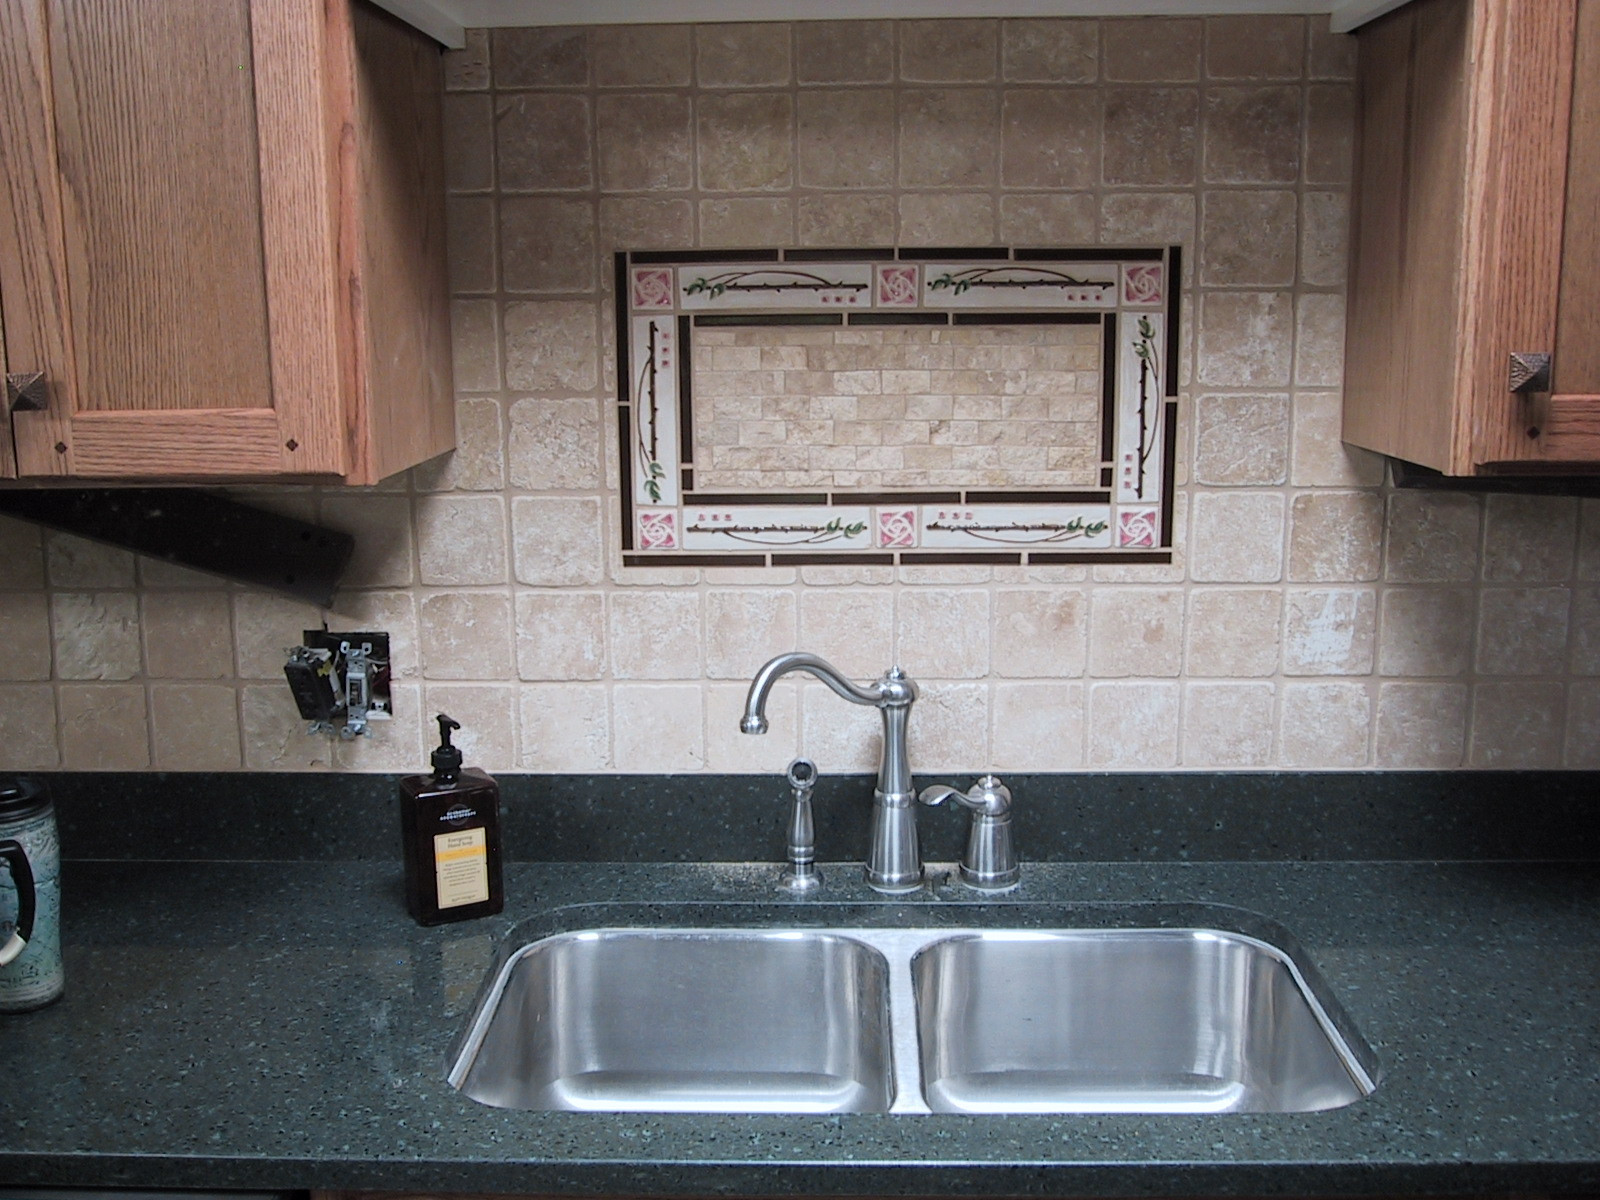
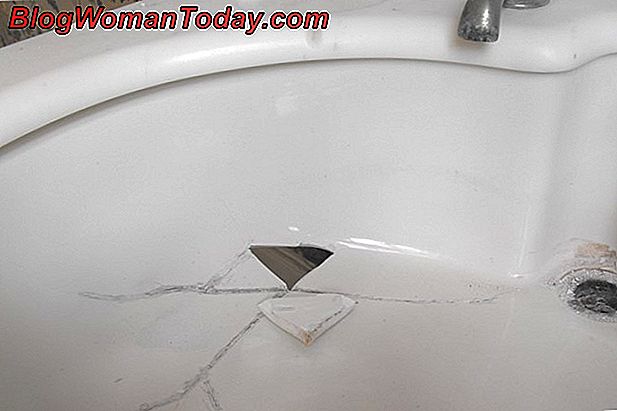
4. How to Repair a Cracked Ceramic Kitchen Sink Backsplash | Hunker
If your kitchen sink backsplash is made of ceramic tiles, it requires a different approach when it comes to repairs. Ceramic tiles are delicate and can easily crack, so it's important to handle them with care. Follow these steps to repair a cracked ceramic kitchen sink backsplash:


Home Matters


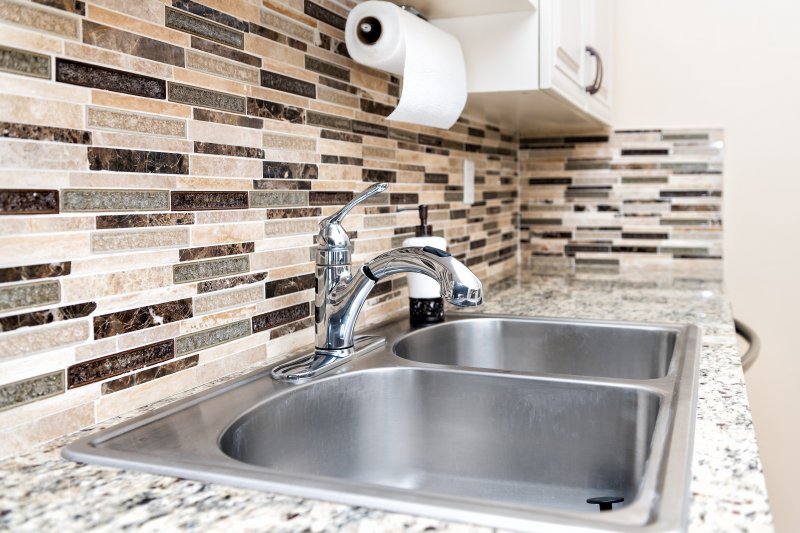
5. How to Fix a Damaged Kitchen Sink Backsplash | Home Guides | SF Gate
Accidents happen, and sometimes your kitchen sink backsplash may become damaged due to a heavy object falling onto it or a heavy impact. If this happens, don't panic - follow these simple steps to fix a damaged kitchen sink backsplash:


AHS


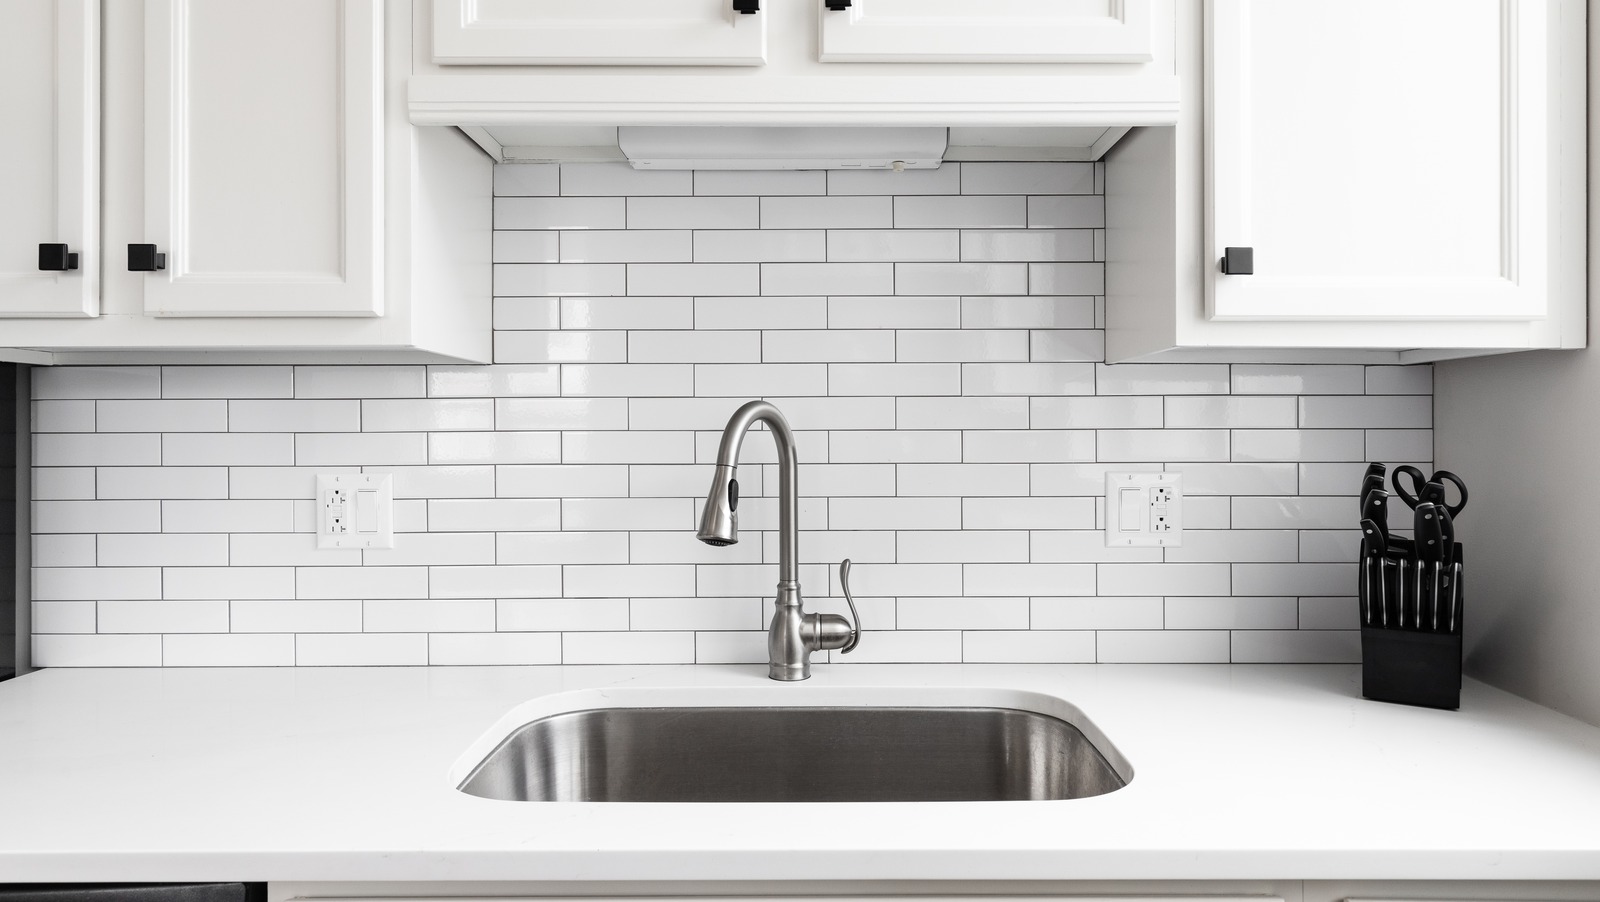
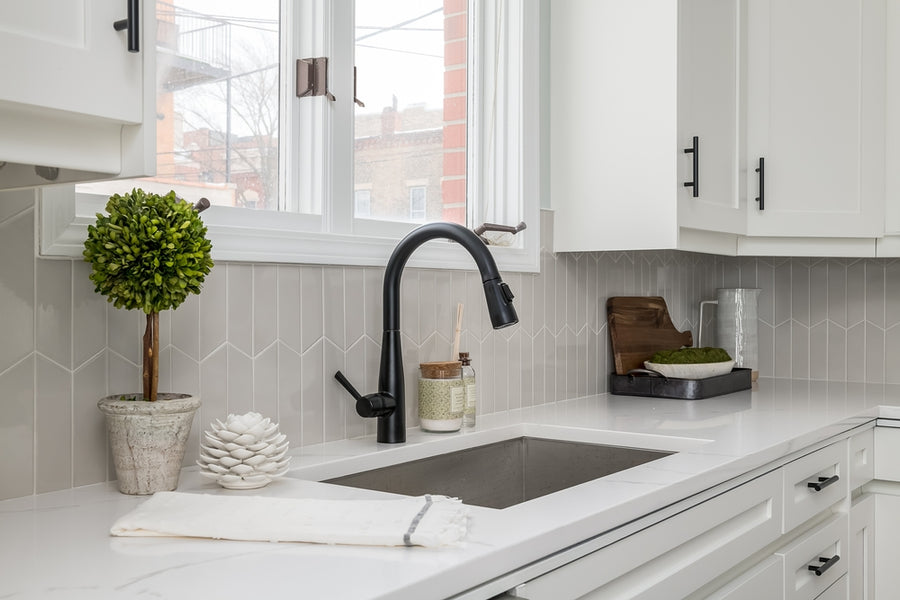
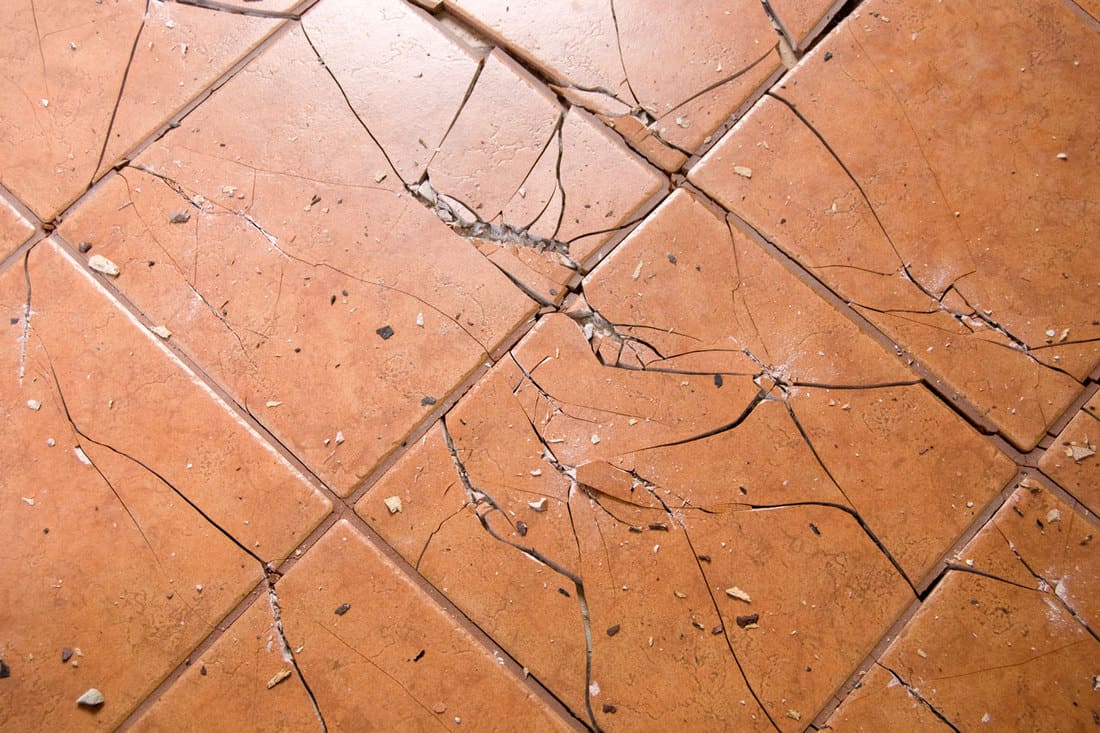
6. How to Repair a Tile Backsplash | This Old House
Tile backsplashes are a popular choice for kitchens due to their durability and variety of design options. However, they are not immune to damage. If you have a tile backsplash, follow these steps to repair it:

3. How to Replace a Kitchen Sink Backsplash


7. How to Repair a Cracked Tile Backsplash | Today's Homeowner
If your tile backsplash has a large crack, it may require a bit more effort to repair. However, it's still doable with the right tools and materials. Follow these steps to repair a cracked tile backsplash:


DoItYourself.com


8. How to Repair a Damaged Tile Backsplash | The Spruce
If your tile backsplash is damaged beyond repair, it's time to replace it. This may seem like a daunting task, but with the right tools and know-how, you can tackle it yourself. Follow these steps to replace a damaged tile backsplash:


4. How to Repair a Cracked Ceramic Kitchen Sink Backsplash


9. How to Repair a Damaged Laminate Backsplash | DoItYourself.com
Laminate backsplashes are a budget-friendly option and are easy to install. However, they can also become damaged and require repairs. Follow these steps to repair a damaged laminate backsplash:


Hunker


10. How to Repair a Damaged Stone Backsplash | Home Guides | SF Gate
Stone backsplashes add a touch of elegance and luxury to any kitchen, but they can also be prone to damage. If your stone backsplash is cracked or damaged, follow these steps to repair it:

5. How to Fix a Damaged Kitchen Sink Backsplash


How to Repair Your Kitchen Sink Backsplash in a Few Easy Steps

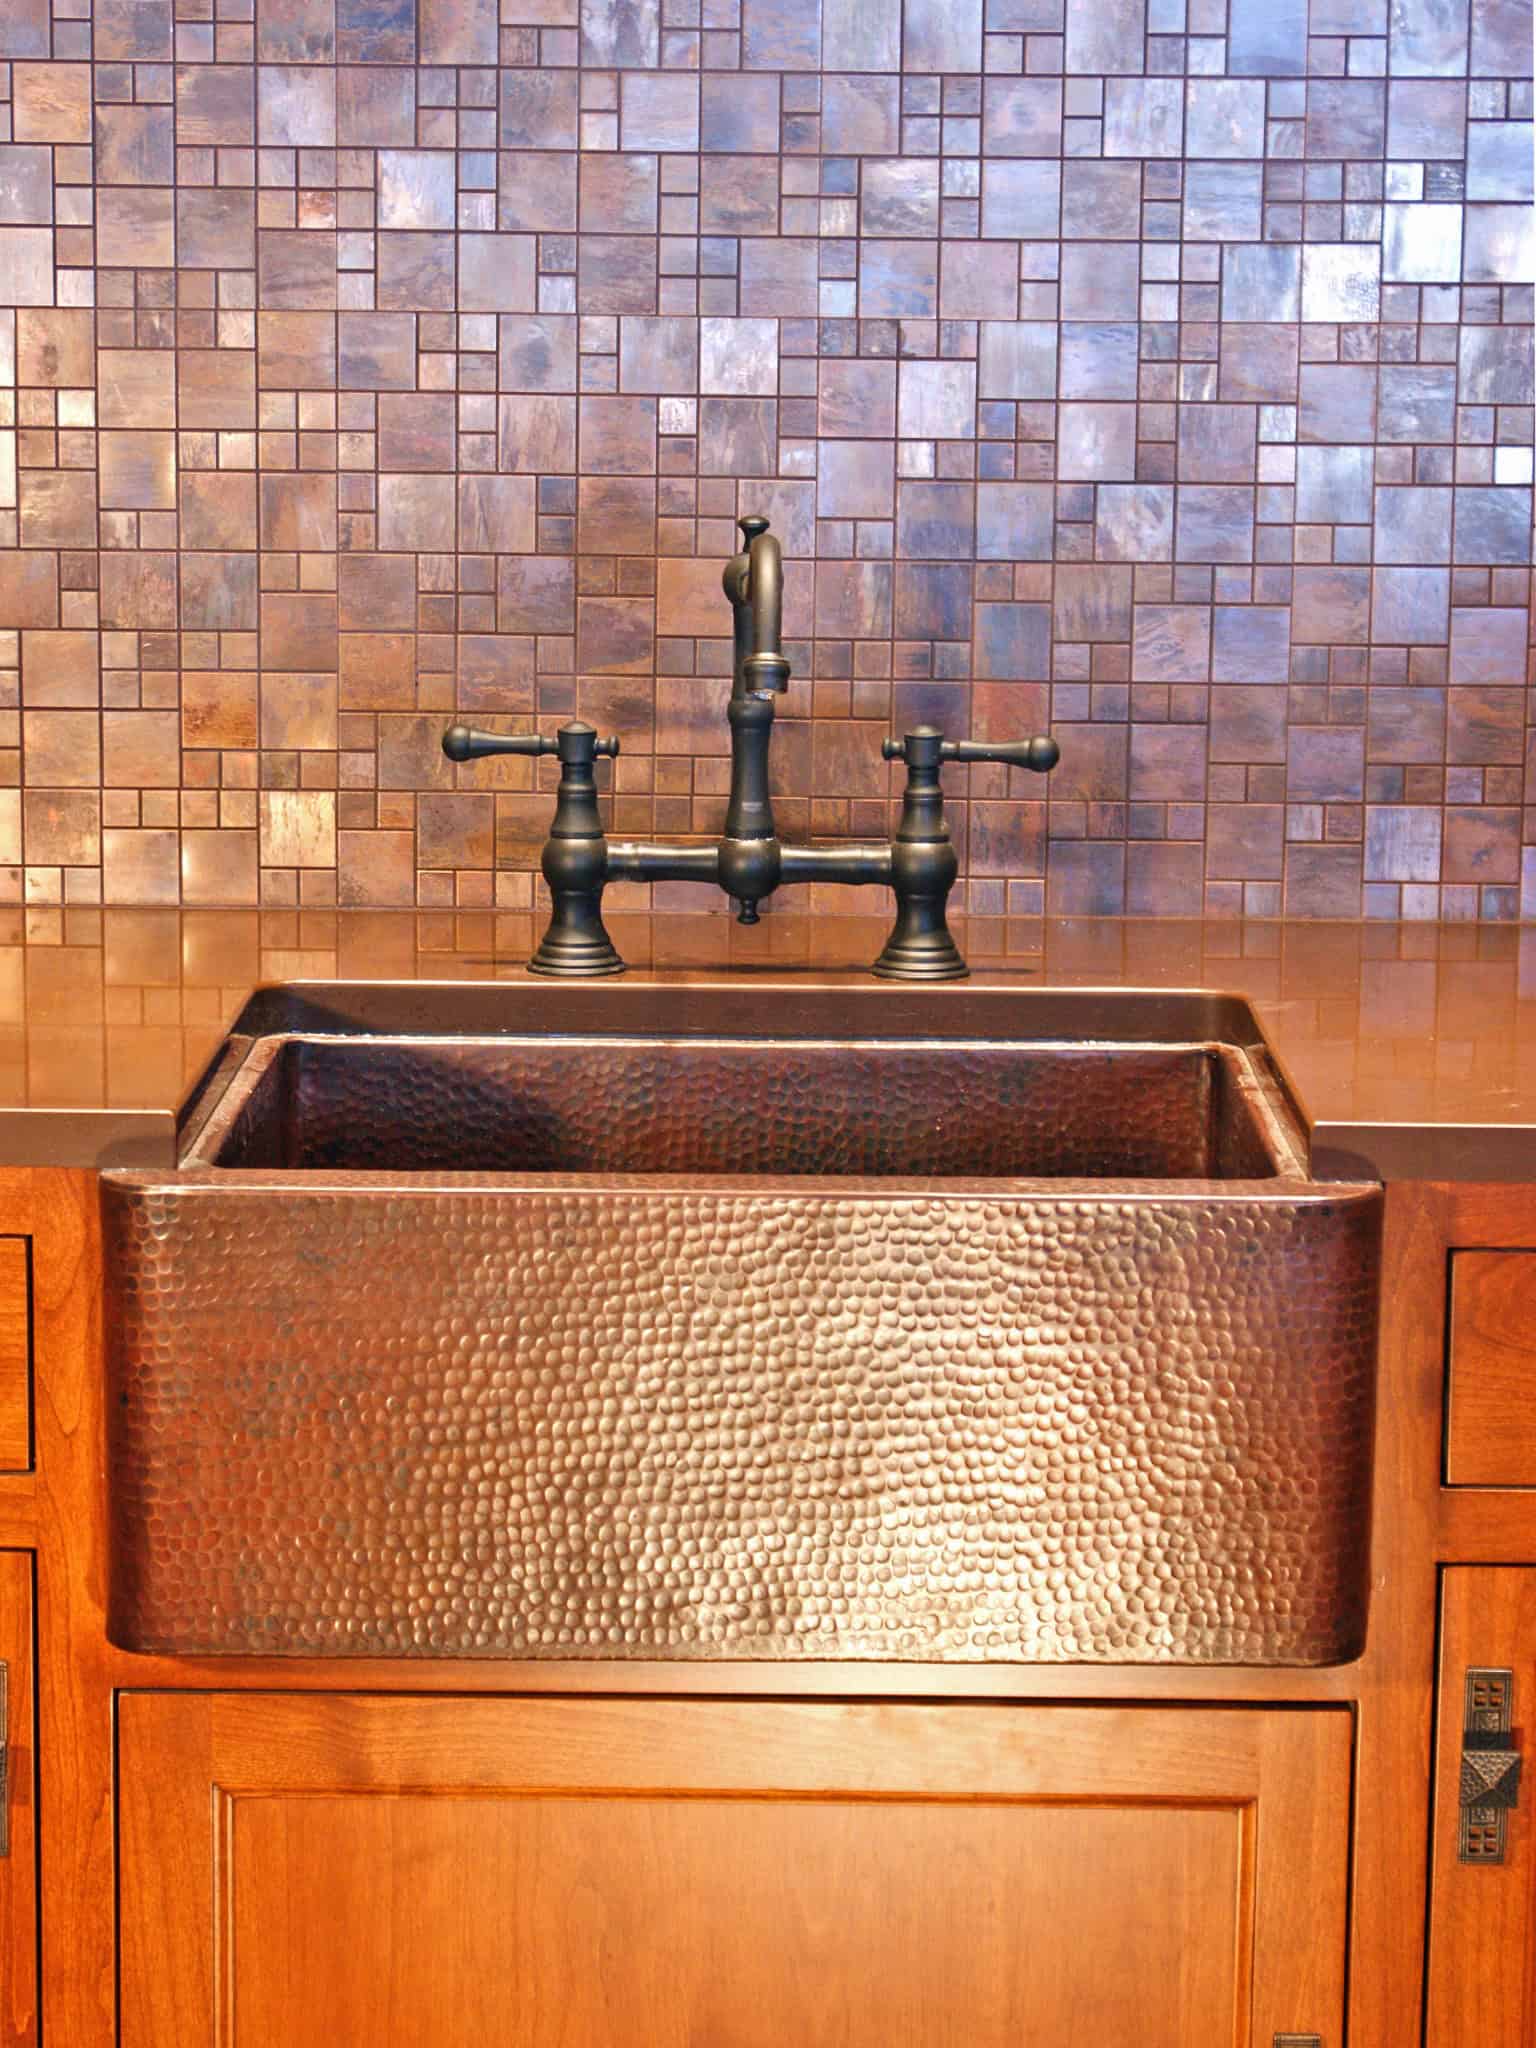
The Importance of a Functional Backsplash
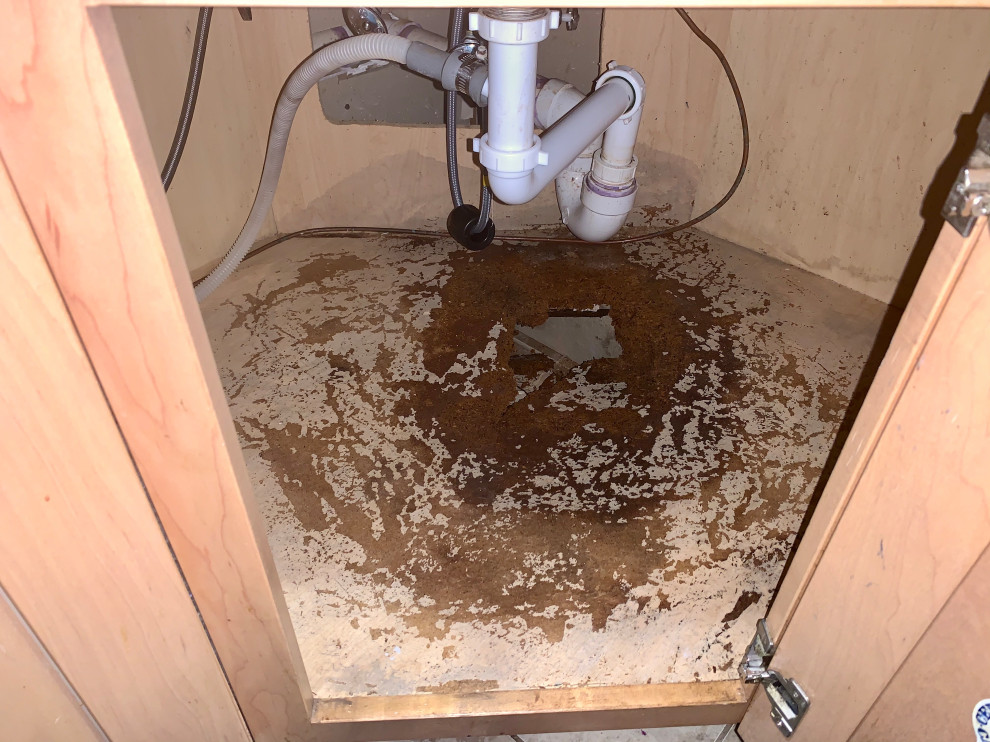
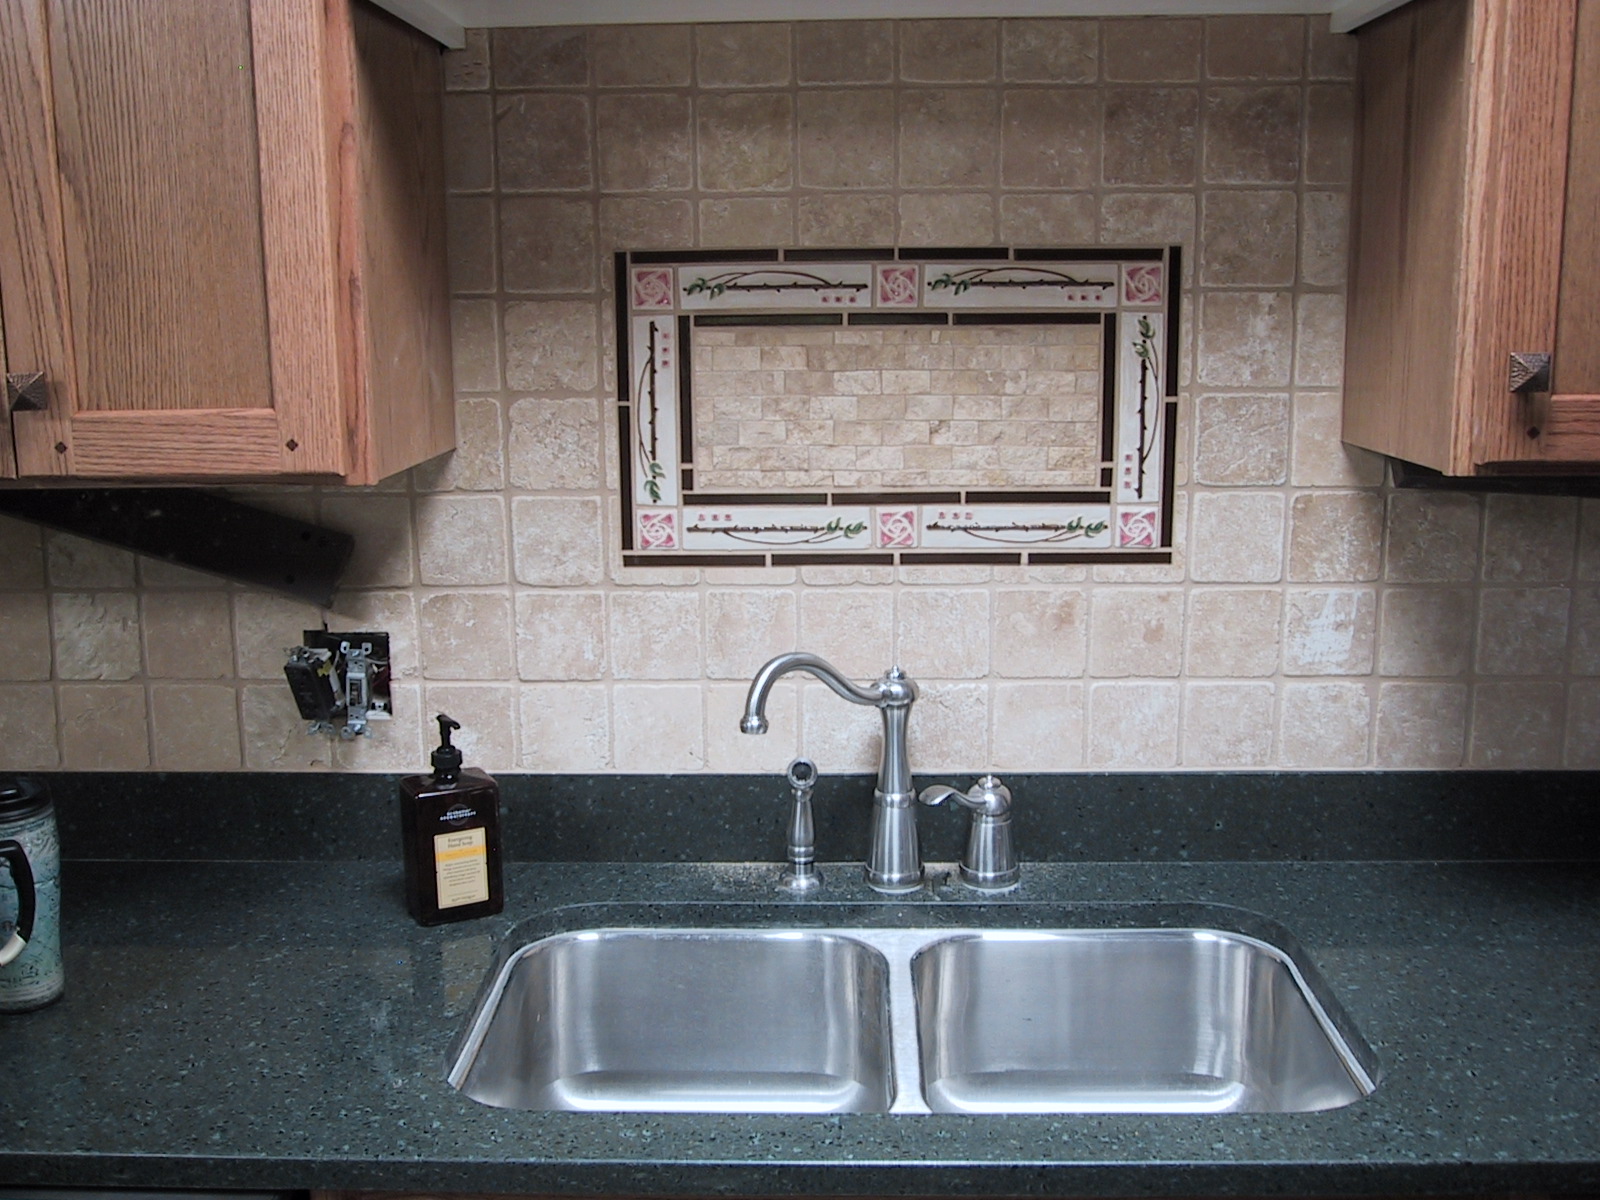
 A kitchen sink backsplash not only adds a decorative touch to your kitchen, but it also serves an important function. It protects your walls from water, food splatters, and other stains that can easily occur while cooking and doing dishes. Over time, backsplashes can become damaged or worn out, which not only affects the aesthetic of your kitchen but can also compromise its functionality. If you have noticed cracks, chips, or discoloration in your kitchen sink backsplash, it's time to take action and repair it.
Gather Your Materials
 Before you begin the repair process, make sure you have all the necessary materials on hand. This will save you time and trips to the hardware store. You will need
waterproof sealant, a putty knife, sandpaper, a sponge, and a clean cloth
. You may also want to consider using
tile adhesive and replacement tiles
if your backsplash is severely damaged.
Before you begin the repair process, make sure you have all the necessary materials on hand. This will save you time and trips to the hardware store. You will need
waterproof sealant, a putty knife, sandpaper, a sponge, and a clean cloth
. You may also want to consider using
tile adhesive and replacement tiles
if your backsplash is severely damaged.
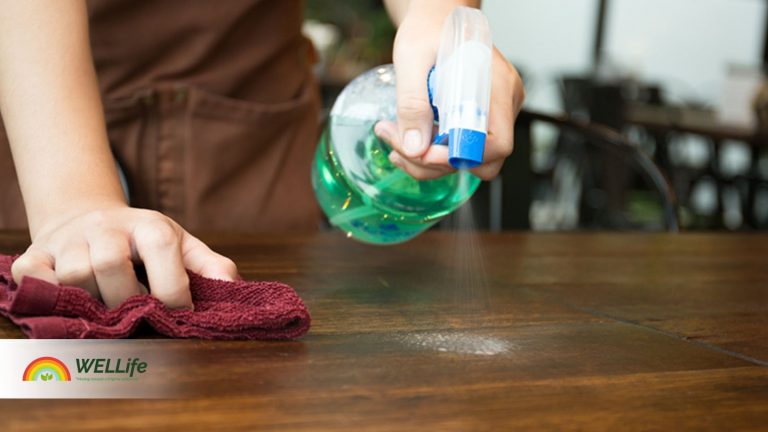
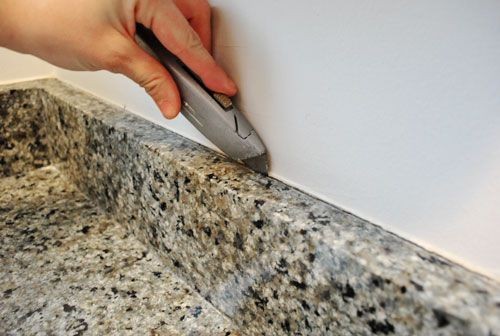
Prepare the Area
 Start by clearing the area around your kitchen sink and protecting your countertops, cabinets, and floors with a drop cloth. Next, use a putty knife to
carefully scrape away any loose or damaged tiles and excess grout
. Wipe down the area with a damp sponge to remove any debris and allow it to dry completely.
Start by clearing the area around your kitchen sink and protecting your countertops, cabinets, and floors with a drop cloth. Next, use a putty knife to
carefully scrape away any loose or damaged tiles and excess grout
. Wipe down the area with a damp sponge to remove any debris and allow it to dry completely.
Apply the Sealant
 Using a high-quality waterproof sealant, carefully apply a thin layer to the damaged area of your backsplash. You can use a putty knife or your finger to spread the sealant evenly and fill in any cracks or gaps. Make sure to
blend the sealant seamlessly with the surrounding tiles
. Allow the sealant to dry completely according to the manufacturer's instructions.
Using a high-quality waterproof sealant, carefully apply a thin layer to the damaged area of your backsplash. You can use a putty knife or your finger to spread the sealant evenly and fill in any cracks or gaps. Make sure to
blend the sealant seamlessly with the surrounding tiles
. Allow the sealant to dry completely according to the manufacturer's instructions.
Sand and Clean
 Once the sealant is dry, use sandpaper to
smooth out any rough edges or excess sealant
. Wipe down the area with a damp cloth to remove any dust or residue. This will also help to
prepare the surface for painting or re-tiling
if necessary.
Once the sealant is dry, use sandpaper to
smooth out any rough edges or excess sealant
. Wipe down the area with a damp cloth to remove any dust or residue. This will also help to
prepare the surface for painting or re-tiling
if necessary.
Final Touches
 If your backsplash is painted, you may need to
touch up the paint to match the restored area
. If you have used tile adhesive and replacement tiles, make sure to
grout and seal the tiles to ensure a water-tight finish
. Once everything is dry and set, you can
remove the drop cloth and clean up the area
.
If your backsplash is painted, you may need to
touch up the paint to match the restored area
. If you have used tile adhesive and replacement tiles, make sure to
grout and seal the tiles to ensure a water-tight finish
. Once everything is dry and set, you can
remove the drop cloth and clean up the area
.
Conclusion
 Repairing your kitchen sink backsplash is a simple and cost-effective way to improve the look and functionality of your kitchen. By following these easy steps, you can save time and money by avoiding a full replacement. Remember to regularly maintain your backsplash to prevent future damage and keep it looking its best.