If you've noticed that one of your kitchen light sockets keeps burning out one bulb, you may be wondering why this is happening. There are a few common reasons for this issue, and luckily, there are also simple solutions to fix it. In this article, we'll explore the possible causes and provide step-by-step instructions on how to fix a light socket that keeps burning out one bulb. Why Does My Kitchen Light Socket Keep Burning Out One Bulb?
Before we dive into the solutions, let's first understand why this problem may be occurring in the first place. Here are some of the most common reasons why your kitchen light socket may be burning out one bulb:Reasons Why Your Kitchen Light Socket Keeps Burning Out One Bulb
Now, let's take a look at the steps you can take to fix a light socket that keeps burning out one bulb. These solutions are easy to implement and require minimal tools, making it a simple DIY project.How to Fix a Light Socket That Keeps Burning Out One Bulb
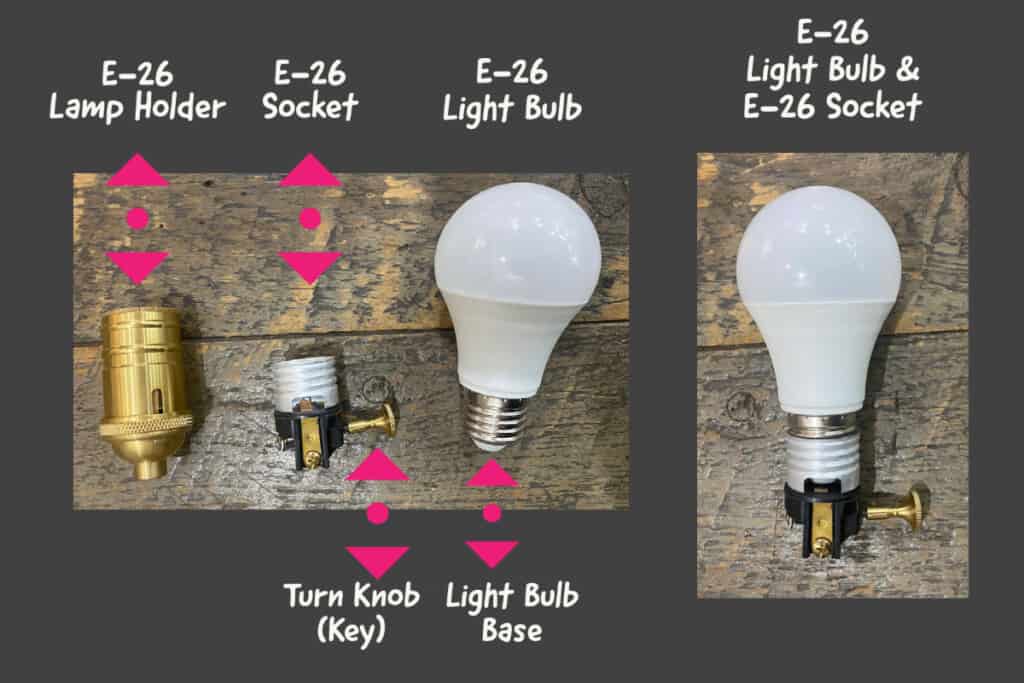
The first and easiest solution is to check the connection between the bulb and the socket. Sometimes, the bulb may not be screwed in all the way, causing a loose connection and causing the bulb to burn out. Make sure the bulb is securely screwed into the socket, and try turning it slightly to see if that helps. If the bulb still burns out, move on to the next step.Tighten the Connection Between the Bulb and Socket
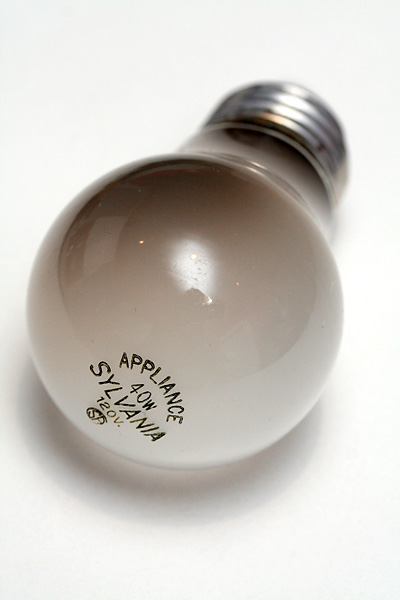
Another common cause of a burning out bulb is using a high wattage bulb. If the bulb you are using has a higher wattage than the maximum capacity of the socket, it may be causing the bulb to overheat and burn out. Check the maximum wattage for your socket and replace the bulb with a lower wattage one. This will help prevent overheating and prolong the life of your bulbs.Replace the Bulb with a Lower Wattage One
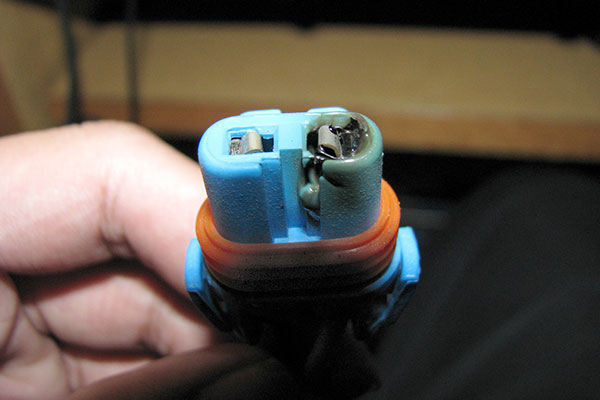
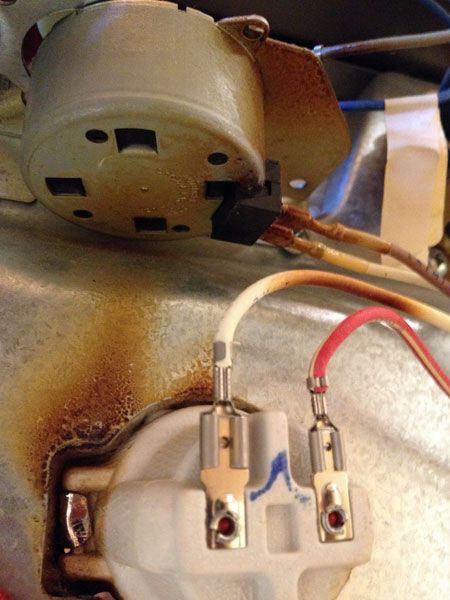
A short circuit can also cause a bulb to burn out. This can happen if the insulation around the wires in the socket is damaged, causing them to touch and create a spark. To check for this issue, turn off the power to the socket and carefully inspect the wires. If you notice any damage or fraying, replace the socket or seek professional help.Check for Proper Insulation
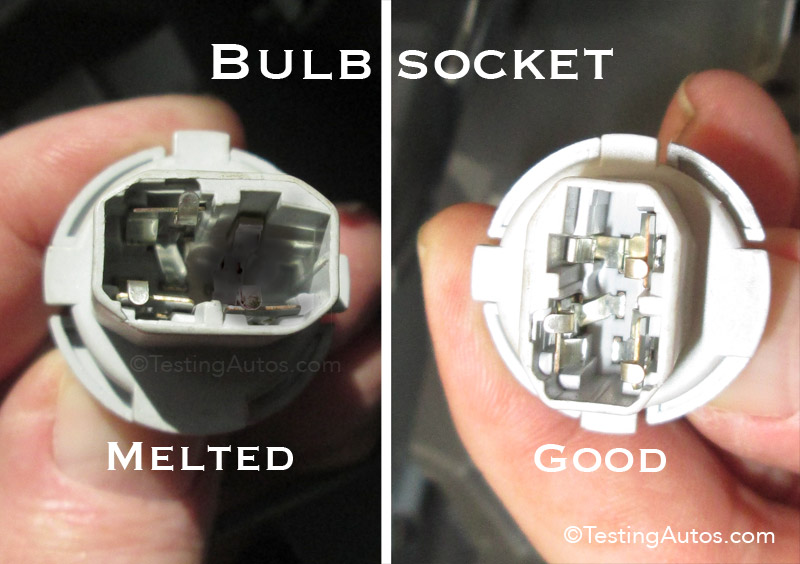
If none of the above solutions work, it may be time to replace your kitchen light socket. Over time, sockets can become worn out or damaged, causing them to malfunction. You can easily find replacement sockets at hardware stores, and the installation process is simple. Just make sure to turn off the power before replacing the socket.Replace the Socket
If you're experiencing voltage fluctuations in your home, it could be causing your bulbs to burn out. In this case, installing a voltage stabilizer can help regulate the voltage and prevent your bulbs from burning out. This is a more advanced solution and may require the help of an electrician.Install a Voltage Stabilizer
Now that you've successfully fixed your kitchen light socket, here are some preventative measures you can take to avoid the issue in the future:Preventative Measures to Avoid Burning Out One Bulb
A kitchen light socket that keeps burning out one bulb can be frustrating, but with these simple solutions, you can easily fix the issue and prevent it from happening again in the future. Remember to always follow safety precautions when working with electricity and seek professional help if needed. By taking proper care of your light sockets, you can ensure that your kitchen remains well-lit and functional for years to come.In Conclusion
The Frustration of a Kitchen Light Socket Burning Out Repeatedly

Understanding the Issue
 Have you ever found yourself constantly replacing the light bulb in your kitchen, only to have it burn out again after a short period of time? This can be an incredibly frustrating and inconvenient issue to deal with. Not only does it disrupt your daily routine, but it can also add up in terms of costs for constantly buying new bulbs. But what exactly is causing this problem? And more importantly, how can you prevent it from happening again in the future?
Possible Causes for the Frequent Burnouts
Preventing Future Burnouts
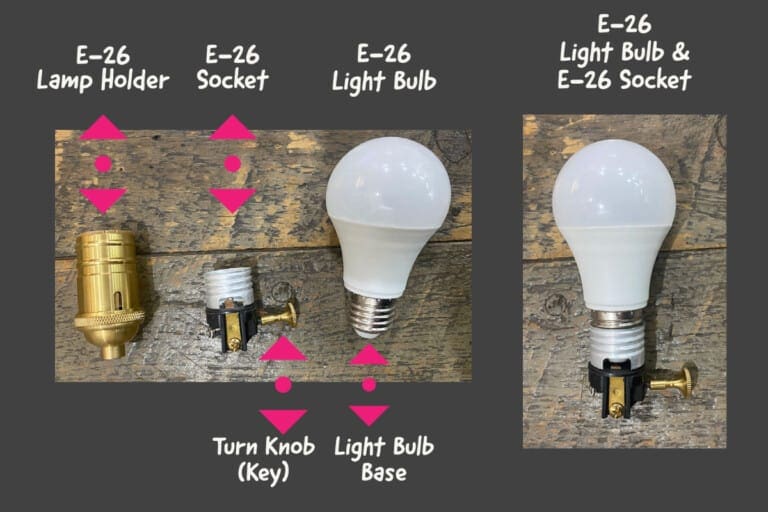 To avoid having to constantly replace your kitchen light bulbs, there are a few measures you can take. First, make sure to always use the correct wattage for your light socket. This will not only prevent burnouts, but it will also ensure that your light fixture is working efficiently. Additionally, consider upgrading to LED bulbs, which use less energy and have a longer lifespan compared to traditional incandescent bulbs.
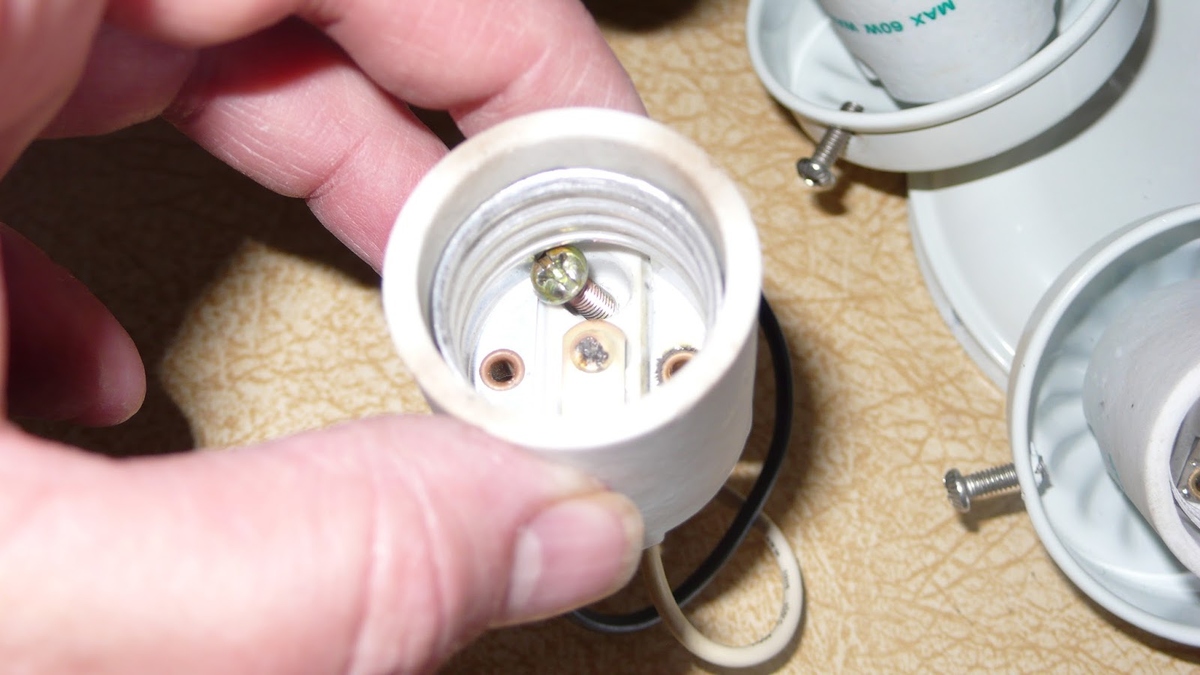
Regular maintenance and cleaning of your light socket can also help prevent burnouts. Dust and debris can build up within the socket, causing poor contact and potentially leading to burnouts. Use a dry cloth to wipe away any dirt or debris and ensure a clean connection between the bulb and socket.
Conclusion
 Dealing with a kitchen light socket that keeps burning out bulbs can be a frustrating and costly issue. By understanding the possible causes and taking preventative measures, you can ensure that your light fixture is working properly and efficiently. Remember to always use the correct wattage, check for loose connections, and regularly clean and maintain your light socket. With these tips, you can say goodbye to constantly replacing light bulbs and hello to a well-lit and functional kitchen.


:max_bytes(150000):strip_icc()/replace-a-light-socket-1152456-09-97f01caee207481a9affbc8708565729.jpg)
/troubleshooting-light-bulb-sockets-2175027-hero-2c1449d767414000b5717f49099b43e6.jpg)


:max_bytes(150000):strip_icc()/installing-led-retrofit-bulb-into-ceiling-fixture-184968332-584f033a3df78c491e1876af.jpg)
