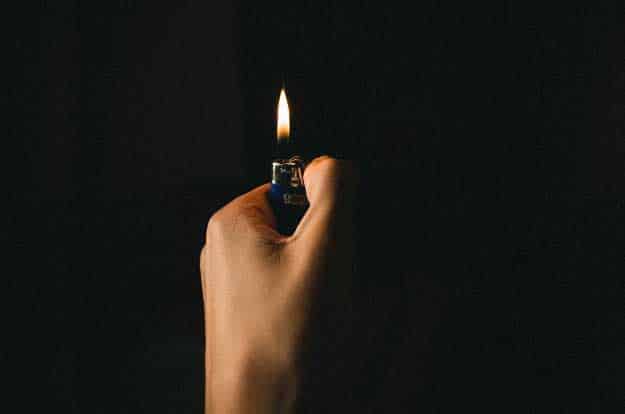
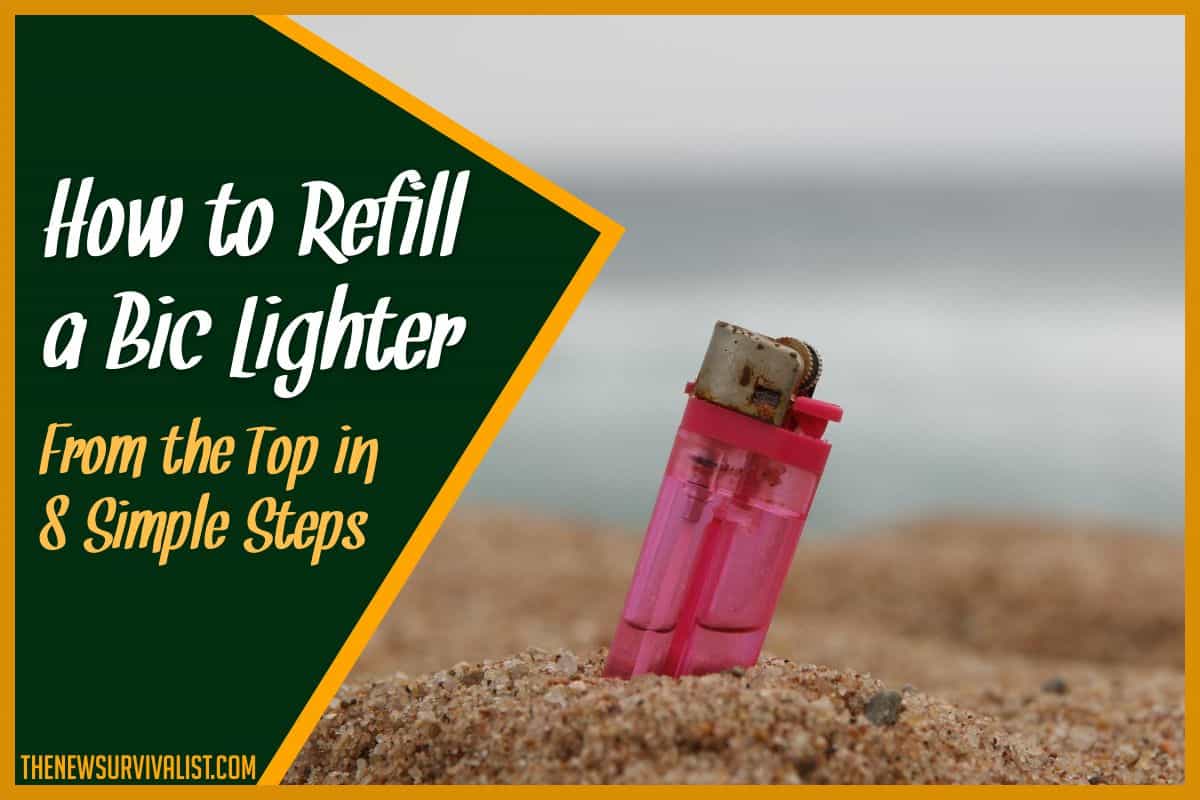
Refilling a Kitchen Craft lighter can seem like a daunting task, but with the right instructions and tips, it can be a quick and easy process. Whether you're a kitchen enthusiast or an occasional cook, having a reliable lighter is essential for any kitchen. Here's a step-by-step guide on how to refill your Kitchen Craft lighter.How to Refill a Kitchen Craft Lighter


How to Refill a Kitchen Craft Lighter


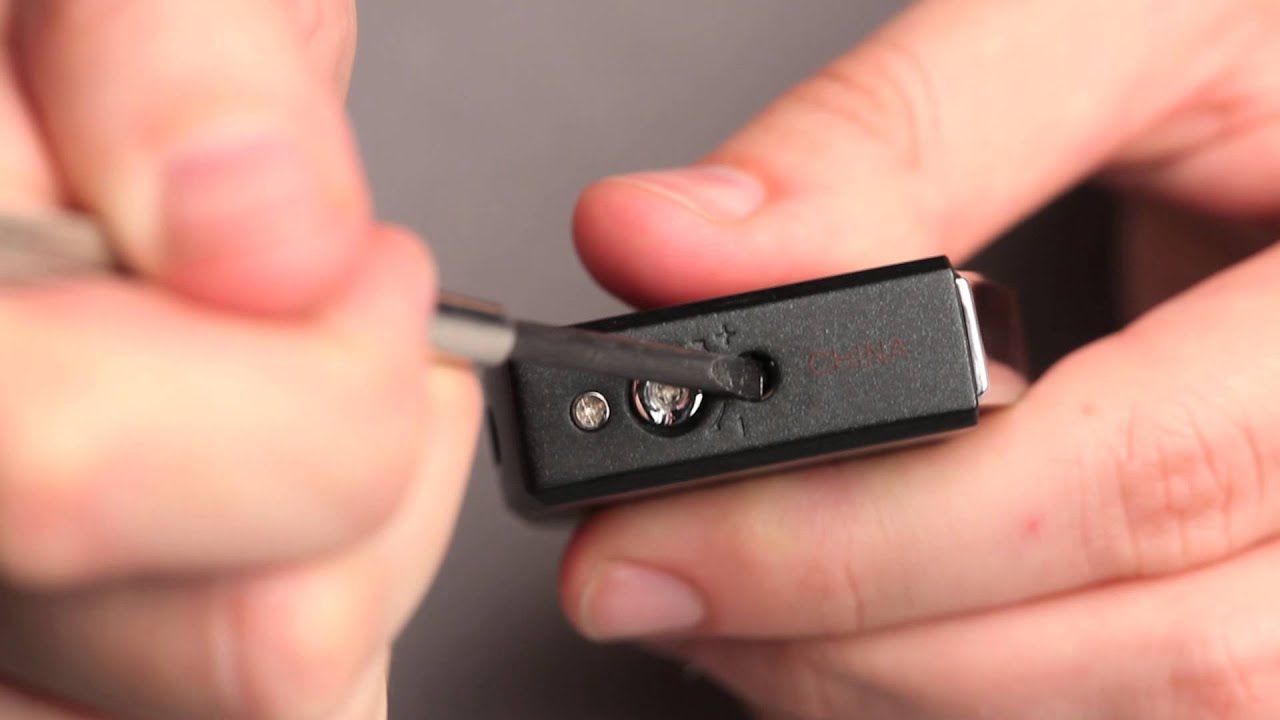
Before we get into the refill process, it's important to first understand the type of lighter you have. Kitchen Craft lighters come in various shapes and sizes, and each may have a different refill method. Make sure to check the instructions manual or the packaging to determine the correct refill instructions for your specific lighter.Kitchen Craft Lighter Refill Instructions


Kitchen Craft Lighter Refill Instructions

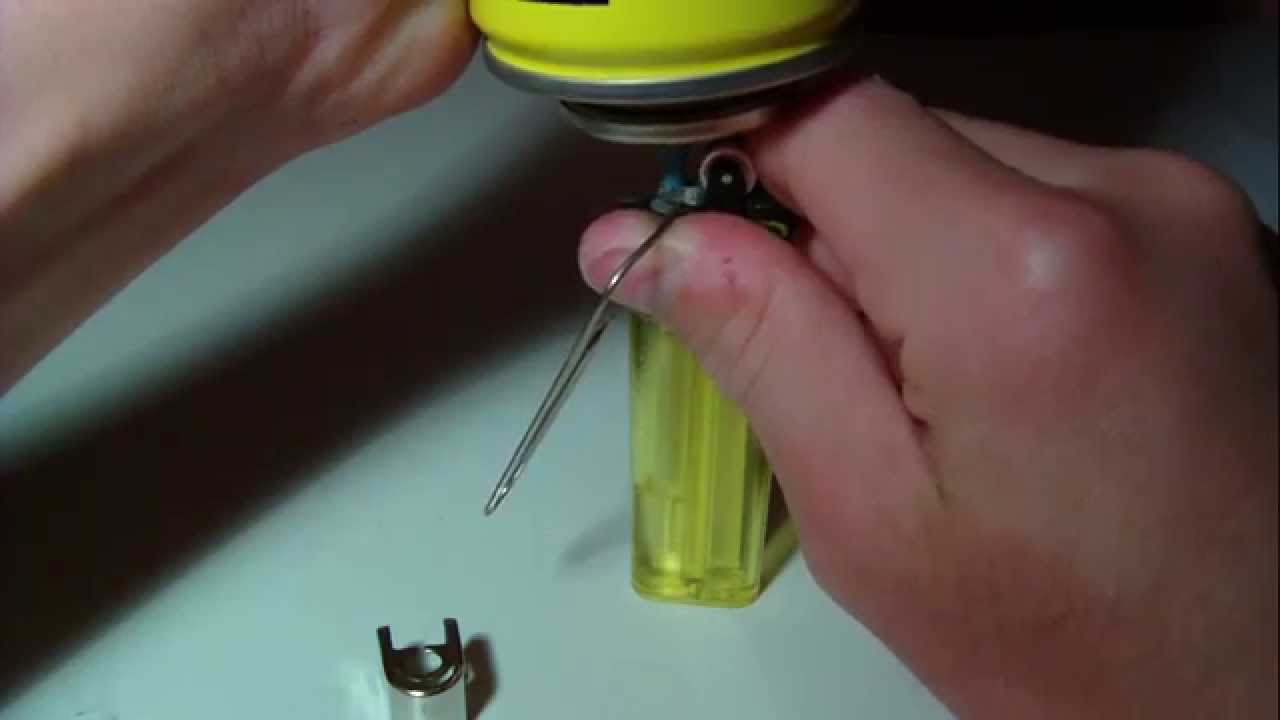
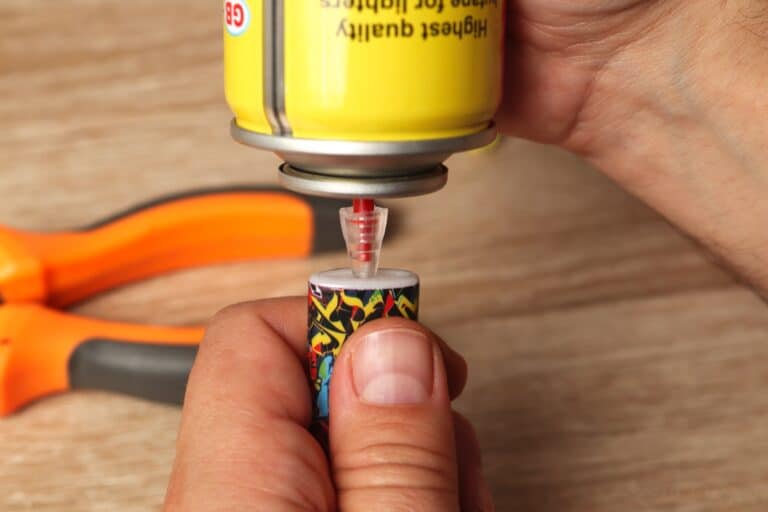
Step 1: Gather your materials. For this refill process, you will need a can of butane gas and your Kitchen Craft lighter. Step 2: Locate the refill valve. The refill valve is usually located at the bottom of the lighter, near the flame adjuster. It may be covered by a small cap or screw. Step 3: Prepare the lighter. Before refilling, make sure the lighter is empty and no gas is coming out of it. You can do this by pressing the flame adjuster until no gas is released. Step 4: Insert the butane nozzle. Take the butane can and insert the nozzle into the refill valve of the lighter. Make sure to align the nozzle with the valve to avoid any leaks. Step 5: Refill the lighter. Press down on the butane can nozzle and hold it for about 5-10 seconds. This will allow the gas to fill the lighter. You may need to repeat this process a few times to ensure the lighter is fully refilled. Step 6: Let the lighter sit for a few minutes. After refilling, it's important to let the lighter sit for a few minutes to allow the gas to stabilize. Step 7: Test the lighter. Once the gas has stabilized, test the lighter by pressing the flame adjuster. If the flame is strong and consistent, your lighter is ready to use.Step-by-Step Guide to Refilling a Kitchen Craft Lighter


Step-by-Step Guide to Refilling a Kitchen Craft Lighter


- Make sure to use high-quality butane gas for the best results. - It's recommended to hold the lighter upside down while refilling to avoid any air pockets. - If you're having trouble refilling, try adjusting the flame adjuster or using a different angle for the butane can nozzle.Kitchen Craft Lighter Refill Tips and Tricks

Kitchen Craft Lighter Refill Tips and Tricks


With the right technique and tools, refilling your Kitchen Craft lighter can be a simple and effortless process. Follow the steps above, and you'll have a fully functional lighter in no time.Easy Kitchen Craft Lighter Refill Method


Easy Kitchen Craft Lighter Refill Method


It's important to remember that each lighter may have a different refill method. If you're unsure about the process or are having difficulties, it's always best to consult the instructions manual or contact the manufacturer for assistance.Refilling Your Kitchen Craft Lighter: A Comprehensive Guide


Refilling Your Kitchen Craft Lighter: A Comprehensive Guide


Make sure to always refill your lighter in a well-ventilated area and away from any open flames. Safety should always be a top priority when handling any flammable materials.Kitchen Craft Lighter Refill: What You Need to Know


Kitchen Craft Lighter Refill: What You Need to Know


If you're feeling adventurous, you can try refilling your Kitchen Craft lighter yourself. Just make sure to follow the instructions carefully and take all necessary safety precautions.DIY Kitchen Craft Lighter Refill: Step-by-Step Instructions


DIY Kitchen Craft Lighter Refill: Step-by-Step Instructions


To ensure the longevity of your Kitchen Craft lighter, it's crucial to properly refill it. This means using high-quality butane gas and following the correct refill method.How to Properly Refill Your Kitchen Craft Lighter


How to Properly Refill Your Kitchen Craft Lighter

- Overfilling the lighter can cause leaks and damage to the lighter. - Using low-quality butane gas can affect the performance of the lighter. - Not letting the gas stabilize before testing the lighter can result in an inconsistent flame. By avoiding these common mistakes, you can ensure a successful and safe refill process.Kitchen Craft Lighter Refill: Common Mistakes to Avoid

Kitchen Craft Lighter Refill: Common Mistakes to Avoid


Why Refilling Your Kitchen Craft Lighter is Important

Keeping Your Kitchen Safe and Efficient
 When it comes to designing a house, the kitchen is often considered the heart of the home. It is where meals are prepared, memories are made, and families gather to share in the joys of cooking and eating together. With such an important role, it is crucial to ensure that your kitchen is functioning at its best.
One way to do this is by properly maintaining your Kitchen Craft lighter.
Refilling your lighter not only ensures that you have a reliable source of flame for your cooking needs, but it also helps to keep your kitchen safe and efficient.
When it comes to designing a house, the kitchen is often considered the heart of the home. It is where meals are prepared, memories are made, and families gather to share in the joys of cooking and eating together. With such an important role, it is crucial to ensure that your kitchen is functioning at its best.
One way to do this is by properly maintaining your Kitchen Craft lighter.
Refilling your lighter not only ensures that you have a reliable source of flame for your cooking needs, but it also helps to keep your kitchen safe and efficient.
Preventing Accidents and Inconveniences
 A malfunctioning lighter can pose a serious risk in the kitchen.
By regularly refilling your Kitchen Craft lighter, you can prevent accidents such as gas leaks and fires.
It is important to note that a lighter with low fuel can produce a weak flame, which can cause inconvenience and frustration during meal preparations.
By keeping your lighter full, you can ensure a steady and strong flame for all your cooking needs.
A malfunctioning lighter can pose a serious risk in the kitchen.
By regularly refilling your Kitchen Craft lighter, you can prevent accidents such as gas leaks and fires.
It is important to note that a lighter with low fuel can produce a weak flame, which can cause inconvenience and frustration during meal preparations.
By keeping your lighter full, you can ensure a steady and strong flame for all your cooking needs.
Saving Money and the Environment
 Refilling your Kitchen Craft lighter is not only beneficial for safety and convenience, but it also helps save money and the environment.
Disposable lighters can be expensive and contribute to unnecessary waste in landfills.
By refilling your lighter, you can save money by not having to constantly purchase new ones and reduce your carbon footprint. Furthermore, Kitchen Craft lighters are made from high-quality materials that can withstand multiple refills, making them a more sustainable and cost-effective option.
Refilling your Kitchen Craft lighter is not only beneficial for safety and convenience, but it also helps save money and the environment.
Disposable lighters can be expensive and contribute to unnecessary waste in landfills.
By refilling your lighter, you can save money by not having to constantly purchase new ones and reduce your carbon footprint. Furthermore, Kitchen Craft lighters are made from high-quality materials that can withstand multiple refills, making them a more sustainable and cost-effective option.
Easy Refilling Process
 Refilling your Kitchen Craft lighter may seem like a daunting task, but it is actually a quick and easy process.
All you need is a can of butane fuel and a few simple steps to refill your lighter and keep it functioning like new.
By following the manufacturer's instructions and properly refilling your lighter, you can ensure its longevity and safety in your kitchen.
In conclusion,
regularly refilling your Kitchen Craft lighter is crucial for maintaining a safe, efficient, and environmentally-friendly kitchen.
By taking the time to refill your lighter, you can ensure a steady and strong flame for all your cooking needs, prevent accidents and inconveniences, and save money in the long run. So next time you reach for your Kitchen Craft lighter, remember the importance of refilling it and enjoy peace of mind in your kitchen.
Refilling your Kitchen Craft lighter may seem like a daunting task, but it is actually a quick and easy process.
All you need is a can of butane fuel and a few simple steps to refill your lighter and keep it functioning like new.
By following the manufacturer's instructions and properly refilling your lighter, you can ensure its longevity and safety in your kitchen.
In conclusion,
regularly refilling your Kitchen Craft lighter is crucial for maintaining a safe, efficient, and environmentally-friendly kitchen.
By taking the time to refill your lighter, you can ensure a steady and strong flame for all your cooking needs, prevent accidents and inconveniences, and save money in the long run. So next time you reach for your Kitchen Craft lighter, remember the importance of refilling it and enjoy peace of mind in your kitchen.