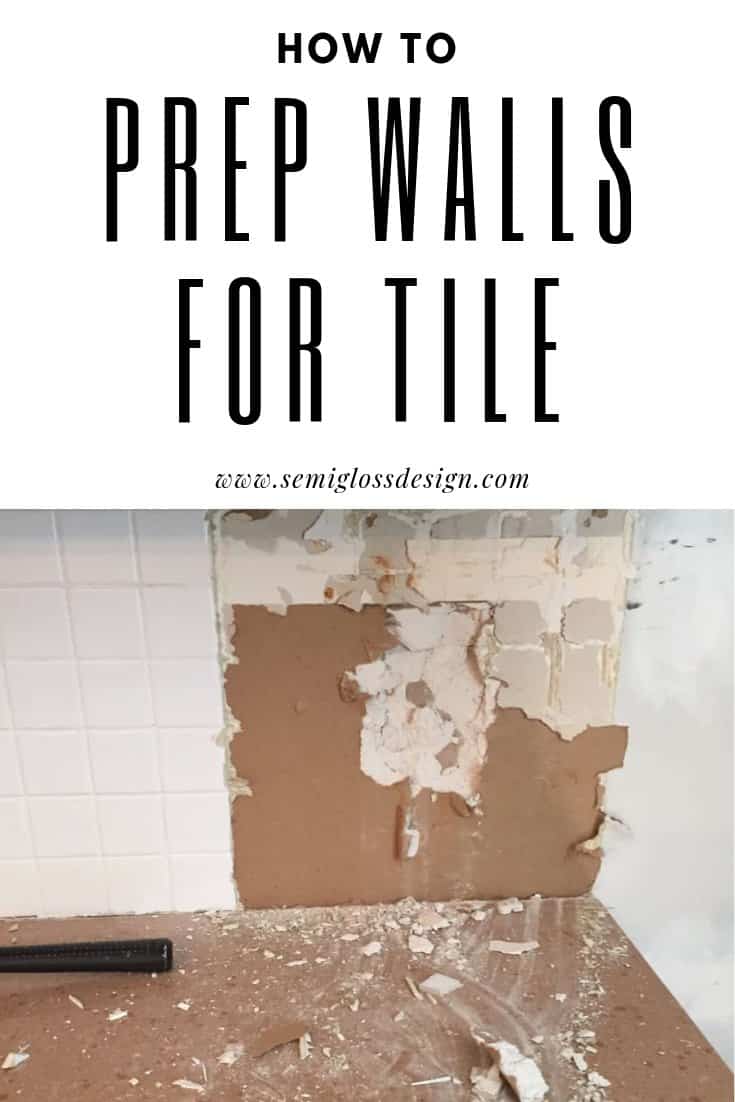
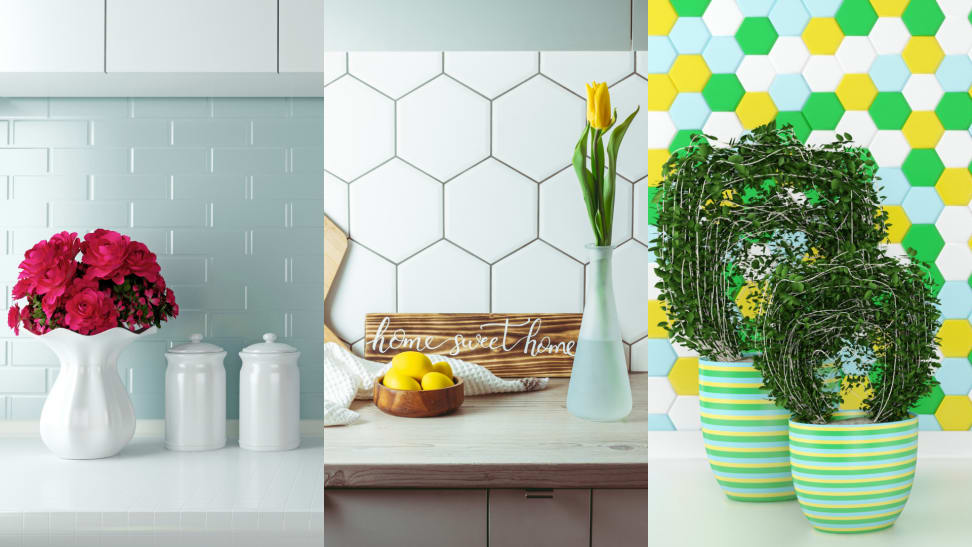
If you're considering adding a backsplash to your kitchen, one of the most important steps in the process is preparing your wall. A well-prepared wall will ensure that your backsplash looks great and lasts for years to come. Here are some essential tips and steps for preparing your kitchen wall for a backsplash.How to Prepare a Wall for a Kitchen Backsplash

How to Prepare a Wall for a Kitchen Backsplash


Before you begin, gather all the necessary tools and materials. These may include a level, measuring tape, utility knife, sandpaper, spackle, primer, and sealant, depending on the condition of your wall. It's also a good idea to put down drop cloths or plastic sheeting to protect your countertops and floors.Tips for Preparing Your Kitchen Wall for a Backsplash


Tips for Preparing Your Kitchen Wall for a Backsplash


The first step is to clean your wall thoroughly. Use a mild detergent and water to remove any grime, grease, or stains. Next, inspect the wall for any holes or cracks and use spackle to fill them in. Once the spackle is dry, sand it down to create a smooth surface. Next, use a level and measuring tape to mark where your backsplash will go. If you're using tile, it's important to have evenly spaced grout lines, so use spacers to ensure uniformity. If you're using a sheet of backsplash, use a level to make sure it's straight before adhering it to the wall.Steps for Preparing Your Kitchen Wall for a Backsplash
Steps for Preparing Your Kitchen Wall for a Backsplash

After cleaning and repairing your wall, it's time to prime and seal it. This step is crucial in ensuring that your backsplash adheres properly and stays in place. Use a high-quality primer recommended for your specific wall material, and apply it evenly with a paint roller or brush. Allow the primer to dry completely before moving on to the next step. Once the primer is dry, it's time to seal the wall. This is especially important if your kitchen wall is made of drywall, as it will help prevent moisture from seeping through and causing damage. Use a sealant recommended for your wall material and apply it according to the manufacturer's instructions.Preparing Your Kitchen Wall for a Backsplash: A Step-by-Step Guide

Preparing Your Kitchen Wall for a Backsplash: A Step-by-Step Guide

As mentioned earlier, you will need a variety of tools and materials to properly prepare your kitchen wall for a backsplash. In addition to those already mentioned, you may also need a putty knife, caulk gun, and tile adhesive or mastic, depending on the type of backsplash you're installing. It's always a good idea to have extra supplies on hand in case of any mishaps.Essential Tools and Materials for Preparing Your Kitchen Wall for a Backsplash


Essential Tools and Materials for Preparing Your Kitchen Wall for a Backsplash


/pastry-tools-and-baking-utensils-1908347-Final-3acb2a97793d4493b175f4c8422a7557.png)


One of the biggest mistakes people make when preparing their kitchen wall for a backsplash is not properly cleaning and repairing it beforehand. This can lead to the backsplash not adhering properly, resulting in a less-than-perfect finished product. Make sure to take the time to thoroughly clean and repair your wall to avoid any issues. Another common mistake is not using the correct primer and/or sealant for your wall material. This can also lead to issues with the backsplash adhering properly and can even cause damage to your wall. Be sure to research and use the appropriate products for your specific wall material.Preparing Your Kitchen Wall for a Backsplash: Common Mistakes to Avoid
Preparing Your Kitchen Wall for a Backsplash: Common Mistakes to Avoid


As mentioned earlier, cleaning and repairing your kitchen wall is a crucial step in preparing it for a backsplash. Use a mild detergent and water to clean any grime or grease from the wall, and fill in any holes or cracks with spackle. Be sure to sand down the spackle for a smooth surface before moving on to priming and sealing the wall.How to Clean and Repair Your Kitchen Wall Before Installing a Backsplash


How to Clean and Repair Your Kitchen Wall Before Installing a Backsplash


If your kitchen wall is made of drywall, there are a few additional tips and tricks to keep in mind when preparing it for a backsplash. First, be sure to use a high-quality primer and sealant specifically designed for drywall. Additionally, it's a good idea to lightly sand the drywall before priming to ensure a better bond between the wall and the primer.Preparing Drywall for a Kitchen Backsplash: Tips and Tricks


Preparing Drywall for a Kitchen Backsplash: Tips and Tricks


As mentioned earlier, priming and sealing your kitchen wall is a crucial step in preparing it for a backsplash. Use a high-quality primer and apply it evenly with a paint roller or brush. Once the primer is dry, use a sealant recommended for your wall material and apply it according to the manufacturer's instructions.How to Prime and Seal Your Kitchen Wall Before Installing a Backsplash


How to Prime and Seal Your Kitchen Wall Before Installing a Backsplash
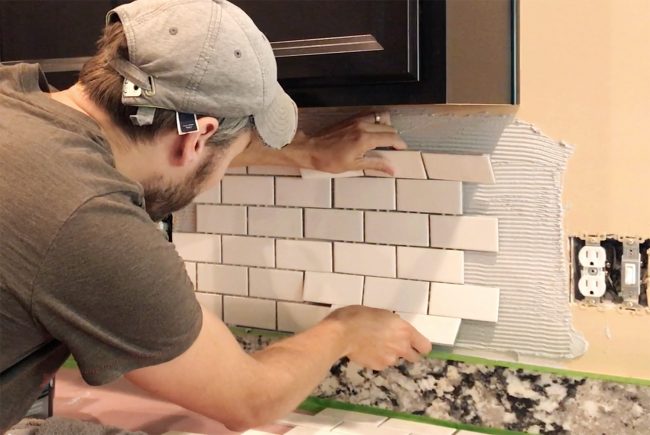
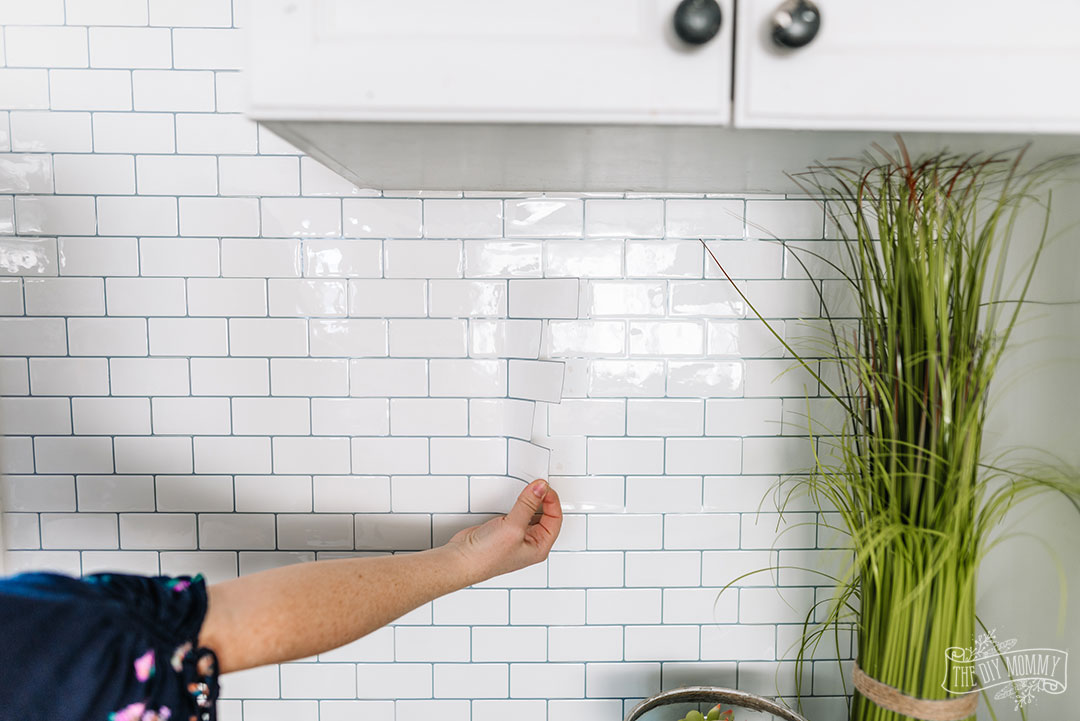
If you're installing a tile backsplash, there are a few additional steps to take when preparing your kitchen wall. First, make sure the wall is completely dry before applying tile adhesive or mastic. Use spacers to ensure evenly spaced grout lines, and use a level to make sure the tiles are straight. Once the adhesive is dry, remove the spacers and grout the tiles, wiping away any excess with a damp sponge. In conclusion, preparing your kitchen wall for a backsplash is an essential step in creating a beautiful and functional kitchen. By following these tips and steps, you can ensure that your backsplash looks great and lasts for years to come.Preparing a Tile Backsplash: What You Need to Know About Wall Preparation


Preparing a Tile Backsplash: What You Need to Know About Wall Preparation


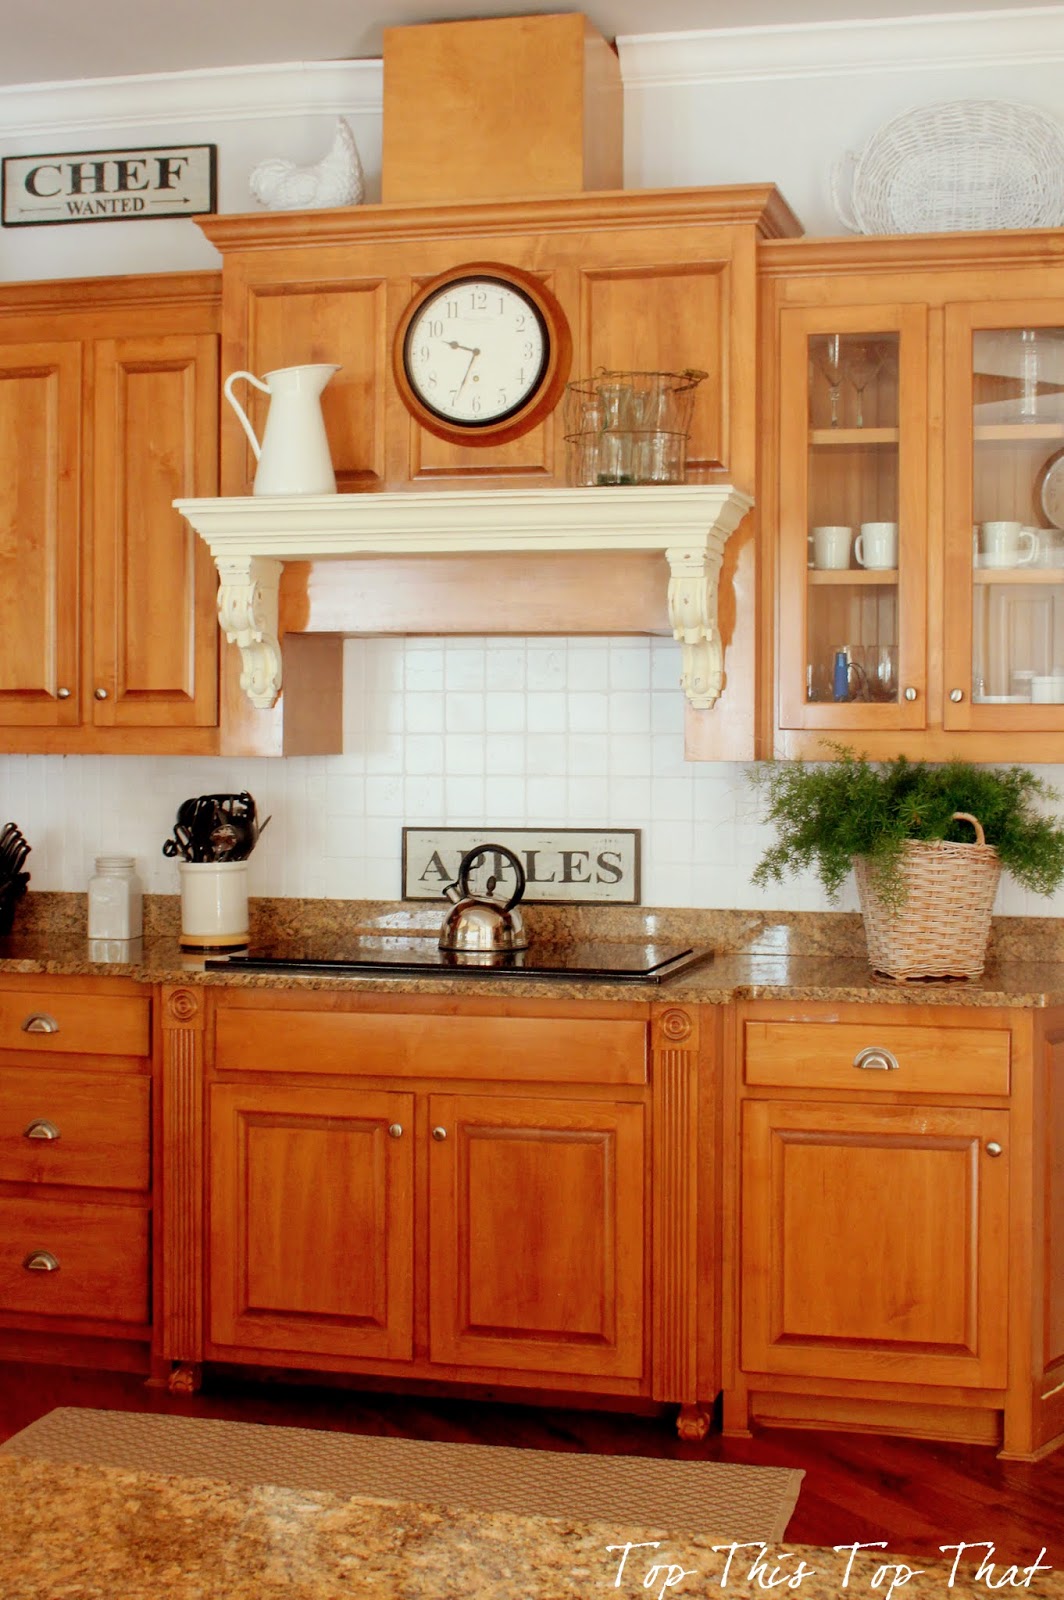
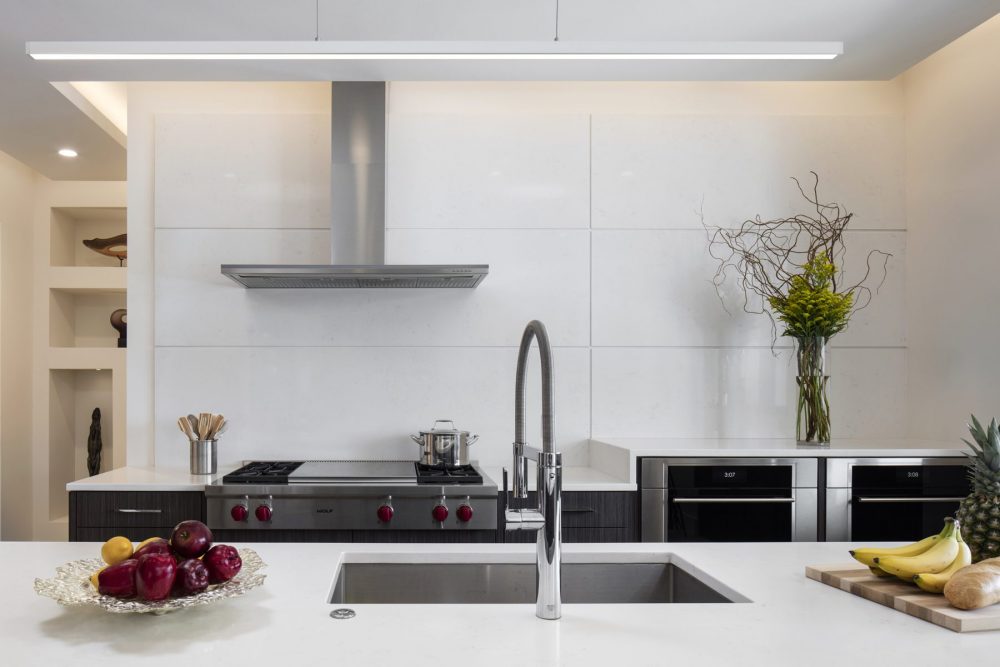
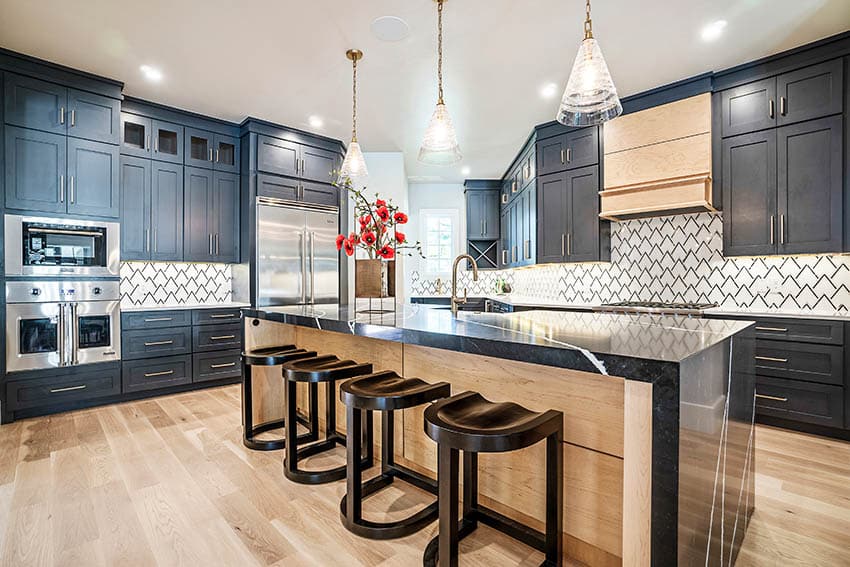
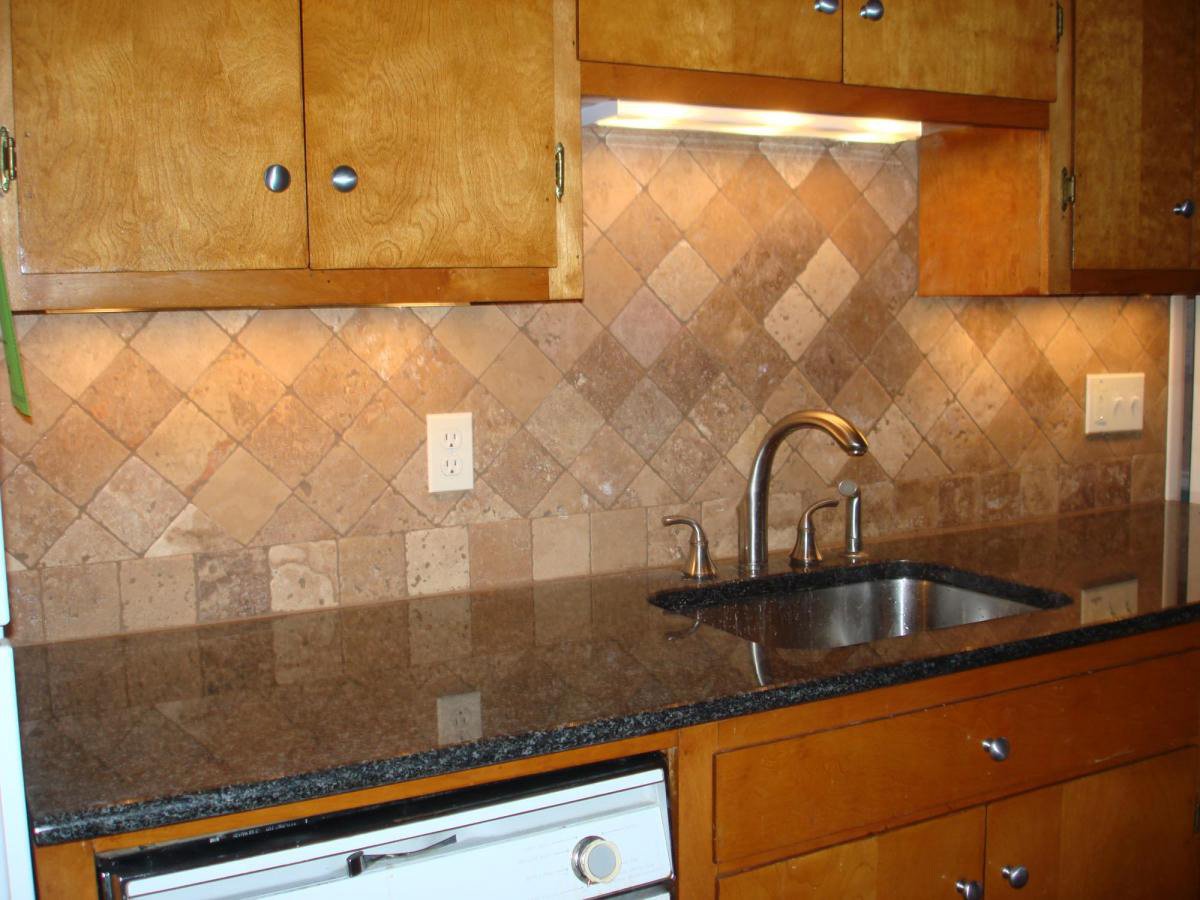
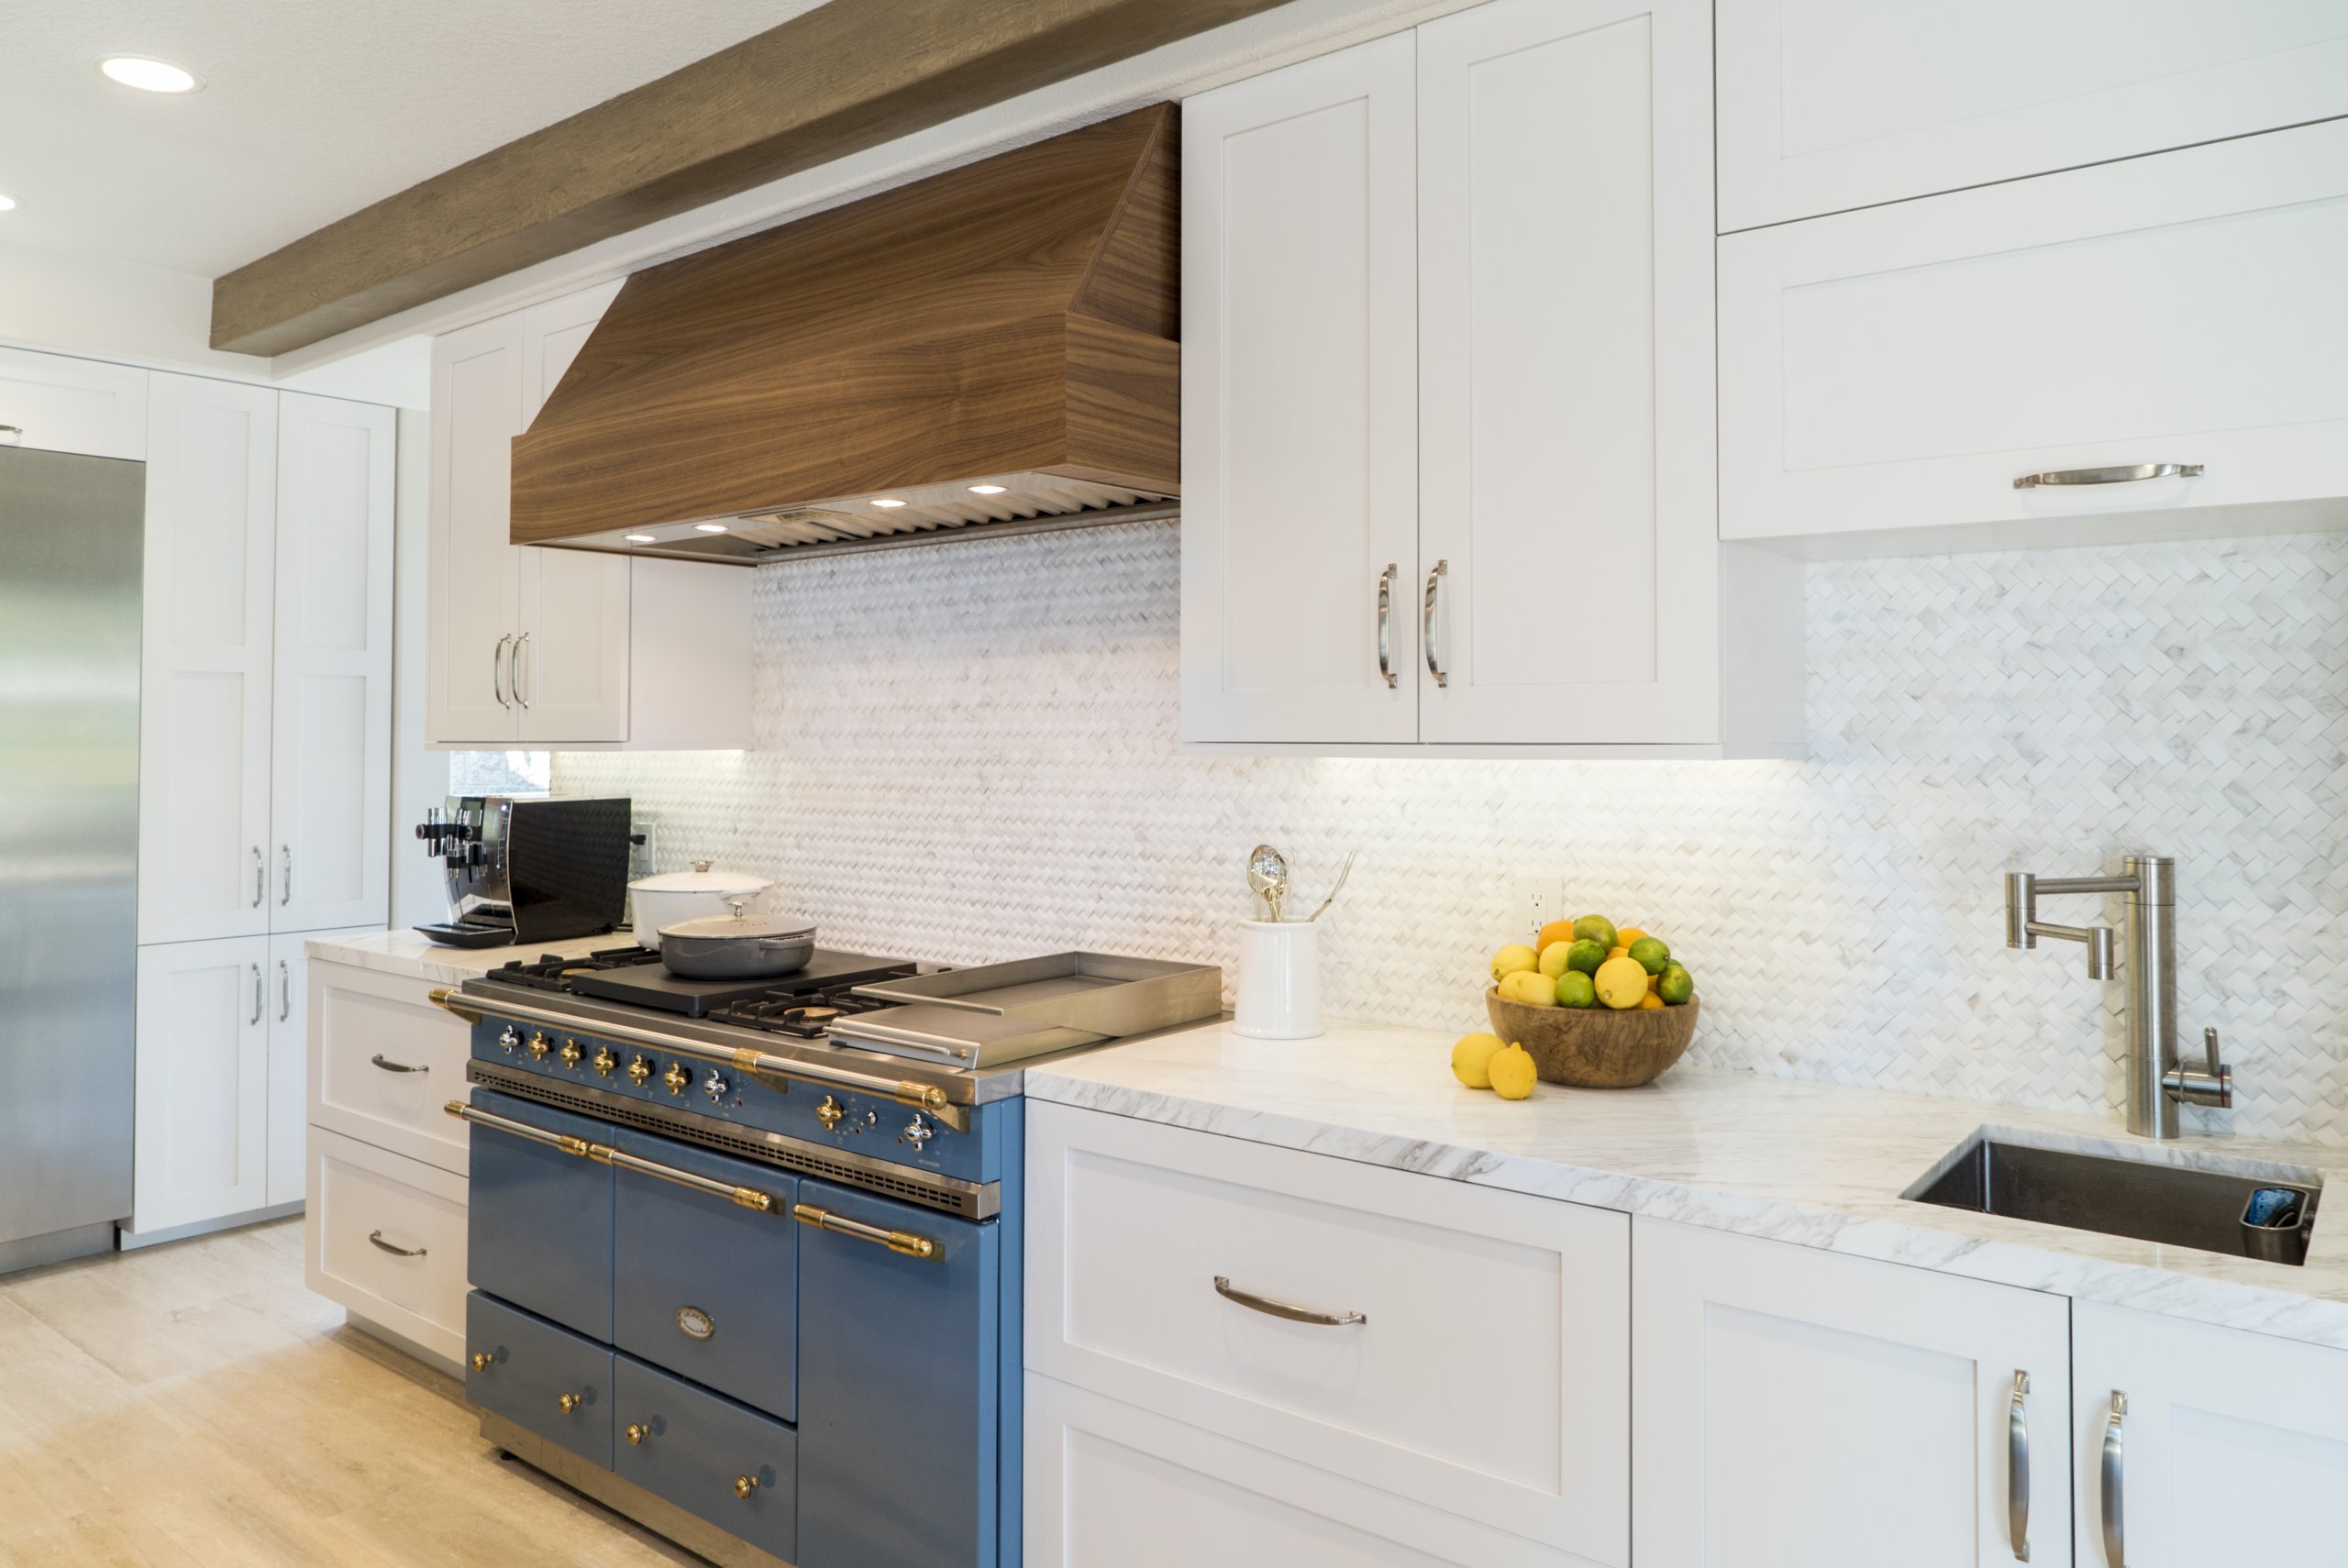
Creating a beautiful and functional kitchen backsplash is an essential part of any house design. Not only does it protect your walls from cooking splatters and spills, but it also adds personality and style to your kitchen. Before you begin the installation process, it is crucial to properly prepare your wall to ensure a smooth and long-lasting result.
Clear the Space
 The first step in preparing your kitchen backsplash
wall
is to clear the area of any obstructions. Remove all countertop appliances, decorations, and other items from the wall that you will be working on. It is also a good idea to cover your countertops and floors with a drop cloth to protect them from any potential damage during the preparation process.
The first step in preparing your kitchen backsplash
wall
is to clear the area of any obstructions. Remove all countertop appliances, decorations, and other items from the wall that you will be working on. It is also a good idea to cover your countertops and floors with a drop cloth to protect them from any potential damage during the preparation process.
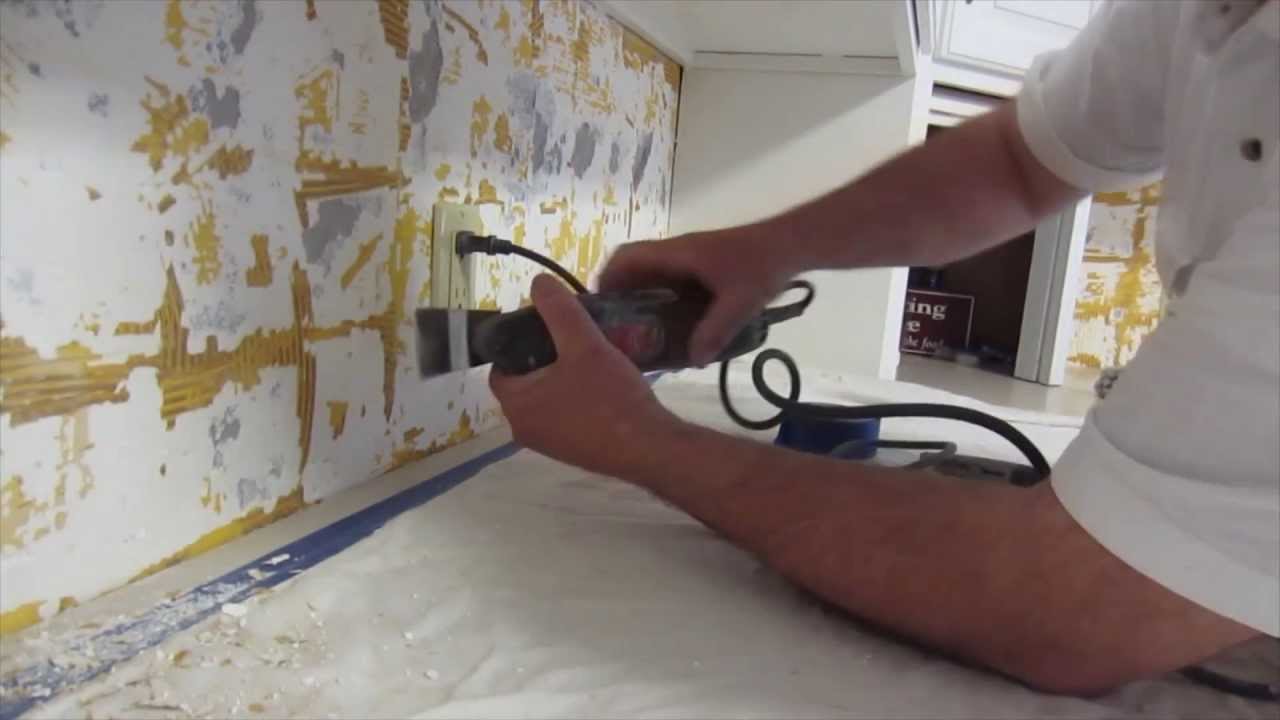
Remove Existing Backsplash
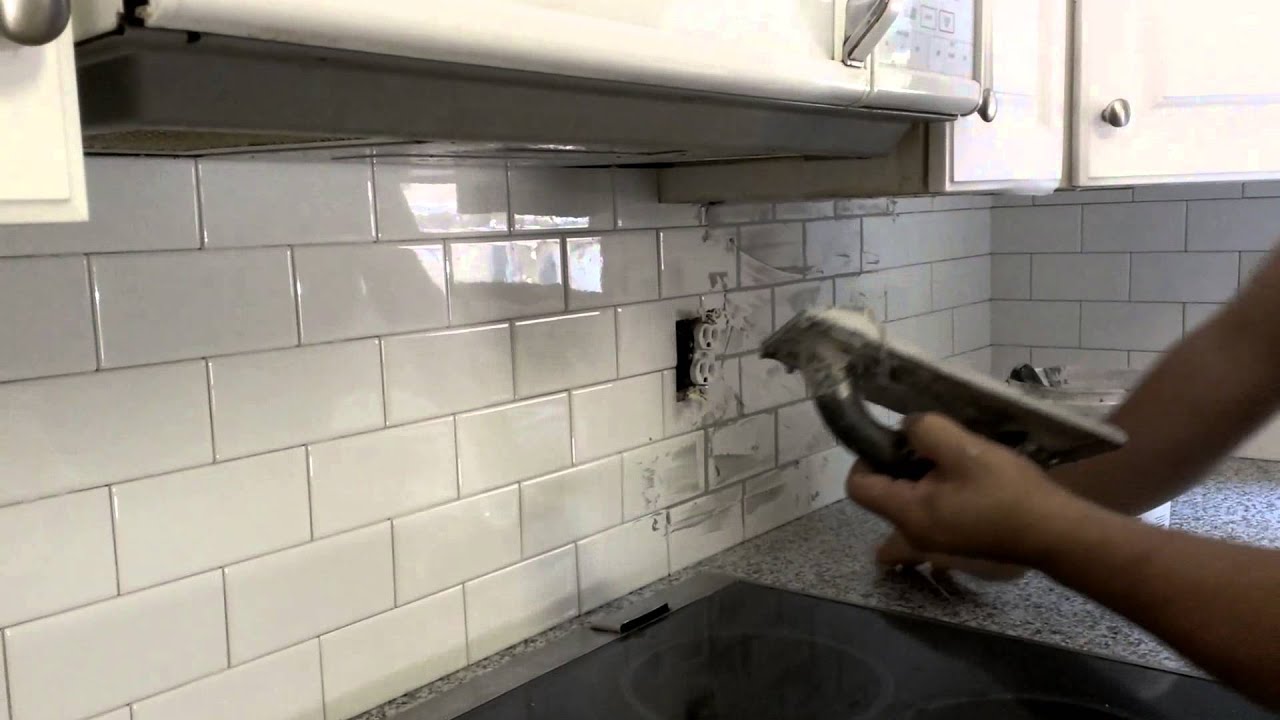
 If you have an existing backsplash, it is important to remove it before proceeding with the preparation. Use a putty knife or scraper to gently pry off the tiles or backsplash material. Be careful not to damage the wall while doing so. Once the backsplash is removed, use a sponge and warm water to clean the
wall
thoroughly.
If you have an existing backsplash, it is important to remove it before proceeding with the preparation. Use a putty knife or scraper to gently pry off the tiles or backsplash material. Be careful not to damage the wall while doing so. Once the backsplash is removed, use a sponge and warm water to clean the
wall
thoroughly.
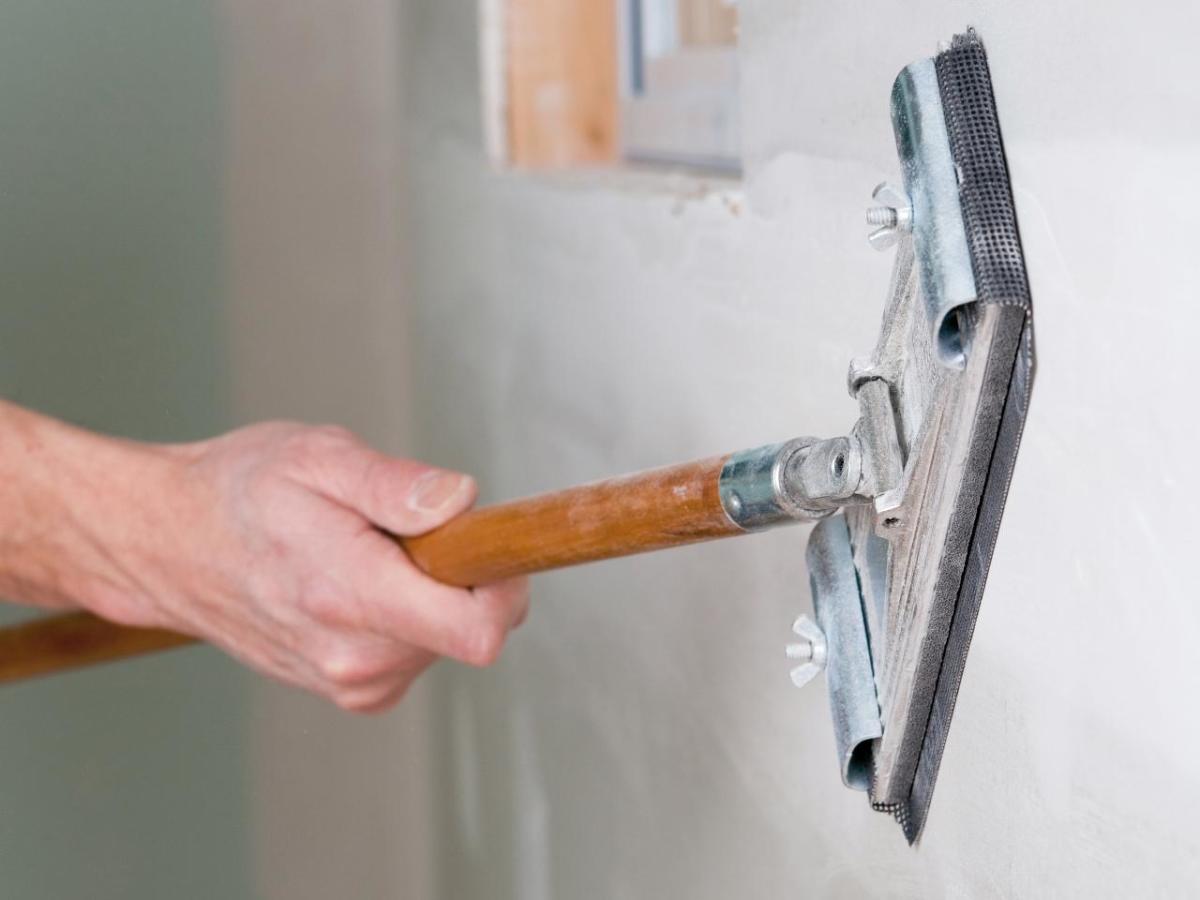
Repair Any Damages
 Inspect the
wall
for any cracks, holes, or other damages. Use a spackling compound to fill in any imperfections. Once the compound is dry, sand it down until it is smooth and level with the rest of the
wall
. This will ensure a flat surface for the backsplash to adhere to.
Inspect the
wall
for any cracks, holes, or other damages. Use a spackling compound to fill in any imperfections. Once the compound is dry, sand it down until it is smooth and level with the rest of the
wall
. This will ensure a flat surface for the backsplash to adhere to.
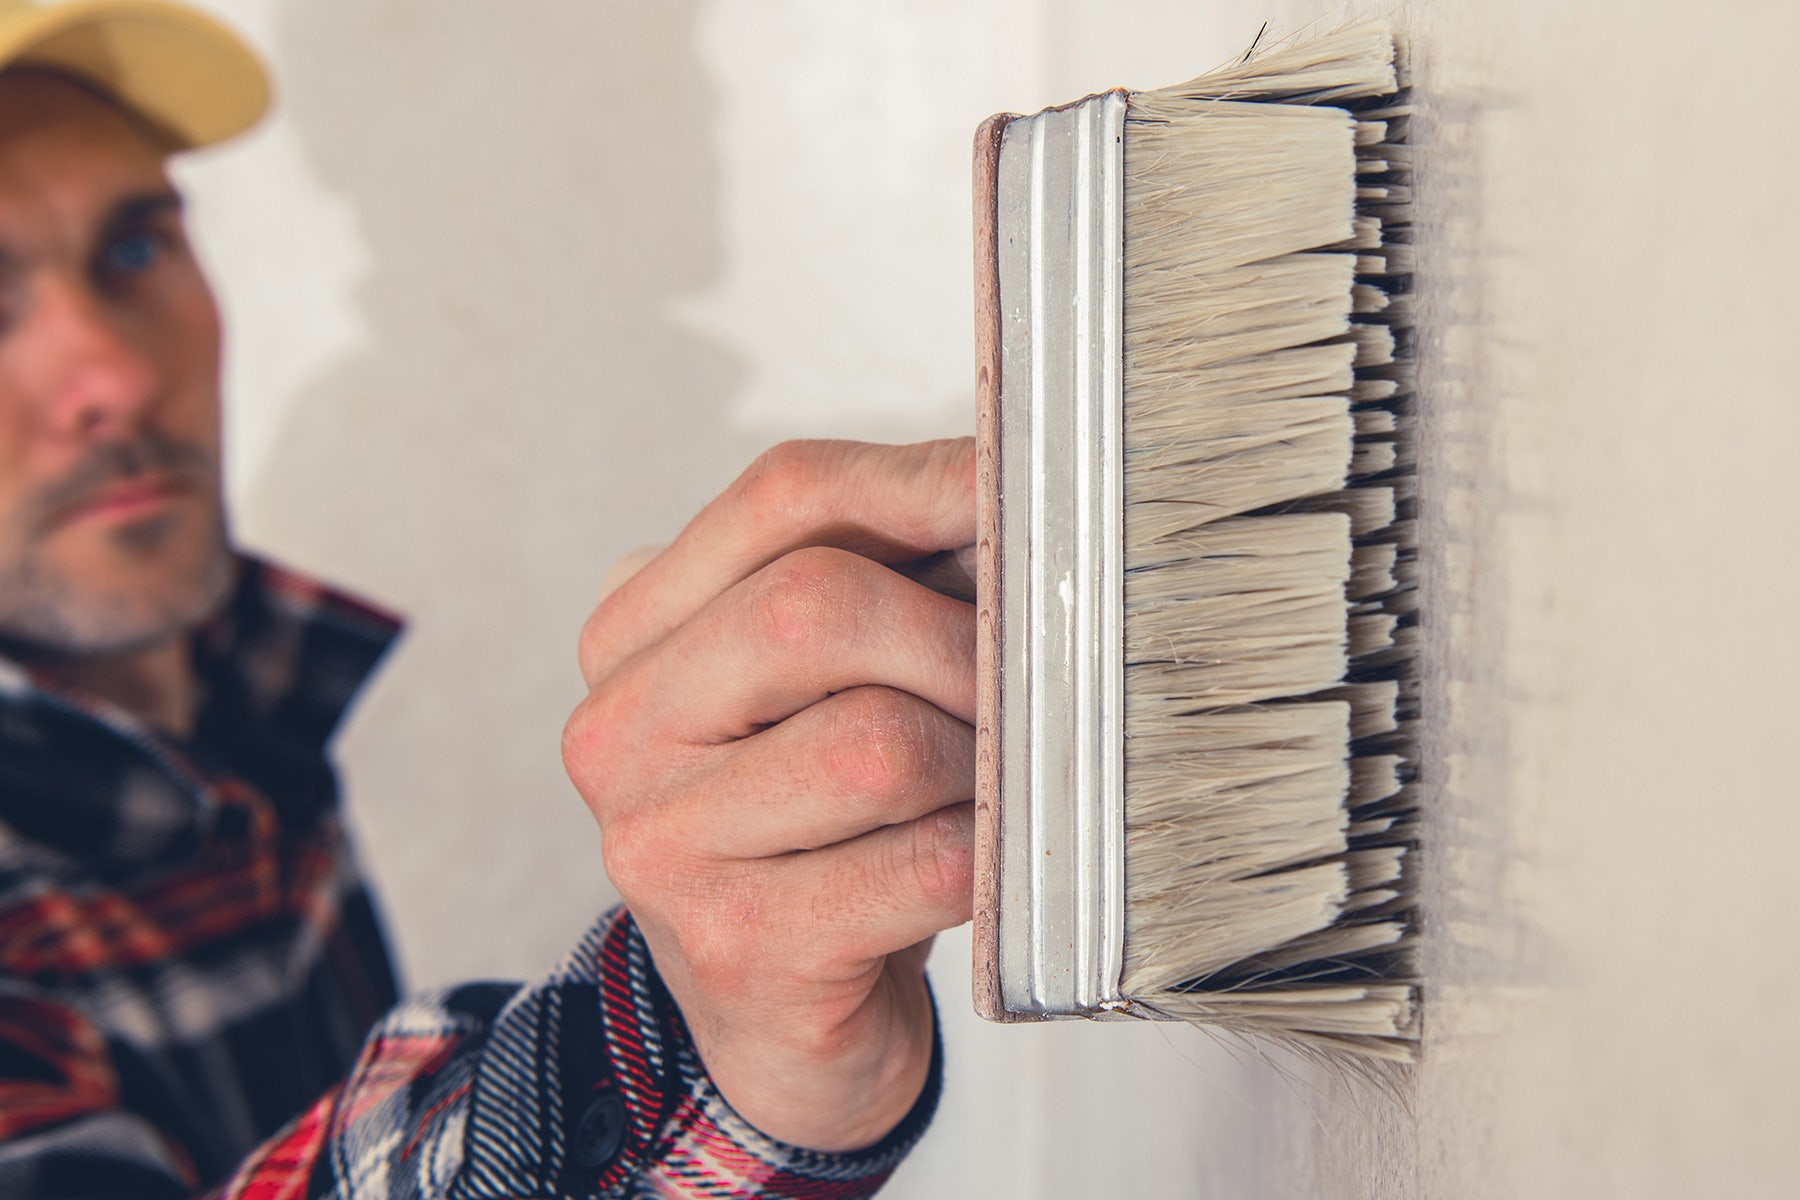
Prime the Wall
 Priming the
wall
is an essential step in preparing for a kitchen backsplash. It creates a smooth and even surface for the adhesive to bond to. Use a high-quality primer and a paint roller to apply an even coat to the
wall
. Allow the primer to dry completely before moving on to the next step.
Priming the
wall
is an essential step in preparing for a kitchen backsplash. It creates a smooth and even surface for the adhesive to bond to. Use a high-quality primer and a paint roller to apply an even coat to the
wall
. Allow the primer to dry completely before moving on to the next step.
Measure and Mark
 Before installing the backsplash, it is crucial to measure and mark the
wall
to ensure accurate placement. Use a level and a pencil to draw guidelines for where the backsplash will be installed. This will help you keep the tiles or other materials straight and in line during the installation process.
In conclusion, preparing your kitchen backsplash
wall
is a crucial step in creating a functional and beautiful design for your kitchen. By following these steps and properly preparing the
wall
, you can ensure a smooth and long-lasting installation for your kitchen backsplash. Remember to take your time and pay attention to details to achieve the best results.
Before installing the backsplash, it is crucial to measure and mark the
wall
to ensure accurate placement. Use a level and a pencil to draw guidelines for where the backsplash will be installed. This will help you keep the tiles or other materials straight and in line during the installation process.
In conclusion, preparing your kitchen backsplash
wall
is a crucial step in creating a functional and beautiful design for your kitchen. By following these steps and properly preparing the
wall
, you can ensure a smooth and long-lasting installation for your kitchen backsplash. Remember to take your time and pay attention to details to achieve the best results.