Having a well-lit refrigerator is essential for finding your favorite snacks and ingredients quickly. However, over time, the light bulb in your KitchenAid refrigerator may burn out and need to be replaced. It may seem like a daunting task, but with the right tools and steps, you can easily replace the light bulb in your KitchenAid refrigerator on your own. Here's a step-by-step guide to help you through the process.How to Replace the Light Bulb in a KitchenAid Refrigerator


How to Replace the Light Bulb in a KitchenAid Refrigerator


Before you start, make sure to unplug your refrigerator from the power source to avoid any accidents. Also, have a new light bulb on hand that is compatible with your KitchenAid refrigerator. You can check the appliance's manual or contact the manufacturer for the correct bulb type. Once you have the necessary materials, follow these steps to replace the light bulb in your KitchenAid refrigerator:KitchenAid Refrigerator Light Bulb Replacement Guide


KitchenAid Refrigerator Light Bulb Replacement Guide
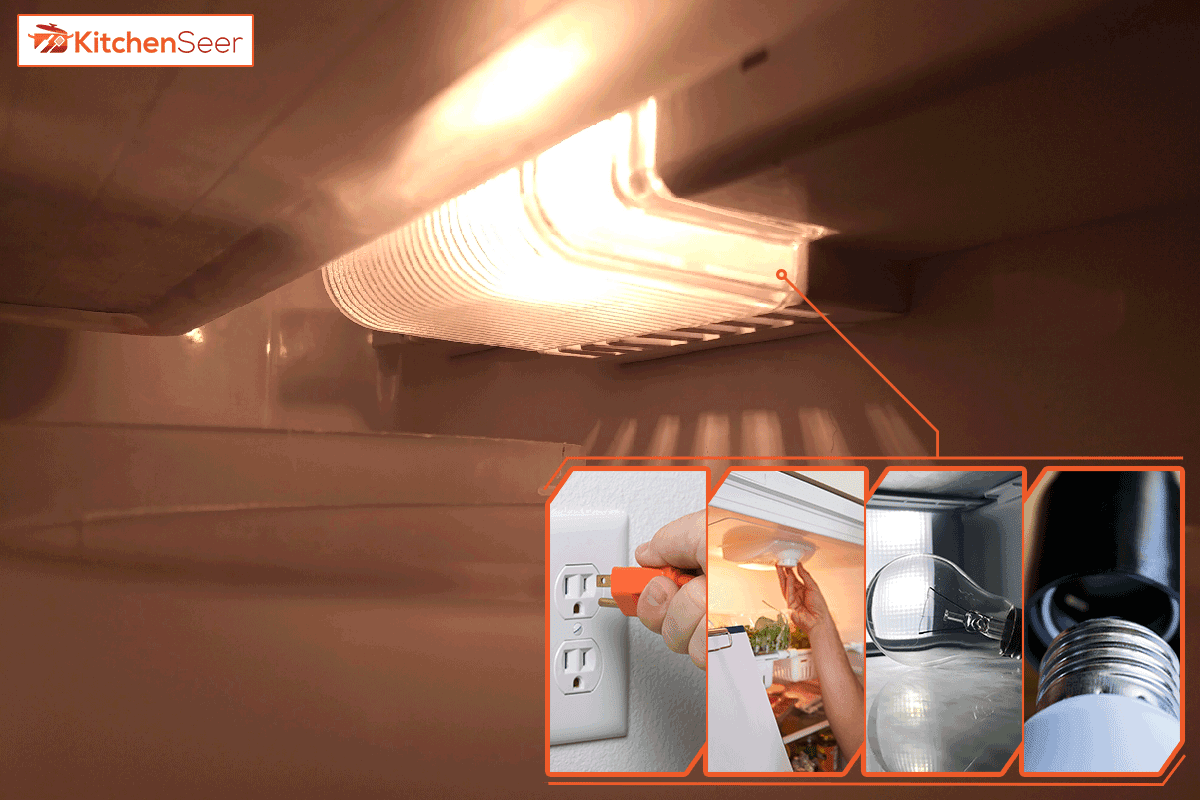


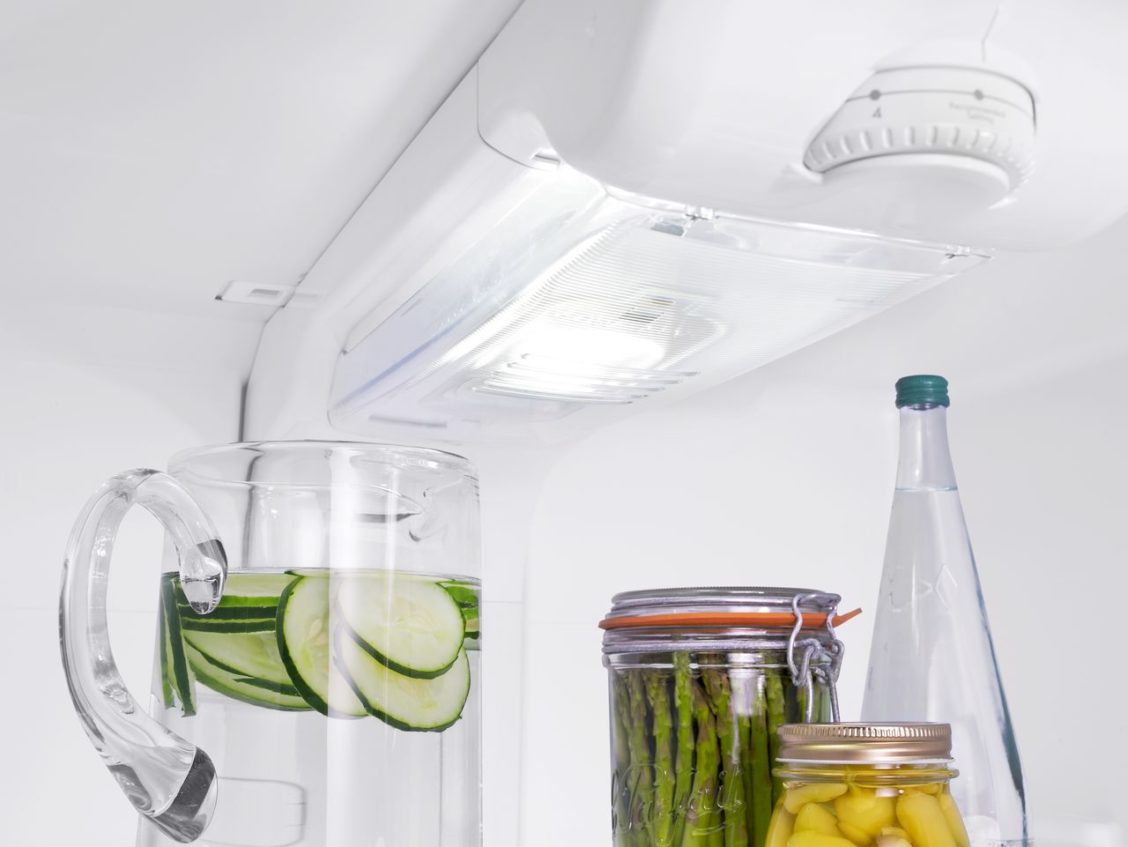
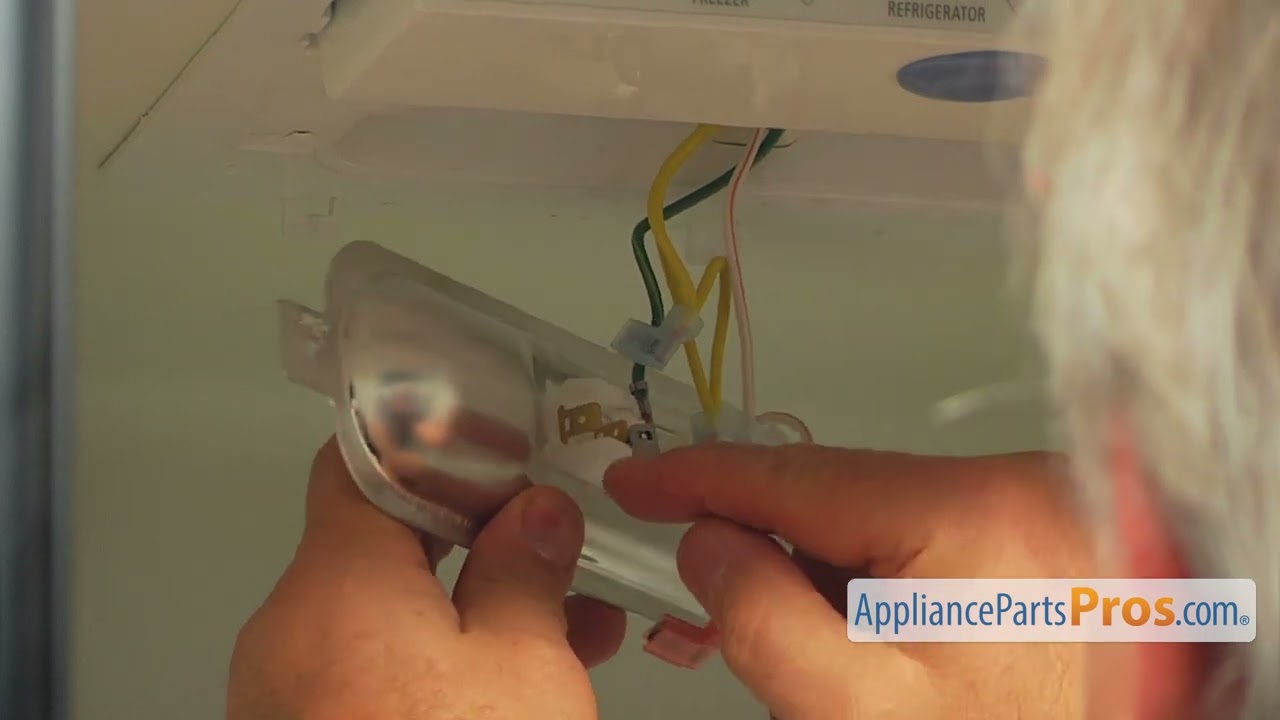
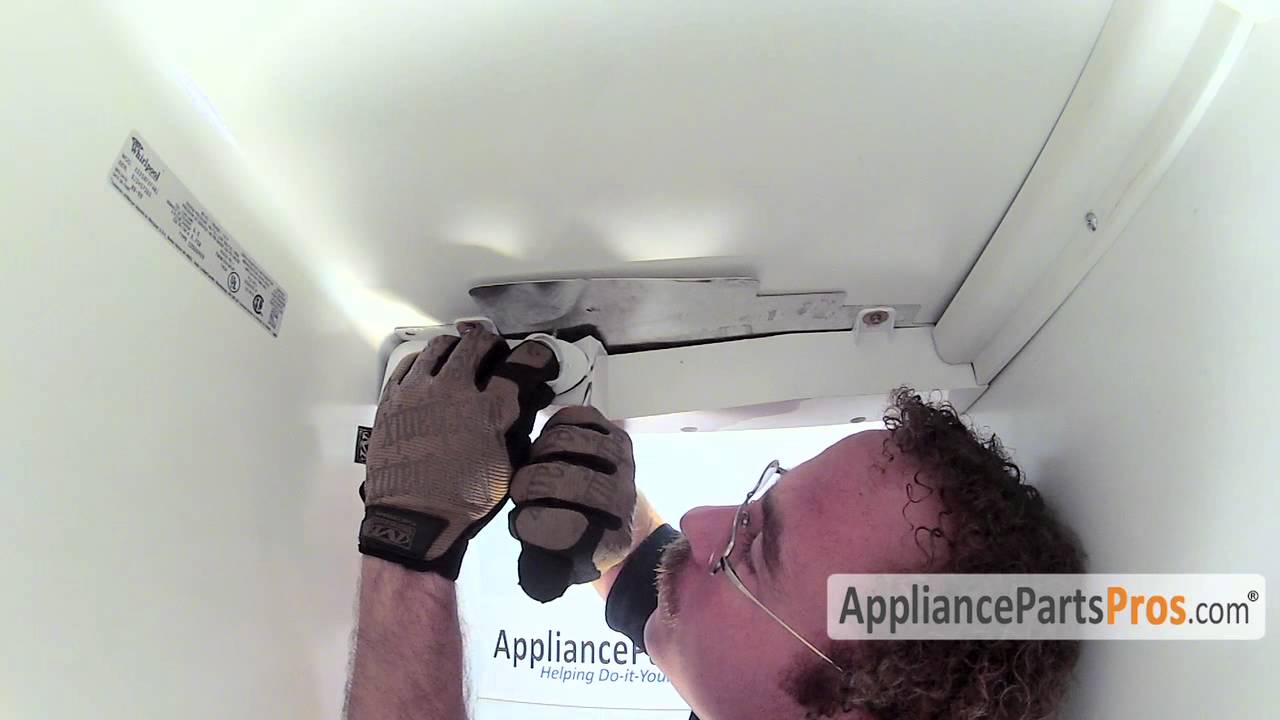
Step 1: Locate the light bulb cover on the ceiling of your refrigerator. Some models may have a clear plastic cover, while others may have a white plastic cover. Step 2: Use a flathead screwdriver to gently pry open the cover. Be careful not to break it or damage the surrounding area. Step 3: Remove the old light bulb by twisting it counterclockwise. If it's stuck, you can use a pair of gloves to get a better grip and help you twist it out. Step 4: Once the old light bulb is removed, clean the socket with a dry cloth to remove any debris or buildup. This will ensure the new bulb will make a proper connection. Step 5: Insert the new light bulb and twist it clockwise until it's securely in place. Step 6: Replace the light bulb cover and make sure it snaps back into place. Step 7: Plug your refrigerator back in and test the new light bulb. If it doesn't turn on, double-check that it's securely in place and that the power is on.Step-by-Step: Replacing the Light Bulb in a KitchenAid Refrigerator


Step-by-Step: Replacing the Light Bulb in a KitchenAid Refrigerator


Replacing the light bulb in your KitchenAid refrigerator is a simple task that you can easily do on your own. Not only will it save you time and money, but it will also give you a sense of accomplishment. However, if you're not comfortable doing it yourself, you can always contact a professional for assistance. Some important things to keep in mind while replacing the light bulb in your KitchenAid refrigerator are: Choose the Right Bulb: Make sure to use a bulb that is compatible with your appliance. Using the wrong bulb can cause it to burn out quickly or even damage the socket. Turn Off the Power: Before starting the replacement process, always unplug your refrigerator from the power source to avoid any accidents. Be Gentle: When removing the old light bulb and cover, be gentle to avoid any damage to the surrounding area. Keep the Area Clean: Wipe down the area with a dry cloth before inserting the new light bulb to ensure a proper connection.KitchenAid Refrigerator Light Bulb Replacement: A DIY Guide

KitchenAid Refrigerator Light Bulb Replacement: A DIY Guide
Replacing the light bulb in your KitchenAid refrigerator is a quick and easy task that can be done in just a few minutes. With the right tools and instructions, you can have a well-lit and functional refrigerator in no time. Some additional tips to keep in mind while replacing the light bulb are: Wear Gloves: If the old bulb is difficult to remove, wearing gloves can help you get a better grip and twist it out more easily. Check the Manual: If you're unsure about the type of bulb to use, always refer to the appliance's manual or contact the manufacturer for assistance. Regular Maintenance: To avoid any future light bulb replacements, make it a habit to clean the socket and cover regularly to prevent any buildup or debris.Replacing the Light Bulb in Your KitchenAid Refrigerator: A Quick and Easy Guide
Replacing the Light Bulb in Your KitchenAid Refrigerator: A Quick and Easy Guide


Here are some additional tips and tricks to help you make the light bulb replacement process even easier: Use a Flashlight: If the light bulb burns out and you need to replace it in the dark, use a flashlight to help you see better. Keep Spare Bulbs on Hand: It's always a good idea to have extra light bulbs on hand so that you can quickly replace them when needed. Regularly Check the Bulb: Make it a habit to check the light bulb in your refrigerator regularly, so you know when it's time for a replacement.KitchenAid Refrigerator Light Bulb Replacement: Tips and Tricks

KitchenAid Refrigerator Light Bulb Replacement: Tips and Tricks
If you're unsure about the type of light bulb to use for your KitchenAid refrigerator, here are some tips to help you find the right one: Check the Manual: Refer to the appliance's manual for the recommended type of light bulb. Contact the Manufacturer: If the manual doesn't specify the type of bulb, contact the manufacturer for assistance. Take Measurements: Measure the old bulb and the socket to ensure you get the right size and wattage.How to Find the Right Light Bulb for Your KitchenAid Refrigerator

How to Find the Right Light Bulb for Your KitchenAid Refrigerator

Replacing the light bulb in your KitchenAid refrigerator is a simple and straightforward DIY task. With the right tools and instructions, anyone can do it on their own. Not only will it save you time and money, but it will also give you a sense of accomplishment. If you're not comfortable doing it yourself, you can always contact a professional for assistance. But with these easy-to-follow steps, you'll have a well-lit and functional refrigerator in no time.DIY: Replacing the Light Bulb in Your KitchenAid Refrigerator

DIY: Replacing the Light Bulb in Your KitchenAid Refrigerator
When replacing the light bulb in your KitchenAid refrigerator, there are a few common mistakes you should avoid, such as: Using the Wrong Bulb: Always make sure to use a bulb that is compatible with your appliance to avoid any damage or malfunctions. Being Rough: When removing the old bulb or cover, be gentle to avoid any damage to the surrounding area. Skipping Regular Maintenance: Regularly cleaning the socket and cover can prevent any buildup or debris that can cause the bulb to burn out quickly.KitchenAid Refrigerator Light Bulb Replacement: Common Mistakes to Avoid
KitchenAid Refrigerator Light Bulb Replacement: Common Mistakes to Avoid
Here's a quick recap of the step-by-step guide for replacing the light bulb in your KitchenAid refrigerator: Step 1: Unplug your refrigerator from the power source. Step 2: Locate the light bulb cover and gently pry it open. Step 3: Twist out the old light bulb and clean the socket. Step 4: Insert the new light bulb and twist it into place. Step 5: Replace the light bulb cover. Step 6: Plug your refrigerator back in and test the new light bulb. With these simple steps, you can easily replace the light bulb in your KitchenAid refrigerator and have a well-lit and functional appliance once again.Step-by-Step Guide: Replacing the Light Bulb in Your KitchenAid Refrigerator


Step-by-Step Guide: Replacing the Light Bulb in Your KitchenAid Refrigerator

Kitchen Aid Refrigerator Light Bulb Replacement: A Simple Guide for a Brighter Kitchen

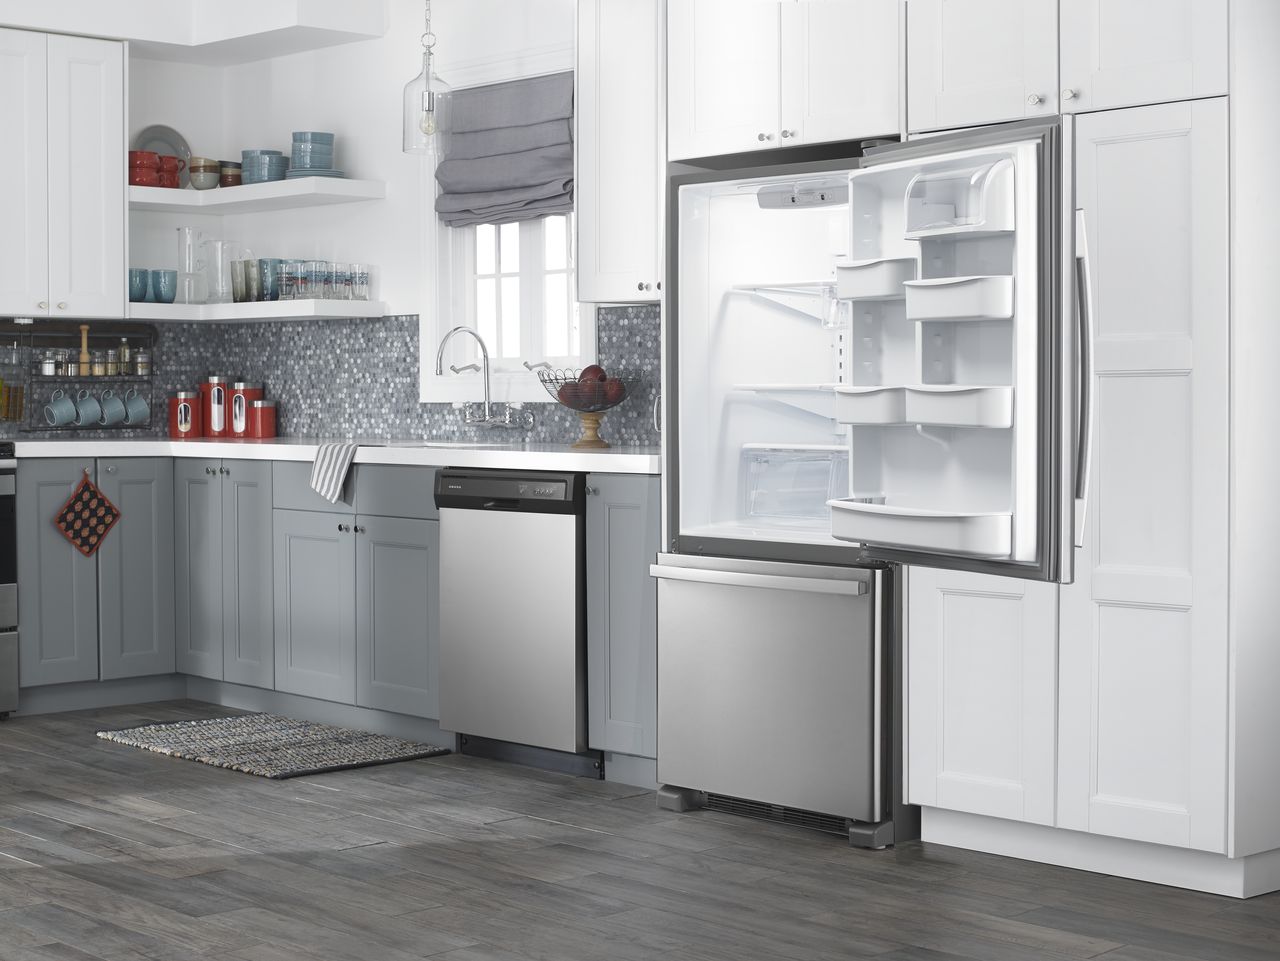
When it comes to designing your home, the kitchen is one of the most important spaces to consider. Not only is it the heart of the home, but it also plays a crucial role in your daily routine. From cooking and cleaning to gathering with family and friends, the kitchen is a multifunctional space that requires proper lighting for it to function effectively. One essential aspect of kitchen lighting is the refrigerator light bulb. If you have a Kitchen Aid refrigerator and are in need of a replacement light bulb, this article will guide you through the process.
Why is Proper Lighting Important in the Kitchen?

A well-lit kitchen is essential for a variety of reasons. First and foremost, it allows you to see clearly while preparing and cooking food, making it easier to avoid accidents and spills. Adequate lighting also improves the overall functionality of your kitchen, making it easier to find what you need and navigate through the space. Furthermore, proper lighting can enhance the aesthetics of your kitchen, creating a warm and inviting atmosphere for you and your guests.
Signs that Your Kitchen Aid Refrigerator Light Bulb Needs to be Replaced

Before we dive into the replacement process, it's important to know when your Kitchen Aid refrigerator light bulb needs to be replaced. Here are some signs to look out for:
- Dim or Flickering Light: If your refrigerator light appears dim or flickers, it is a clear indication that the bulb is nearing the end of its lifespan.
- Burned Out Bulb: If your refrigerator light is not turning on at all, it's likely that the bulb has burned out and needs to be replaced.
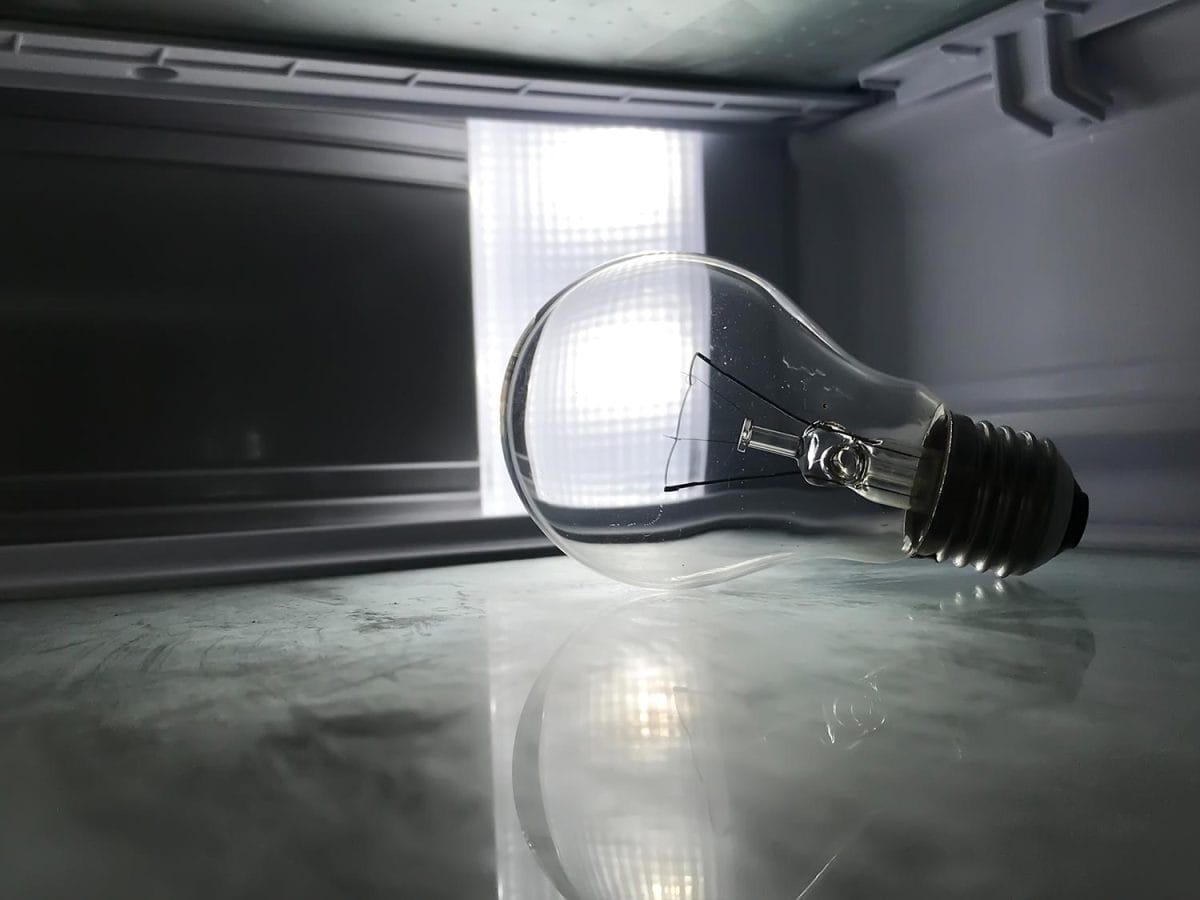
- Visible Damage: Inspect the bulb for any visible damage, such as cracks or blackening. If you notice any damage, it's time to replace the bulb.
The Replacement Process

Now that you have determined that your refrigerator light bulb needs to be replaced, here are the steps to follow:
- Unplug the Refrigerator: For safety reasons, make sure to unplug your refrigerator before attempting to replace the light bulb.
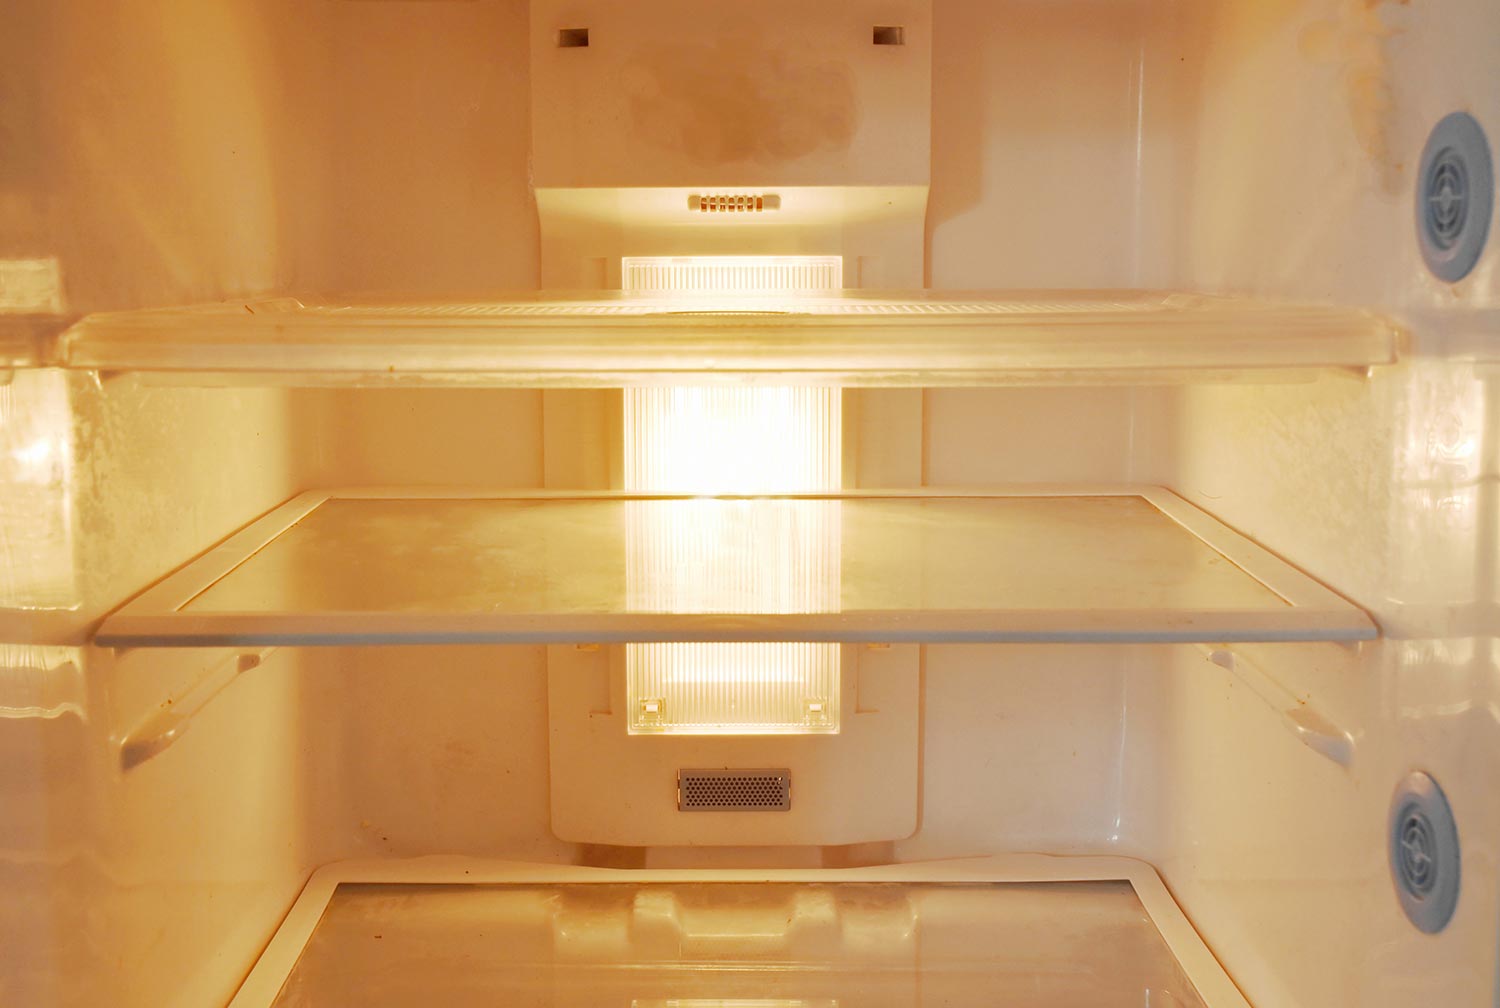
- Locate the Light Bulb: Depending on the model of your Kitchen Aid refrigerator, the light bulb may be located on the ceiling or side wall of the refrigerator compartment.
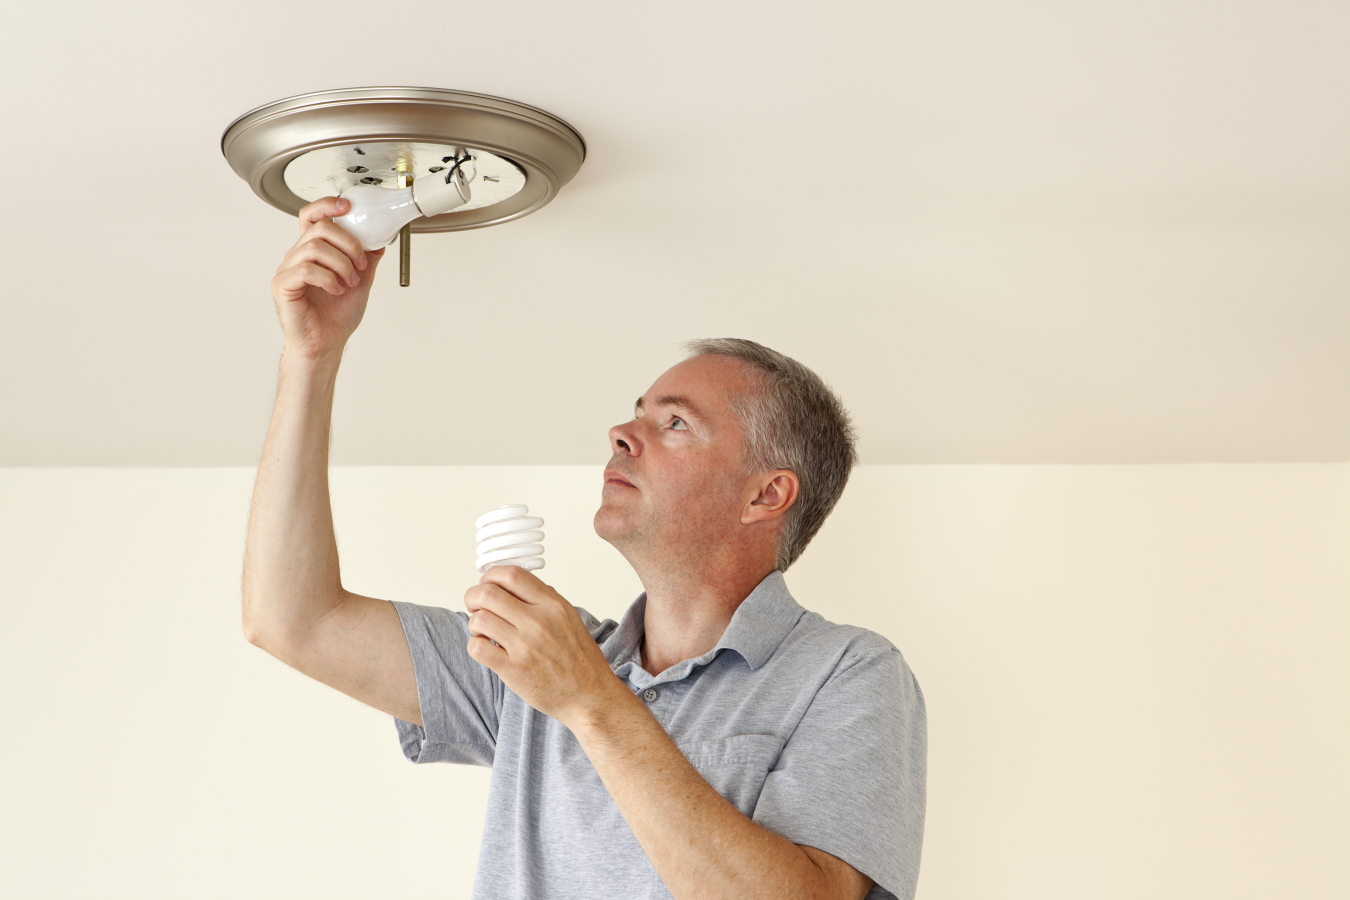
- Remove the Old Bulb: Once you have located the light bulb, twist it counterclockwise to remove it from its socket. If the bulb is stuck, try using a pair of pliers to gently loosen it.
- Install the New Bulb: Take your new light bulb and twist it clockwise into the socket. Make sure it is securely in place.
- Plug the Refrigerator Back In: Once the new bulb is installed, plug your refrigerator back in and test the light to ensure it is working properly.
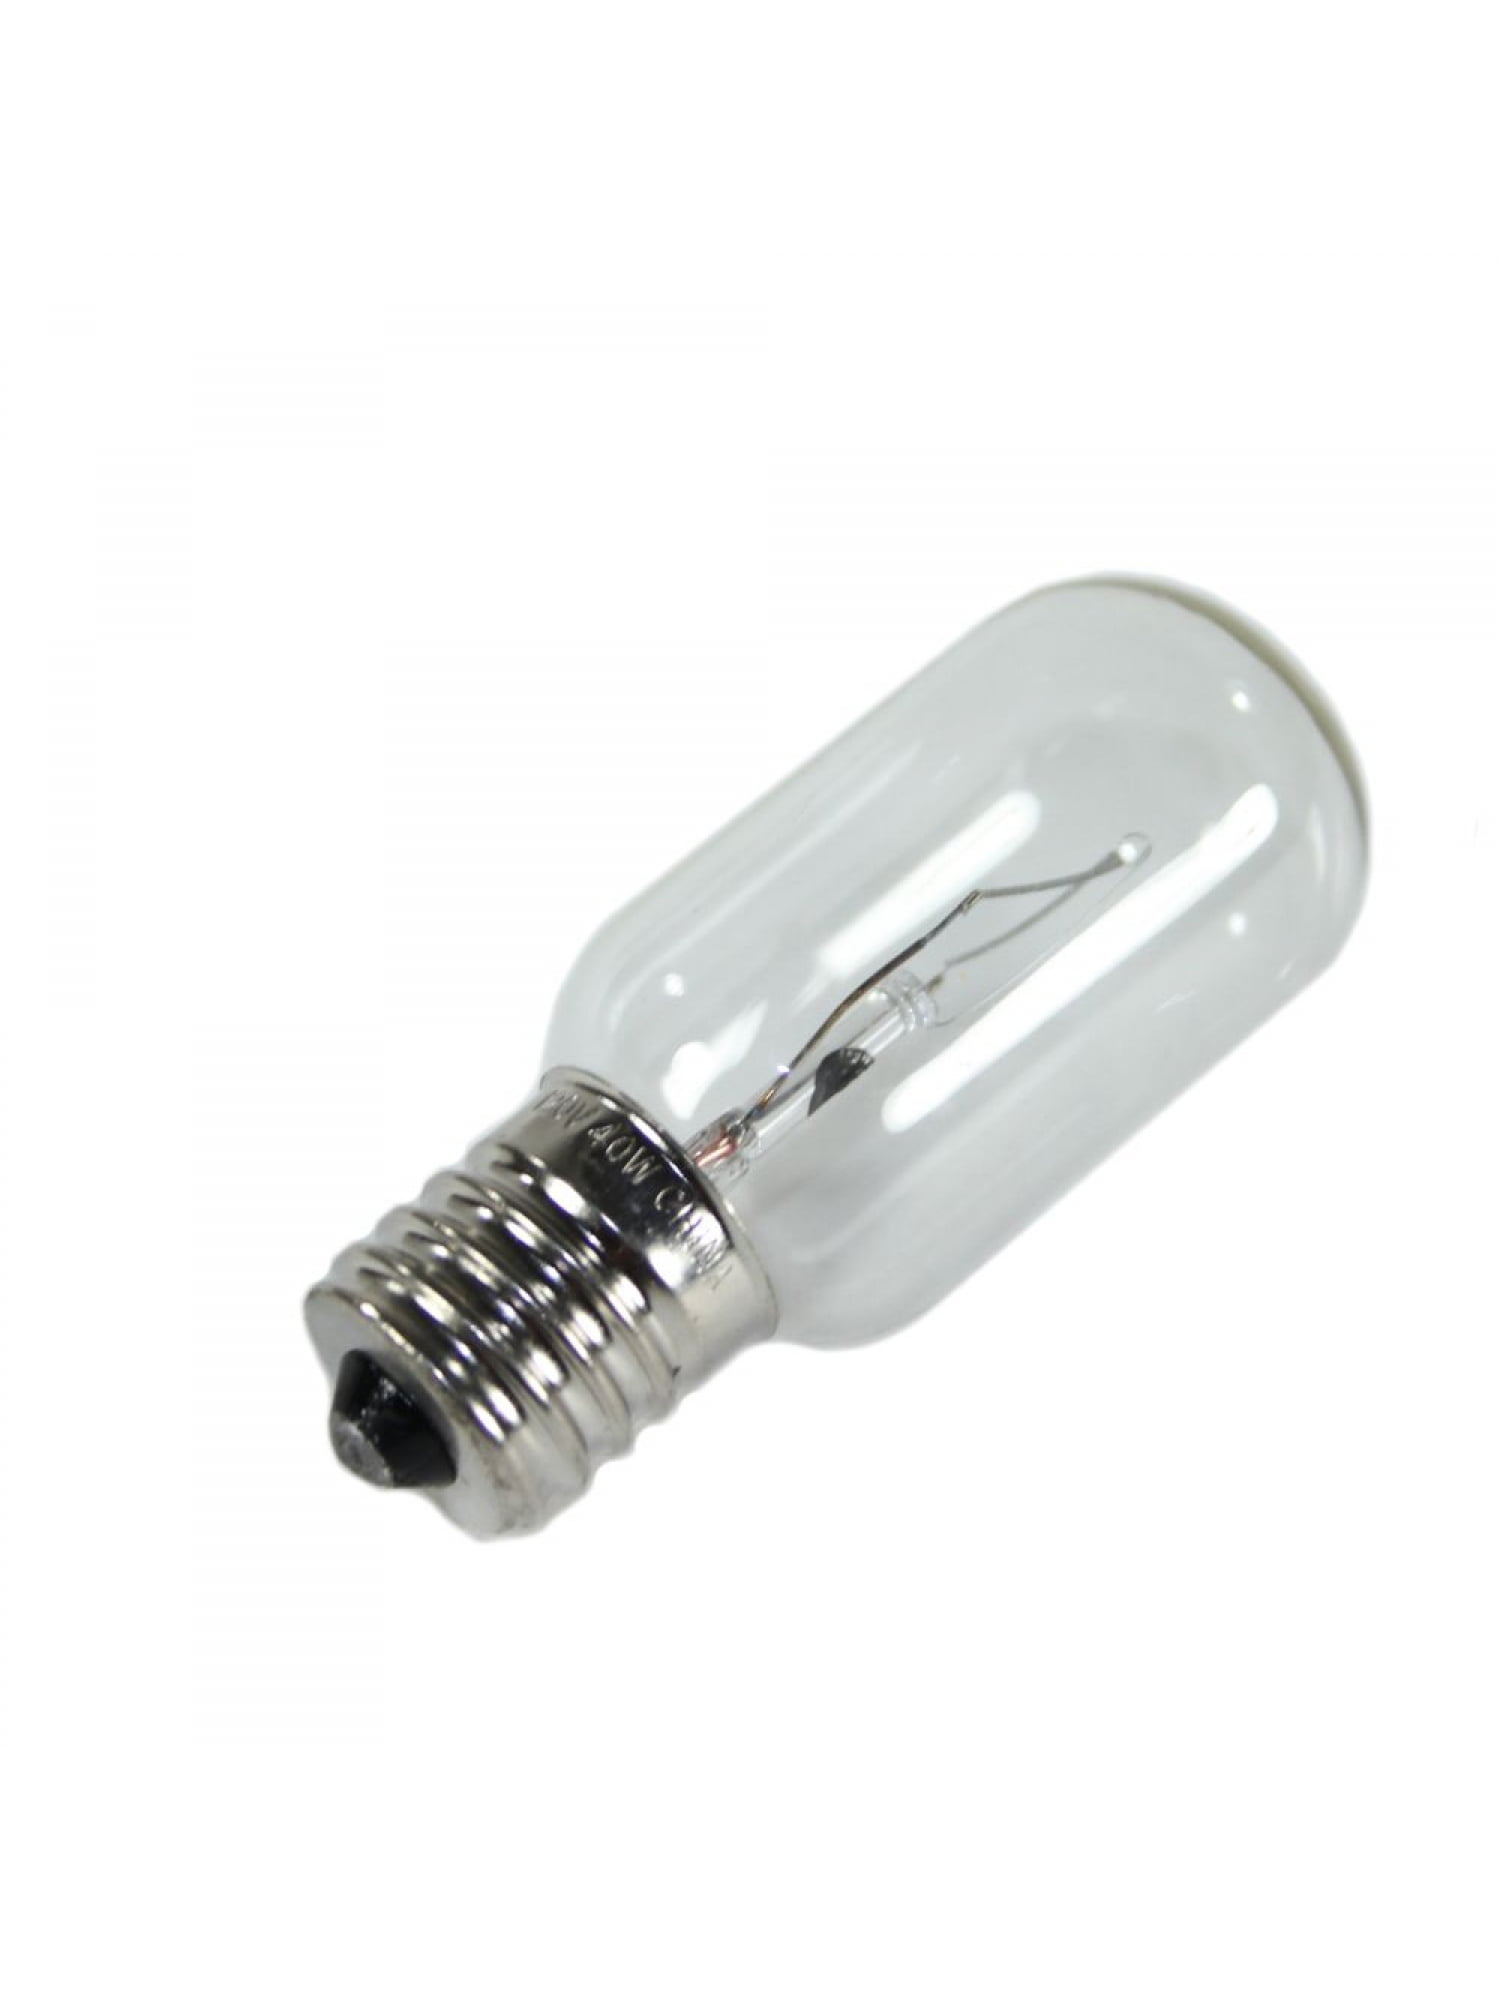
Choosing the Right Replacement Bulb

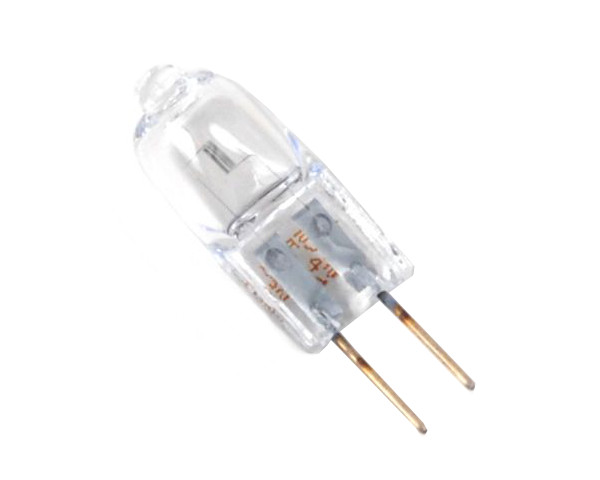
When it comes to replacing your Kitchen Aid refrigerator light bulb, it's important to choose the right one. The most common type of bulb used in refrigerators is the incandescent bulb, but LED and fluorescent bulbs are also available. Make sure to consult your refrigerator's manual to determine the correct bulb type and wattage for your specific model.
In conclusion, proper lighting is essential for a functional and inviting kitchen space. If you have a Kitchen Aid refrigerator and need to replace the light bulb, follow these simple steps to ensure a well-lit and bright kitchen for all your cooking and gathering needs.