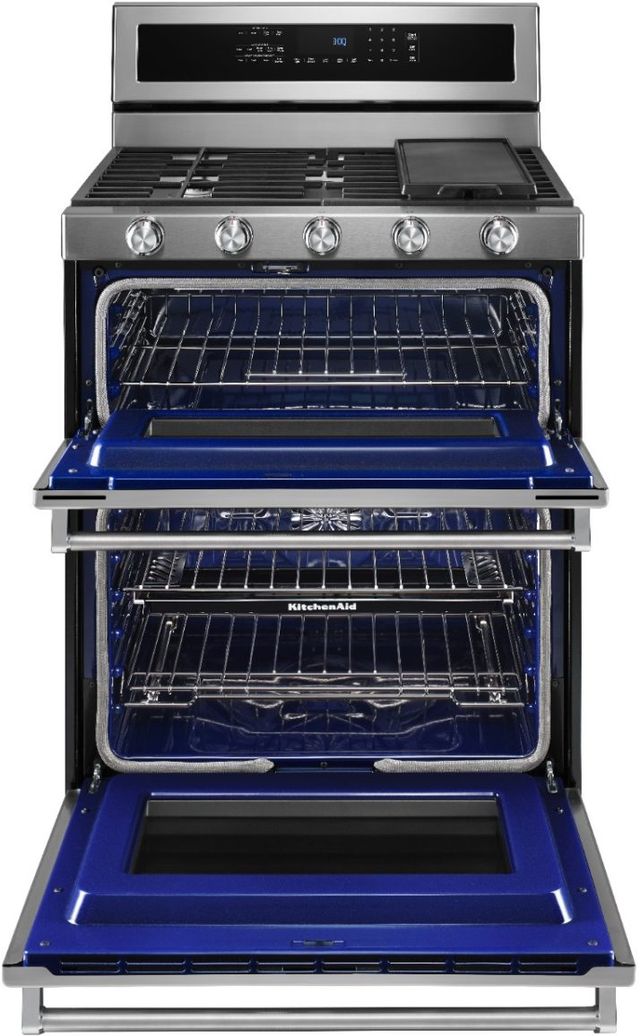
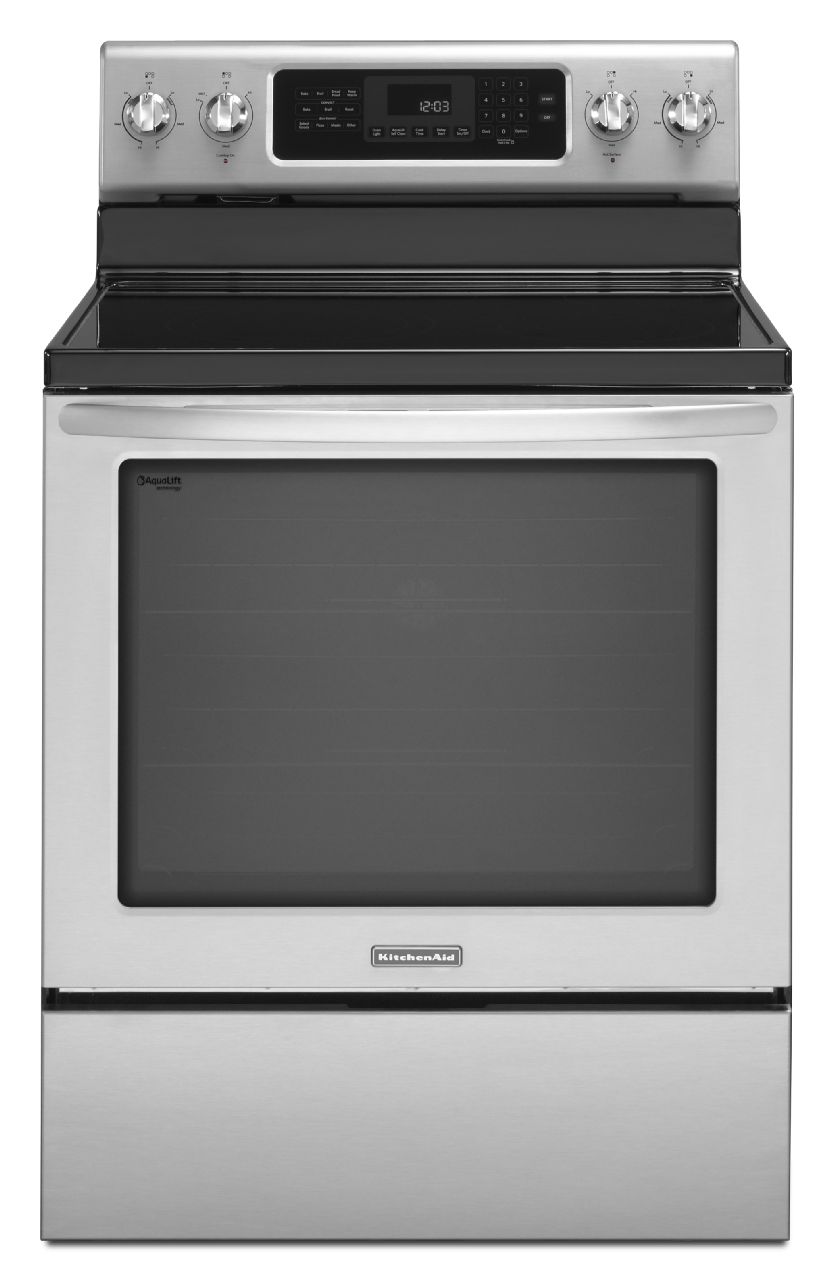
A faulty or burnt out light bulb in your KitchenAid oven can make it difficult to check on your food while it's cooking. Fortunately, replacing the light bulb is a simple process that can be done in just a few minutes. In this guide, we'll walk you through the steps to replace the light bulb in your KitchenAid oven.How to Replace the Light Bulb in a KitchenAid Oven


How to Replace the Light Bulb in a KitchenAid Oven


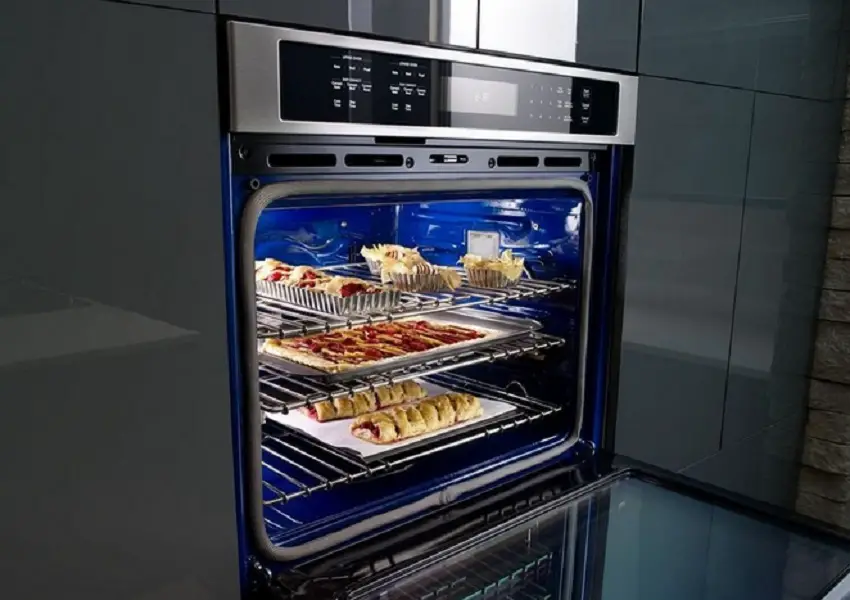
The first step in replacing the light bulb in your KitchenAid oven is to make sure that the oven is turned off and unplugged. This will ensure your safety while working on the oven. Once the oven is unplugged, you can proceed with the following steps.KitchenAid Oven Light Bulb Replacement

KitchenAid Oven Light Bulb Replacement


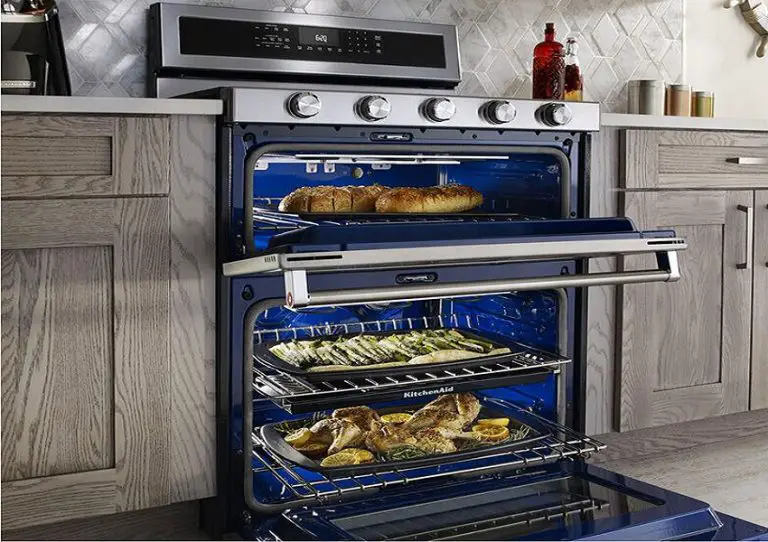
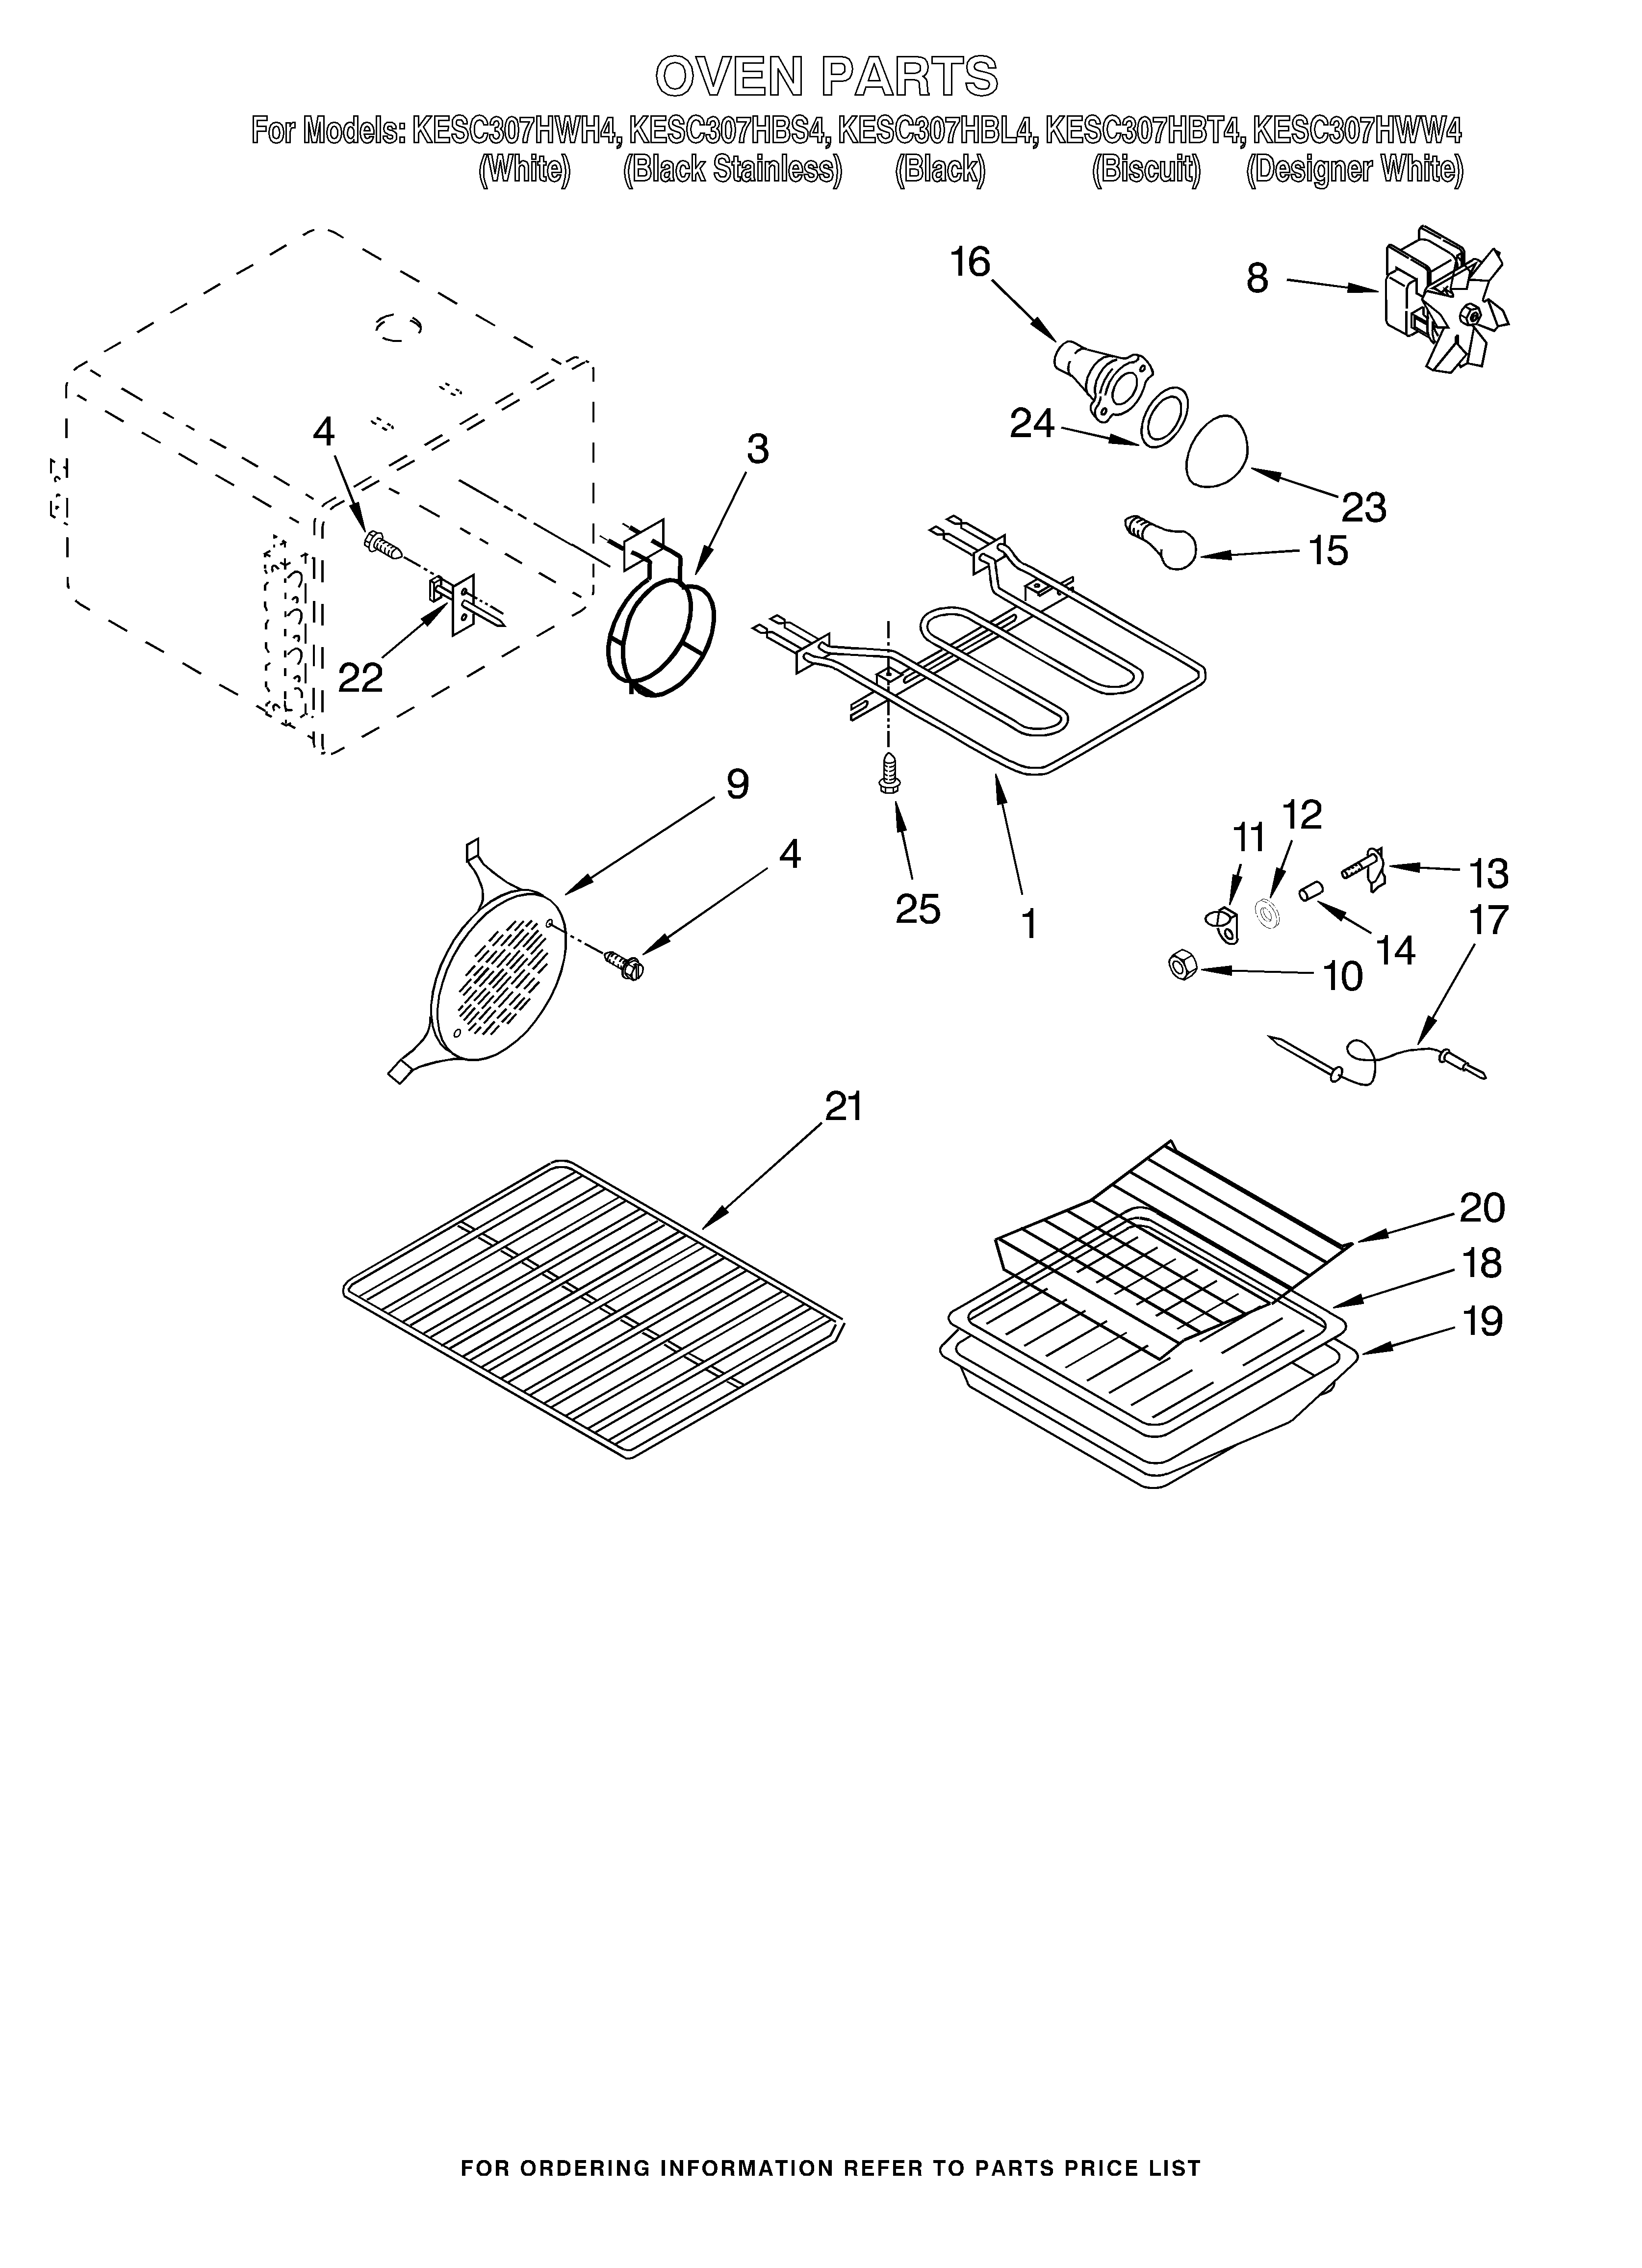
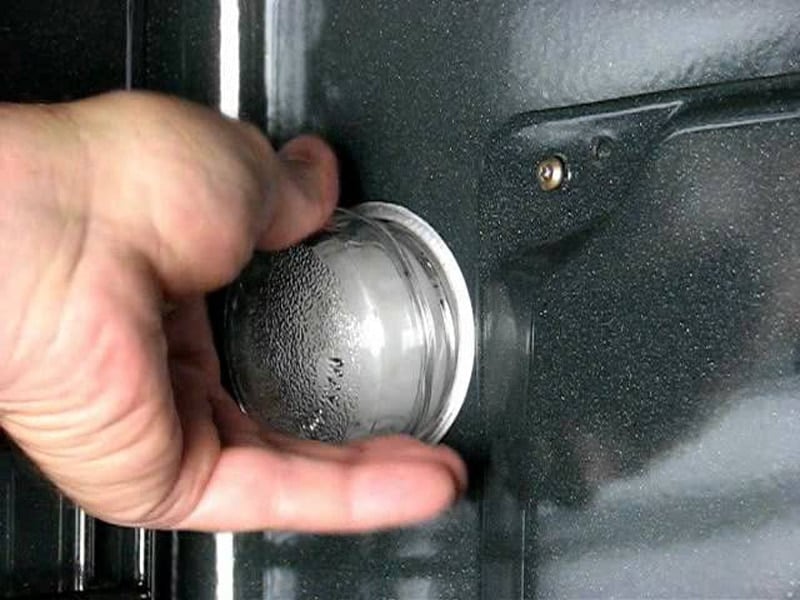
Locate the light bulb cover on the back wall of the oven. It is usually a small, round plastic cover with a screw in the middle. Use a screwdriver to unscrew the cover and remove it from the oven. Set the cover and screw aside in a safe place.KitchenAid Oven Light Replacement Guide

KitchenAid Oven Light Replacement Guide

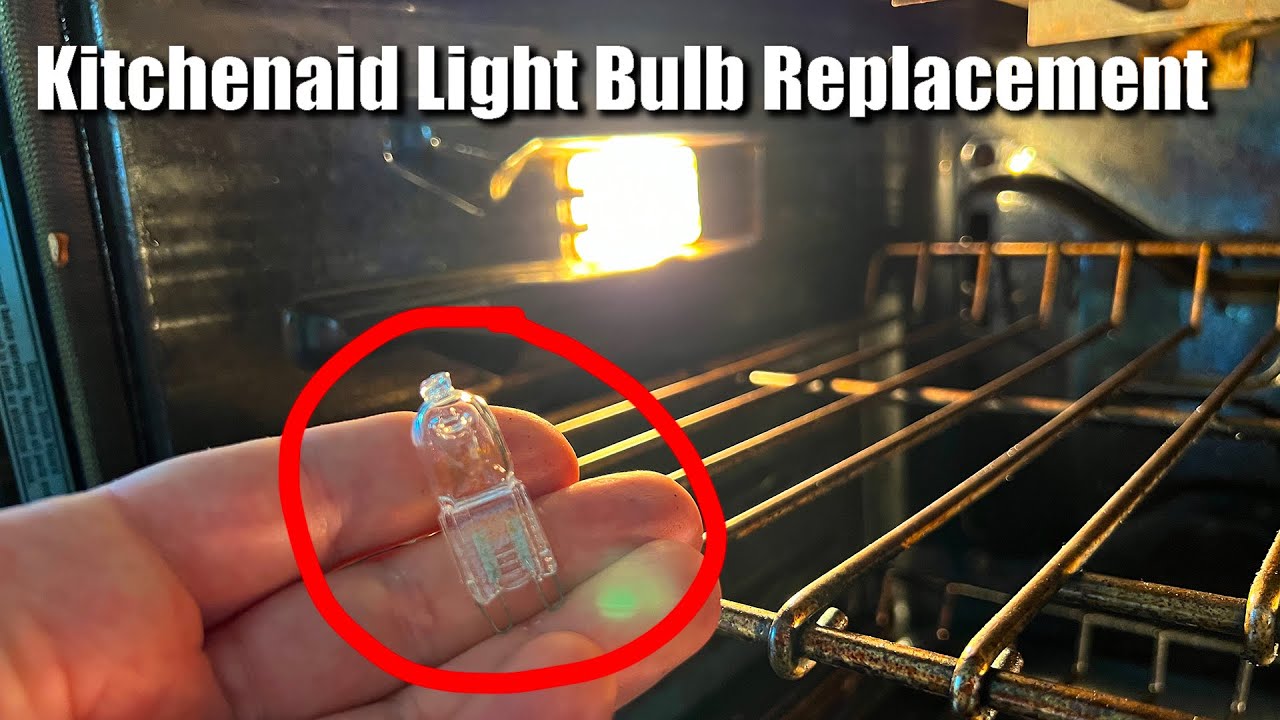
Once the cover is removed, you will be able to see the light bulb. Carefully remove the old light bulb by twisting it counterclockwise. Dispose of the old bulb properly and make sure not to touch the new bulb with your bare hands as the oils from your skin can cause the bulb to burn out quickly. Pro Tip: Wear gloves or use a cloth to handle the new bulb to avoid any fingerprints or oils on the surface.KitchenAid Oven Light Bulb Replacement Instructions

KitchenAid Oven Light Bulb Replacement Instructions
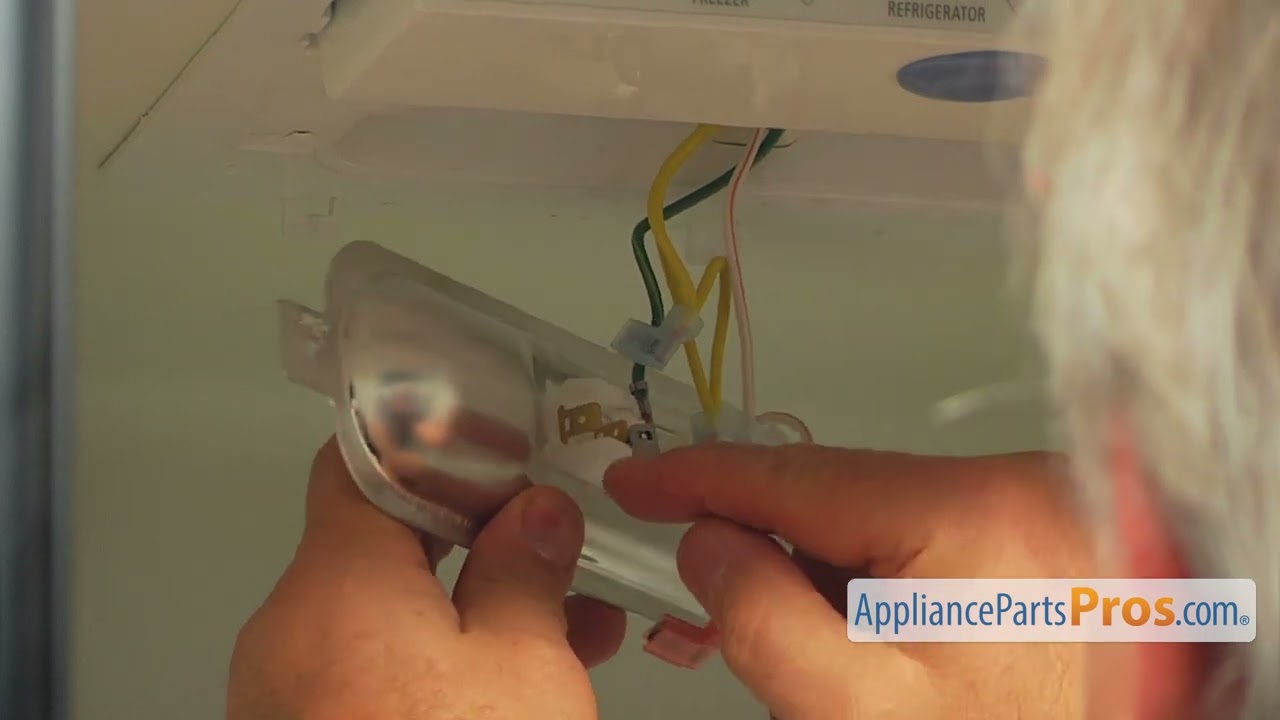


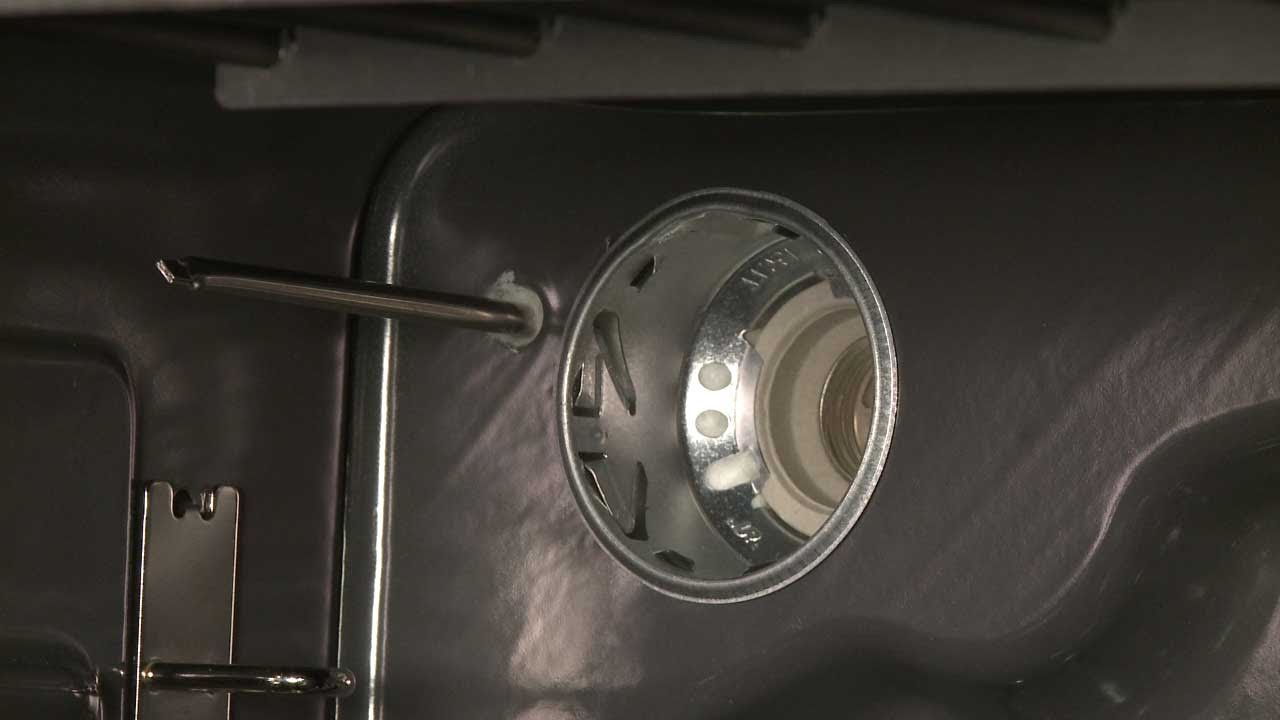
Insert the new light bulb into the socket and twist it clockwise to secure it in place. Make sure it is securely in place before moving on to the next step. Pro Tip: Use a flashlight to help guide the bulb into the socket and make sure it is aligned properly.KitchenAid Oven Light Bulb Replacement Tips
KitchenAid Oven Light Bulb Replacement Tips
Now it's time to put the light bulb cover back on. Align the cover over the light bulb and use a screwdriver to secure the cover back in place with the screw. Make sure it is tightened properly so that the cover doesn't fall off when the oven is in use.KitchenAid Oven Light Bulb Replacement Tutorial

KitchenAid Oven Light Bulb Replacement Tutorial
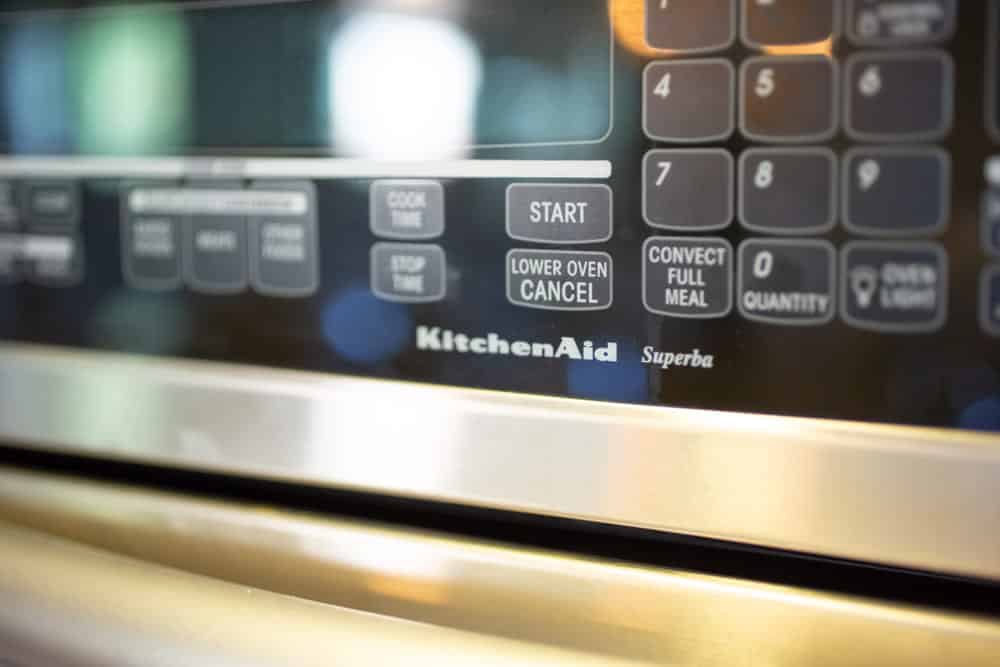
Once the cover is secured, plug the oven back in and turn it on. Test the new light bulb by turning on the oven light. If the light turns on, then you have successfully replaced the light bulb in your KitchenAid oven.KitchenAid Oven Light Bulb Replacement Steps


KitchenAid Oven Light Bulb Replacement Steps
If you prefer visual instructions, you can also find many helpful videos online that demonstrate how to replace the light bulb in a KitchenAid oven. These videos can provide additional tips and tricks or troubleshooting techniques if you encounter any difficulties during the process.KitchenAid Oven Light Bulb Replacement Video

KitchenAid Oven Light Bulb Replacement Video
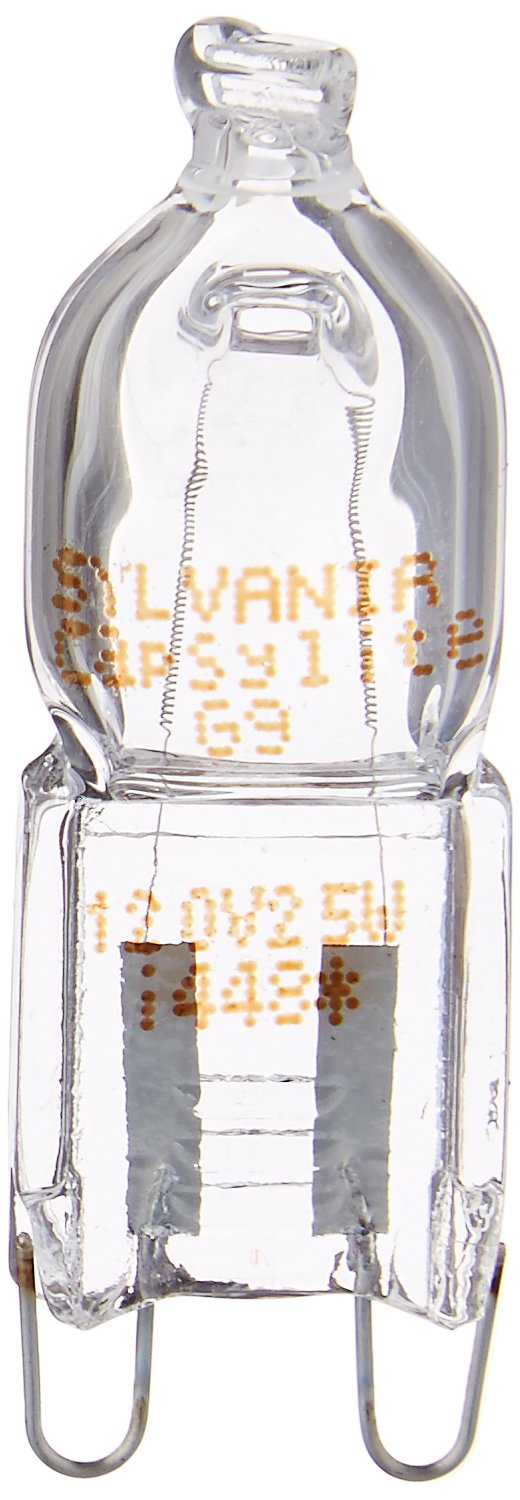
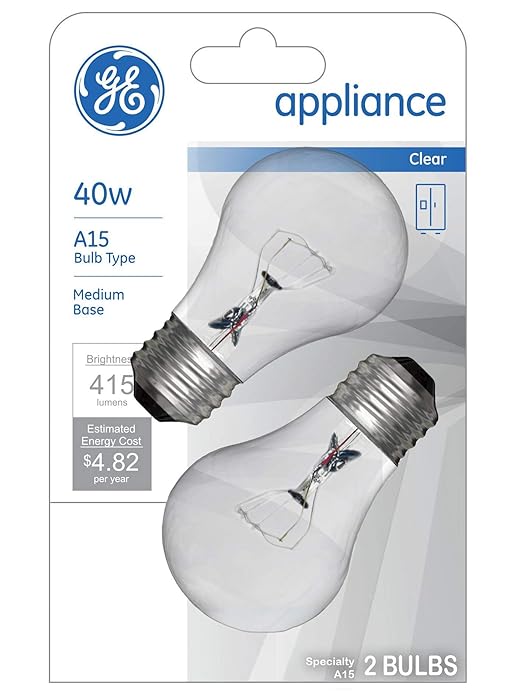
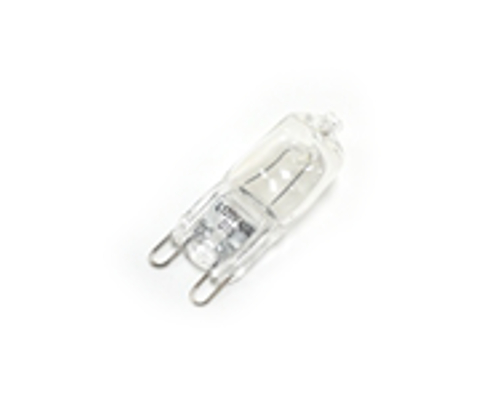
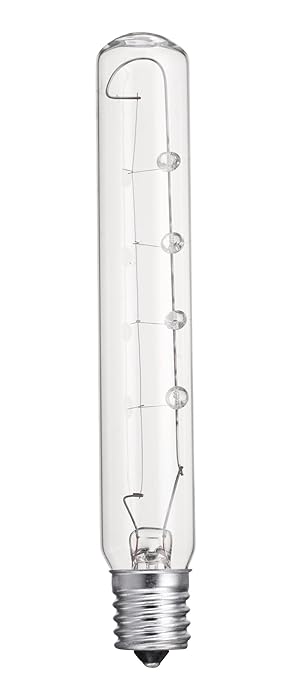
If you need to purchase a new light bulb for your KitchenAid oven, you can easily find them at most home improvement or appliance stores. Make sure to check your oven's manual or the manufacturer's website for the specific type and size of light bulb needed for your model.KitchenAid Oven Light Bulb Replacement Parts


KitchenAid Oven Light Bulb Replacement Parts


If you have followed all the steps above and your oven light still isn't working, there may be a deeper issue with your oven's electrical system. In this case, it's best to contact a professional for assistance. Do not attempt to fix any electrical issues on your own to avoid potential hazards. Replacing the light bulb in your KitchenAid oven is a simple task that can save you from having to cook in the dark. By following these steps and taking proper precautions, you can easily replace the light bulb and ensure that your oven is functioning properly.KitchenAid Oven Light Bulb Replacement Troubleshooting

KitchenAid Oven Light Bulb Replacement Troubleshooting
Replacing Your Kitchen Aid Oven Light: A Simple Guide

Introduction
 When it comes to designing your dream kitchen, every little detail matters. From the color of your cabinets to the type of appliances you choose, everything adds up to create a cohesive and functional space. However, even the smallest of details, like the light in your oven, can make a big impact on your overall kitchen design. If your Kitchen Aid oven light is not functioning properly, it's time to replace it. In this article, we will guide you through the steps of
kitchen aid oven light replacement
and help you create a bright and inviting cooking space.
When it comes to designing your dream kitchen, every little detail matters. From the color of your cabinets to the type of appliances you choose, everything adds up to create a cohesive and functional space. However, even the smallest of details, like the light in your oven, can make a big impact on your overall kitchen design. If your Kitchen Aid oven light is not functioning properly, it's time to replace it. In this article, we will guide you through the steps of
kitchen aid oven light replacement
and help you create a bright and inviting cooking space.
Step 1: Gather Your Tools
 Before you begin the process of replacing your oven light, make sure you have all the necessary tools. This will save you time and frustration in the long run. You will need a flathead screwdriver, a pair of pliers, and a replacement
oven light bulb
.
Before you begin the process of replacing your oven light, make sure you have all the necessary tools. This will save you time and frustration in the long run. You will need a flathead screwdriver, a pair of pliers, and a replacement
oven light bulb
.
Step 2: Turn Off the Power
 Safety should always be your top priority when working with electrical appliances. Before you start replacing your oven light, make sure to turn off the power to your oven. You can do this by either unplugging your oven or turning off the circuit breaker.
Step 3: Remove the Old Light Bulb
Step 4: Replace the Light Bulb
 Take your new
kitchen aid oven light bulb
and screw it into the socket, turning it clockwise until it is secure. Make sure not to over-tighten the bulb.
Take your new
kitchen aid oven light bulb
and screw it into the socket, turning it clockwise until it is secure. Make sure not to over-tighten the bulb.
Step 5: Turn On the Power and Test the Light
 Once the new light bulb is in place, turn the power back on and test the light to make sure it is functioning properly. If the light turns on, you have successfully replaced your oven light.
Step 6: Secure the Oven Light Cover
Conclusion
 Replacing your Kitchen Aid oven light is a simple and quick task that can make a big difference in your kitchen design. With the right tools and a few easy steps, you can have a bright and functional oven light in no time. Don't let a malfunctioning light bulb dim your cooking space, follow this guide and brighten up your kitchen today!