Insulating under your kitchen sink may not seem like a top priority, but it can actually have a significant impact on your energy bills and the overall comfort of your home. In this guide, we will walk you through the steps of insulating under your kitchen sink to help you save money and improve the efficiency of your home.How to Insulate Under a Kitchen Sink
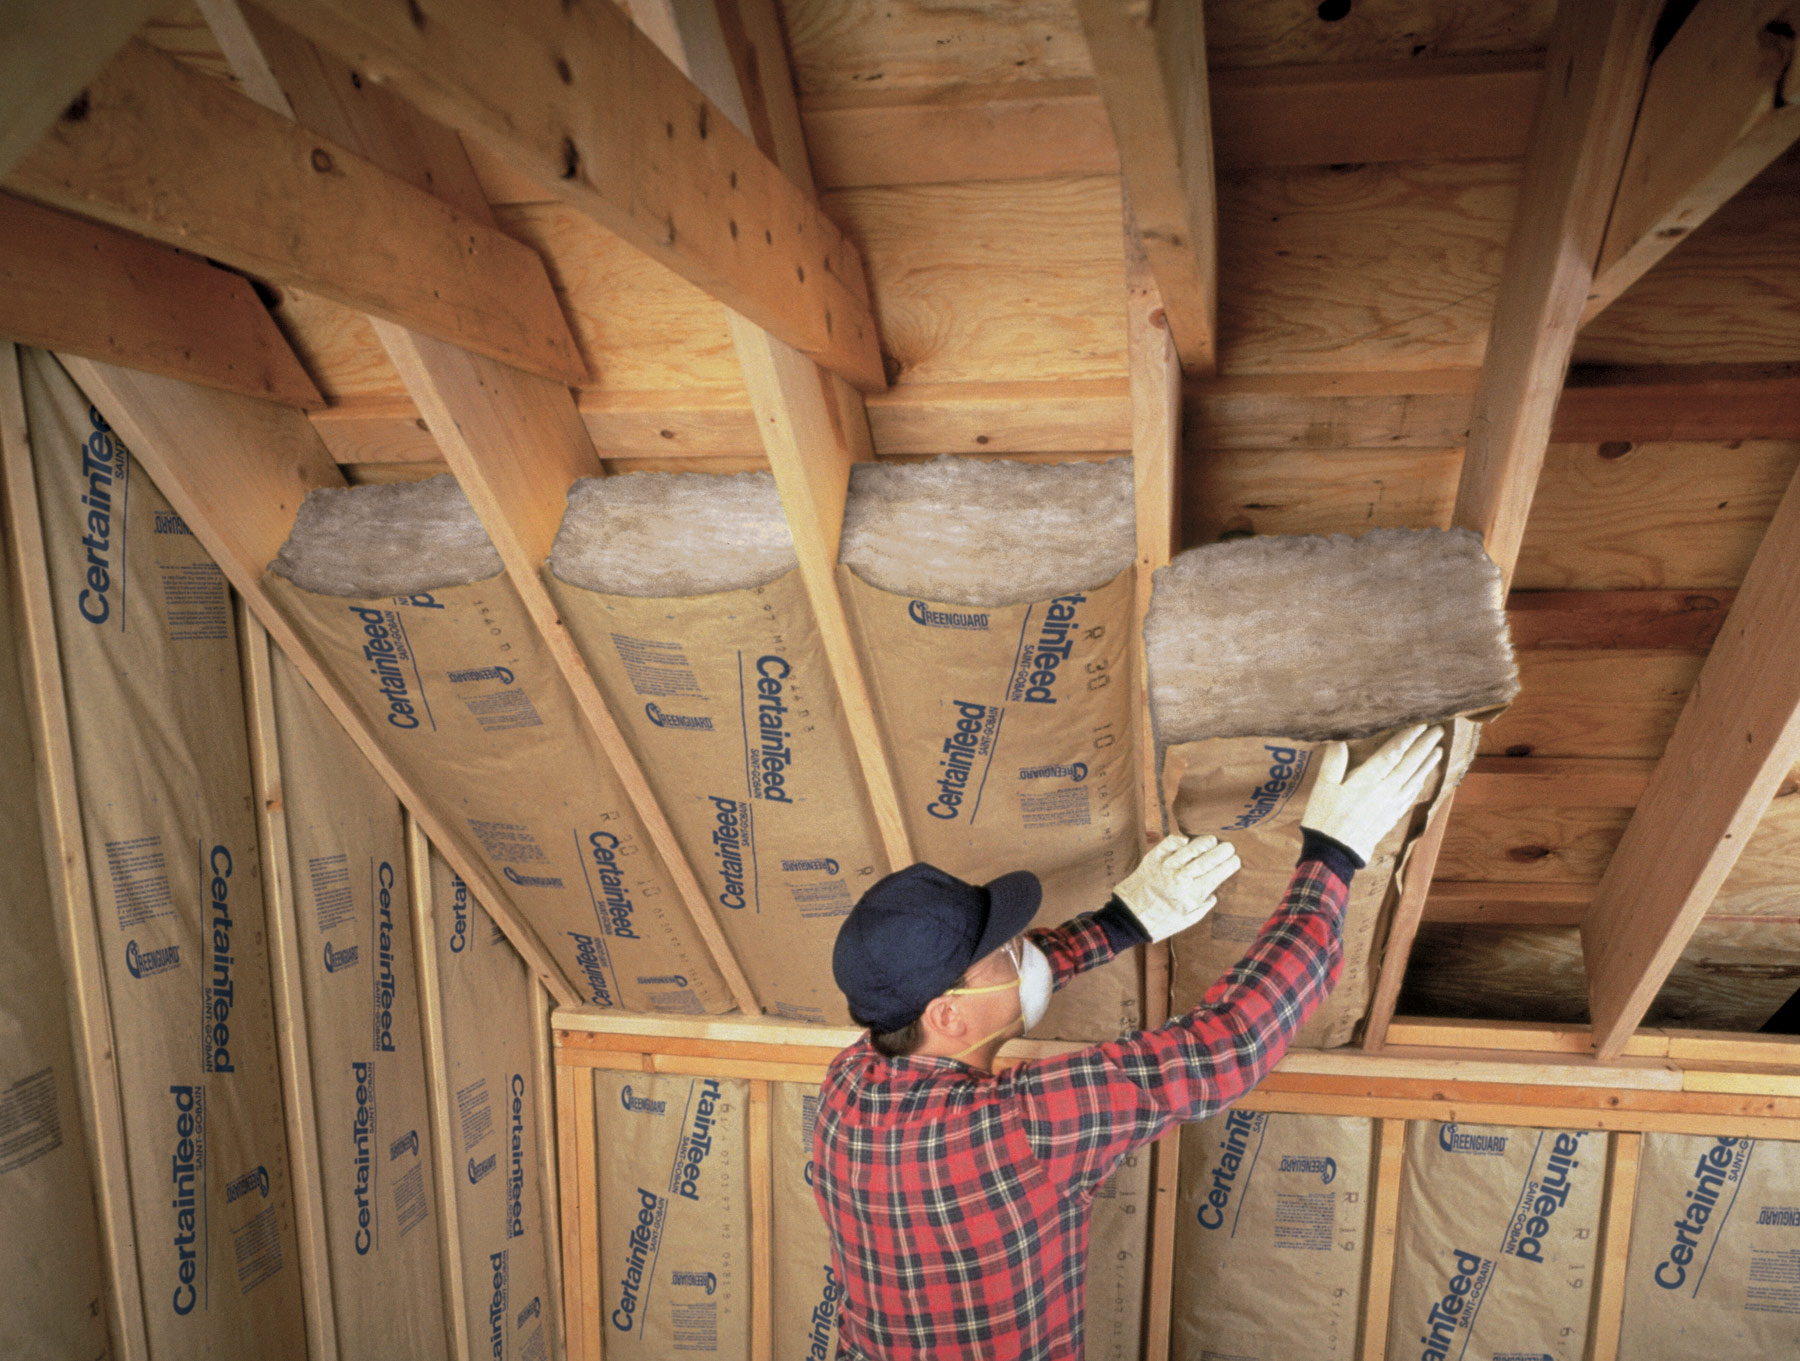
Insulating under your kitchen sink may seem like a daunting task, but it is actually a fairly simple process. Here is a step-by-step guide to help you insulate under your kitchen sink: Step 1: Measure the space under your sink to determine the amount of insulation you will need. Step 2: Clean out any clutter or debris from under your sink. Step 3: Choose the right type of insulation for your space. Fiberglass or foam insulation are both good options. Step 4: Cut the insulation to fit the space under your sink. Step 5: Secure the insulation in place using staples or adhesive. Step 6: Cover the insulation with a vapor barrier to prevent moisture buildup. Step 7: Replace any items under your sink, making sure not to cover the insulation.Insulating Under the Kitchen Sink: A Step-by-Step Guide
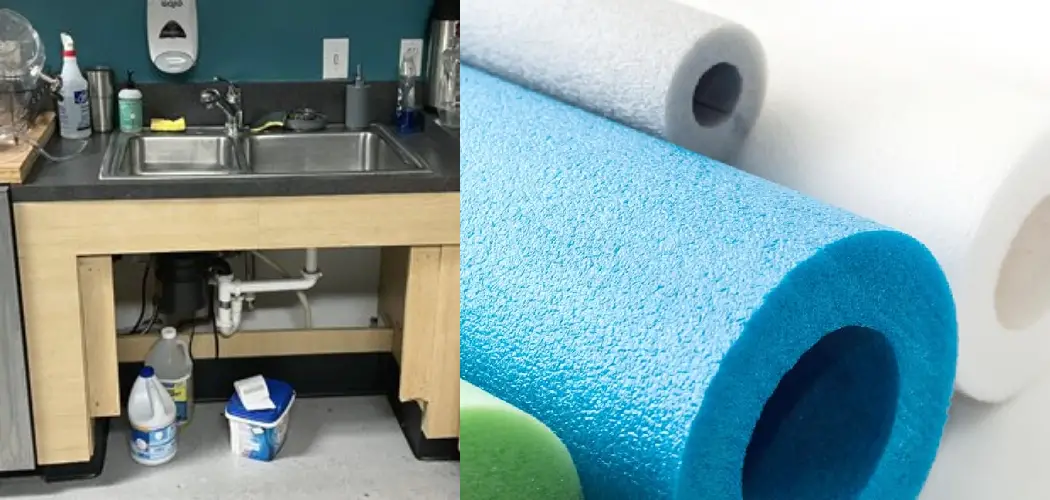
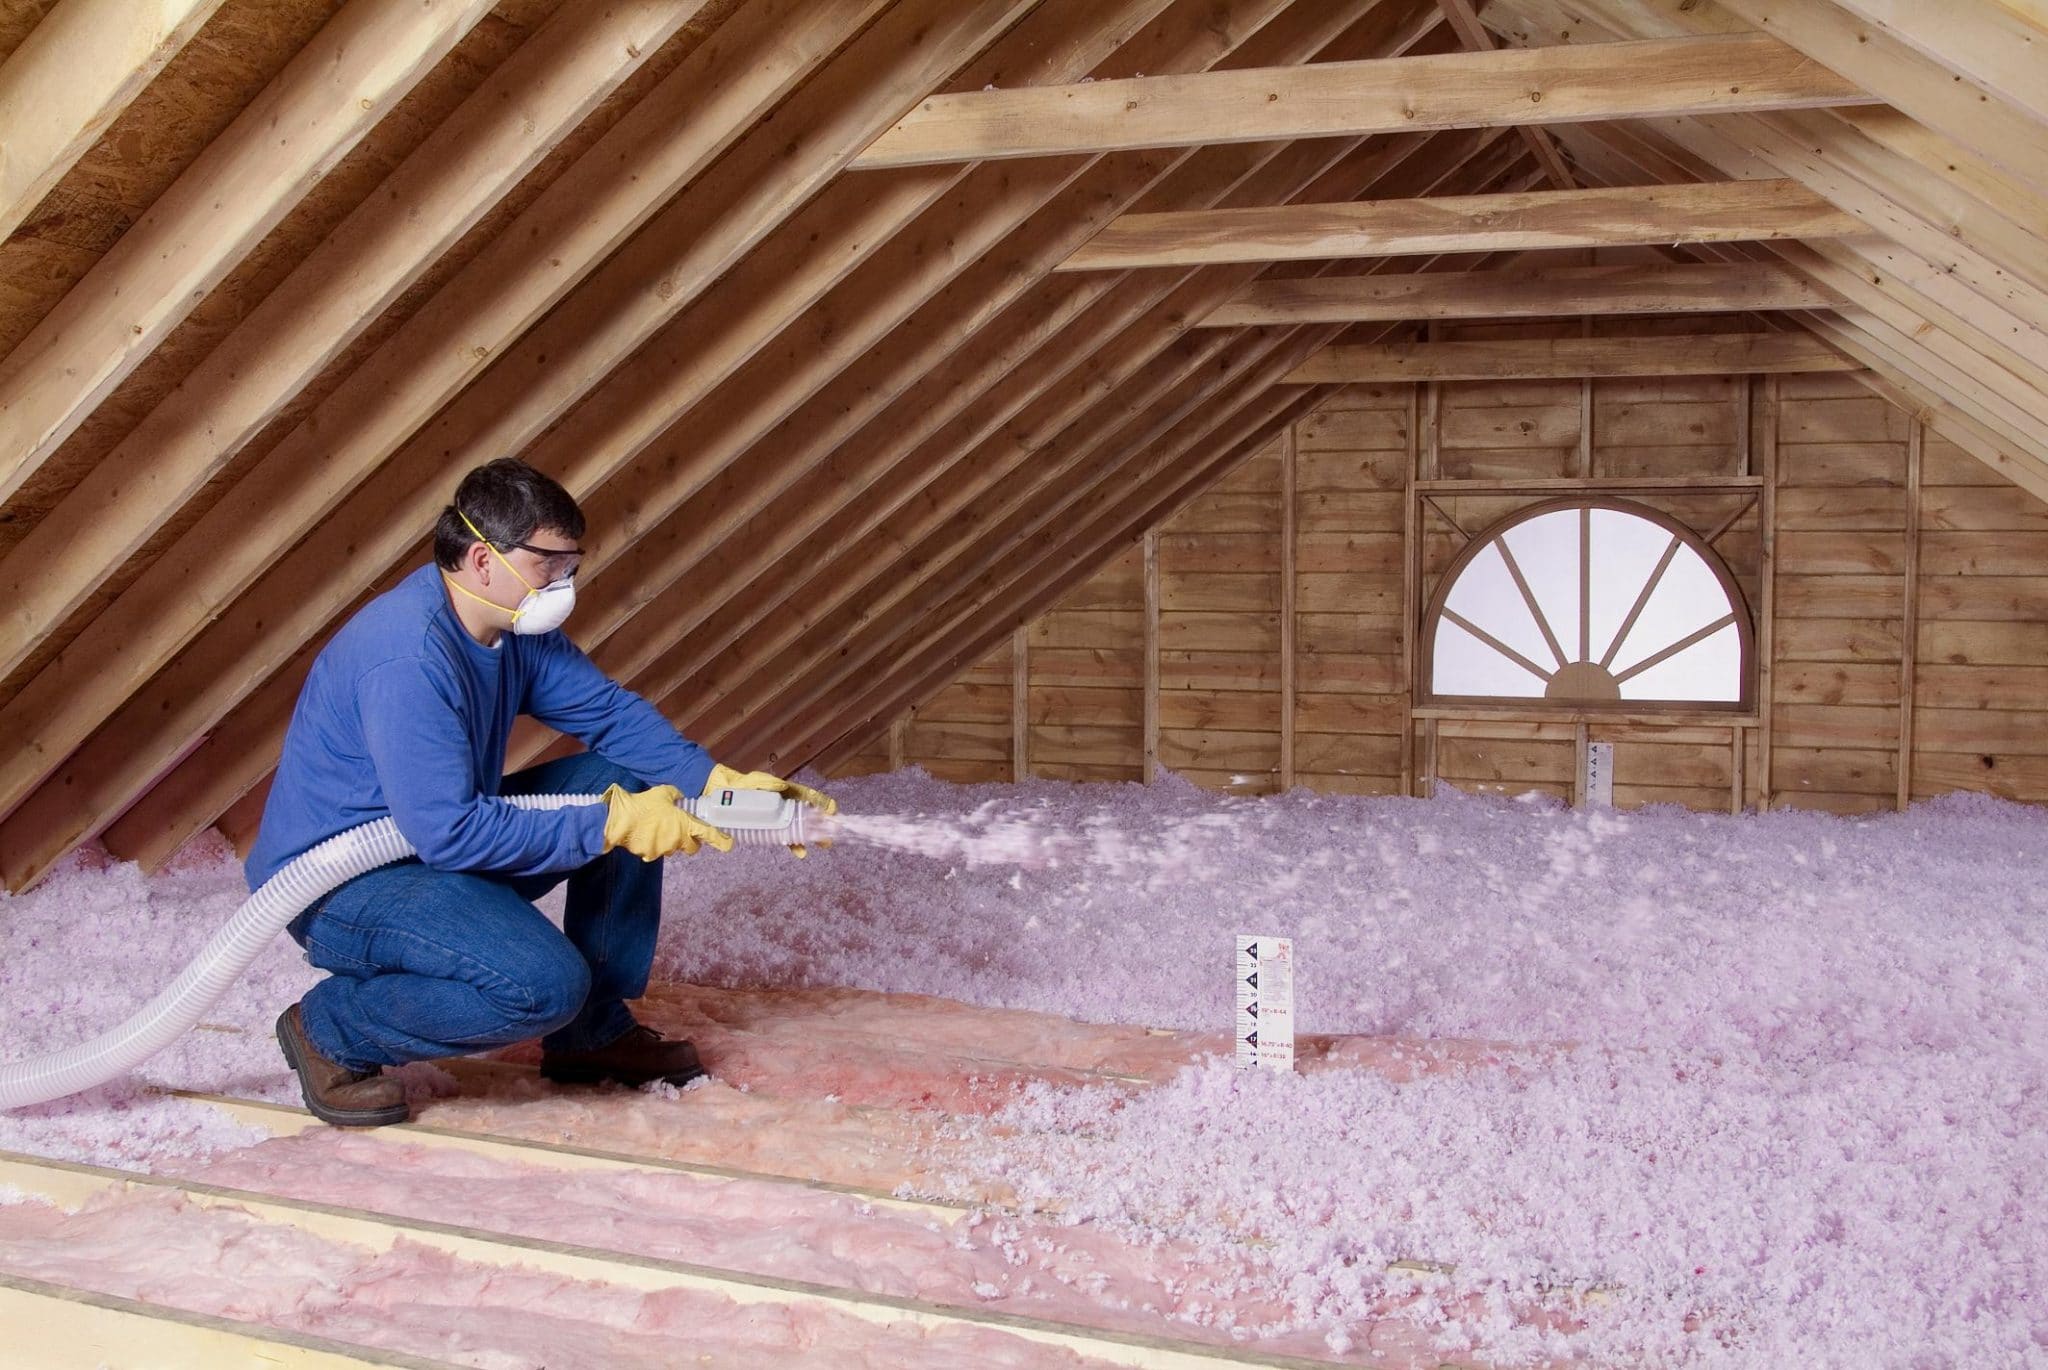
Here are a few tips and tricks to keep in mind when insulating under your kitchen sink: Tip 1: Make sure to wear protective gear, such as gloves and a mask, when handling insulation to avoid irritation. Tip 2: If your sink has a garbage disposal, be sure to insulate around it to prevent heat loss. Tip 3: Consider adding pipe insulation to the hot water pipes under your sink for additional energy savings.Insulating Under the Kitchen Sink: Tips and Tricks
Insulating under your kitchen sink has several benefits, including: Cost savings: Insulating under your sink can help to reduce your energy bills by keeping hot water pipes and your kitchen sink from losing heat. Comfort: Insulation can help to keep your kitchen and the rest of your home at a more consistent temperature, making it more comfortable for you and your family. Noise reduction: Insulation can also help to reduce noise from the garbage disposal or other plumbing pipes under your sink.Why You Should Insulate Under Your Kitchen Sink
While insulating under your kitchen sink is a fairly simple process, there are a few common mistakes that many people make. These include: Mistake 1: Using the wrong type of insulation. Make sure to choose insulation that is appropriate for the space and will not be affected by moisture. Mistake 2: Not covering the insulation with a vapor barrier. This can lead to moisture buildup and mold growth. Mistake 3: Covering the insulation with items stored under the sink. This can compress the insulation and reduce its effectiveness.Insulating Under the Kitchen Sink: Common Mistakes to Avoid
To properly insulate under your kitchen sink, you will need the following materials: Insulation: Fiberglass or foam insulation are both good options for insulating under your sink. Staples or adhesive: These will be used to secure the insulation in place. Vapor barrier: This will help to prevent moisture buildup and mold growth. Tape measure and scissors: These will be used to measure and cut the insulation to fit your space.Insulating Under the Kitchen Sink: Materials You Will Need
Here are a few best practices to keep in mind when insulating under your kitchen sink: Best Practice 1: Make sure to wear protective gear, such as gloves and a mask, when handling insulation to avoid irritation. Best Practice 2: Choose the right type of insulation for your space and make sure to cover it with a vapor barrier. Best Practice 3: Take your time and make sure to properly secure the insulation in place to ensure maximum effectiveness.Insulating Under the Kitchen Sink: Best Practices
Insulating under your kitchen sink can have several benefits, including: Cost savings: By preventing heat loss, insulation can help to reduce your energy bills, ultimately saving you money. Increased comfort: With better temperature regulation, your kitchen and home will be more comfortable and enjoyable. Improved energy efficiency: Insulation can help to make your home more energy efficient, reducing your environmental impact.Insulating Under the Kitchen Sink: Benefits and Cost Savings
When it comes to choosing the right insulation for under your kitchen sink, there are a few factors to consider: Type of insulation: As mentioned before, fiberglass and foam insulation are both good options for under your sink. Water resistance: Since the area under your sink is prone to moisture, make sure to choose an insulation that is water resistant. Thickness and R-value: The thickness and R-value of the insulation will determine its effectiveness. Make sure to choose insulation with the appropriate R-value for your climate.Insulating Under the Kitchen Sink: How to Choose the Right Insulation
Here are some common questions people have about insulating under their kitchen sink: Q: Can I insulate around my garbage disposal? A: Yes, it is recommended to insulate around your garbage disposal to prevent heat loss. Q: Will insulating under my sink reduce noise? A: Yes, insulation can help to reduce noise from your garbage disposal and plumbing pipes. Q: How much money can I save by insulating under my kitchen sink? A: The amount you can save will vary depending on your energy usage, but it can lead to significant cost savings over time. Overall, insulating under your kitchen sink is a simple and effective way to improve the energy efficiency and comfort of your home. By following these tips and steps, you can easily complete this project and start reaping the benefits. Don't forget to wear protective gear and choose the right insulation for your space for the best results. Happy insulating!Insulating Under the Kitchen Sink: Frequently Asked Questions
Why Insulating Under Your Kitchen Sink is Essential for House Design

The Importance of Proper Insulation in House Design
 Insulation is an essential component of any house design. It provides a barrier against heat loss and gain, regulates indoor temperatures, and reduces energy costs. While most people think of insulation in terms of walls and attics, one area that often gets overlooked is under the kitchen sink. However, insulating this space can have a significant impact on the overall energy efficiency and comfort of your home.
The Benefits of Insulating Under Your Kitchen Sink
/water-pipe-under-kitchen-sink-980755656-3ec7719515ab4e269908381b760f7366.jpg) Insulating under your kitchen sink has several benefits:
Insulating under your kitchen sink has several benefits:
- Prevents Heat Loss: The area under your kitchen sink is often exposed to outdoor temperatures, making it prone to heat loss. Insulation can help prevent this heat loss and keep your kitchen and home warmer in the winter.
- Reduces Condensation: Insulation also helps prevent condensation from forming under your kitchen sink. This is especially important if you have pipes running through this area, as condensation can lead to moisture buildup and potential water damage.
- Improves Energy Efficiency: By preventing heat loss and reducing condensation, insulating under your kitchen sink can also improve the overall energy efficiency of your home. This can lead to lower energy bills and a more environmentally friendly household.
- Increases Comfort: Insulation helps regulate indoor temperatures, making your home more comfortable all year round. This is especially important in the kitchen, where you spend a significant amount of time cooking and preparing meals.
How to Insulate Under Your Kitchen Sink
 Insulating under your kitchen sink is a relatively simple process:
- Clean and Prepare: Before insulating, make sure to clean and prepare the area by removing any debris, pests, or mold. This will ensure a clean and effective insulation installation.
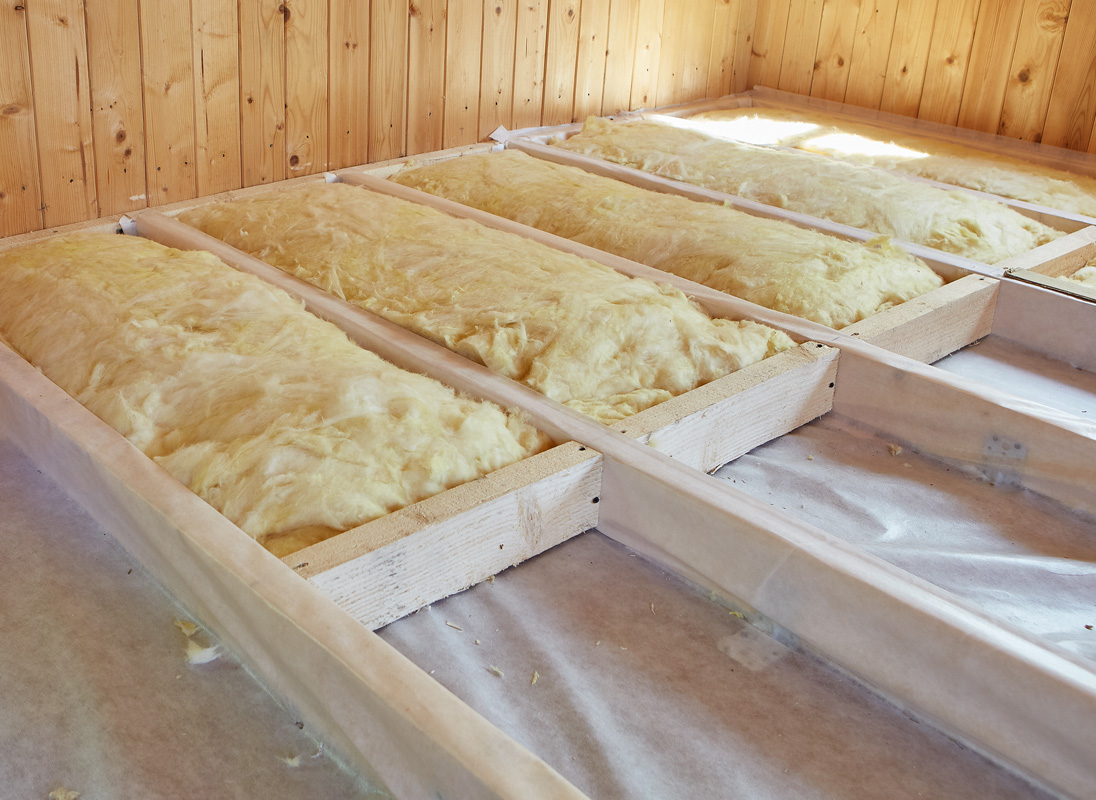
- Choose the Right Insulation: There are various types of insulation available, such as fiberglass, spray foam, and rigid foam. Consider the space and your budget when choosing the right insulation for your kitchen sink area.
- Measure and Cut: Measure the area under your kitchen sink and cut the insulation to fit. Make sure to leave enough space for pipes and other fixtures.
- Install and Seal: Place the insulation under your kitchen sink, making sure to cover all exposed areas. Then, seal any gaps or seams with caulk or foam to prevent air leakage.
Invest in Proper Insulation for Your Home
 In conclusion, insulating under your kitchen sink is an essential aspect of house design. It not only improves energy efficiency and comfort but also helps prevent potential issues such as heat loss and condensation. So, when planning your next house design project, don't forget to include proper insulation in all areas, including under your kitchen sink. Your wallet and the environment will thank you.
