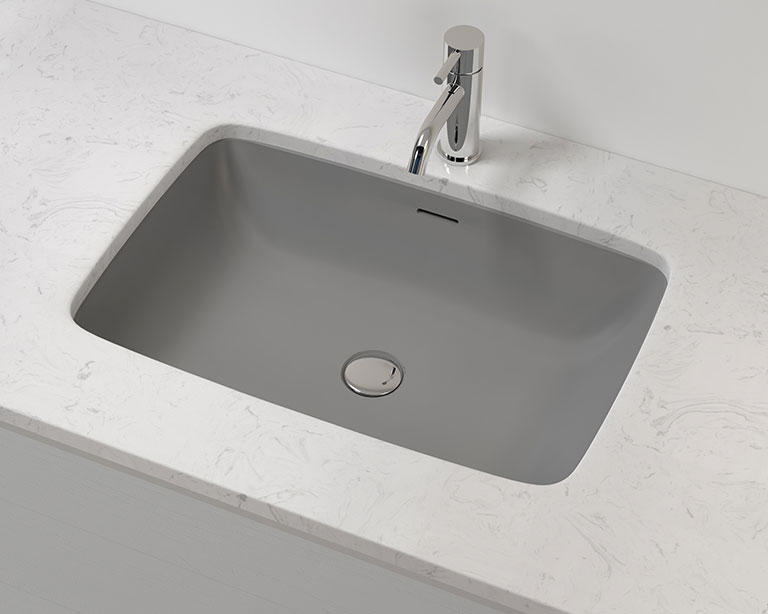
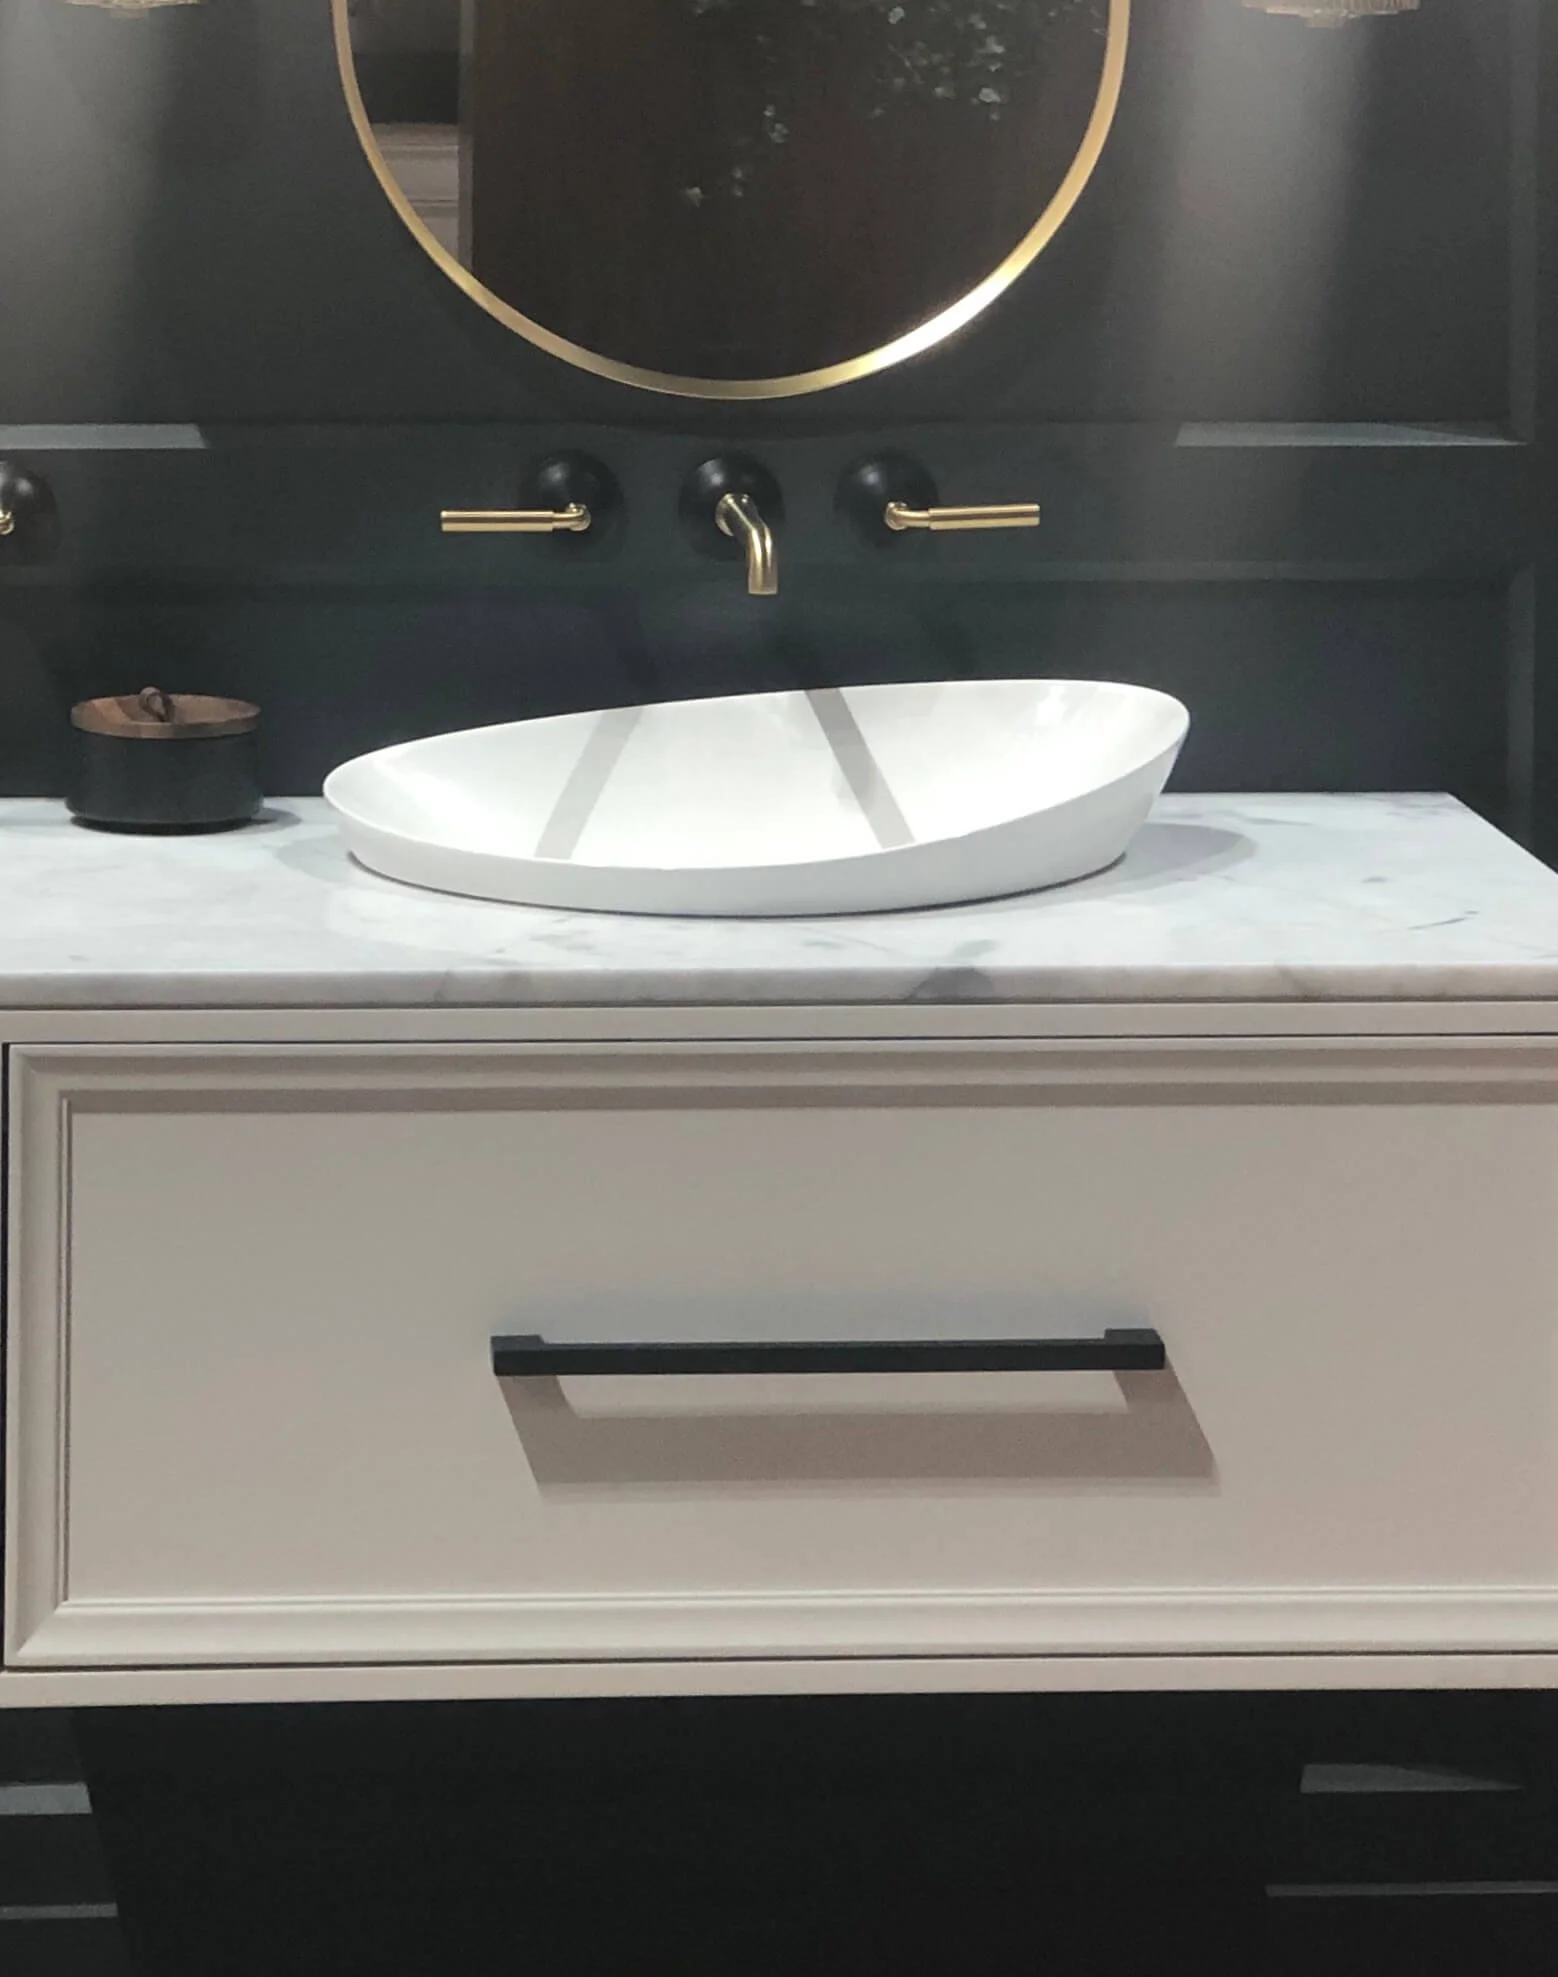
Installing an undermount sink in your bathroom can be a great way to add a touch of elegance and functionality to your space. This type of sink is installed underneath the countertop, giving a seamless and clean look to your bathroom. If you're considering installing an undermount sink in your bathroom, here's everything you need to know.Undermount Sink Installation in Bathroom


Undermount Sink Installation in Bathroom


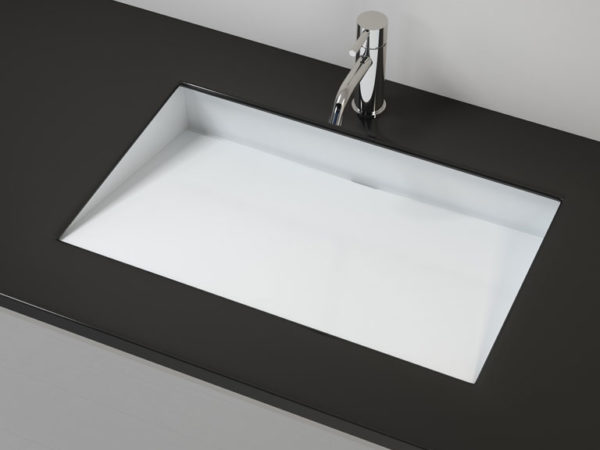
Installing an undermount sink in your bathroom may seem like a daunting task, but with the right tools and knowledge, it can be a simple and rewarding DIY project. The following is a step-by-step guide to help you successfully install an undermount sink in your bathroom:How to Install an Undermount Sink in a Bathroom


How to Install an Undermount Sink in a Bathroom


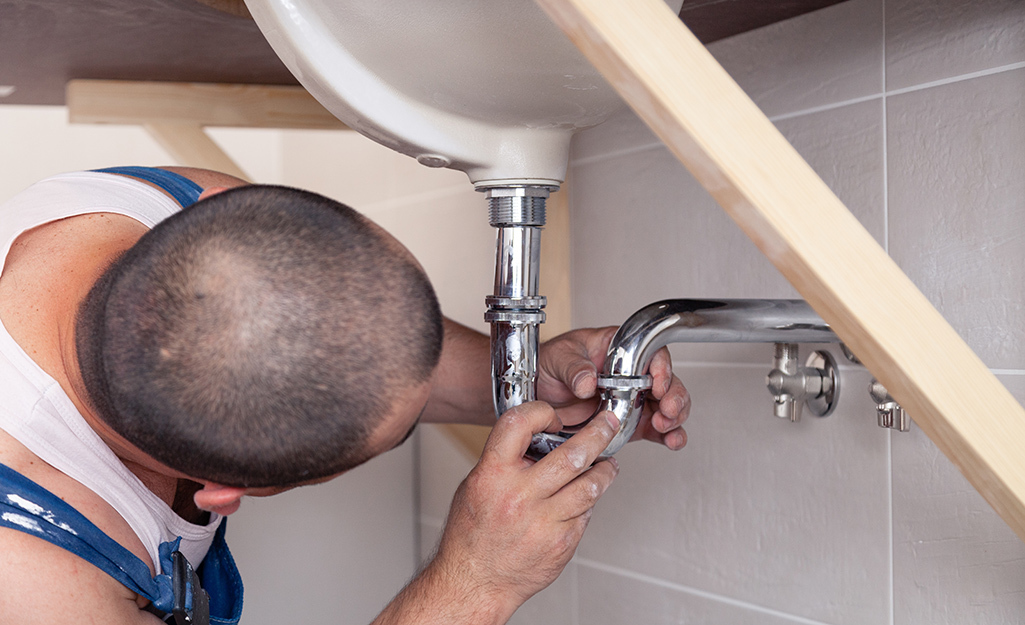
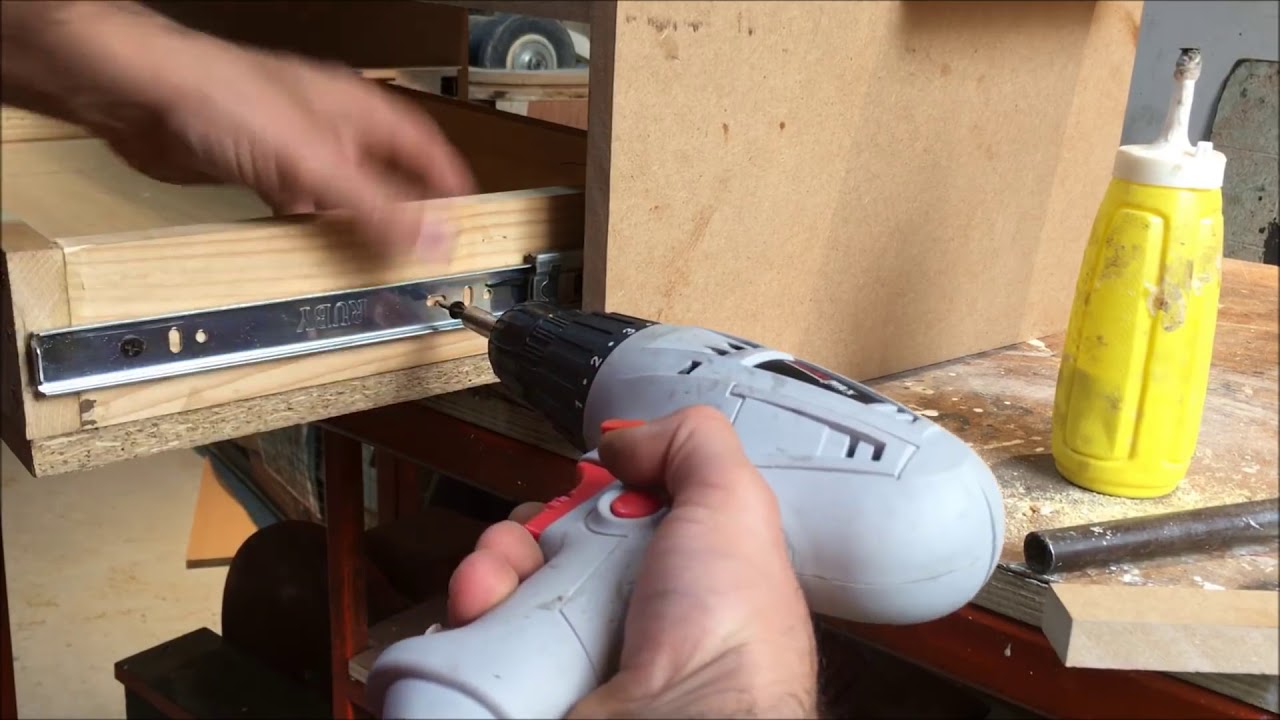
Step 1: Measure and Prepare Before you begin, you'll need to measure the size of your sink and make sure it will fit properly in the designated area. You'll also need to prepare the countertop by cutting a hole for the sink and smoothing out any rough edges. Step 2: Gather Tools and Materials To successfully install an undermount sink, you'll need some essential tools and materials including a drill, a jigsaw, silicone adhesive, and plumber's putty. Make sure you have everything you need before starting the installation process. Step 3: Install the Sink Clips Undermount sinks require special clips to hold them in place. These clips are typically included with the sink or can be purchased separately. Use the drill to attach the clips to the underside of the countertop where the sink will be placed. Step 4: Apply Silicone Adhesive Once the clips are in place, you'll need to apply silicone adhesive to the top of the clips and the lip of the sink. This will ensure a strong and secure bond between the sink and the countertop. Step 5: Install the Sink Place the sink on top of the clips and press down firmly. Make sure the sink is level and centered before allowing the silicone to dry completely. Step 6: Connect Plumbing Once the sink is securely in place, you'll need to connect the plumbing. Use plumber's putty to create a watertight seal around the drain and attach the pipes and fittings as needed. Step 7: Finish and Clean Up After the sink is installed and the plumbing is connected, you can finish up by cleaning up any excess adhesive or putty. Let the sink sit for a few hours before using it to allow the adhesive to fully dry.Step-by-Step Guide for Installing an Undermount Sink in a Bathroom


Step-by-Step Guide for Installing an Undermount Sink in a Bathroom


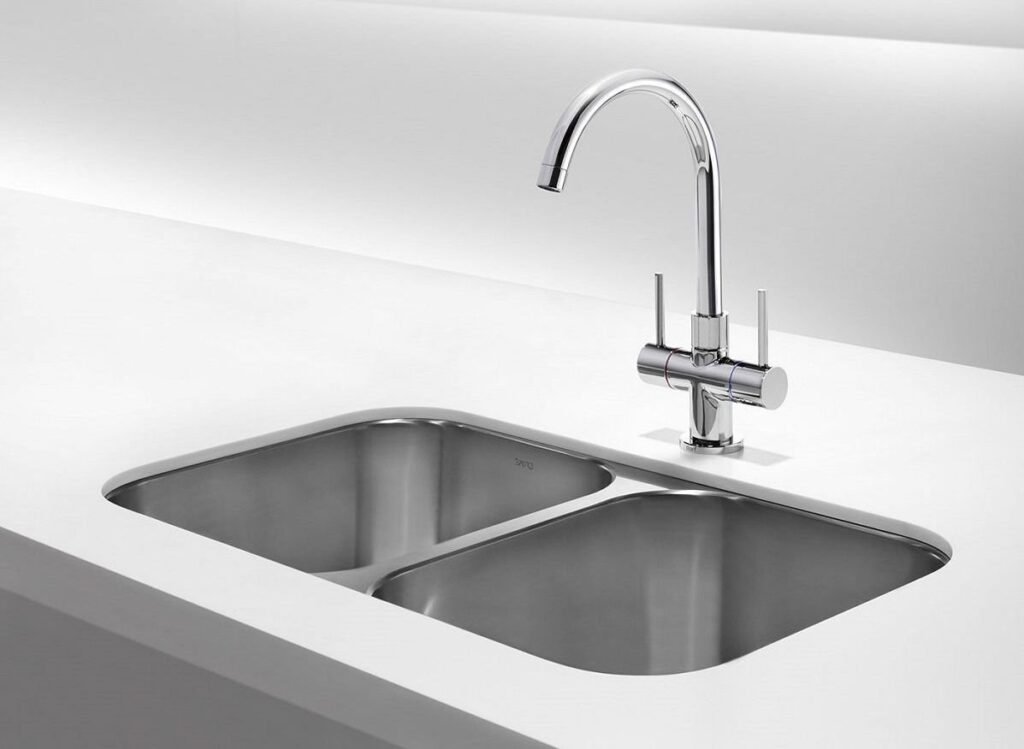
Installing an undermount sink in your bathroom can be a fun and rewarding DIY project. Not only will it save you money, but it also gives you the satisfaction of completing a project yourself. Just make sure you have the necessary tools and take your time to ensure a successful installation.DIY Undermount Sink Installation in Bathroom


DIY Undermount Sink Installation in Bathroom


Tools: Drill, jigsaw, level, and plumber's tools Materials: Undermount sink, sink clips, silicone adhesive, plumber's putty, and any additional hardware or fittings needed for plumbing connections.Tools and Materials Needed for Installing an Undermount Sink in a Bathroom


Tools and Materials Needed for Installing an Undermount Sink in a Bathroom


Tip 1: Make sure the sink is level and centered before allowing the adhesive to dry. Tip 2: Take your time and double-check measurements to ensure a proper fit. Tip 3: Use a jigsaw with a fine-toothed blade to make clean and precise cuts in the countertop. Tip 4: Allow the adhesive to dry completely before using the sink. Tip 5: Use a silicone adhesive specifically designed for undermount sinks for a stronger bond.Tips for a Successful Undermount Sink Installation in Bathroom


Tips for a Successful Undermount Sink Installation in Bathroom


Mistake 1: Not measuring properly and ending up with an ill-fitting sink. Mistake 2: Not using enough adhesive, resulting in a weak bond between the sink and countertop. Mistake 3: Not allowing the adhesive to dry completely before using the sink. Mistake 4: Not securing the sink clips properly, causing the sink to shift or become unlevel. Mistake 5: Not using plumber's putty to create a proper seal around the drain, leading to leaks.Common Mistakes to Avoid When Installing an Undermount Sink in a Bathroom


Common Mistakes to Avoid When Installing an Undermount Sink in a Bathroom


The cost of installing an undermount sink in your bathroom will depend on the size and style of the sink, as well as the tools and materials needed for installation. On average, homeowners can expect to spend between $200 and $500 for a DIY installation.Cost of Installing an Undermount Sink in a Bathroom

Cost of Installing an Undermount Sink in a Bathroom


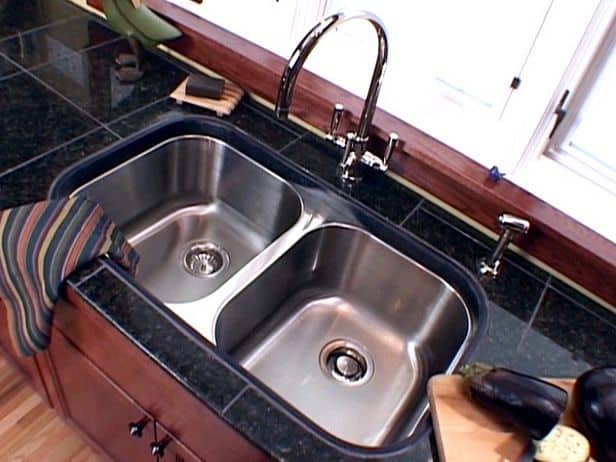
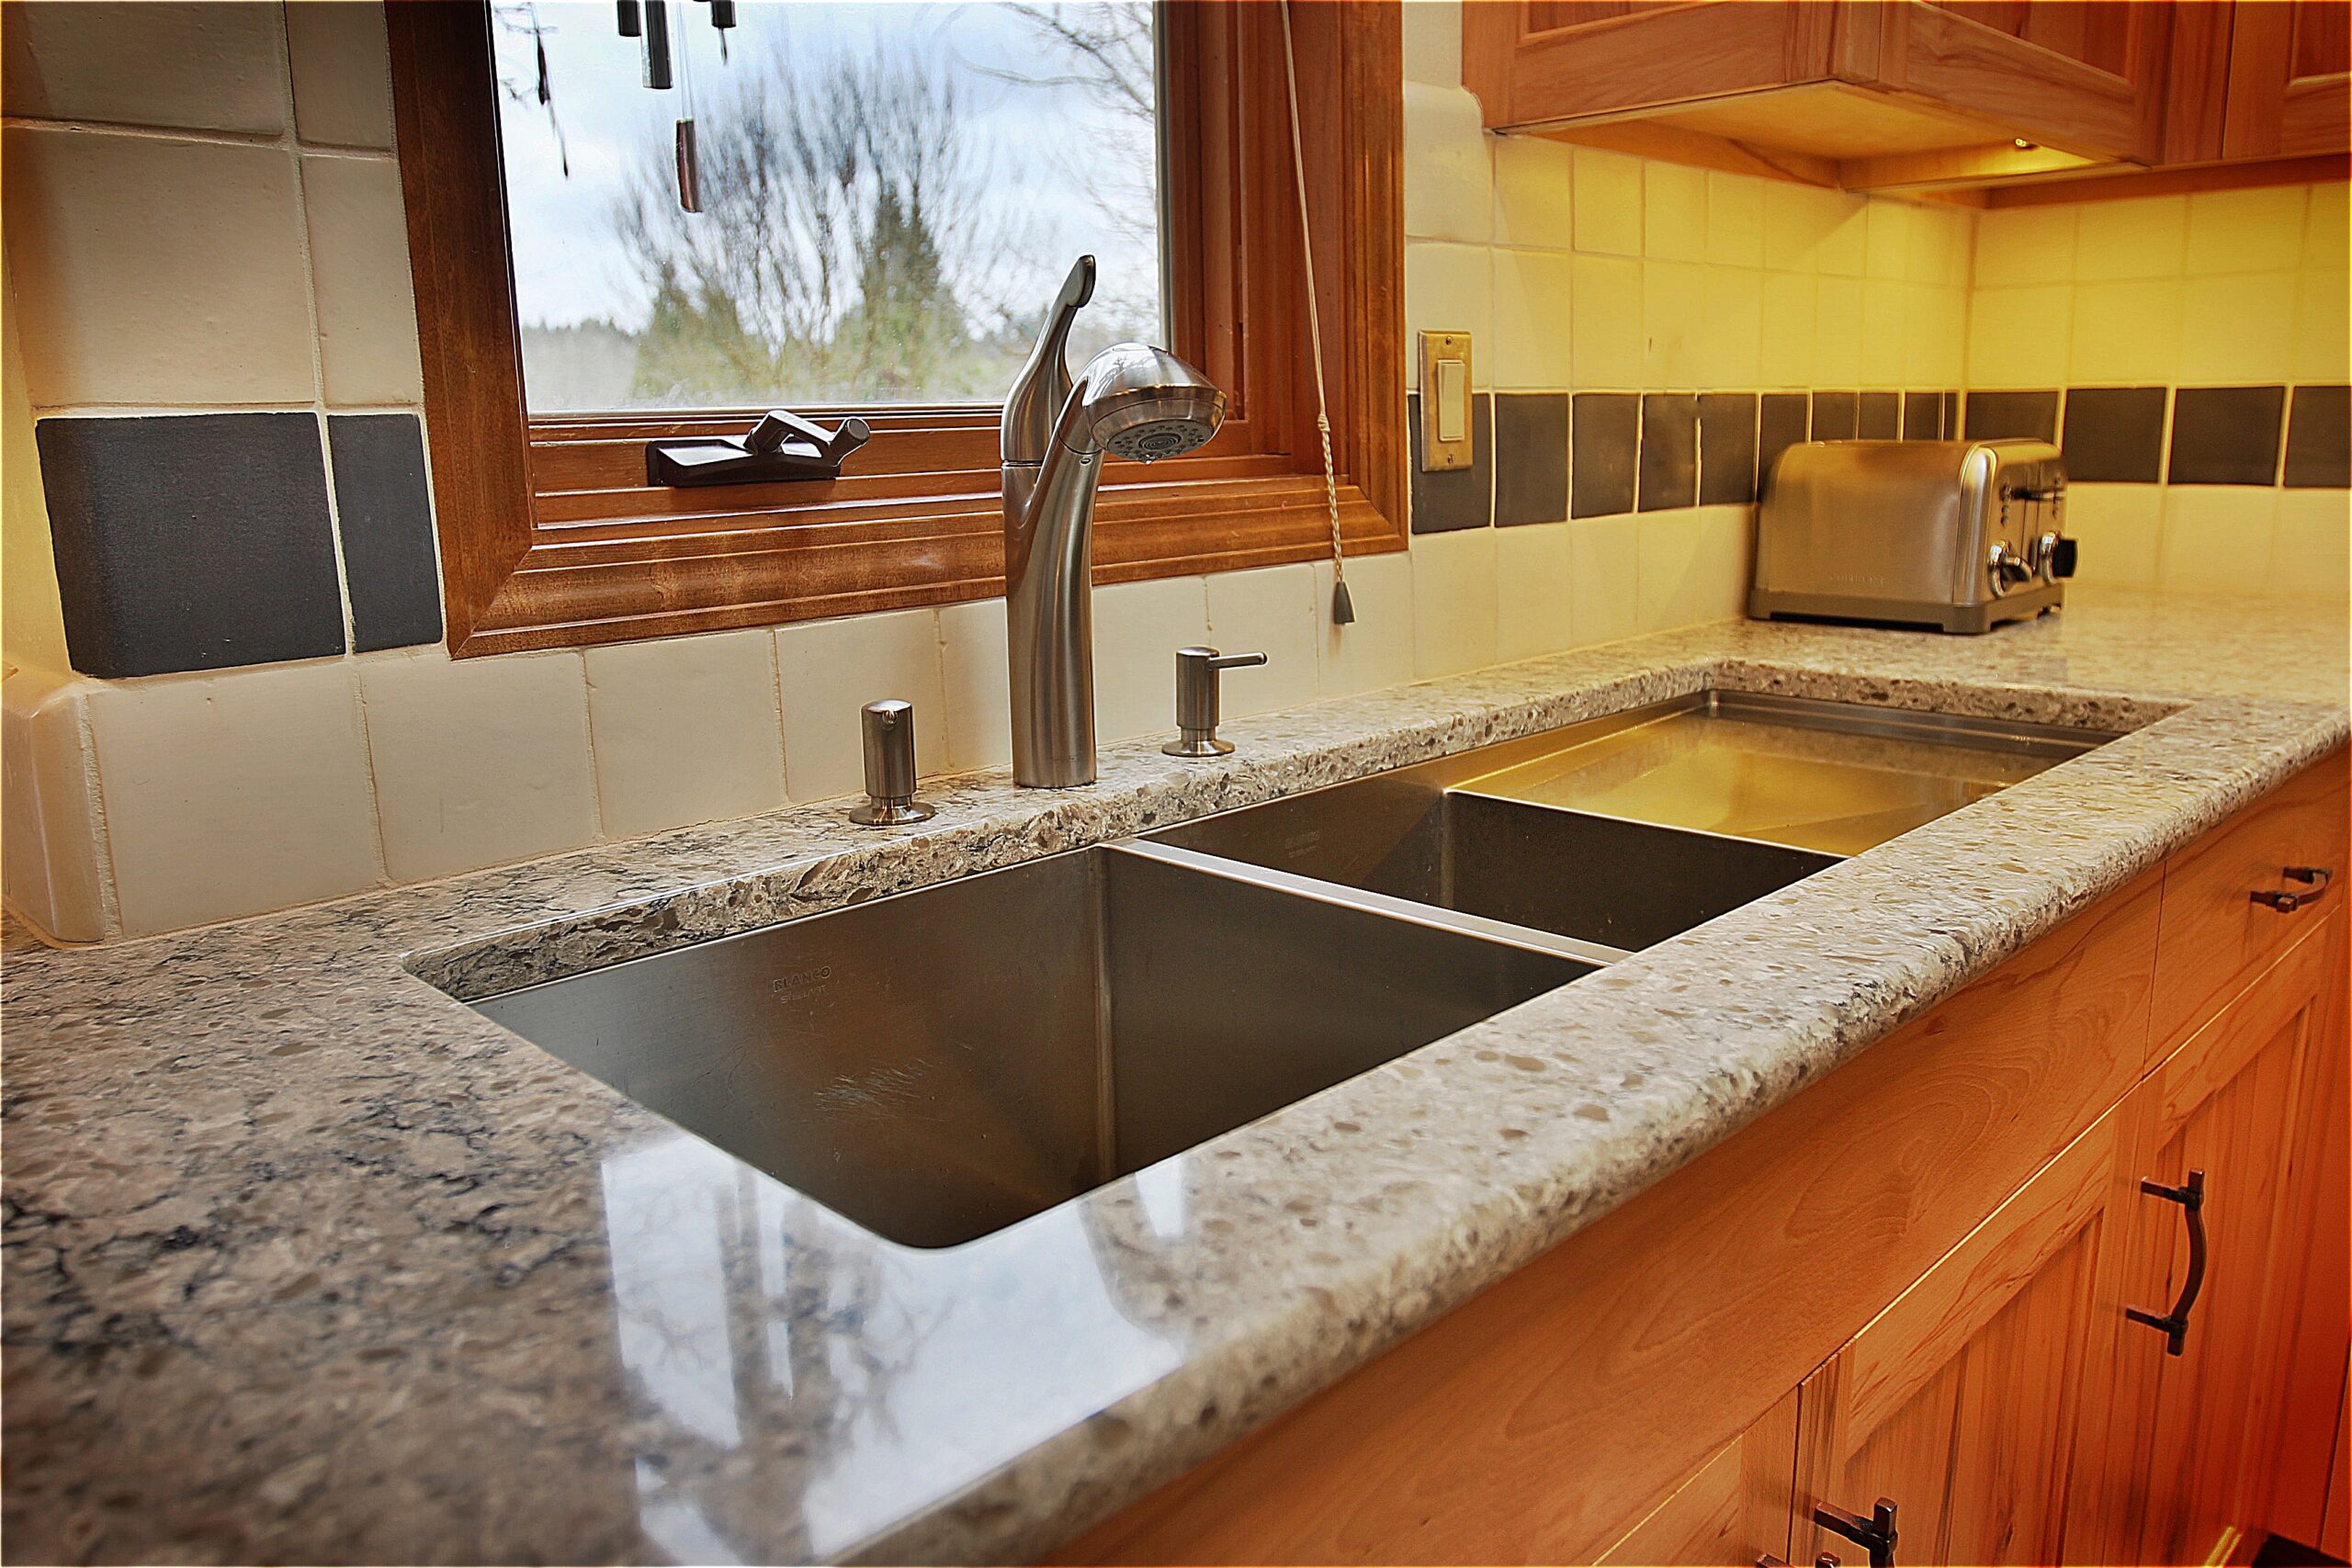
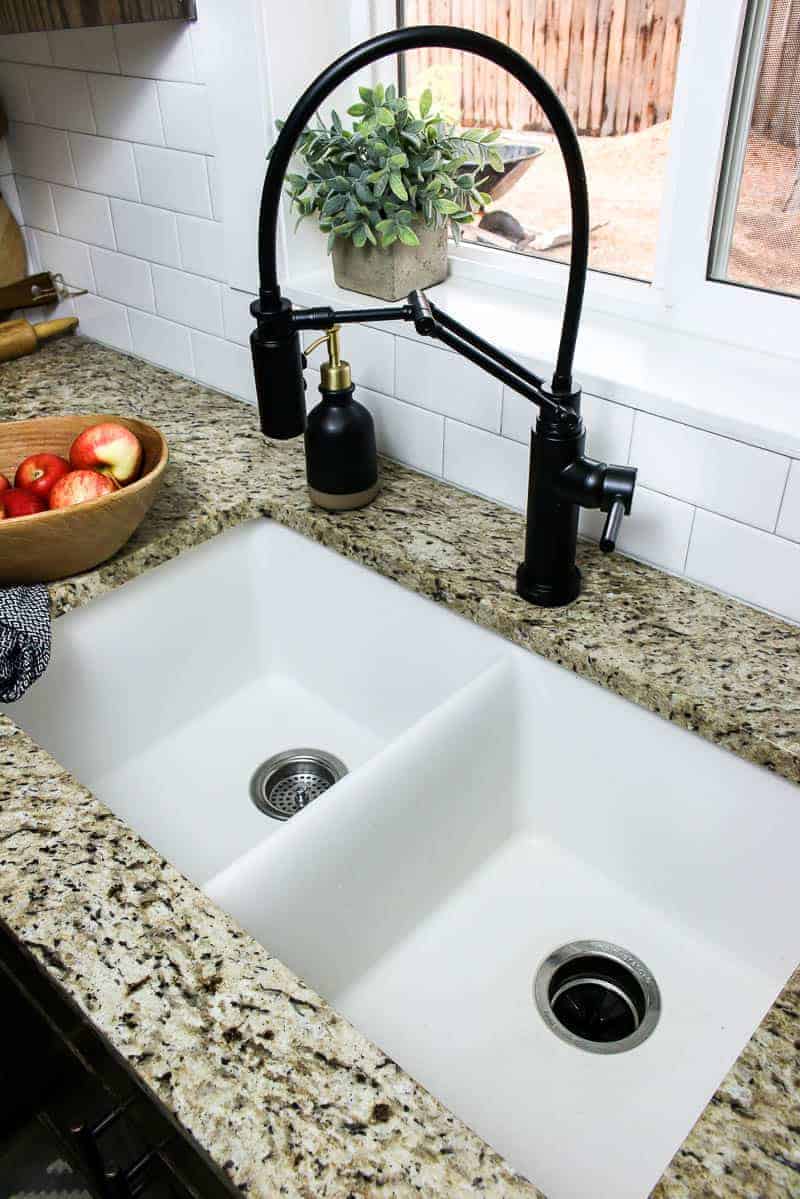
Pros: Aesthetically pleasing, easy to clean, and creates a seamless look in the bathroom. Cons: Can be more expensive than traditional top-mount sinks and may require professional installation for a perfect fit.Pros and Cons of Undermount Sink Installation in Bathroom


Pros and Cons of Undermount Sink Installation in Bathroom


While it is possible to install an undermount sink in your bathroom yourself, it may be best to leave this job to the professionals. This will ensure a perfect fit and a strong and secure installation. However, if you have experience with DIY projects and the necessary tools, a DIY installation can save you money.Professional vs. DIY Undermount Sink Installation in Bathroom
Professional vs. DIY Undermount Sink Installation in Bathroom

Additional Tips for Installing an Undermount Sink in Your Bathroom

Choose the Right Materials
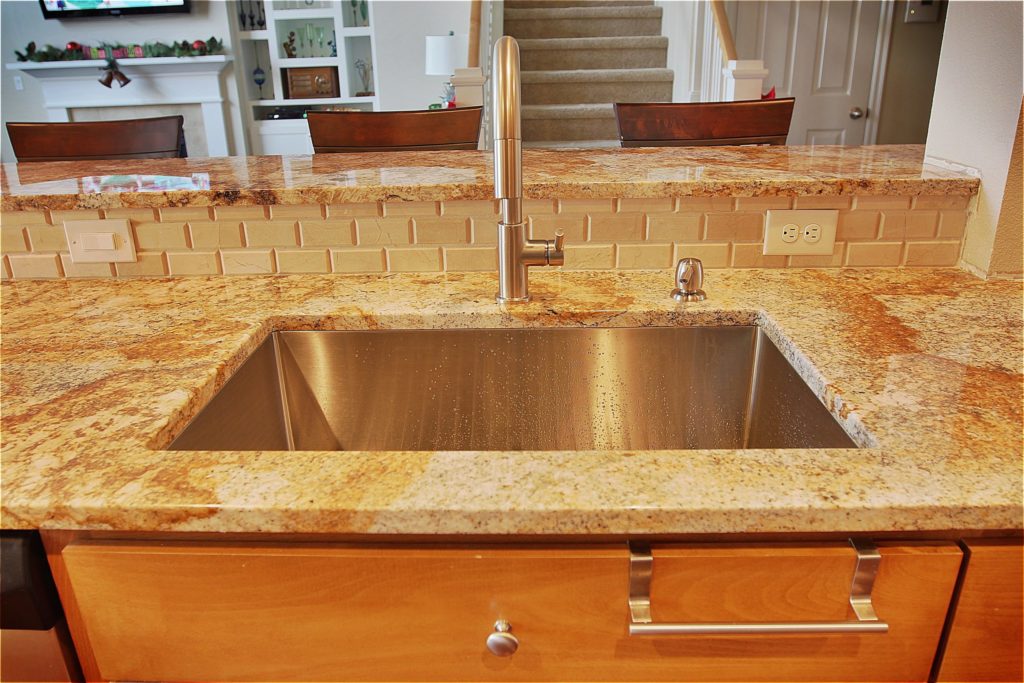
 When installing an undermount sink in your bathroom, it is important to choose the right materials. This not only ensures the durability and longevity of your sink, but also adds to the overall aesthetic of your bathroom.
Granite, marble, and quartz are popular choices for undermount sinks
, as they are sturdy and resistant to water damage.
When installing an undermount sink in your bathroom, it is important to choose the right materials. This not only ensures the durability and longevity of your sink, but also adds to the overall aesthetic of your bathroom.
Granite, marble, and quartz are popular choices for undermount sinks
, as they are sturdy and resistant to water damage.
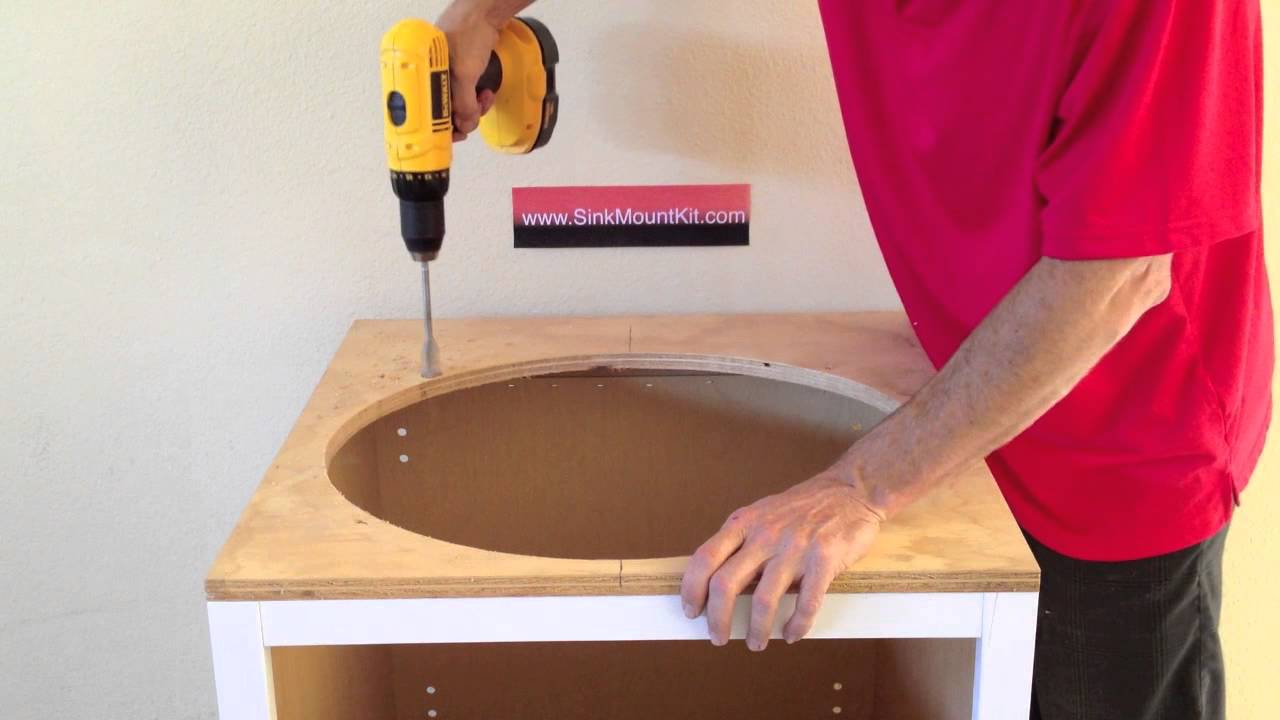
Measure and Mark Carefully
 Before beginning the installation process, it is crucial to
measure and mark the placement of your sink accurately
. This will help guide you during the cutting and drilling process, ensuring that your sink is installed in the correct position. Use a level to ensure that your sink will be even and properly aligned.
Before beginning the installation process, it is crucial to
measure and mark the placement of your sink accurately
. This will help guide you during the cutting and drilling process, ensuring that your sink is installed in the correct position. Use a level to ensure that your sink will be even and properly aligned.
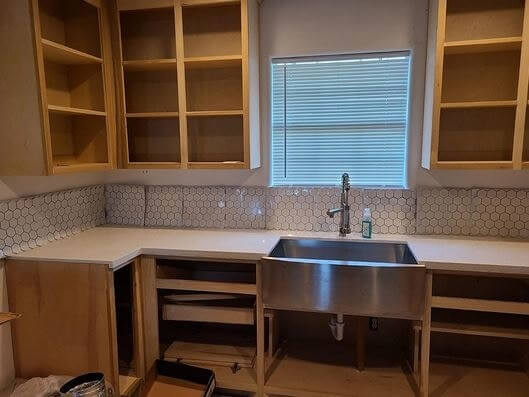
Seal and Support
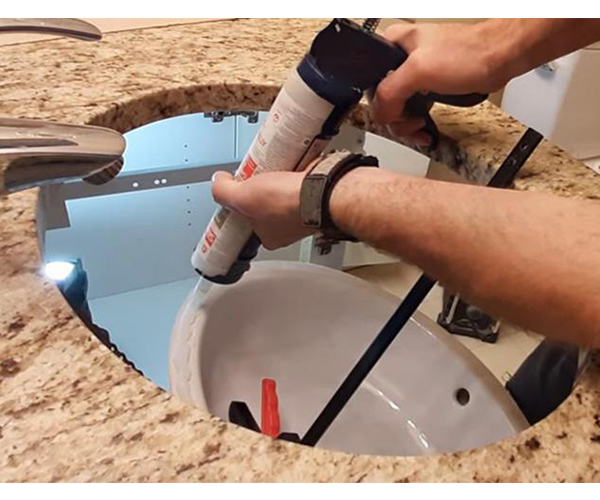
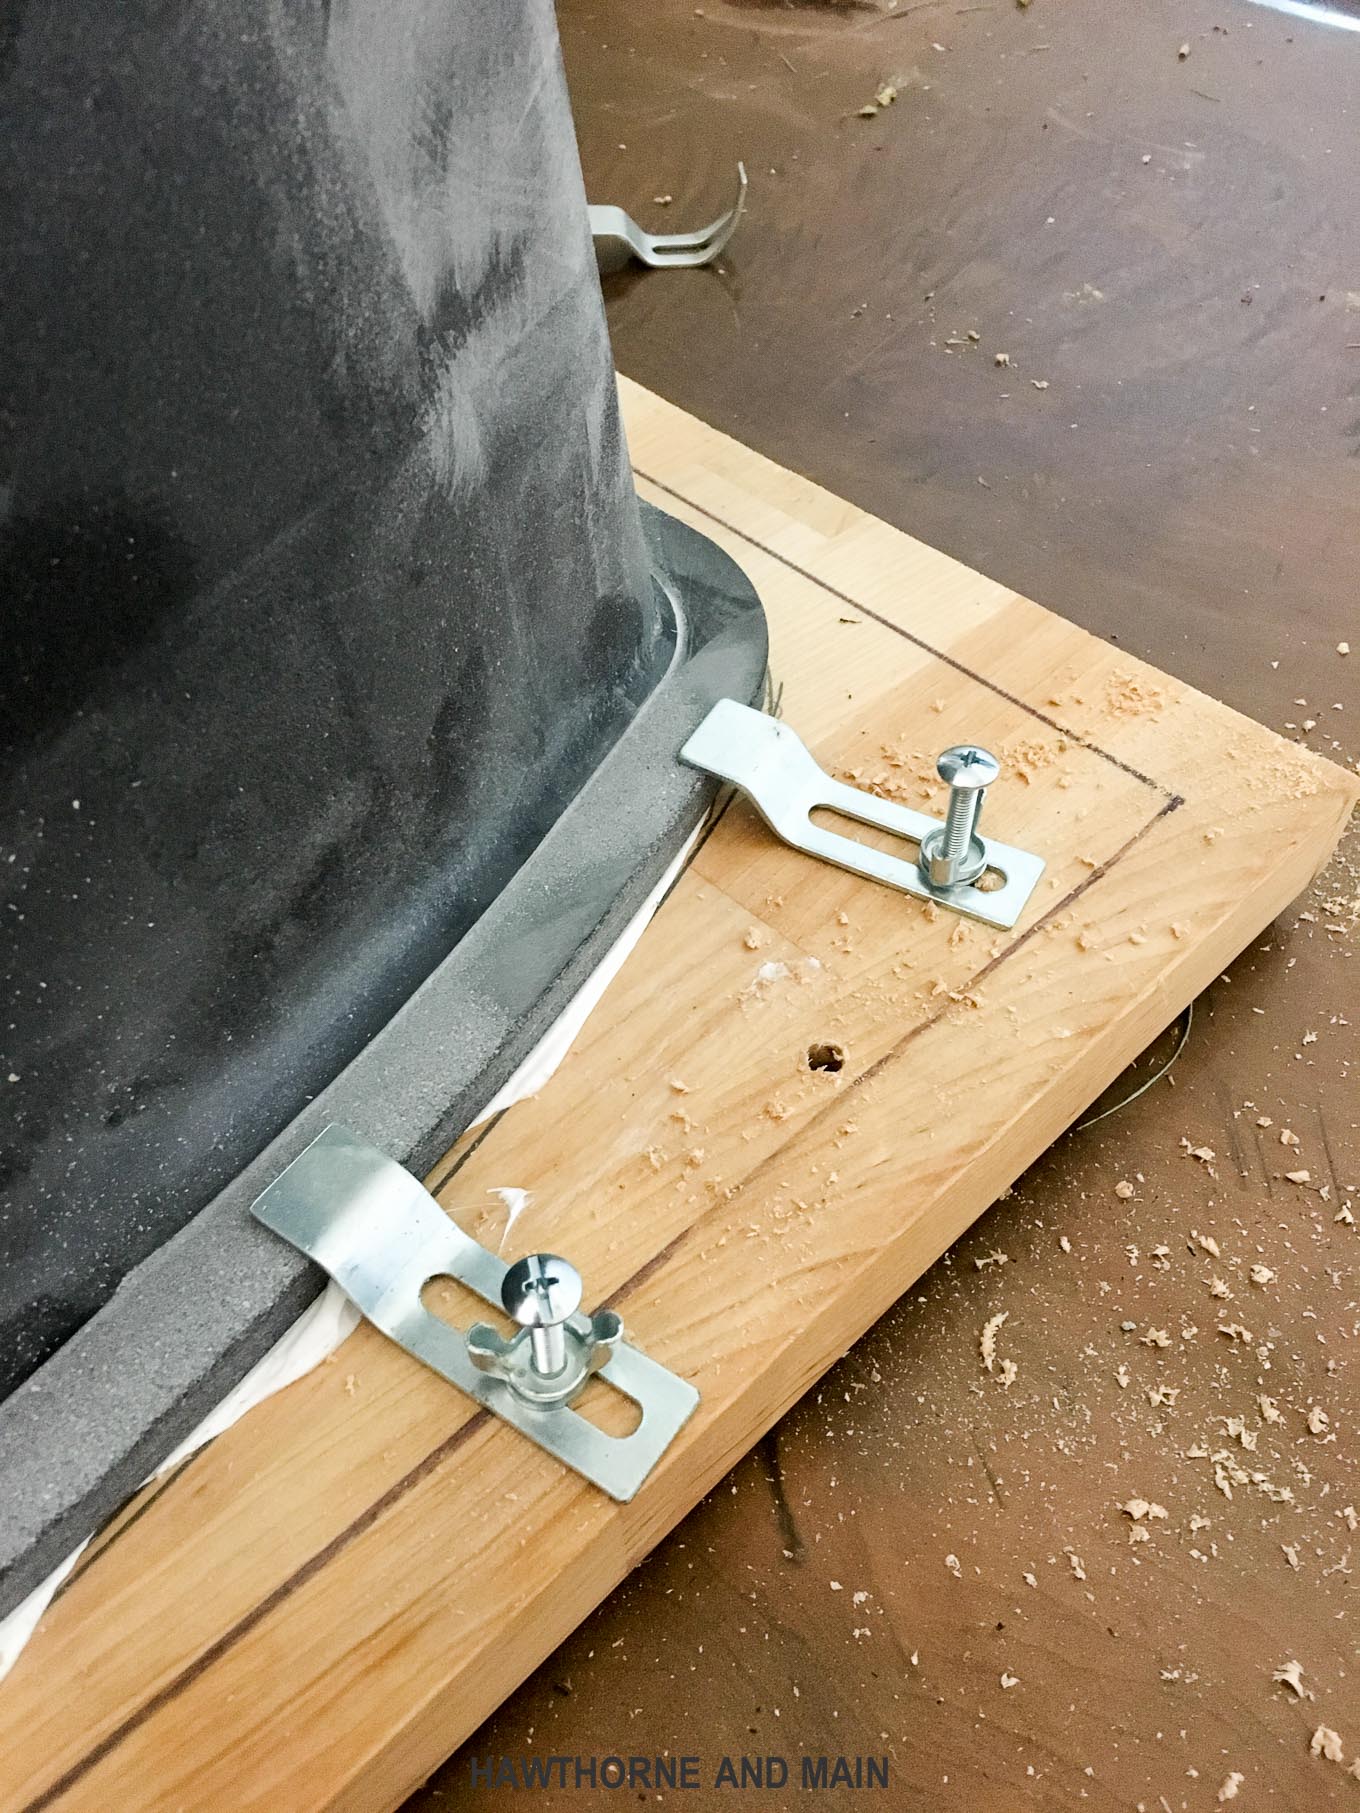
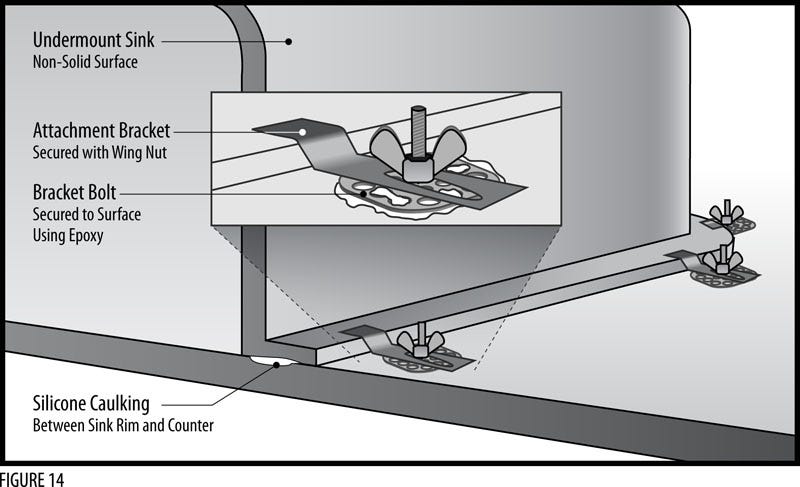
:max_bytes(150000):strip_icc()/8_IMG_3767-56a4a2753df78cf772835b72.JPG) To ensure a secure and leak-free installation, it is important to properly seal and support your undermount sink. Apply a generous amount of silicone sealant around the edges of the sink before lowering it into place.
Use clips or supports to hold the sink in place while the sealant dries
. This will prevent the sink from shifting or moving during use.
To ensure a secure and leak-free installation, it is important to properly seal and support your undermount sink. Apply a generous amount of silicone sealant around the edges of the sink before lowering it into place.
Use clips or supports to hold the sink in place while the sealant dries
. This will prevent the sink from shifting or moving during use.
Properly Finish the Edges
 Once your sink is in place, it is important to properly finish the edges. This not only adds to the overall appearance of your sink, but also helps prevent any water damage. Use a diamond blade saw to carefully cut and smooth the edges of your countertop.
Apply a sealer to the edges to protect them from moisture and potential cracking
.
Installing an undermount sink in your bathroom is a great way to upgrade the design and functionality of your space. With the right materials, careful measurements, proper sealing and support, and a finished edge, you can confidently install an undermount sink and enjoy its benefits for years to come.
Once your sink is in place, it is important to properly finish the edges. This not only adds to the overall appearance of your sink, but also helps prevent any water damage. Use a diamond blade saw to carefully cut and smooth the edges of your countertop.
Apply a sealer to the edges to protect them from moisture and potential cracking
.
Installing an undermount sink in your bathroom is a great way to upgrade the design and functionality of your space. With the right materials, careful measurements, proper sealing and support, and a finished edge, you can confidently install an undermount sink and enjoy its benefits for years to come.