Installing under cabinet LED strip lighting is a great way to brighten up your kitchen and add a modern touch to your space. Not only does it provide functional lighting for cooking and food prep, but it also adds an ambiance to your kitchen that is sure to impress. In this step-by-step guide, we will walk you through the process of installing under cabinet LED strip lighting in your kitchen. Let's get started!
How to Install Under Cabinet LED Strip Lighting in Your Kitchen
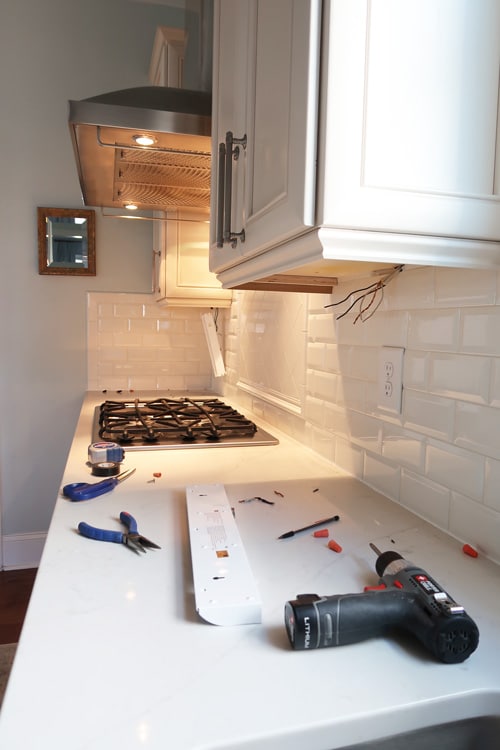
Before you begin the installation process, it's important to gather all the necessary tools and materials. You will need LED strip lights, power supply, connectors, mounting clips, screwdriver, and measuring tape. Once you have everything you need, follow these simple steps:
Step-by-Step Guide for Installing Under Cabinet LED Strip Lighting in Your Kitchen
The first step in any home improvement project is to measure and plan. Start by measuring the length of the area where you want to install the LED strip lights. This will help you determine the length of the strip lights and the number of connectors you will need. Next, plan out where you want to place the lights and mark the spots with a pencil.
Step 1: Measure and Plan
Using a pair of scissors, cut the LED strip lights according to the measurements you took in the previous step. Remember to cut the strip at the designated cut line to ensure your lights will work properly. If you need to make any turns or corners, use connectors to connect the strip pieces together.
Step 2: Cut the LED Strip Lights
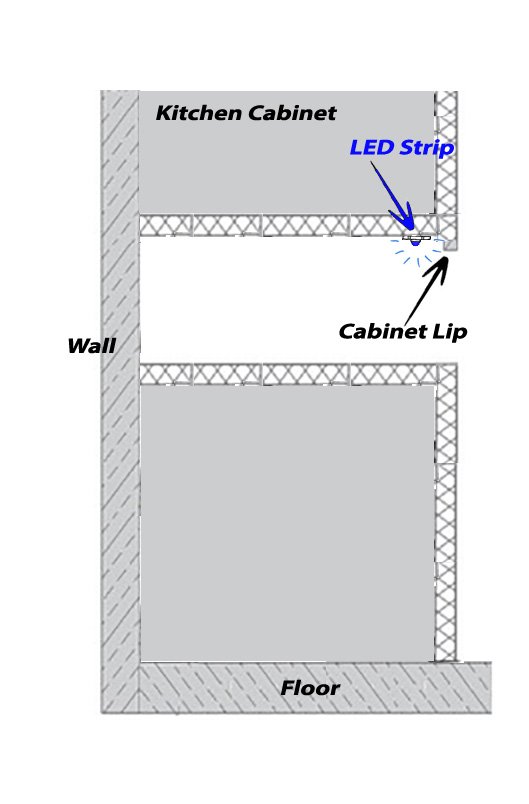
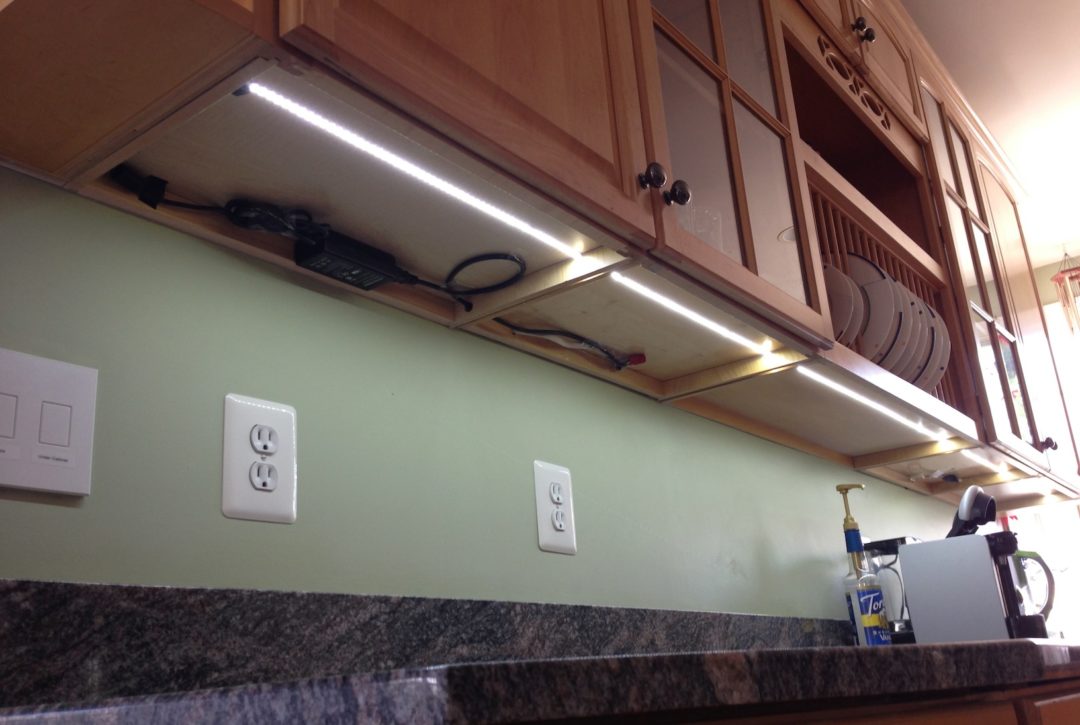
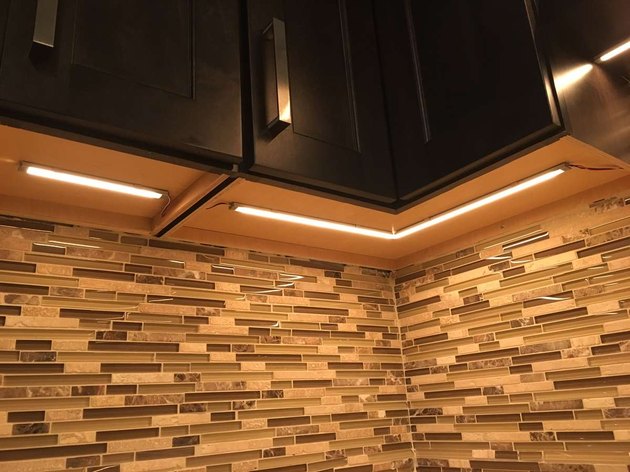
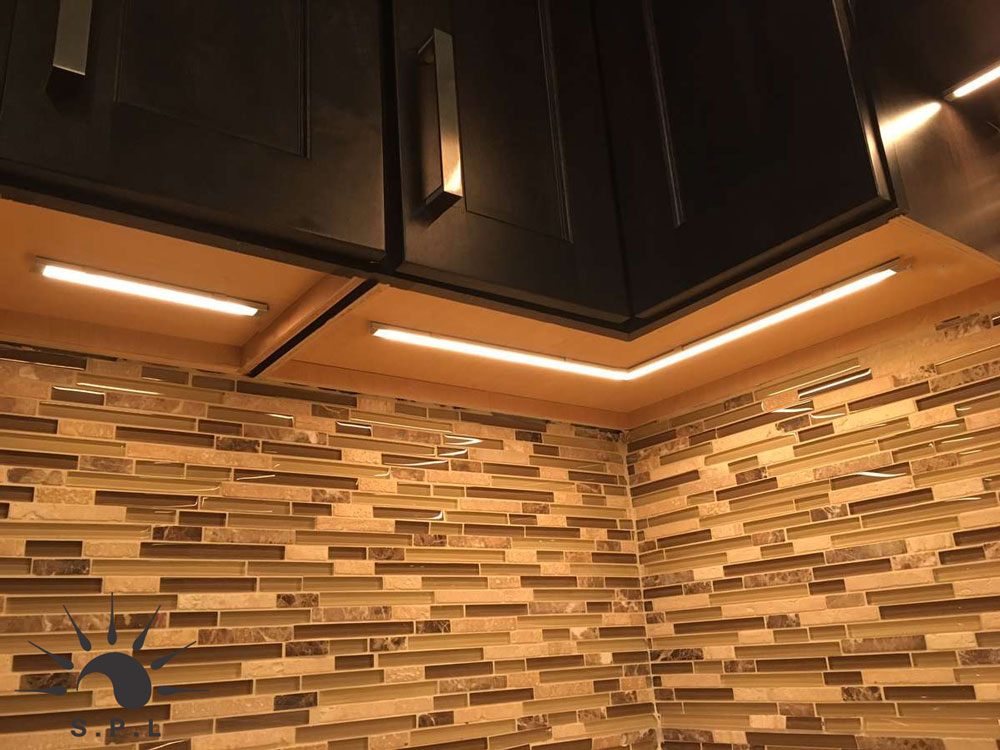
Using the mounting clips, affix the strip lights to the bottom of your cabinets. Make sure they are evenly spaced and secure. If you have any excess wiring, tuck it behind the cabinets for a clean look.
Step 3: Mount the Strip Lights
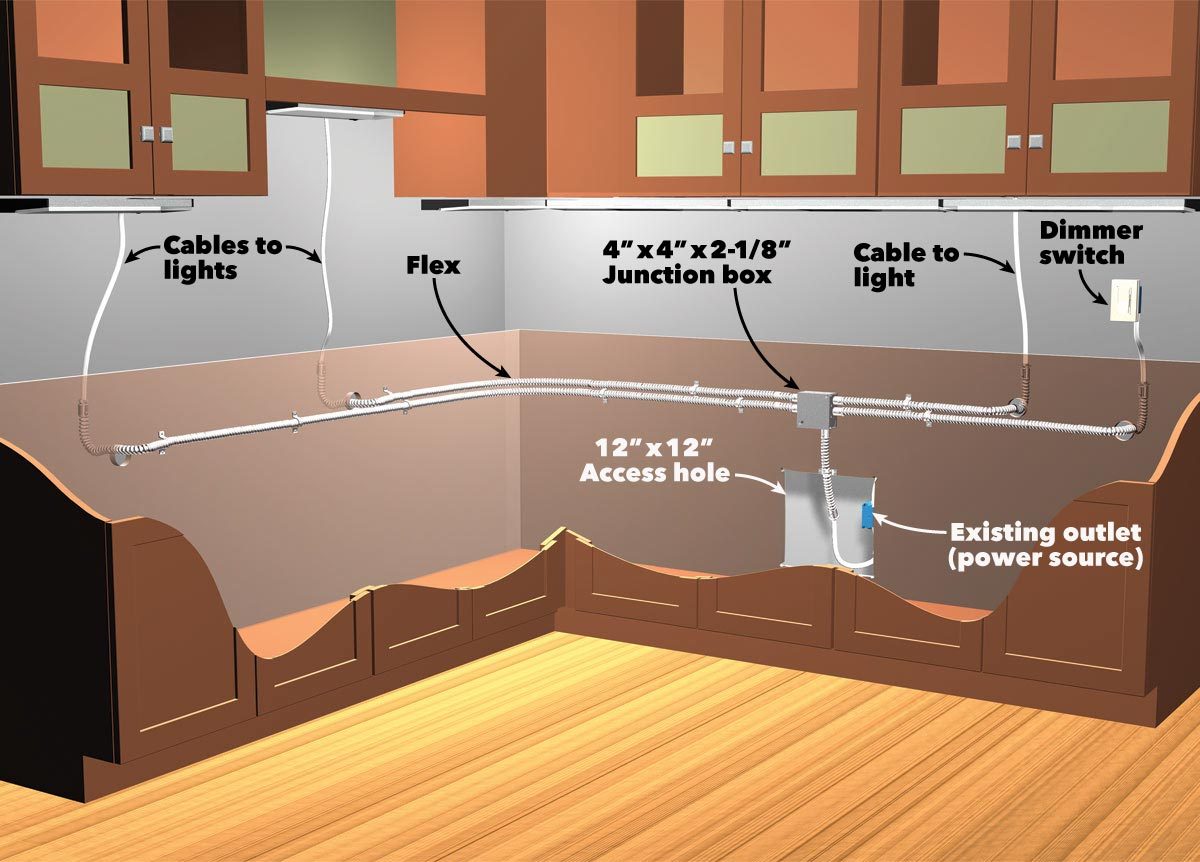
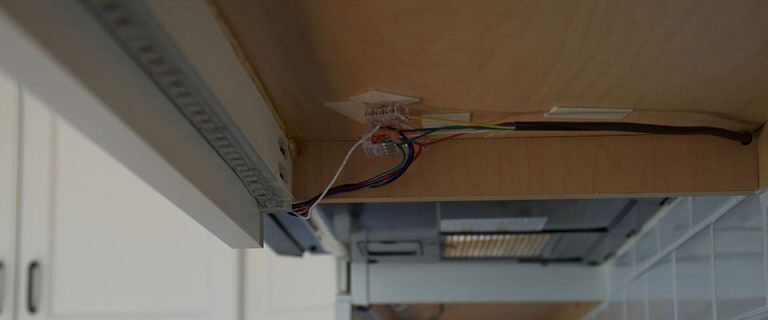
Take your power supply and connect it to the strip lights. You can use a connector or solder the wires together. Once the connection is secure, plug the power supply into a nearby outlet.
Step 4: Connect the Power Supply
Before fully installing the lights, it's important to test them out. Plug in the power supply and turn on the lights to make sure they are working properly. If there are any issues, double check your connections and make sure the strip lights are properly aligned.
Step 5: Test the Lights
Once you have confirmed that the lights are working, secure them in place with the mounting clips. Make sure they are firmly in place and adjust the positioning as needed.
Step 6: Secure the Lights
Installing under cabinet LED strip lighting is a relatively easy and affordable DIY project that can completely transform your kitchen. Not only does it provide functional lighting, but it also adds a stylish touch that will impress your guests.
DIY: Installing Under Cabinet LED Strip Lighting in Your Kitchen
With the right tools and a bit of planning, you can easily transform your kitchen with under cabinet LED strip lighting. Follow this step-by-step guide for a hassle-free installation process.
Transform Your Kitchen with Under Cabinet LED Strip Lighting: A Step-by-Step Guide
Transform Your Kitchen with Under Cabinet LED Strip Lighting

Effortlessly Upgrade Your Kitchen's Design
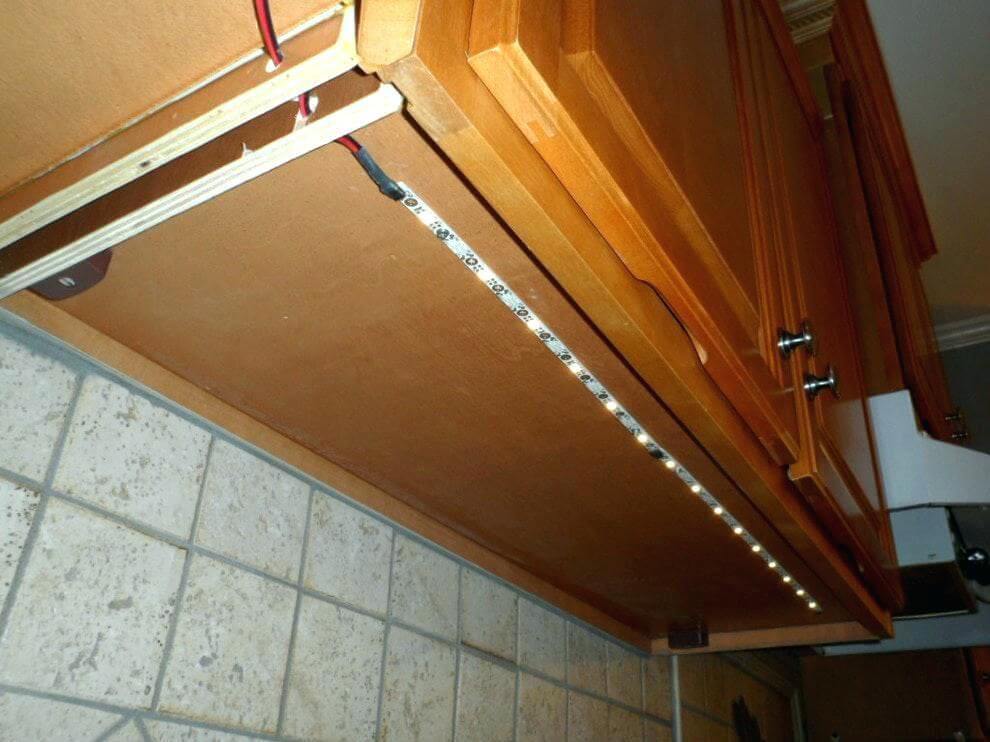 When it comes to designing a kitchen, lighting is often an overlooked aspect. However, proper lighting can make all the difference in creating a functional and aesthetically pleasing space.
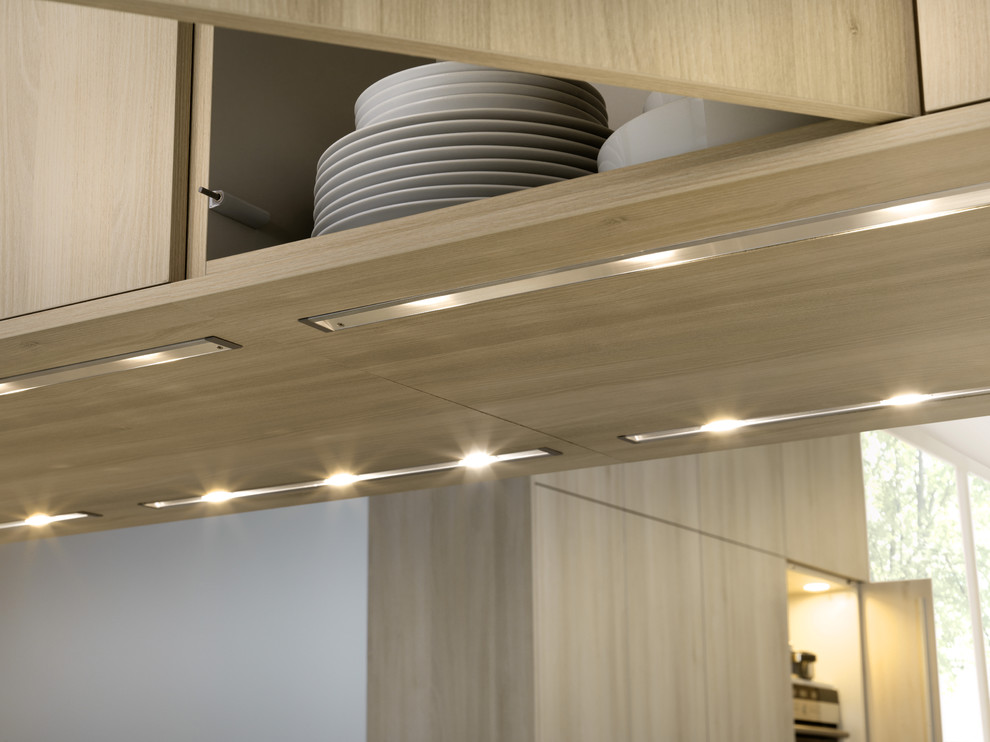
Under cabinet LED strip lighting
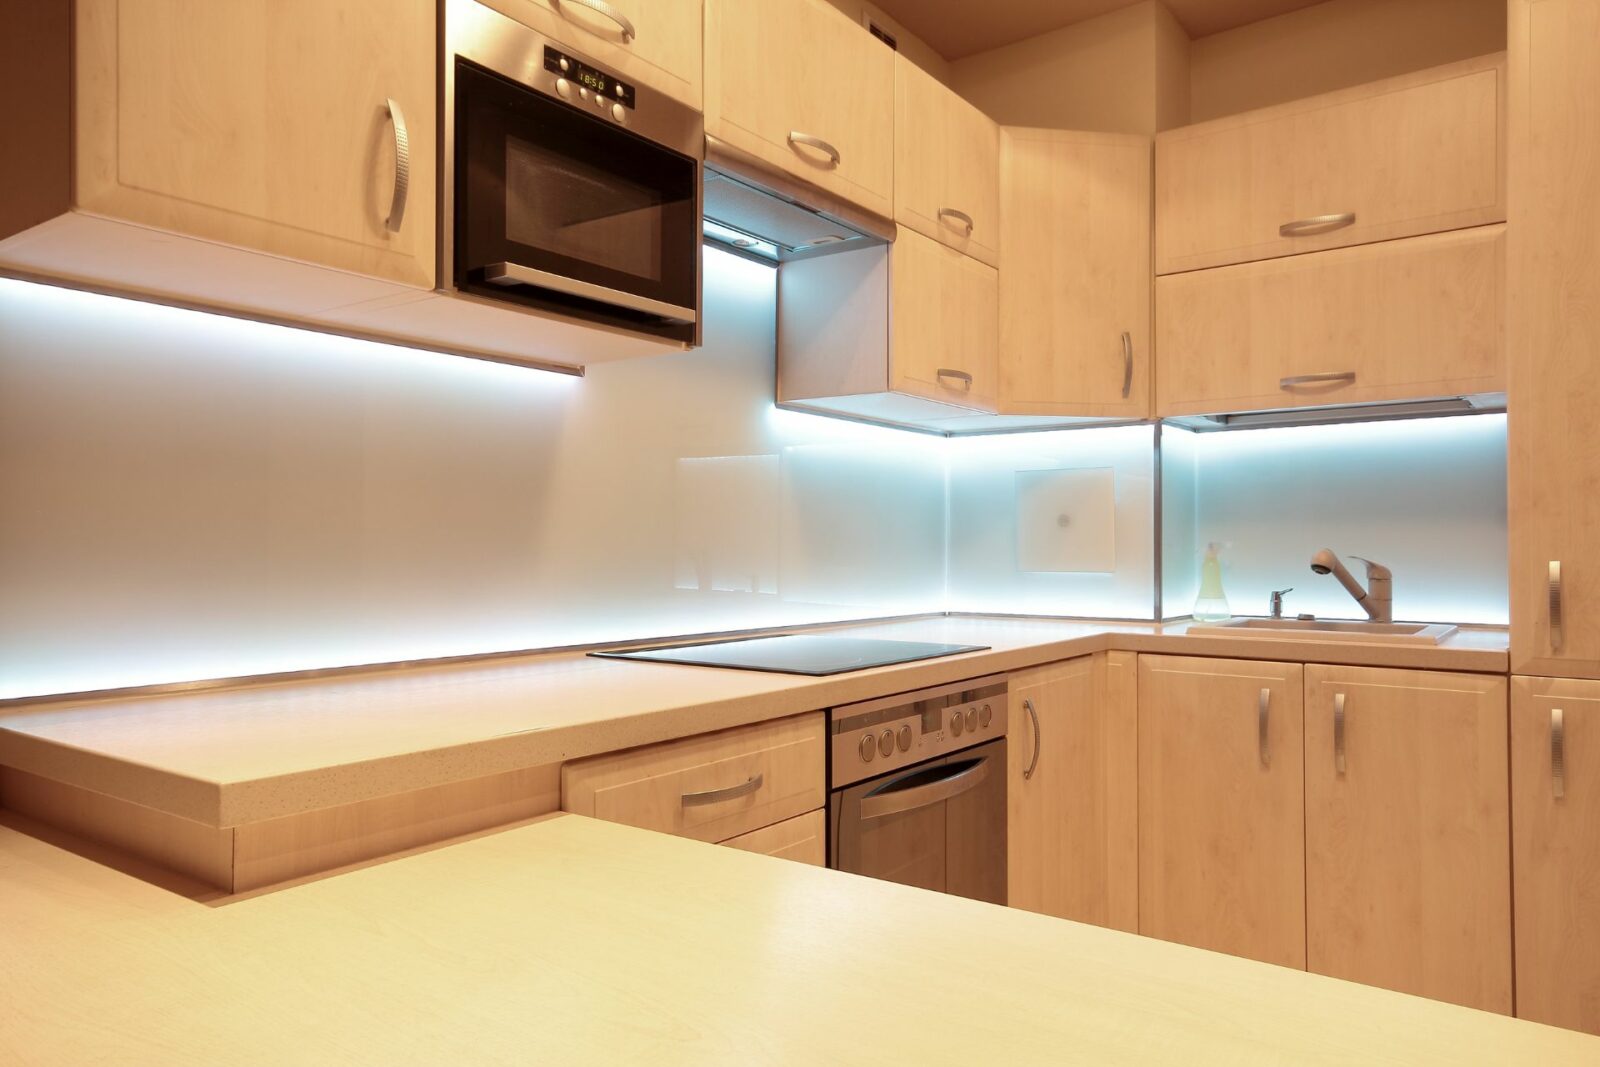
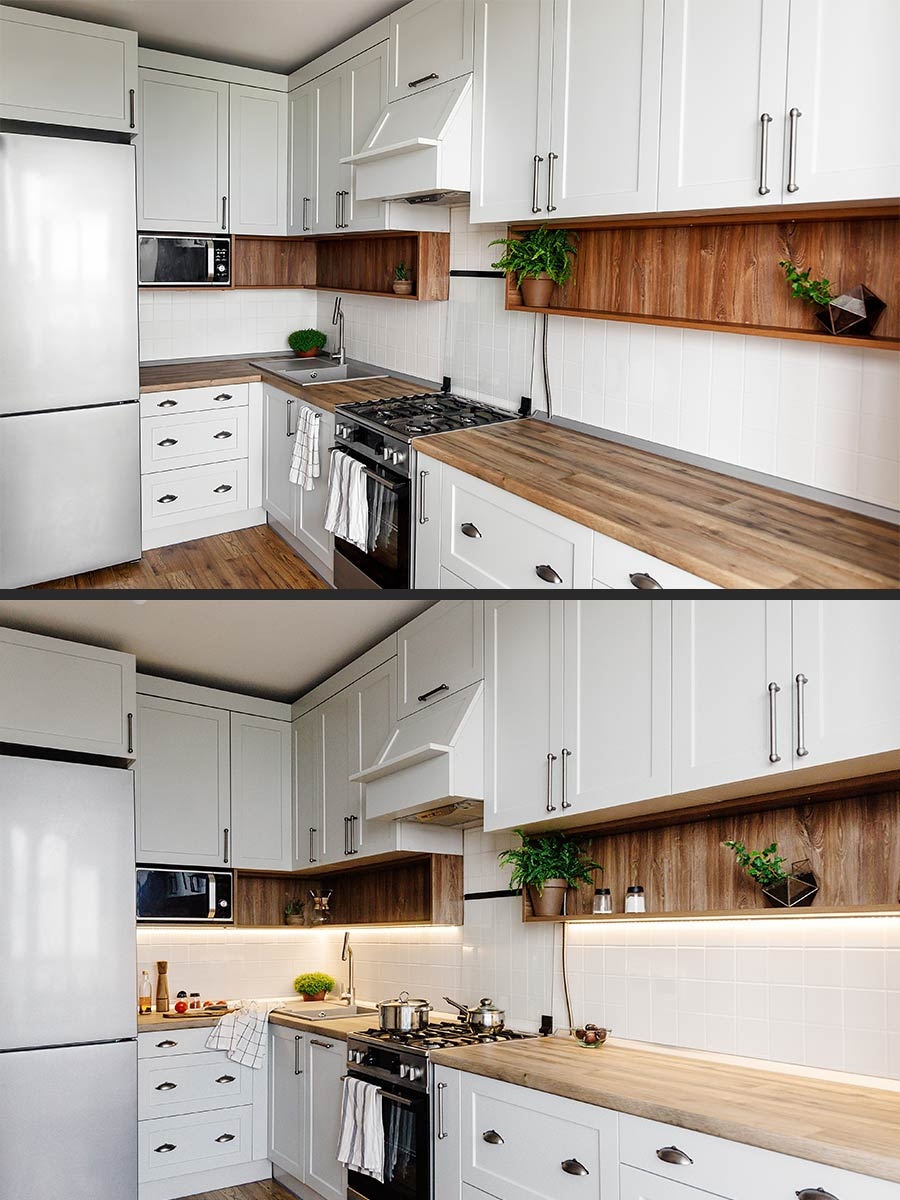
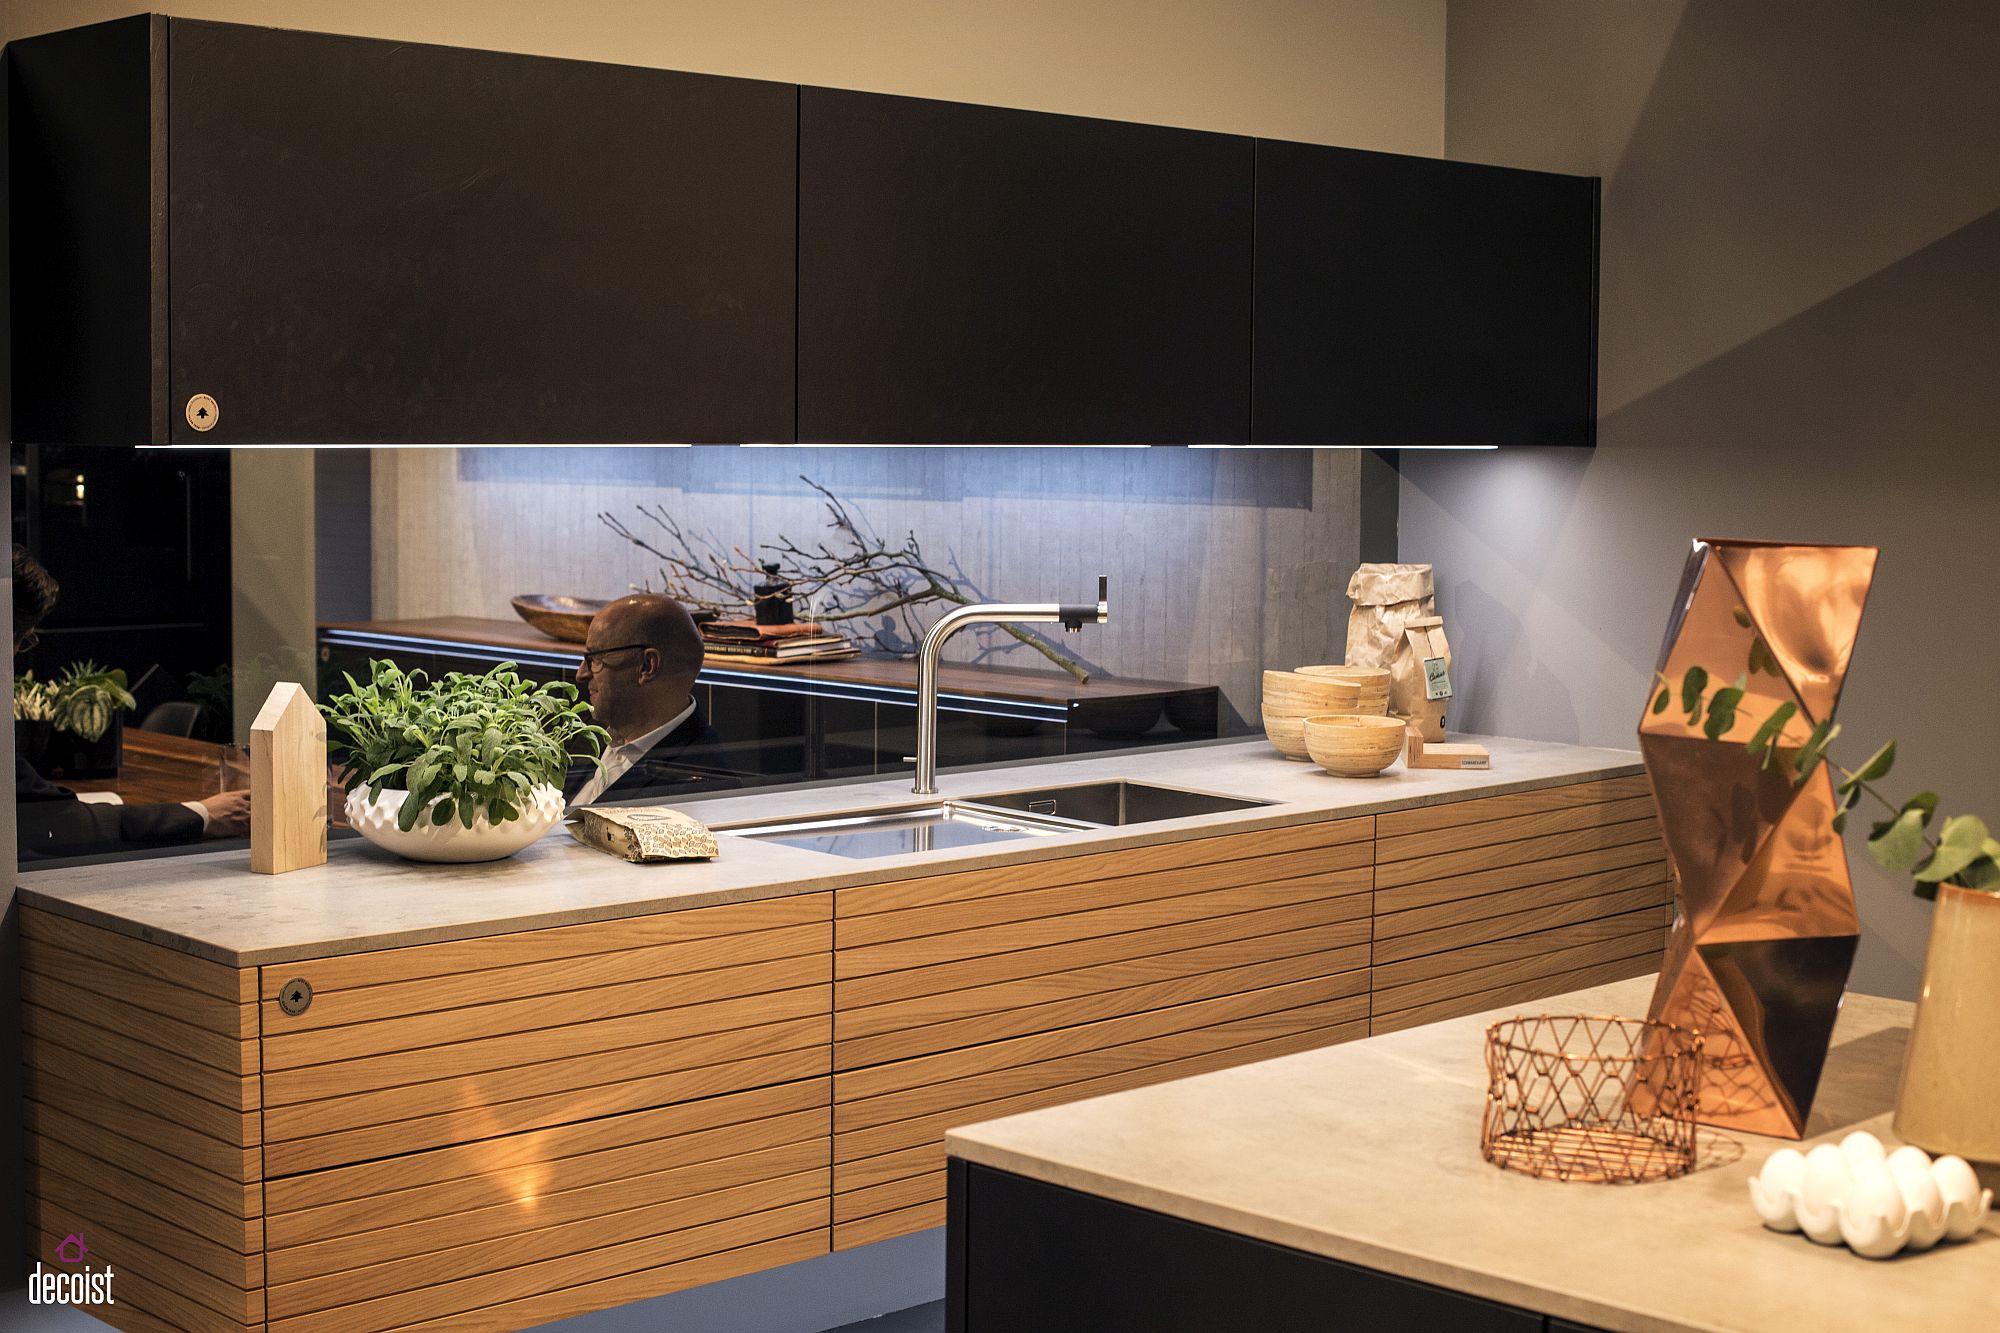
is a versatile and practical option that can completely transform your kitchen's design. Not only does it provide ample lighting for meal prep and cooking, but it also adds a touch of ambiance and sophistication to your kitchen.
A Cost-Effective Choice
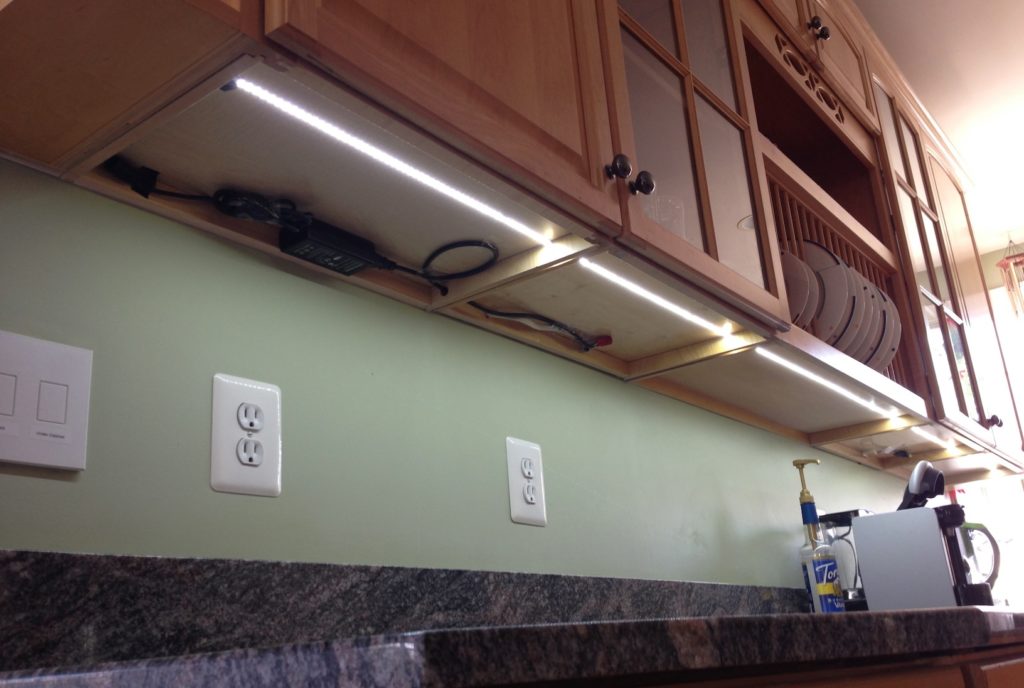 One of the main benefits of
under cabinet LED strip lighting
is its cost-effectiveness. LED lights are known for their energy efficiency, using up to 75% less energy than traditional incandescent lights. This can result in significant savings on your energy bill. Additionally, LED lights have a longer lifespan, meaning you won't have to constantly replace them, saving you money in the long run.
Customizable and Versatile
 Another advantage of
under cabinet LED strip lighting
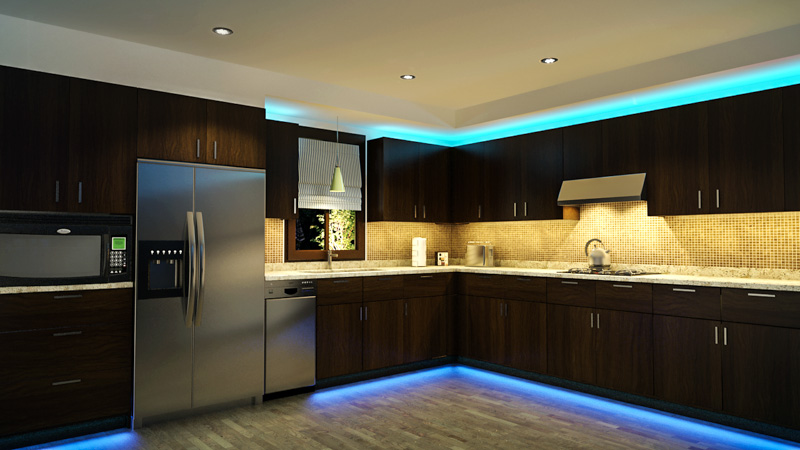
is its versatility. These lights come in a variety of colors, allowing you to choose the perfect hue for your kitchen's design. You can opt for warm white lights for a cozy and inviting atmosphere, or cool white lights for a modern and sleek look. Furthermore, LED strip lights can be cut to fit any size or shape, making them suitable for any type of cabinet. They can also be dimmed, giving you control over the level of lighting in your kitchen.
Easy to Install
 Installing
under cabinet LED strip lighting
is a simple and straightforward process that can be done by anyone. The strips come with adhesive backing, making it easy to attach them to the underside of your cabinets. No wiring or electrical expertise is required, making it a hassle-free DIY project. Alternatively, you can hire a professional to install them for you, ensuring a flawless and seamless look.
Enhance Your Kitchen's Design Today
 In conclusion,
under cabinet LED strip lighting
is an affordable, customizable, and easy-to-install option for upgrading your kitchen's design. Not only does it provide practical lighting, but it also adds a touch of style and sophistication to your space. So why wait? Transform your kitchen today with
under cabinet LED strip lighting
and enjoy a brighter and more beautiful cooking experience.


