Installing recessed lighting in a kitchen is a great way to add both functionality and style to the space. Recessed lights, also known as can lights or downlights, are a popular choice for kitchens because they provide ample lighting without taking up precious space on the ceiling. If you're thinking about adding recessed lighting to your kitchen, here's a step-by-step guide to help you get started.How to Install Recessed Lighting in a Kitchen
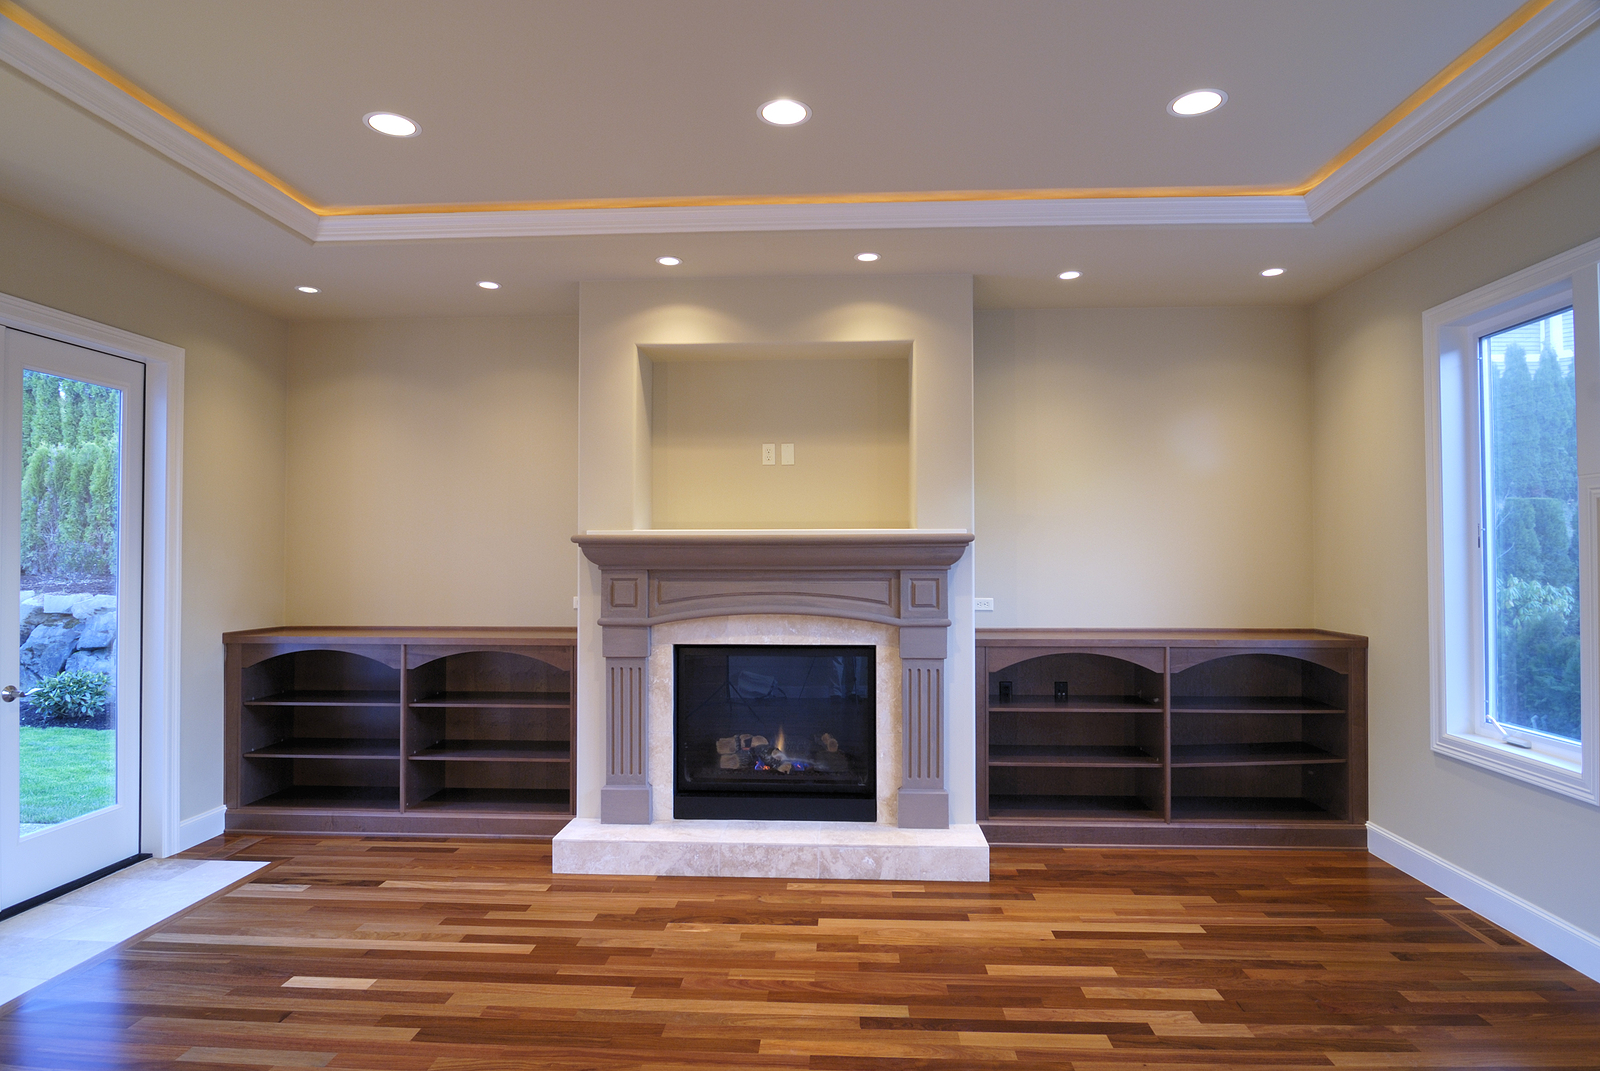
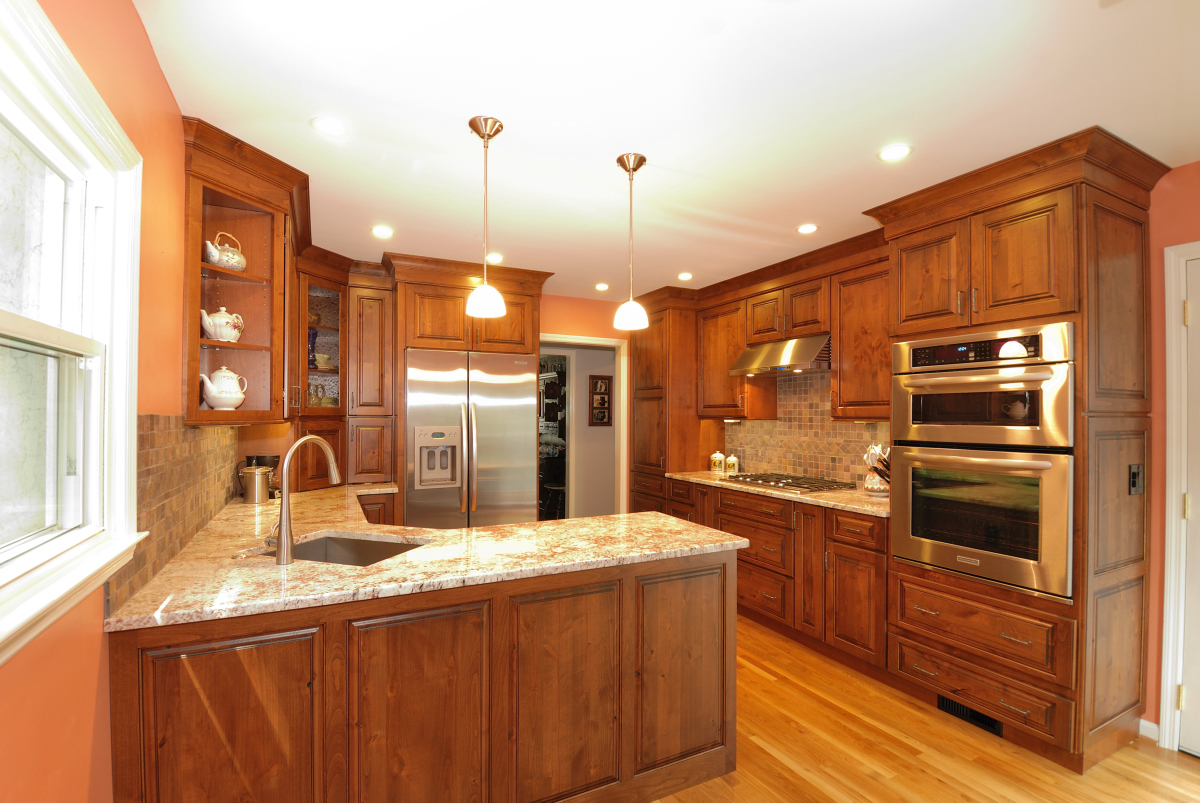
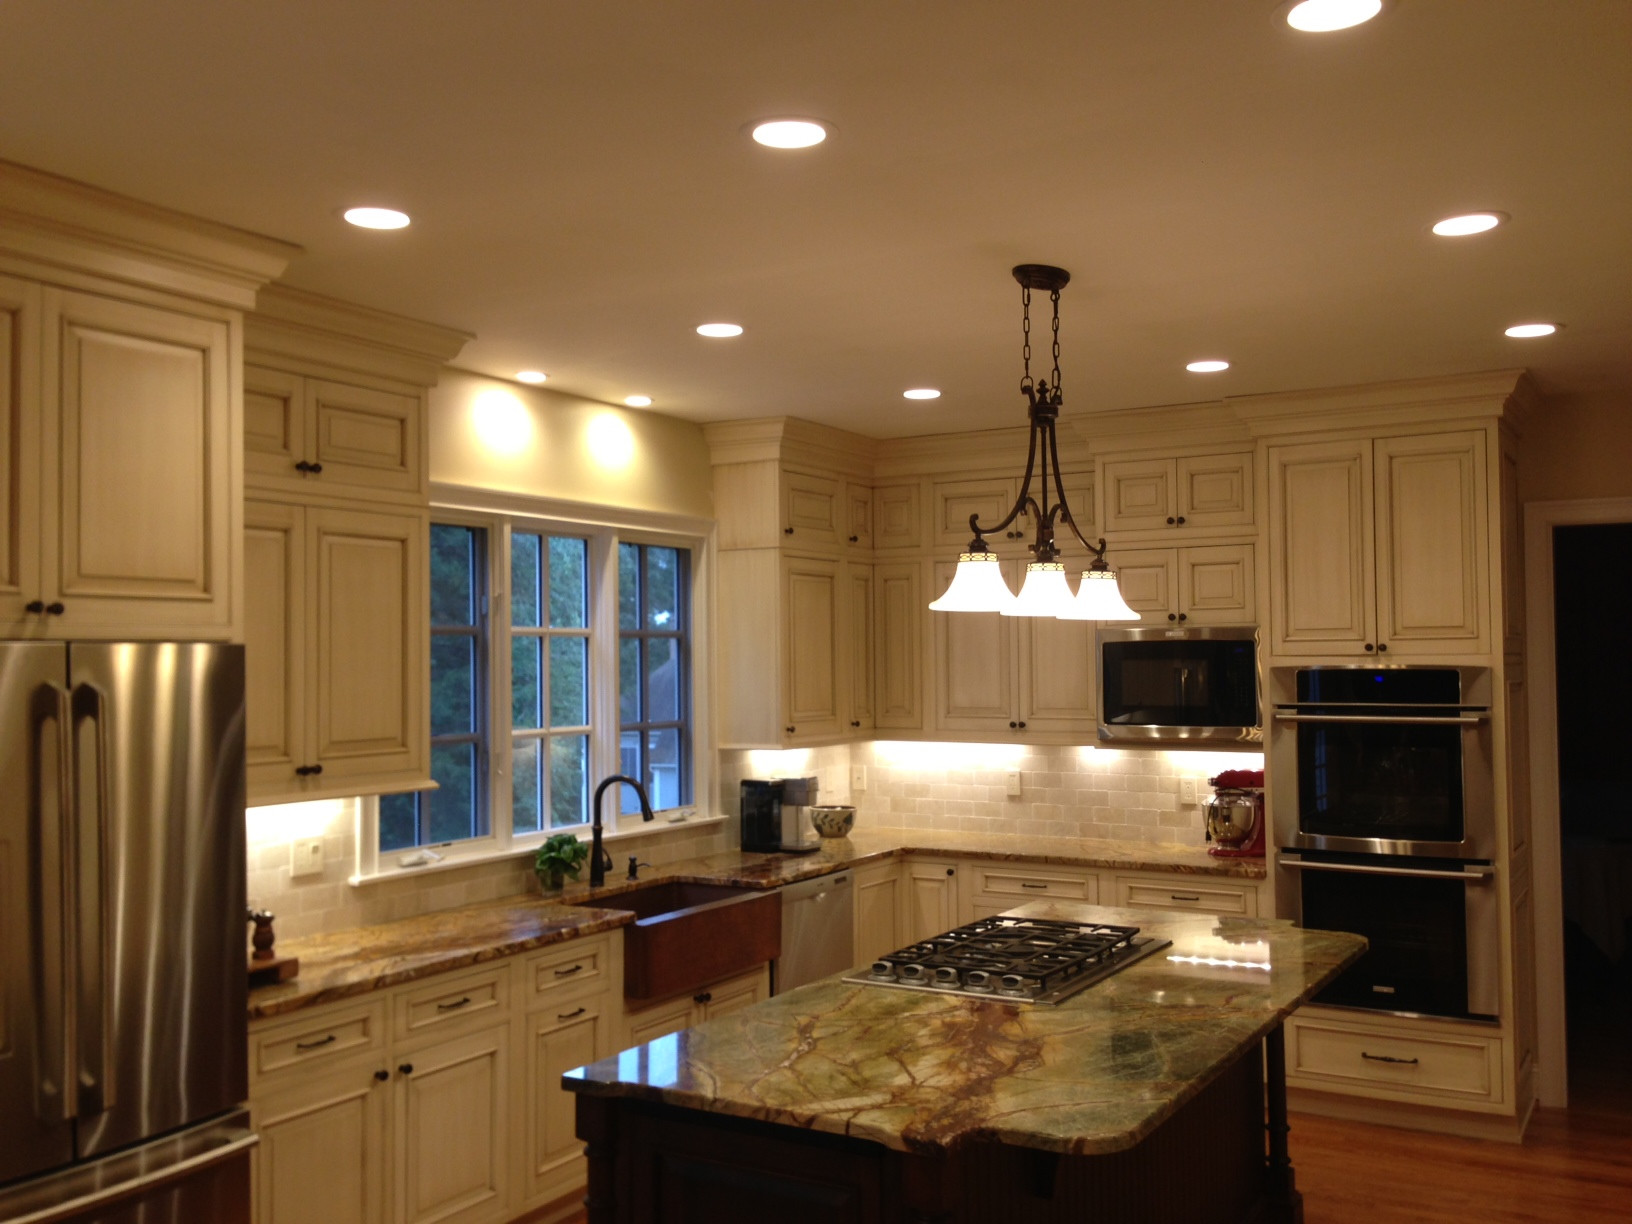
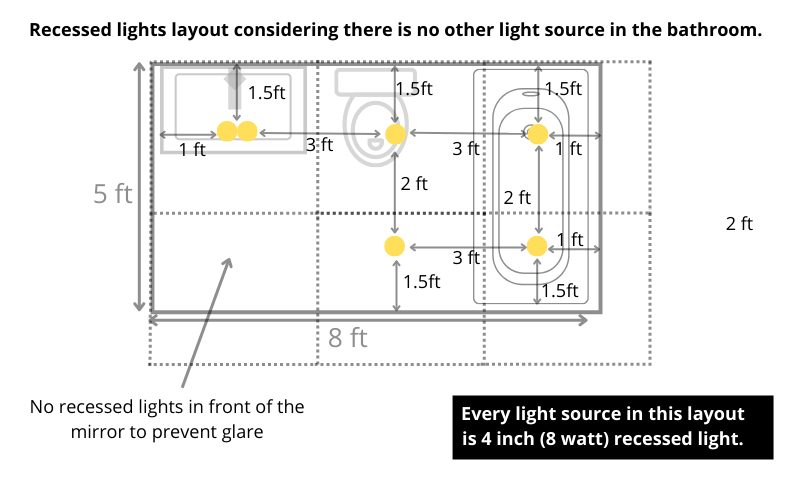
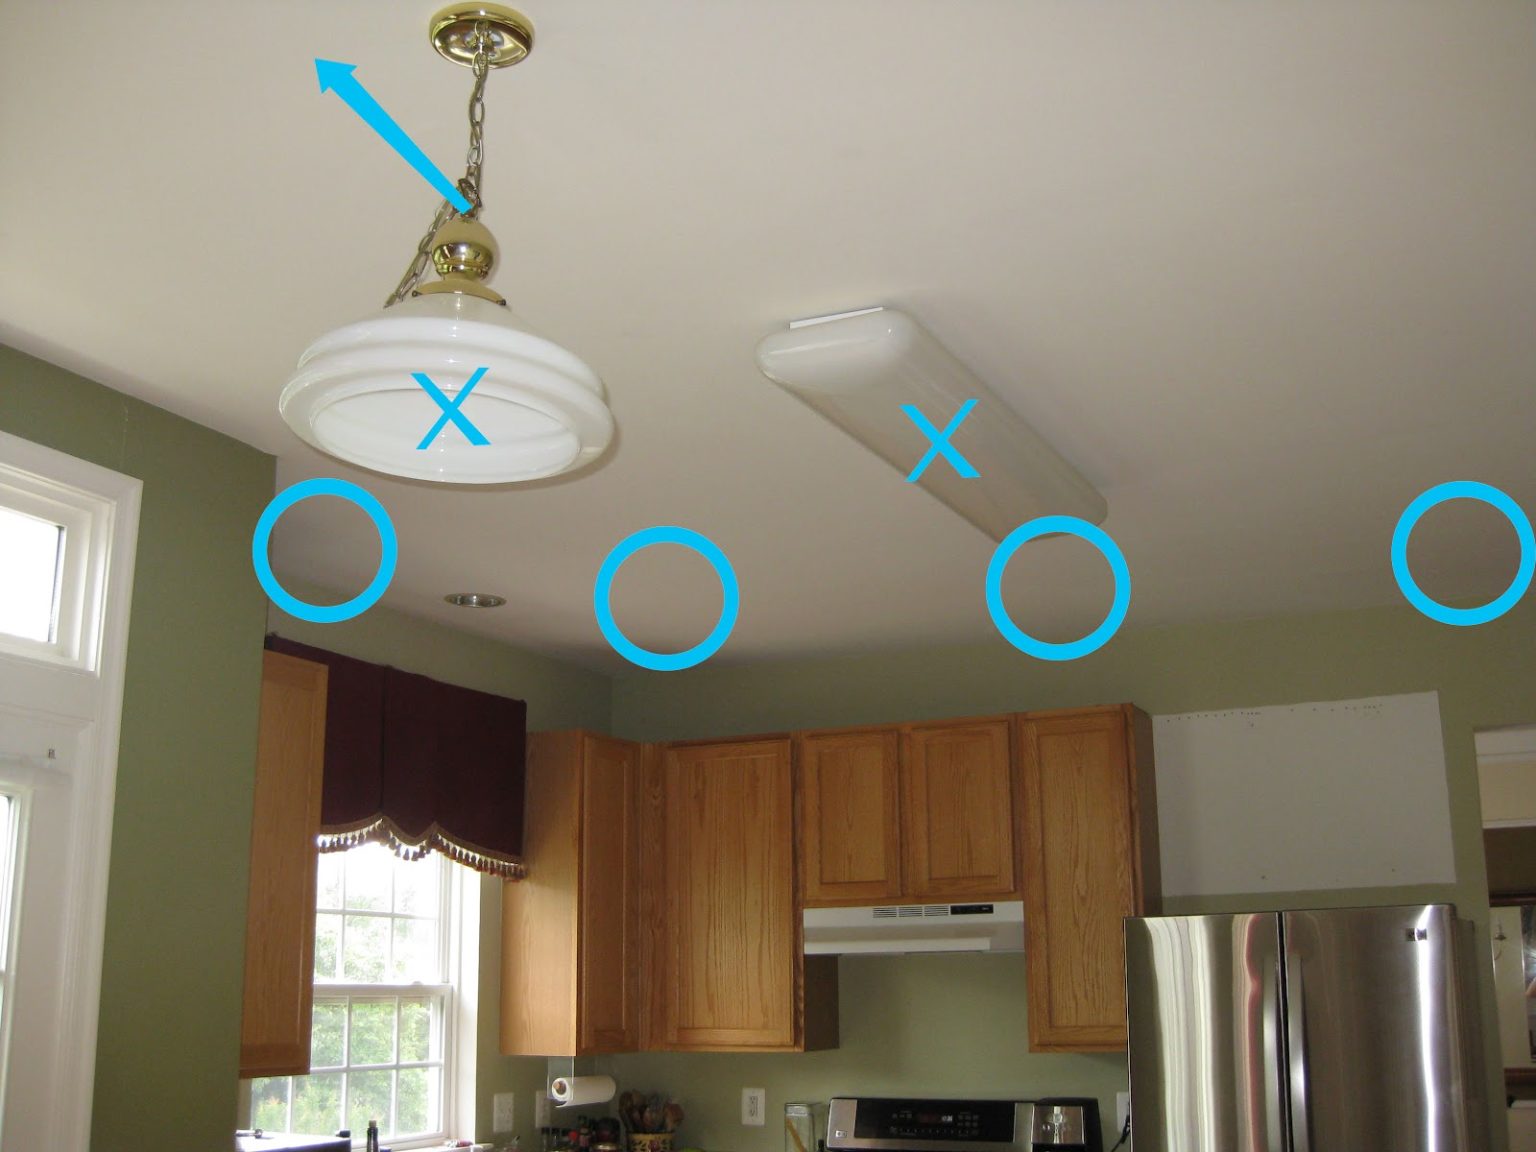
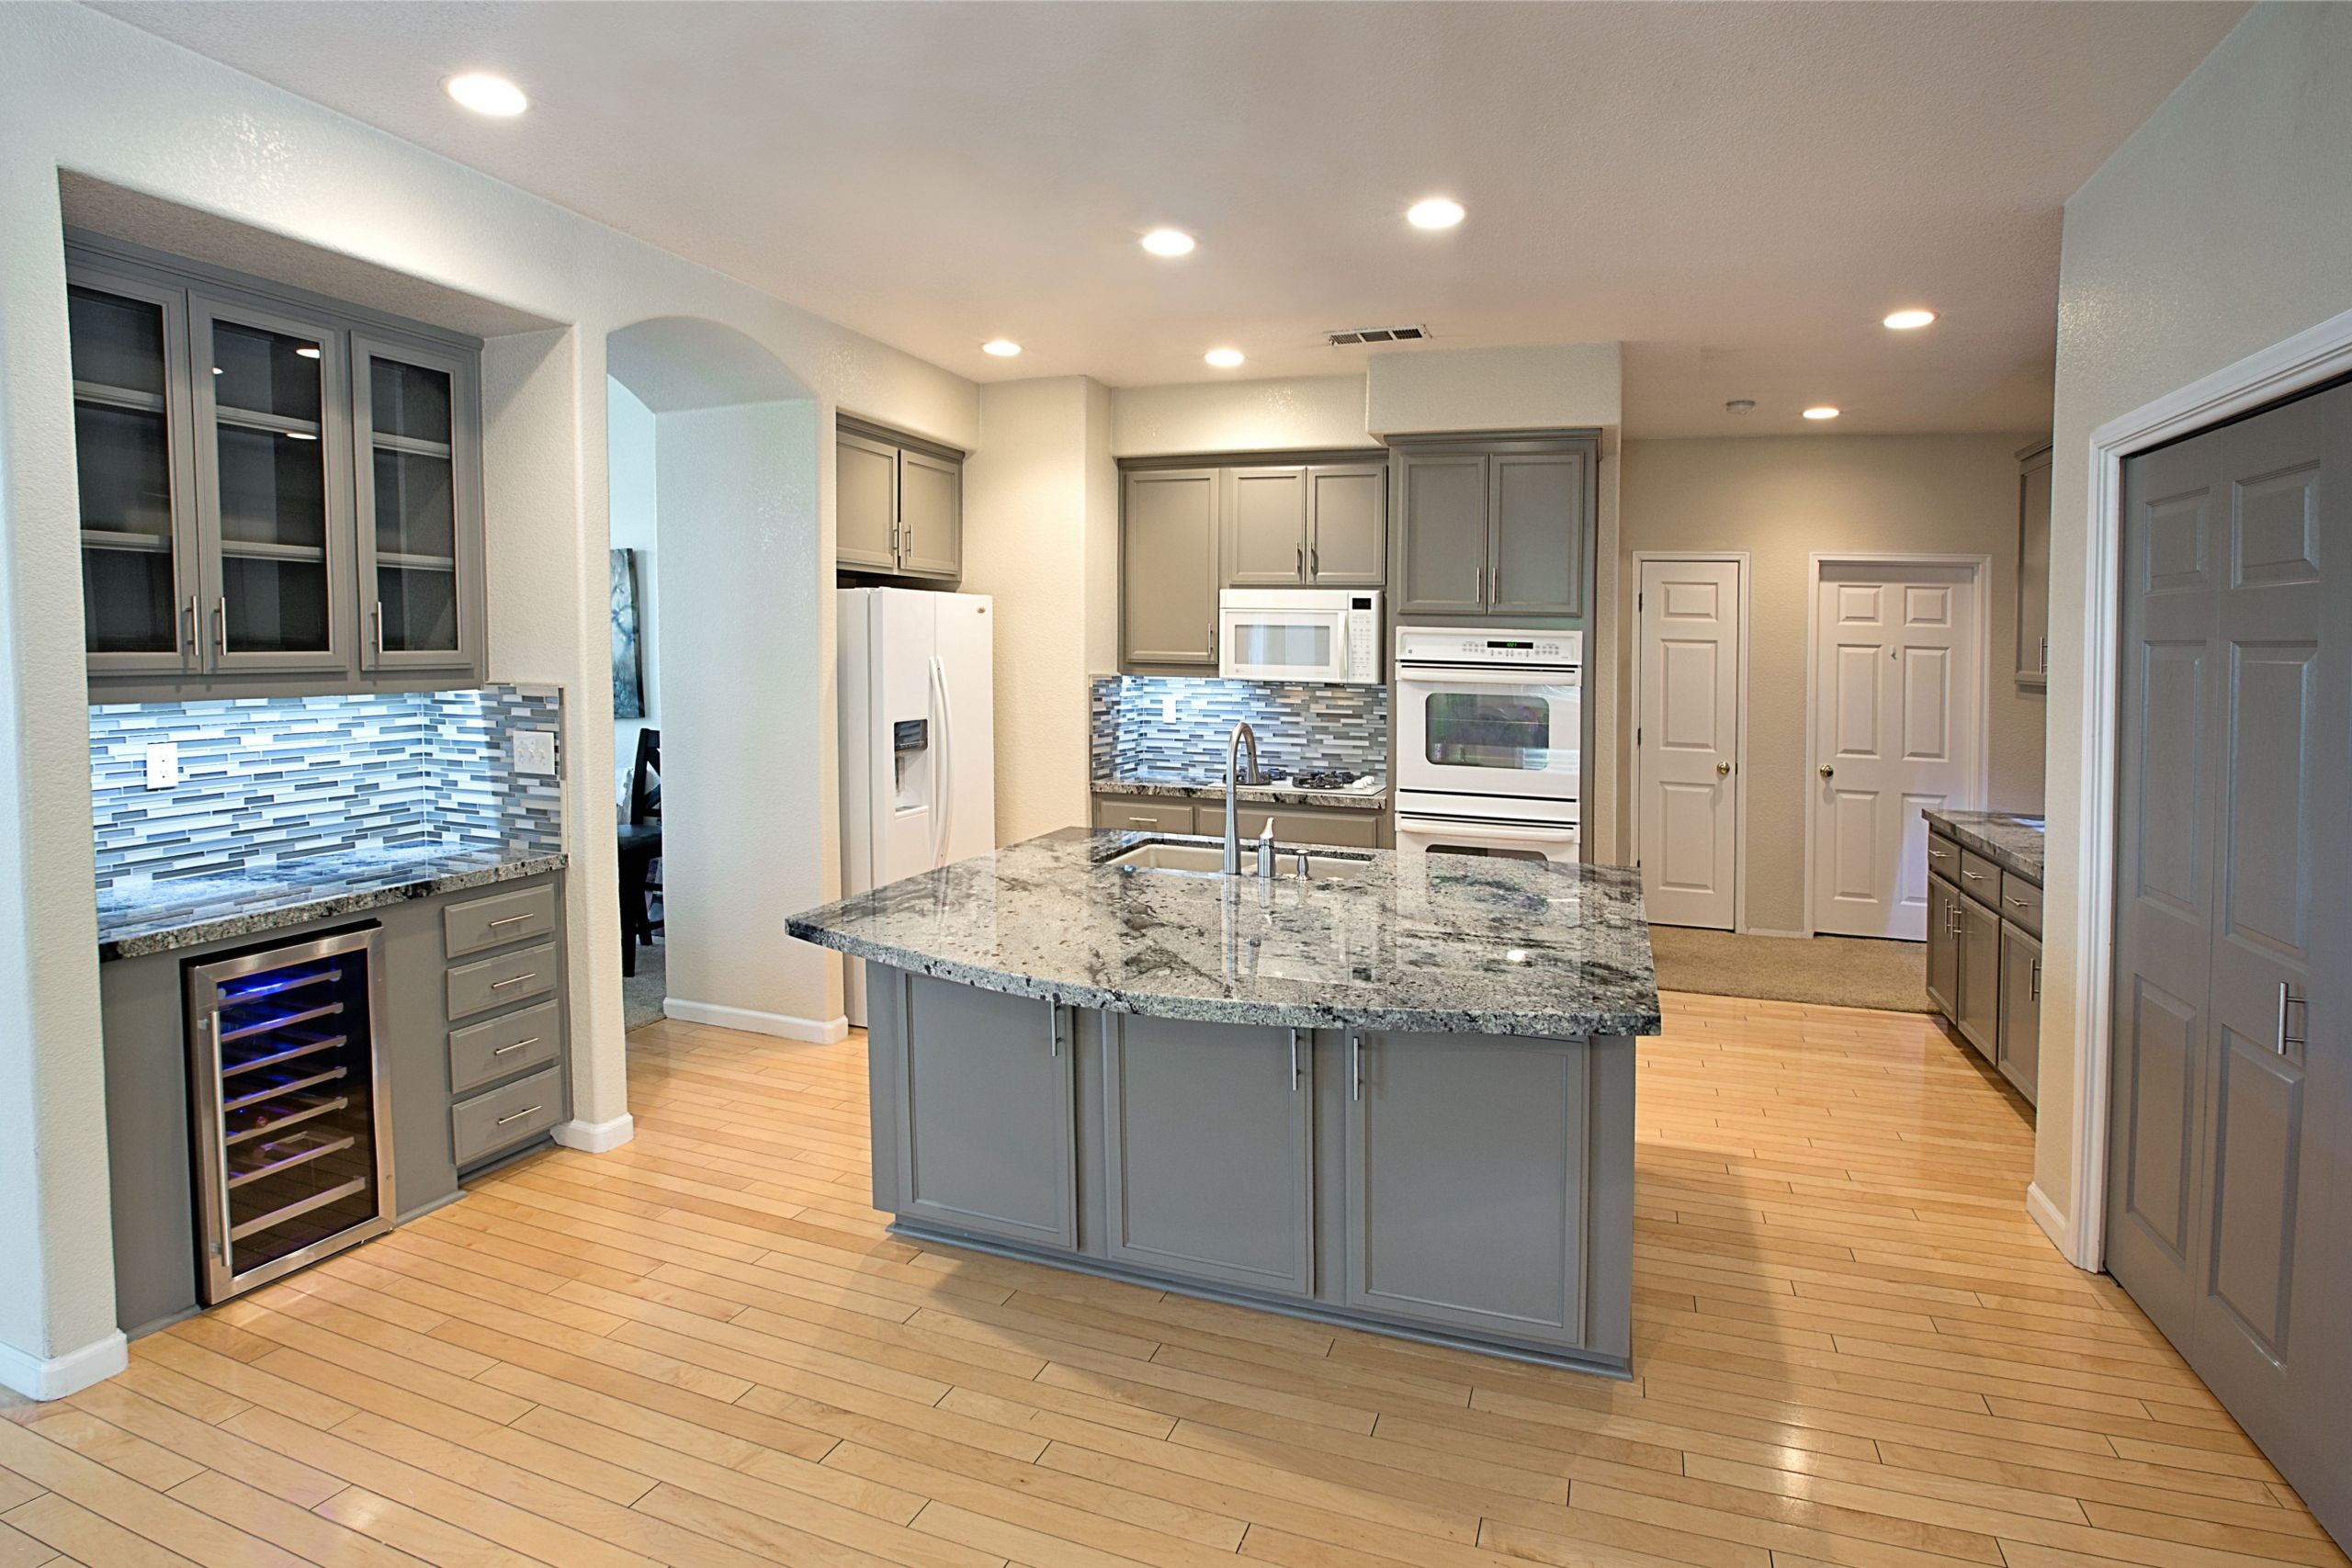
The first step in installing recessed lighting in your kitchen is to determine the placement of the lights on the ceiling. When deciding where to place the lights, consider the layout of your kitchen and the areas that need the most light. Typically, recessed lights should be placed 4-6 feet apart and 18-24 inches away from the wall.How to Install Recessed Lighting in a Kitchen Ceiling
Installing recessed lighting in a kitchen is a project that can easily be done by a DIY enthusiast. However, it's important to have basic electrical knowledge and to follow safety precautions. Before beginning the installation process, make sure to turn off the power to the room at the circuit breaker.DIY Kitchen Lighting: How to Install Recessed Lights
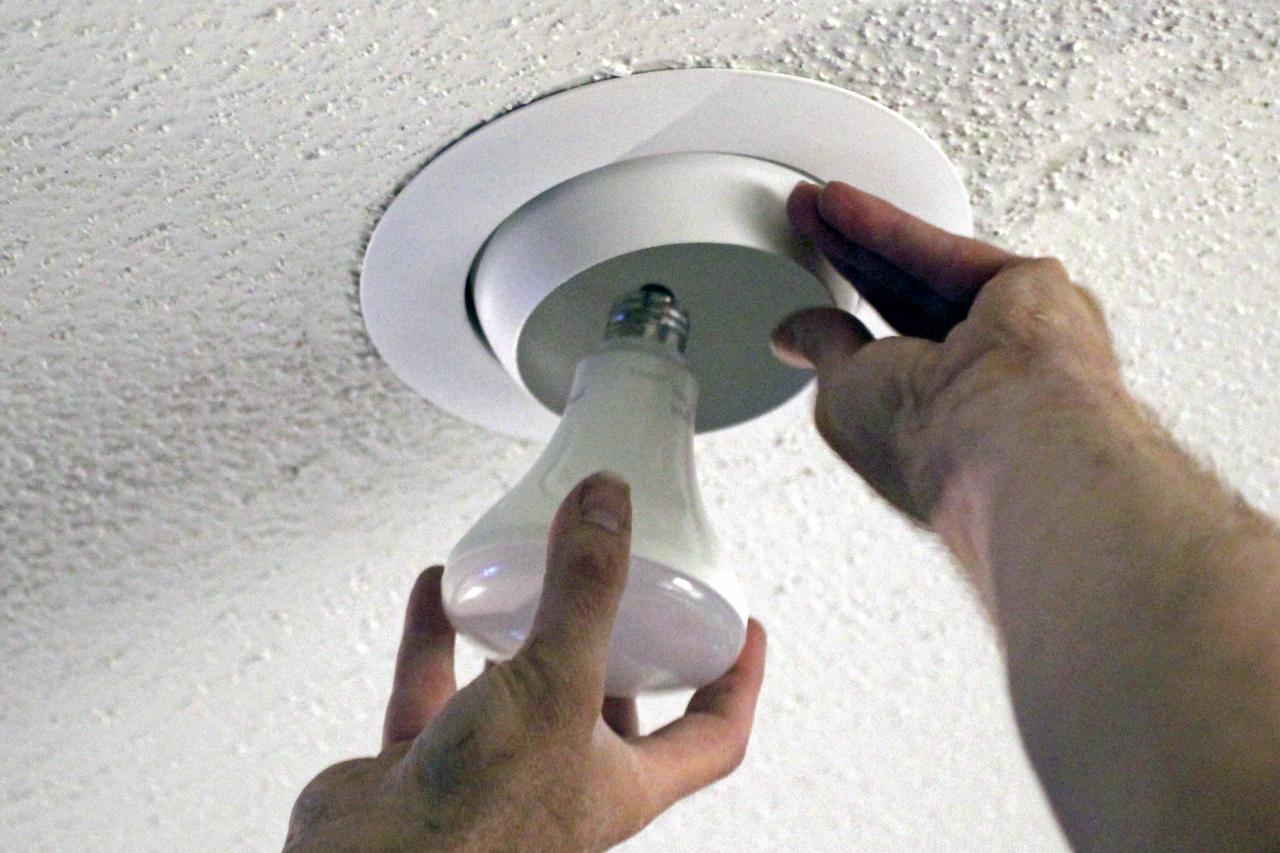
Step 1: Gather your tools and materials. You will need a drill, drywall saw, wire cutters, wire strippers, electrical tape, and of course, the recessed lights. Step 2: Cut holes in the ceiling for the lights using the drywall saw. Step 3: Run electrical wiring from the main power source to the first light, then to the rest of the lights in a series. Step 4: Connect the wiring to the lights using wire nuts. Step 5: Secure the lights in the ceiling by tightening the screws on the brackets. Step 6: Turn the power back on and test the lights to make sure they are working.Step-by-Step Guide to Installing Recessed Lighting in Your Kitchen
When installing recessed lighting in a kitchen, there are a few tips and tricks to keep in mind to ensure a successful and seamless installation. Tip 1: Use a stud finder to locate any ceiling joists before cutting the holes for the lights. Tip 2: Consider using LED lights, which are energy-efficient and have a longer lifespan compared to traditional bulbs. Tip 3: If you have a sloped ceiling, make sure to use special sloped ceiling housings for the lights. Tip 4: For a more customized look, consider using dimmer switches to control the brightness of the lights.Installing Recessed Lighting in a Kitchen: Tips and Tricks
Dos: - Do plan out the placement of the lights beforehand to ensure even lighting throughout the kitchen. - Do use a voltage tester to make sure the power is off before starting the installation process. - Do make sure to follow the instructions on the packaging carefully when installing the lights. Don'ts: - Don't overload the circuit by connecting too many lights in one series. - Don't install the lights too close to the edge of the ceiling, as this can create a glare. - Don't forget to patch any holes in the ceiling after installing the lights.The Dos and Don'ts of Installing Recessed Lighting in Your Kitchen
While installing recessed lighting in a kitchen is a relatively straightforward process, there are a few common mistakes that you should avoid to ensure a successful installation. Mistake 1: Not turning off the power before beginning the installation process. Mistake 2: Not following the manufacturer's instructions for installation. Mistake 3: Not using the correct size of housing for the lights. Mistake 4: Not properly securing the lights in the ceiling, which can lead to sagging or falling lights.Installing Recessed Lighting in a Kitchen: Common Mistakes to Avoid
Choosing the right size and placement for recessed lighting in your kitchen is crucial for achieving the desired lighting effect. As a general rule, the size of the light should be proportionate to the size of the room. For a small kitchen, 4-inch lights are typically sufficient, while larger kitchens may require 6-inch lights. As for placement, aim for even coverage by spacing the lights 4-6 feet apart.How to Choose the Right Size and Placement for Recessed Lighting in Your Kitchen
Tools: - Drill - Drywall saw - Wire cutters - Wire strippers - Voltage tester - Screwdriver Materials: - Recessed lights - Electrical wiring - Wire nuts - Electrical tape - Dimmer switches (optional)Installing Recessed Lighting in a Kitchen: Tools and Materials You'll Need
If you're a visual learner, there are many helpful video tutorials available online that provide a step-by-step guide to installing recessed lighting in a kitchen. These videos can be a great resource to ensure you're following the correct steps and avoiding any potential mistakes. With this guide, you now have all the information you need to successfully install recessed lighting in your kitchen. Remember to take your time, follow safety precautions, and seek professional help if needed. Good luck with your DIY project!Step-by-Step Video Tutorial: Installing Recessed Lighting in a Kitchen
Why Recessed Lighting is the Perfect Addition to Your Kitchen

Creating a Modern and Sleek Look
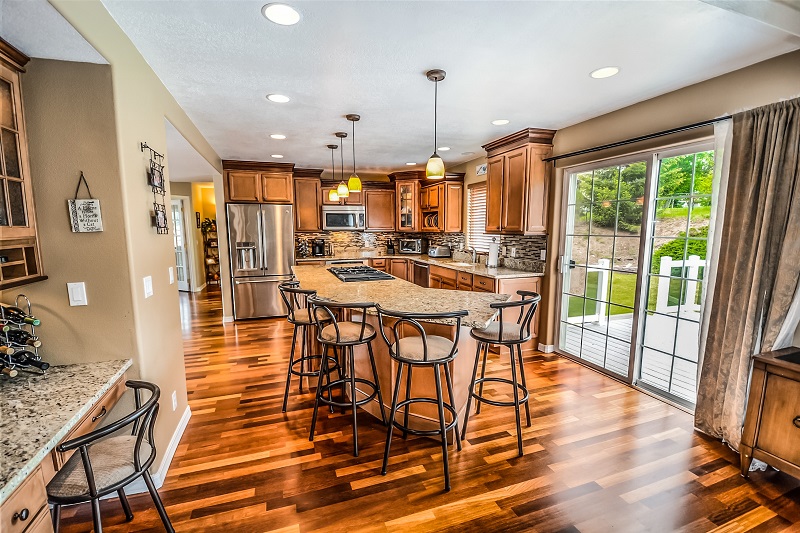
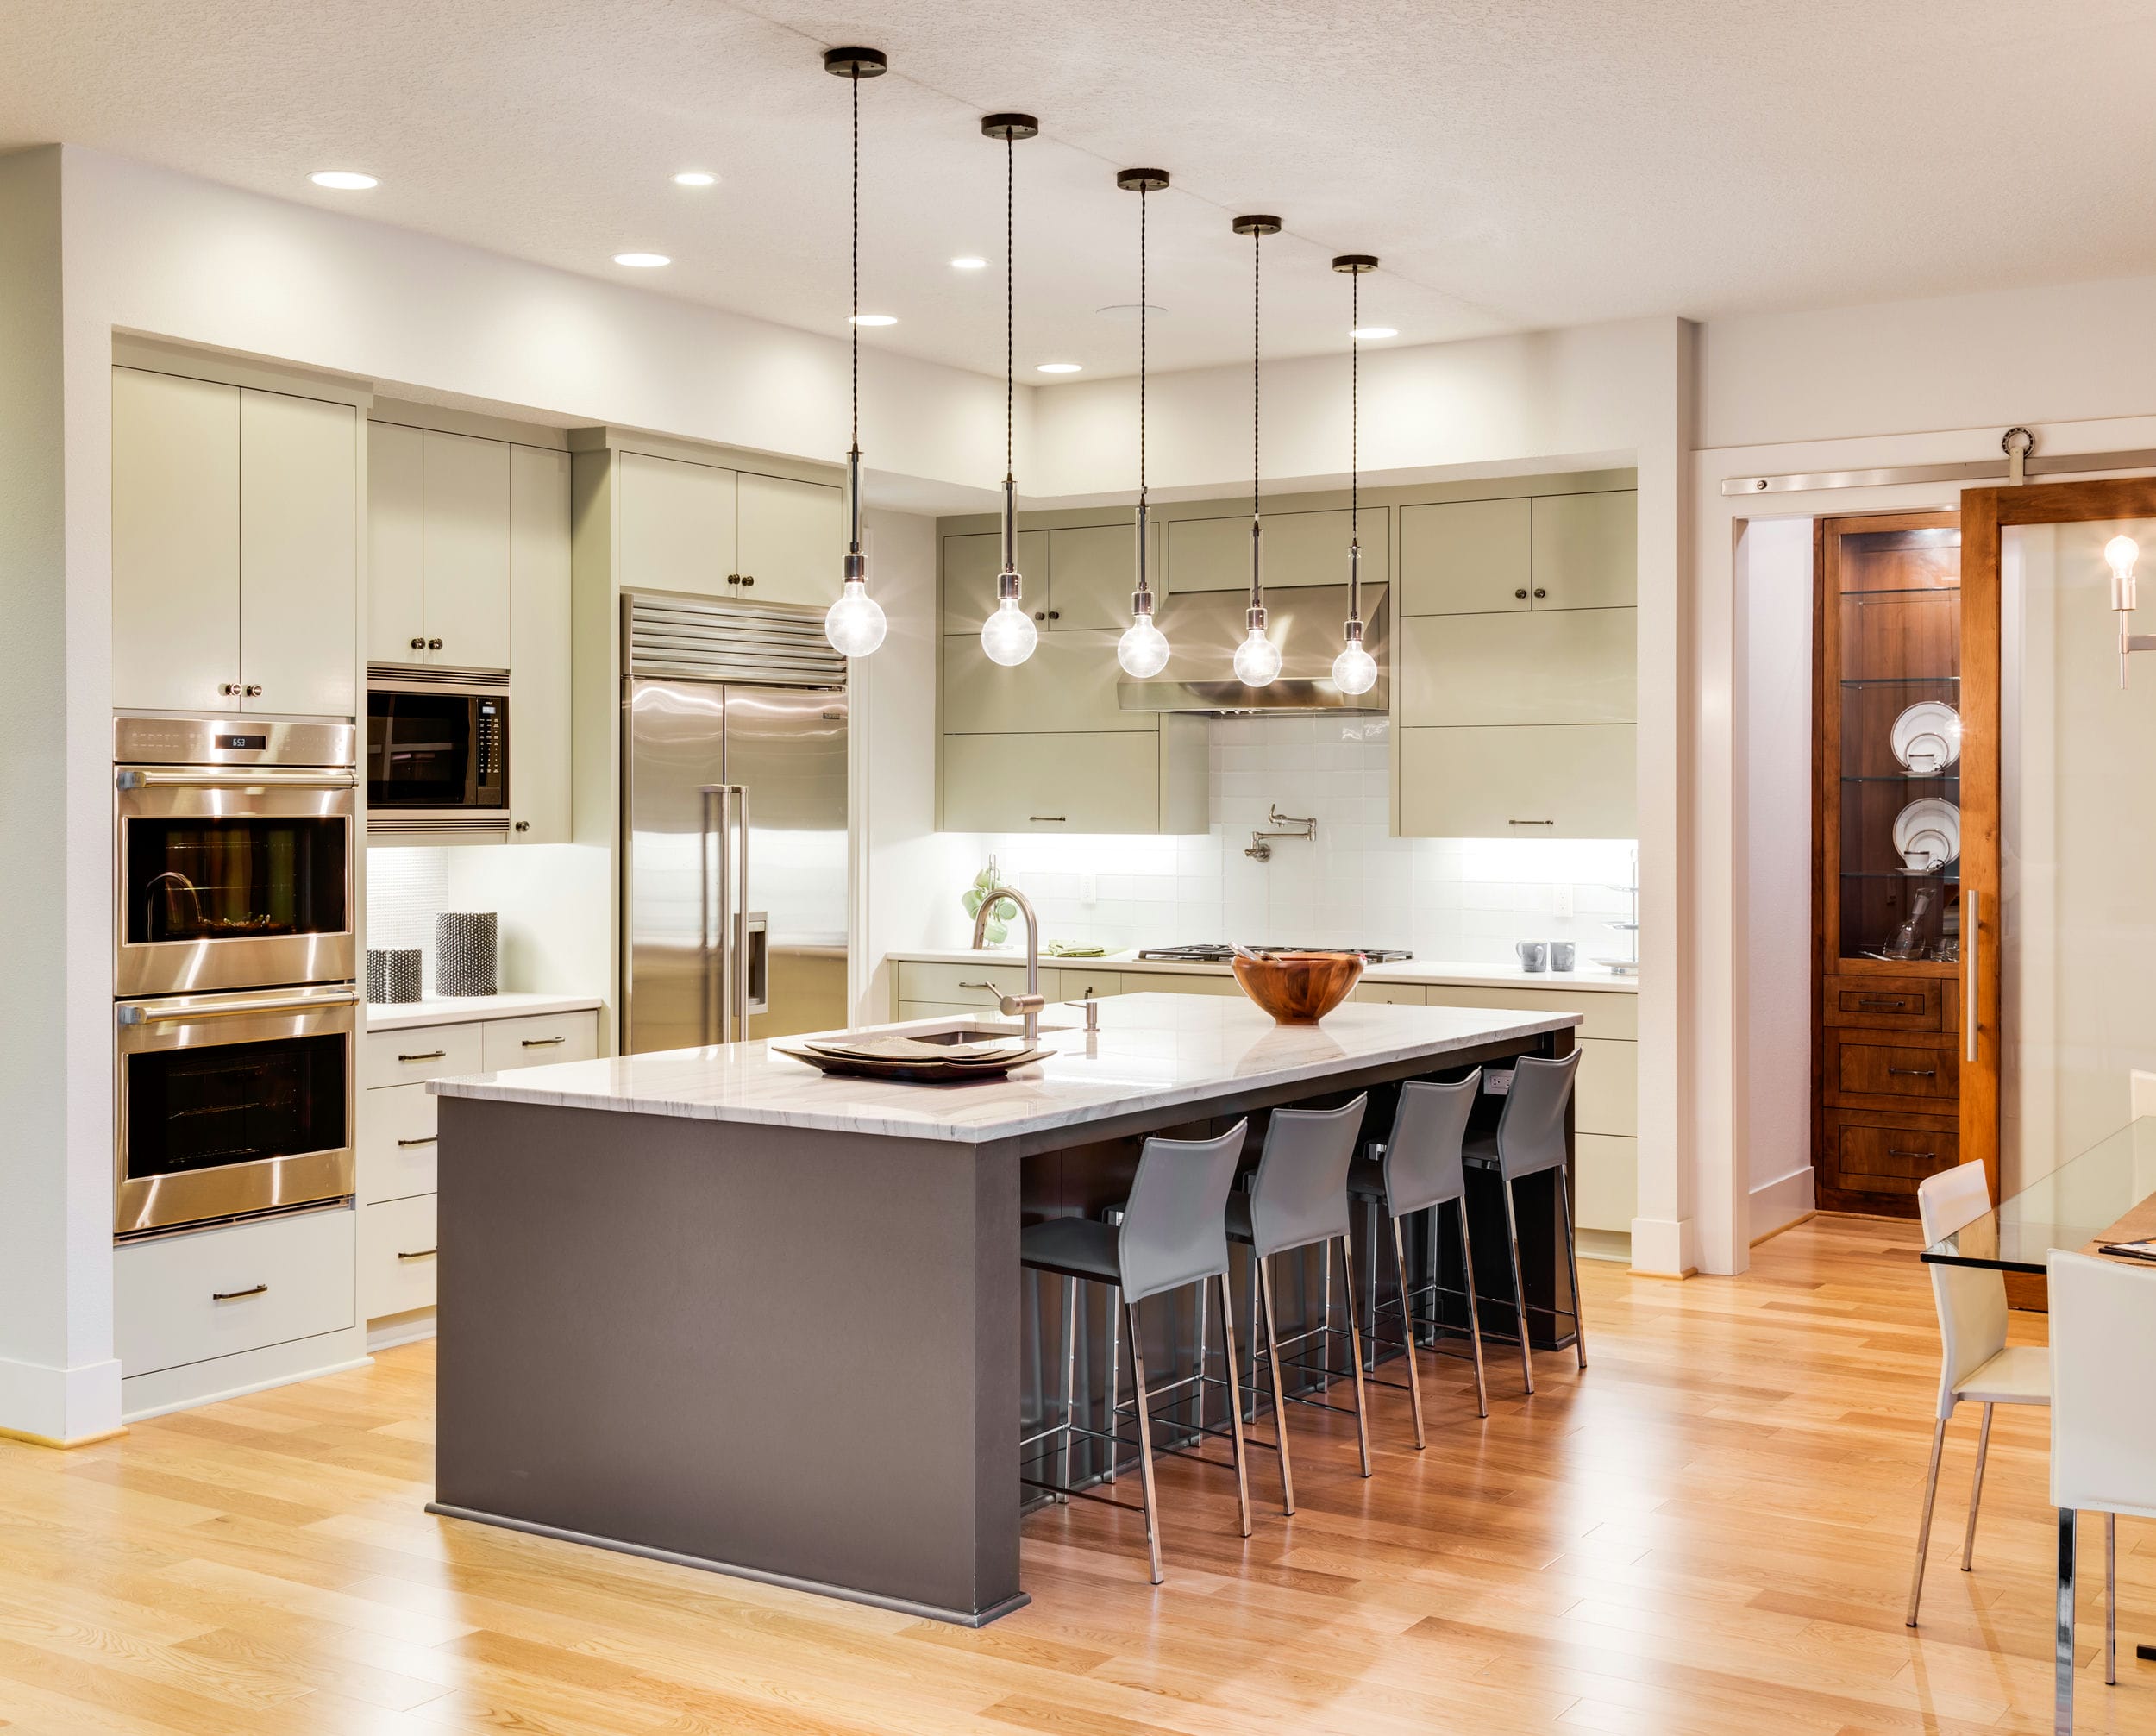
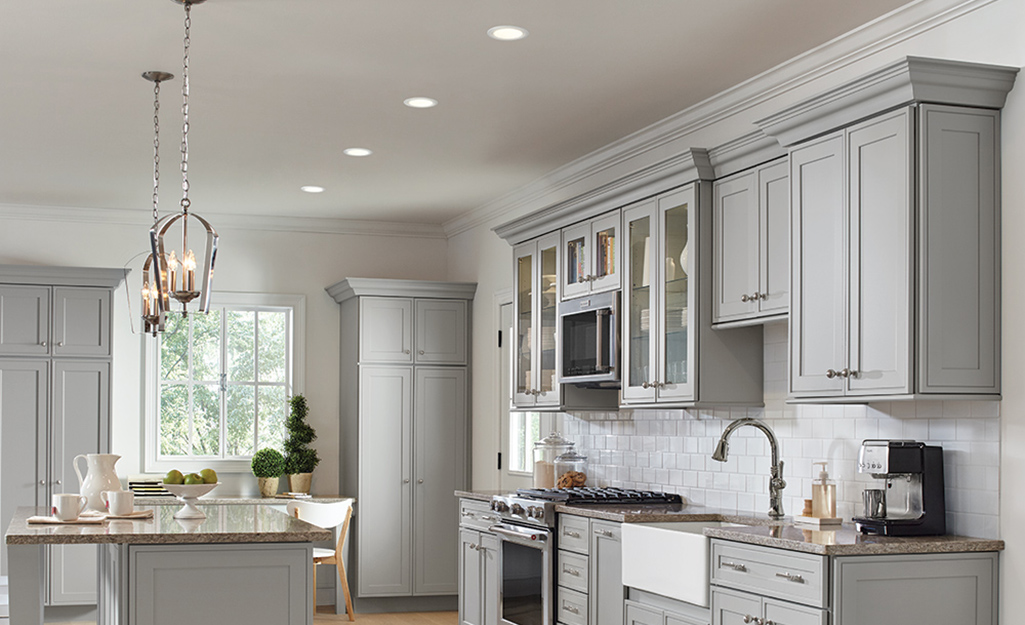
 When it comes to kitchen design, lighting plays a crucial role in creating the overall ambiance and functionality of the space.
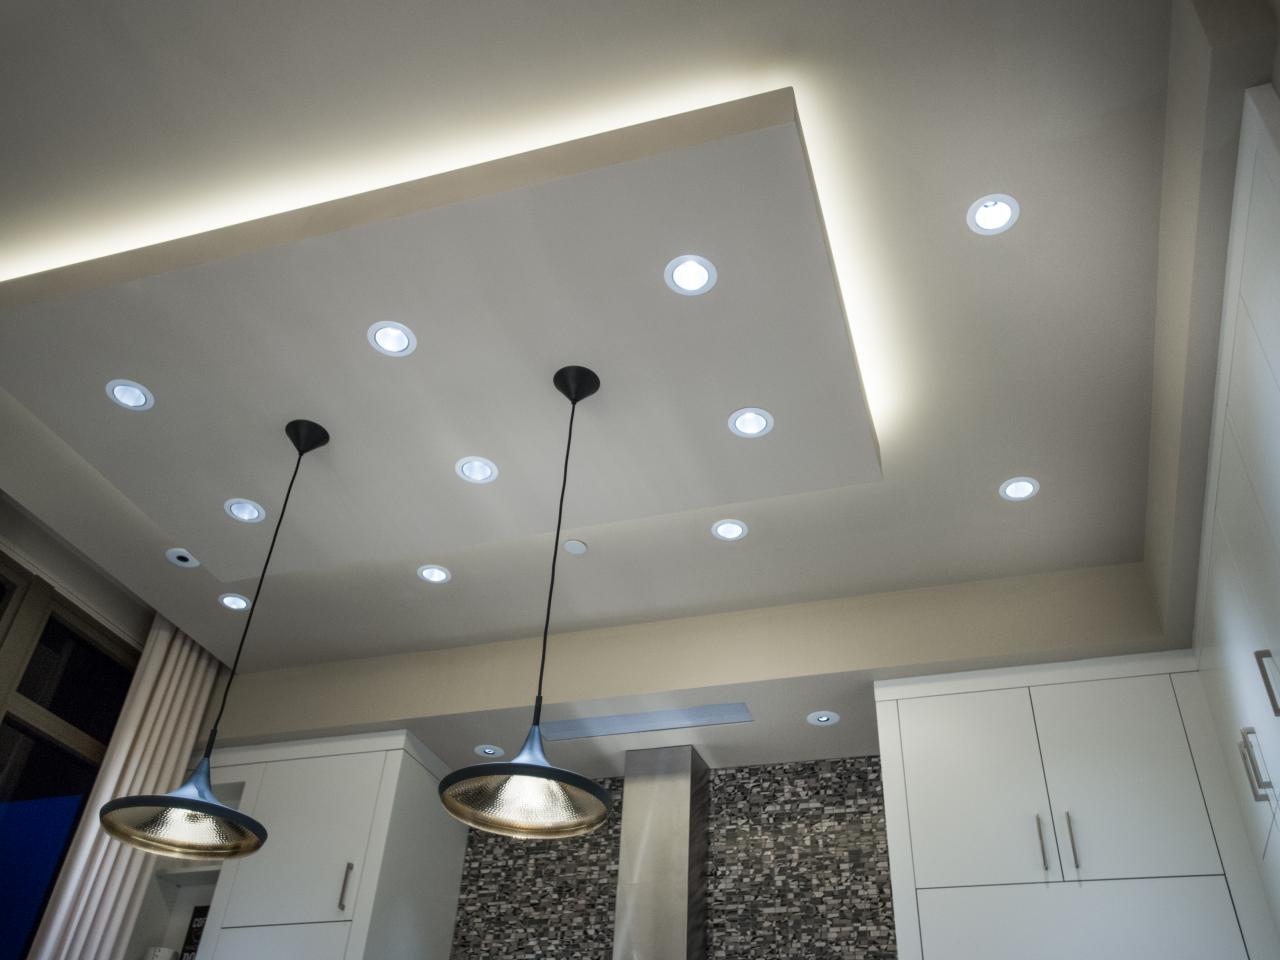
Recessed lighting is a popular choice for many homeowners due to its sleek and modern look
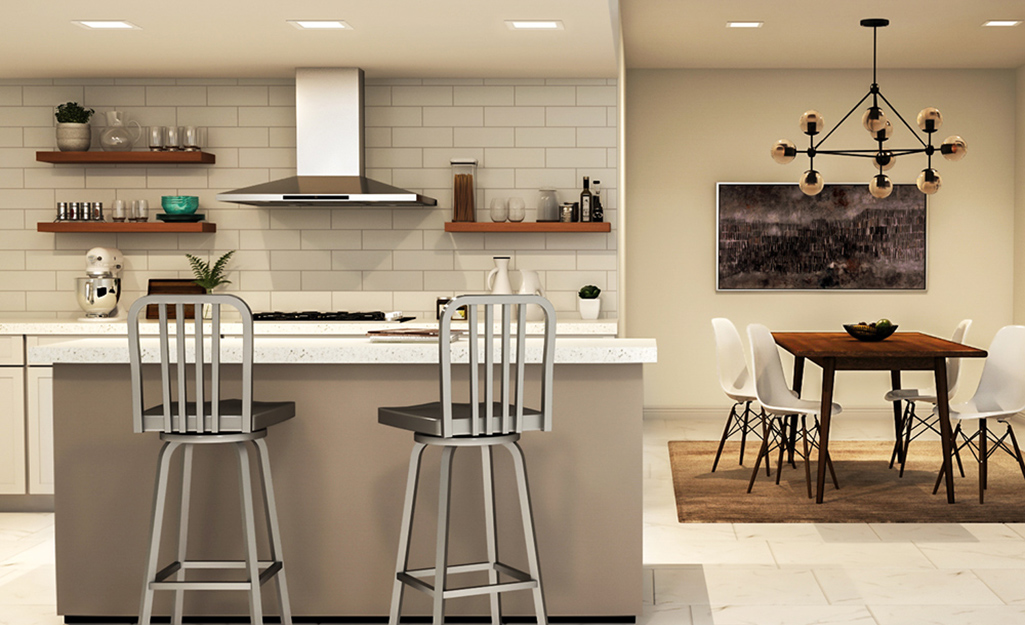
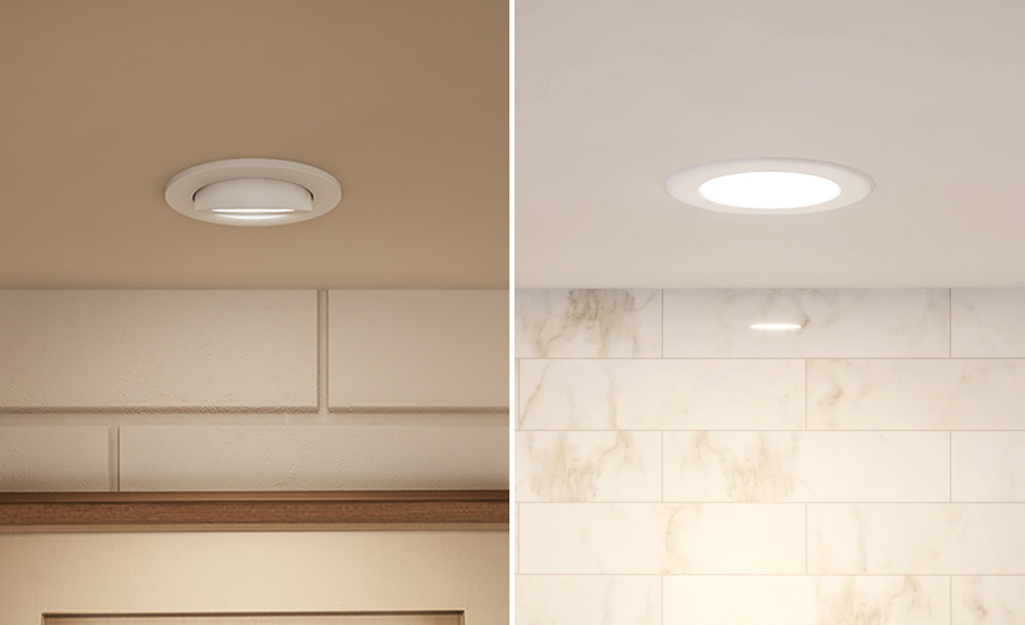
. Unlike traditional light fixtures that hang from the ceiling, recessed lights are installed flush against the ceiling, giving the illusion of a seamless and clutter-free design. This not only makes the kitchen appear more spacious, but it also adds a touch of sophistication and elegance.
Enhancing Task Lighting
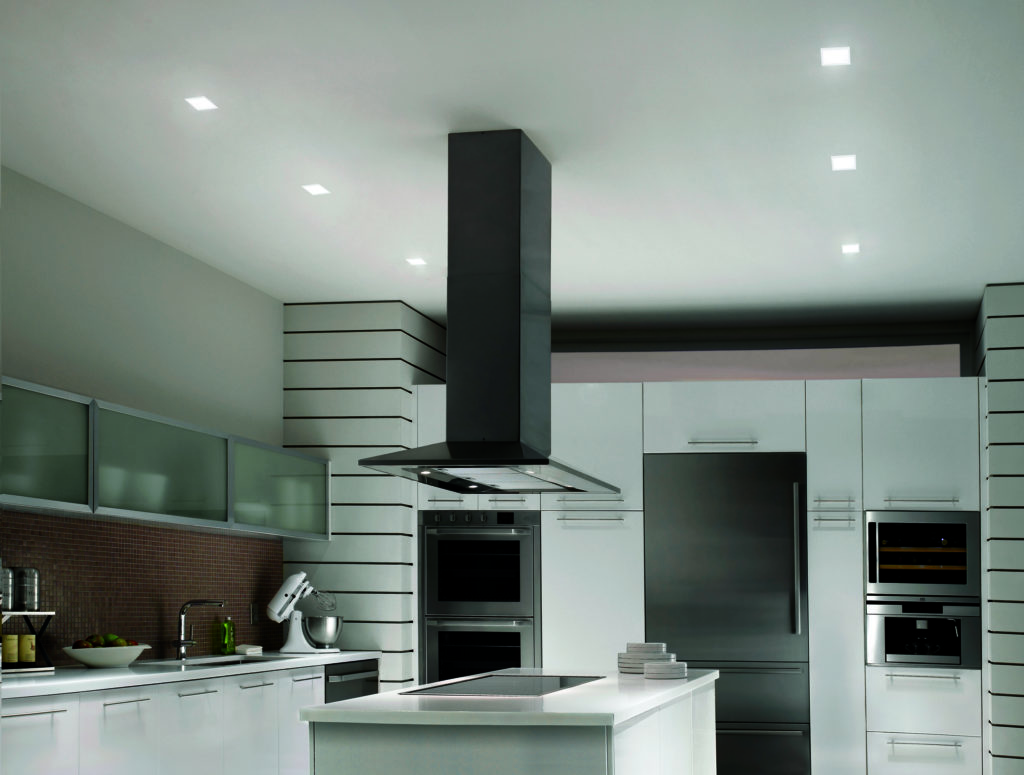 One of the main advantages of installing recessed lighting in the kitchen is its ability to provide focused and direct light.
Task lighting is essential in the kitchen, especially when it comes to cooking and food preparation
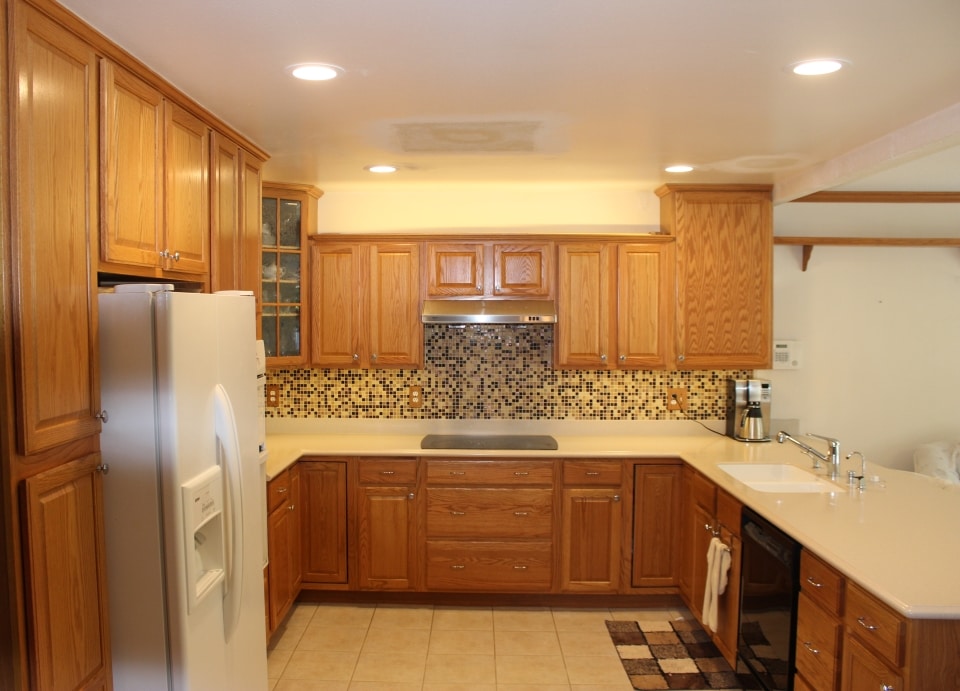
. With recessed lights strategically placed above the countertops and cooking areas, you can easily see what you're doing without any shadows or glare. This makes cooking and meal prep safer and more efficient, allowing you to enjoy your time in the kitchen.
Highlighting Key Features
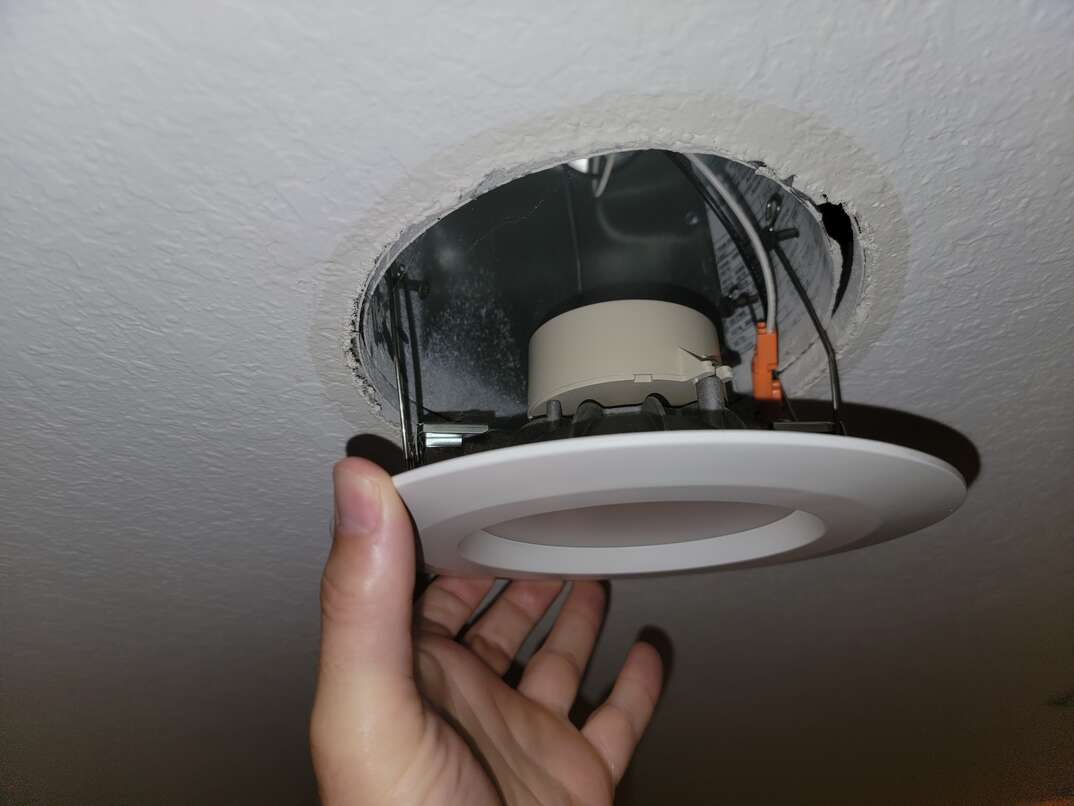 In addition to providing practical lighting, recessed lights can also be used to
highlight key features in your kitchen
. For instance, if you have a beautiful backsplash or a statement piece like a kitchen island, recessed lights can be strategically placed to draw attention to these elements. This not only adds visual interest to the space but also creates a focal point that ties the whole design together.
Energy Efficiency and Cost Savings
 With the rising cost of electricity, homeowners are always looking for ways to reduce their energy consumption and save money.
Recessed lighting is an energy-efficient option that can help lower your electricity bill
. These lights use less energy compared to traditional fixtures, making them a more eco-friendly and cost-effective choice. Additionally, recessed lights have a longer lifespan, which means fewer replacements and maintenance costs in the long run.
Conclusion
:max_bytes(150000):strip_icc()/kitchenrecessedlighting-GettyImages-155383268-dec5caad600541ff81cbdd6d06846c66.jpg) In conclusion, if you're looking to upgrade your kitchen's lighting, recessed lights are definitely worth considering. They not only add a modern and stylish touch to your space but also provide excellent task lighting, highlight key features, and save you money on your energy bill. So,
make sure to include recessed lighting in your kitchen design for a functional and visually appealing space
.
In conclusion, if you're looking to upgrade your kitchen's lighting, recessed lights are definitely worth considering. They not only add a modern and stylish touch to your space but also provide excellent task lighting, highlight key features, and save you money on your energy bill. So,
make sure to include recessed lighting in your kitchen design for a functional and visually appealing space
.















:max_bytes(150000):strip_icc()/GettyImages-Perry-Mastrovito-56a27fbe5f9b58b7d0cb598d.jpg)
