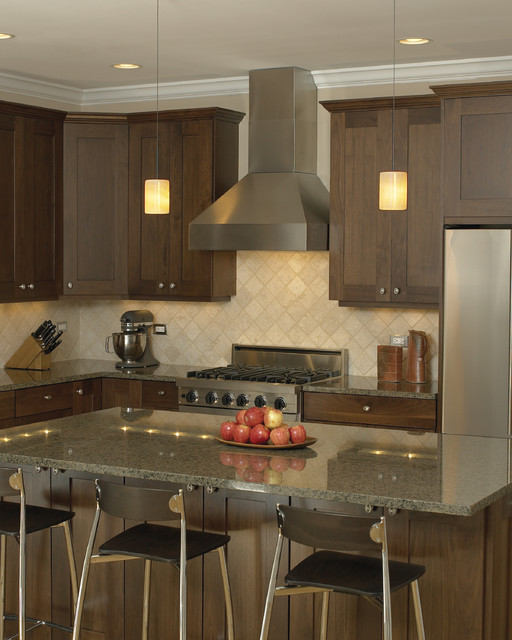
Installing low voltage kitchen lighting is a great way to enhance the look and functionality of your kitchen. However, before you begin the installation process, it is important to plan carefully to ensure that the end result meets your needs and expectations. Start by assessing your kitchen layout and identifying areas that could benefit from additional lighting. This could include under cabinets, over the sink, or above the kitchen island. Once you have identified the areas for installation, consider the type of lighting you want. Low voltage lighting offers a soft and subtle glow, making it ideal for creating ambiance in your kitchen. It also offers energy efficiency and can help you save on your electricity bill. Additionally, low voltage lighting comes in a variety of styles, including strip lights, puck lights, and recessed lights, allowing you to choose the best option for your kitchen.1. Planning and Installing Low Voltage Kitchen Lighting
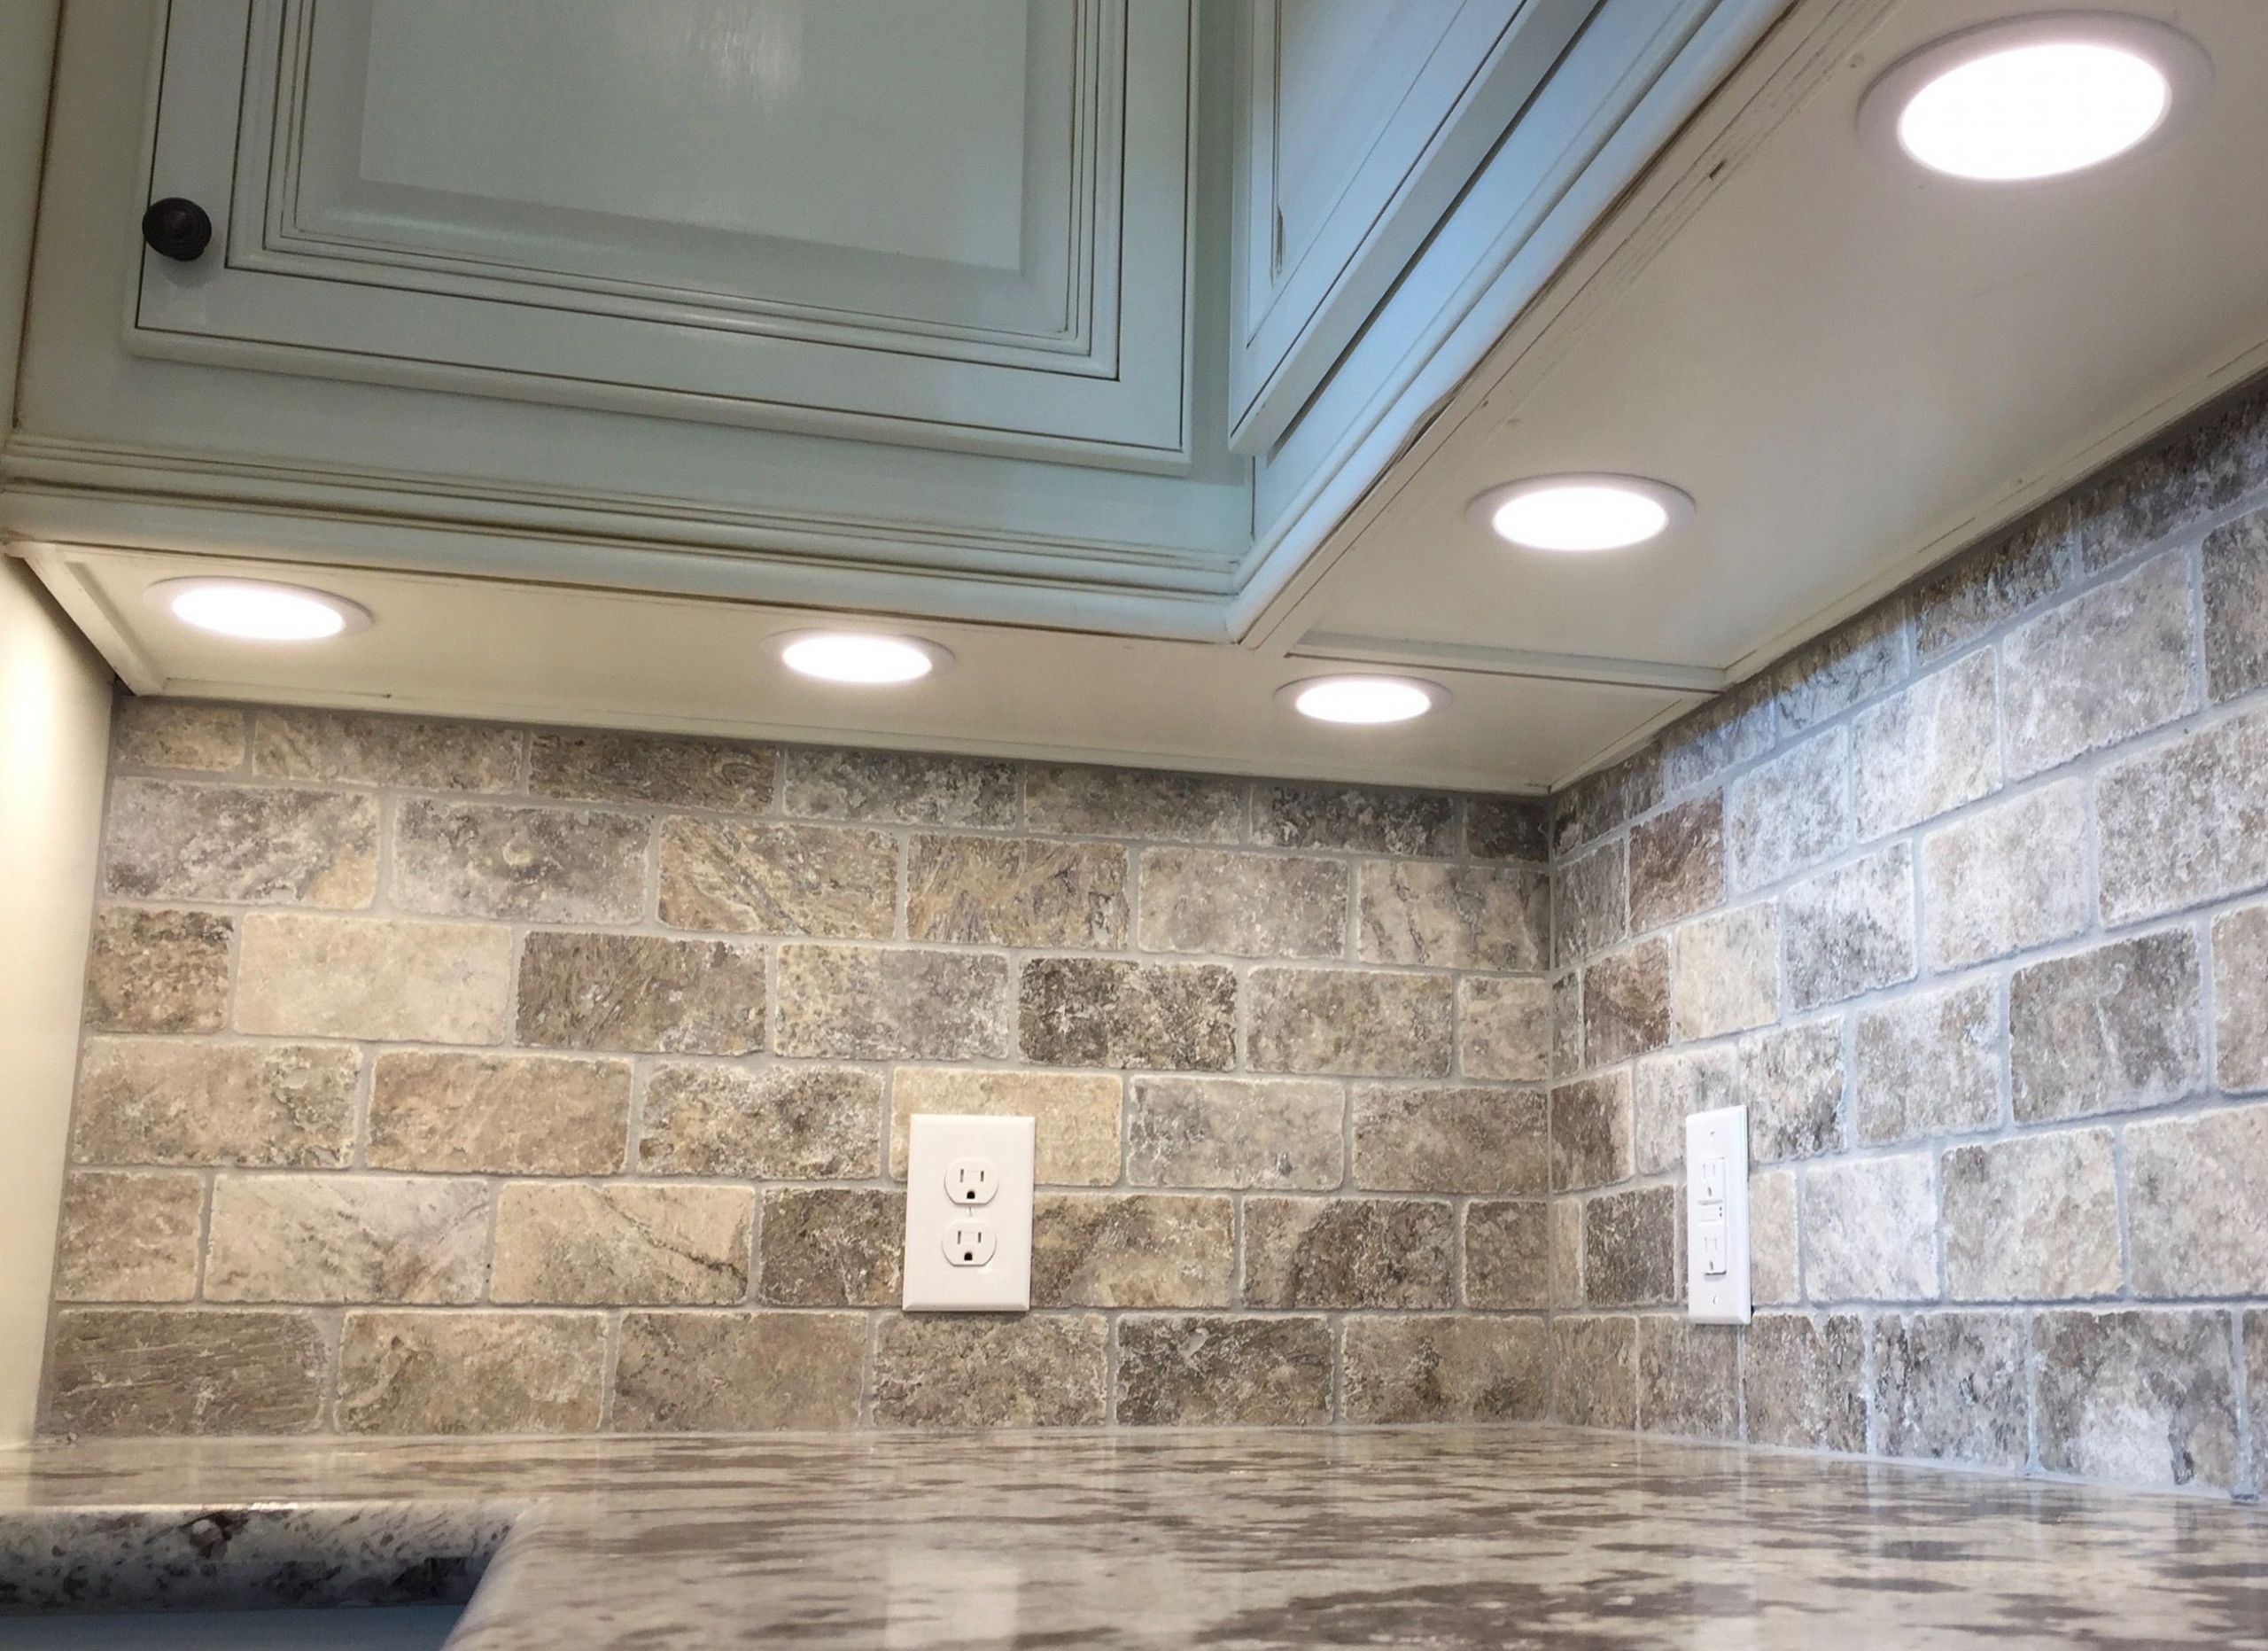
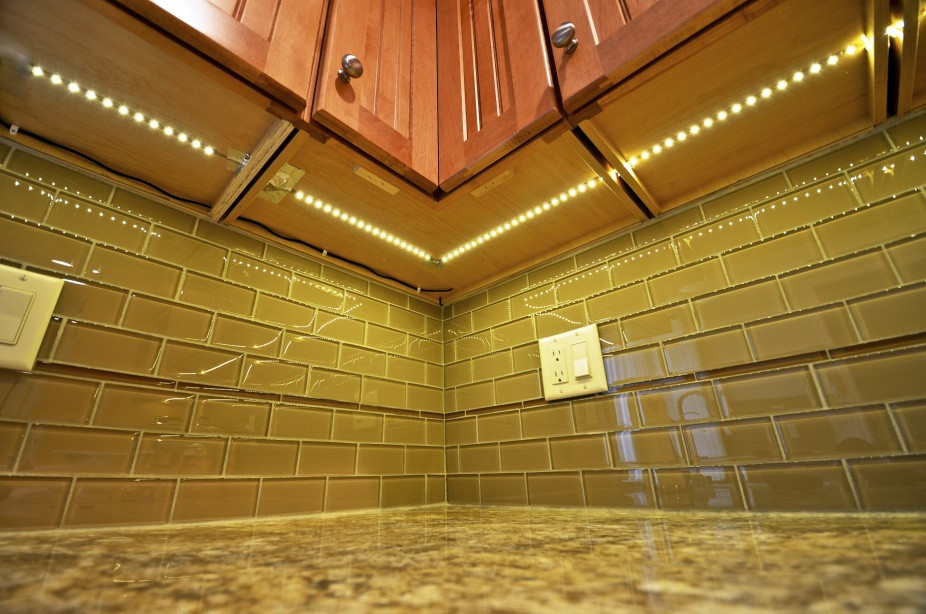
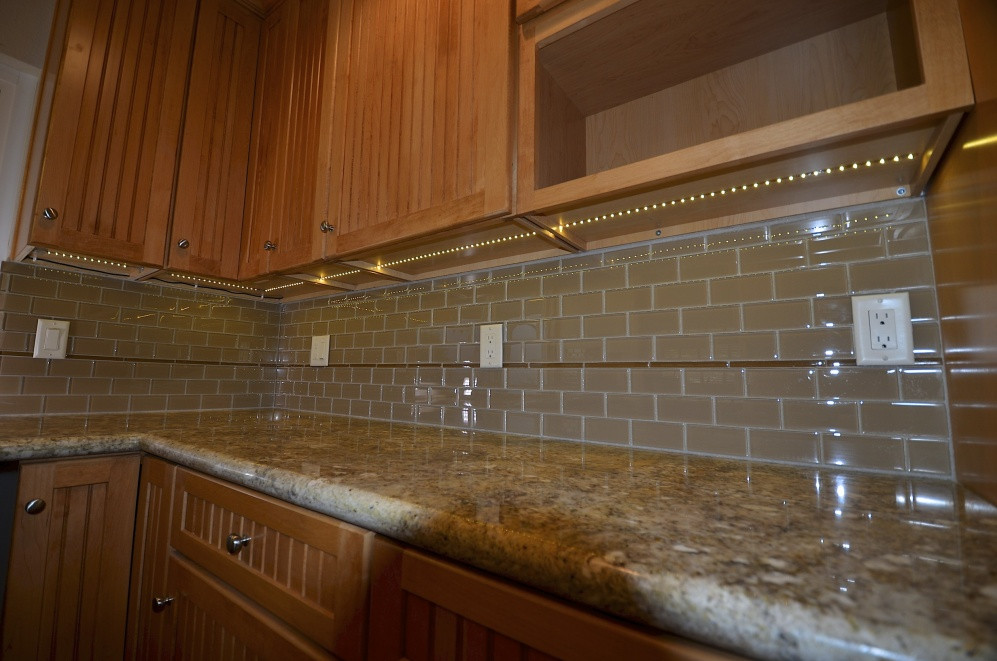
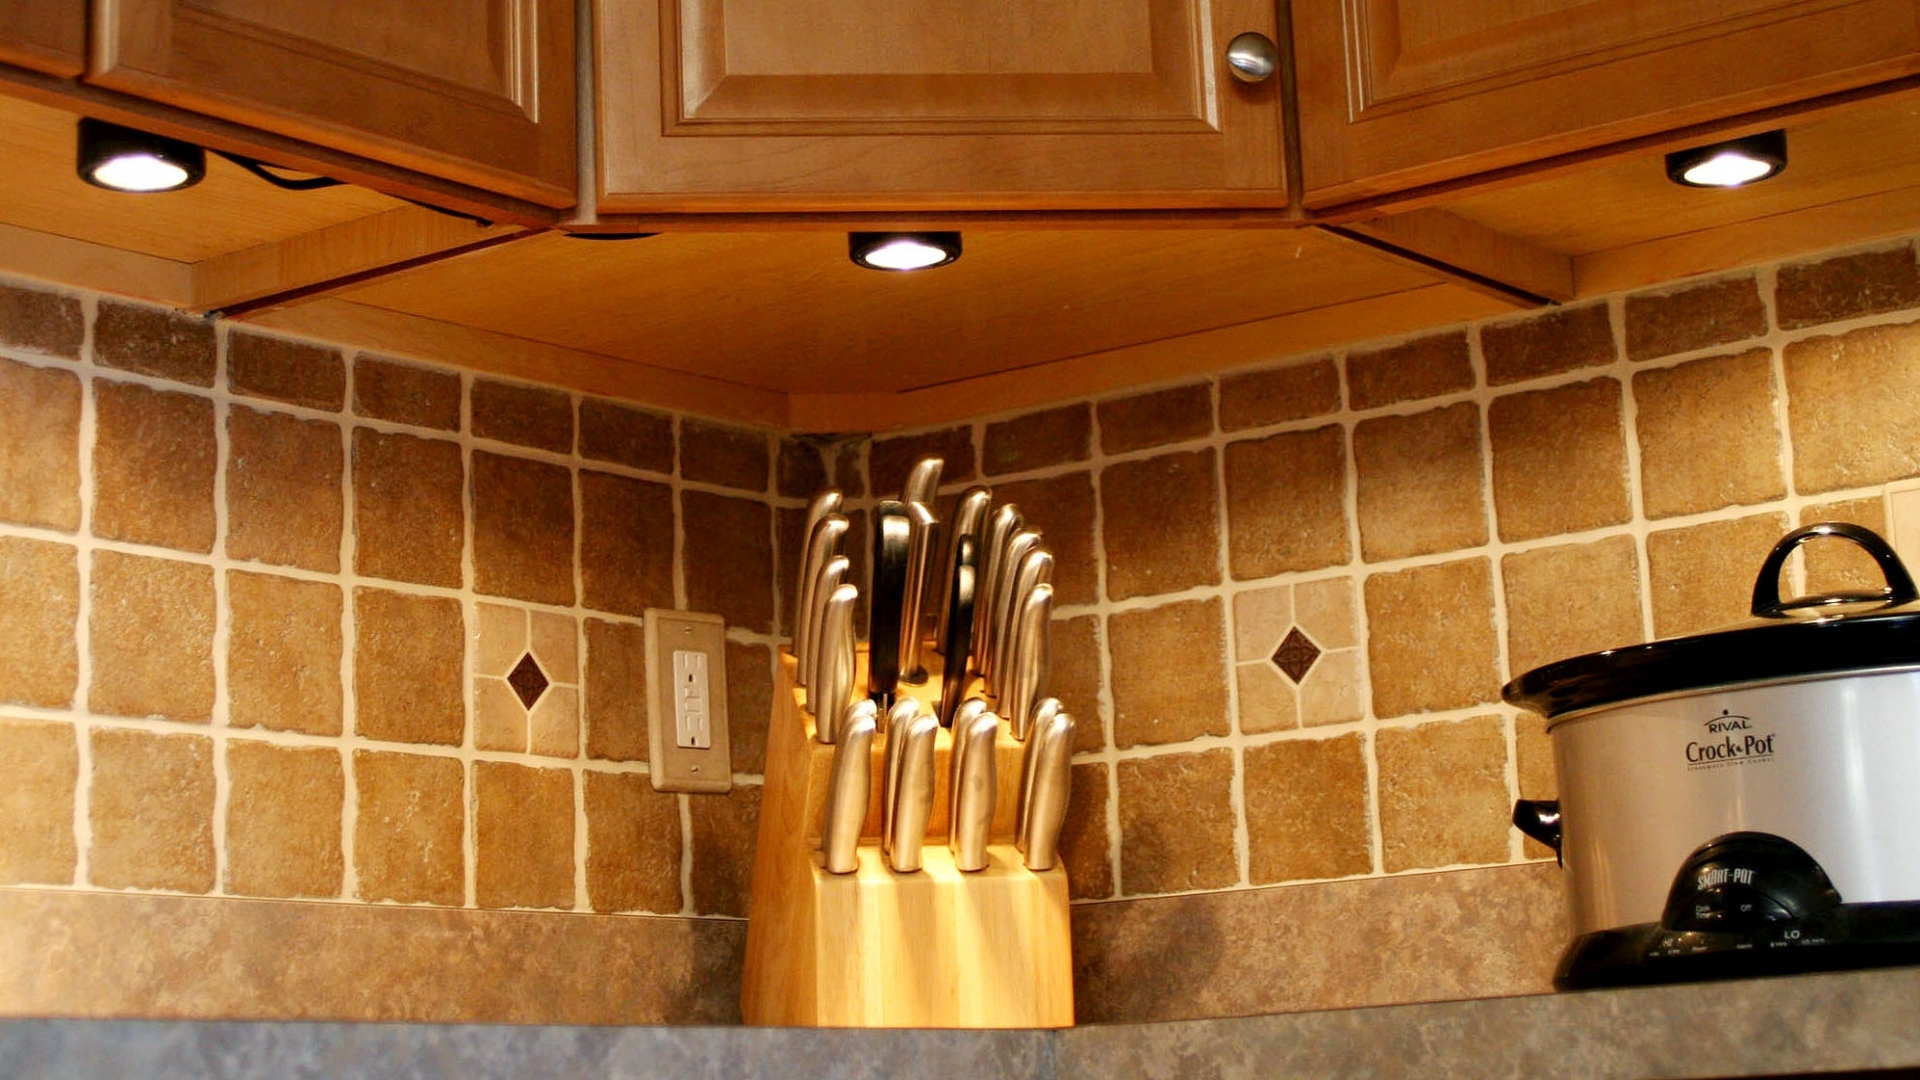
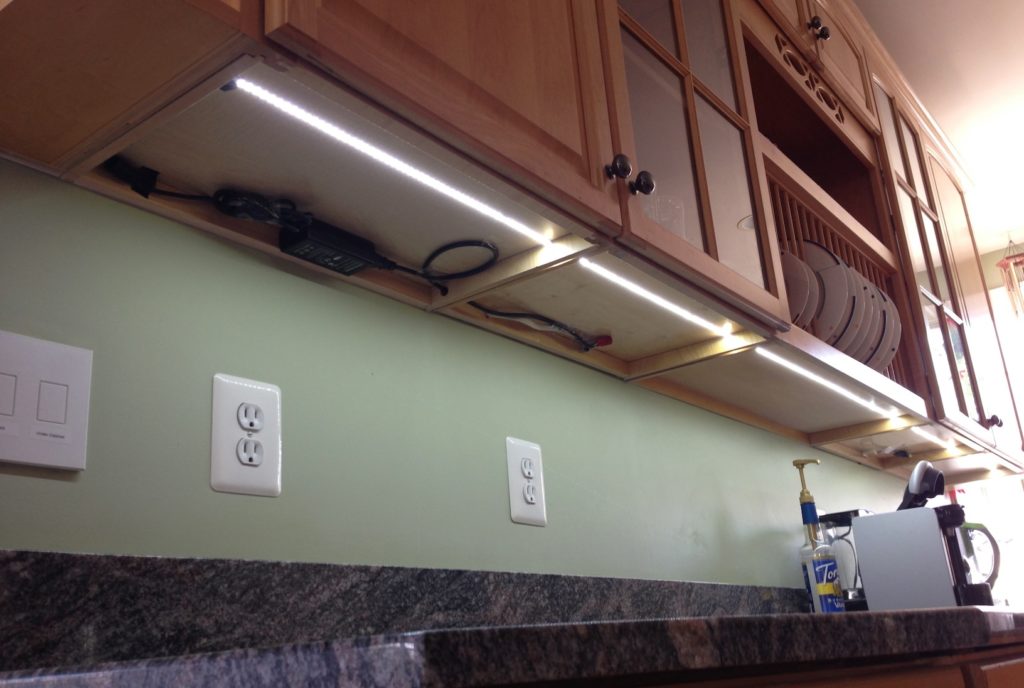
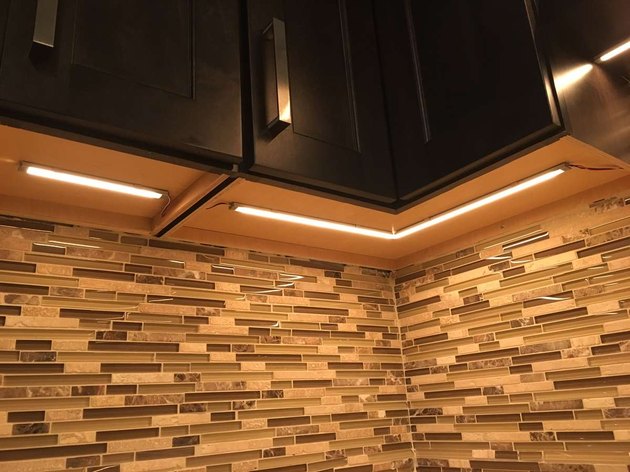
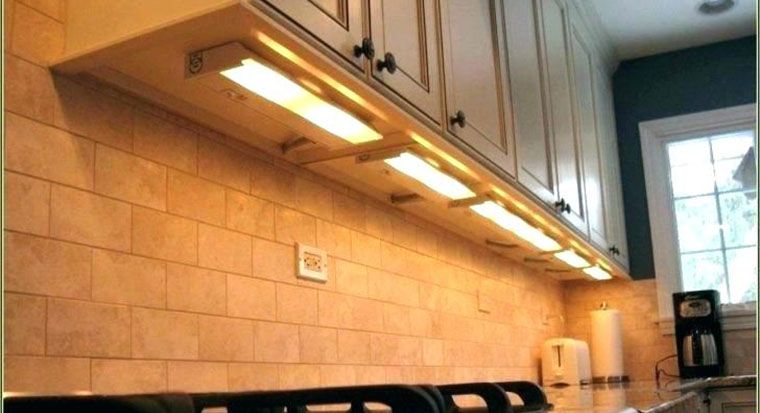
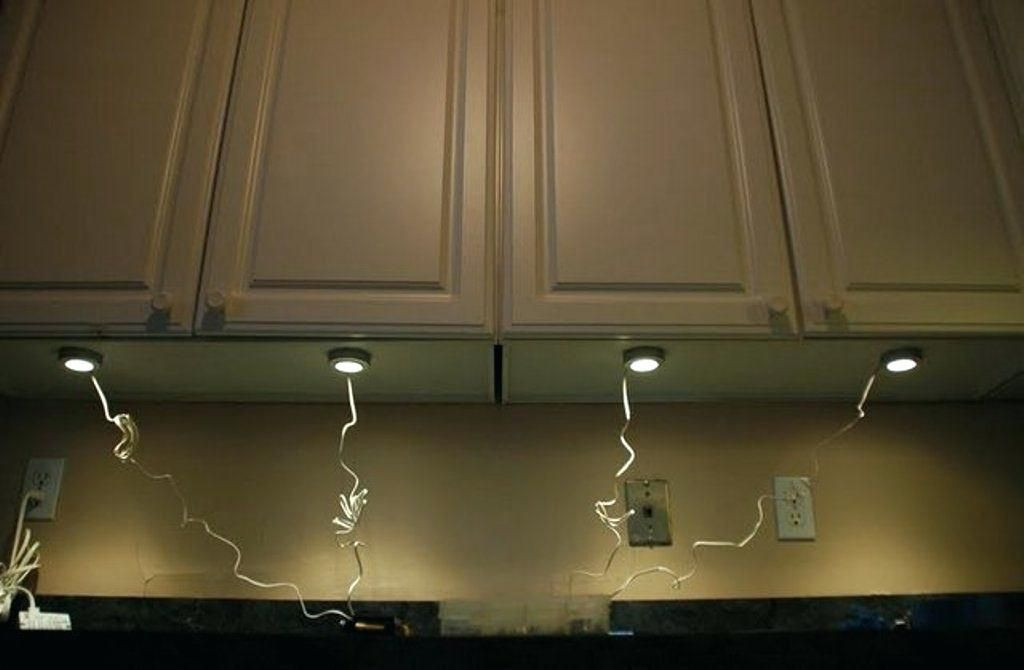
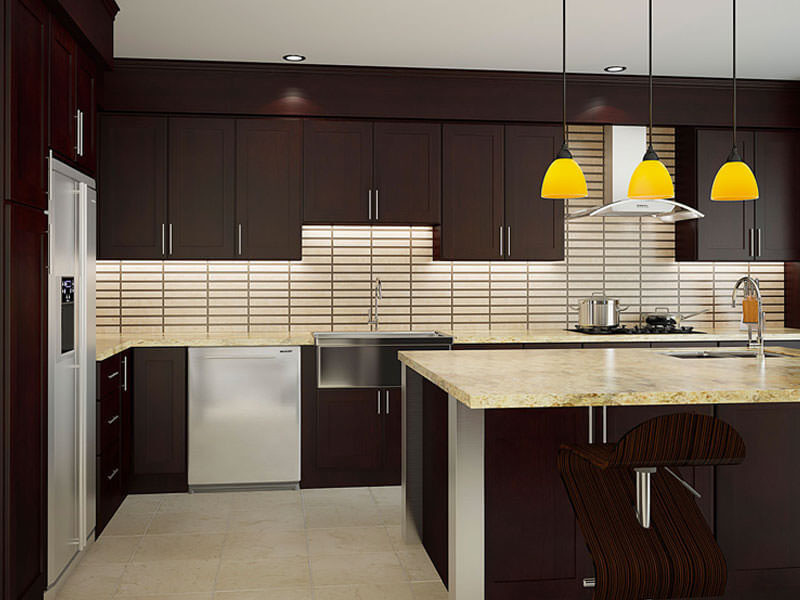
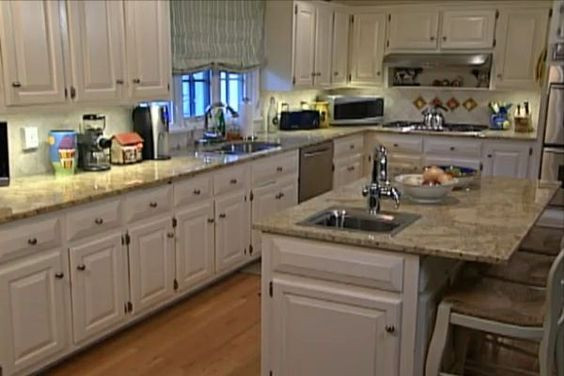
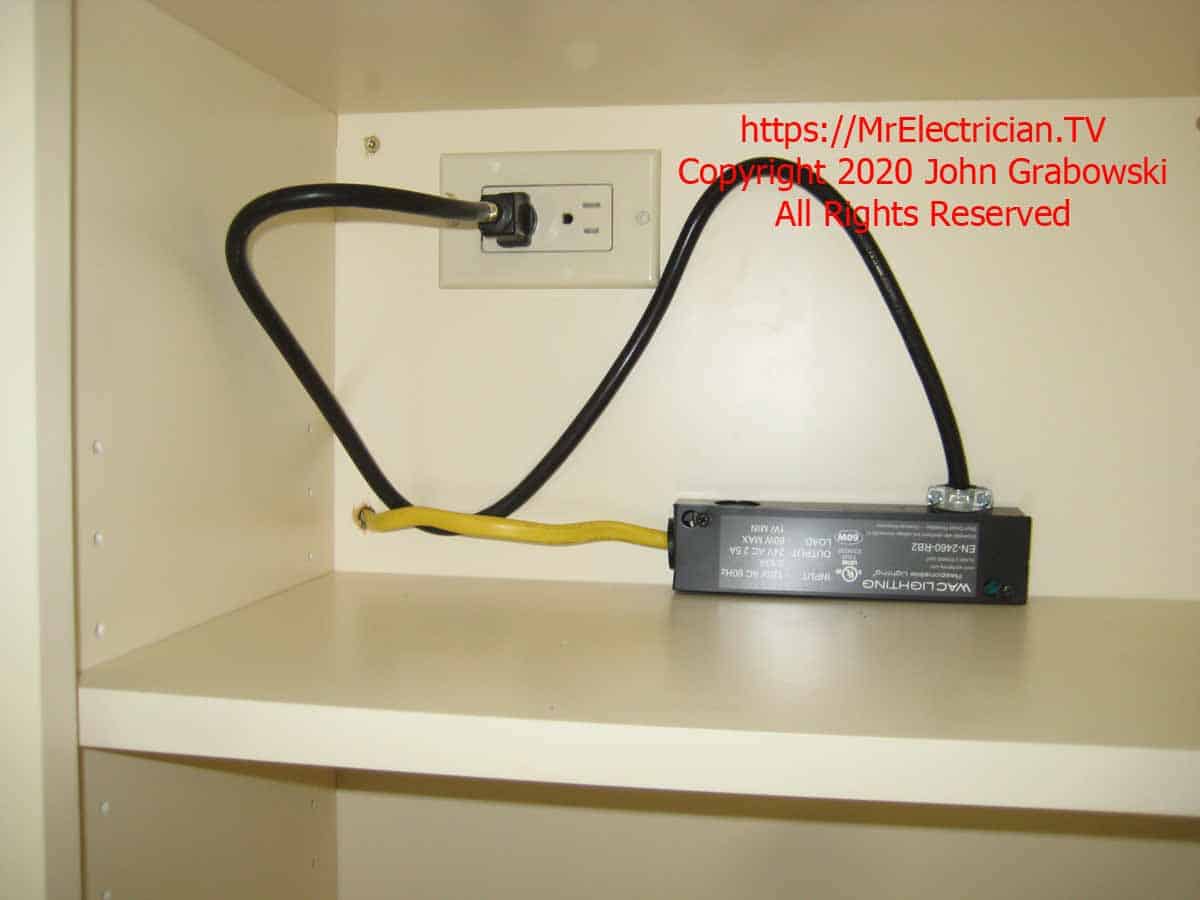
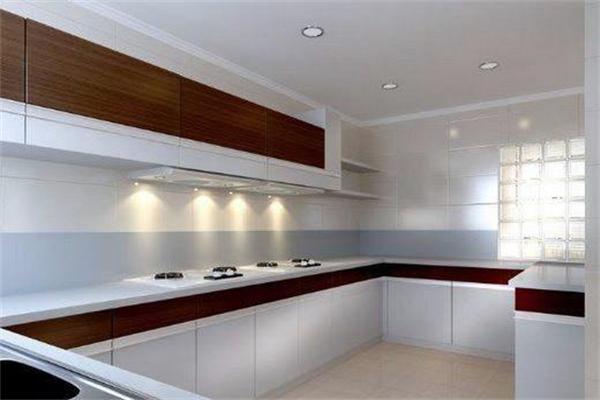
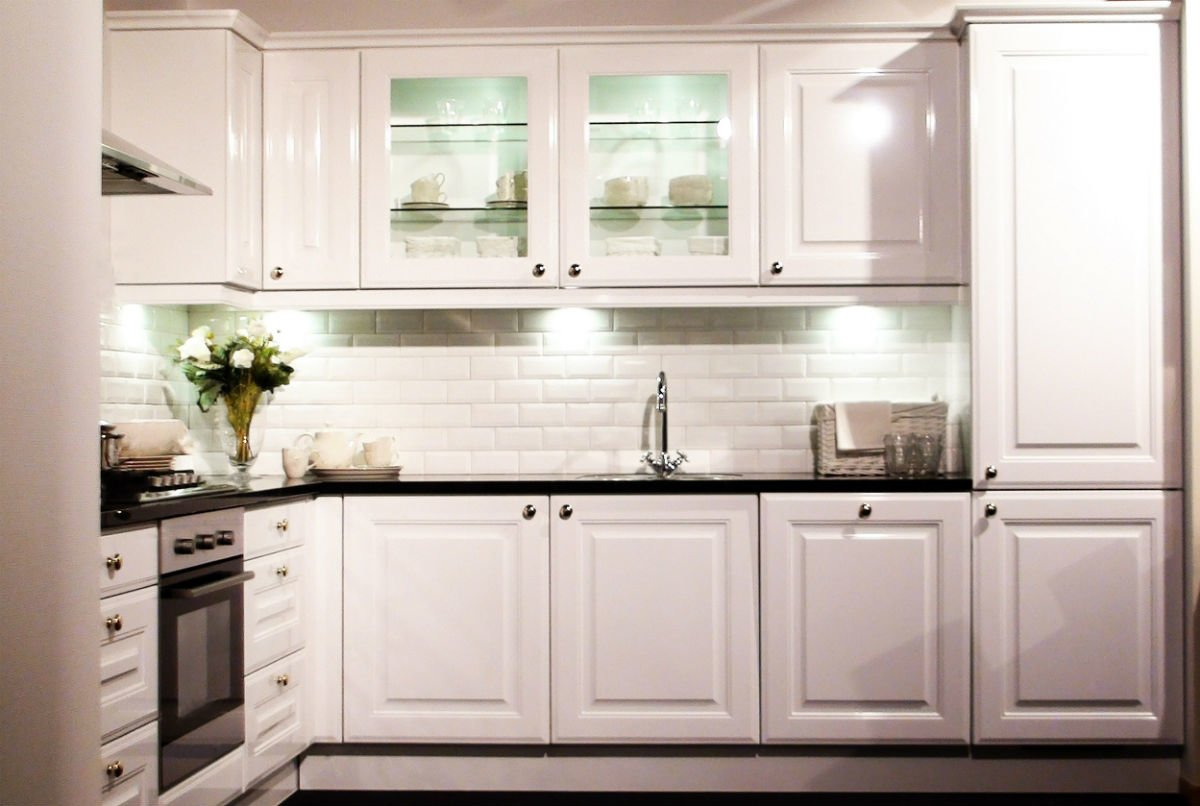
One of the most popular ways to use low voltage lighting in the kitchen is under cabinet lighting. This type of lighting not only adds a warm glow to your countertops but also provides task lighting for food preparation and cooking. To install under cabinet lighting, first, measure the length of your cabinets and purchase the appropriate length of lighting strips or puck lights. Next, use a stud finder to locate the studs in the wall and mark them with a pencil. This will help you attach the lights securely. Then, use a drill to make holes for the screws and attach the lights to the bottom of the cabinets. Finally, connect the lights to a transformer and plug it into an outlet. You can also choose to hardwire the lights for a cleaner look.2. How to Install Low Voltage Under Cabinet Lighting in Your Kitchen
Whether you are a DIY enthusiast or hiring a professional, it is essential to understand the process of installing low voltage kitchen lighting. First, gather all the necessary tools and materials, including the lights, transformer, wiring, drill, and screws. Then, turn off the power to the kitchen to ensure your safety. Next, install the light fixtures according to the manufacturer's instructions. This may involve drilling holes in the wall or cabinet and connecting the wiring. Then, connect the lights to the transformer and plug it into an outlet. Finally, turn the power back on and test the lights to ensure they are working correctly.3. Step-by-Step Guide to Installing Low Voltage Kitchen Lighting
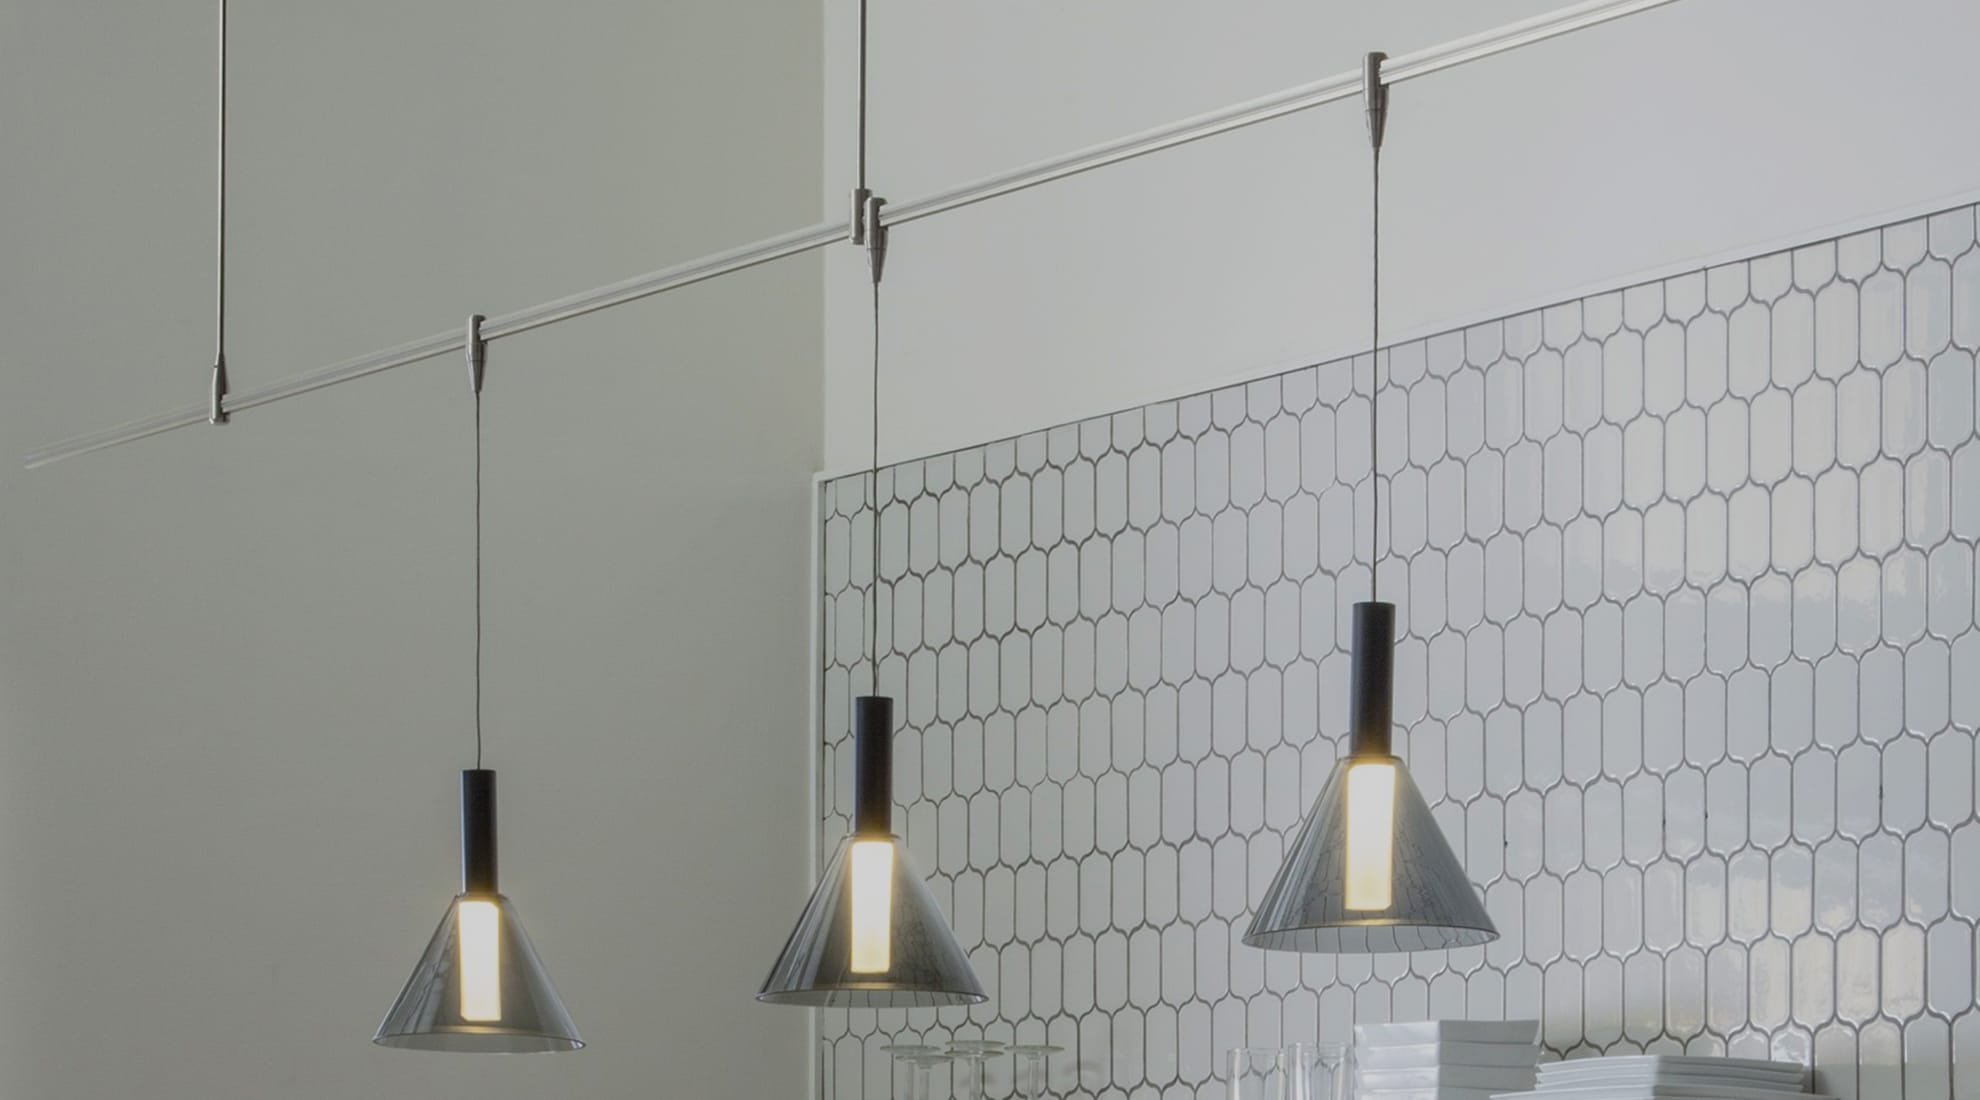
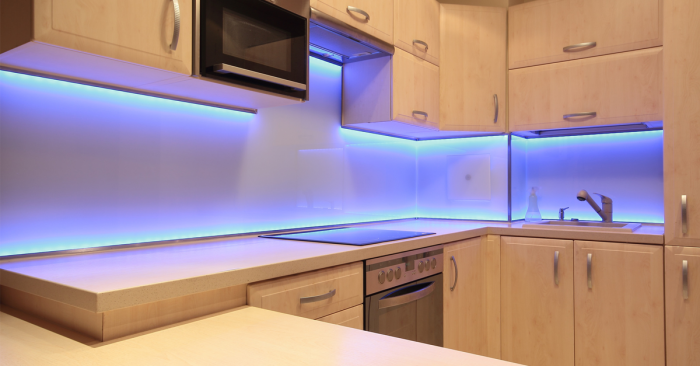
When it comes to low voltage kitchen lighting, there are various options available, and choosing the right one can seem overwhelming. One important factor to consider is the color temperature of the lights. Warm white or soft white lights are best for creating a cozy and inviting atmosphere, while cool white lights are ideal for task lighting. You should also consider the size and style of the lighting. For example, if you have a small kitchen, recessed lights or puck lights can help save space and provide even lighting. If you have a larger kitchen, strip lights or pendant lights can add a touch of style and drama. It is also important to choose high-quality lights that are energy-efficient and offer sufficient brightness for your needs.4. Choosing the Right Low Voltage Lighting for Your Kitchen
Installing low voltage kitchen lighting does not have to break the bank. With a little creativity and planning, you can achieve a beautiful and functional lighting setup on a budget. One tip is to use LED lights, which are energy-efficient and have a longer lifespan than traditional bulbs. This can save you money in the long run. You can also consider purchasing lighting kits that come with all the necessary components, such as lights, transformer, and wiring. These kits are often more affordable than buying each component separately. Additionally, you can look for deals and discounts online or at home improvement stores to save even more money.5. Tips for Installing Low Voltage Kitchen Lighting on a Budget
While installing low voltage kitchen lighting may seem like a straightforward task, there are a few common mistakes that can occur. One mistake is not planning properly, which can lead to uneven lighting or not enough lights in certain areas. It is important to measure and map out where you want the lights to go before starting the installation process. Another mistake is not using the correct wiring or transformer for the lights. Make sure to read the manufacturer's instructions carefully and use the recommended components for your specific lights. Lastly, not turning off the power before installation can be dangerous and can lead to electrocution. Always make sure to turn off the power and use caution while working with electricity.6. Common Mistakes to Avoid When Installing Low Voltage Kitchen Lighting
If you are comfortable working with electrical wiring, you can choose to wire and install your low voltage kitchen lighting yourself. Start by turning off the power to the kitchen and then remove any existing light fixtures. Next, run the wiring from the transformer to the desired locations for the lights, making sure to use appropriate wiring and connectors. Then, install the lights according to the manufacturer's instructions, attaching them securely to the wall or cabinets. Finally, connect the wiring to the lights and transformer, and plug the transformer into an outlet. It is important to test the lights before finishing the installation to ensure they are working correctly.7. How to Wire and Install Low Voltage Kitchen Lighting
Deciding whether to install low voltage kitchen lighting yourself or hire a professional is ultimately a personal choice. If you have experience with electrical work and feel confident in your abilities, DIY may be a viable option for you. However, if you are not comfortable working with electricity or do not have the necessary tools, it may be best to hire a professional. Professional installation may also be necessary if you have a more complex lighting setup or are not sure how to wire and install the lights correctly. Keep in mind that hiring a professional will come at an additional cost, but it can ensure that your lights are installed safely and correctly.8. Installing Low Voltage Kitchen Lighting: DIY or Hire a Professional?
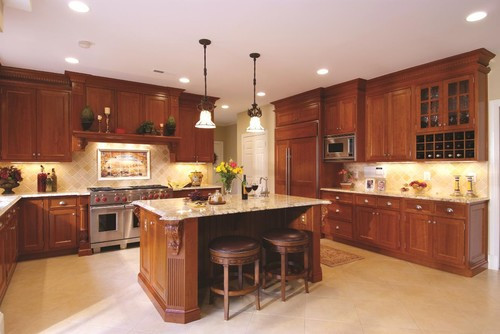
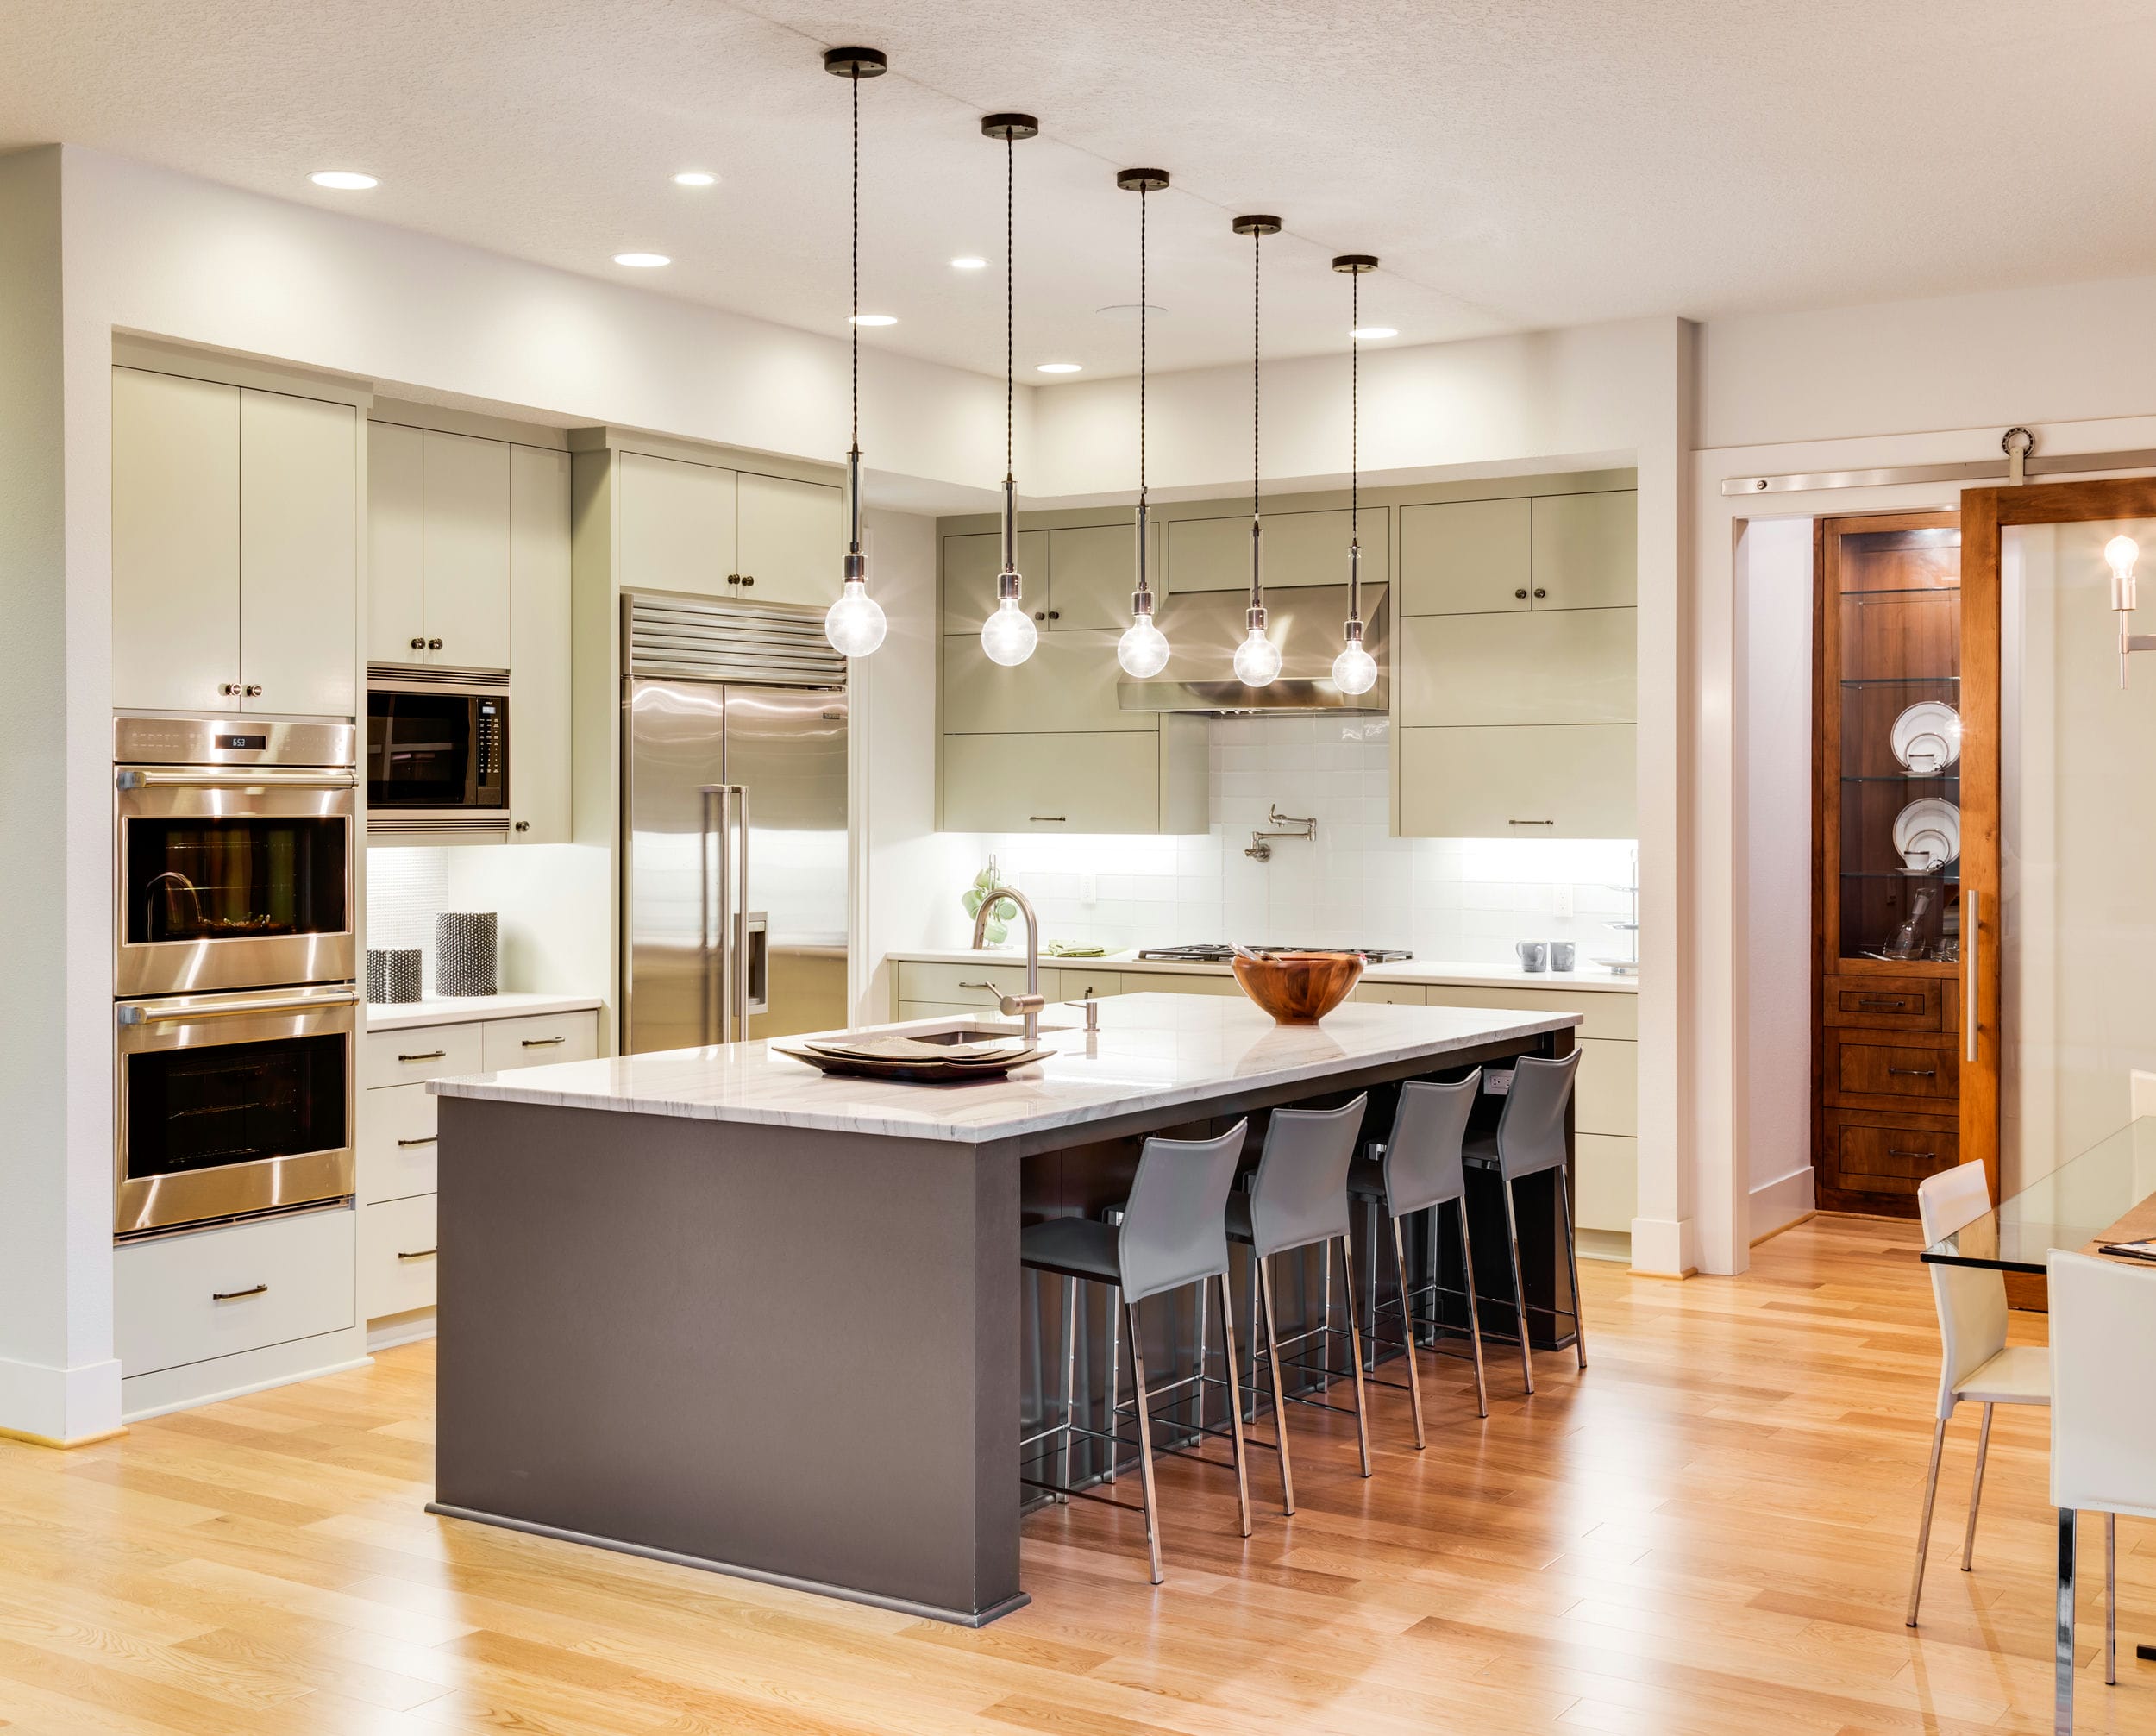
Low voltage kitchen lighting offers endless possibilities for enhancing the look and functionality of your kitchen. In addition to under cabinet lighting, you can also install lights above the sink, over the kitchen island, or along the toe kick of your cabinets. These different types of lighting can create a layered and dynamic look in your kitchen. You can also get creative with the placement of your lights, such as using strip lights to highlight open shelving or using puck lights to illuminate artwork or decorative pieces. The key is to experiment and find the right balance of lighting to suit your style and needs.9. Enhance Your Kitchen with Low Voltage Lighting: Installation Ideas
Even with careful planning and installation, there may be some issues that arise with your low voltage kitchen lighting. One common issue is flickering lights, which can be caused by loose wiring or a faulty transformer. Make sure to check all connections and replace any faulty components. Another issue is dim or inconsistent lighting, which can be caused by using low-quality lights or incorrect wiring. It is important to use high-quality and compatible components to ensure proper lighting. If you are unsure of the issue, it is best to consult a professional for assistance. In conclusion, installing low voltage kitchen lighting can greatly enhance the look and functionality of your kitchen. By carefully planning and choosing the right lighting, following proper installation techniques, and troubleshooting any issues, you can achieve a beautiful and well-lit kitchen that you can enjoy for years to come. Whether you choose to DIY or hire a professional, low voltage lighting is a great investment for any kitchen.10. Troubleshooting Common Issues with Low Voltage Kitchen Lighting Installation
Optimizing Your Kitchen Design with Low Voltage Lighting
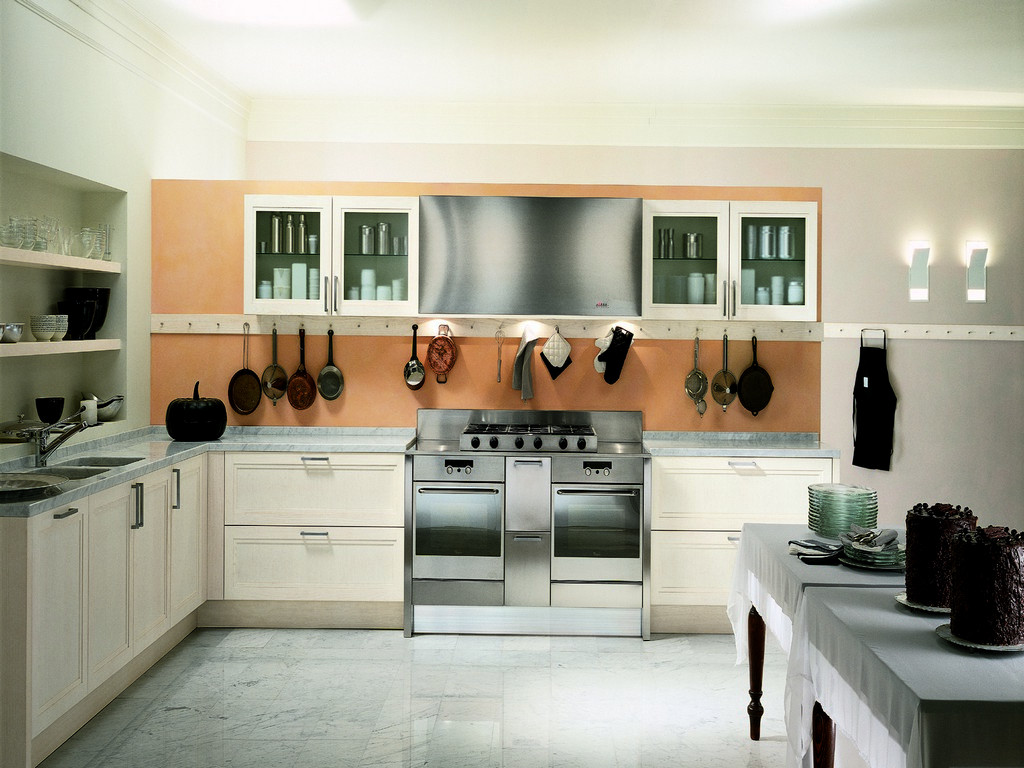
Why Choose Low Voltage Lighting?
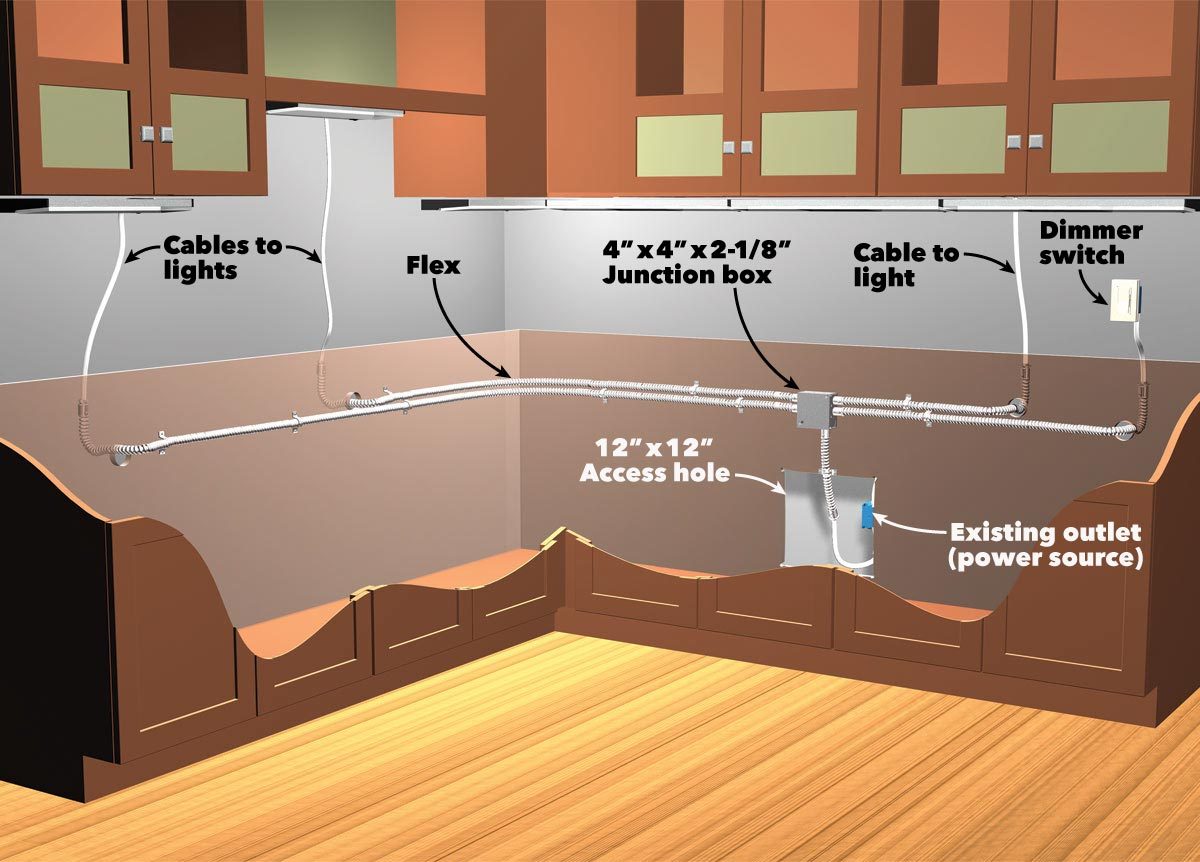 When it comes to kitchen design, lighting is often overlooked. However, proper lighting can greatly enhance the functionality and aesthetics of your kitchen. Low voltage lighting is a popular choice for many homeowners due to its efficiency, versatility, and cost-effectiveness. This type of lighting uses
transformers
to reduce the voltage of the electrical current, resulting in lower energy consumption and longer lifespan for the bulbs. With the right
low voltage lighting fixtures
, you can create a well-lit and inviting kitchen space that is both functional and stylish.
Installation Process
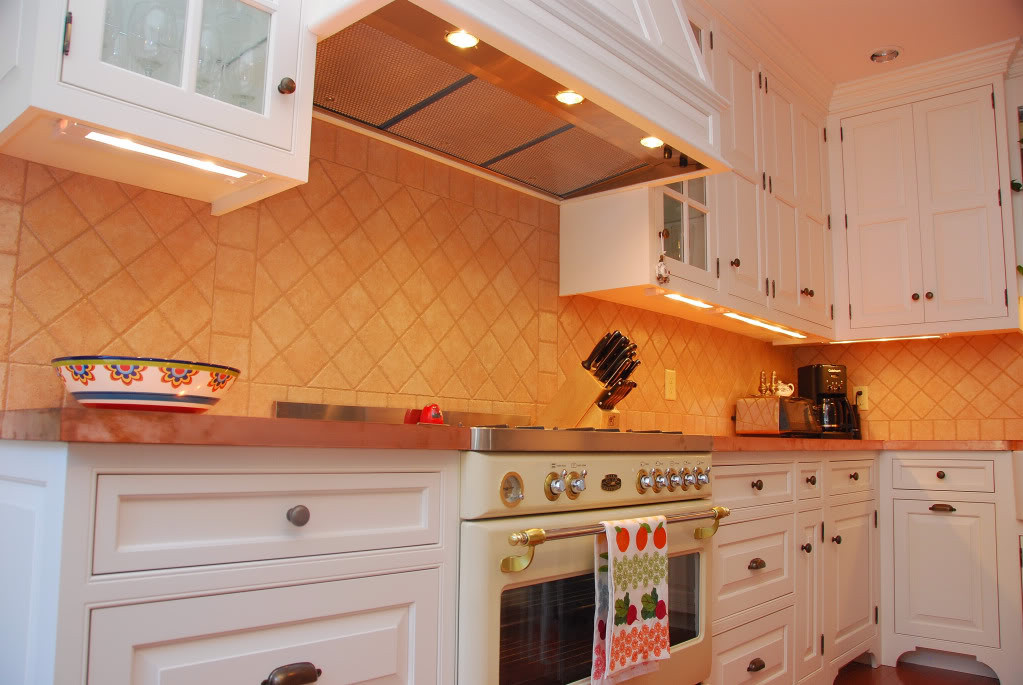 Installing low voltage kitchen lighting is a relatively simple and straightforward process. First, you need to
plan out your lighting layout
by considering the size and layout of your kitchen, as well as the areas that require the most lighting. You should also take into account any existing electrical outlets and switches that can be utilized for the installation. Next, you will need to
purchase the necessary materials
, including low voltage lighting fixtures, transformers, and wiring. It is important to choose high-quality materials to ensure safety and durability.
Tips for Installation
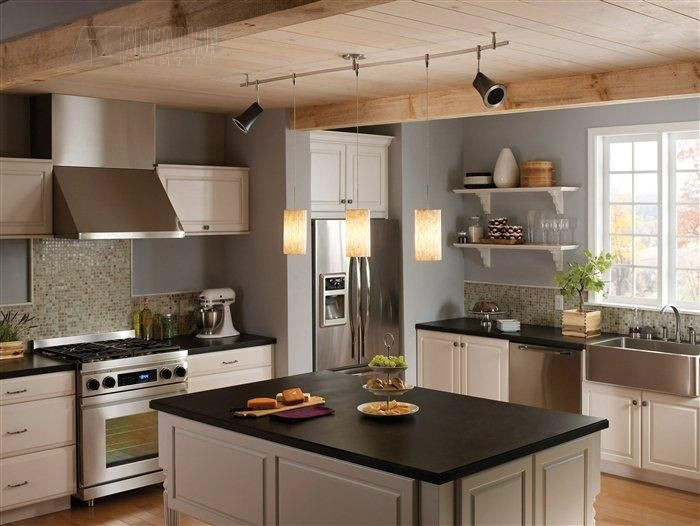 Before starting the installation process, make sure to
turn off the power
to the designated area. It is also recommended to have a professional electrician handle the wiring to ensure proper installation and avoid any potential hazards. When installing the fixtures, make sure to
use a level
to ensure they are installed straight and evenly. You can also add
under cabinet lighting
to provide additional task lighting for food preparation areas. Once all the fixtures are installed, you can then
connect them to the transformer
and turn on the power to test the lights.
Benefits of Low Voltage Lighting
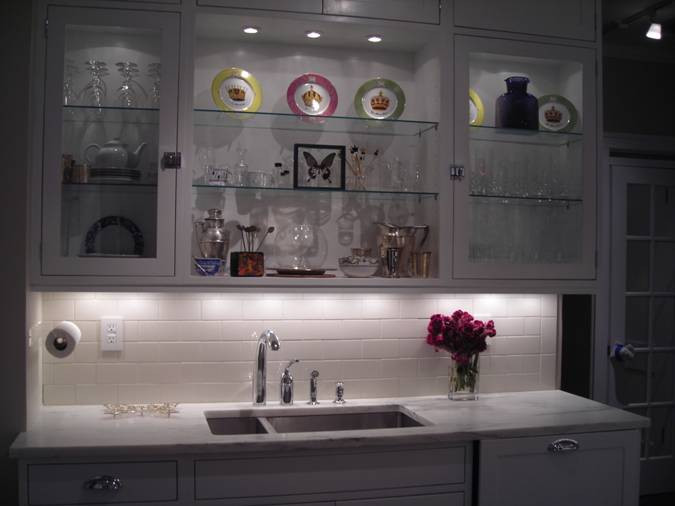 Aside from its energy efficiency, low voltage lighting offers many other benefits for your kitchen design. The
warm and soft glow
of the lights creates a cozy and inviting atmosphere, making your kitchen a more enjoyable space to cook and entertain in. Additionally, low voltage lighting fixtures come in a wide variety of styles, from recessed lights to pendant lights, allowing you to
customize your kitchen's design
according to your personal style and needs. With its versatility and cost-effectiveness, low voltage lighting is definitely a smart choice for any kitchen design.
In conclusion, installing low voltage kitchen lighting is an easy and effective way to enhance the overall design and functionality of your kitchen. With its numerous benefits, including energy efficiency, versatility, and customization options, it is no wonder that many homeowners are opting for this type of lighting in their kitchen. So, why not give your kitchen a makeover and upgrade to low voltage lighting today?
