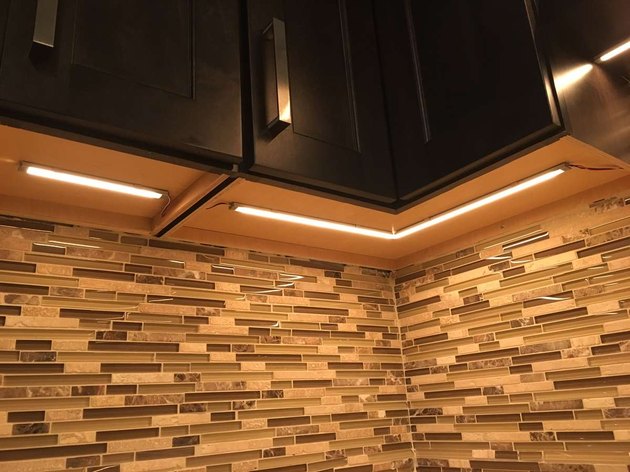
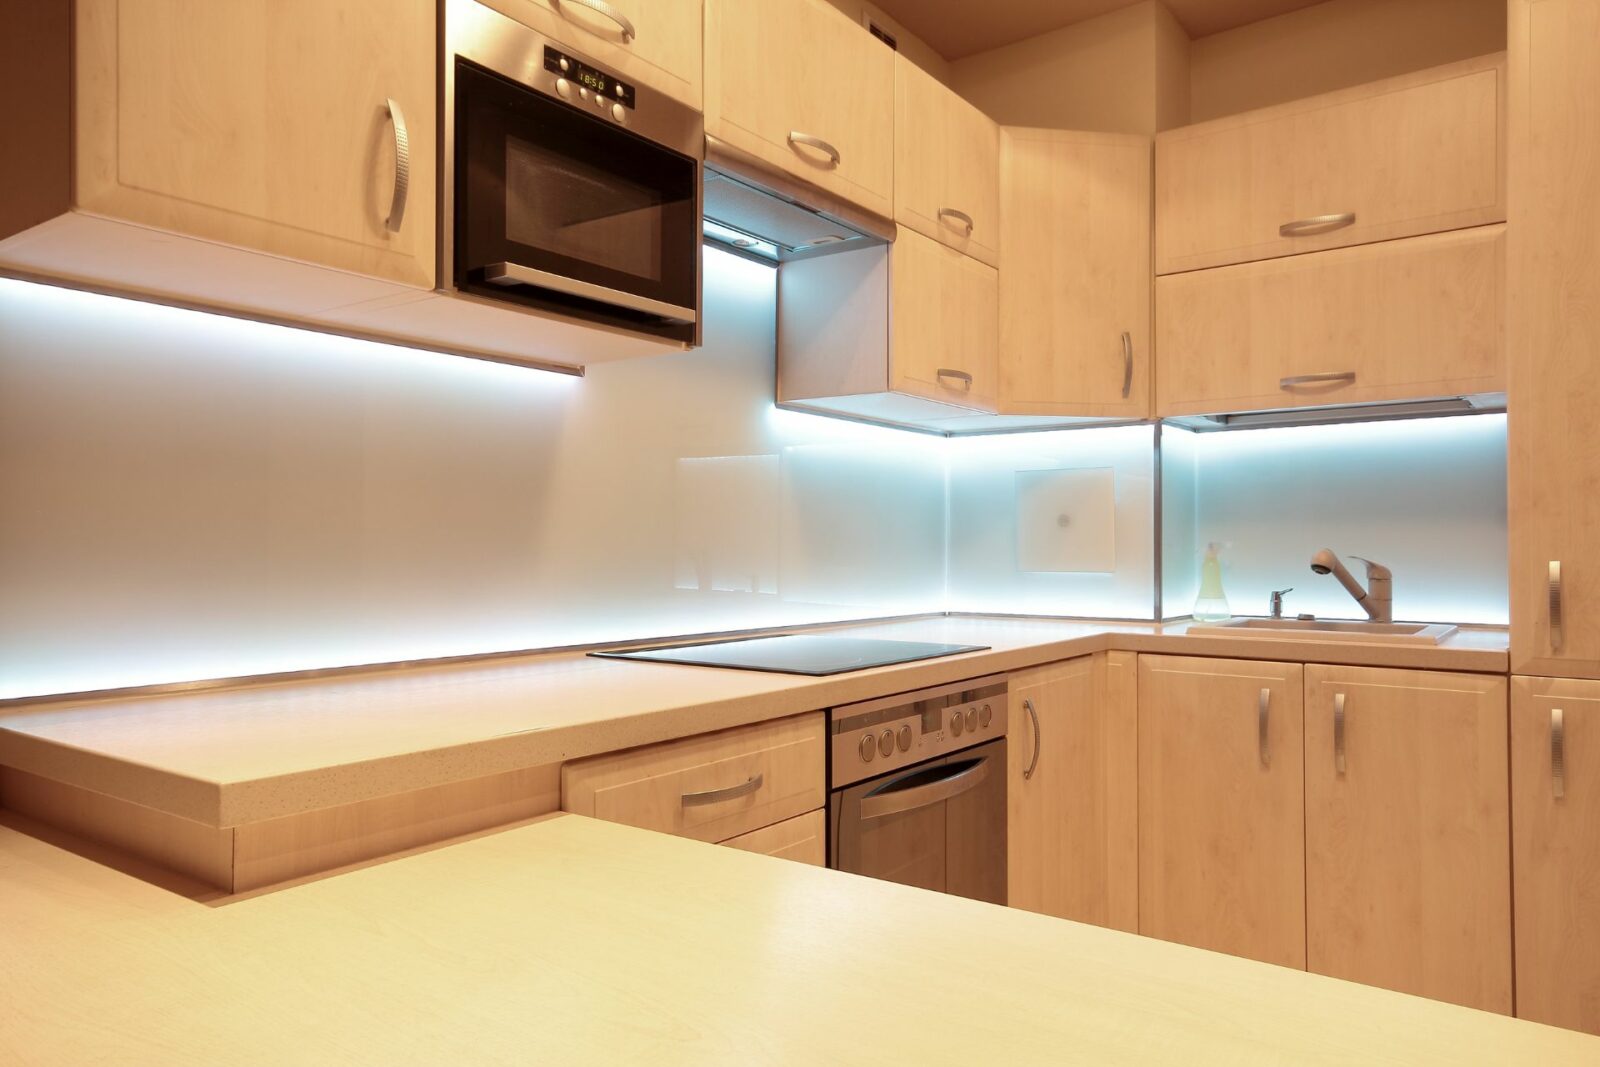
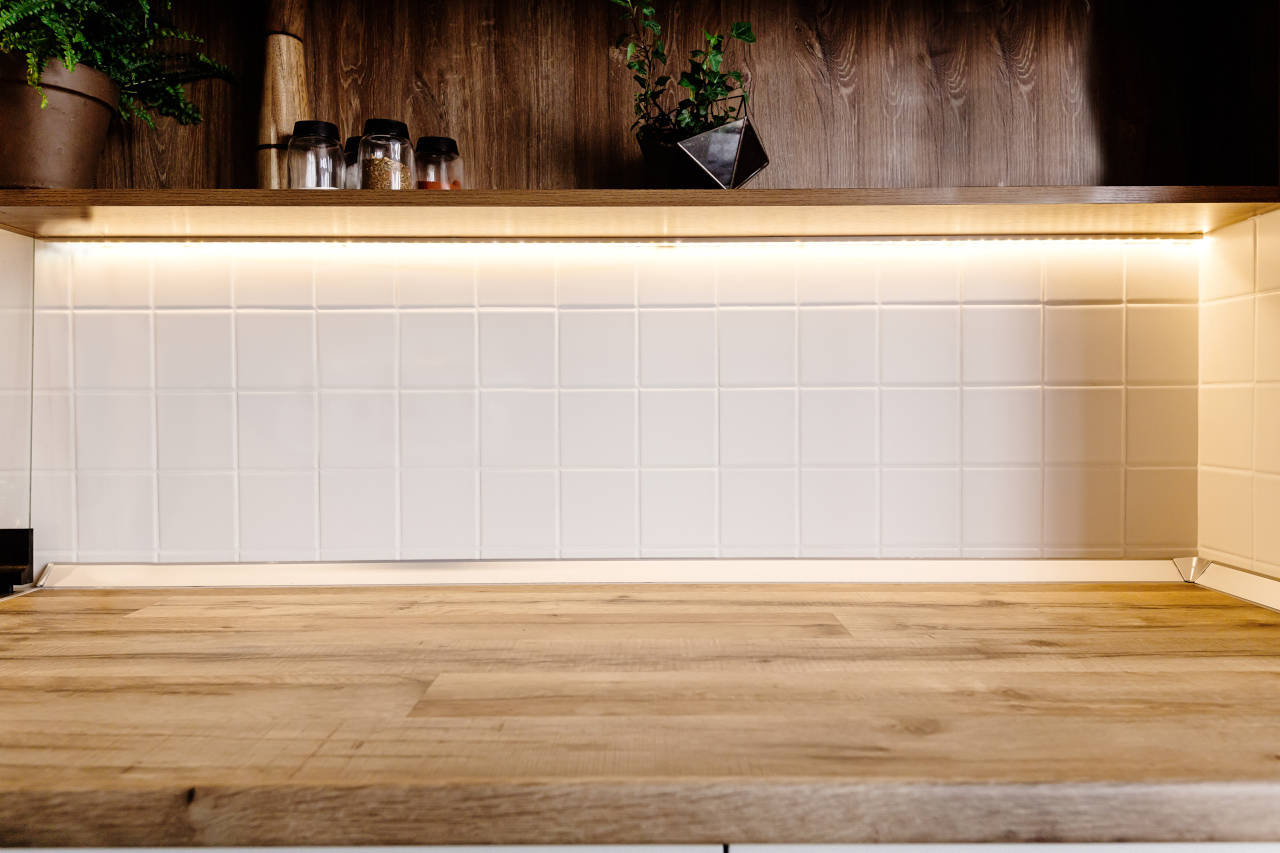
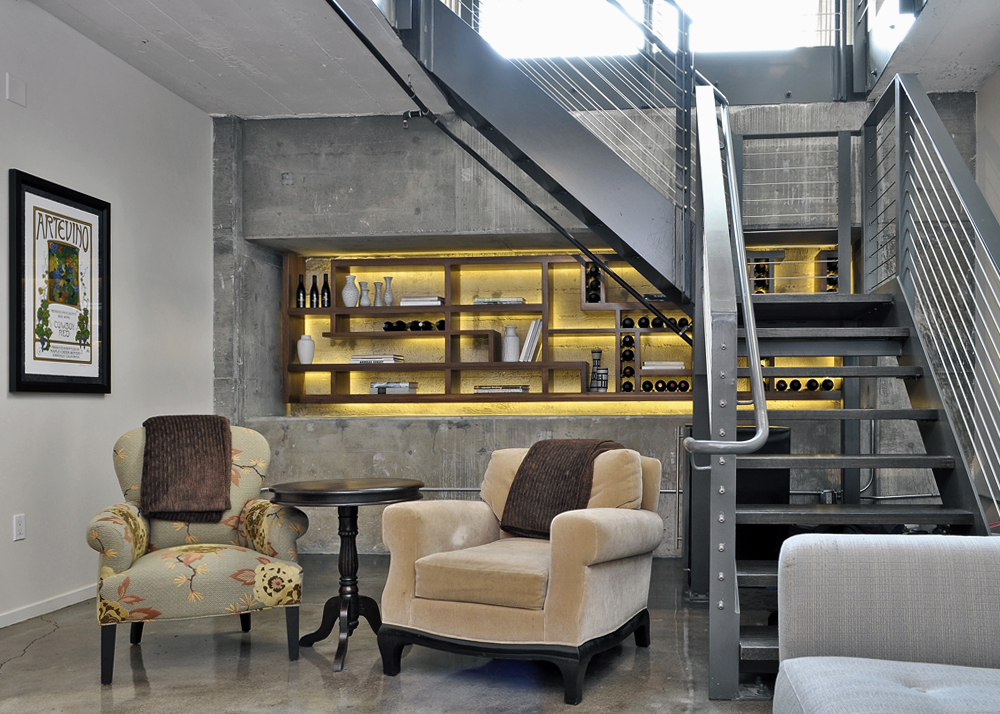
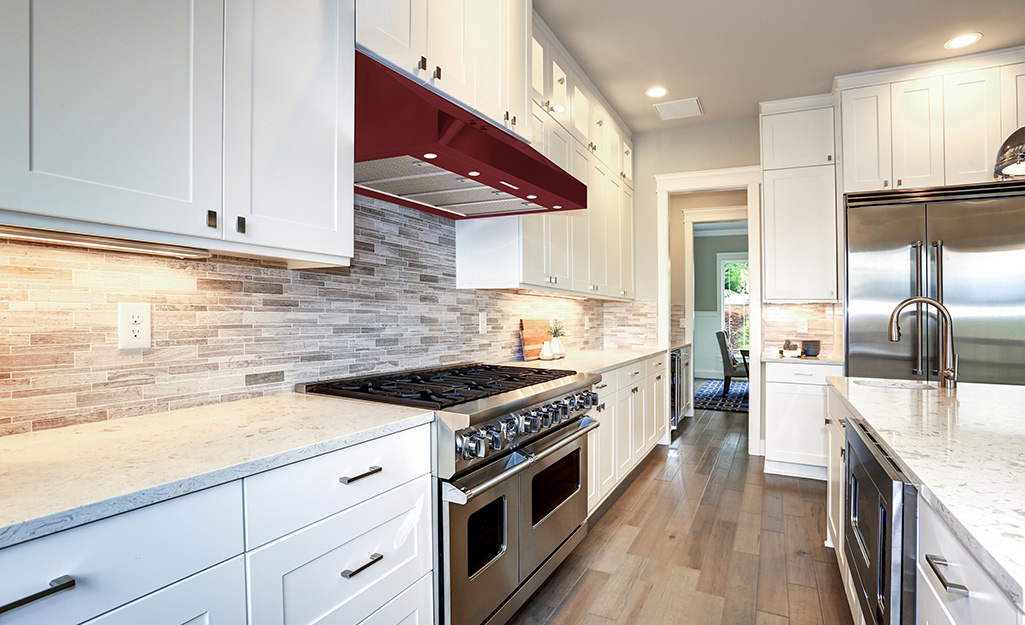
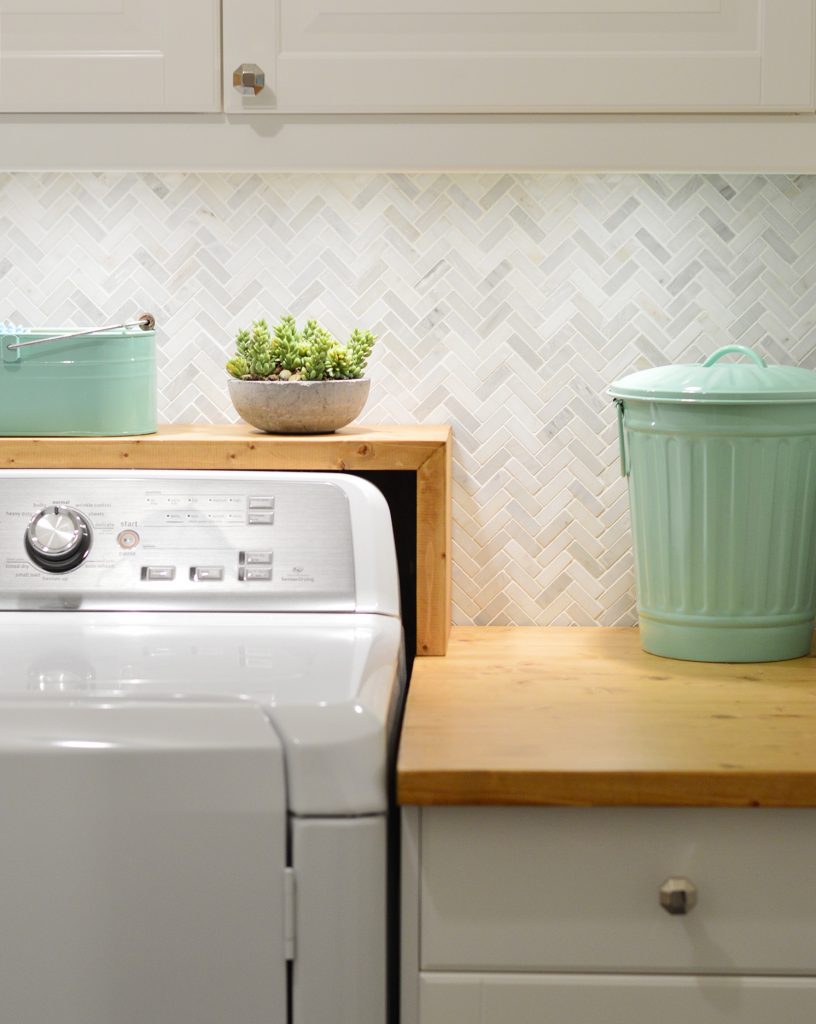
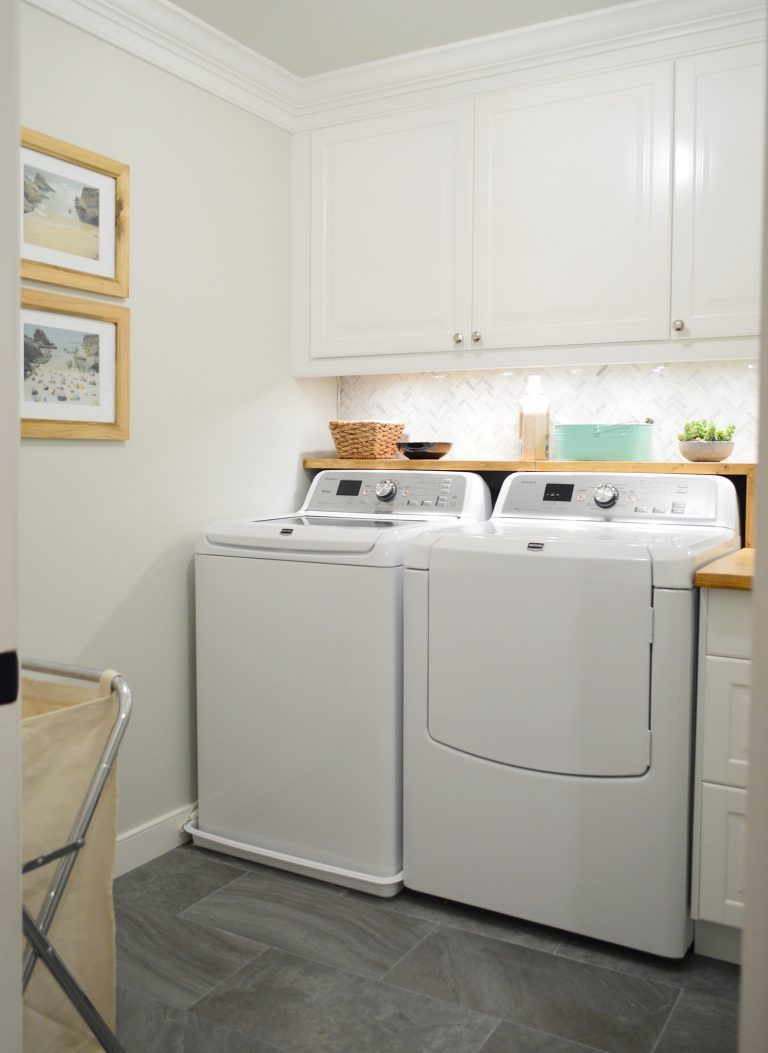
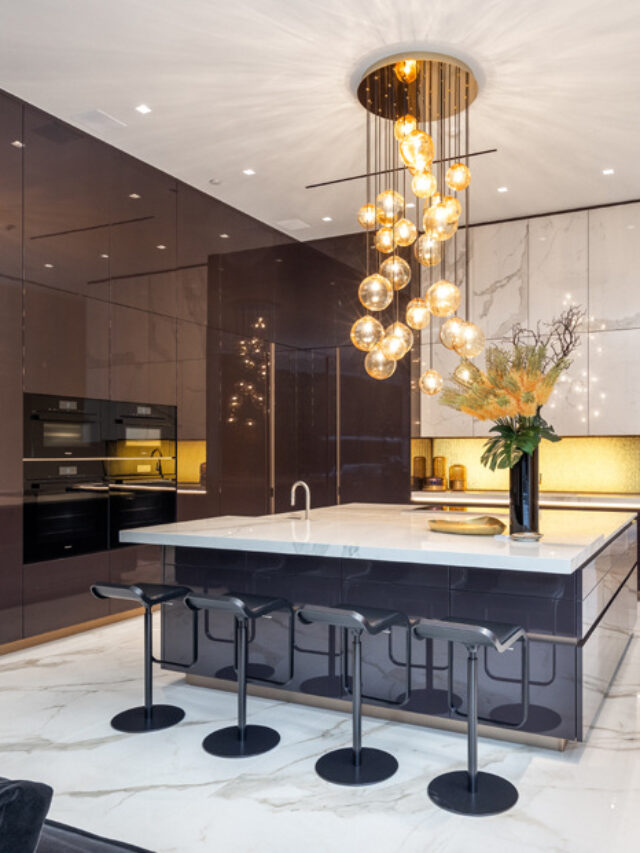
Under cabinet lighting is a popular and practical addition to any kitchen. It not only adds ambiance and visual appeal, but it also provides much-needed task lighting for cooking and food preparation. If you're looking to upgrade your kitchen with this type of lighting, you may be wondering how to install it. Here, we'll walk you through the process in four easy steps.
How to Install Under Cabinet Lighting in Your Kitchen
Step 1: Plan and Prepare
Step 2: Measure and Mark
Step 3: Install the Lighting
Step 4: Test and AdjustHow to Install Under Cabinet Lighting in 4 Easy Steps
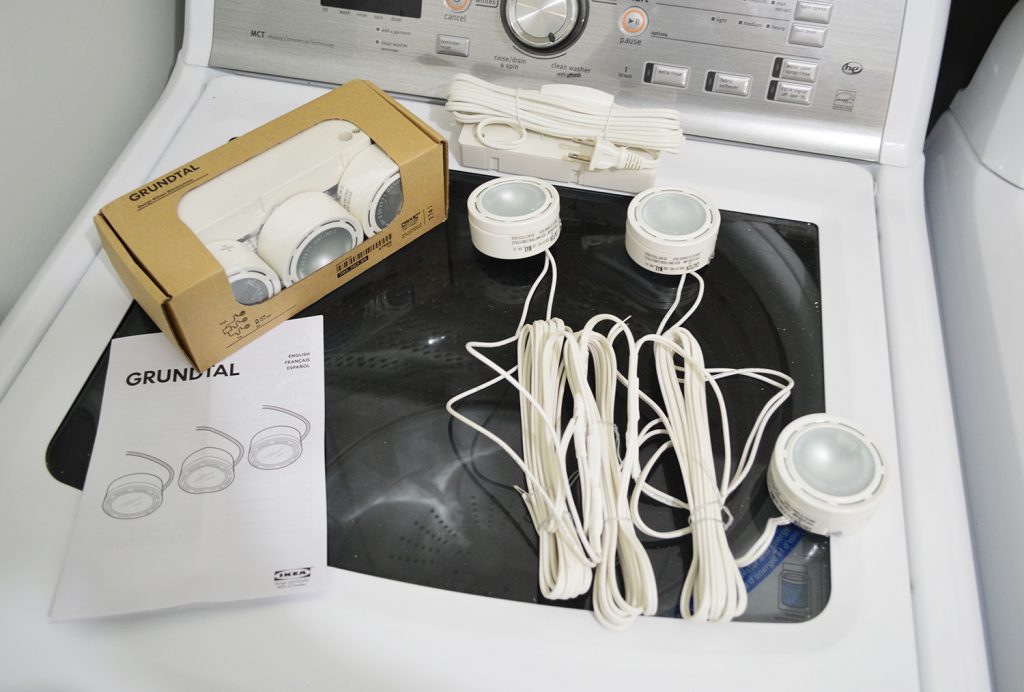
Before you begin the installation process, it's important to plan and prepare. Decide on the type of under cabinet lighting you want (e.g. LED, fluorescent, puck lights), the placement of the lights, and how you want to control them (e.g. switch, dimmer). Gather all the necessary tools and materials, including the lighting fixtures, wires, connectors, and power source.
Measure the length of the cabinets where you want to install the lighting. Use a pencil to mark the spots where you will be placing the fixtures. Make sure to leave enough space between the fixtures for even lighting coverage. Use a stud finder to locate the studs behind the cabinets, and mark them with a pencil. This will help you secure the fixtures and wires properly.
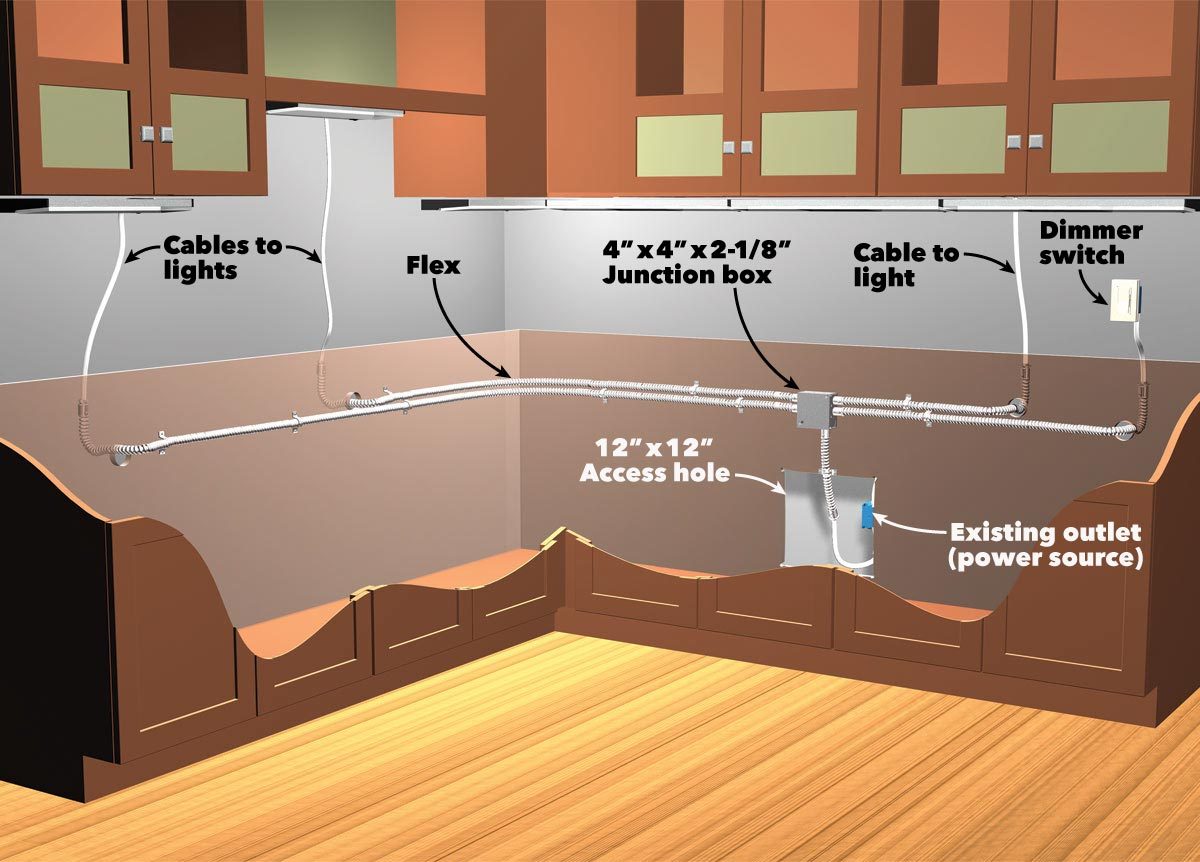
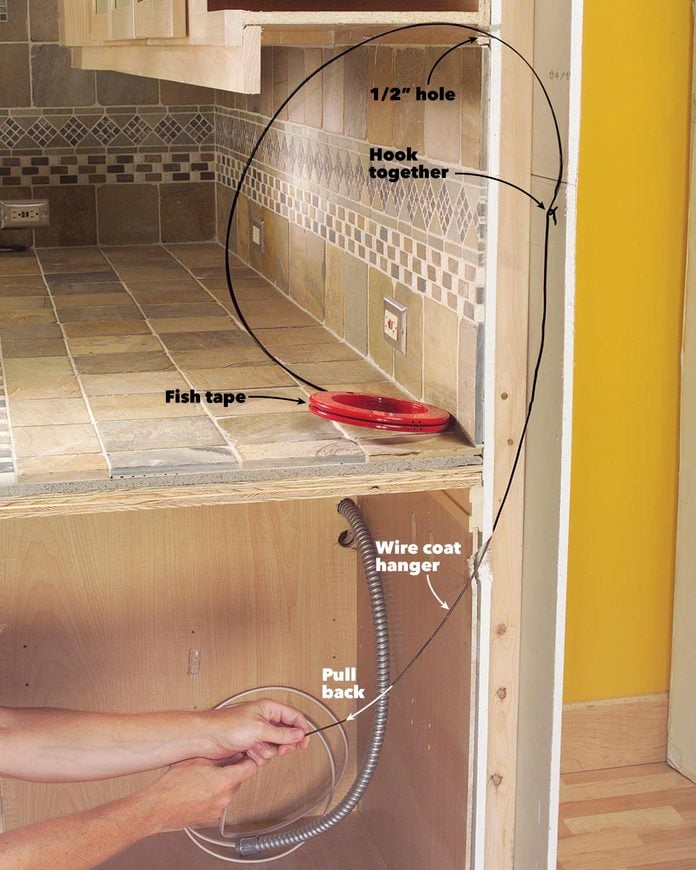
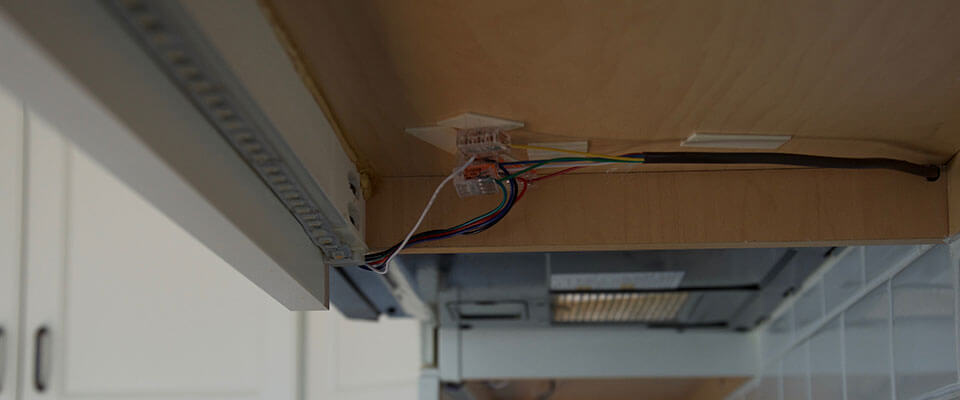
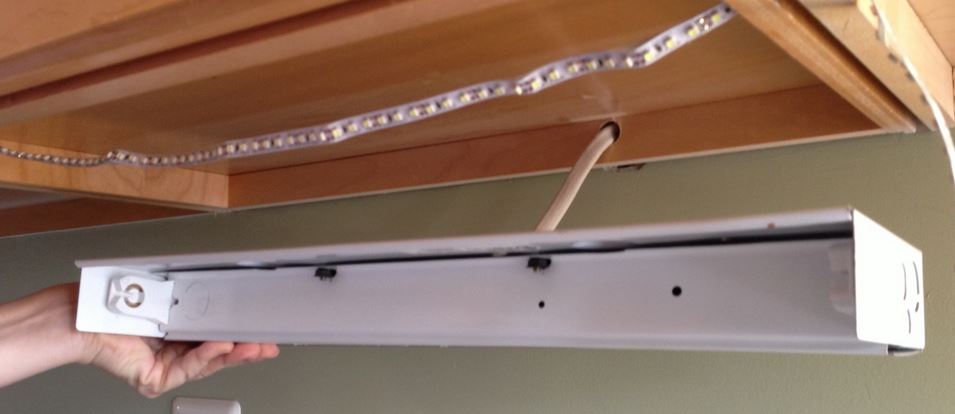
Start by installing the power source. If you're using plug-in lighting, simply plug the power source into an outlet. If you're using hardwired lighting, you may need to hire an electrician to install an outlet and connect the wiring. Once the power source is set up, begin installing the lighting fixtures. Use screws to secure them to the underside of the cabinets, making sure to match them with the previously marked spots. Connect the wires from the fixtures to the power source, using wire connectors. Finally, attach the power source to the cabinet using screws or adhesive strips.
Once all the fixtures are installed and connected, it's time to test the lights. Turn on the power source and check if all the fixtures are working properly. If not, double check the wiring and connections. If everything is working, you can adjust the lighting to your desired brightness and angle. Some fixtures may come with adhesive tape for easy mounting, while others may require screws for adjustable positioning.
If you're a DIY enthusiast, installing under cabinet lighting can be a fun and rewarding project. Not only will you save money on labor costs, but you'll also have the satisfaction of completing the task on your own. Just make sure to follow the instructions carefully and take all necessary safety precautions. If you're not confident in your DIY skills, it's always best to hire a professional to avoid any potential hazards.
DIY: Installing Under Cabinet Lighting
Installing under cabinet lighting may seem daunting at first, but with the right tools and guidance, it can be a straightforward process. Here's a step-by-step guide to help you through the installation process:Step-by-Step Guide to Installing Under Cabinet Lighting
1. Plan and prepare
2. Measure and mark
3. Install the lighting
4. Test and adjust
5. Enjoy your new under cabinet lighting!
If you're new to home improvement projects, installing under cabinet lighting may seem like a daunting task. But don't worry, with a little bit of research and guidance, you can easily tackle this project. Start by deciding on the type of lighting you want, and then follow the instructions carefully. Don't be afraid to ask for help if you need it, and always prioritize safety.
Installing Under Cabinet Lighting: A Beginner's Guide
Here are some handy tips and tricks to keep in mind when installing under cabinet lighting:Under Cabinet Lighting Installation: Tips and Tricks
- Choose LED lighting for energy efficiency and long-lasting performance
- Use adhesive tape for easy mounting of the fixtures
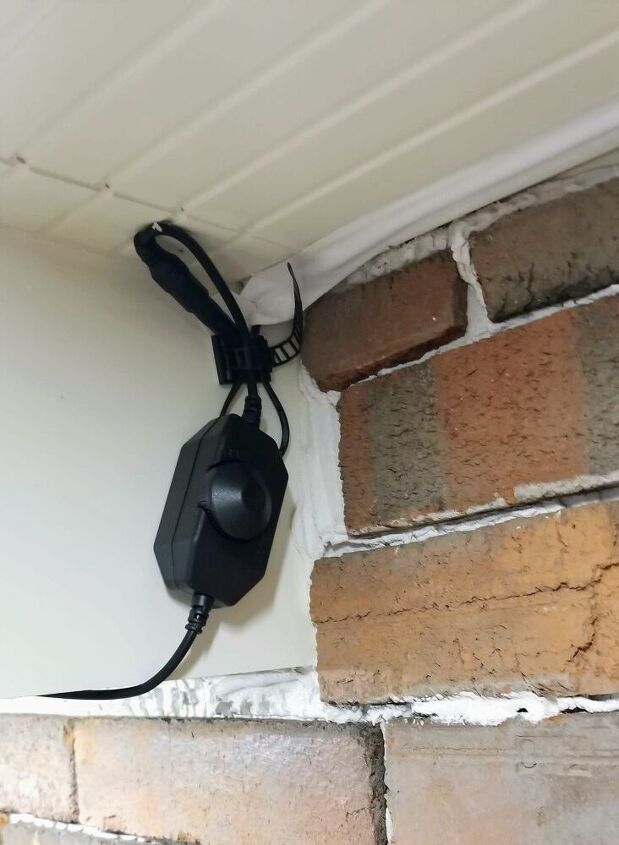
- Install a dimmer switch for adjustable lighting
- Hide the wires using cable clips or conduit
- Consider hiring a professional for hardwired lighting installation
- Always turn off the power source before working with wiring.
LED lighting has become increasingly popular for under cabinet lighting due to its energy efficiency, long lifespan, and customizable features. When installing LED under cabinet lighting, follow the same steps as mentioned above, but pay attention to the type of LED lights you're using. Some may require a separate power source or transformer, while others may be connected directly to an outlet.
Installing LED Under Cabinet Lighting in Your Kitchen
When choosing under cabinet lighting, consider the style and design of your kitchen, as well as the functionality you desire. LED lights are great for task lighting, while warm fluorescent lights can add a cozy ambiance. Make sure to also consider the installation process and choose a type of lighting that fits your skill level. If you're unsure, consult a professional for advice.
How to Choose and Install Under Cabinet Lighting
If you're renting or don't want to make permanent changes to your kitchen, there are options for installing under cabinet lighting without drilling. Adhesive strips, magnetic lights, and battery-powered LED lights are all great alternatives for temporary or non-invasive lighting solutions. Just be sure to follow the instructions carefully to ensure proper installation and avoid any damage to your cabinets.
Installing Under Cabinet Lighting Without Drilling
While installing under cabinet lighting may seem like a simple task, it's important to avoid common mistakes that can lead to safety hazards or ineffective lighting. These include using the wrong type of lighting for your needs, improper wiring and connections, and neglecting to turn off the power source before working with electricity. Make sure to do your research and follow the instructions carefully to avoid any mishaps.
Under Cabinet Lighting Installation: Common Mistakes to Avoid
Enhance Your Kitchen Design with Under-Cupboard Lighting
Benefits of Under-Cupboard Lighting
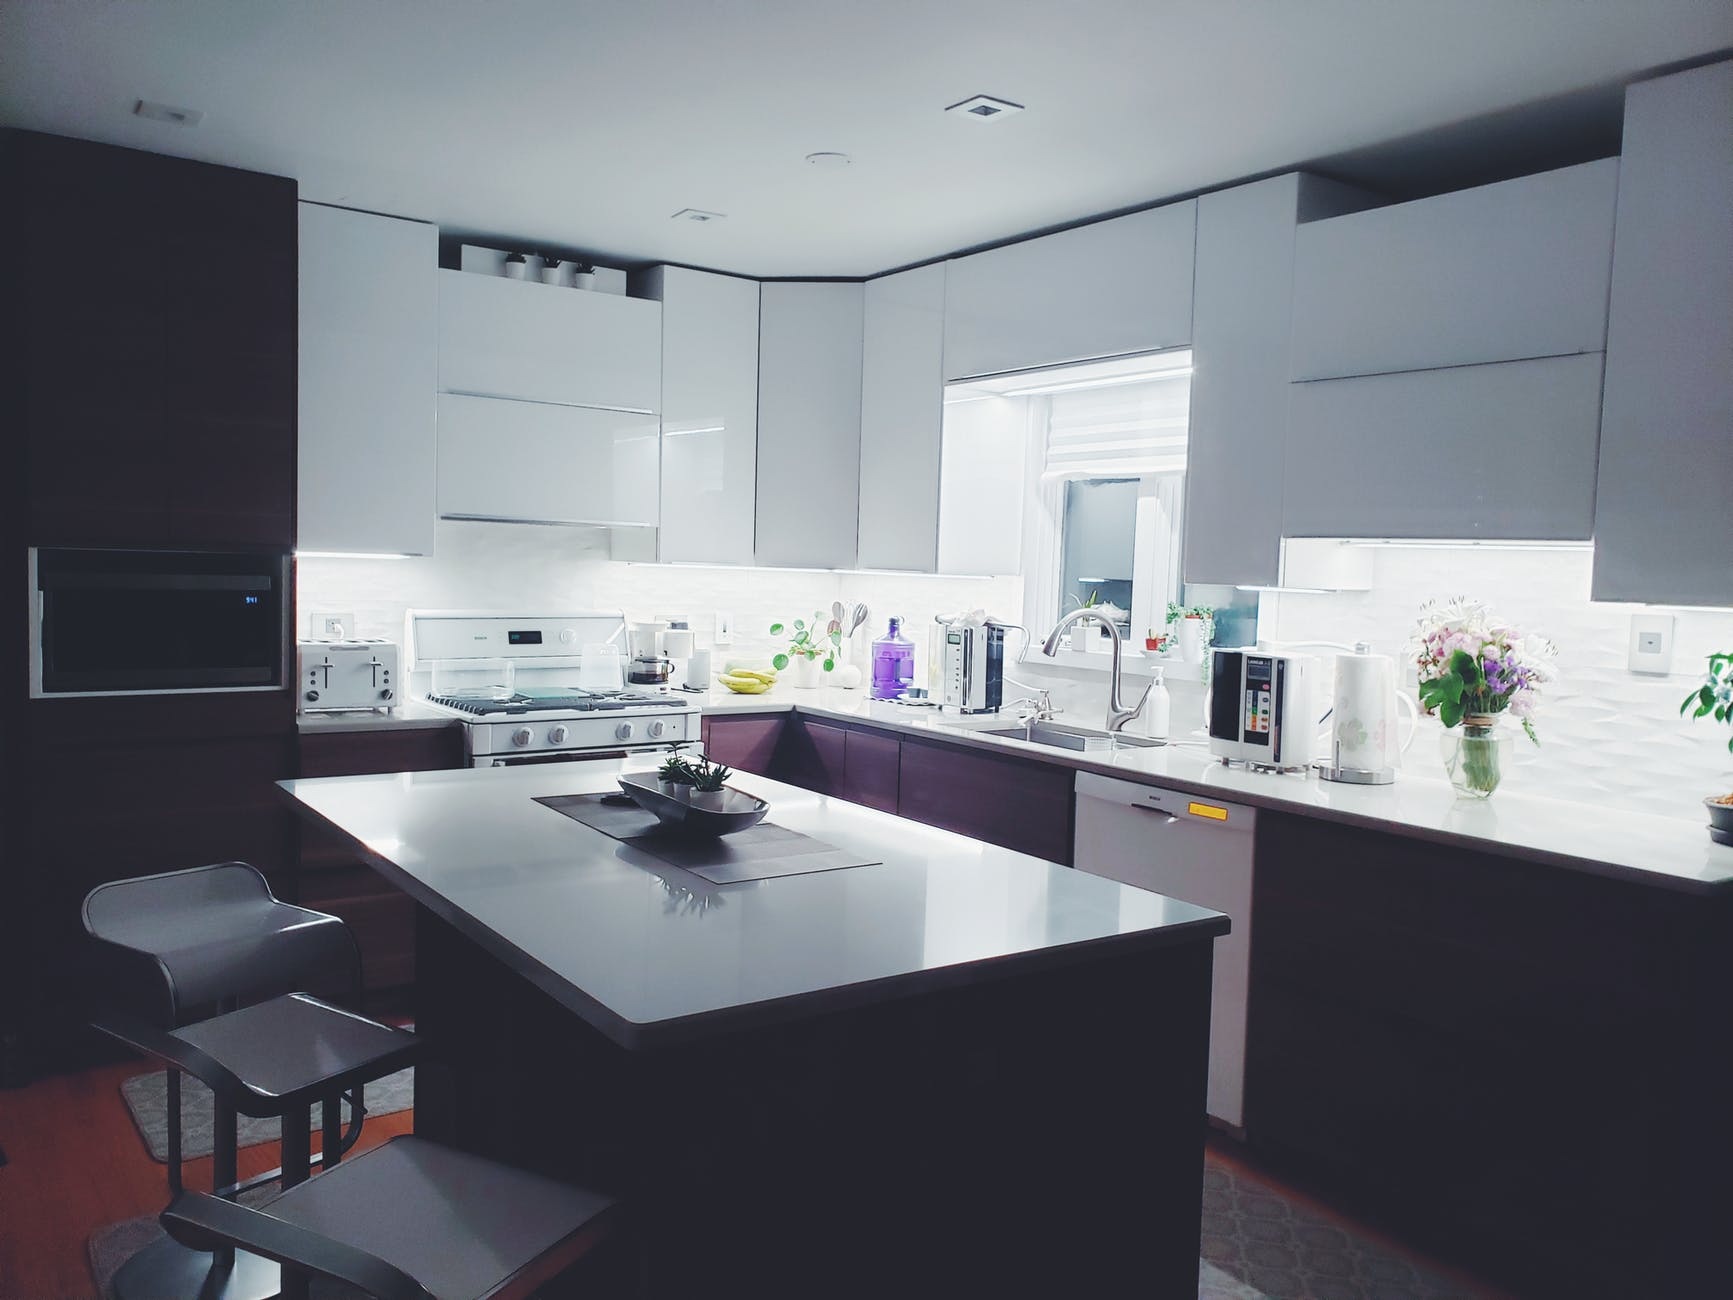
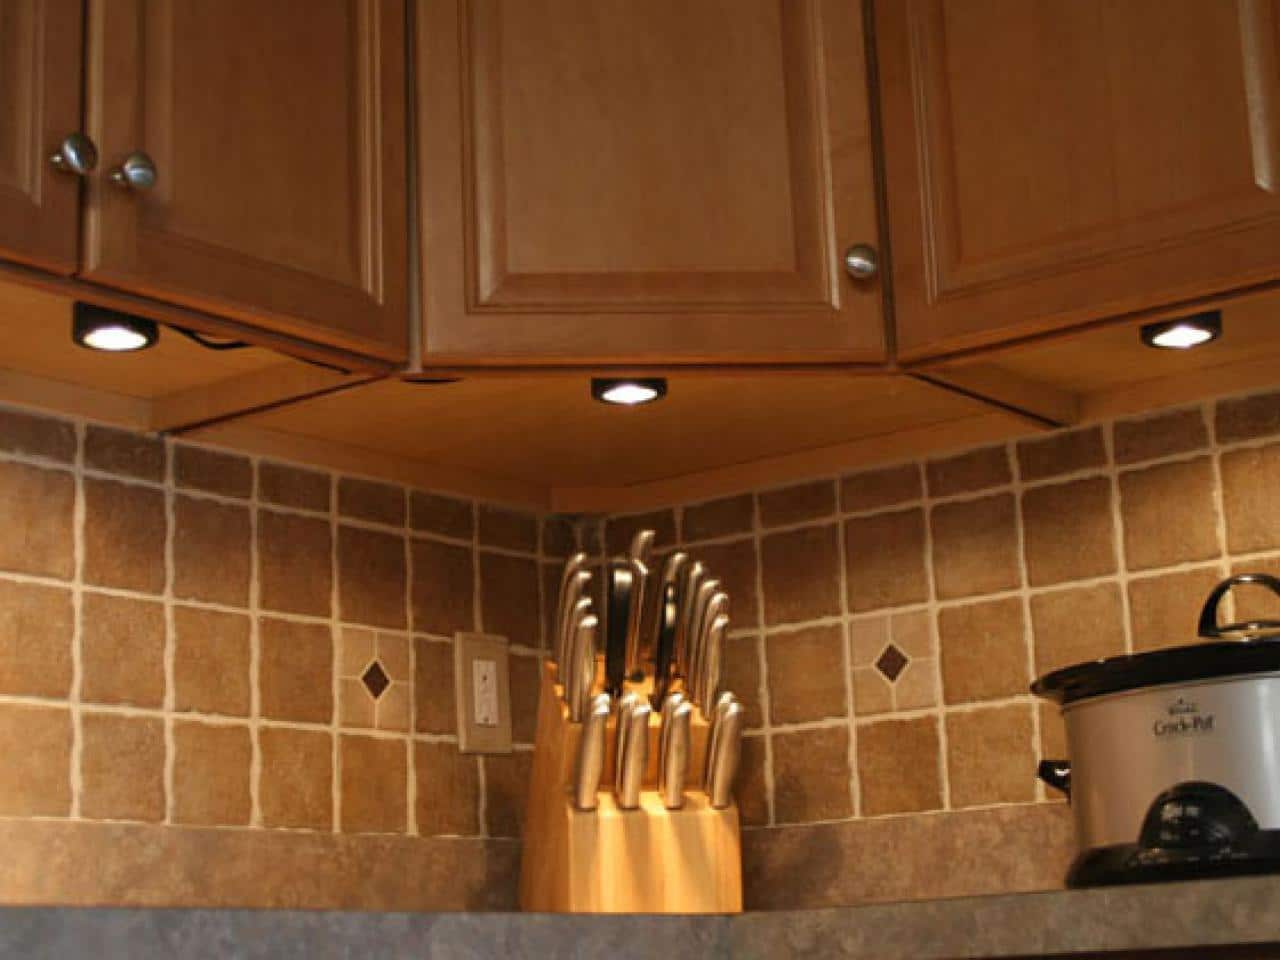 Under-cupboard lighting is a popular and effective way to upgrade your kitchen design. Not only does it provide much-needed task lighting for food preparation and cooking, but it also adds a touch of elegance and modernity to your space. With the right lighting, you can transform a dull and dark kitchen into a bright and inviting space. Additionally, under-cupboard lighting can help make your kitchen more functional by illuminating hard-to-reach areas and reducing shadows on your countertops.
Types of Under-Cupboard Lighting
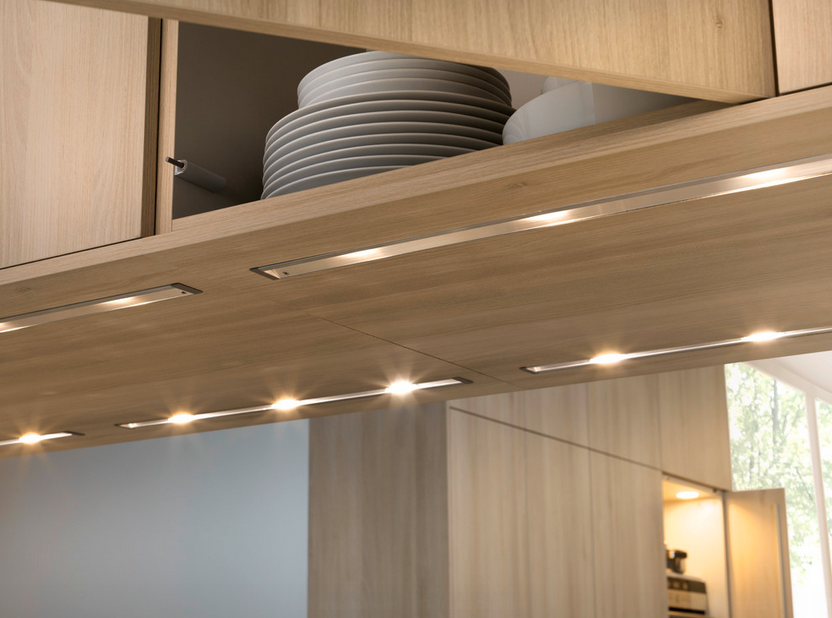 There are various types of under-cupboard lighting available, each with its own unique features and benefits.
LED lights
are a popular choice due to their energy efficiency and longevity. They also come in a variety of colors and can be dimmed to create different moods in your kitchen.
Halogen lights
offer bright and clear lighting, making them ideal for task lighting.
Xenon lights
, on the other hand, provide a warm and natural light that is similar to sunlight. They are also known for their long lifespan and low heat output.
Installation Process
 Installing under-cupboard lighting may seem like a daunting task, but it can be easily done by following a few simple steps. First,
measure the length
of your kitchen cabinets to determine how many lights you will need. Next, decide on the type of lighting you want and purchase the necessary equipment.
Drill holes
in the underside of your cabinets and
secure the lighting fixtures
with screws. Finally,
connect the lights
to a power source and enjoy your newly enhanced kitchen design.
Tips for a Successful Installation
 To ensure a successful and professional-looking installation, follow these tips:
- Plan the placement of your lights carefully to avoid casting shadows or causing glare.
- Use a level to ensure your lights are straight and evenly spaced.
- Use adhesive strips or clips to secure the wiring neatly and avoid any tripping hazards.
- If you are not confident in your DIY skills, consider hiring a professional electrician to install the lights for you.
In Conclusion
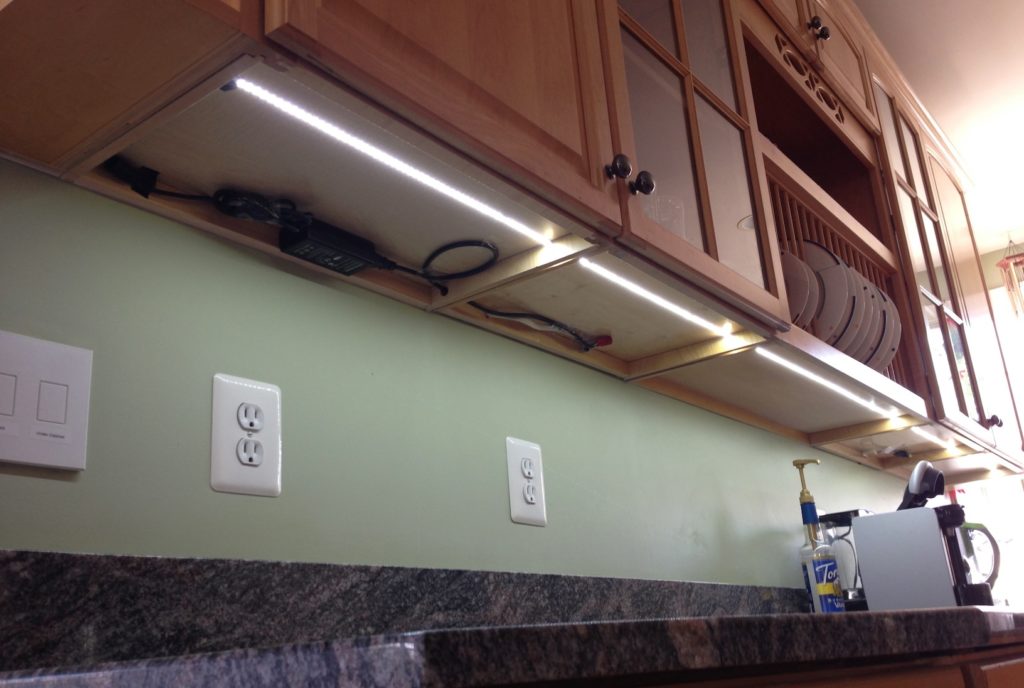 Under-cupboard lighting is an easy and cost-effective way to upgrade your kitchen design and make it more functional. With the right type of lighting and proper installation, you can transform your kitchen into a well-lit and inviting space. So why settle for a dark and dull kitchen when you can have a bright and beautiful one with the help of under-cupboard lighting?


