Adding under cabinet lighting to your kitchen is a great way to enhance the overall look and functionality of your space. Not only does it provide extra lighting for food preparation and cooking, but it also adds a touch of ambiance to your kitchen. Plus, with the right tools and a little know-how, you can easily install under cabinet lighting yourself, saving you time and money. Here's a step-by-step guide on how to install under cabinet lighting in your kitchen.How to Install Under Cabinet Lighting in Your Kitchen
If you're looking for a quick and easy way to add under cabinet lighting to your kitchen, look no further. With just four simple steps, you can have your new lighting system up and running in no time. Step 1: Gather Your Supplies Step 2: Plan Your Layout Step 3: Install the Lights Step 4: Connect the Power SupplyHow to Install Under Cabinet Lighting in 4 Easy Steps
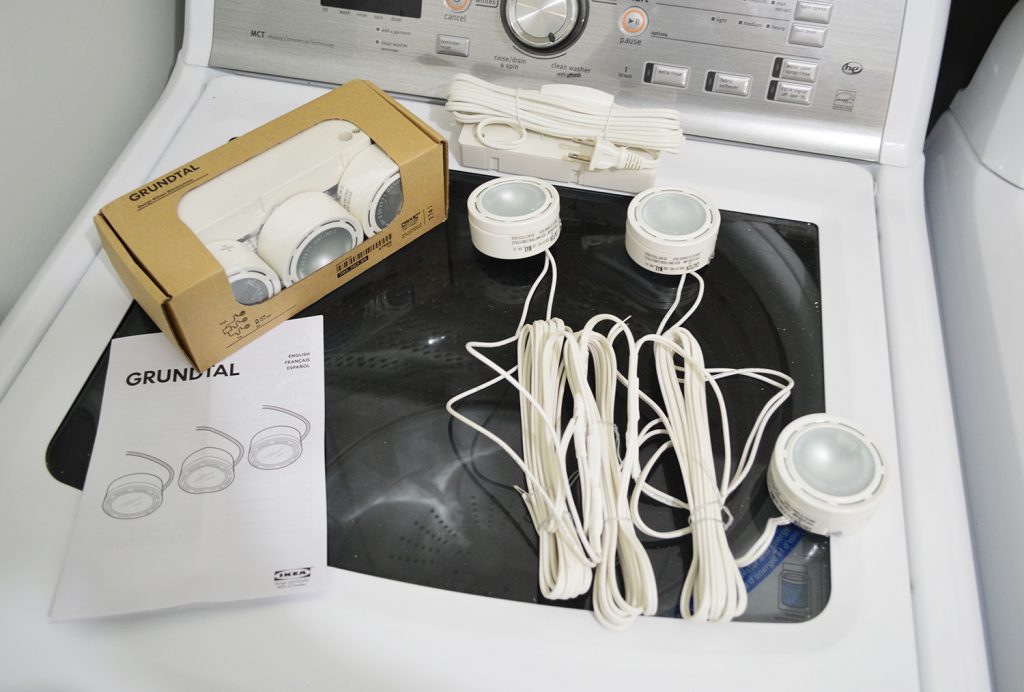
Before you begin the installation process, make sure you have all the necessary supplies. This includes under cabinet lights, power supply, drill, screws, and a screwdriver. You may also need a stud finder and a level to ensure a secure and even installation.
Before you start drilling holes and attaching lights, it's essential to plan out your layout. Decide where you want your lights to be placed and measure the distance between each light. This will help you determine the number of lights you need and ensure a balanced and uniform look.
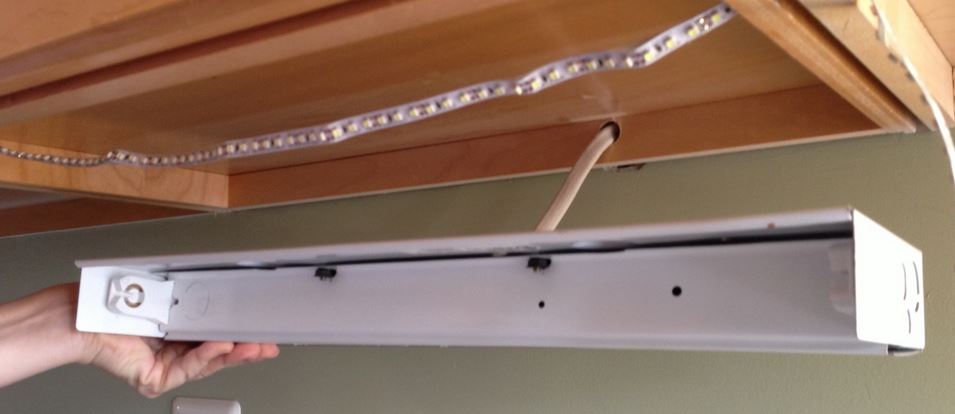
Using your drill, create small holes where you want to place your lights. Then, attach the lights to the underside of your cabinets using screws. Make sure to use a level to ensure they are straight and evenly spaced. If your lights come with adhesive strips, you can also use those to attach them to the underside of your cabinets.
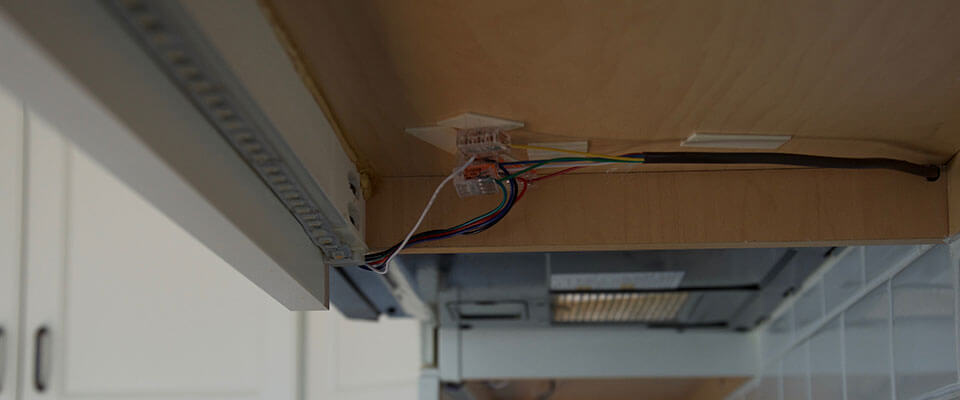
Once your lights are securely attached, it's time to connect the power supply. This will provide the electricity needed to power your lights. Depending on the type of lights you have, you may need to use wire connectors to attach the lights to the power supply. Make sure to follow the manufacturer's instructions carefully.
Installing under cabinet lighting can be a fun and rewarding DIY project. Not only will you save money by doing it yourself, but you'll also have the satisfaction of knowing you completed a home improvement project on your own. Here are some tips to help make your DIY under cabinet lighting installation a success. Tip #1: Choose the Right Type of Lights Tip #2: Use a Stud Finder Tip #3: Measure Twice, Drill Once Tip #4: Consider Dimmable LightsDIY: Installing Under Cabinet Lighting
There are several types of under cabinet lighting to choose from, including fluorescent, LED, and halogen. Each has its own set of advantages and disadvantages, so make sure to do your research and choose the right type for your needs and budget.
When attaching your lights to the underside of your cabinets, it's essential to find the studs to ensure a secure installation. A stud finder is a handy tool that will help you locate the studs and avoid damaging your cabinets.
Before drilling any holes, make sure to measure and mark where you want your lights to be placed. This will help you avoid any mistakes and ensure a clean and professional-looking installation.
Dimmable under cabinet lighting is a great option for controlling the amount of light in your kitchen. It allows you to adjust the brightness based on your needs, whether you're cooking, entertaining, or just relaxing.
Installing under cabinet lighting can seem like a daunting task, but with this step-by-step guide, you'll be able to complete the installation like a pro. Step 1: Prepare the Area Step 2: Determine the Power Source Step 3: Install the Power Supply Step 4: Plan Your Layout Step 5: Attach the Lights Step 6: Connect the Wires Step 7: Test the LightsStep-by-Step Guide to Installing Under Cabinet Lighting
Before you start installing your lights, make sure the area is clean and free of any debris or clutter. This will make the installation process easier and ensure a clean and professional-looking result.
Decide where you want to plug in your under cabinet lighting. This could be an existing outlet or an outlet that you install specifically for your lights. Make sure the power source is easily accessible and can handle the wattage of your lights.
Attach the power supply to the underside of your cabinets using screws. Make sure the power supply is close to your power source for easy access.
Use a measuring tape and a level to plan out where you want your lights to be placed. Mark the areas with a pencil to guide you during the installation process.
Using screws or adhesive strips, attach the lights to the underside of your cabinets. Make sure they are evenly spaced and level.
Using wire connectors, connect the lights to the power supply. Make sure to follow the manufacturer's instructions carefully.
Before securing all the wires and closing up the area, test the lights to make sure they are working correctly. This will save you time and frustration if there are any issues that need to be addressed.
If you're new to home improvement projects, installing under cabinet lighting can seem intimidating. But with this beginner's guide, you'll have the knowledge and confidence to tackle this project with ease. Tip #1: Start with a Small Area Tip #2: Use a Template Tip #3: Don't Overcrowd Tip #4: Consider Battery-Powered LightsInstalling Under Cabinet Lighting: A Beginner's Guide
If you're unsure about installing under cabinet lighting, start with a small area, like above your stove or sink. This will give you a chance to practice and get comfortable before tackling the entire kitchen.
Some under cabinet lighting kits come with a template that you can use to mark where the lights will be placed. This will save you time and ensure a precise installation.
When installing under cabinet lighting, less is more. Avoid overcrowding your cabinets with too many lights, as this can create an overwhelming and cluttered look.
If you don't want to deal with electrical wiring, consider using battery-powered under cabinet lighting. These lights are easy to install and can be controlled with a remote, making them a convenient option.
Installing under cabinet lighting is a popular home improvement project that can add value and style to your kitchen. Here are some tips and tricks to help make the installation process smoother and more efficient. Tip #1: Use LED Lights Tip #2: Consider Adding a Dimmer Switch Tip #3: Use Extension Cords Tip #4: Add Task LightingUnder Cabinet Lighting Installation: Tips and Tricks
LED lights are a popular choice for under cabinet lighting because they are energy-efficient and have a long lifespan. They also come in a variety of colors, making it easy to find one that complements your kitchen's design.
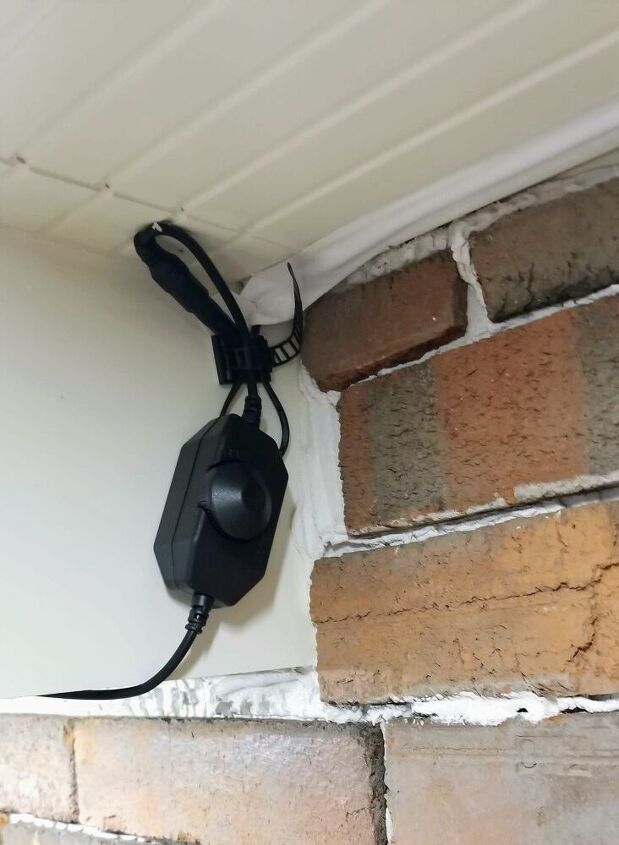
A dimmer switch is a great way to control the brightness of your under cabinet lighting. It allows you to adjust the light level to suit your needs and can also help save energy.
If your under cabinet lighting doesn't reach your power source, use extension cords to bridge the gap. Just make sure to secure the cords and keep them out of reach to avoid any accidents.
In addition to ambient lighting, consider adding task lighting under your cabinets. This will provide extra light for tasks like chopping vegetables or reading recipes.
LED under cabinet lighting is a popular choice for kitchens because of its energy-efficiency and versatility. Here's a step-by-step guide on how to install LED under cabinet lighting in your kitchen. Step 1: Choose Your Lights Step 2: Gather Your Supplies Step 3: Plan Your Layout Step 4: Install the Lights Step 5: Connect the Power SupplyInstalling LED Under Cabinet Lighting in Your Kitchen
Choose the type and color of LED lights you want for your kitchen. LED lights come in a variety of sizes and colors, so make sure to choose ones that fit your kitchen's design and lighting needs.
In addition to your LED lights, you'll need a power supply, drill, screws, screwdriver, and wire connectors. You may also need a stud finder and a level to ensure a secure and even installation.
Decide where you want your lights to be placed and measure the distance between each light. This will help you determine the number of lights you need and ensure a balanced and uniform look.
Using your drill, create small holes where you want to place your lights. Then, attach the lights to the underside of your cabinets using screws. Make sure to use a level to ensure they are straight and evenly spaced.
Once your lights are securely attached, it's time to connect the power supply. This will provide the electricity needed to power your lights. Follow the manufacturer's instructions to connect the lights using wire connectors.
Choosing and installing under cabinet lighting can seem like a daunting task, but with these tips, you'll be able to make the best decision for your kitchen and complete the installation with ease. Tip #1: Consider Your Lighting Needs Tip #2: Measure Carefully Tip #3: Choose the Right Color Temperature Tip #4: Hire a ProfessionalHow to Choose and Install Under Cabinet Lighting
Think about the type of lighting you need in your kitchen. Do you want bright and focused light for food preparation, or do you prefer a softer and more ambient light? This will help you choose the right type of under cabinet lighting for your kitchen.
Measuring is a crucial step in the under cabinet lighting installation process. Make sure to measure the distance between each light accurately, as well as the distance from the power source.
Under cabinet lighting comes in a range of color temperatures, from warm yellow to cool white. Consider the color scheme of your kitchen and choose a temperature that complements it.
If you're not confident in your DIY skills, or if you want a more complex under cabinet lighting system, consider hiring a professional to do the installation for you.
Before diving into the world of under cabinet lighting, there are a few important things you should know to ensure a successful and safe installation. Tip #1: Use LED or Fluorescent Lights Tip #2: Consider a Hardwired System Tip #3: Use a Timer or Motion Sensor Tip #4: Choose a Light Color That Matches Your CountertopsInstalling Under Cabinet Lighting: What You Need to Know
When choosing under cabinet lighting, opt for LED or fluorescent lights over halogen. These options are more energy-efficient and produce less heat, making them a safer choice for use under cabinets.
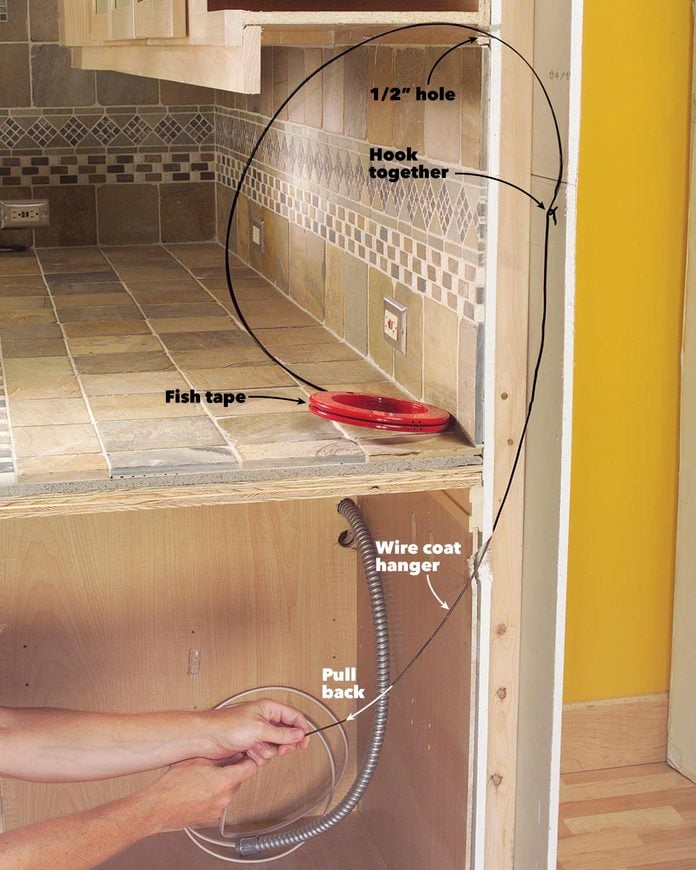
Hardwired under cabinet lighting systems are a great option for a clean and professional-looking installation. This involves running wires through the walls, so it may be best to hire a professional to handle this type of system.
To save energy and make your under cabinet lighting even more convenient, consider adding a timer or motion sensor to your system. This will automatically turn the lights on and off, so you don't have to worry about remembering to switch them off.
When choosing the color temperature of your lights, consider the color of your countertops. A warm-colored countertop will pair well with warm-colored lights, while a cool-colored countertop will look best with cool-colored lights.
Installing under cabinet lighting doesn't have to break the bank. Here are some easy and affordable ways to add this popular kitchen feature to your home. Tip #1: Use Battery-Powered Lights Tip #2: Utilize Adhesive Strips Tip #3: Shop for DealsEasy and Affordable Ways to Install Under Cabinet Lighting
Battery-powered under cabinet lighting is a great option for those on a budget. These lights are easy to install and don't require any electrical wiring, making them a convenient and cost-effective choice.
If your under cabinet lights come with adhesive strips, use those instead of screws to attach them to the underside of your cabinets. This will save you time and money on extra supplies.
Before purchasing your under cabinet lighting, shop around for deals and discounts. You may be able to find a good sale or a coupon that could save you money on your purchase.
Why Install Lights Under Kitchen Cabinets?
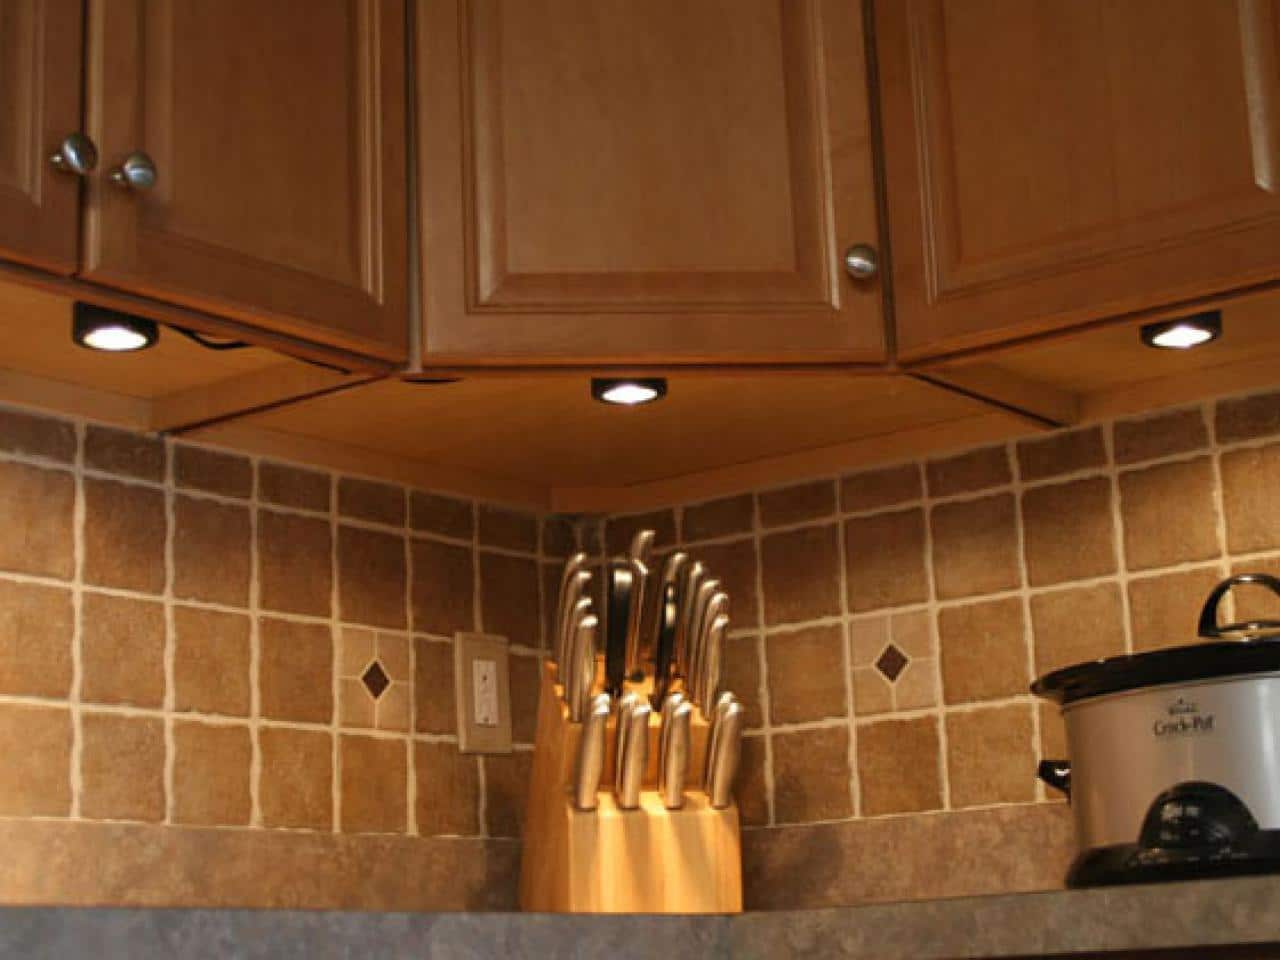
Enhance Your Kitchen Design
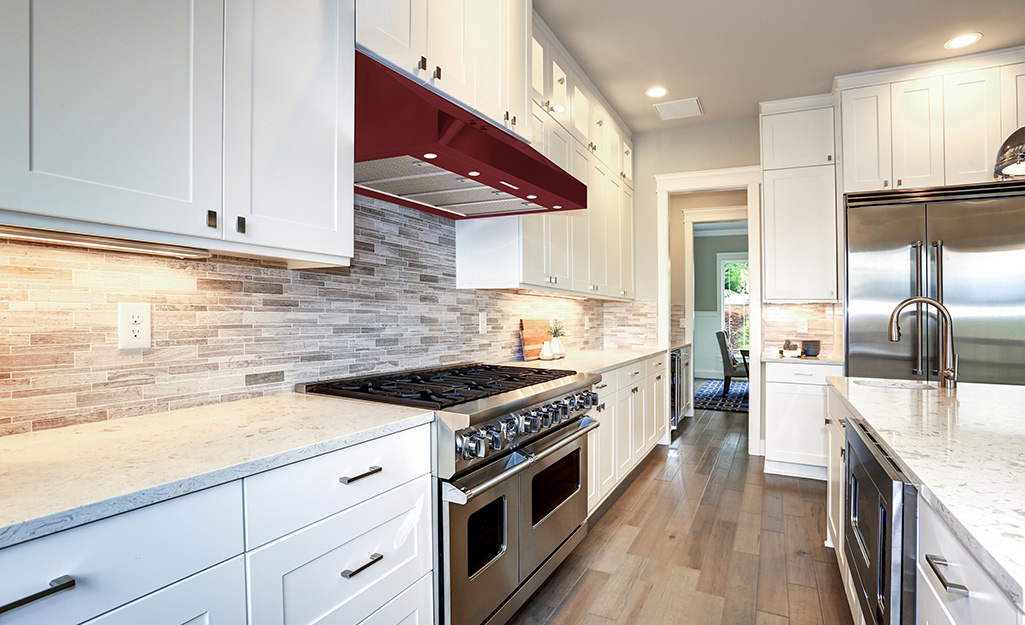
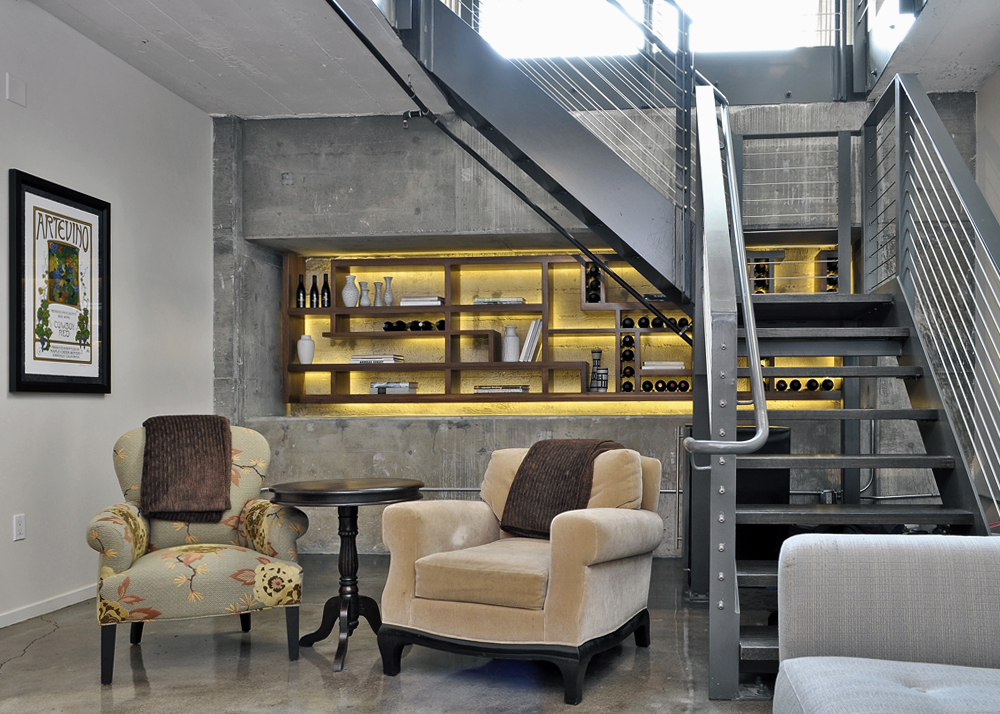
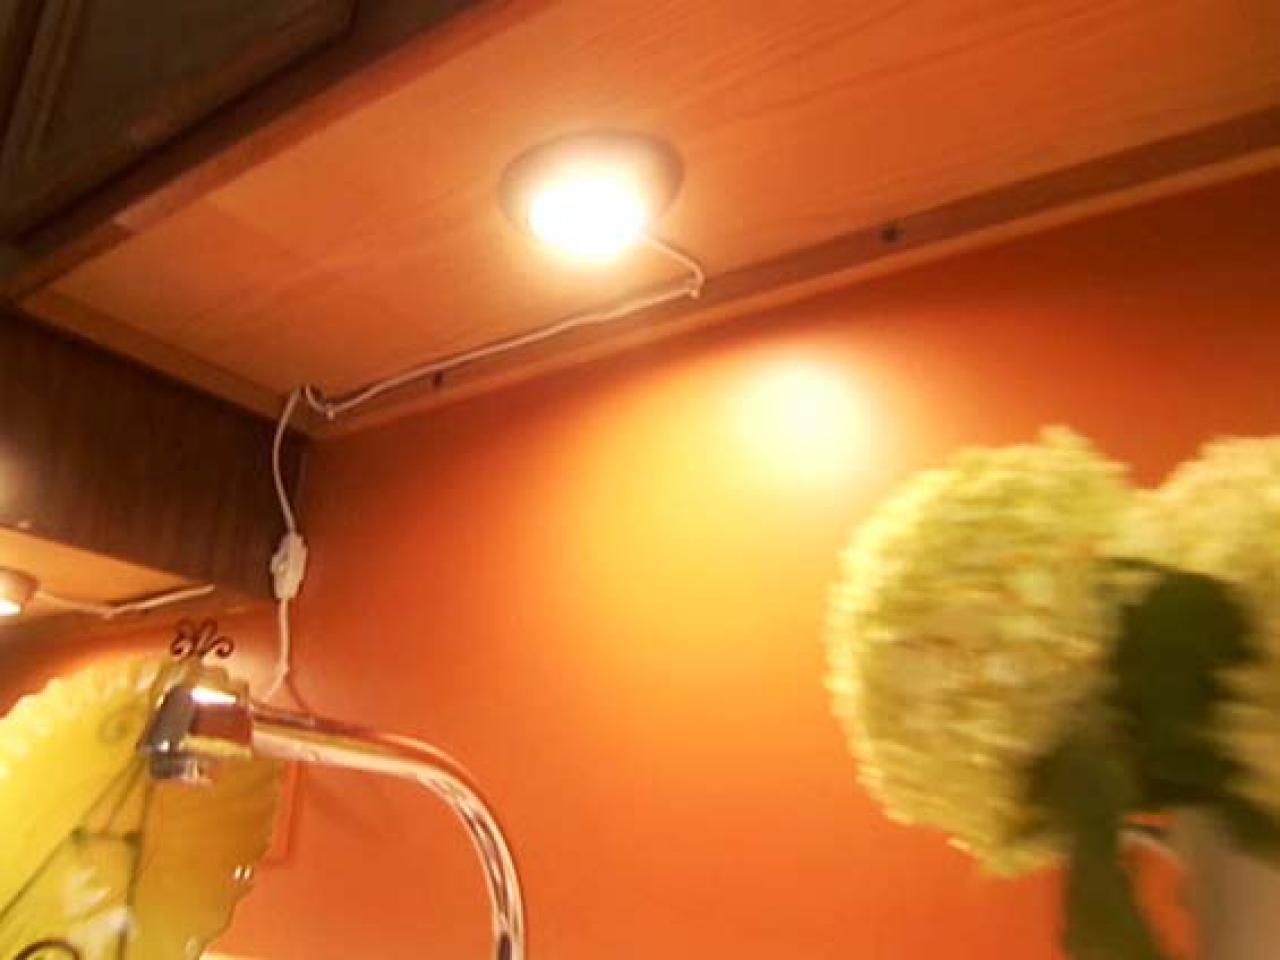
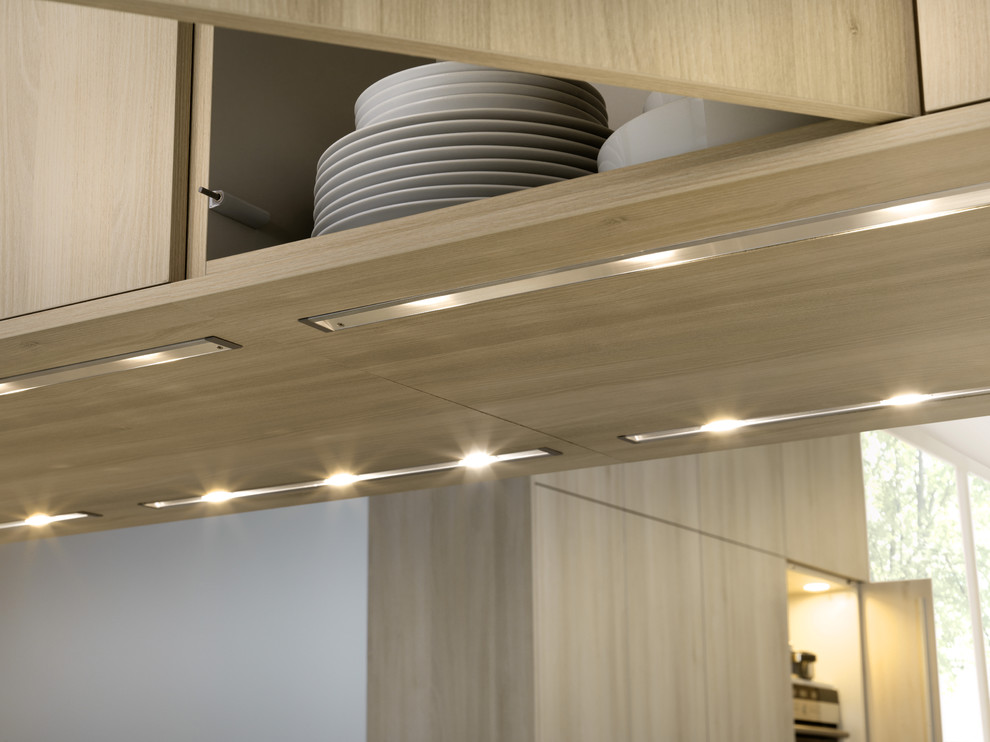
 Installing lights under kitchen cabinets is not only a practical choice but also a design element that can greatly enhance the overall look of your kitchen. These lights provide additional illumination to your countertops, making it easier to prepare food and cook. Not only that, but they also add depth and dimension to your kitchen design. With the right placement and type of lights, you can create a warm and inviting ambiance in your kitchen.
Highlight Your Countertops and Backsplash
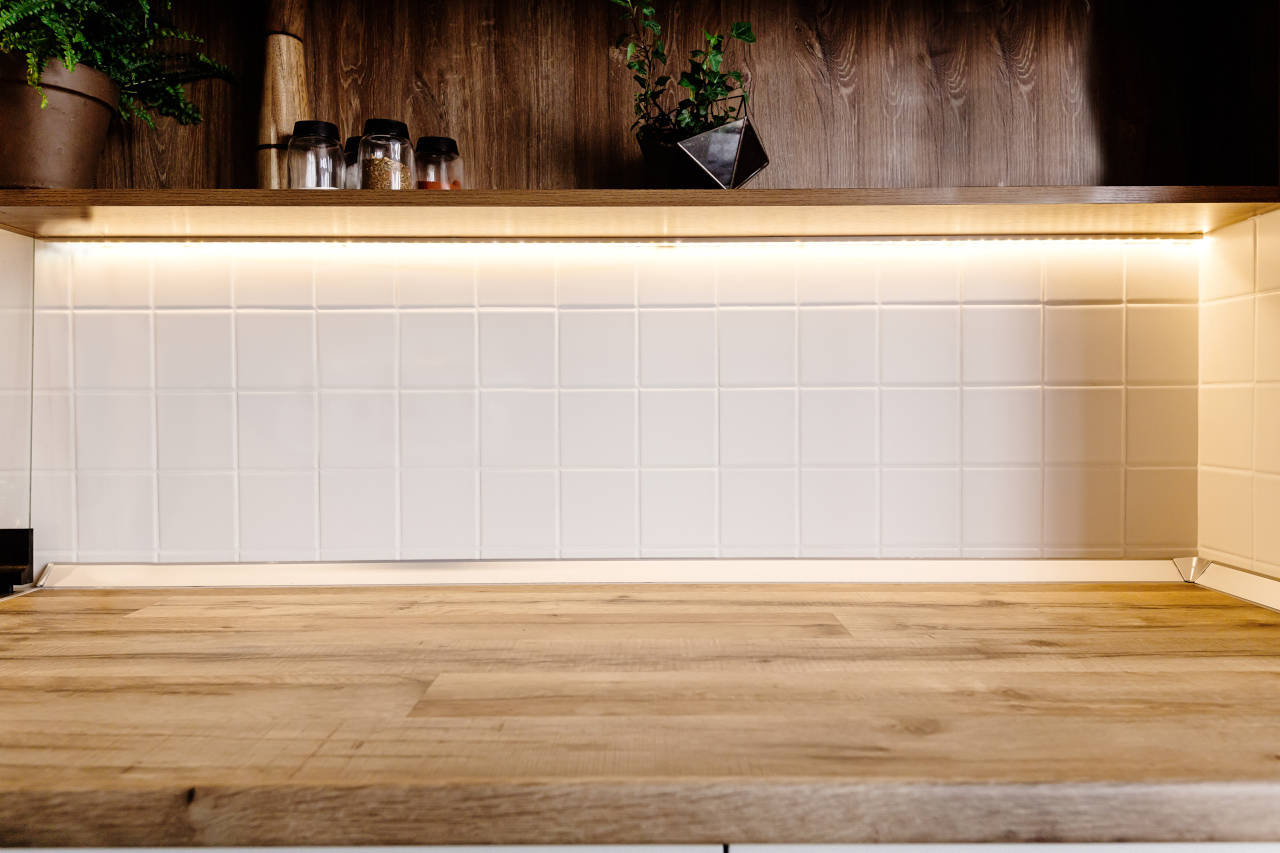
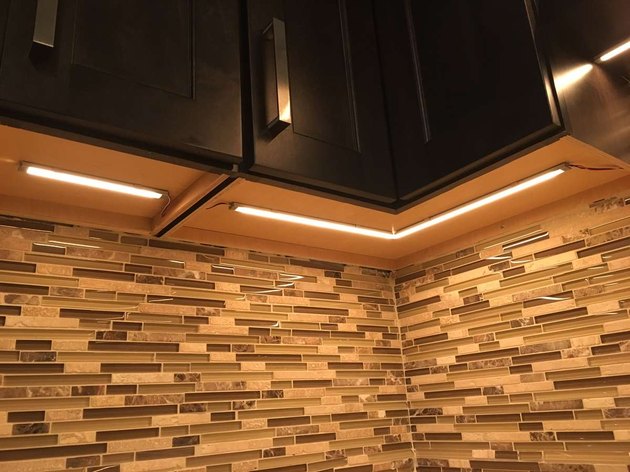
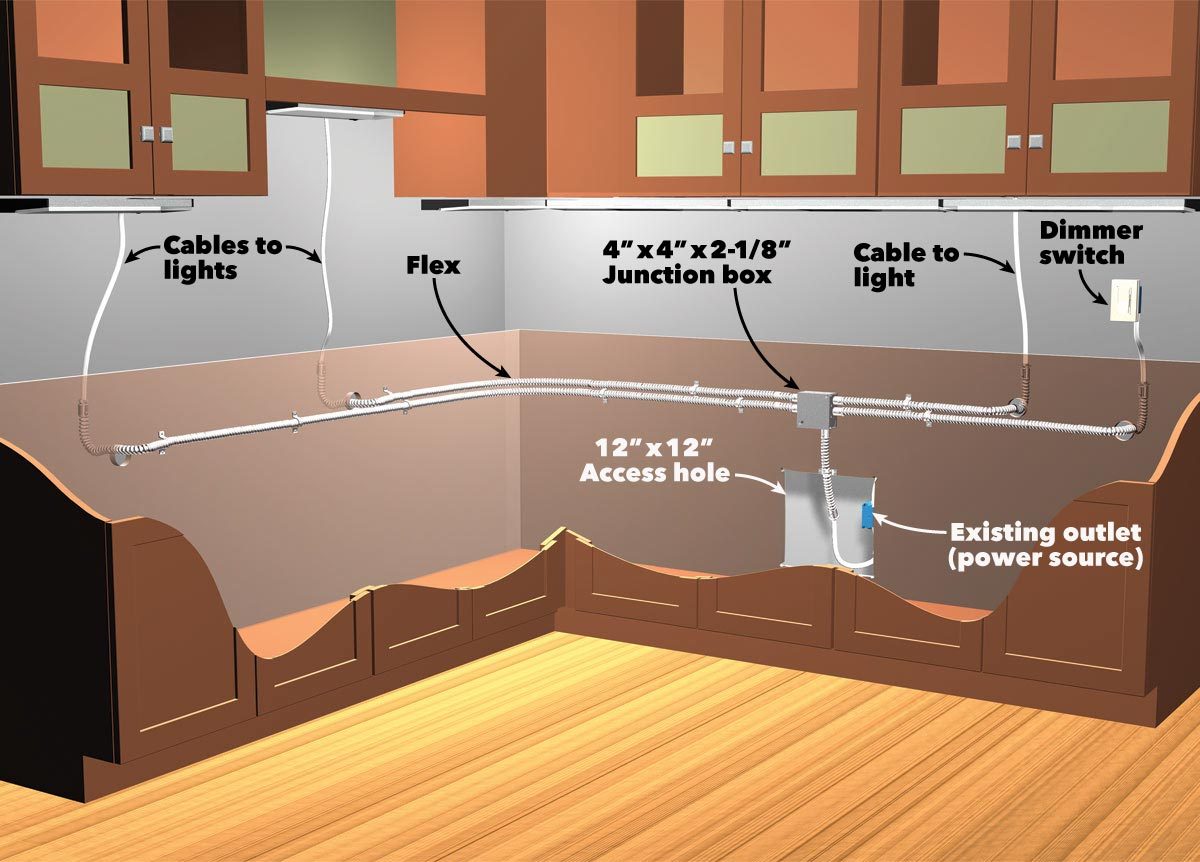 One of the main benefits of installing lights under kitchen cabinets is that they can highlight your countertops and backsplash. By directing light onto these surfaces, you can showcase their beauty and make them the focal point of your kitchen. This is especially beneficial if you have invested in high-quality materials or unique designs for your countertops and backsplash. The lights can also help to create a sense of depth and texture, adding visual interest to your kitchen design.
Improve Task Lighting
 Task lighting is essential in any kitchen, especially for areas where you do most of your food preparation. Installing lights under kitchen cabinets can provide targeted lighting for your countertops, making it easier to see what you are doing. This is particularly useful for tasks that require precision, such as chopping vegetables or measuring ingredients. With the right amount of light, you can work more efficiently and comfortably in your kitchen.
Maximize Space and Functionality
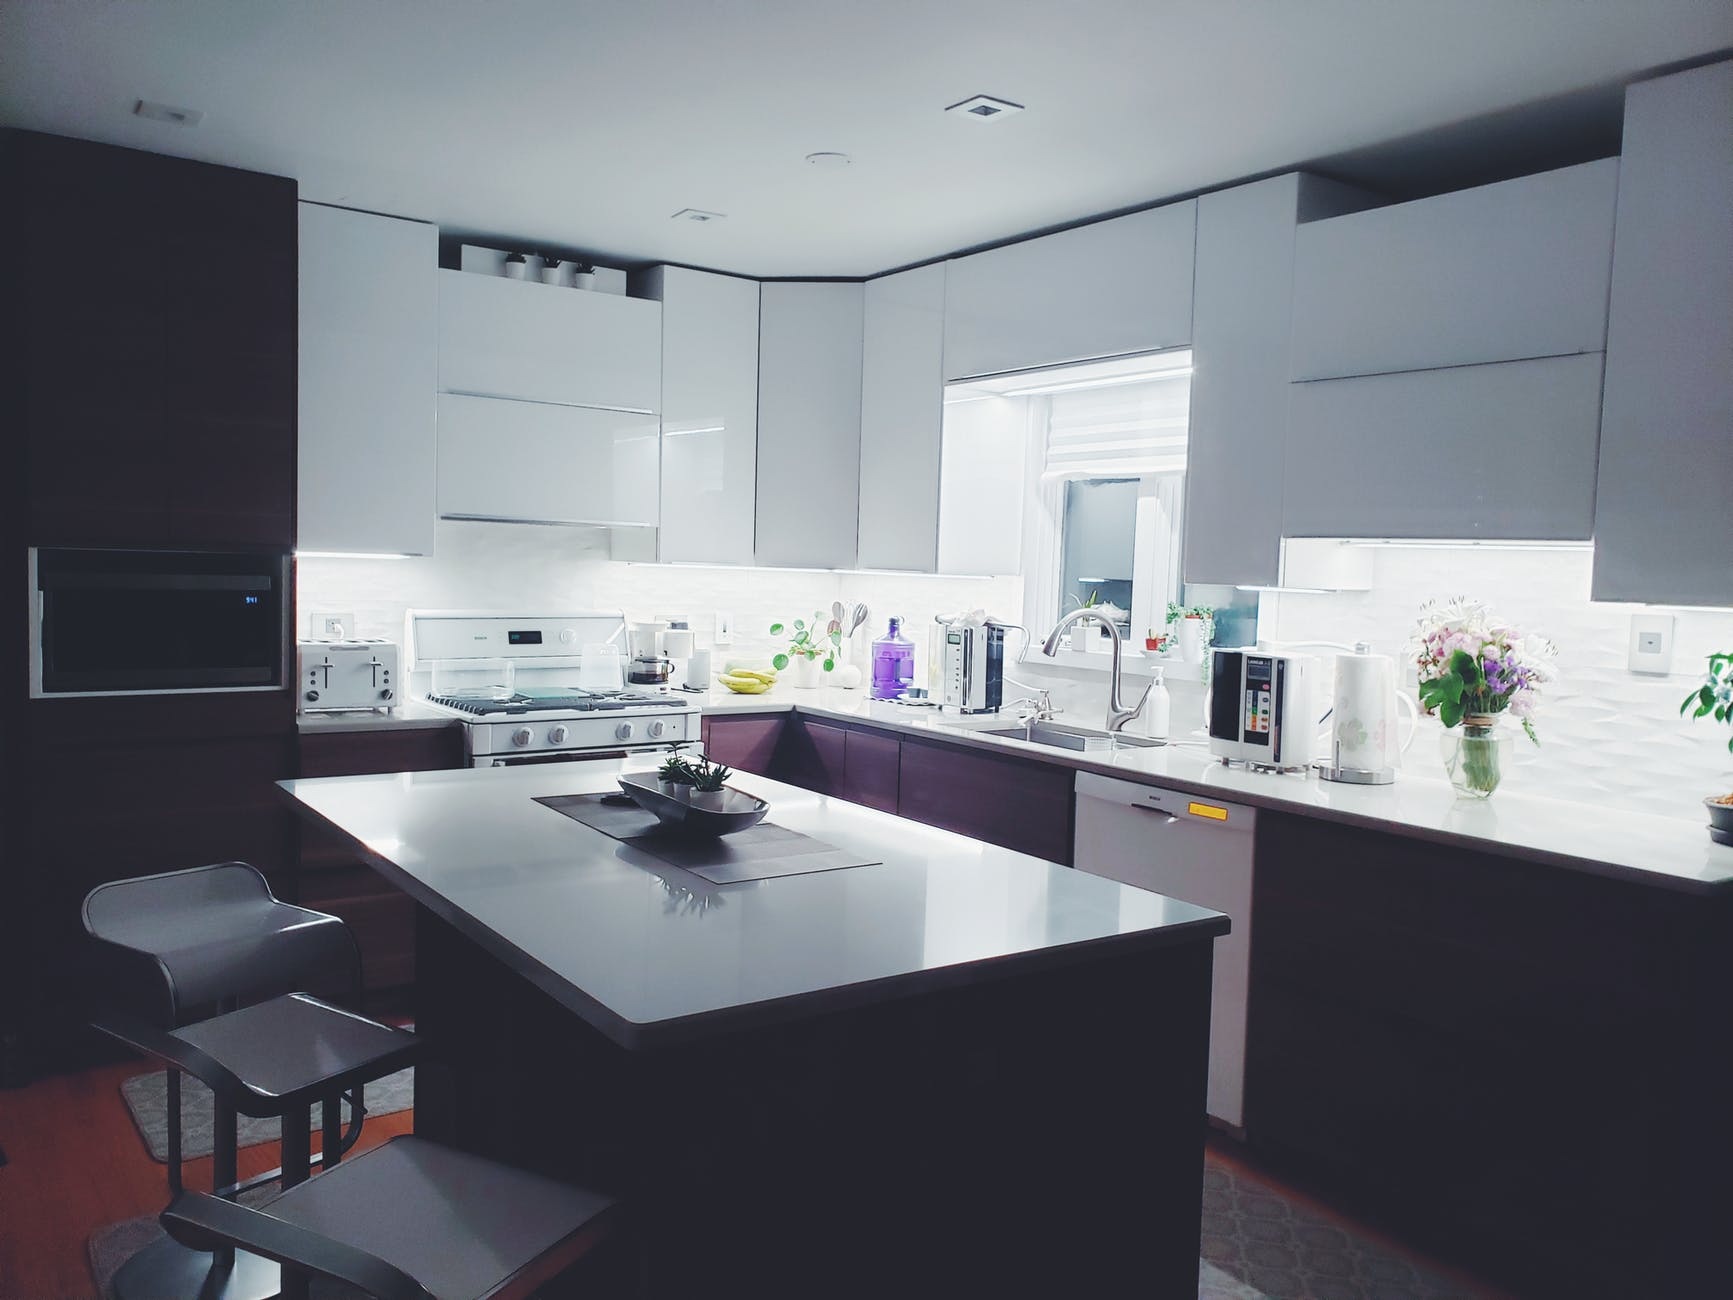
 Another advantage of installing lights under kitchen cabinets is that they can maximize the space and functionality of your kitchen. By eliminating the need for bulky overhead lights, you can free up valuable space on your countertops and create a more streamlined and clutter-free look. This can be especially beneficial for smaller kitchens where counter space is limited. Additionally, the lights can be strategically placed to illuminate specific areas, such as a coffee station or a dining nook, making your kitchen more functional and versatile.
In conclusion, installing lights under kitchen cabinets is a smart and practical choice for any kitchen design. Not only do they provide additional illumination and improve task lighting, but they also enhance the overall look and functionality of your kitchen. With various types and designs available, you can easily find the perfect lights to complement your kitchen style and make it a more inviting and functional space. So why wait? Add some lights under your kitchen cabinets and see the difference it can make.





















.jpg)


