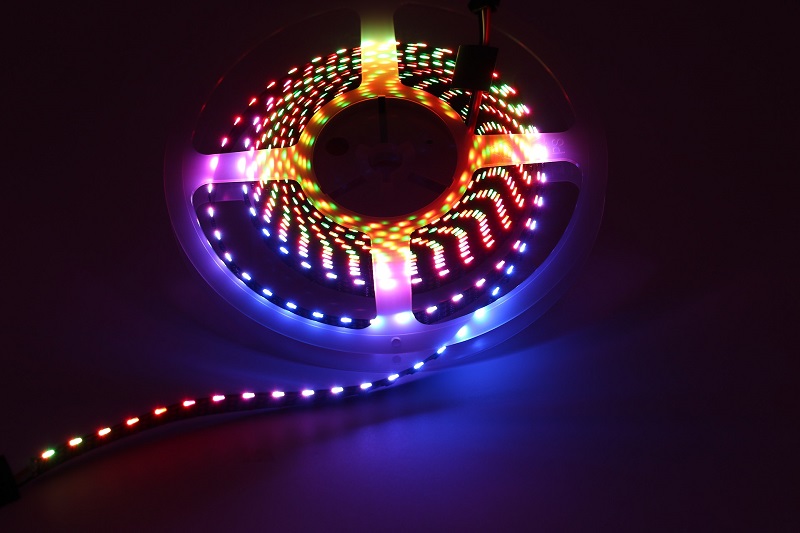
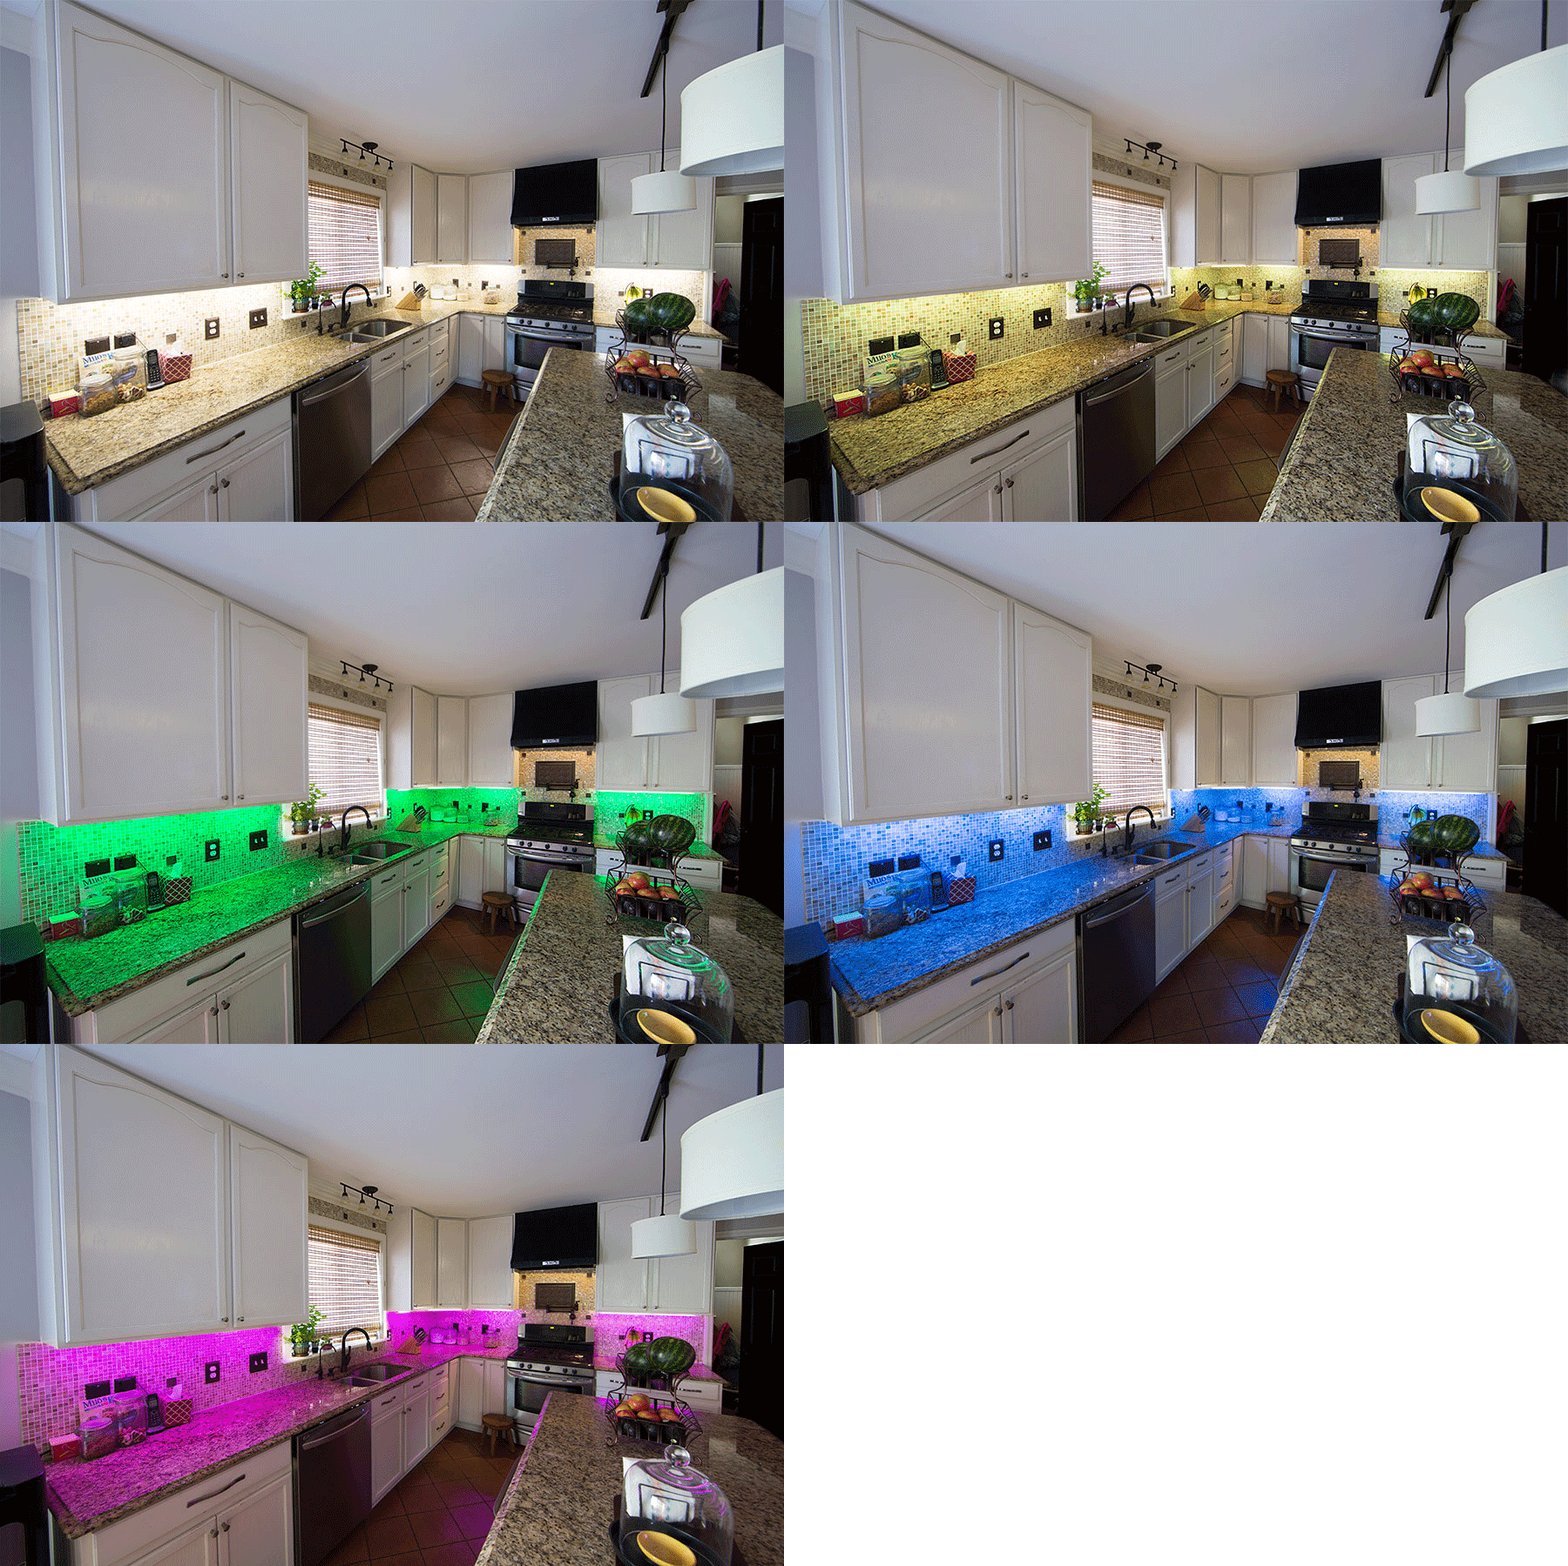
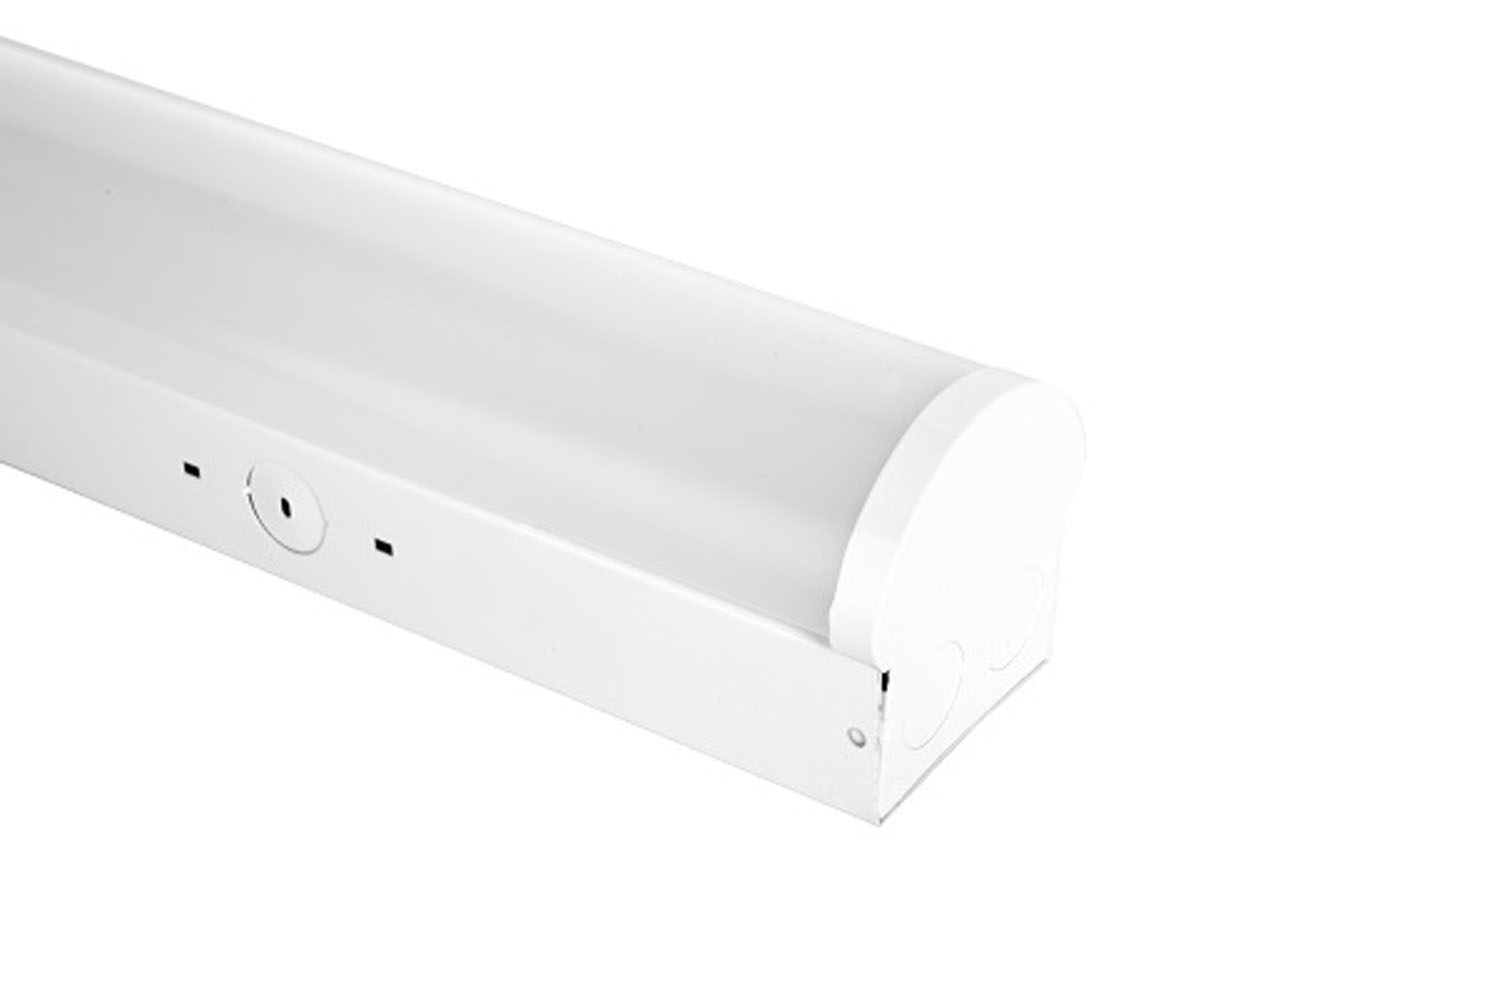
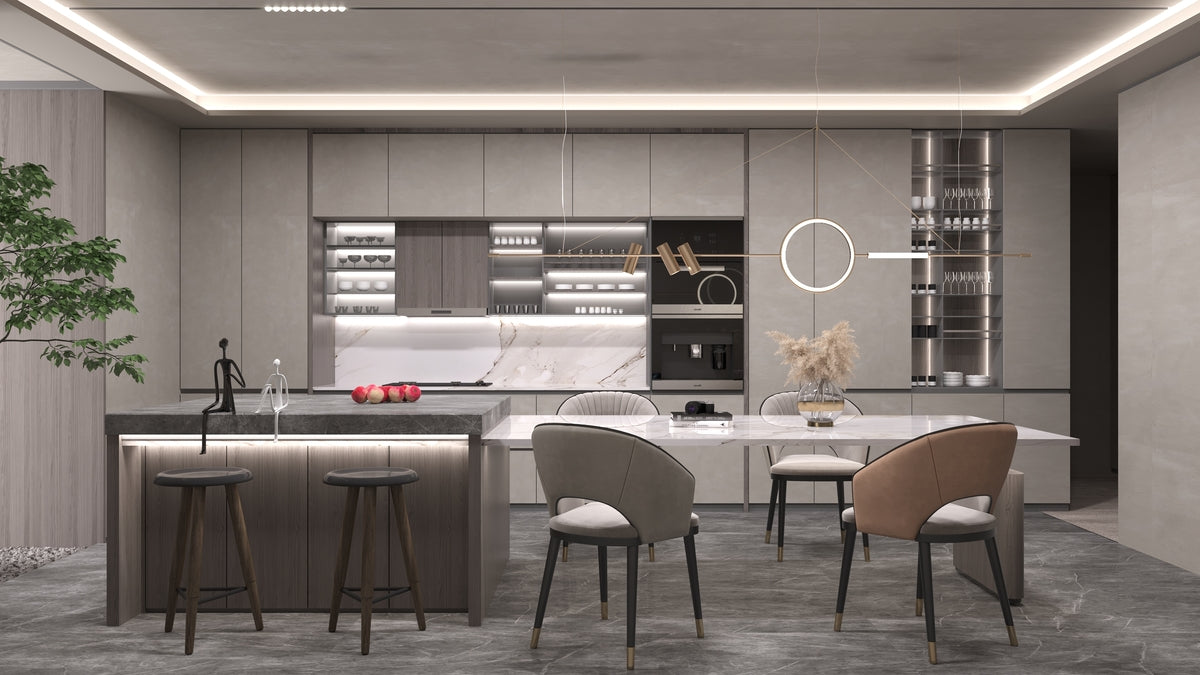
LED strip lights are a fantastic way to add ambiance and functionality to your kitchen. These energy-efficient lights can be installed in various areas of your kitchen, from under cabinets to around the ceiling. Not only do they provide excellent lighting for cooking and working, but they can also enhance the overall look of your kitchen. If you're thinking of installing LED strip lights in your kitchen, here is a step-by-step guide to help you get started.How to Install LED Strip Lights in Your Kitchen
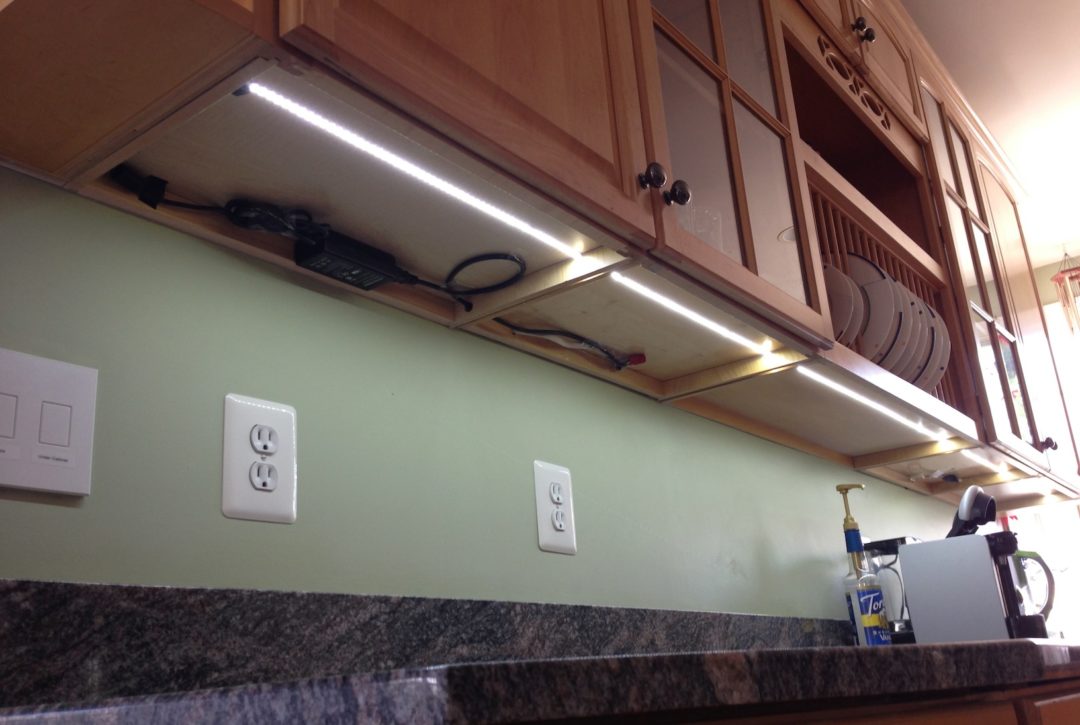
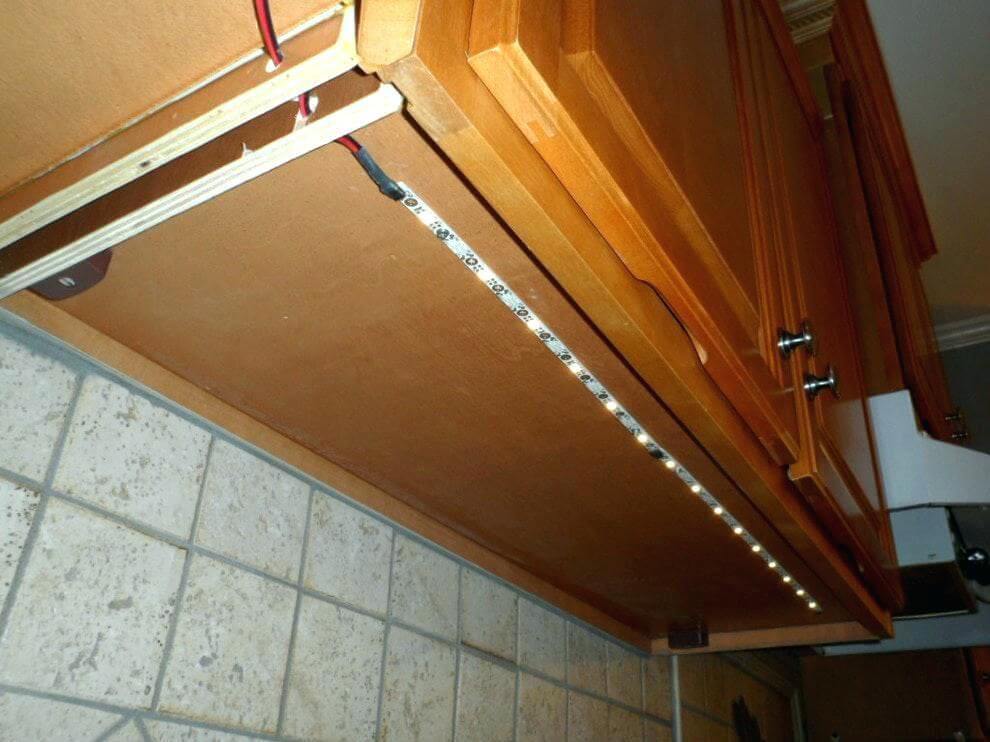
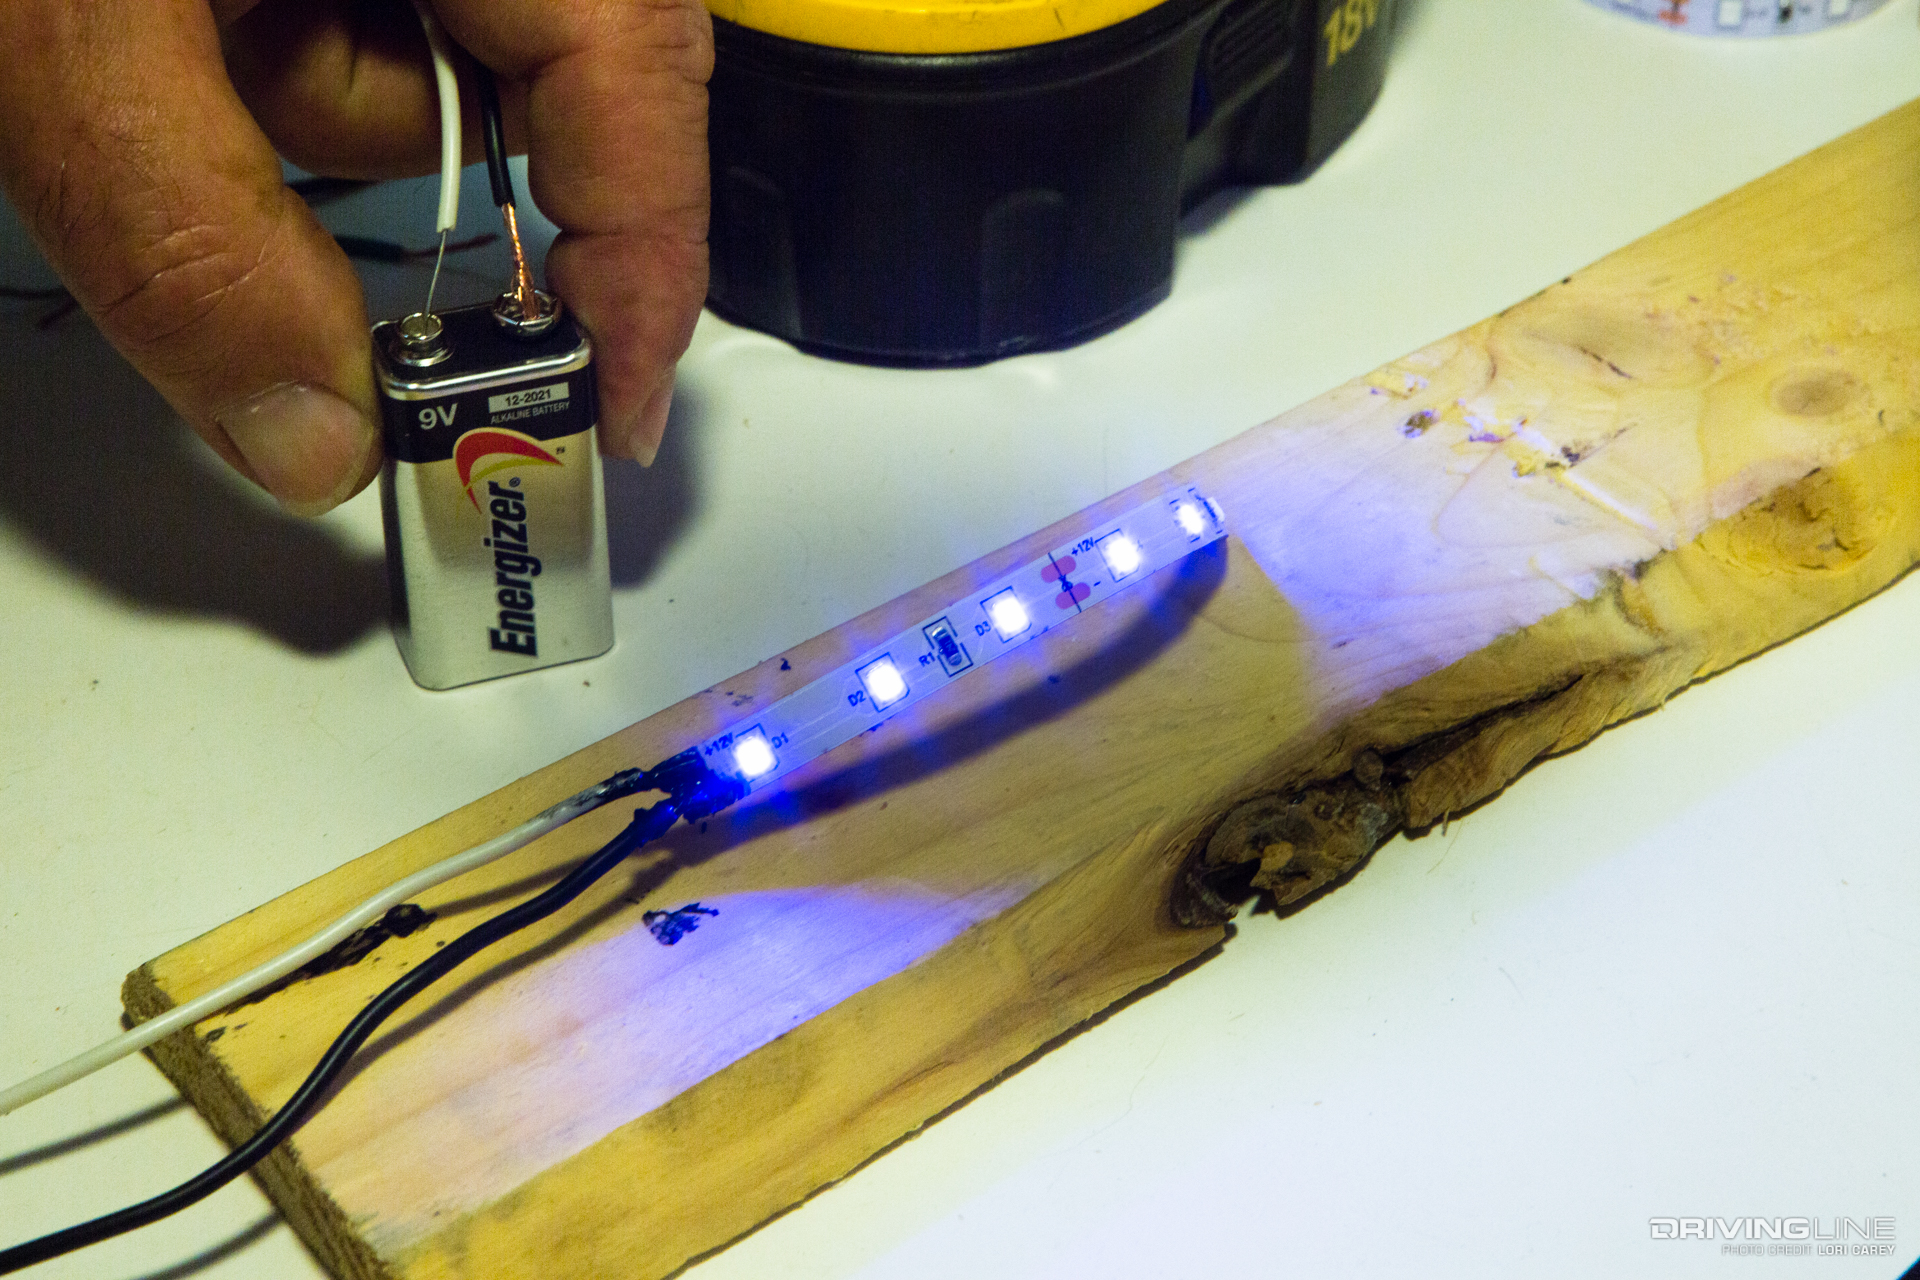
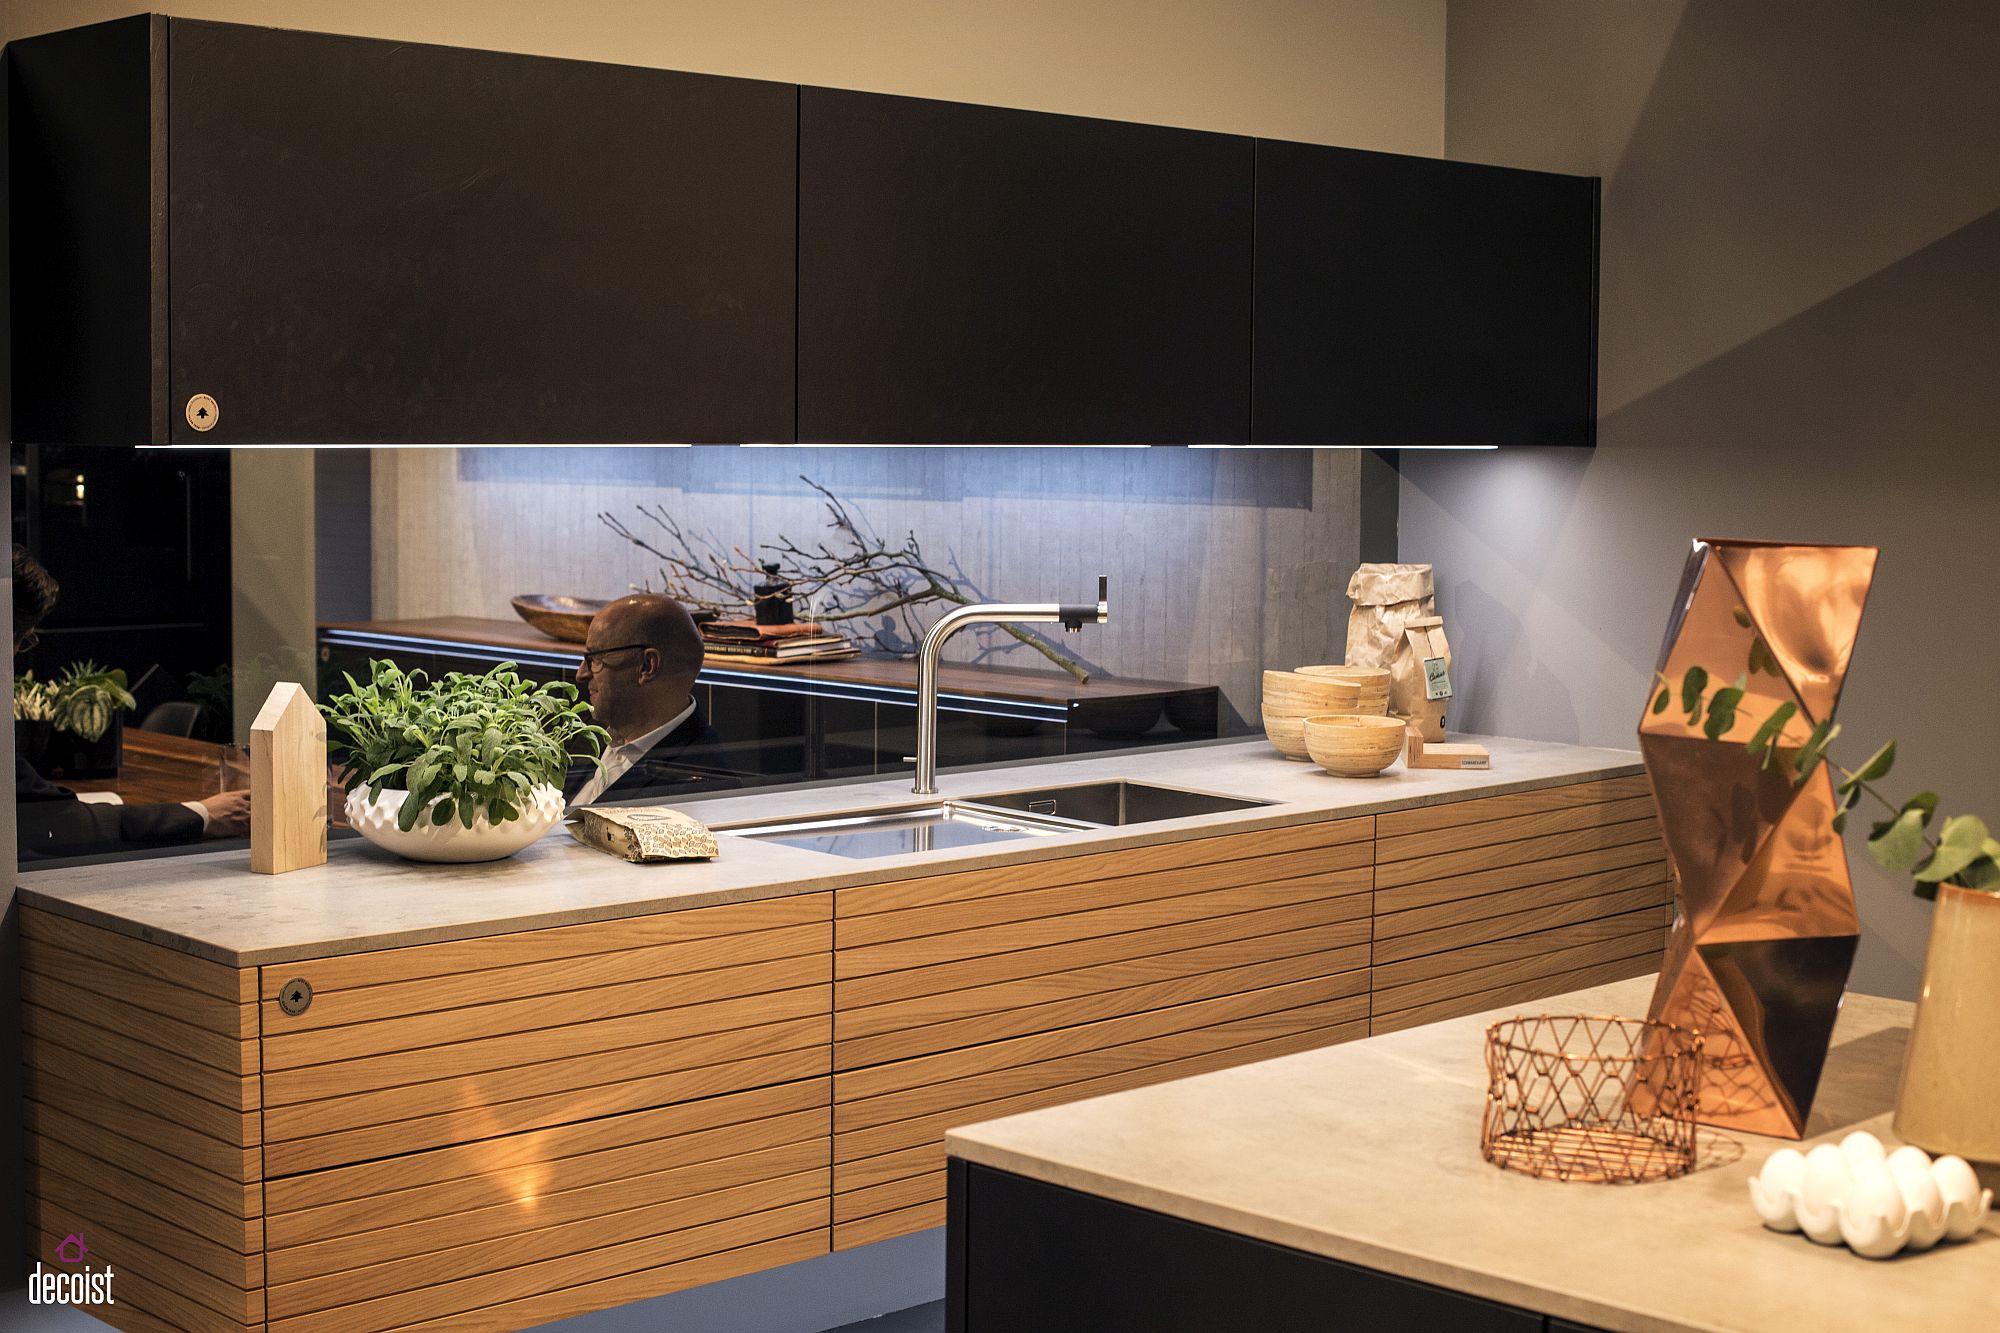
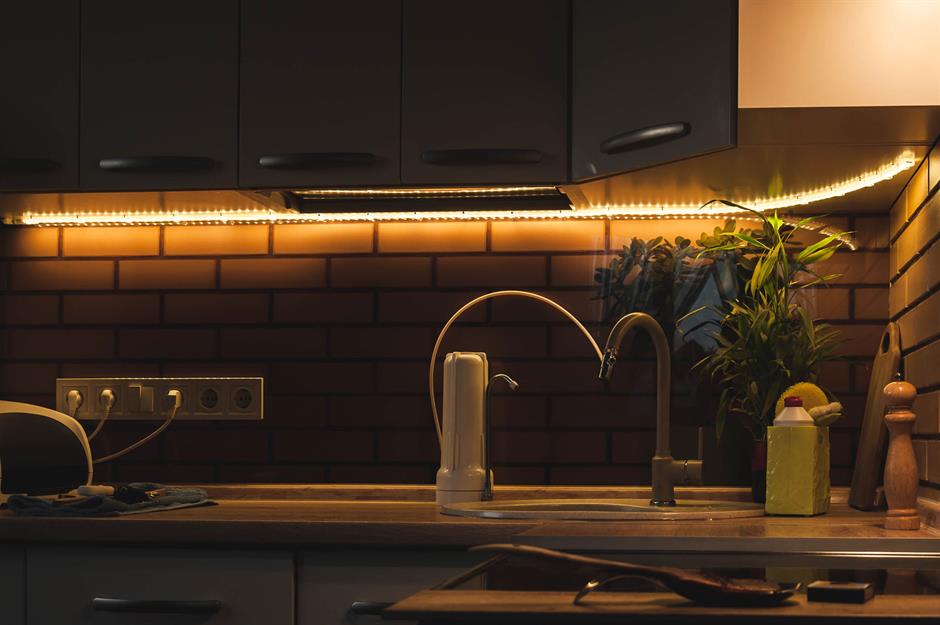
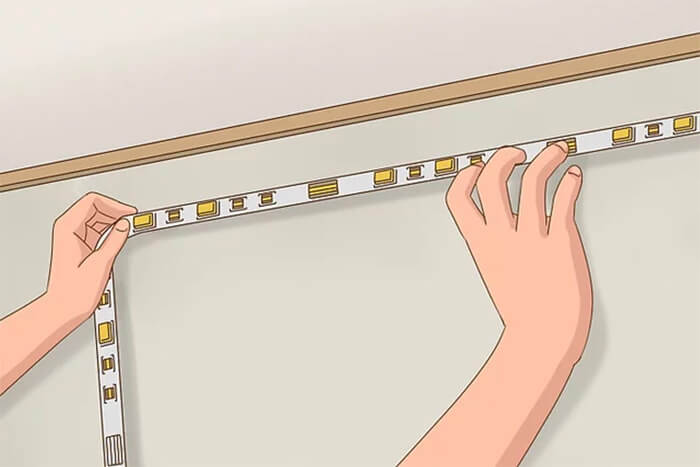
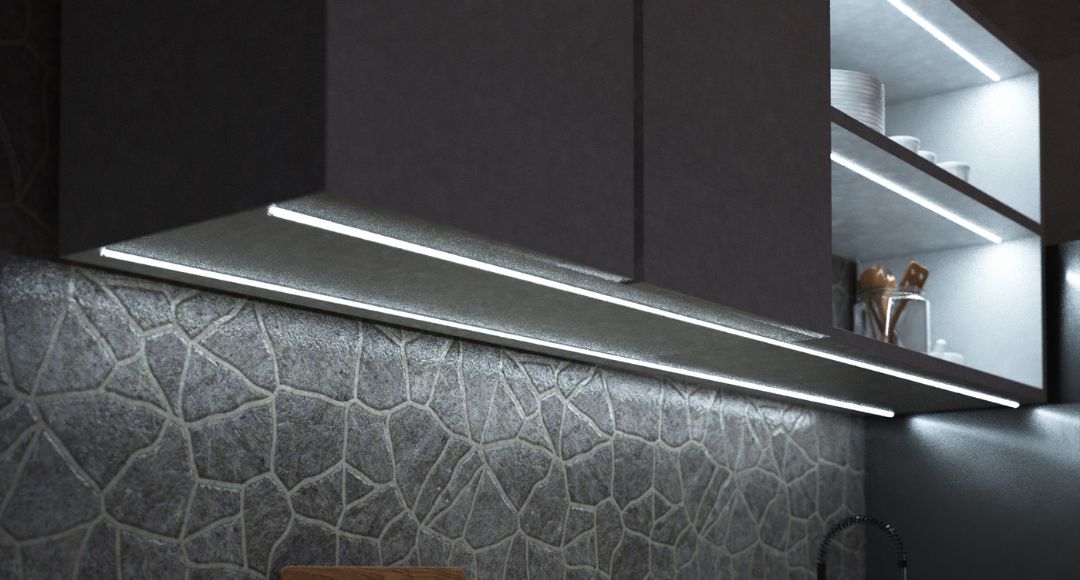
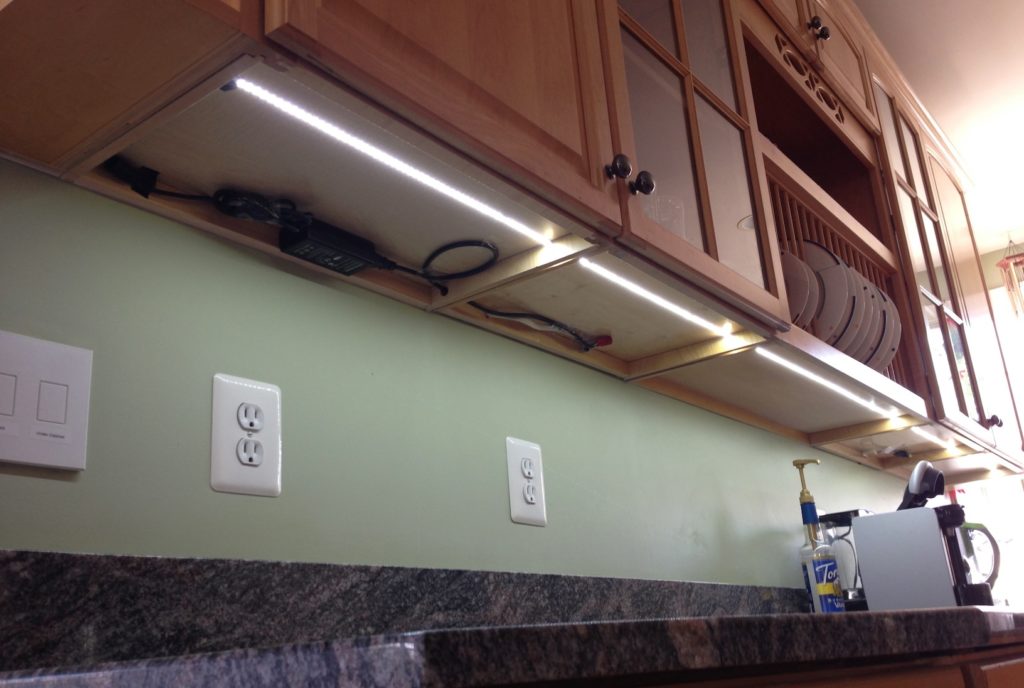
One of the most popular places to install LED strip lights in the kitchen is under the cabinets. This provides task lighting for food preparation and adds a modern touch to your kitchen. To install LED strip lights under your kitchen cabinets, follow these simple steps: Step 1: Measure and Plan Start by measuring the length of your cabinets where you want to install the strip lights. This will help you determine how much lighting you'll need. Next, plan where you want to place the lights and how you want to connect them. You can either have one continuous strip or cut them into smaller sections and connect them with wires. Step 2: Gather Materials Before you begin the installation, make sure you have all the necessary materials. This includes LED strip lights, a power supply, connectors, wire strippers, and mounting clips. Step 3: Prepare the Area Clean the area under your cabinets and make sure it is dry. This will ensure that the lights stick properly and don't fall off. You can also use some rubbing alcohol to remove any dirt or residue. Step 4: Install the Lights Peel off the adhesive backing on the strip lights and carefully stick them under the cabinets. Press down firmly to ensure they are secure. If you are using connectors, use wire strippers to expose the copper wires and connect them to the corresponding color wires on the LED strip lights. Step 5: Connect to Power Supply Once your LED strip lights are installed, you can connect them to the power supply. Make sure to follow the manufacturer's instructions for connecting the wires and plugging it in.How to Install LED Strip Lights Under Kitchen Cabinets
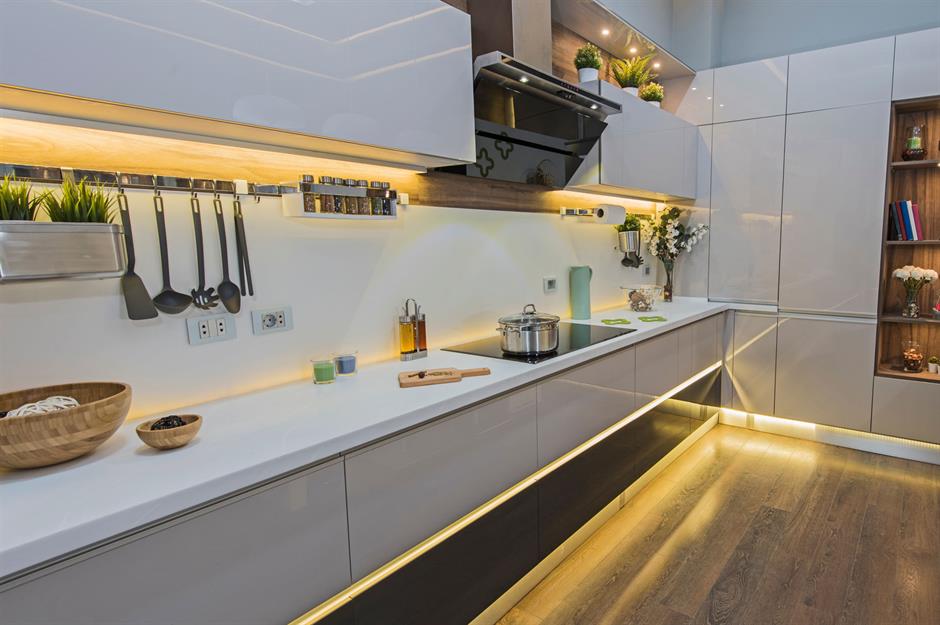
If you want to install LED strip lights in other areas of your kitchen, such as above your cabinets or under the island counter, the process is similar. Here is a step-by-step guide to help you through the installation process: Step 1: Measure and Plan Just like with under cabinet lighting, start by measuring the area where you want to install the lights. This will help you determine how much lighting you'll need and how to connect the strips. Step 2: Gather Materials Make sure you have all the necessary materials, including LED strip lights, a power supply, connectors, wire strippers, and mounting clips. Step 3: Prepare the Area Clean and dry the area where you want to install the lights. This will ensure they stick properly and don't fall off. Step 4: Install the Lights Peel off the adhesive backing and carefully stick the strip lights in place. For longer lengths, you may need to use connectors to join multiple strips together. Make sure to connect the wires properly and secure them with wire nuts. Step 5: Connect to Power Supply Finally, connect the strip lights to the power supply and plug it in. Make sure everything is properly connected and working before securing the wires in place.Step-by-Step Guide to Installing LED Strip Lights in Your Kitchen
Installing LED strip lights in your kitchen is a simple and straightforward DIY project. With the right tools and materials, you can easily achieve professional-looking results. Here are some tips to keep in mind when attempting to install LED strip lights yourself: Choose the Right Lights Make sure to choose LED strip lights that are suitable for your kitchen. Consider the length, color, and brightness of the lights to ensure they meet your specific needs. Follow Safety Precautions Always turn off the power before working with electrical wiring. Use caution when handling sharp tools and make sure to secure the wires and connections properly. Take Measurements and Plan Ahead Measure the areas where you want to install the lights and plan how you want to connect them. This will ensure you have enough lighting and the right materials before starting the installation. Be Patient and Precise Installing LED strip lights may require some trial and error, especially when it comes to cutting and connecting the strips. Be patient and take your time to ensure everything is done correctly.DIY: Installing LED Strip Lights in Your Kitchen
To achieve the best results when installing LED strip lights in your kitchen, here are some general best practices to follow: Clean and Dry the Area Before installing the lights, make sure to clean and dry the area thoroughly. This will ensure the lights stick properly and don't fall off over time. Use Proper Mounting Clips Mounting clips are essential for securing the strip lights in place. Make sure to use the right type of clips for the surface you are mounting them on. Hide the Wires To achieve a clean and professional look, make sure to hide the wires as much as possible. You can use cable clips or wire channels to keep them out of sight. Choose the Right Color Temperature LED strip lights come in different color temperatures, ranging from warm white to cool white. Consider the overall look and feel of your kitchen to determine which color temperature is best for you.Best Practices for Installing LED Strip Lights in Your Kitchen
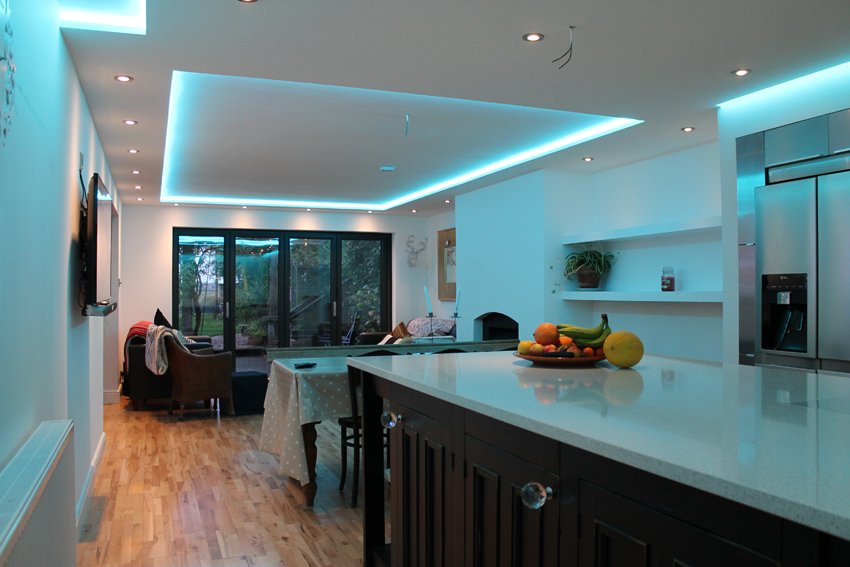
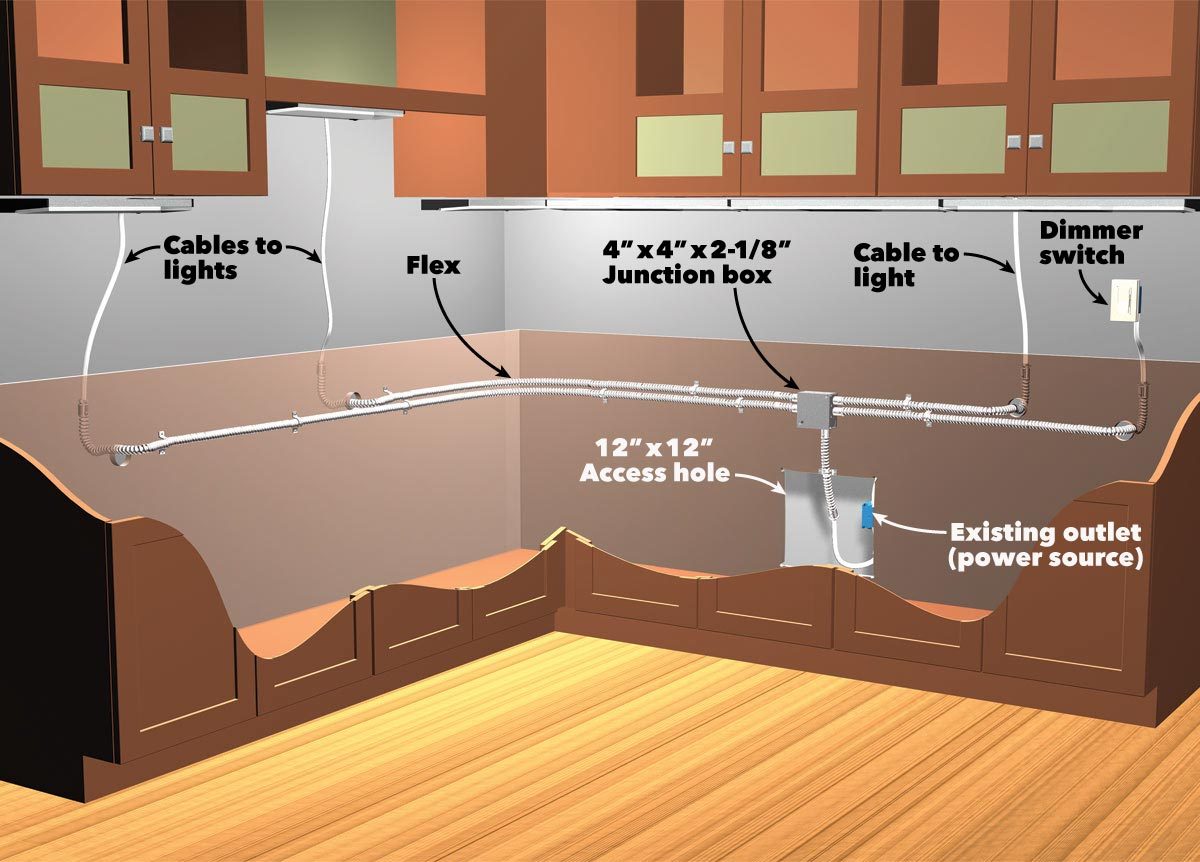
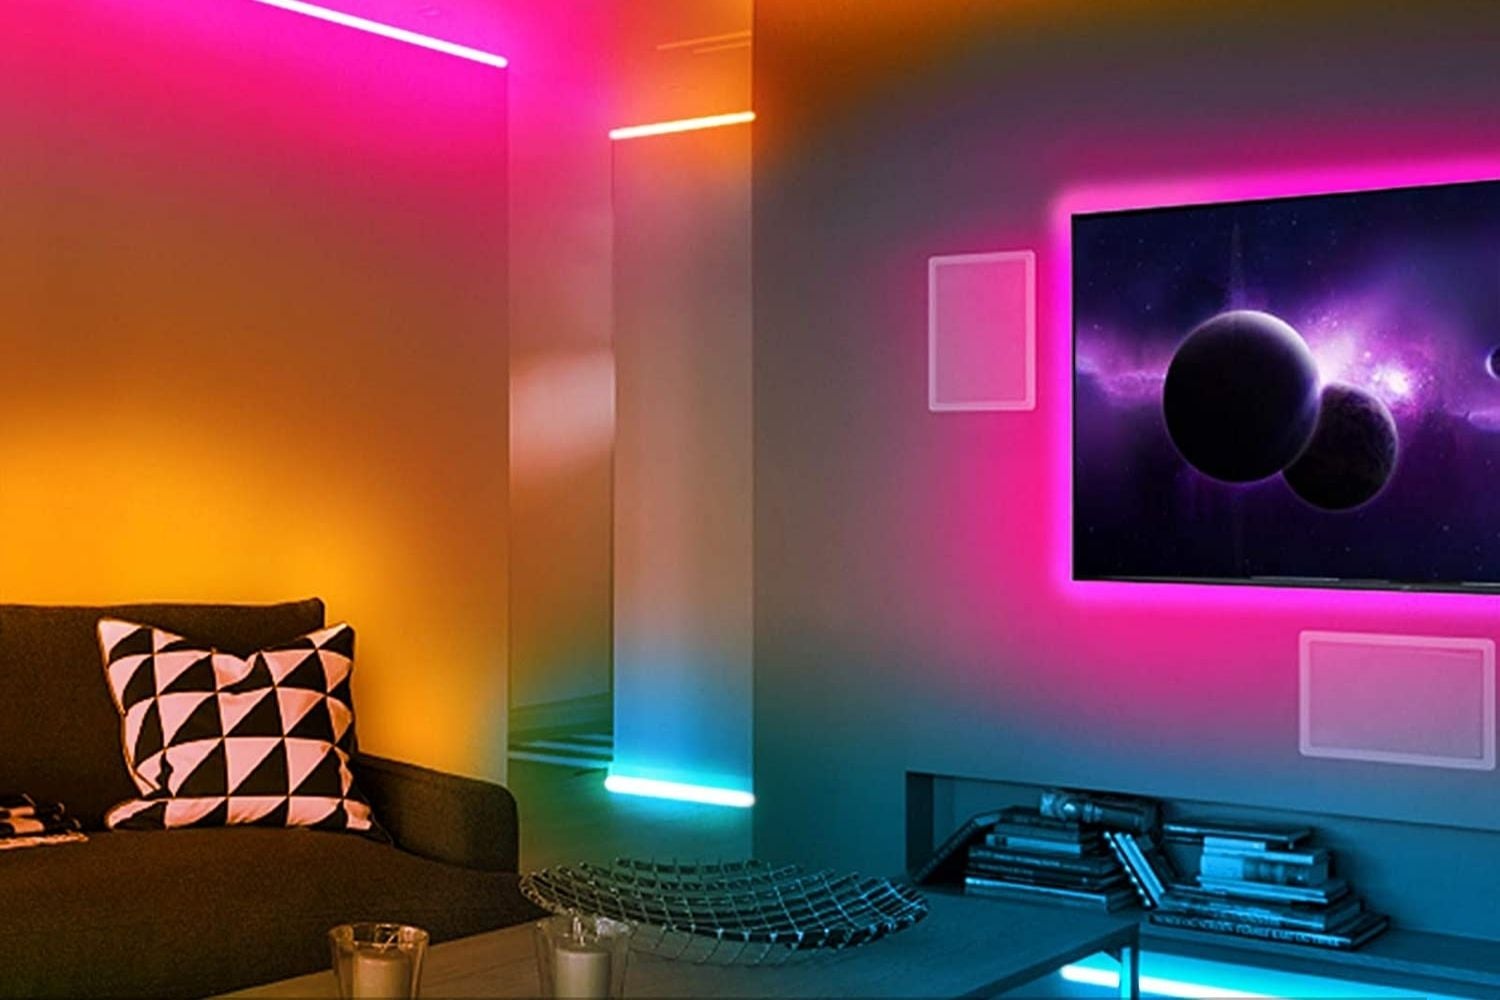
Here are some additional tips and tricks to help you get the most out of your LED strip lights in the kitchen: Use a Dimmer To adjust the brightness of your LED strip lights, consider installing a dimmer switch. This will allow you to control the lighting and create different moods in your kitchen. Get Creative with Placement LED strip lights are not just limited to under cabinets. You can get creative and install them in other areas, such as above cabinets, under the island counter, or even on the ceiling for a unique look. Consider Waterproof Lights If you are installing LED strip lights near the sink or stove, consider using waterproof lights to protect them from water and grease splatters. Mix and Match Colors For a more dynamic look, consider mixing and matching different color LED strip lights in your kitchen. This can add a fun and modern touch to your space.Installing LED Strip Lights in Your Kitchen: Tips and Tricks
If you are new to installing LED strip lights, don't worry. With the right tools and instructions, anyone can achieve professional results. Here is a beginner's guide to help you through the process: Step 1: Gather Materials Make sure you have all the necessary materials, including LED strip lights, a power supply, connectors, wire strippers, and mounting clips. Step 2: Plan and Measure Determine where you want to install the lights and take measurements to ensure you have enough lighting and the right materials. Step 3: Prepare the Area Clean and dry the area where you want to install the lights. This will ensure they stick properly and don't fall off over time. Step 4: Install the Lights Peel off the adhesive backing and carefully stick the strip lights in place. For longer lengths, use connectors to join multiple strips together. Connect the wires properly and secure them with wire nuts. Step 5: Connect to Power Supply Finally, connect the strip lights to the power supply and plug it in. Make sure everything is properly connected and working before securing the wires in place.LED Strip Light Installation: A Beginner's Guide for Your Kitchen
With so many options available, it can be overwhelming to choose the right LED strip lights for your kitchen. Here are some factors to consider when making your decision: Brightness Consider the level of brightness you need for your kitchen. If you want task lighting, choose brighter lights, and for ambient lighting, opt for dimmer lights. Color Temperature As mentioned earlier, LED strip lights come in different color temperatures, ranging from warm white to cool white. Consider the overall look and feel of your kitchen to determine which is best for you. Length Measure the areas where you want to install the lights and choose the appropriate length for your LED strip lights. Waterproof If you are installing lights near water or areas prone to moisture, consider using waterproof lights to protect them.How to Choose the Right LED Strip Lights for Your Kitchen
Lastly, here are some common mistakes to avoid when installing LED strip lights in your kitchen: Not Measuring Properly Measuring accurately is crucial to ensure you have enough lighting and the right materials. Don't guess or eyeball it. Not Cleaning the Area Make sure to clean the area where you want to install the lights to ensure they stick properly and don't fall off. Not Hiding the Wires Leaving wires exposed can make your installation look messy and unprofessional. Make sure to hide them as much as possible. Not Using the Right Mounting Clips Using the wrong type of mounting clips can result in lights falling off or not sticking properly. Make sure to choose the right clips for your surface. Not Following Safety Precautions Always turn off the power before working with electrical wiring and use caution when handling sharp tools.Common Mistakes to Avoid When Installing LED Strip Lights in Your Kitchen
In conclusion, LED strip lights are a fantastic way to transform your kitchen and add both functionality and style. With this step-by-step tutorial and helpful tips, you can easily install these lights in various areas of your kitchen and achieve professional results. So, what are you waiting for? Get started on your LED strip light installation project today!Transform Your Kitchen with LED Strip Lights: A Step-by-Step Tutorial
Creating a Cozy and Modern Kitchen with LED Strip Lights

Enhancing Your Kitchen Design
 When it comes to home design, the kitchen is often considered the heart of the home. It's where we gather with family and friends, share meals, and create memories. With the right
lighting
, you can transform your kitchen into a warm and inviting space that not only looks great but also functions efficiently. LED strip lights are a popular choice for kitchen lighting as they provide both style and practicality. Here's a closer look at how installing LED strip lights can elevate your kitchen design.
Unleashing Creativity with Versatile Lighting
 LED strip lights
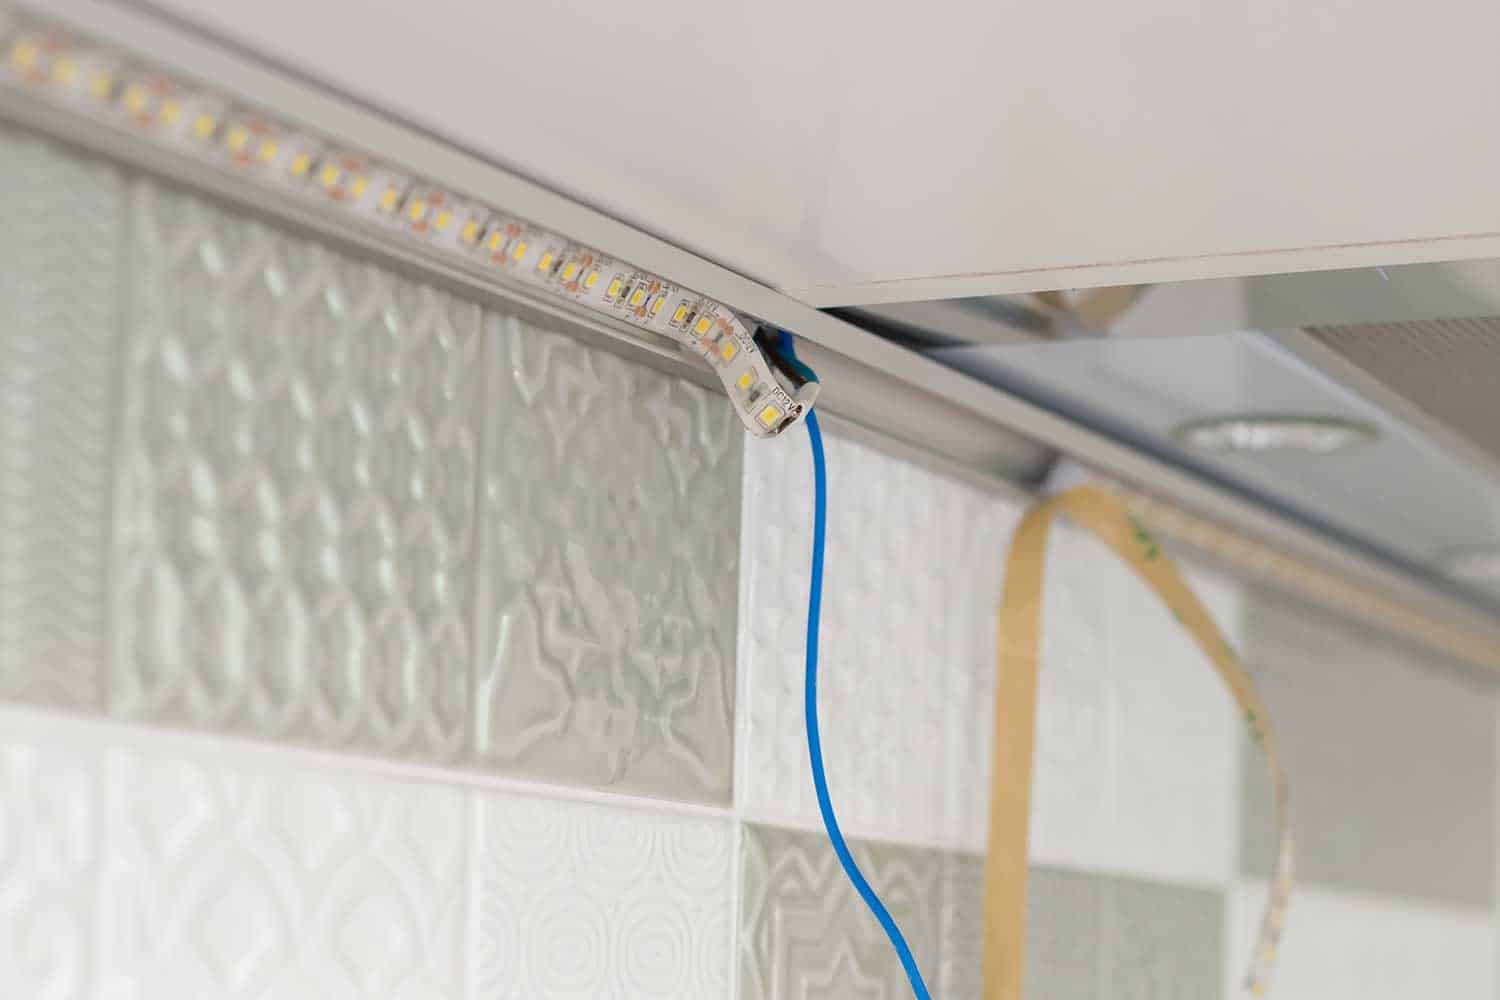
offer endless possibilities for creating a unique and personalized kitchen design. These lights come in a variety of colors and can be easily customized to fit any space. You can use them to create a soft glow under your cabinets, highlight a kitchen island, or even add a pop of color to your backsplash. The versatility of LED strip lights allows you to unleash your creativity and design a kitchen that reflects your style and personality.
Functional and Energy-Efficient Lighting
 Apart from their aesthetic value,
LED strip lights
also provide functional benefits to your kitchen. These lights have a long lifespan and use significantly less energy than traditional lighting, making them an eco-friendly and cost-effective choice. They also emit very little heat, which is ideal for a kitchen where you don't want to add any additional heat sources.
Easy Installation and Maintenance
 Installing LED strip lights in your kitchen is a relatively easy and straightforward process. They can be easily cut to fit any length and come with adhesive backing, making installation a breeze. Additionally, LED lights require little to no maintenance, unlike traditional lighting that may need frequent bulb replacements. This means you can enjoy your beautiful kitchen lighting without worrying about constant maintenance or replacements.
Final Thoughts
 In conclusion,
LED strip lights
are an excellent addition to any kitchen design. They not only enhance the aesthetic appeal of your space but also provide functional benefits and are easy to install and maintain. So if you're looking to create a cozy and modern kitchen, consider incorporating LED strip lights into your design. With their versatility and energy efficiency, they are sure to elevate your kitchen to the next level.


