The use of large format tiles has become increasingly popular in modern home design, especially in kitchens. These tiles, which come in sizes of 12x24 inches or larger, can create a sleek and seamless look on kitchen walls. However, the process of installing large format tiles on a kitchen wall may seem intimidating to some homeowners. But fear not, with the right tools and techniques, you can achieve a professional-looking installation. In this article, we will guide you through the steps of installing large format tile on a kitchen wall, along with tips and tricks to help you avoid common mistakes and achieve a flawless result.How to Install Large Format Tile on a Kitchen Wall
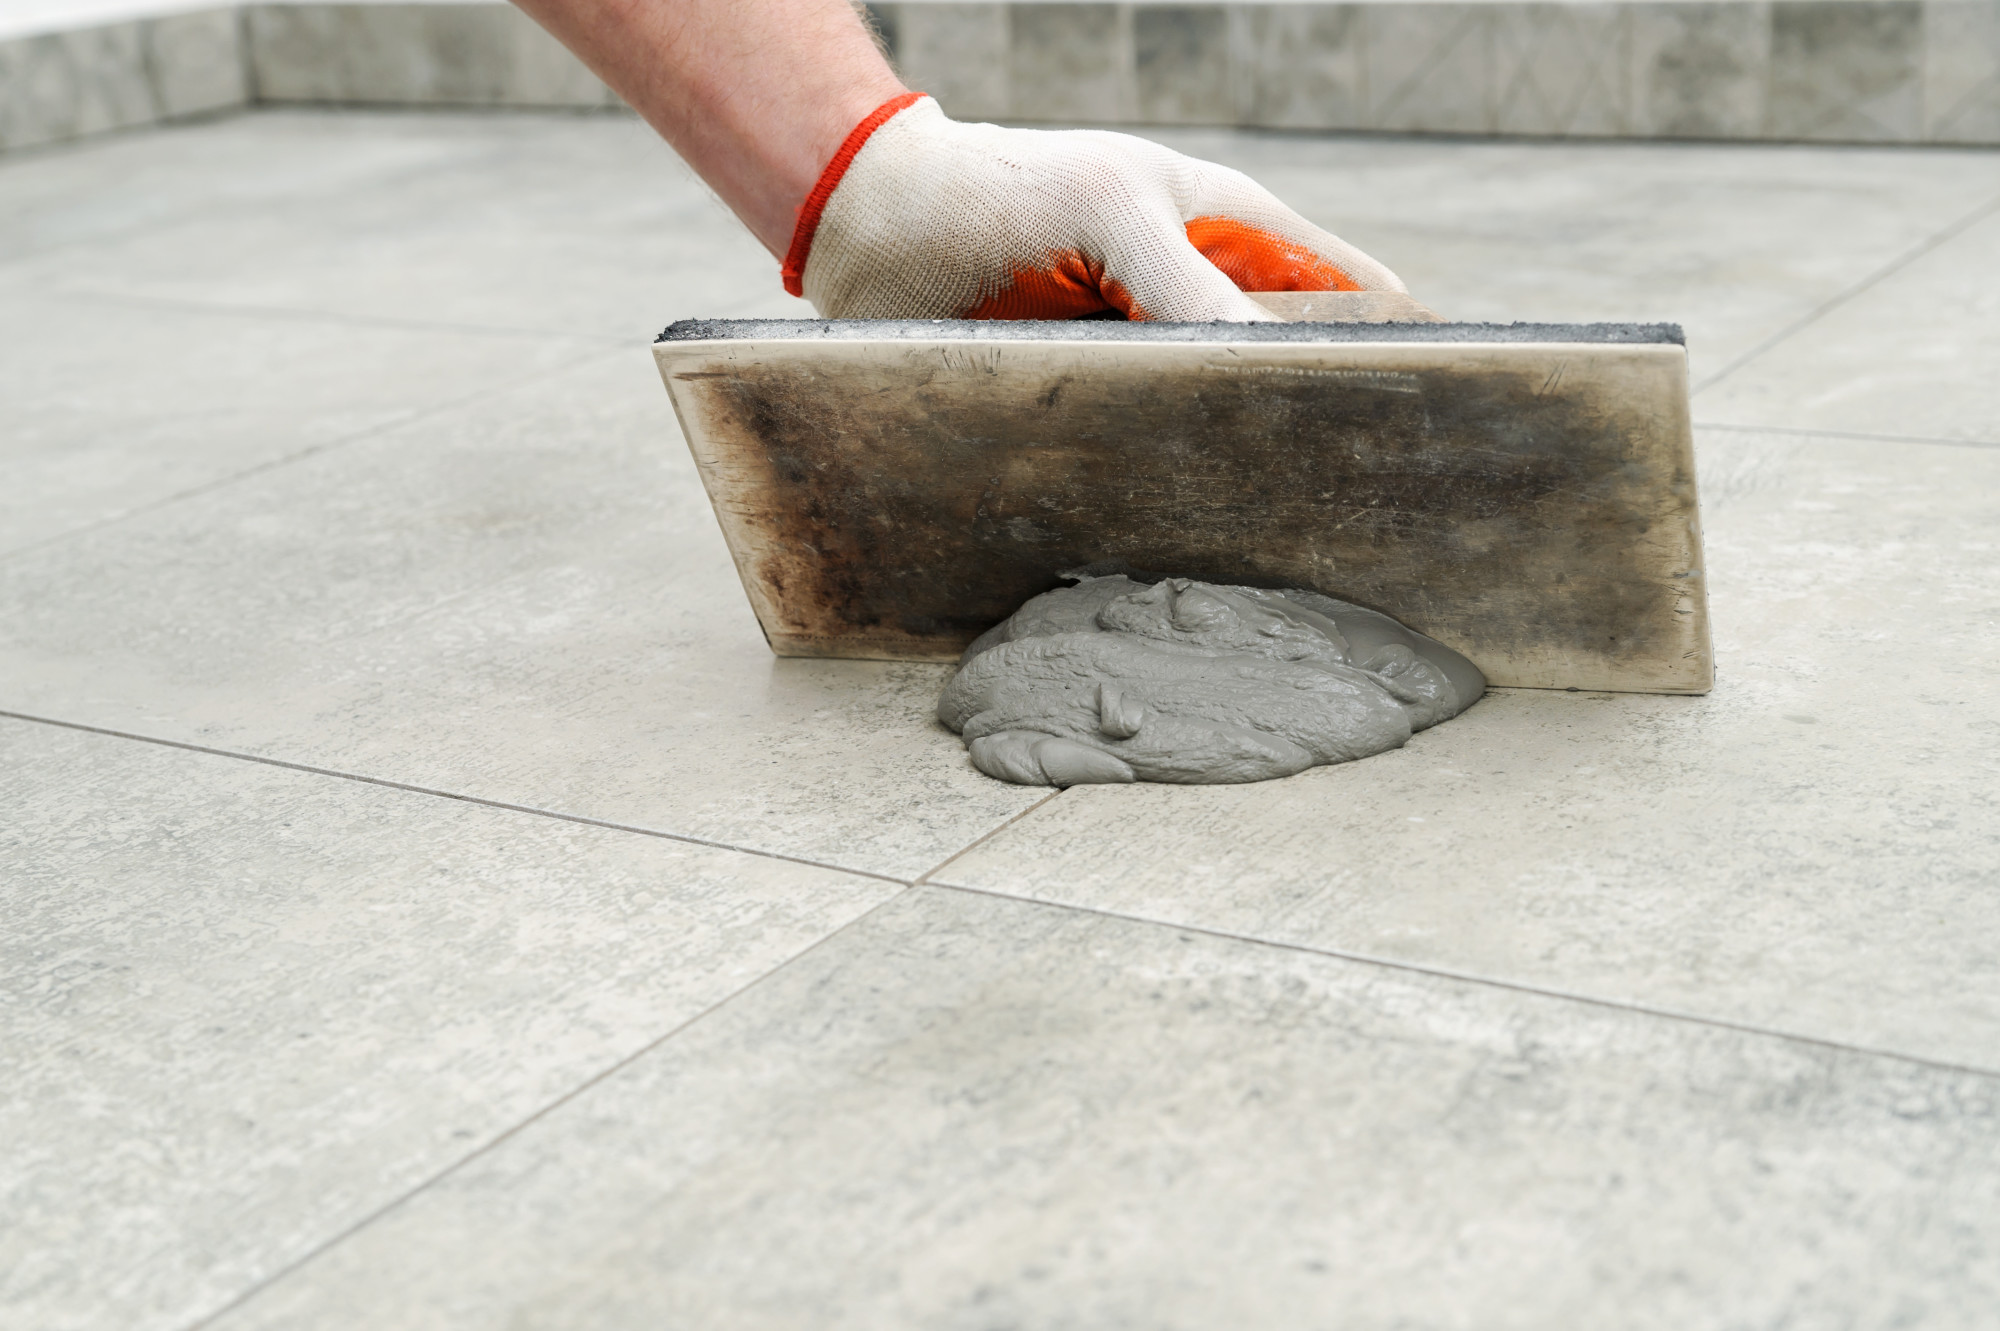
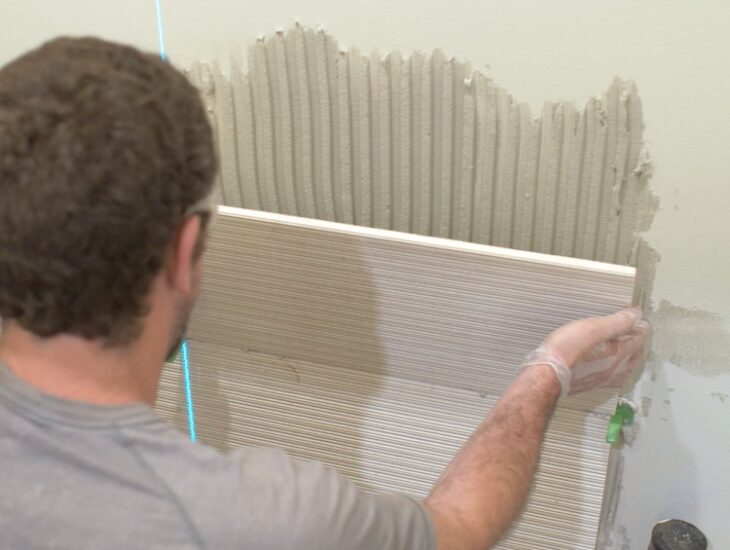
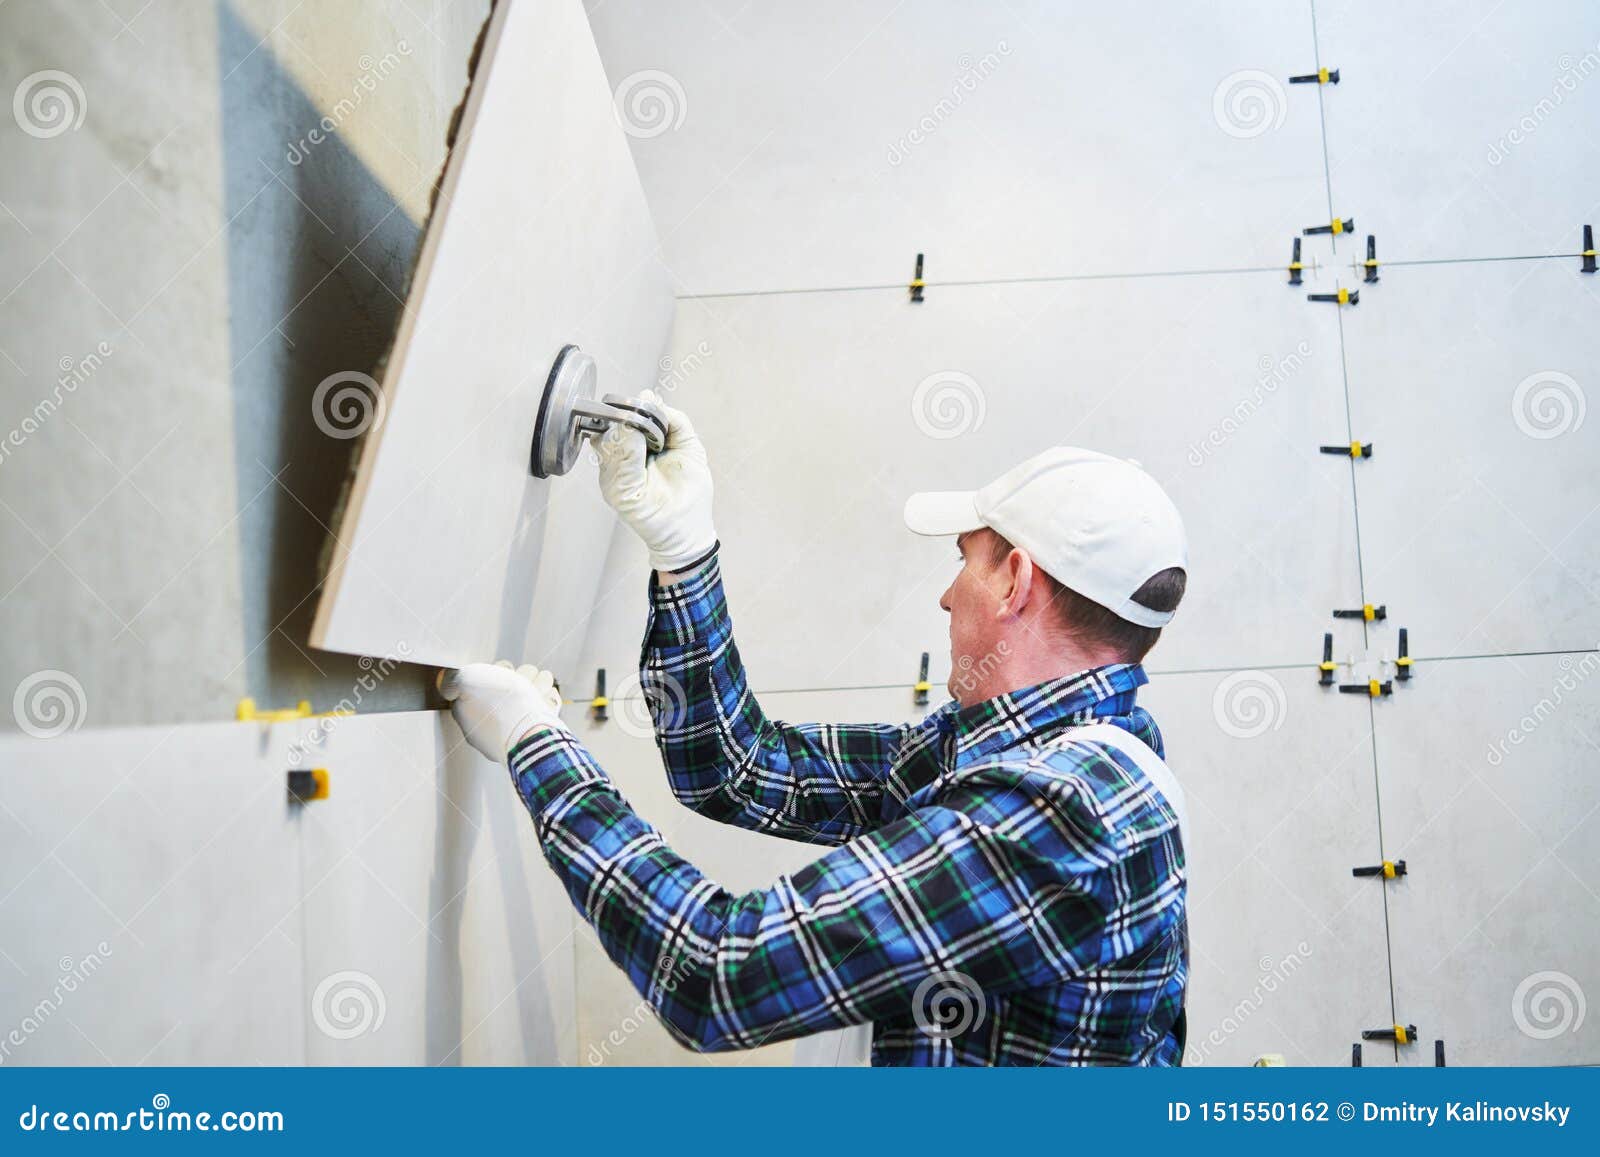
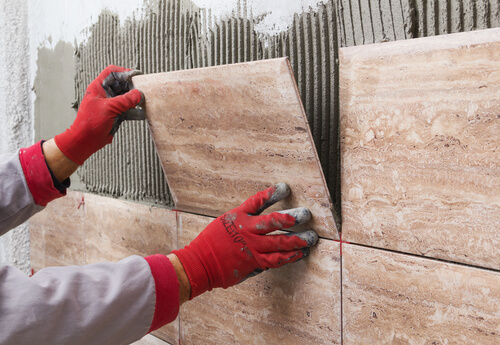
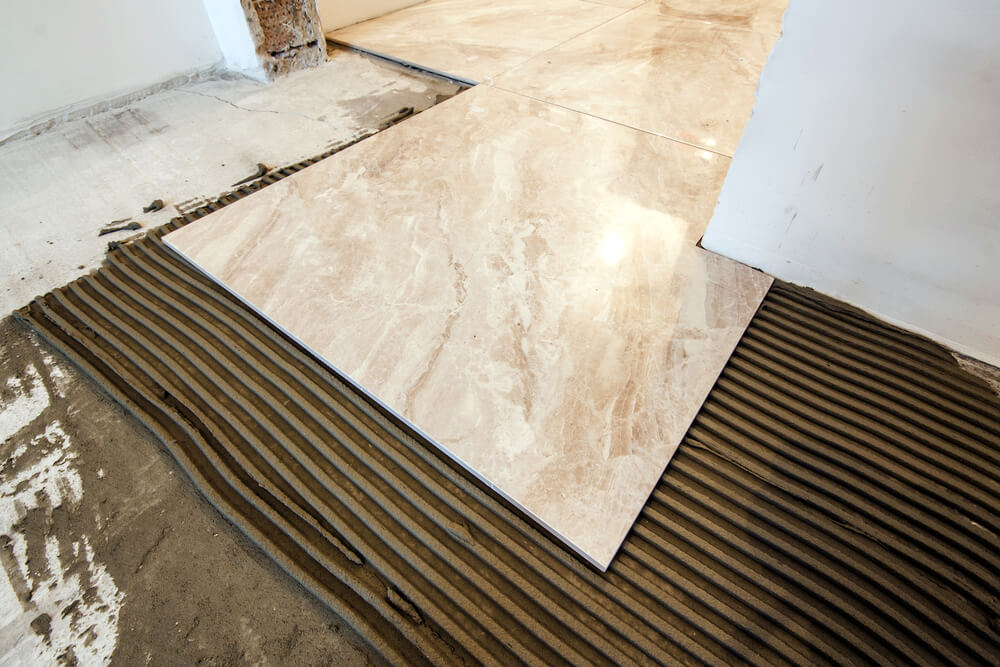
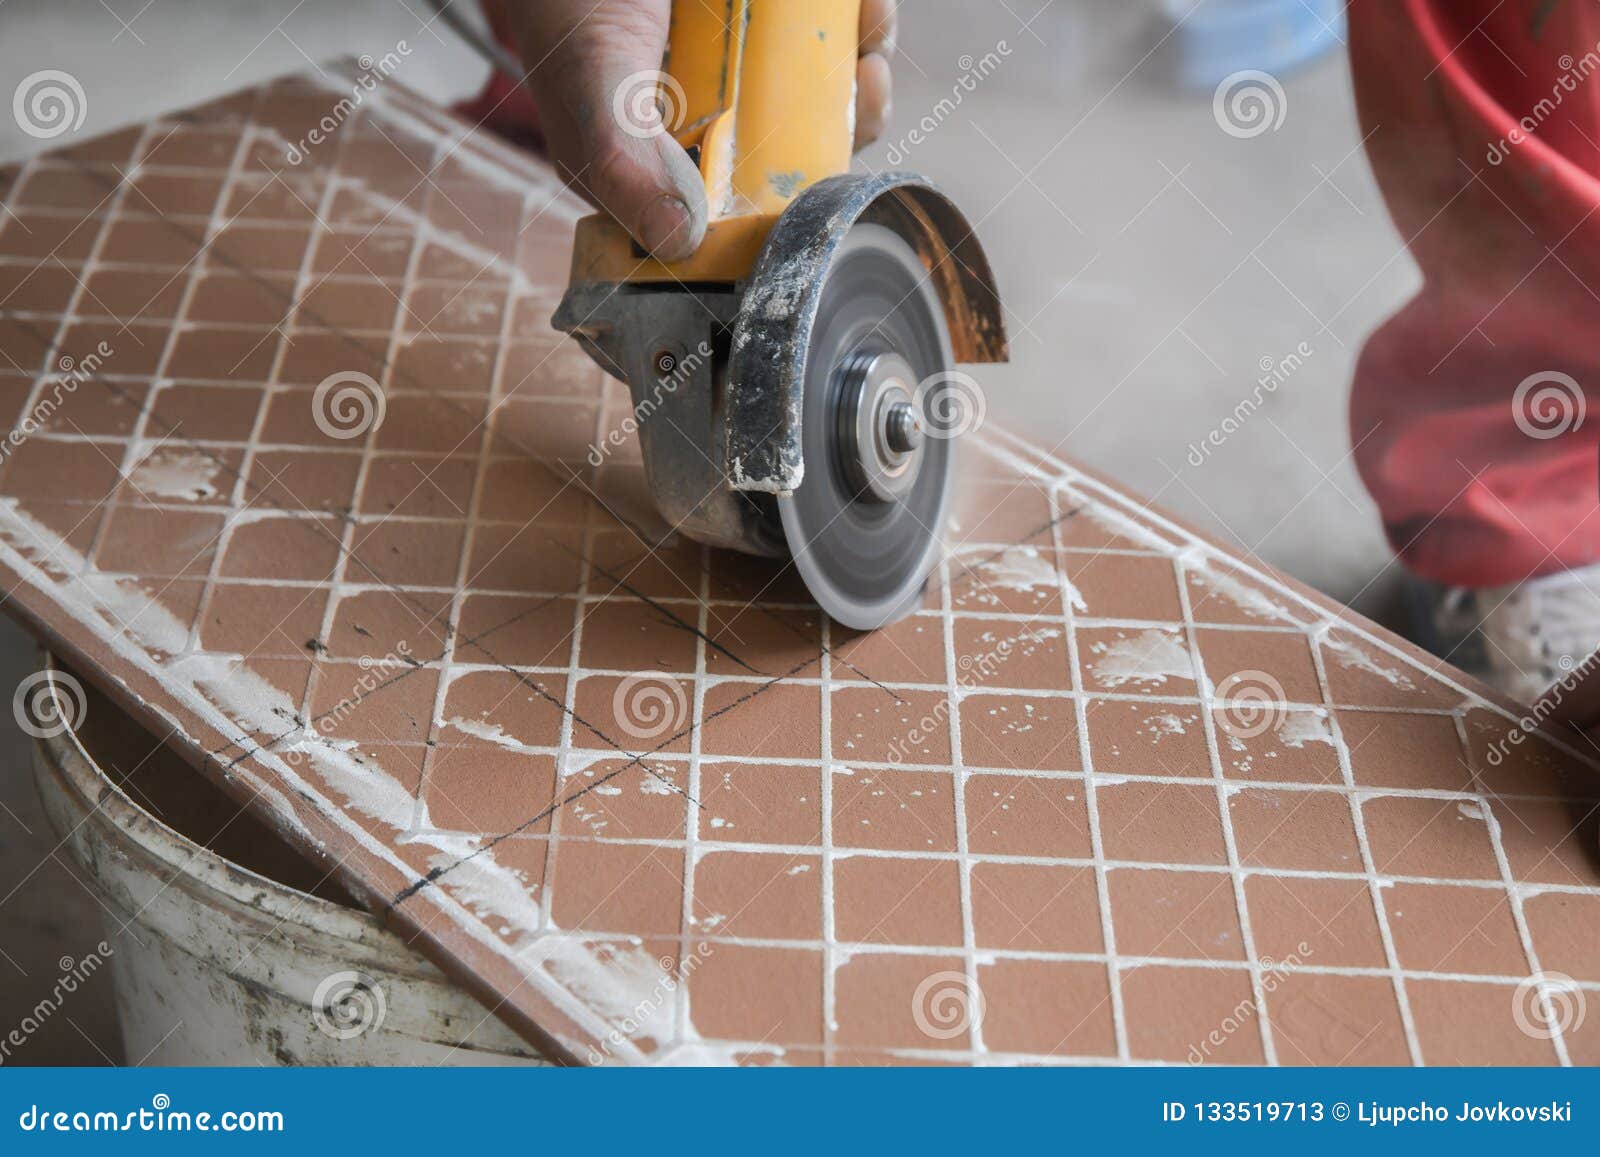
Before you begin the installation process, make sure to gather all the necessary tools and materials. You will need large format tiles, tile adhesive, a trowel, a tile cutter, tile spacers, a level, a grout float, grout, and a sponge. Step 1: Prepare the wall surface. Make sure the wall is clean and free of any debris or dust. If the wall is painted, sand it lightly to create a rough surface for better adhesion. If the wall is drywall, apply a primer to seal and protect the surface. Step 2: Plan the layout. Start by measuring the wall and calculating the number of tiles needed. It is recommended to start from the center of the wall and work your way out to ensure symmetrical placement. Use a level and a chalk line to mark a straight line in the center of the wall. Step 3: Apply the adhesive. Using a notched trowel, spread the tile adhesive on the wall, covering an area that you can work on in 15-20 minutes. Make sure to follow the manufacturer's instructions for the adhesive mixing and application. Step 4: Place the tiles. Carefully press the tiles onto the wall, starting from the centerline and working your way outwards. Use tile spacers to ensure even spacing between tiles. Check the level of each tile as you go along and make any necessary adjustments. If the tile adhesive starts to dry, scrape it off and reapply before placing the tile. Step 5: Cut the tiles. Use a tile cutter to cut the tiles to fit around edges and corners. Measure carefully and make precise cuts to achieve a professional look. You may need to make multiple cuts for larger tiles. Step 6: Allow the adhesive to dry. Let the tiles set for at least 24 hours before moving on to the next step. Step 7: Grout the tiles. Using a grout float, apply grout to the gaps between the tiles. Work in small sections, making sure to fill all the gaps completely. Use a damp sponge to wipe off any excess grout from the surface of the tiles. Step 8: Finishing touches. Once the grout has dried, use a grout sealer to protect the grout from staining. Follow the manufacturer's instructions for application. Finally, use a clean cloth to polish the tiles and remove any remaining grout haze.Installing Large Format Tile on a Kitchen Wall: Step-by-Step Guide
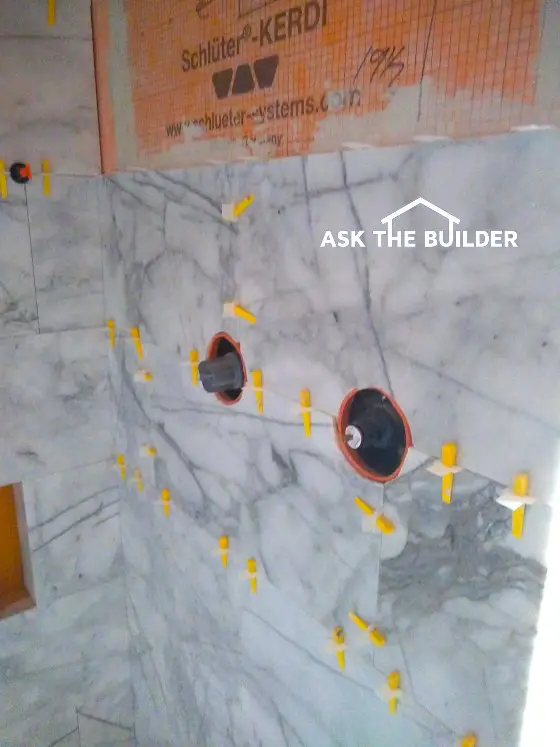
Here are some additional tips to help you achieve a successful installation: - Use a tile leveling system to ensure the tiles are level and even. - Apply tile adhesive to the back of the tile as well as the wall for better adhesion. - When cutting tiles, make sure to wear safety glasses and use a tile cutter with a sharp blade. - Consider using a grout color that contrasts with the tile to create a unique look.Tips for Installing Large Format Tile on a Kitchen Wall
- Large format tiles - Tile adhesive - Trowel - Tile cutter - Tile spacers - Level - Grout float - Grout - Sponge - Tile leveling system (optional) - Grout sealer - Safety glassesTools and Materials Needed for Installing Large Format Tile on a Kitchen Wall
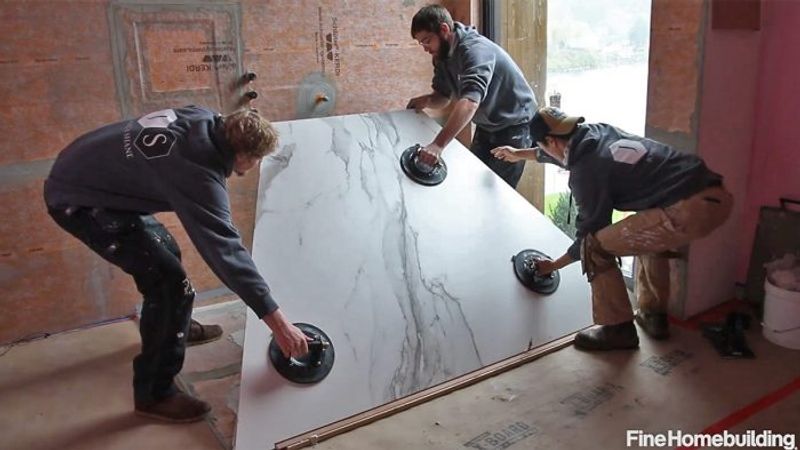
- Not preparing the wall surface properly. - Not using enough adhesive, leading to tiles falling off the wall. - Not checking the level of each tile as you go along. - Rushing the installation process, resulting in crooked tiles or uneven grout lines. - Not using safety glasses when cutting tiles.Common Mistakes to Avoid When Installing Large Format Tile on a Kitchen Wall
Pros: - Creates a seamless and sleek look. - Easier to clean and maintain compared to smaller tiles. - Can make a small kitchen appear larger. Cons: - Can be more expensive than smaller tiles. - Requires more skill and precision during installation. - May be more difficult to cut and handle due to their size.Pros and Cons of Installing Large Format Tile on a Kitchen Wall
To achieve accurate and clean cuts, follow these steps: Step 1: Measure the tile and mark the cutting line with a pencil. Step 2: Use a tile cutter to score the tile along the marked line. Step 3: Apply pressure on both sides of the scored line to snap the tile in two pieces. Step 4: Use tile nippers to make any necessary adjustments or cuts to achieve the desired shape.How to Cut Large Format Tile for a Kitchen Wall Installation
Before installing large format tiles, make sure to: - Clean the wall surface thoroughly. - Repair any cracks or damage. - Prime the wall if it is drywall. - Sand the wall lightly if it is painted.Preparing Your Kitchen Wall for Large Format Tile Installation
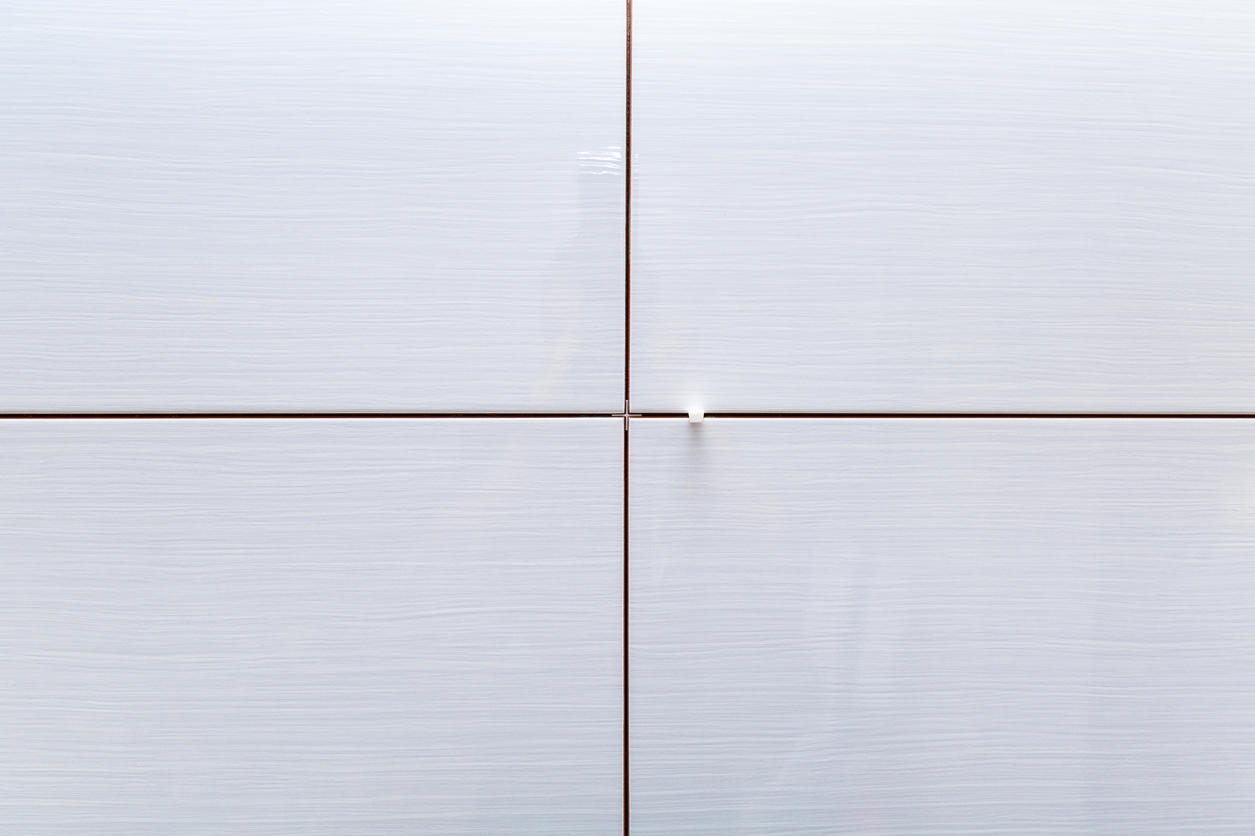
To grout large format tiles, follow these steps: Step 1: Mix the grout according to the manufacturer's instructions. Step 2: Apply the grout to the gaps between the tiles using a grout float. Step 3: Work in small sections, making sure to fill all the gaps completely. Step 4: Use a damp sponge to wipe off any excess grout from the surface of the tiles. Step 5: Let the grout dry for 24 hours. Step 6: Seal the grout with a grout sealer to protect it from staining. Step 7: Use a clean cloth to polish the tiles and remove any remaining grout haze.How to Grout Large Format Tile on a Kitchen Wall
After the grout has dried and the tiles have been polished, use a grout sealer to protect the grout from staining. Make sure to reapply the sealer every few years to maintain its effectiveness. To clean large format tiles, use a mild detergent and warm water. Avoid using harsh chemicals or abrasive cleaners that can damage the tiles. With the right tools, materials, and techniques, installing large format tile on a kitchen wall can be a rewarding and satisfying DIY project. Follow these tips and steps for a professional-looking installation that will enhance the look of your kitchen for years to come.Finishing Touches: Sealing and Cleaning Large Format Tile on a Kitchen Wall
The Benefits of Installing Large Format Tile on Kitchen Walls
Creating a Modern and Sleek Look
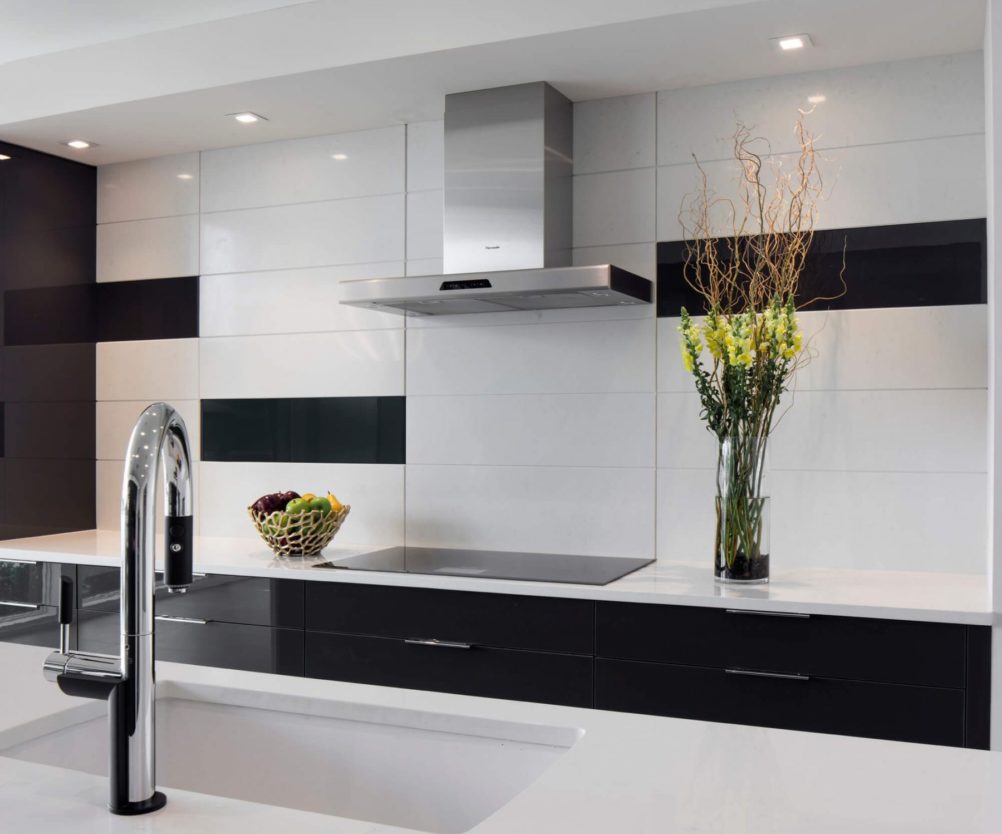
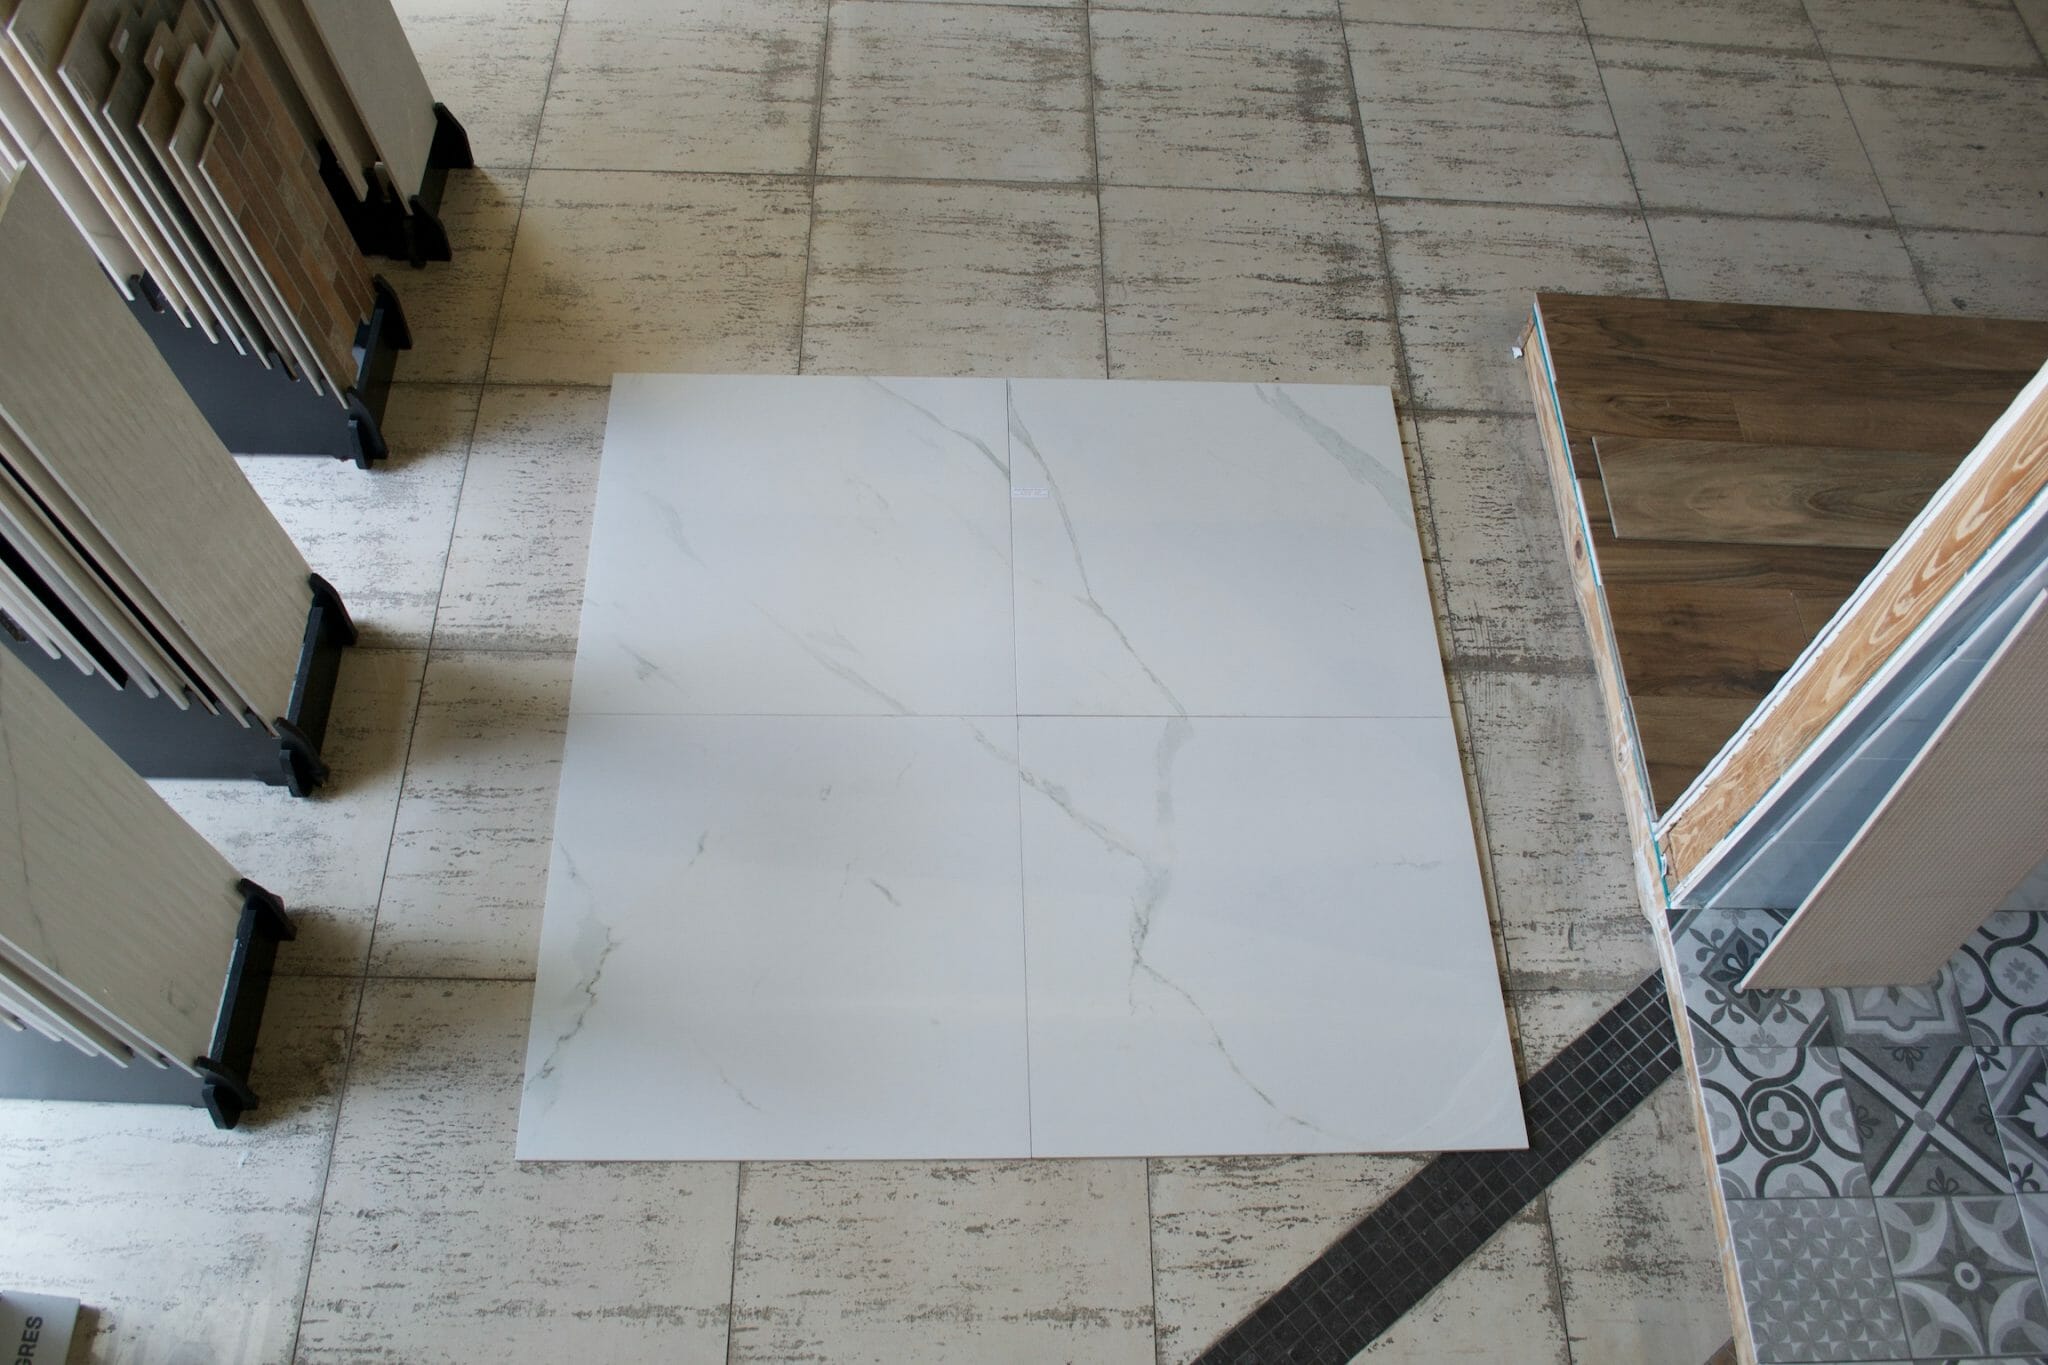
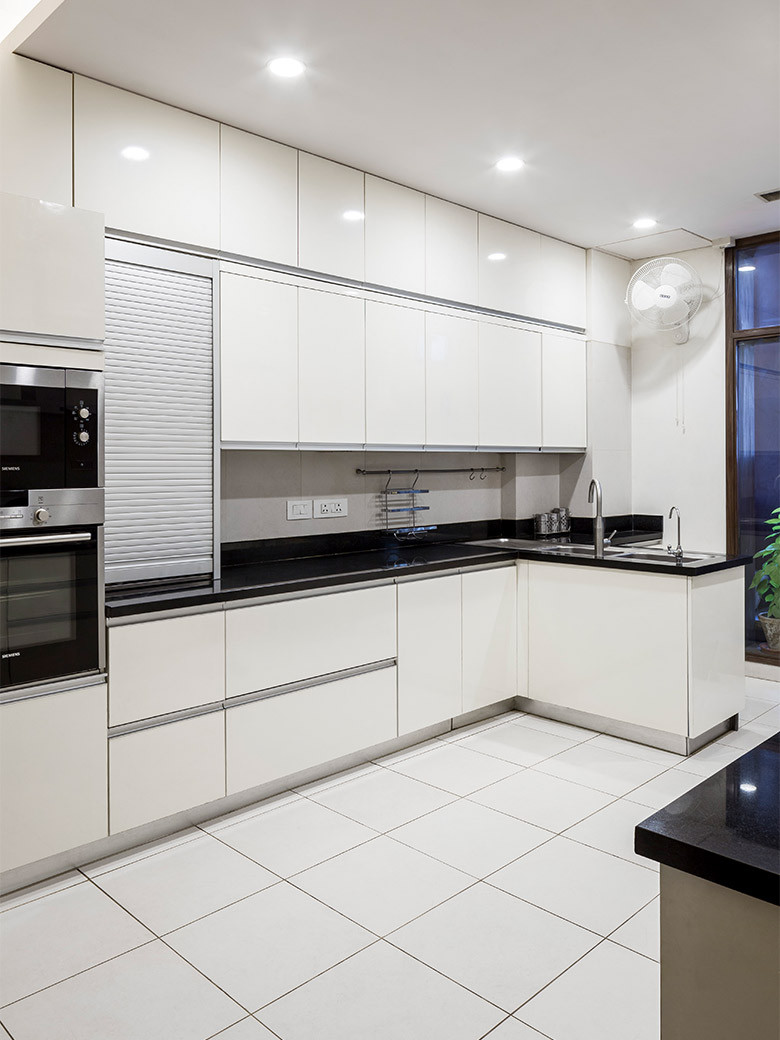
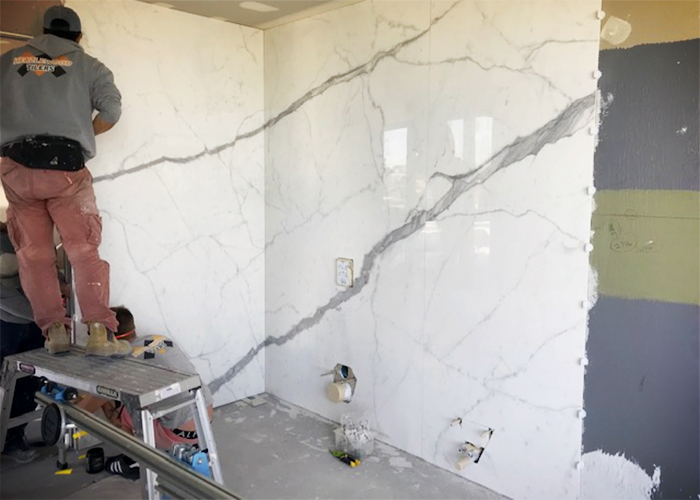
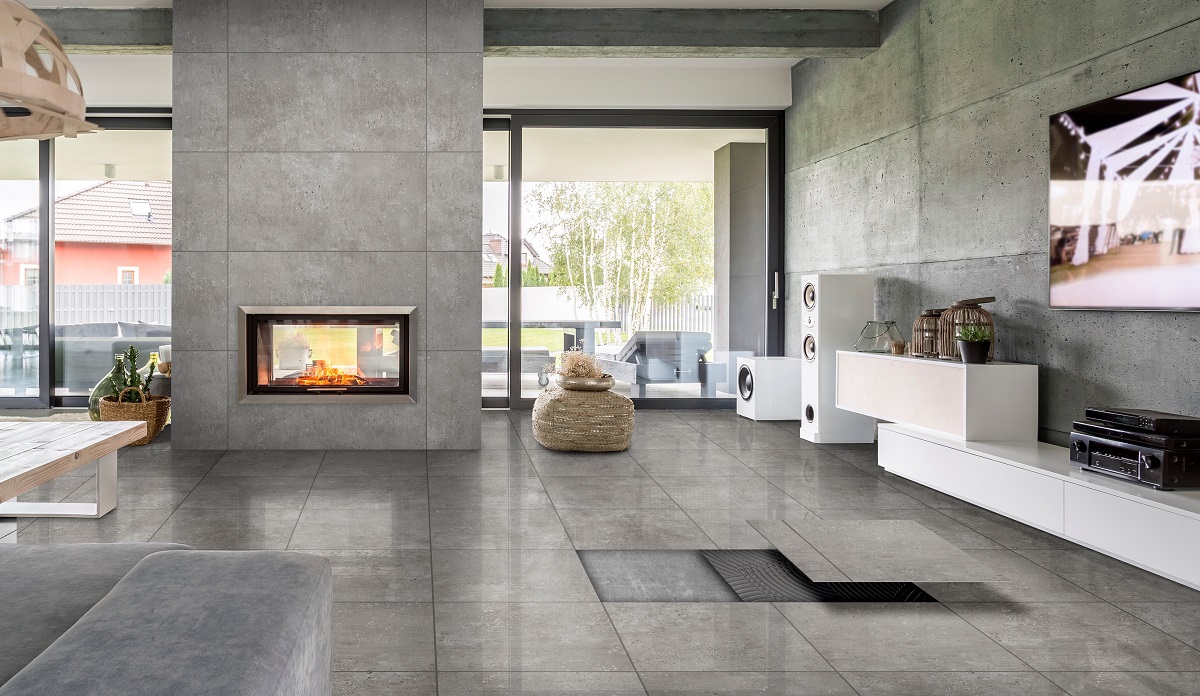
 Large format tiles, also known as “slab” tiles, have become increasingly popular in modern home design. These tiles are typically 12x24 inches or larger and offer a clean, sleek look when installed on kitchen walls. The large size of these tiles means there are fewer grout lines, resulting in a more seamless and uniform appearance. This can give your kitchen a more modern and sophisticated feel, perfect for those looking to update their home's design.
Easy to Clean and Maintain
 One of the main advantages of installing large format tiles on kitchen walls is their ease of cleaning and maintenance. Due to the larger size of the tiles, there are fewer grout lines where dirt and grime can accumulate. This makes them easier to scrub and keep clean, especially in areas prone to splashes and spills like the kitchen. Additionally, these tiles are often made from durable materials such as porcelain or ceramic, making them resistant to stains, scratches, and other damage.
Cost-Effective Option
 While large format tiles may seem more expensive due to their size, they can actually be a cost-effective option in the long run. As mentioned, these tiles are durable and easy to maintain, meaning you won't have to replace them as often as smaller tiles. Additionally, the larger size means fewer tiles are needed to cover the same area, potentially saving you money on materials and installation costs.
Limitless Design Possibilities
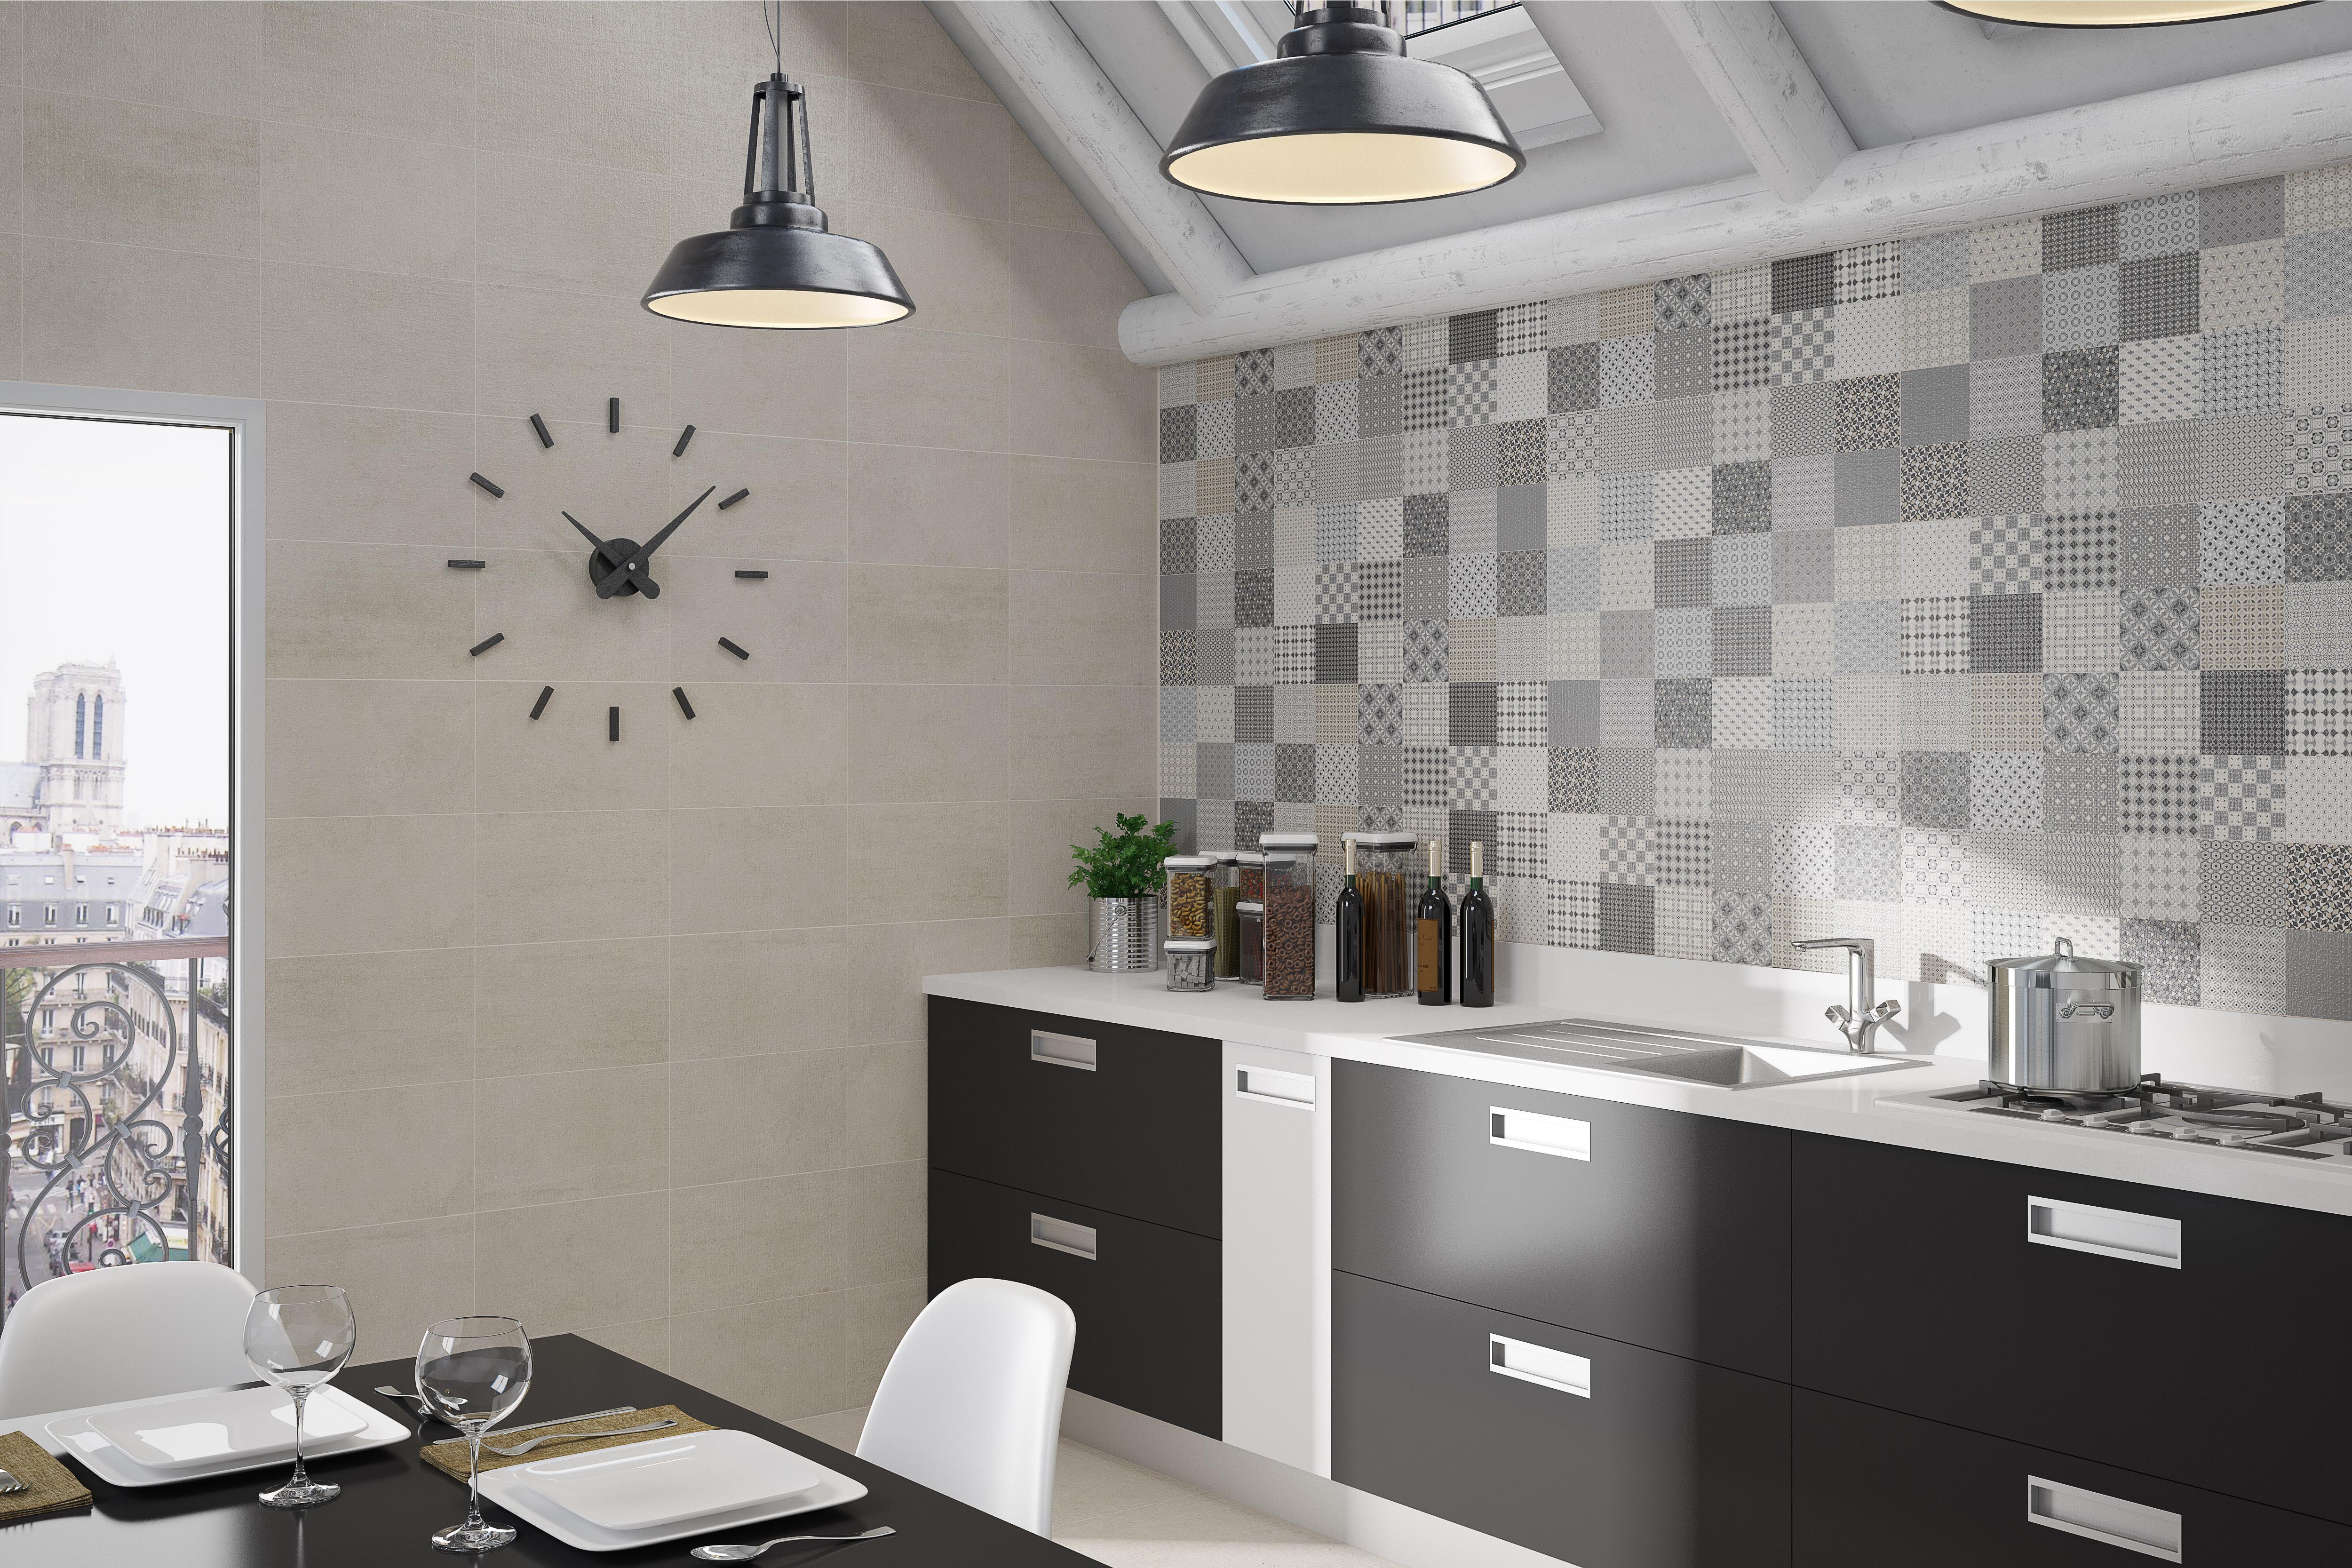
 Large format tiles come in a variety of colors, patterns, and textures, giving you endless design possibilities for your kitchen walls. You can opt for a classic and timeless look with neutral, solid-colored tiles, or make a bold statement with vibrant and patterned tiles. The larger size also allows for more creative installation options, such as diagonal or herringbone patterns, adding a unique touch to your kitchen design.
In conclusion,
installing large format tiles on kitchen walls not only offers a modern and sleek look but also provides practical benefits such as easy maintenance and cost-effectiveness. With endless design options, these tiles are a versatile and stylish choice for any kitchen. Consider incorporating large format tiles into your kitchen design for a functional and visually appealing space.























:max_bytes(150000):strip_icc()/how-to-grout-ceramic-wall-tile-1824821-07-f4f2bfe93c11494c89ad12e0d4877b52.jpg)
