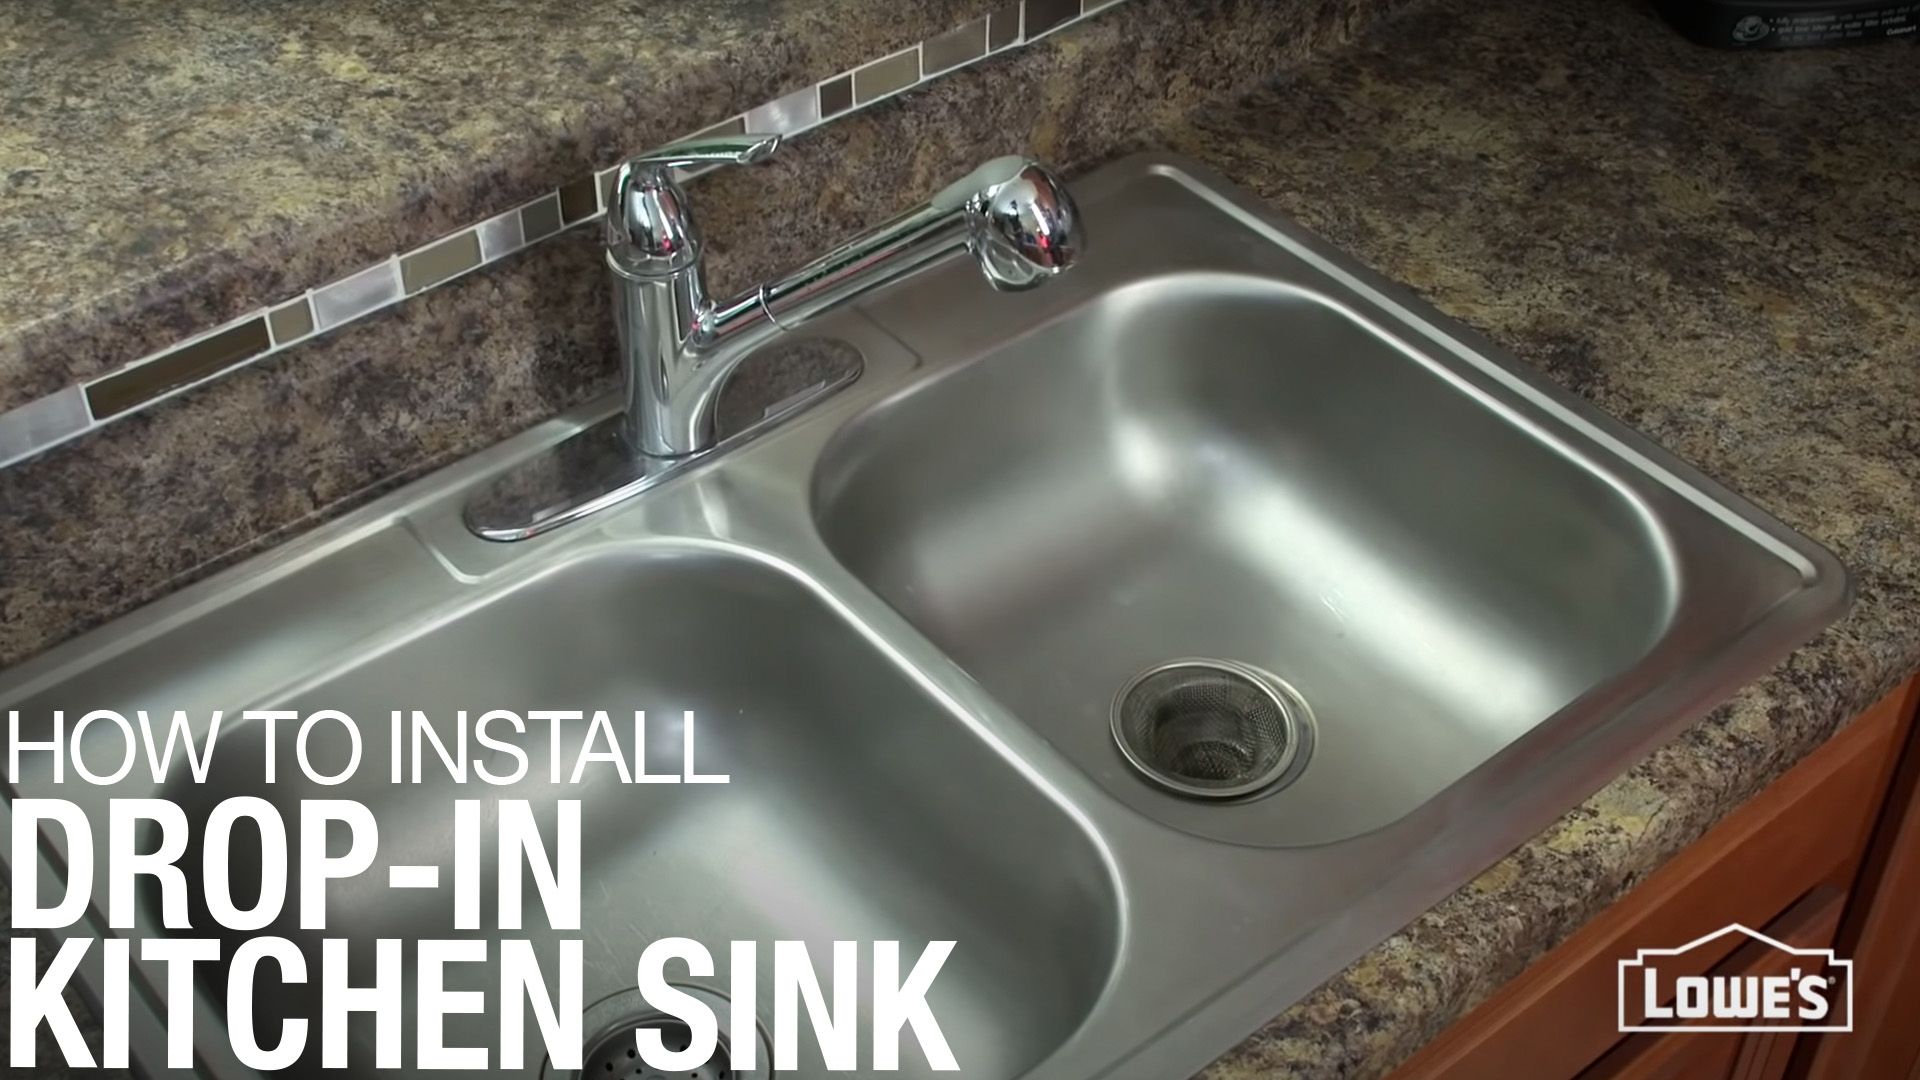
Are you looking to upgrade your kitchen with a new sink but don't want to deal with the hassle of using clips? Don't worry, you're not alone. Many homeowners prefer the sleek and seamless look of a sink without clips. Plus, the process is simpler than you may think. In this guide, we'll walk you through the steps of installing a kitchen sink without clips, so you can have a beautiful and functional new addition to your kitchen.How to Install a Kitchen Sink Without Clips


How to Install a Kitchen Sink Without Clips
:max_bytes(150000):strip_icc()/replacing-existing-surface-mounted-sink-1824896-06-d8eb6b67fe4f451b90c415551f75ad0f.jpg)


Before you begin, make sure to gather all the necessary tools and materials. You will need:Installing a Kitchen Sink Without Clips: A Step-by-Step Guide


Installing a Kitchen Sink Without Clips: A Step-by-Step Guide


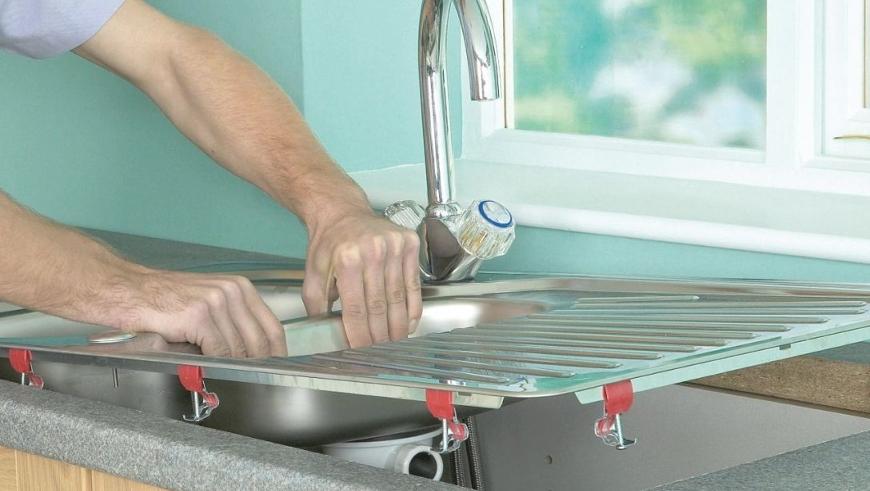
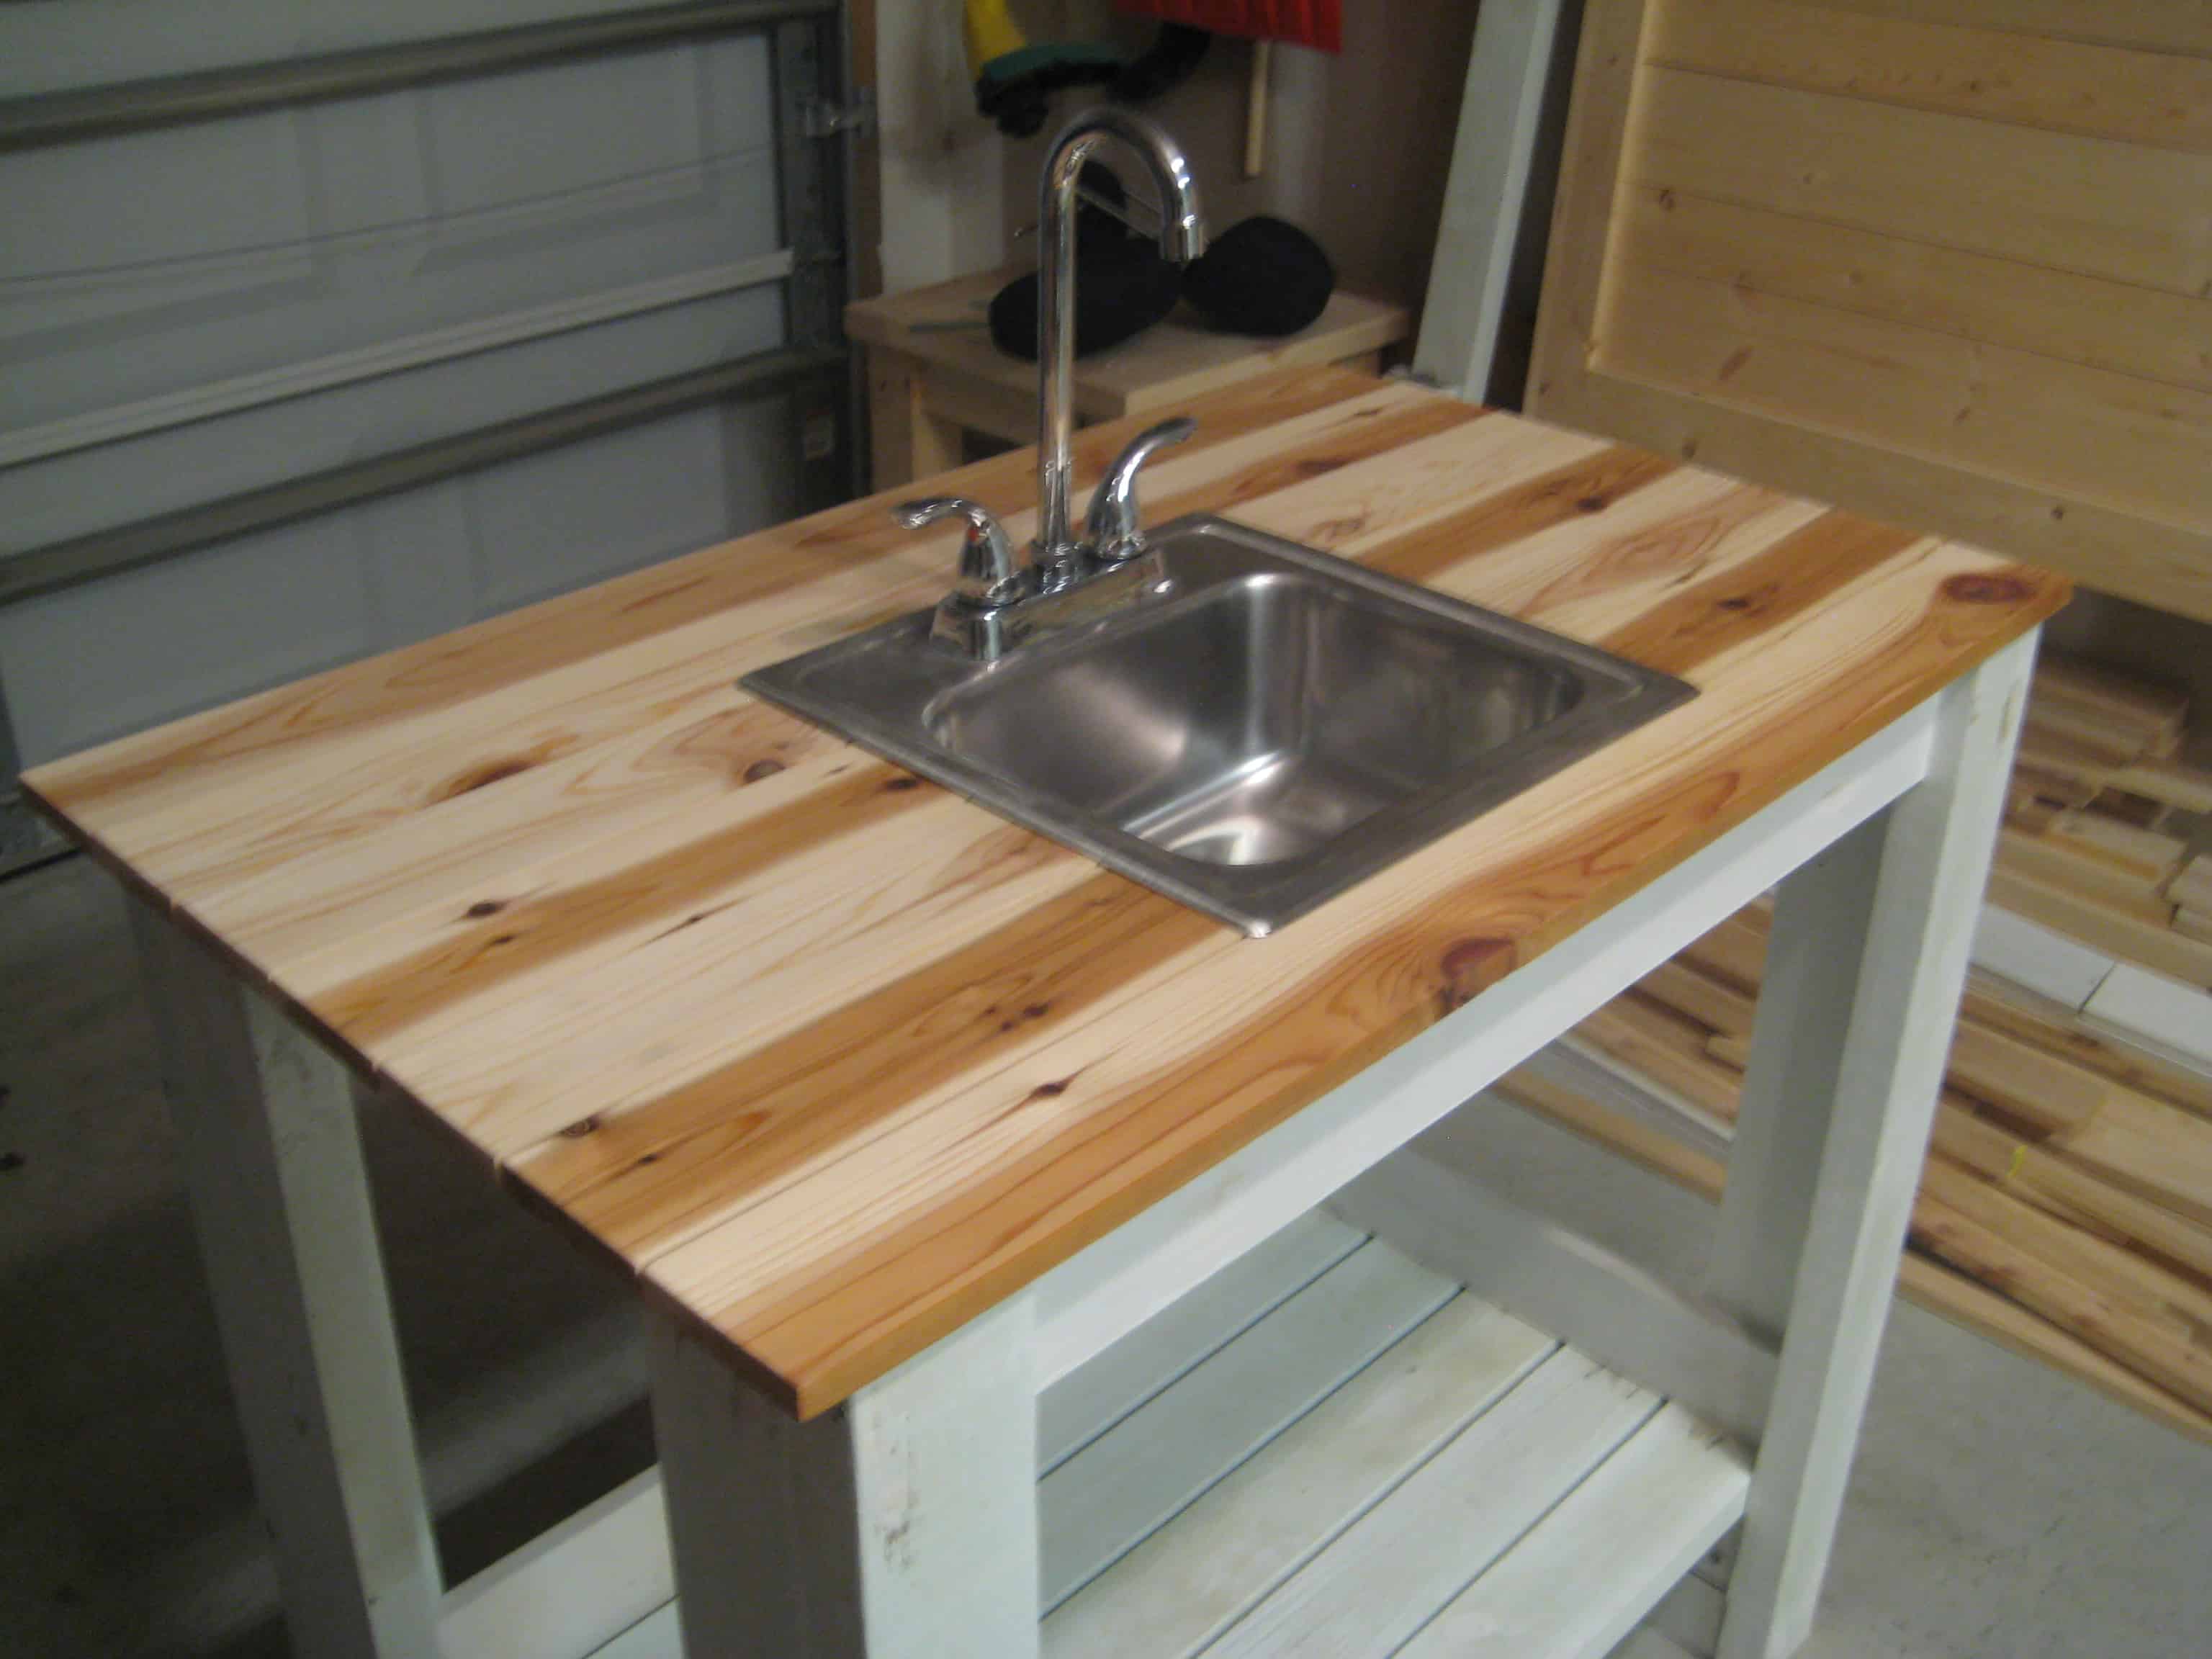
The first step is to remove the old sink (if there is one) and clean the area where the new sink will go. Once the area is clean and dry, place the sink upside down on the countertop and trace around it with a pencil. This will give you a guideline for where to place the caulk. Next, apply a thin line of silicone caulk on the edge of the sink that will come in contact with the countertop. Make sure the line is continuous and about 1/4 inch thick. Once you have applied the caulk, carefully flip the sink over and place it in the traced area on the countertop. Press down firmly to ensure the sink is secured in place. Wipe away any excess caulk that may have squeezed out from the edges.DIY: Installing a Kitchen Sink Without Clips


DIY: Installing a Kitchen Sink Without Clips


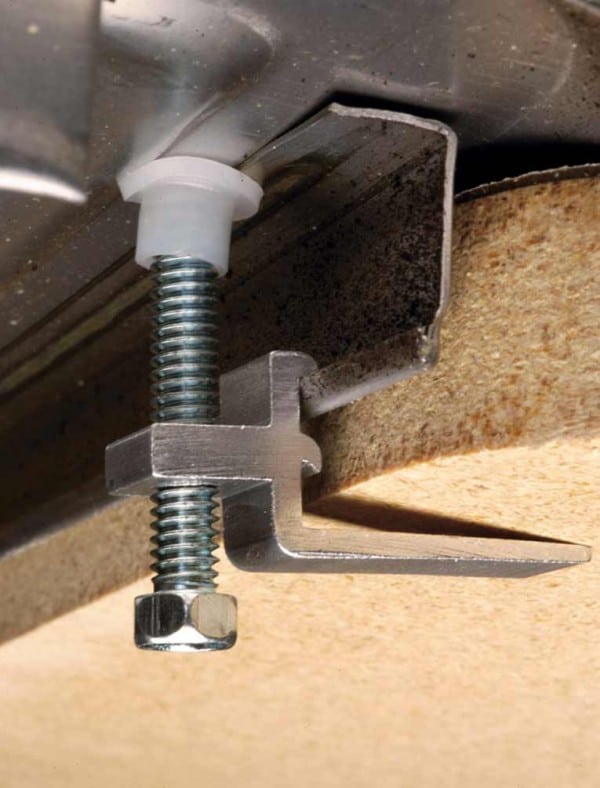
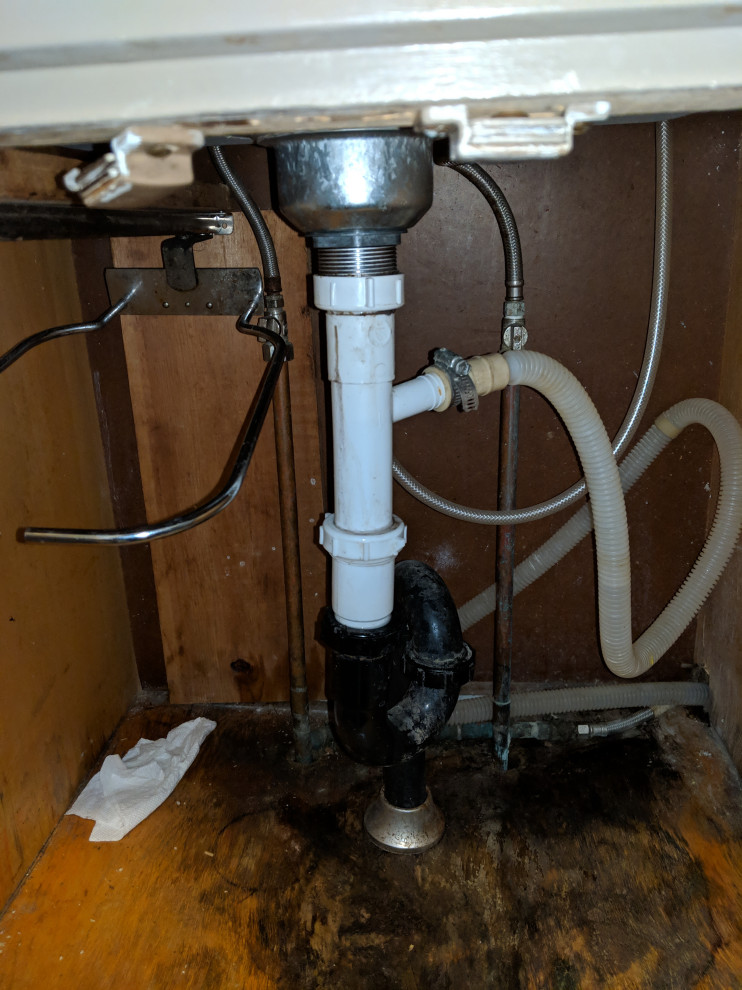
Now it's time to connect the plumbing. If you are using the same plumbing as the old sink, you can simply reconnect the pipes. However, if you are installing a completely new sink, you may need to make some adjustments to the plumbing to fit the new sink. Once the plumbing is connected, you can apply plumber's putty to the edges of the sink where it meets the countertop. This will create a watertight seal and prevent any leaks. Finally, use an adjustable wrench to tighten the sink in place. You may need to have someone hold the sink from above while you tighten the bolts underneath the sink. Once the sink is secure, wipe away any excess putty.Installing a Kitchen Sink Without Clips: Tips and Tricks

Installing a Kitchen Sink Without Clips: Tips and Tricks

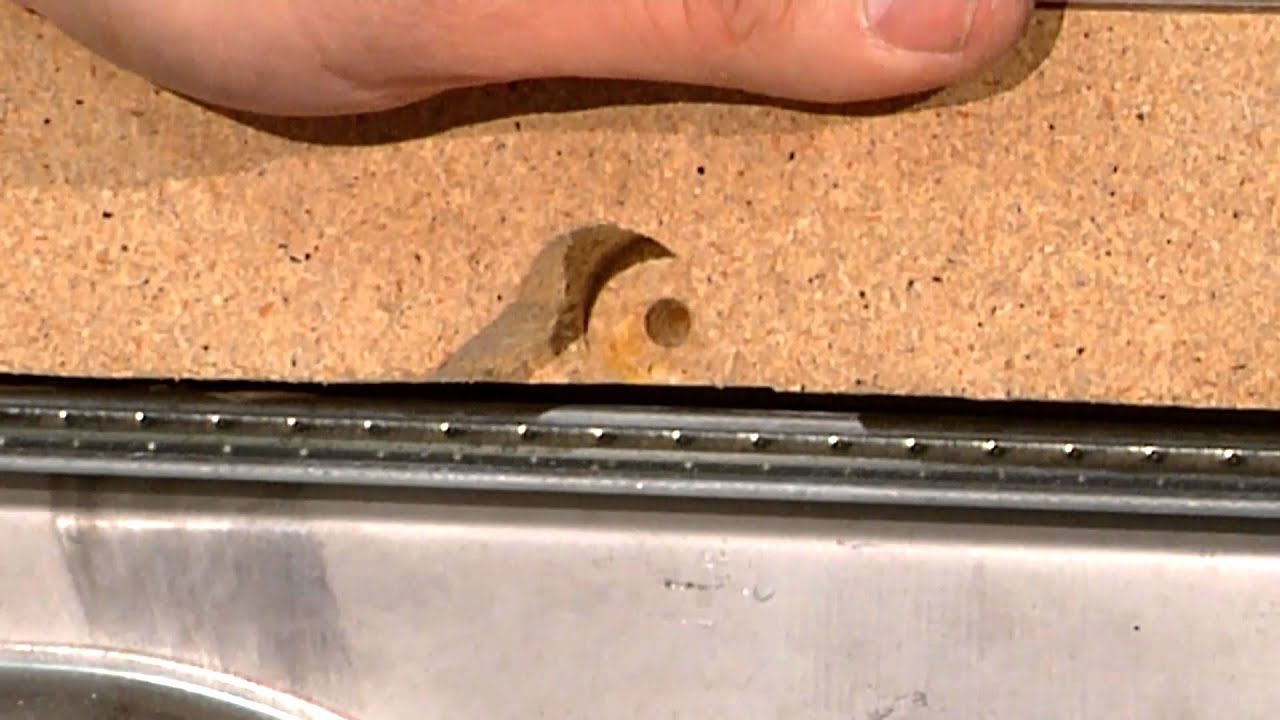
After installing the sink, it's important to make sure it is properly secured. You can do this by running a bead of caulk around the edges of the sink where it meets the countertop. This will not only provide additional support, but it will also create a clean and finished look. You can also add a few dabs of caulk on the underside of the sink where it meets the countertop for added stability.How to Secure a Kitchen Sink Without Clips


How to Secure a Kitchen Sink Without Clips


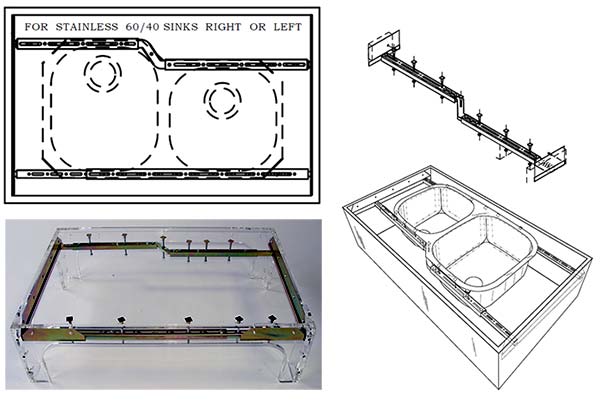
One common mistake when installing a sink without clips is not applying enough caulk. Make sure to use enough caulk to create a strong bond between the sink and the countertop. Too little caulk may result in the sink becoming loose or water leaking into the cabinet below. Another mistake is not properly securing the sink with the adjustable wrench. It's important to tighten the sink enough so that it is secure, but not too tight as it may crack the sink or damage the countertop.Installing a Kitchen Sink Without Clips: Common Mistakes to Avoid
Installing a Kitchen Sink Without Clips: Common Mistakes to Avoid

To recap, here is a step-by-step guide to installing a kitchen sink without clips:Step-by-Step Guide to Installing a Kitchen Sink Without Clips


Step-by-Step Guide to Installing a Kitchen Sink Without Clips


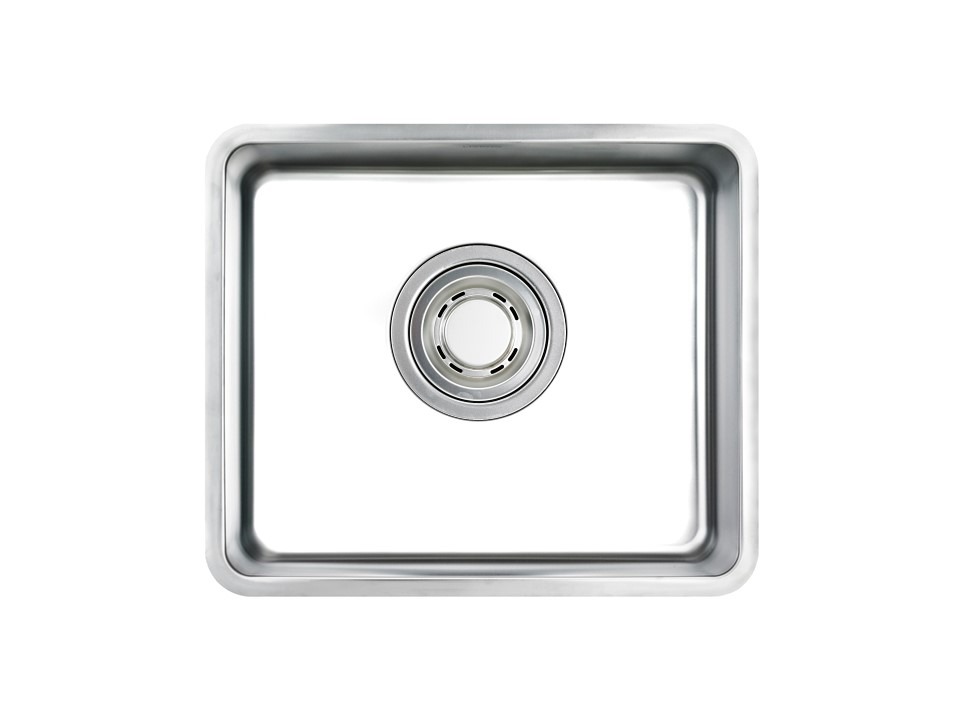
If you are installing a drop-in sink without clips, the process is very similar. The main difference is that you will need to cut a hole in the countertop for the sink to drop into. Make sure to measure and mark the placement of the sink before cutting to ensure a proper fit. Once you have cut the hole, follow the same steps as above to install the sink without clips. This method is popular for those looking to upgrade to a larger or more modern sink without having to replace the entire countertop.How to Install a Drop-In Kitchen Sink Without Clips

How to Install a Drop-In Kitchen Sink Without Clips

Here's a quick recap of the tools and materials needed to install a kitchen sink without clips:Installing a Kitchen Sink Without Clips: Tools and Materials You'll Need


Installing a Kitchen Sink Without Clips: Tools and Materials You'll Need
Here are a few tips from the experts to help make your installation process smoother:Expert Tips for Installing a Kitchen Sink Without Clips

Expert Tips for Installing a Kitchen Sink Without Clips
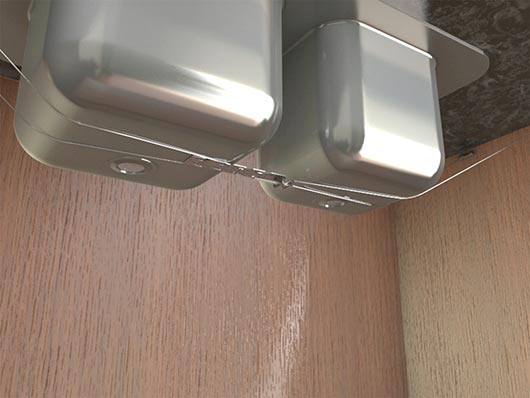
Why You Should Consider Installing a Kitchen Sink Without Clips

Effortless Design
 When it comes to designing your kitchen, every detail matters. From the color of the cabinets to the type of flooring, every decision plays a role in creating a cohesive and beautiful space.
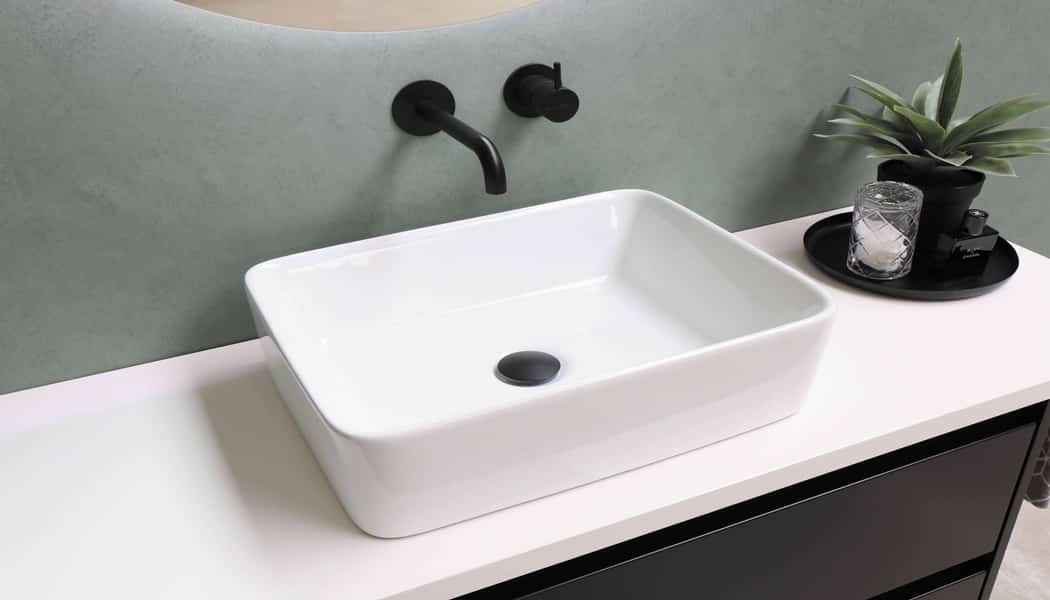
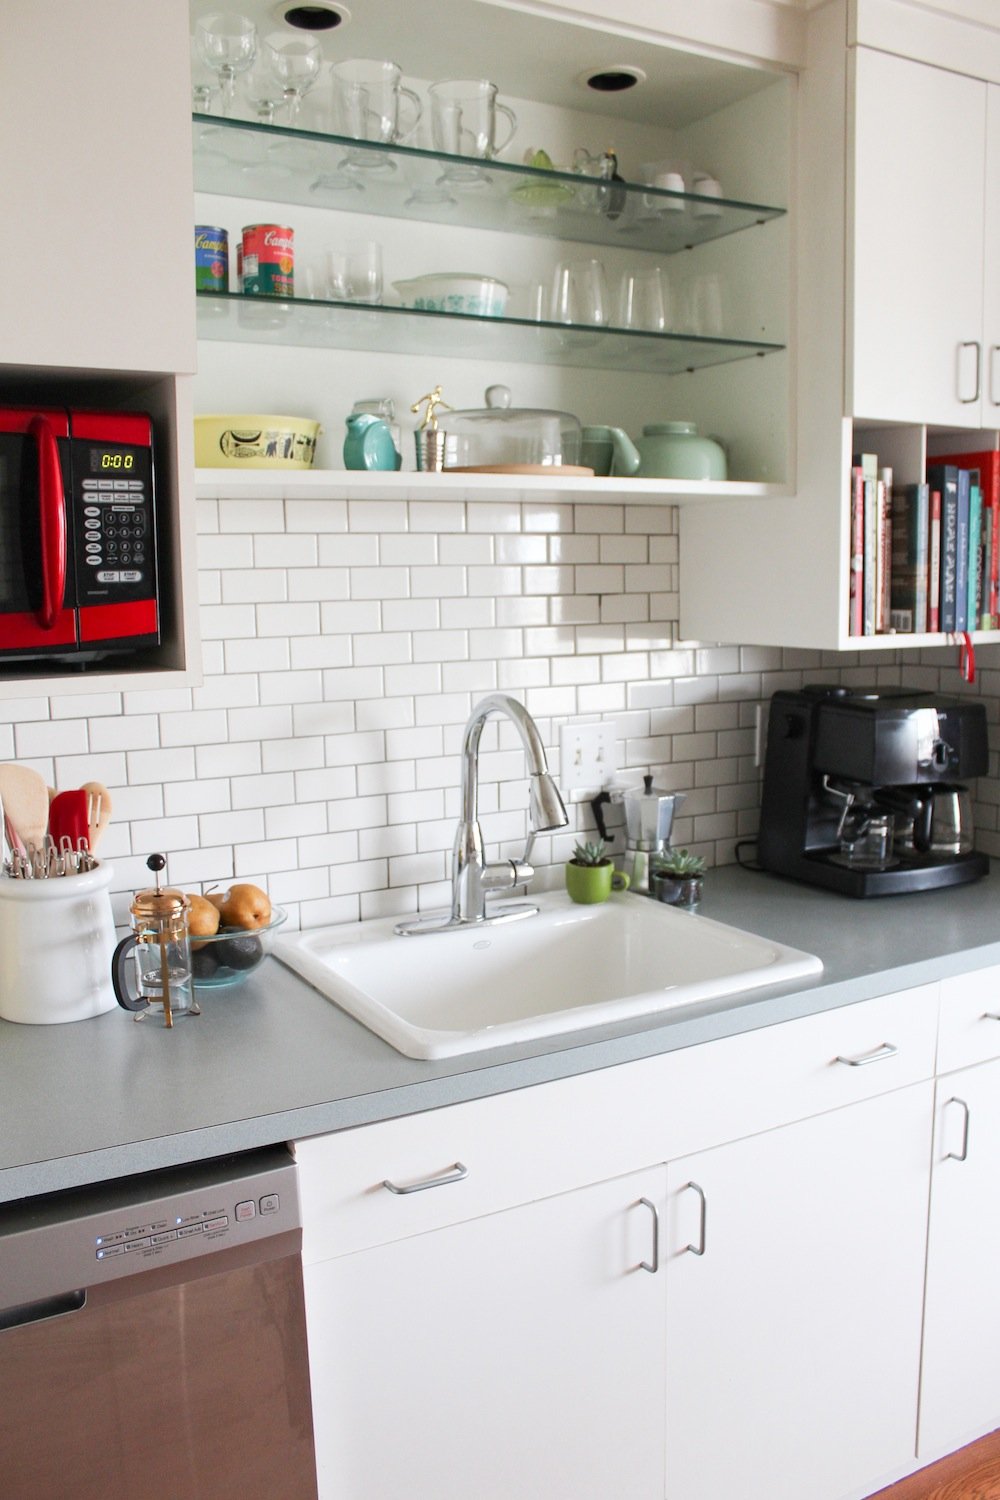
Installing a kitchen sink without clips
may seem like a minor detail, but it can actually have a major impact on the overall design of your kitchen. Without the visible clips, your sink will have a seamless and clean look, creating a more modern and elevated aesthetic.
When it comes to designing your kitchen, every detail matters. From the color of the cabinets to the type of flooring, every decision plays a role in creating a cohesive and beautiful space.
Installing a kitchen sink without clips
may seem like a minor detail, but it can actually have a major impact on the overall design of your kitchen. Without the visible clips, your sink will have a seamless and clean look, creating a more modern and elevated aesthetic.
More Counter Space
 One of the biggest benefits of
installing a kitchen sink without clips
is the extra counter space it provides. Traditional sinks with visible clips take up valuable counter space, making it difficult to have enough room for food prep and other kitchen tasks. With a sink without clips, you have a larger and uninterrupted surface, giving you more room to work with.
One of the biggest benefits of
installing a kitchen sink without clips
is the extra counter space it provides. Traditional sinks with visible clips take up valuable counter space, making it difficult to have enough room for food prep and other kitchen tasks. With a sink without clips, you have a larger and uninterrupted surface, giving you more room to work with.
Easier to Clean
 Another advantage of
installing a kitchen sink without clips
is the ease of cleaning. Visible clips can accumulate dirt and grime, making them difficult to clean and potentially creating an unhygienic environment in your kitchen. With a clip-less sink, you can simply wipe down the smooth surface without any obstructions, making it easier to maintain a clean and sanitary kitchen.
Another advantage of
installing a kitchen sink without clips
is the ease of cleaning. Visible clips can accumulate dirt and grime, making them difficult to clean and potentially creating an unhygienic environment in your kitchen. With a clip-less sink, you can simply wipe down the smooth surface without any obstructions, making it easier to maintain a clean and sanitary kitchen.
Customization Options
 When you choose a sink without clips, you have more options for customization. Traditional sinks with clips limit your choices for materials and styles, as they need to be compatible with the clips. However, with a clip-less sink, you have the freedom to choose from a wider range of materials such as granite, marble, or stainless steel, and a variety of styles including undermount, top mount, or farmhouse.
Professional Installation
 While it may seem daunting to install a sink without clips, it is actually a straightforward process. Most manufacturers provide detailed instructions and with the right tools and a little bit of patience, you can easily
install a kitchen sink without clips
yourself. However, if you're not confident in your DIY skills, it's best to hire a professional to ensure a seamless and secure installation.
In conclusion,
installing a kitchen sink without clips
can enhance the design, functionality, and cleanliness of your kitchen. With a variety of benefits and customization options, it's a small detail that can make a big impact on your overall kitchen design. So why settle for a traditional sink with visible clips when you can have a sleek and modern sink without them? Consider making the switch and see the difference it can make in your kitchen.
While it may seem daunting to install a sink without clips, it is actually a straightforward process. Most manufacturers provide detailed instructions and with the right tools and a little bit of patience, you can easily
install a kitchen sink without clips
yourself. However, if you're not confident in your DIY skills, it's best to hire a professional to ensure a seamless and secure installation.
In conclusion,
installing a kitchen sink without clips
can enhance the design, functionality, and cleanliness of your kitchen. With a variety of benefits and customization options, it's a small detail that can make a big impact on your overall kitchen design. So why settle for a traditional sink with visible clips when you can have a sleek and modern sink without them? Consider making the switch and see the difference it can make in your kitchen.