Before you begin the installation process, make sure you have all the necessary tools and materials. These include:What You Will Need


How to Install an IKEA Hillesgard Kitchen Sink


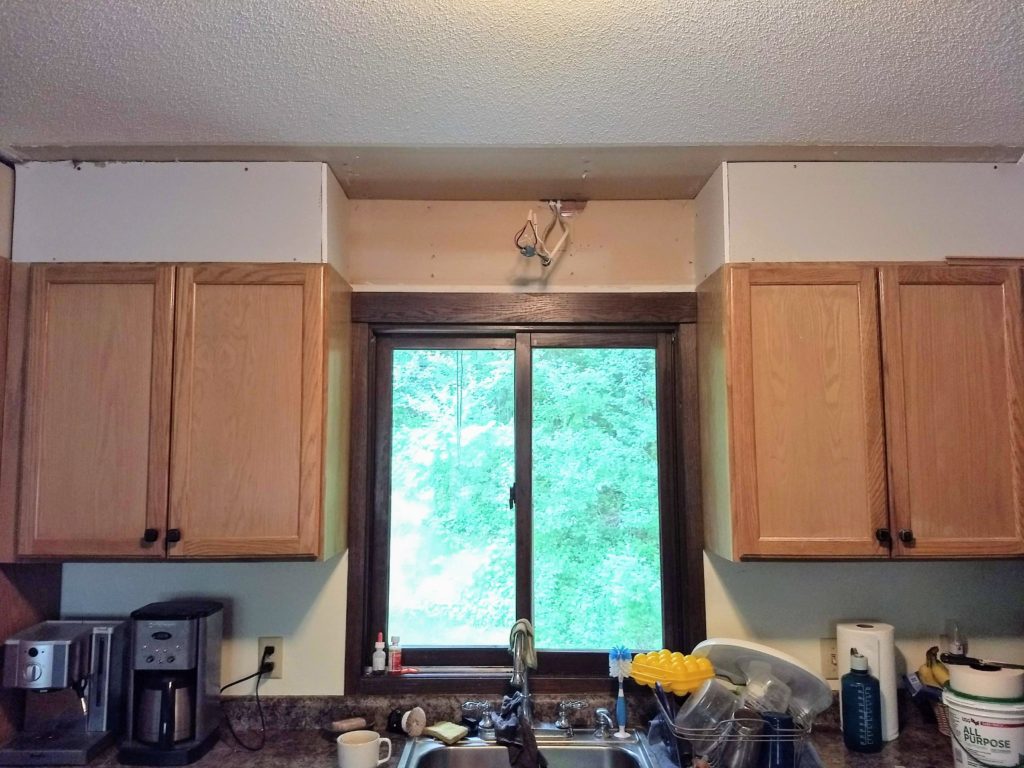


Start by clearing out the area under your kitchen sink and removing any items that may be in the way. This will give you enough space to work comfortably. You may also want to lay down a towel or drop cloth to protect your floors from any potential water spills.Step 1: Prepare the Area


Step-by-Step Guide for Installing an IKEA Hillesgard Kitchen Sink


Before you begin any plumbing work, you must turn off the water supply. Locate the water shut-off valve under your sink and turn it clockwise to shut off the water.Step 2: Turn Off Water Supply


Installing an IKEA Hillesgard Kitchen Sink: A Comprehensive Tutorial


If you are replacing an old sink, you will need to remove it first. Start by disconnecting the water lines and drain pipes using an adjustable wrench. Then, use a screwdriver to loosen and remove any clips or brackets attached to the sink. Carefully lift the old sink and set it aside.Step 3: Remove Old Sink


DIY: Installing an IKEA Hillesgard Kitchen Sink


Before installing the sink, you will need to install the faucet. Follow the manufacturer's instructions for your specific faucet model. Make sure to use plumber's putty around the base of the faucet to create a watertight seal.Step 4: Install Faucet

Installing an IKEA Hillesgard Kitchen Sink: Tips and Tricks


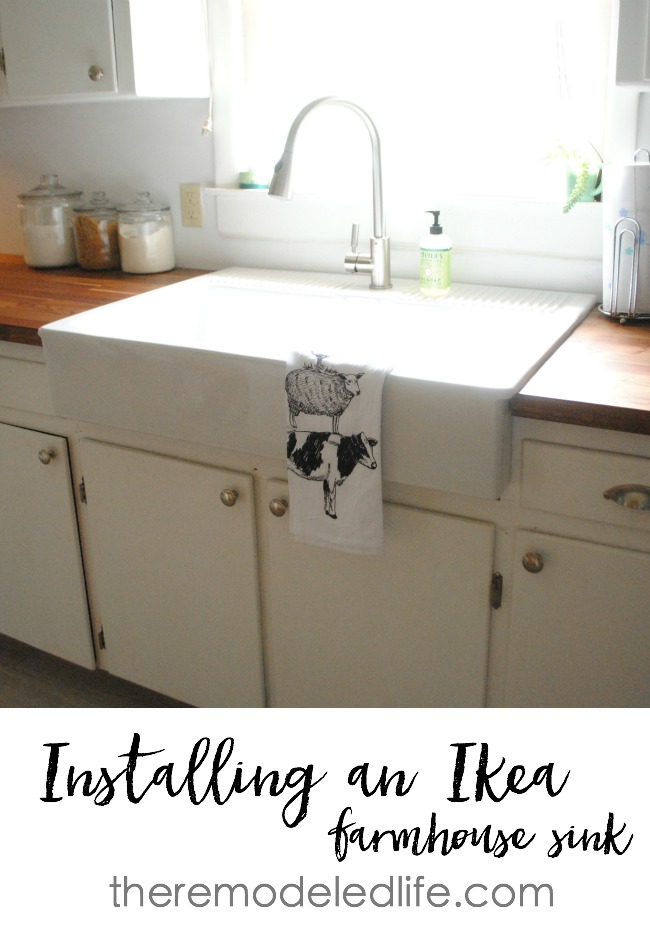
Now it's time to install the IKEA Hillesgard kitchen sink. Place the sink into the countertop cutout and ensure that it is level. Secure the sink in place by tightening the clips provided by IKEA. These clips will hold the sink in place and prevent any movement.Step 5: Install Sink


The Ultimate Guide to Installing an IKEA Hillesgard Kitchen Sink


Next, connect the water lines to the faucet. Use plumbing tape to create a secure seal and prevent any leaks. Once the water lines are connected, turn on the water supply and check for any leaks. If you notice any leaks, tighten the connections with an adjustable wrench.Step 6: Connect Water Lines

Installing an IKEA Hillesgard Kitchen Sink: What You Need to Know


Connect the drain pipes to the sink and tighten the connections with a wrench. If there are any leaks, use plumbing tape or silicone caulk to create a watertight seal.Step 7: Connect Drain Pipes

Step-by-Step Instructions for Installing an IKEA Hillesgard Kitchen Sink


To prevent any water from seeping underneath the sink, use silicone caulk to seal the edges of the sink. This will also give your sink a clean and finished look.Step 8: Caulk Around Sink


Installing an IKEA Hillesgard Kitchen Sink: Common Mistakes to Avoid

Before putting everything back under the sink, test your new IKEA Hillesgard kitchen sink by running water and checking for any leaks. If everything looks good, you're all set!Step 9: Test Sink


Expert Tips for Installing an IKEA Hillesgard Kitchen Sink
Why Choose the IKEA Hillesgard Kitchen Sink for Your Home?

Efficient Use of Space
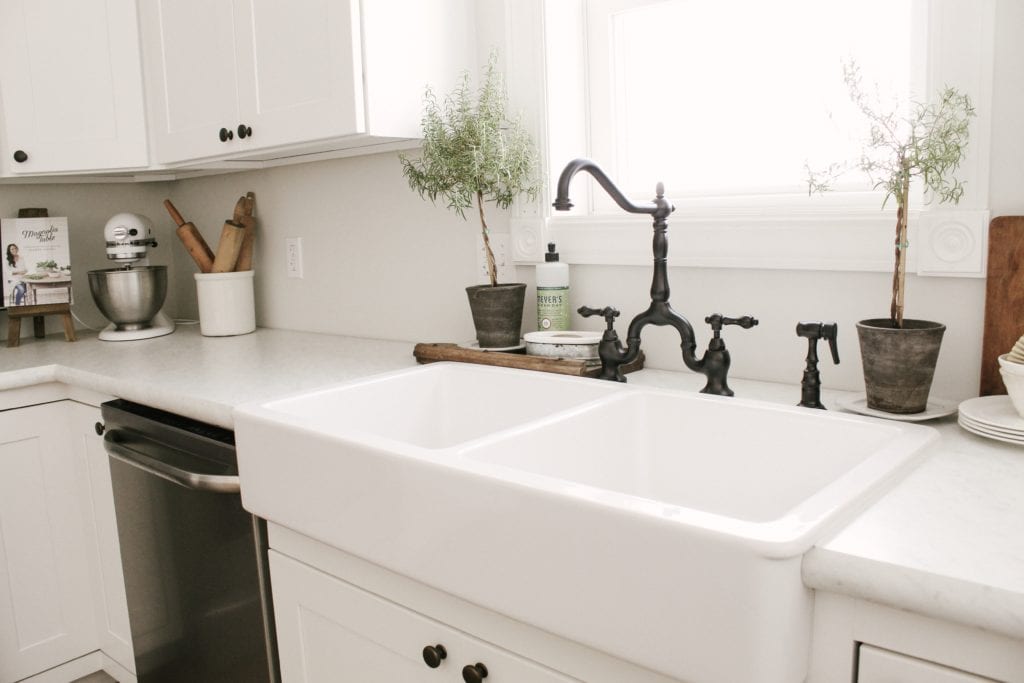
 The IKEA Hillesgard kitchen sink is a popular choice for homeowners due to its efficient use of space. Its compact design allows for more counter space, perfect for smaller kitchens or those looking to maximize their workspace. The sink also features a deep basin, providing ample room for washing dishes or preparing food. Additionally, the sink's double-bowl design allows for multitasking, making it easier to wash and rinse dishes simultaneously.
Durable and Easy to Clean
 The
stainless steel
construction of the IKEA Hillesgard kitchen sink makes it not only aesthetically pleasing but also durable and easy to clean. Stainless steel is resistant to corrosion, scratches, and stains, making it a practical choice for a busy kitchen. The sink's surface is also non-porous, preventing the buildup of bacteria and making it effortless to maintain its pristine appearance.
The
stainless steel
construction of the IKEA Hillesgard kitchen sink makes it not only aesthetically pleasing but also durable and easy to clean. Stainless steel is resistant to corrosion, scratches, and stains, making it a practical choice for a busy kitchen. The sink's surface is also non-porous, preventing the buildup of bacteria and making it effortless to maintain its pristine appearance.
Customizable Options
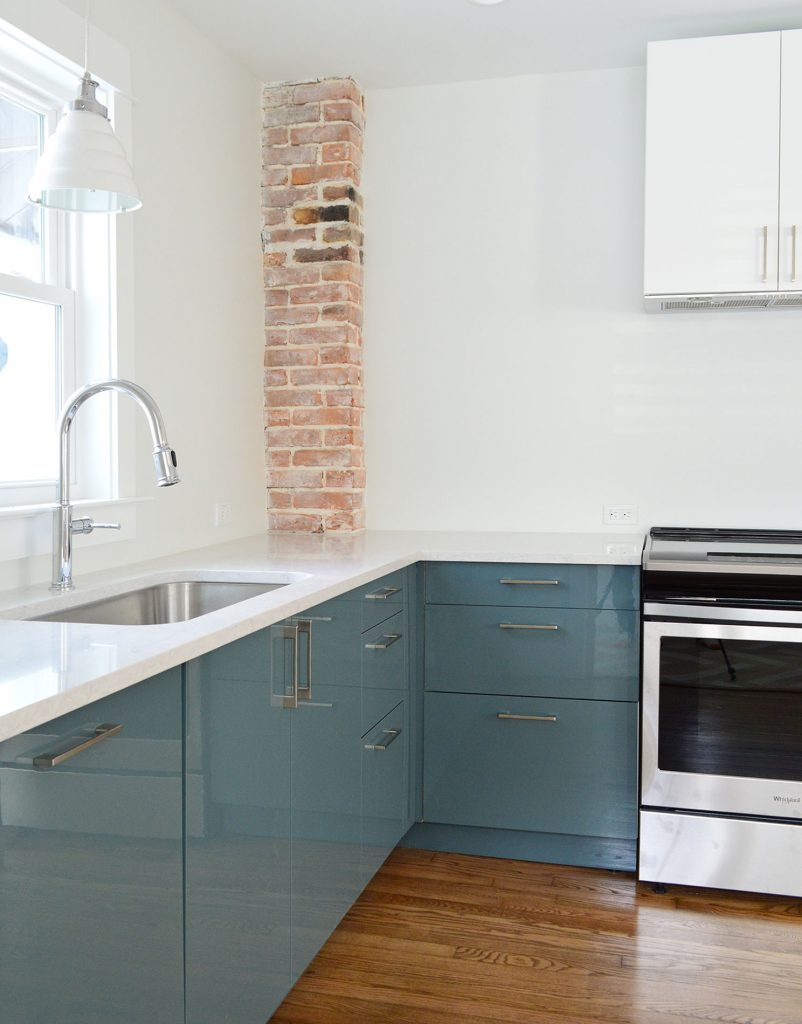
 The IKEA Hillesgard kitchen sink offers customizable options, allowing you to choose the perfect fit for your kitchen. You can select from different sizes and configurations, including single or double bowls, and even add accessories such as cutting boards and colanders. This versatility makes it a versatile choice for any kitchen design.
Easy Installation Process
 Installing the IKEA Hillesgard kitchen sink is a relatively straightforward process, making it a popular choice for DIY enthusiasts. The sink comes with detailed instructions and all necessary hardware, making the installation process hassle-free. Additionally, the sink's lightweight design makes it easier to handle and install.
In conclusion, the IKEA Hillesgard kitchen sink is an excellent choice for any modern kitchen. Its space-saving design, durability, customizable options, and easy installation process make it a practical and stylish addition to any home. So why wait?
Upgrade your kitchen
with the IKEA Hillesgard kitchen sink today and enjoy a more functional and aesthetically pleasing space.
Installing the IKEA Hillesgard kitchen sink is a relatively straightforward process, making it a popular choice for DIY enthusiasts. The sink comes with detailed instructions and all necessary hardware, making the installation process hassle-free. Additionally, the sink's lightweight design makes it easier to handle and install.
In conclusion, the IKEA Hillesgard kitchen sink is an excellent choice for any modern kitchen. Its space-saving design, durability, customizable options, and easy installation process make it a practical and stylish addition to any home. So why wait?
Upgrade your kitchen
with the IKEA Hillesgard kitchen sink today and enjoy a more functional and aesthetically pleasing space.

:max_bytes(150000):strip_icc()/Living-room-with-traditional-details-58c0ad323df78c353c16f913.png)