Installing a new bathroom vanity can be a great way to update the look of your bathroom and add some much-needed storage space. If you've chosen a Glacier Bay bathroom vanity, you're in luck! These vanities are known for their high quality and easy installation process. In this guide, we'll walk you through the steps of installing your new Glacier Bay bathroom vanity.Glacier Bay Bathroom Vanity Installation Guide


Glacier Bay Bathroom Vanity Installation Guide

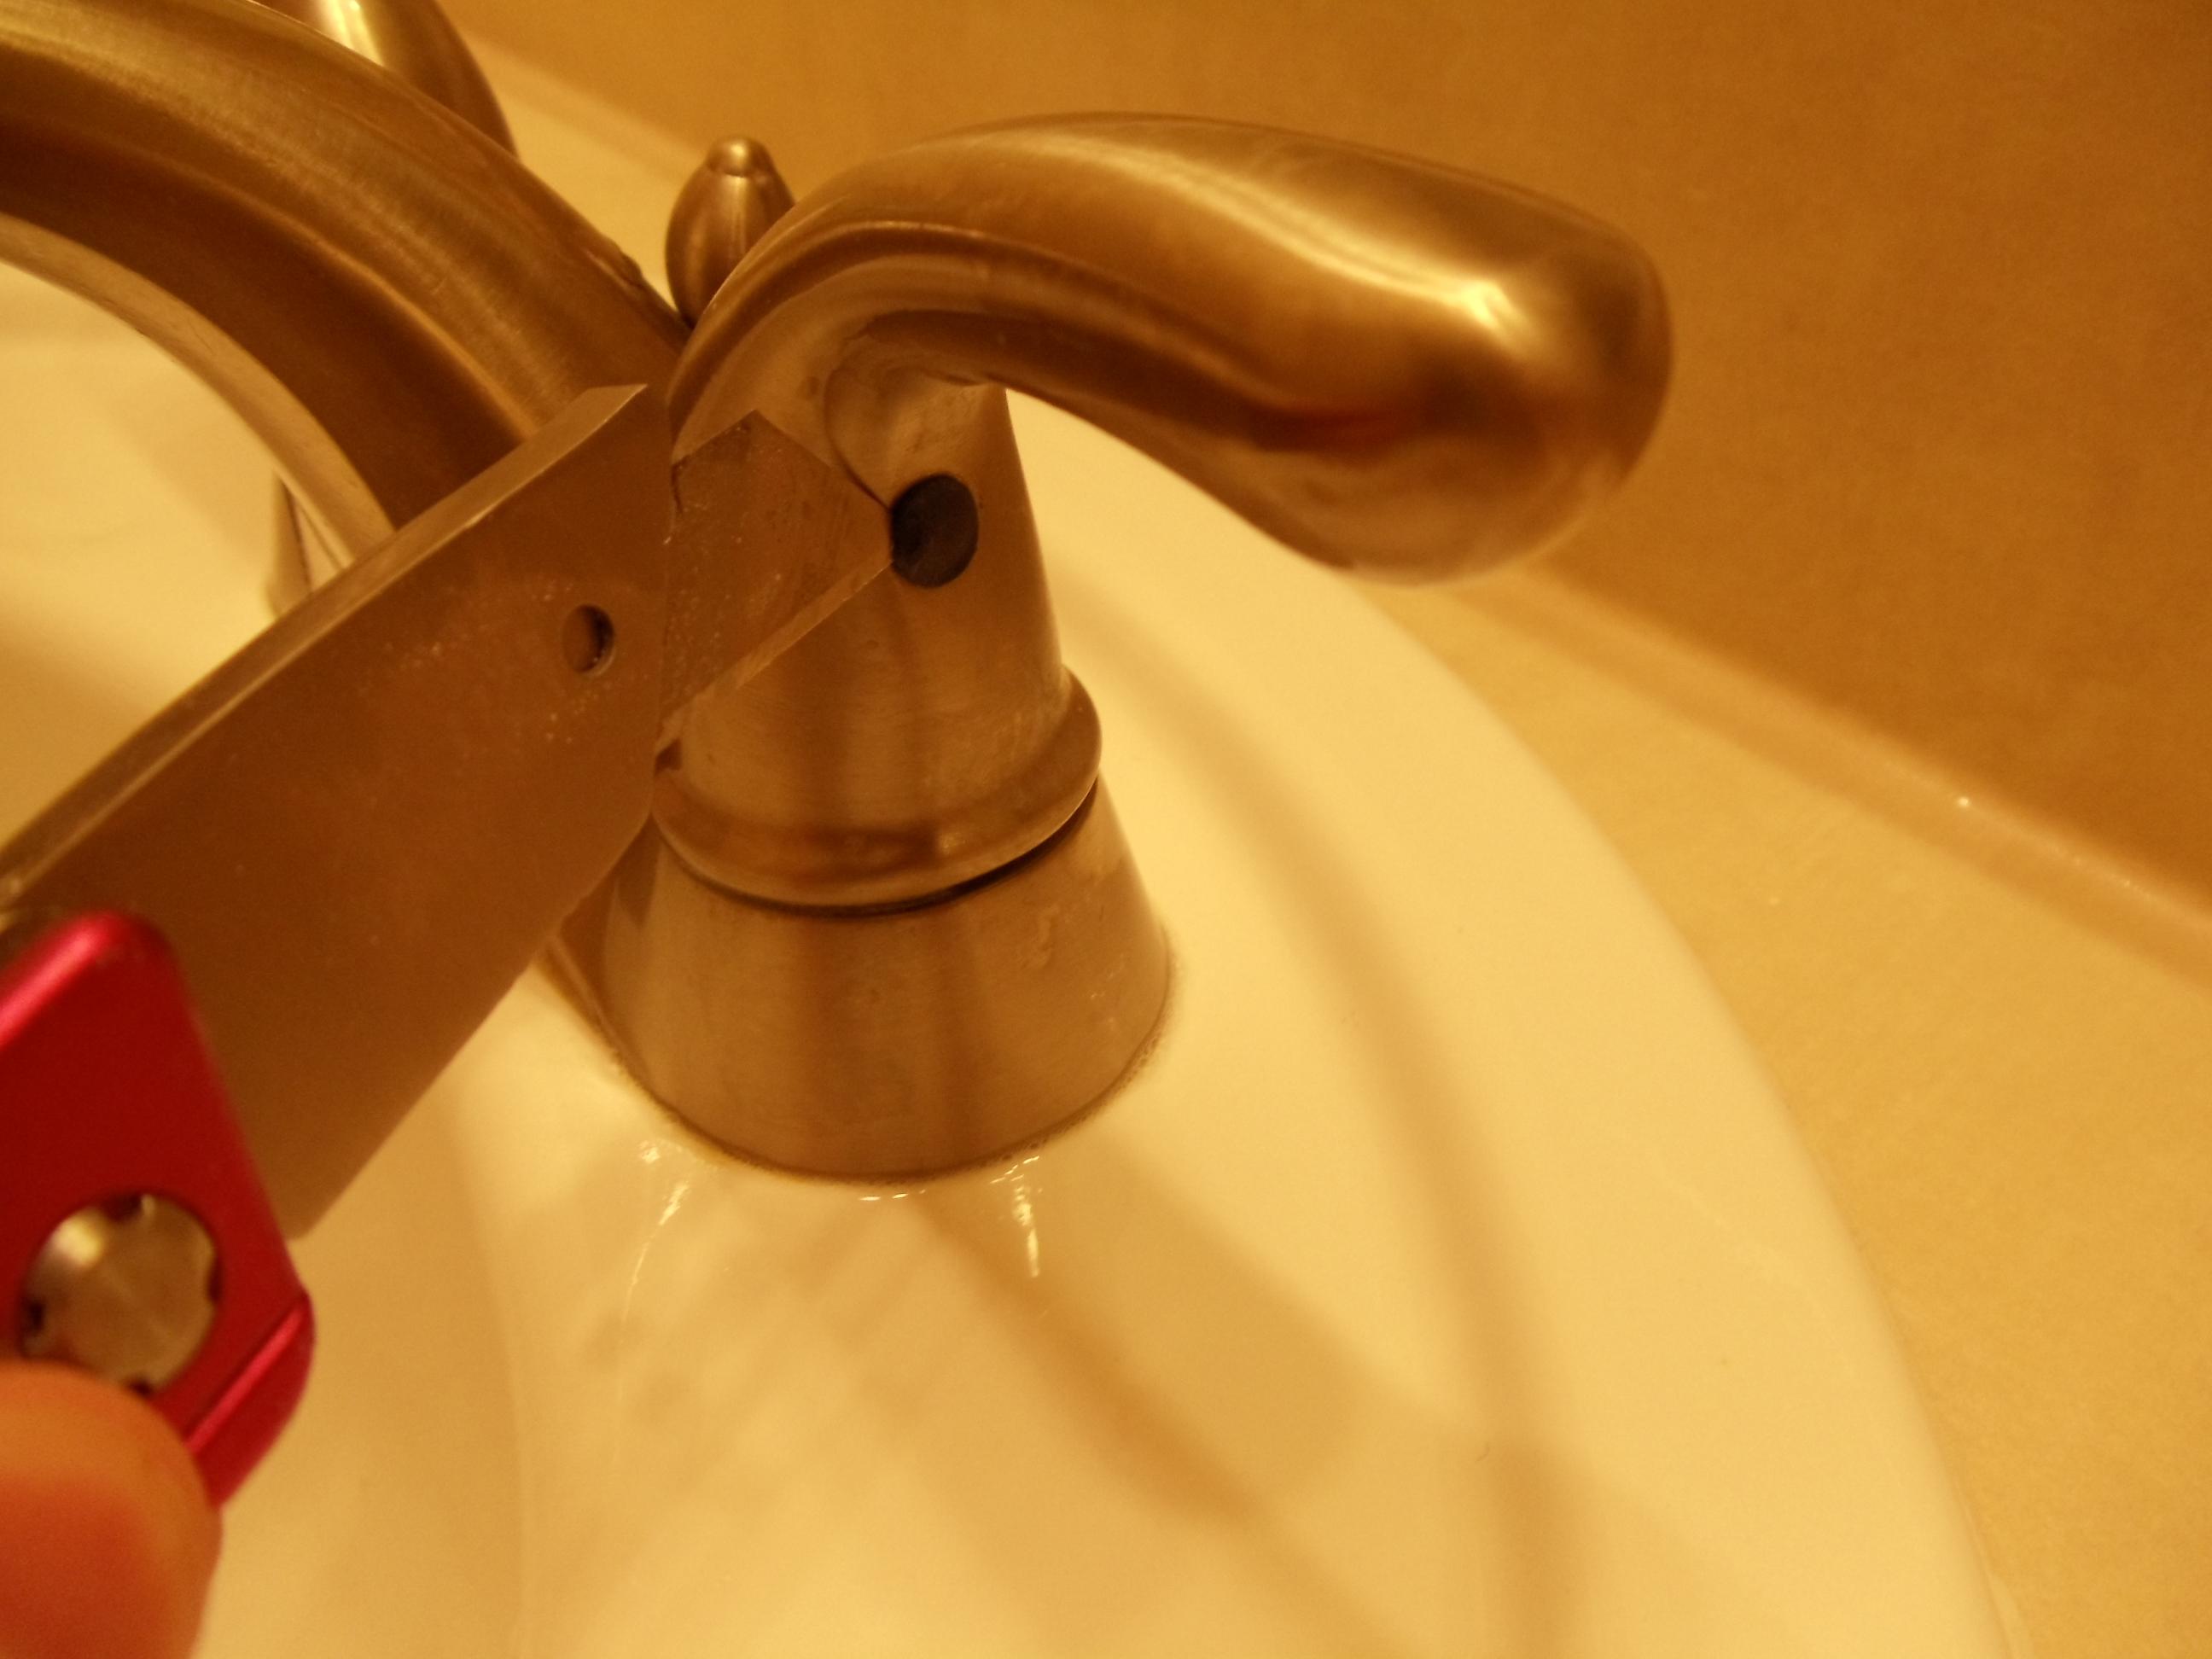
/bathroom-sink-drain-installation-2718843-01-4955fe1f576b447a91abe51c126d220b.jpg)


Before you begin the installation process, make sure you have all the necessary tools and materials. This may include a drill, level, measuring tape, and screws. It's also a good idea to have a helper to assist you with lifting and holding the vanity in place. Start by measuring the area where you'll be installing the vanity. Make sure to take into account any pipes or fixtures that may be in the way. Once you have your measurements, mark the location of the vanity on the wall using a pencil and level. This will ensure that your vanity is installed straight and level.How to Install a Glacier Bay Bathroom Vanity


How to Install a Glacier Bay Bathroom Vanity


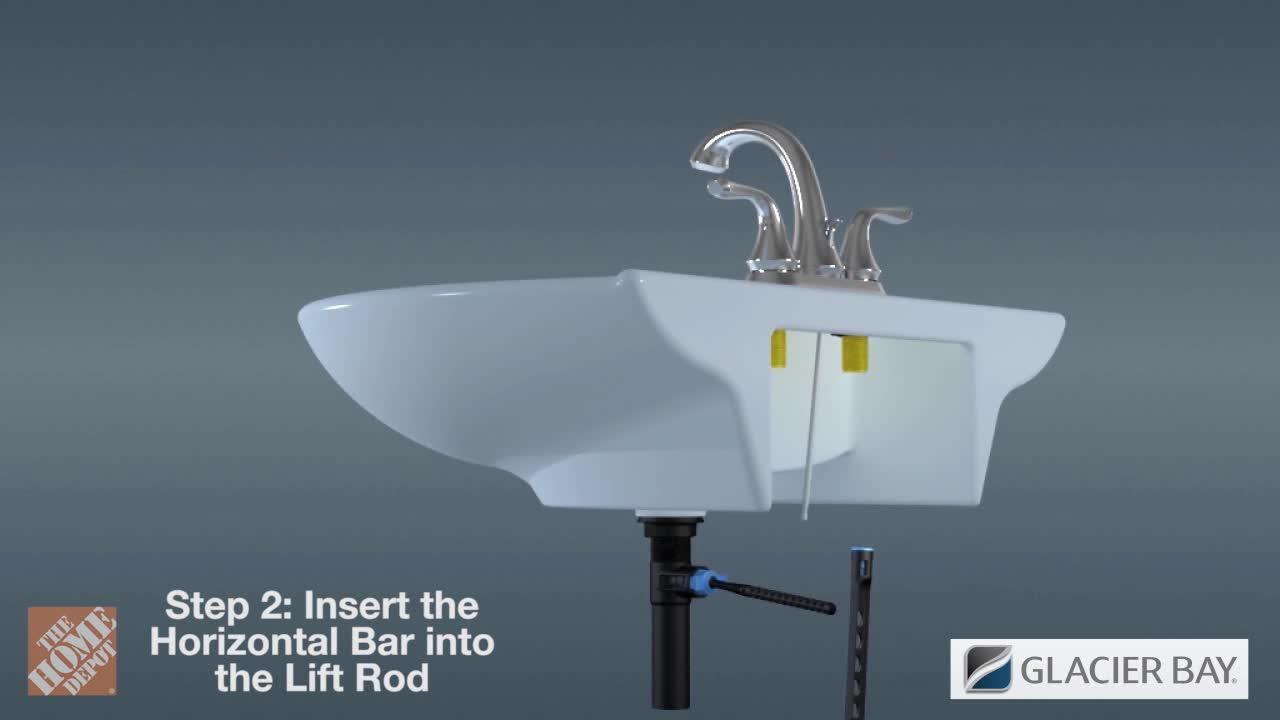
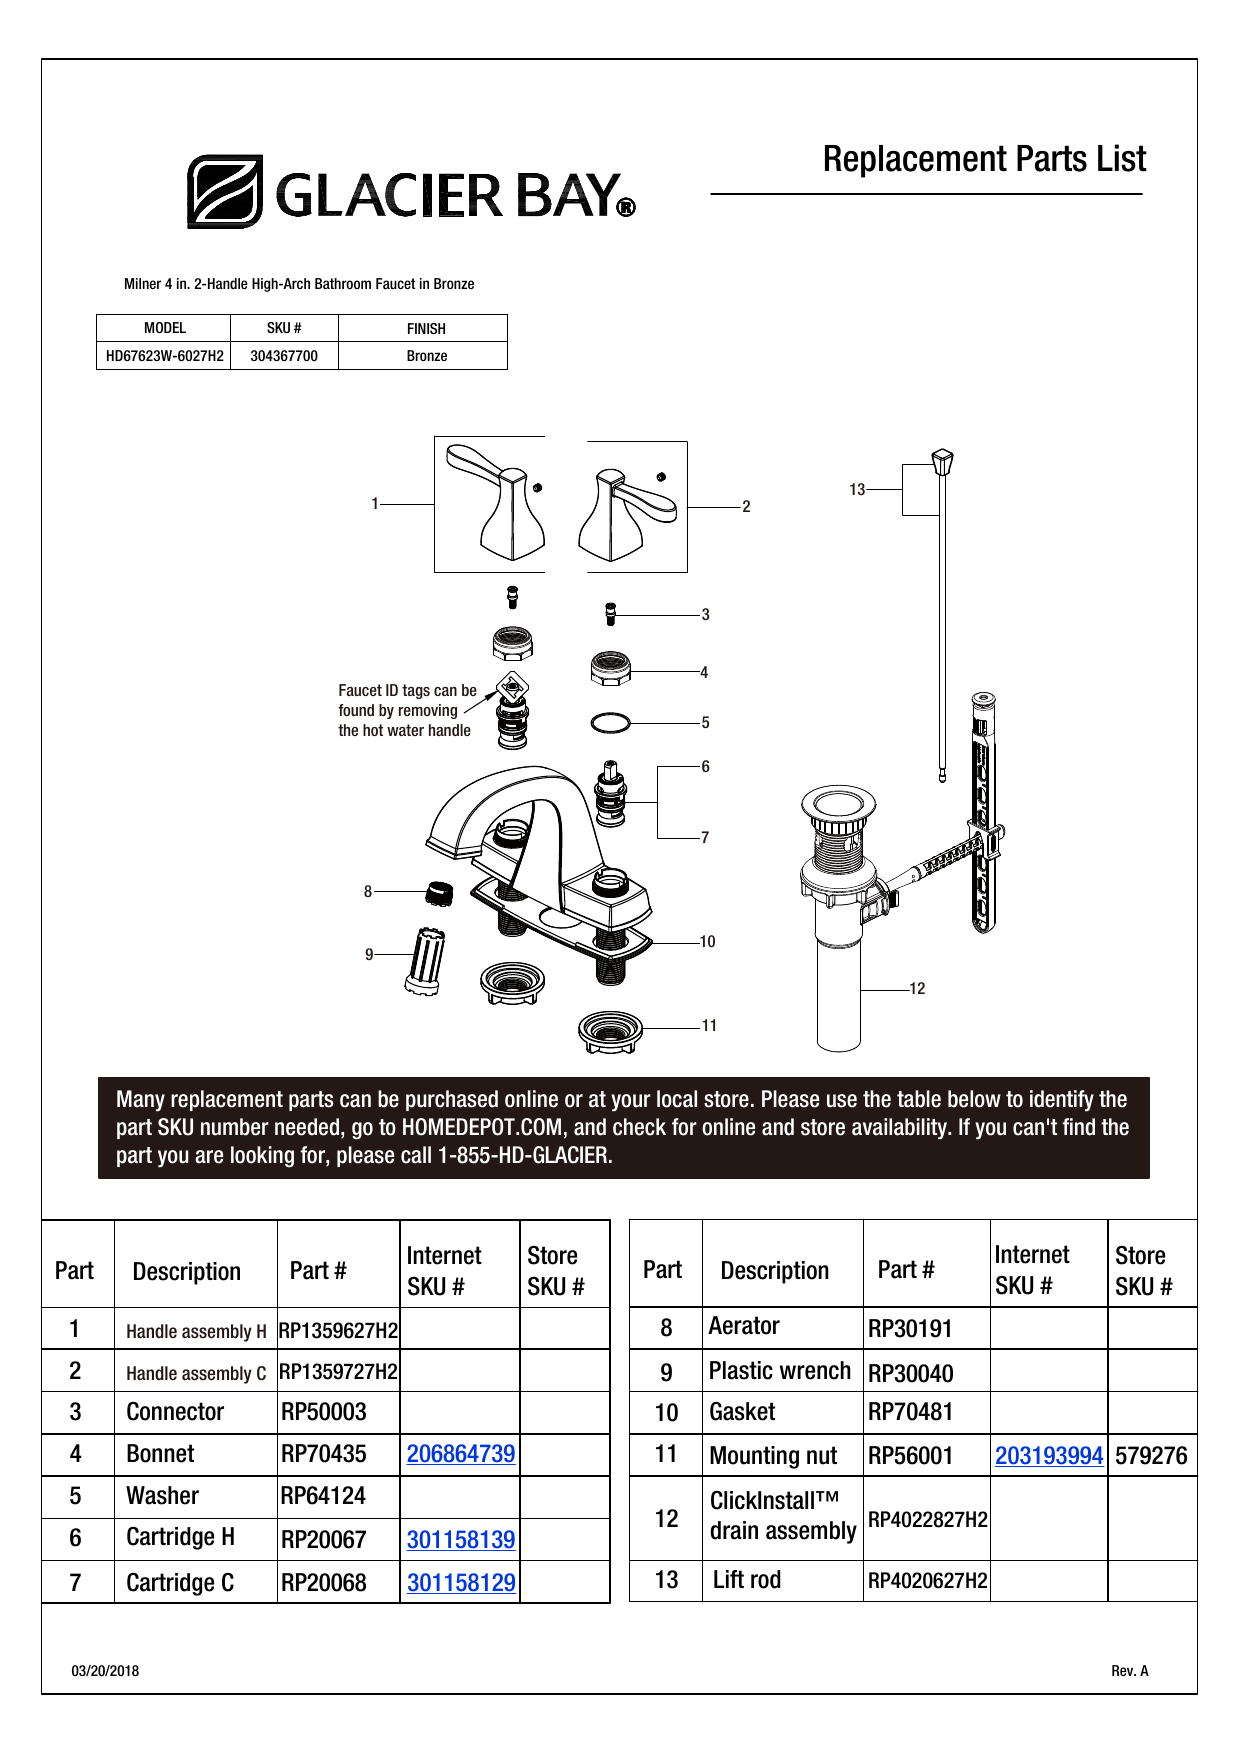
Now it's time to start installing your Glacier Bay bathroom vanity. Follow these steps for a smooth and successful installation process: Step 1: Begin by assembling the vanity according to the instructions provided with the product. Make sure to use the included hardware to secure all the pieces together. Step 2: Once the vanity is fully assembled, place it in the designated spot in your bathroom. Use a level to make sure it's straight and adjust as needed. Step 3: Use a drill to secure the vanity to the wall. Make sure to use the designated holes on the back of the vanity and use the appropriate screws. Step 4: If your vanity comes with a countertop, now is the time to install it. Simply place the countertop on top of the vanity and secure it with the provided hardware. Step 5: Install the faucet and any other fixtures according to the manufacturer's instructions. Make sure to turn off the water supply before installing the faucet. Step 6: Finally, install the sink and connect the plumbing. Double check for any leaks or issues before using your new Glacier Bay bathroom vanity.Step-by-Step Guide for Installing Glacier Bay Bathroom Vanity


Step-by-Step Guide for Installing Glacier Bay Bathroom Vanity


Installing your own bathroom vanity can be a fulfilling and cost-effective DIY project. With Glacier Bay bathroom vanities, the process is made even easier thanks to their high-quality materials and simple installation instructions. By following the steps outlined in this guide, you can successfully install your own Glacier Bay bathroom vanity and give your bathroom a stylish and functional update.DIY Bathroom Vanity Installation with Glacier Bay


DIY Bathroom Vanity Installation with Glacier Bay

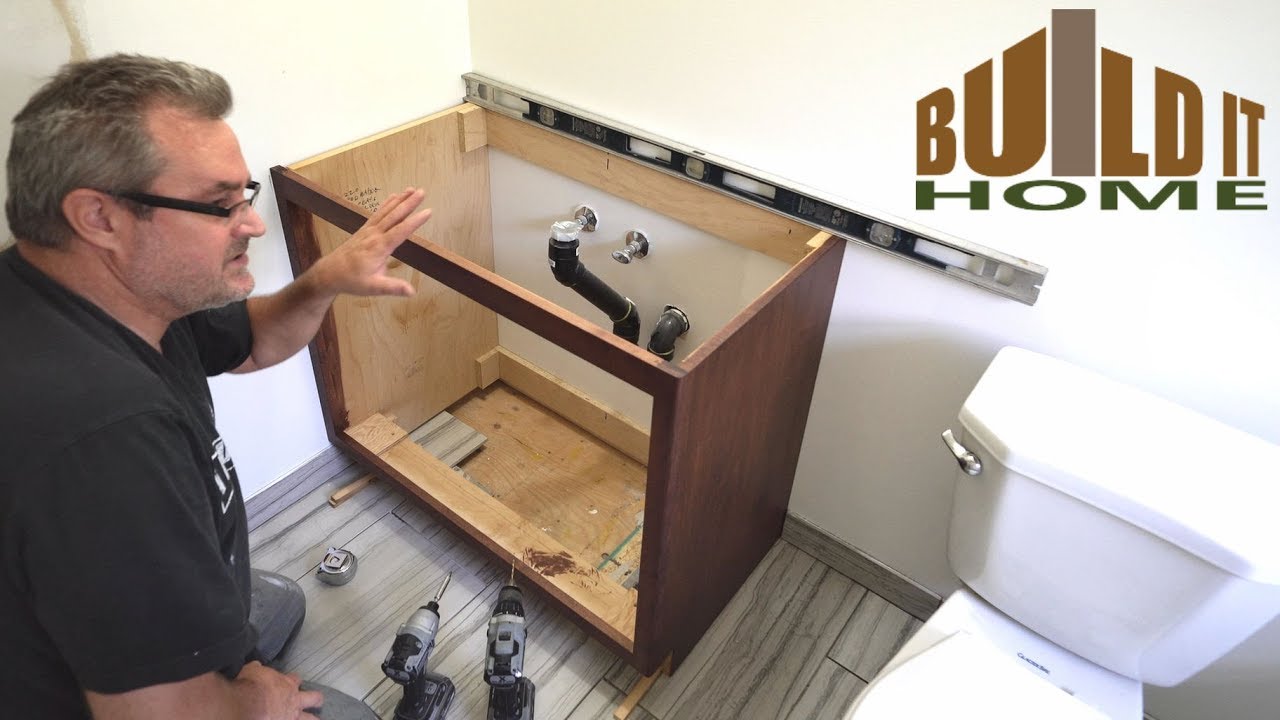

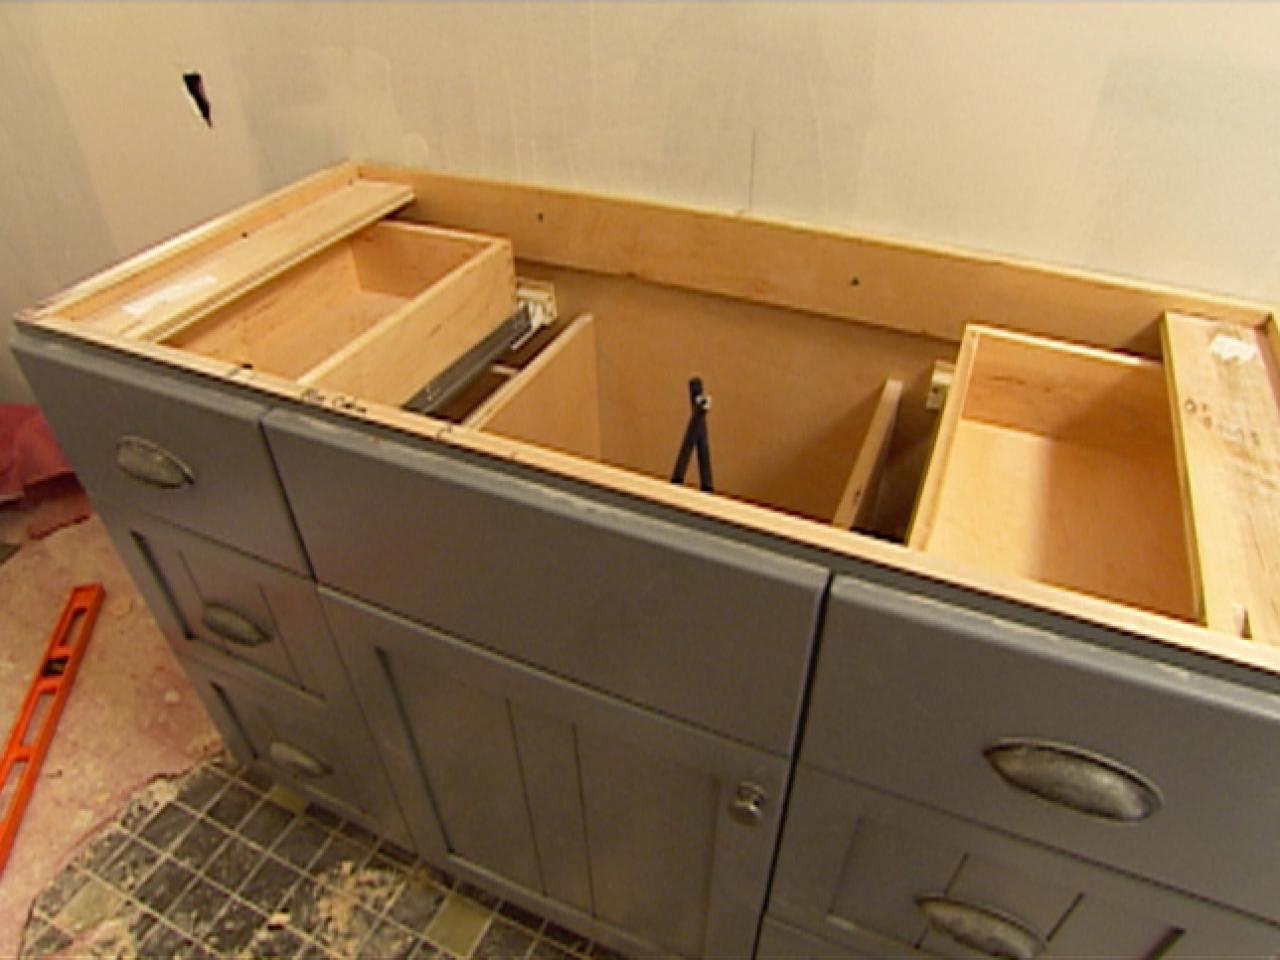

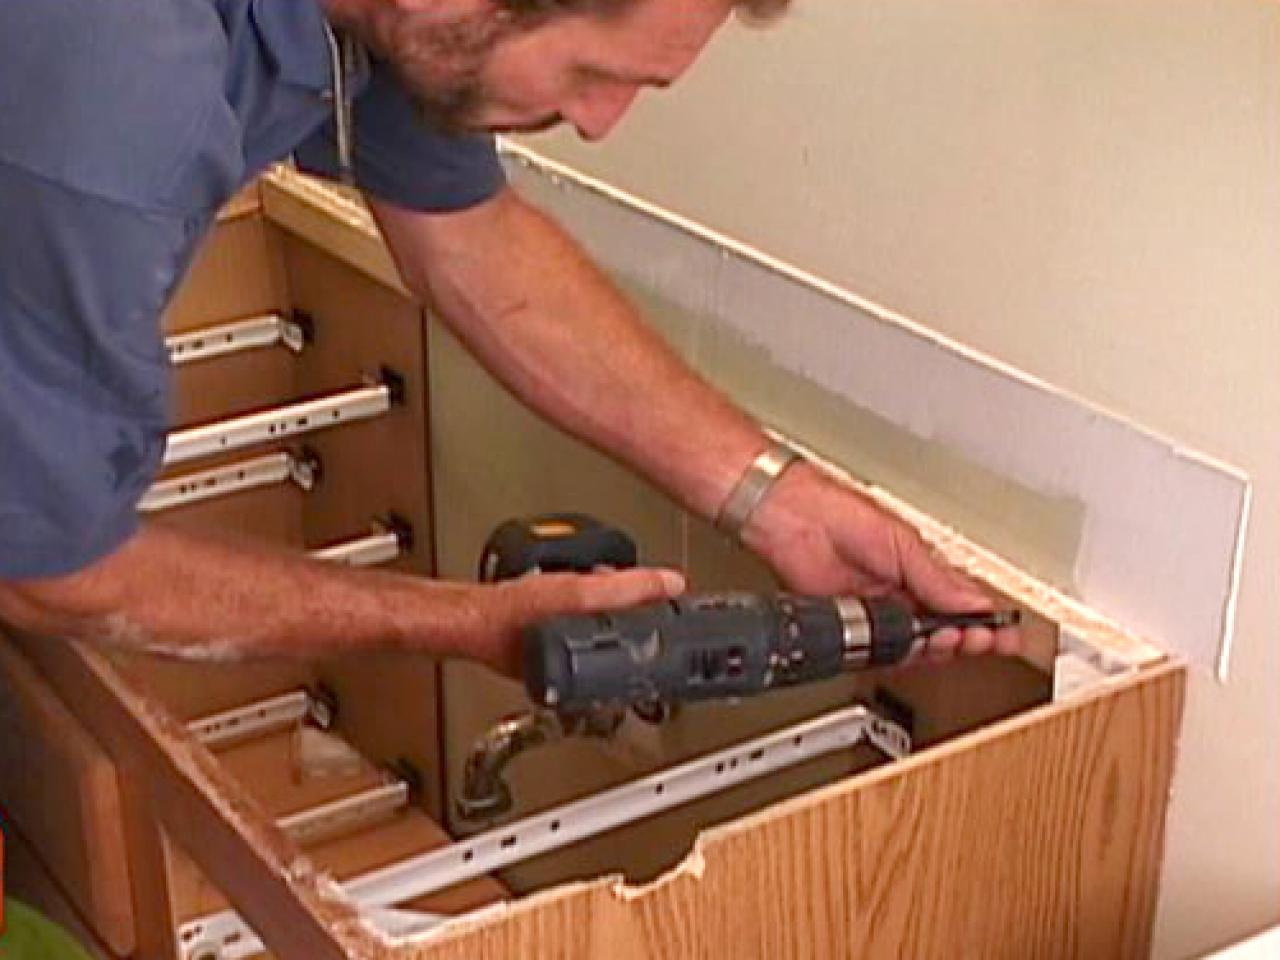

Installing a new bathroom vanity may seem like a daunting task, but with the right tools and instructions, it can be a breeze. Here are some easy steps to follow when installing your Glacier Bay bathroom vanity: Step 1: Measure the designated area and mark the location of the vanity on the wall. Step 2: Assemble the vanity according to the instructions provided. Step 3: Place the vanity in the designated spot and secure it to the wall using a level and drill. Step 4: Install the countertop, faucet, and sink. Step 5: Double check for any leaks or issues before using your new vanity.Easy Steps for Installing Glacier Bay Bathroom Vanity
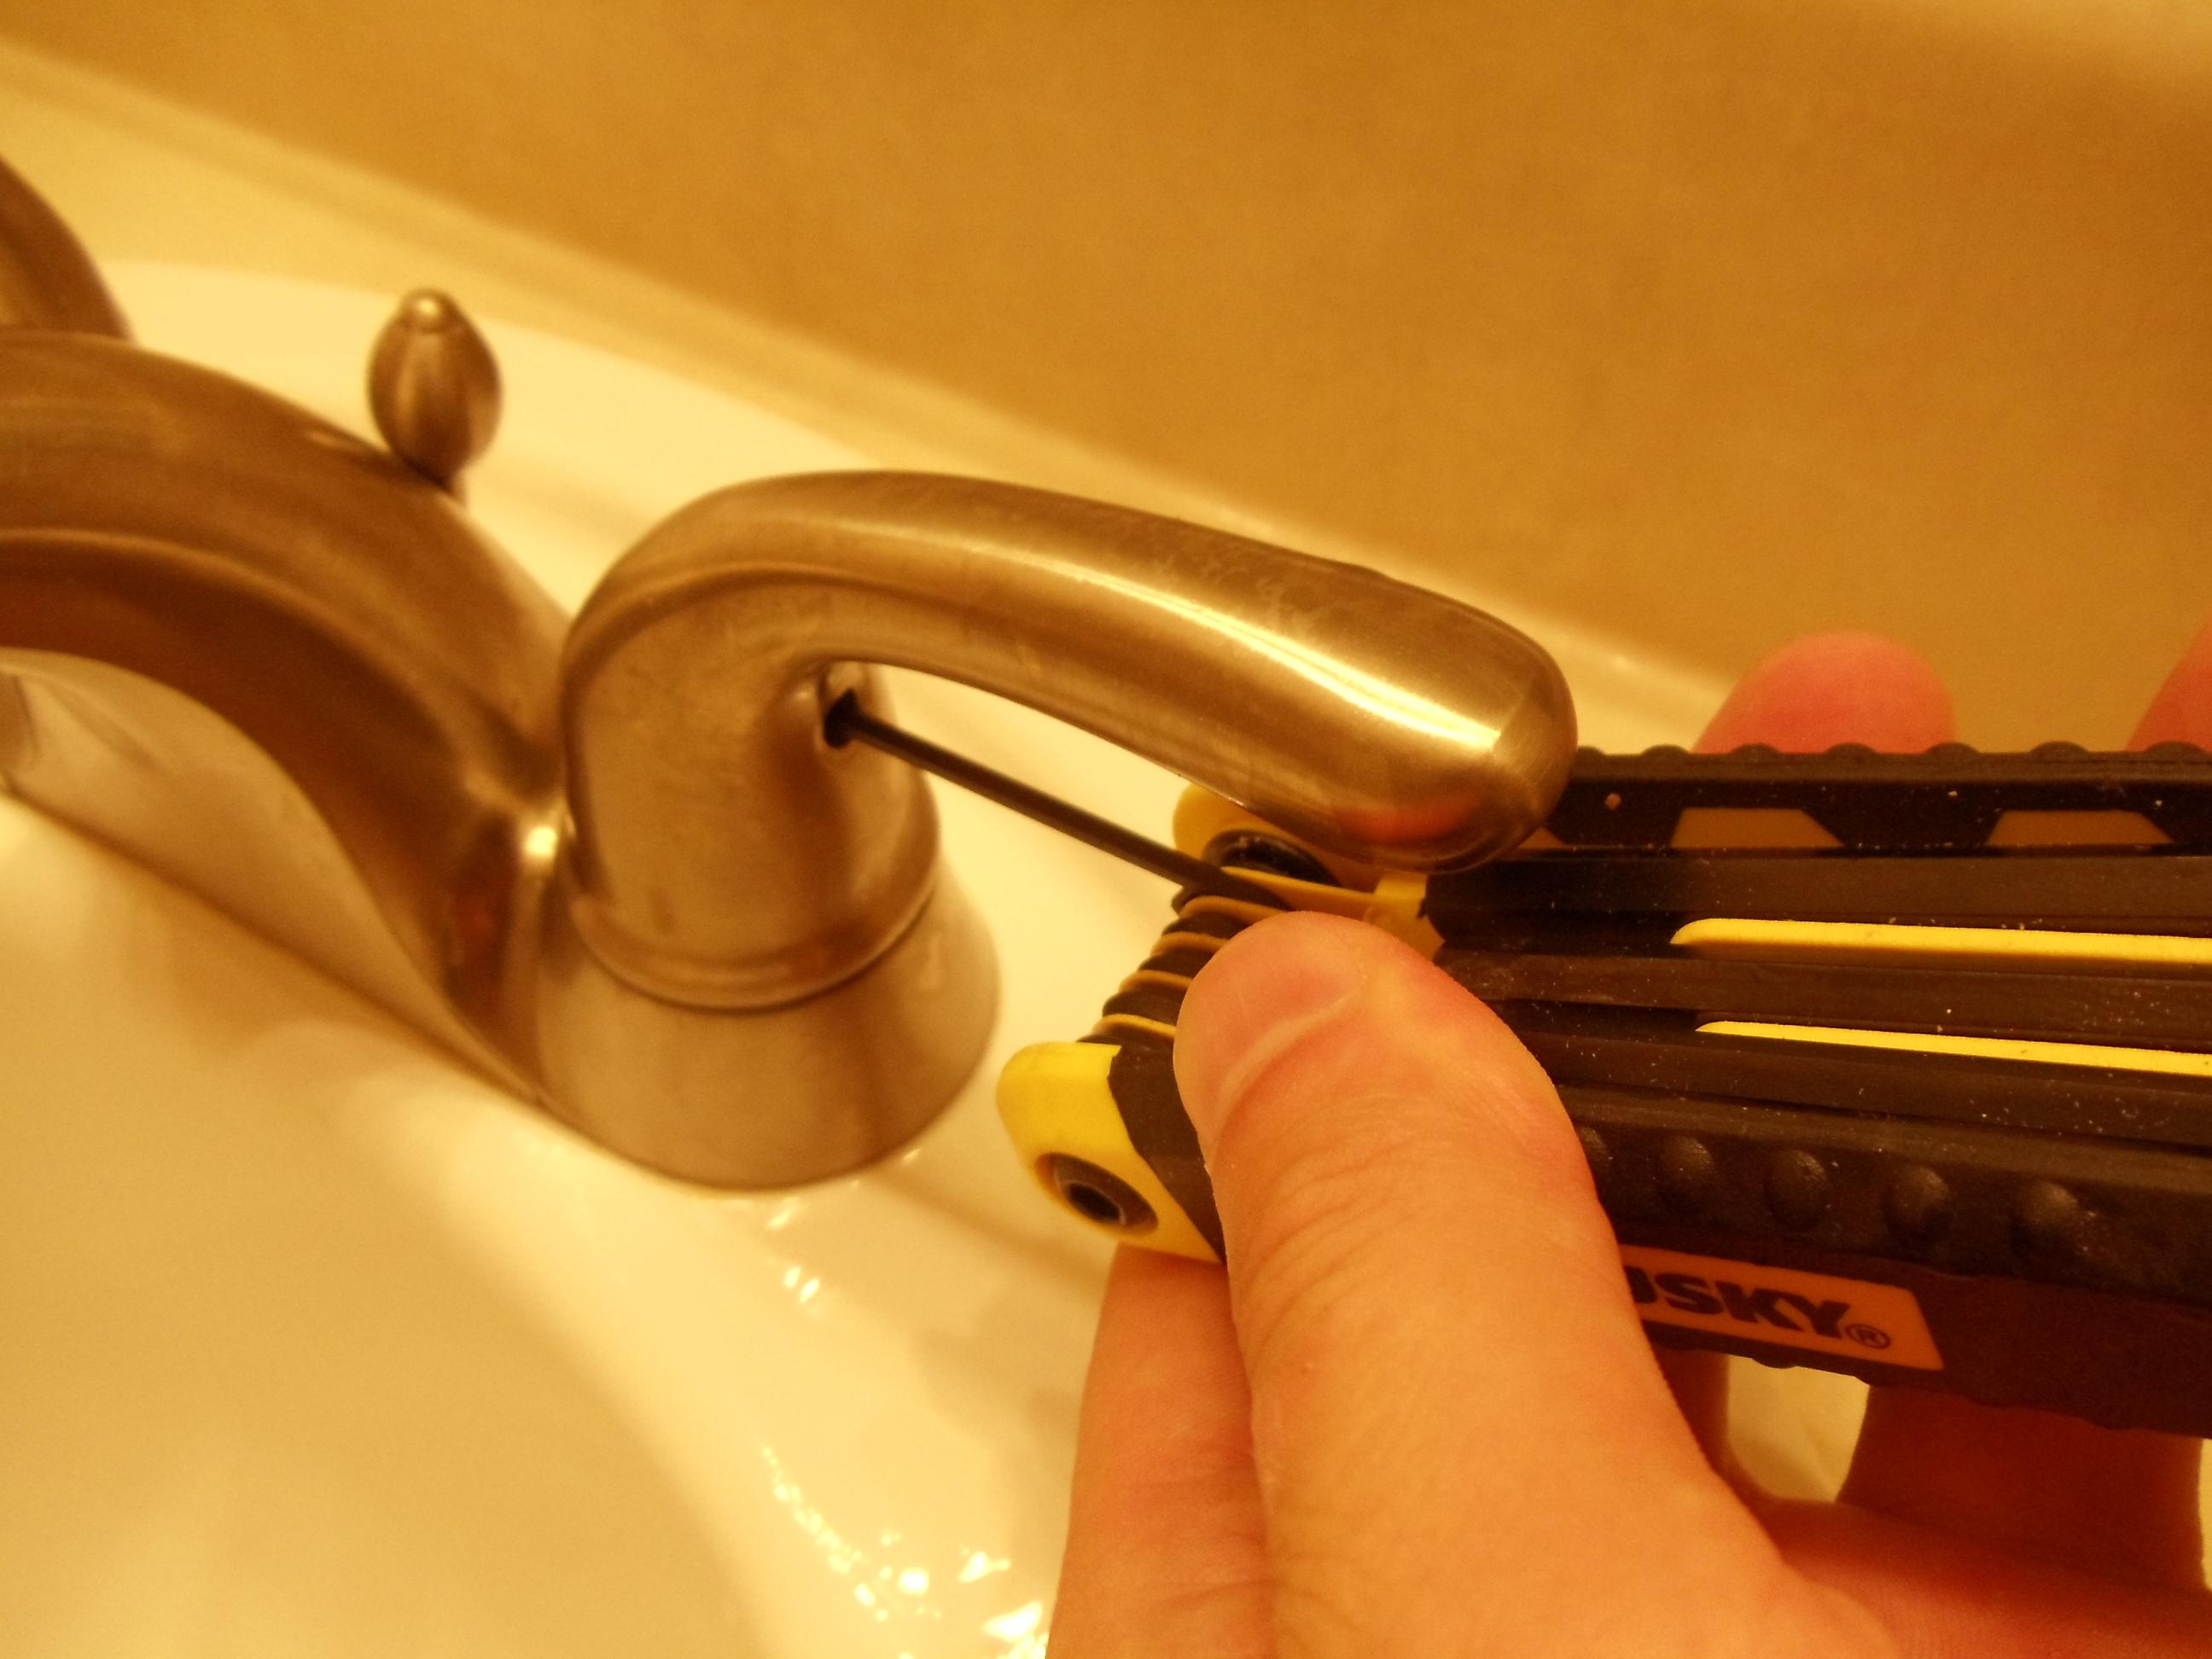
/7_IMG_3765-56a4a2743df78cf772835b6f.JPG)
Easy Steps for Installing Glacier Bay Bathroom Vanity


Here are some additional tips and tricks to keep in mind when installing your Glacier Bay bathroom vanity: Tip #1: Before assembling the vanity, make sure to lay out all the pieces and check for any damages or missing parts. Tip #2: If your vanity comes with a backsplash, use silicone caulk to adhere it to the wall and prevent any water damage. Tip #3: If you're not confident in your plumbing skills, it's best to hire a professional plumber to connect the sink and faucet. Tip #4: Use a stud finder to locate the studs in the wall and secure the vanity to them for added stability.Glacier Bay Bathroom Vanity Installation Tips and Tricks


Glacier Bay Bathroom Vanity Installation Tips and Tricks


For a comprehensive guide to installing your Glacier Bay bathroom vanity, follow the steps outlined in this article. With the right tools and instructions, you can successfully install your new vanity and give your bathroom a fresh new look.Complete Guide to Installing Glacier Bay Bathroom Vanity


Complete Guide to Installing Glacier Bay Bathroom Vanity
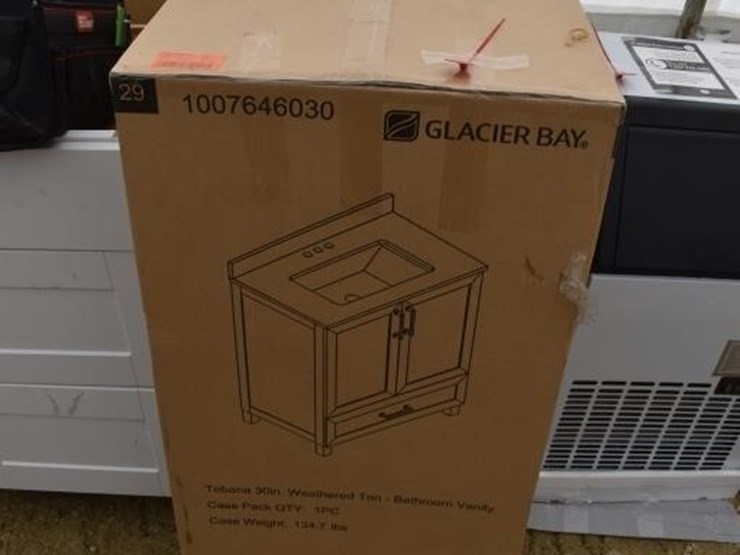
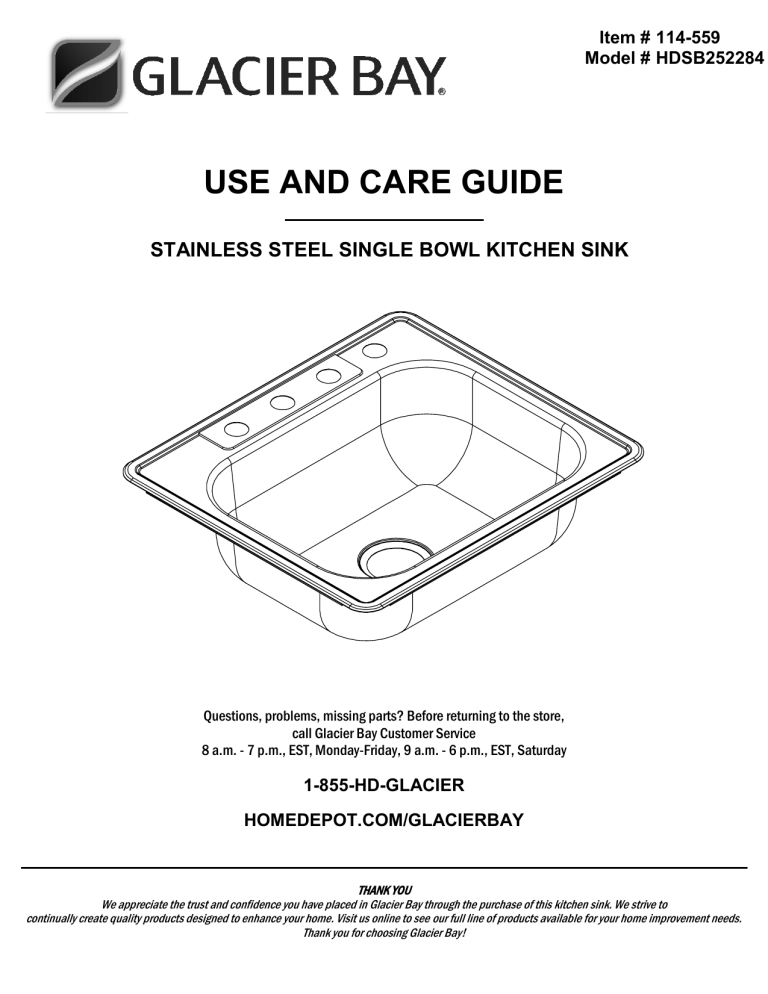
Before beginning the installation process, it's important to familiarize yourself with the specific model of Glacier Bay bathroom vanity you have chosen. Make sure to read the instructions provided with the product and have all the necessary tools and materials on hand. It's also important to make sure your plumbing and electrical connections are up to code before installing your vanity. If you have any doubts or concerns, it's best to consult a professional.Installing a Glacier Bay Bathroom Vanity: What You Need to Know
Installing a Glacier Bay Bathroom Vanity: What You Need to Know
While the installation process for Glacier Bay bathroom vanities is relatively straightforward, there are some common mistakes that can be easily avoided. These include: Mistake #1: Not measuring the space accurately, resulting in an ill-fitting vanity. Mistake #2: Not securing the vanity to the wall properly, causing it to become unstable over time. Mistake #3: Not turning off the water supply before installing the faucet, resulting in a flooded bathroom. Mistake #4: Not checking for any leaks or issues before using the vanity, leading to potential damage and costly repairs.Glacier Bay Bathroom Vanity Installation: Common Mistakes to Avoid

Glacier Bay Bathroom Vanity Installation: Common Mistakes to Avoid
If you're still feeling unsure about installing your Glacier Bay bathroom vanity, here are some expert tips to keep in mind: Tip #1: Use a level to ensure your vanity is straight and even before securing it to the wall. Tip #2: Use a silicone caulk to seal any gaps between the vanity and the wall to prevent water damage. Tip #3: Have a helper to assist with lifting and holding the vanity in place during installation. Tip #4: Take your time and follow the instructions carefully to ensure a successful installation.Expert Tips for Installing Glacier Bay Bathroom Vanity

Expert Tips for Installing Glacier Bay Bathroom Vanity
Choosing the Right Vanity for Your Bathroom Design

Why the Glacier Bay Bathroom Vanity is the Perfect Choice
 When it comes to designing your bathroom, the vanity is often the focal point of the space. Not only does it serve as a functional storage unit, but it also adds style and character to the room. That's why it's important to choose the right vanity for your bathroom design. And when it comes to quality and affordability, the
Glacier Bay bathroom vanity
is the perfect choice.
With its sleek and modern design, the Glacier Bay vanity is versatile enough to fit into any bathroom style. Whether you prefer a contemporary look or a more traditional one, this vanity can complement any design aesthetic. Its
clean lines and minimalistic design
make it a popular choice among homeowners and interior designers alike.
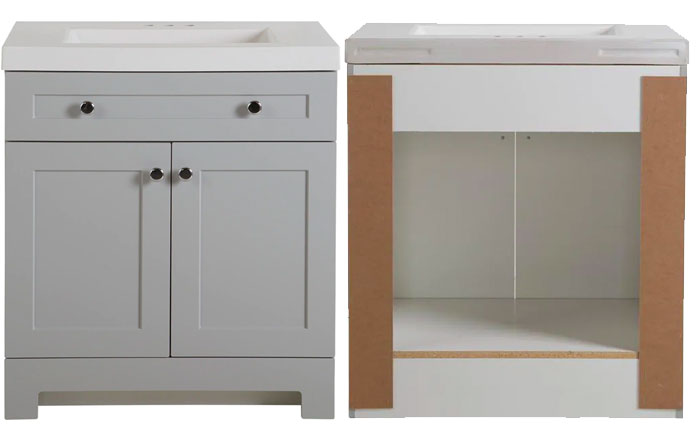
In addition to its aesthetic appeal, the Glacier Bay vanity also offers
ample storage space
. Its
spacious cabinets and drawers
allow you to keep all your bathroom essentials organized and easily accessible. This is especially important in smaller bathrooms where storage can be limited. With the Glacier Bay vanity, you can have a clutter-free and functional bathroom space.
But what sets the Glacier Bay vanity apart from other options on the market is its
affordability
. This vanity offers high-quality materials and construction at a fraction of the cost of other brands. This makes it a great choice for those on a budget or for anyone looking to save some money without compromising on style and quality.
When it comes to installation, the Glacier Bay vanity is also a
DIY-friendly option
. It comes with easy-to-follow instructions and can be easily installed by one person. This not only saves you money on hiring a professional, but it also gives you the satisfaction of completing a home improvement project on your own.
In conclusion, when choosing a bathroom vanity, it's important to consider both style and functionality. The Glacier Bay bathroom vanity offers the perfect balance of both, making it the ideal choice for any bathroom design. With its sleek design, ample storage space, affordability, and easy installation, this vanity is a top contender for any homeowner looking to upgrade their bathroom.
When it comes to designing your bathroom, the vanity is often the focal point of the space. Not only does it serve as a functional storage unit, but it also adds style and character to the room. That's why it's important to choose the right vanity for your bathroom design. And when it comes to quality and affordability, the
Glacier Bay bathroom vanity
is the perfect choice.
With its sleek and modern design, the Glacier Bay vanity is versatile enough to fit into any bathroom style. Whether you prefer a contemporary look or a more traditional one, this vanity can complement any design aesthetic. Its
clean lines and minimalistic design
make it a popular choice among homeowners and interior designers alike.
In addition to its aesthetic appeal, the Glacier Bay vanity also offers
ample storage space
. Its
spacious cabinets and drawers
allow you to keep all your bathroom essentials organized and easily accessible. This is especially important in smaller bathrooms where storage can be limited. With the Glacier Bay vanity, you can have a clutter-free and functional bathroom space.
But what sets the Glacier Bay vanity apart from other options on the market is its
affordability
. This vanity offers high-quality materials and construction at a fraction of the cost of other brands. This makes it a great choice for those on a budget or for anyone looking to save some money without compromising on style and quality.
When it comes to installation, the Glacier Bay vanity is also a
DIY-friendly option
. It comes with easy-to-follow instructions and can be easily installed by one person. This not only saves you money on hiring a professional, but it also gives you the satisfaction of completing a home improvement project on your own.
In conclusion, when choosing a bathroom vanity, it's important to consider both style and functionality. The Glacier Bay bathroom vanity offers the perfect balance of both, making it the ideal choice for any bathroom design. With its sleek design, ample storage space, affordability, and easy installation, this vanity is a top contender for any homeowner looking to upgrade their bathroom.