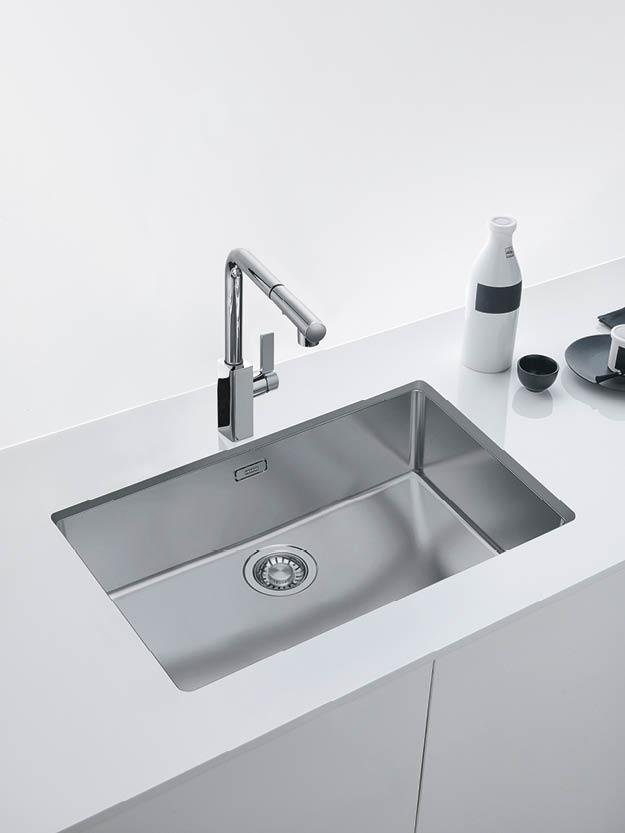
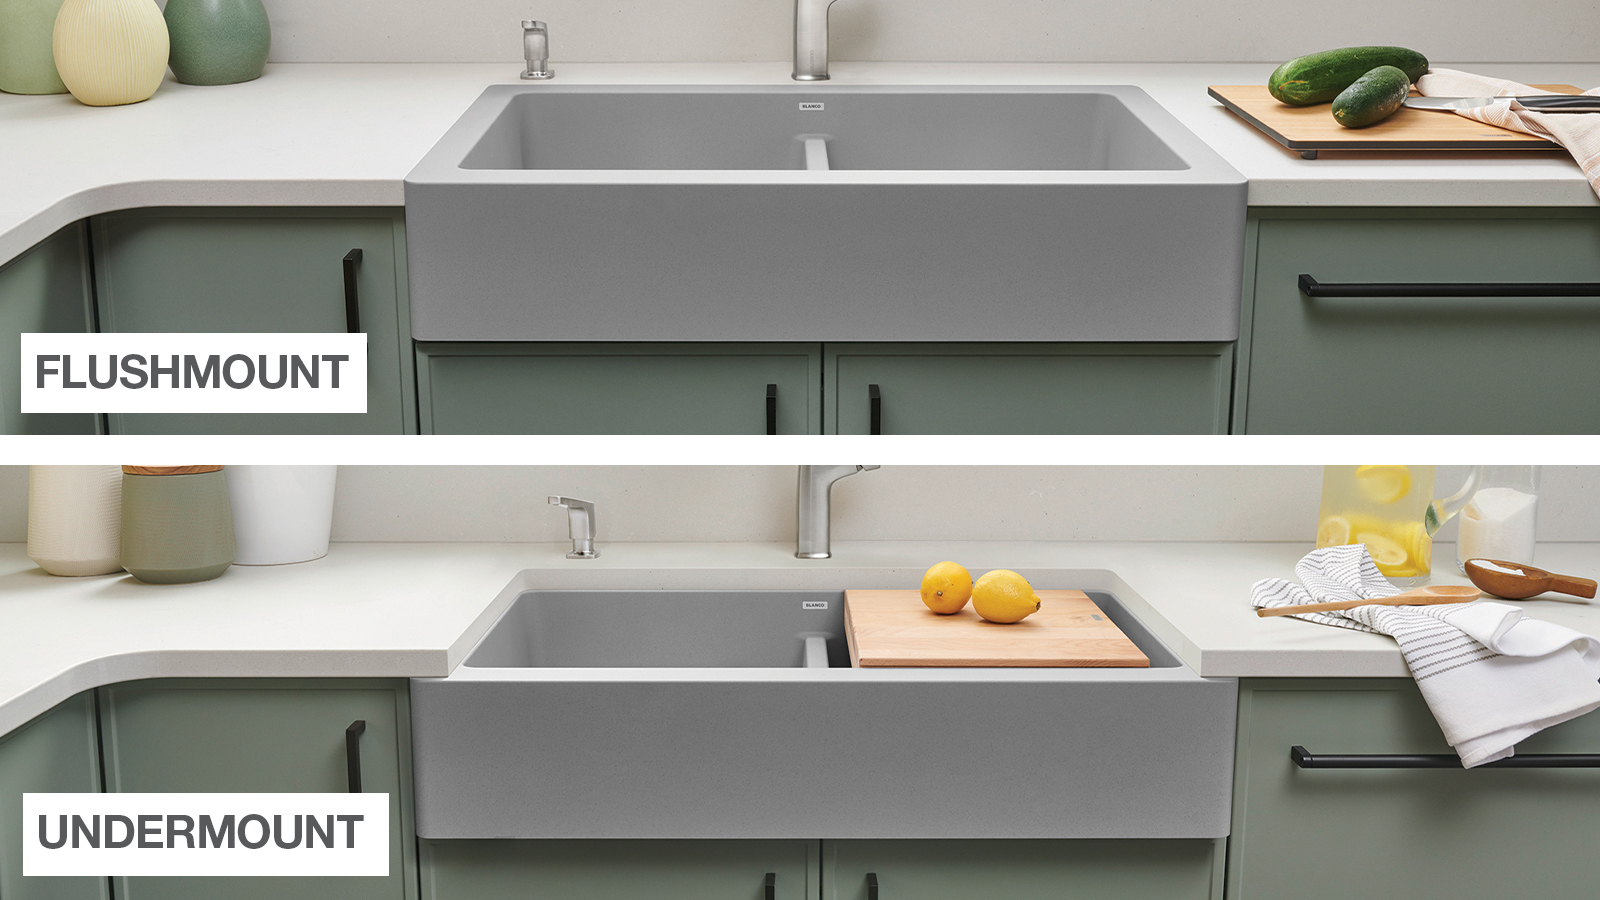
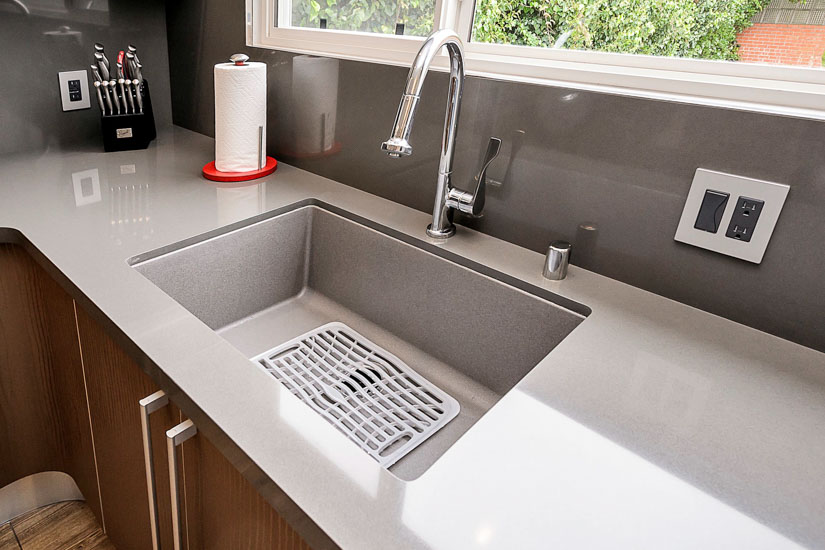
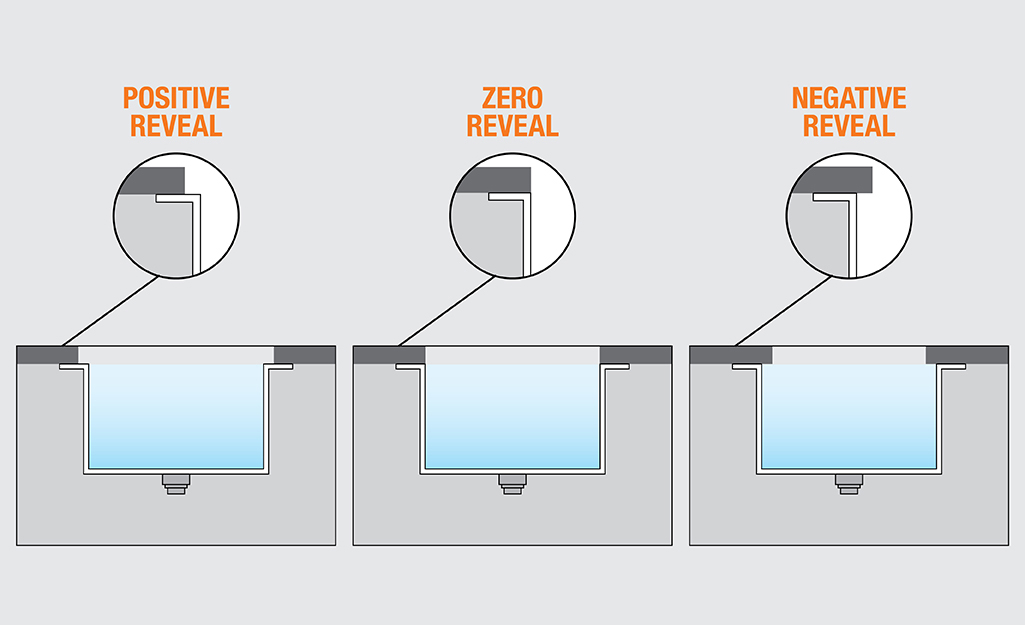
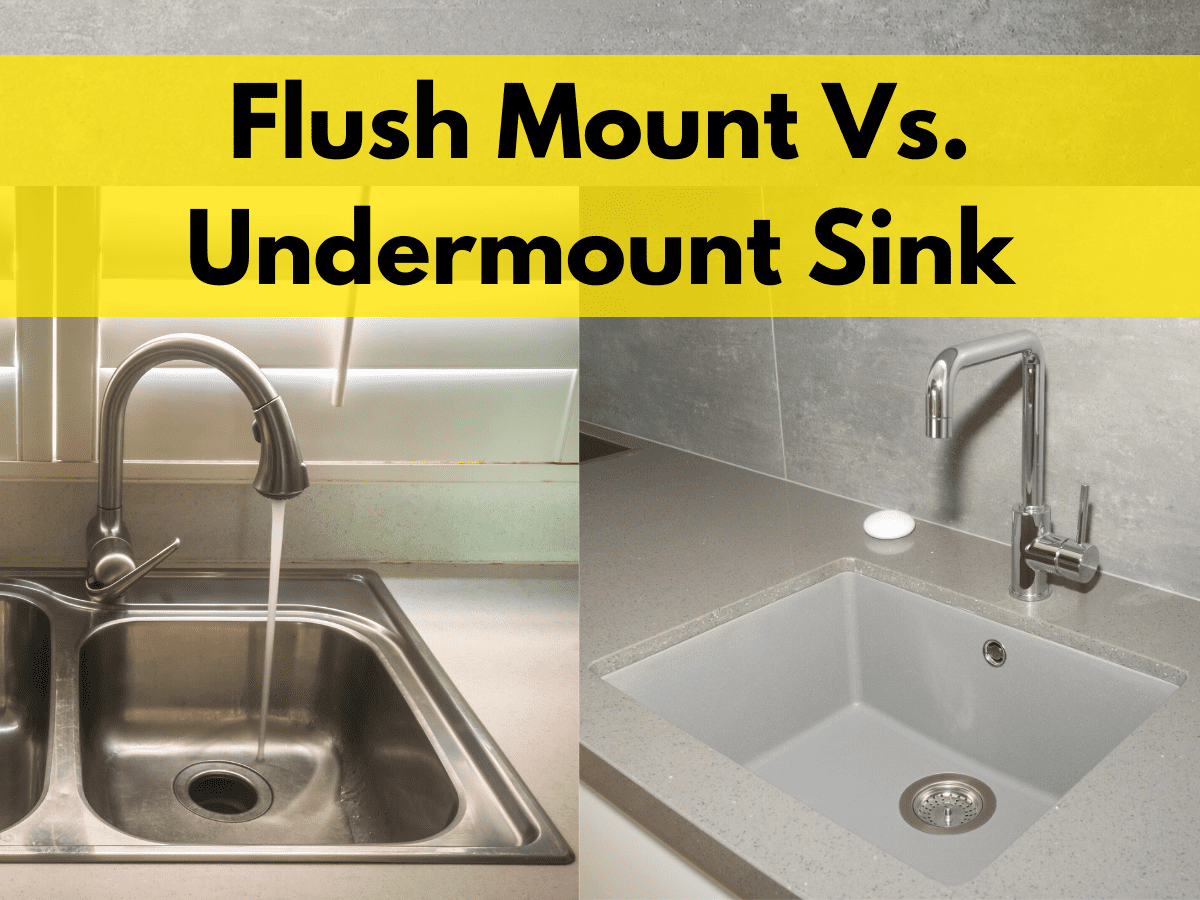
If you’re looking to update your kitchen and give it a sleek and modern look, installing a flush mount kitchen sink is a great option. Not only does it add a seamless and stylish touch to your space, but it also makes cleaning and maintenance a breeze. If you’re a DIY enthusiast, you’ll be happy to know that installing a flush mount kitchen sink is a relatively simple process that you can do on your own. Here’s a step-by-step guide to help you get started.How to Install a Flush Mount Kitchen Sink
Before you begin, make sure you have all the necessary tools and materials. You’ll need a drill, a jigsaw, silicone caulk, a screwdriver, and a wrench, among others. Once you have everything you need, follow these steps:Installing a Flush Mount Kitchen Sink: A Step-by-Step Guide
The first step is to prepare the area where you’ll be installing the sink. Start by removing the old sink and disconnecting the plumbing. Then, clean the countertop and make sure the surface is flat and level. You may need to make some adjustments to ensure that the sink will fit properly.Step 1: Prepare the Sink Area
Most flush mount sinks come with a template that you can use to trace the outline of the sink onto the countertop. Place the template on the countertop and use a pencil to trace around it. Make sure to mark where the faucet and drain holes will be.Step 2: Trace the Sink Template
Using a jigsaw, carefully cut along the traced lines to create a hole for the sink. Make sure to cut slightly inside the lines so that the sink will fit snugly. If your countertop is made of a material that is difficult to cut, such as granite or marble, it’s best to hire a professional to do this step.Step 3: Cut the Countertop
Once the hole is cut, you can now install the sink. Apply a thin layer of silicone caulk around the edge of the hole and carefully lower the sink into place. Make sure it is centered and level. Use clamps to hold the sink in place and allow the caulk to dry for at least 24 hours.Step 4: Install the Sink
Once the sink is securely in place, you can now reconnect the plumbing. This includes attaching the faucet, the drain, and the garbage disposal (if you have one). Make sure everything is properly connected and tightened.Step 5: Connect the Plumbing
To prevent leaks and keep the sink in place, you’ll need to apply sealing strips around the edge of the sink. These can be found at any hardware store and are usually self-adhesive. Simply cut the strips to fit the length of the sink and apply them along the edges.Step 6: Apply Sealing Strips
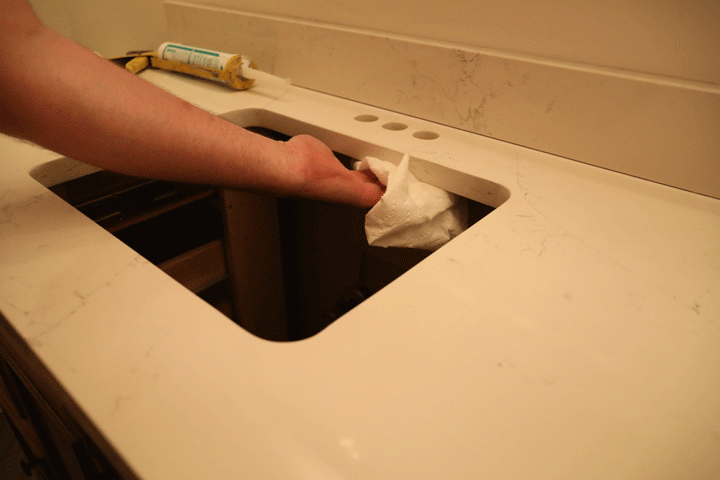
Lastly, use silicone caulk to seal the edges of the sink and the countertop. This will ensure a watertight seal and prevent any water damage. Smooth out the caulk with your finger and wipe away any excess with a damp cloth.Step 7: Finish with Caulk
When installing a flush mount kitchen sink, here are a few tips to keep in mind:Flush Mount Kitchen Sink Installation: Tips and Tricks
Choosing the Right Sink
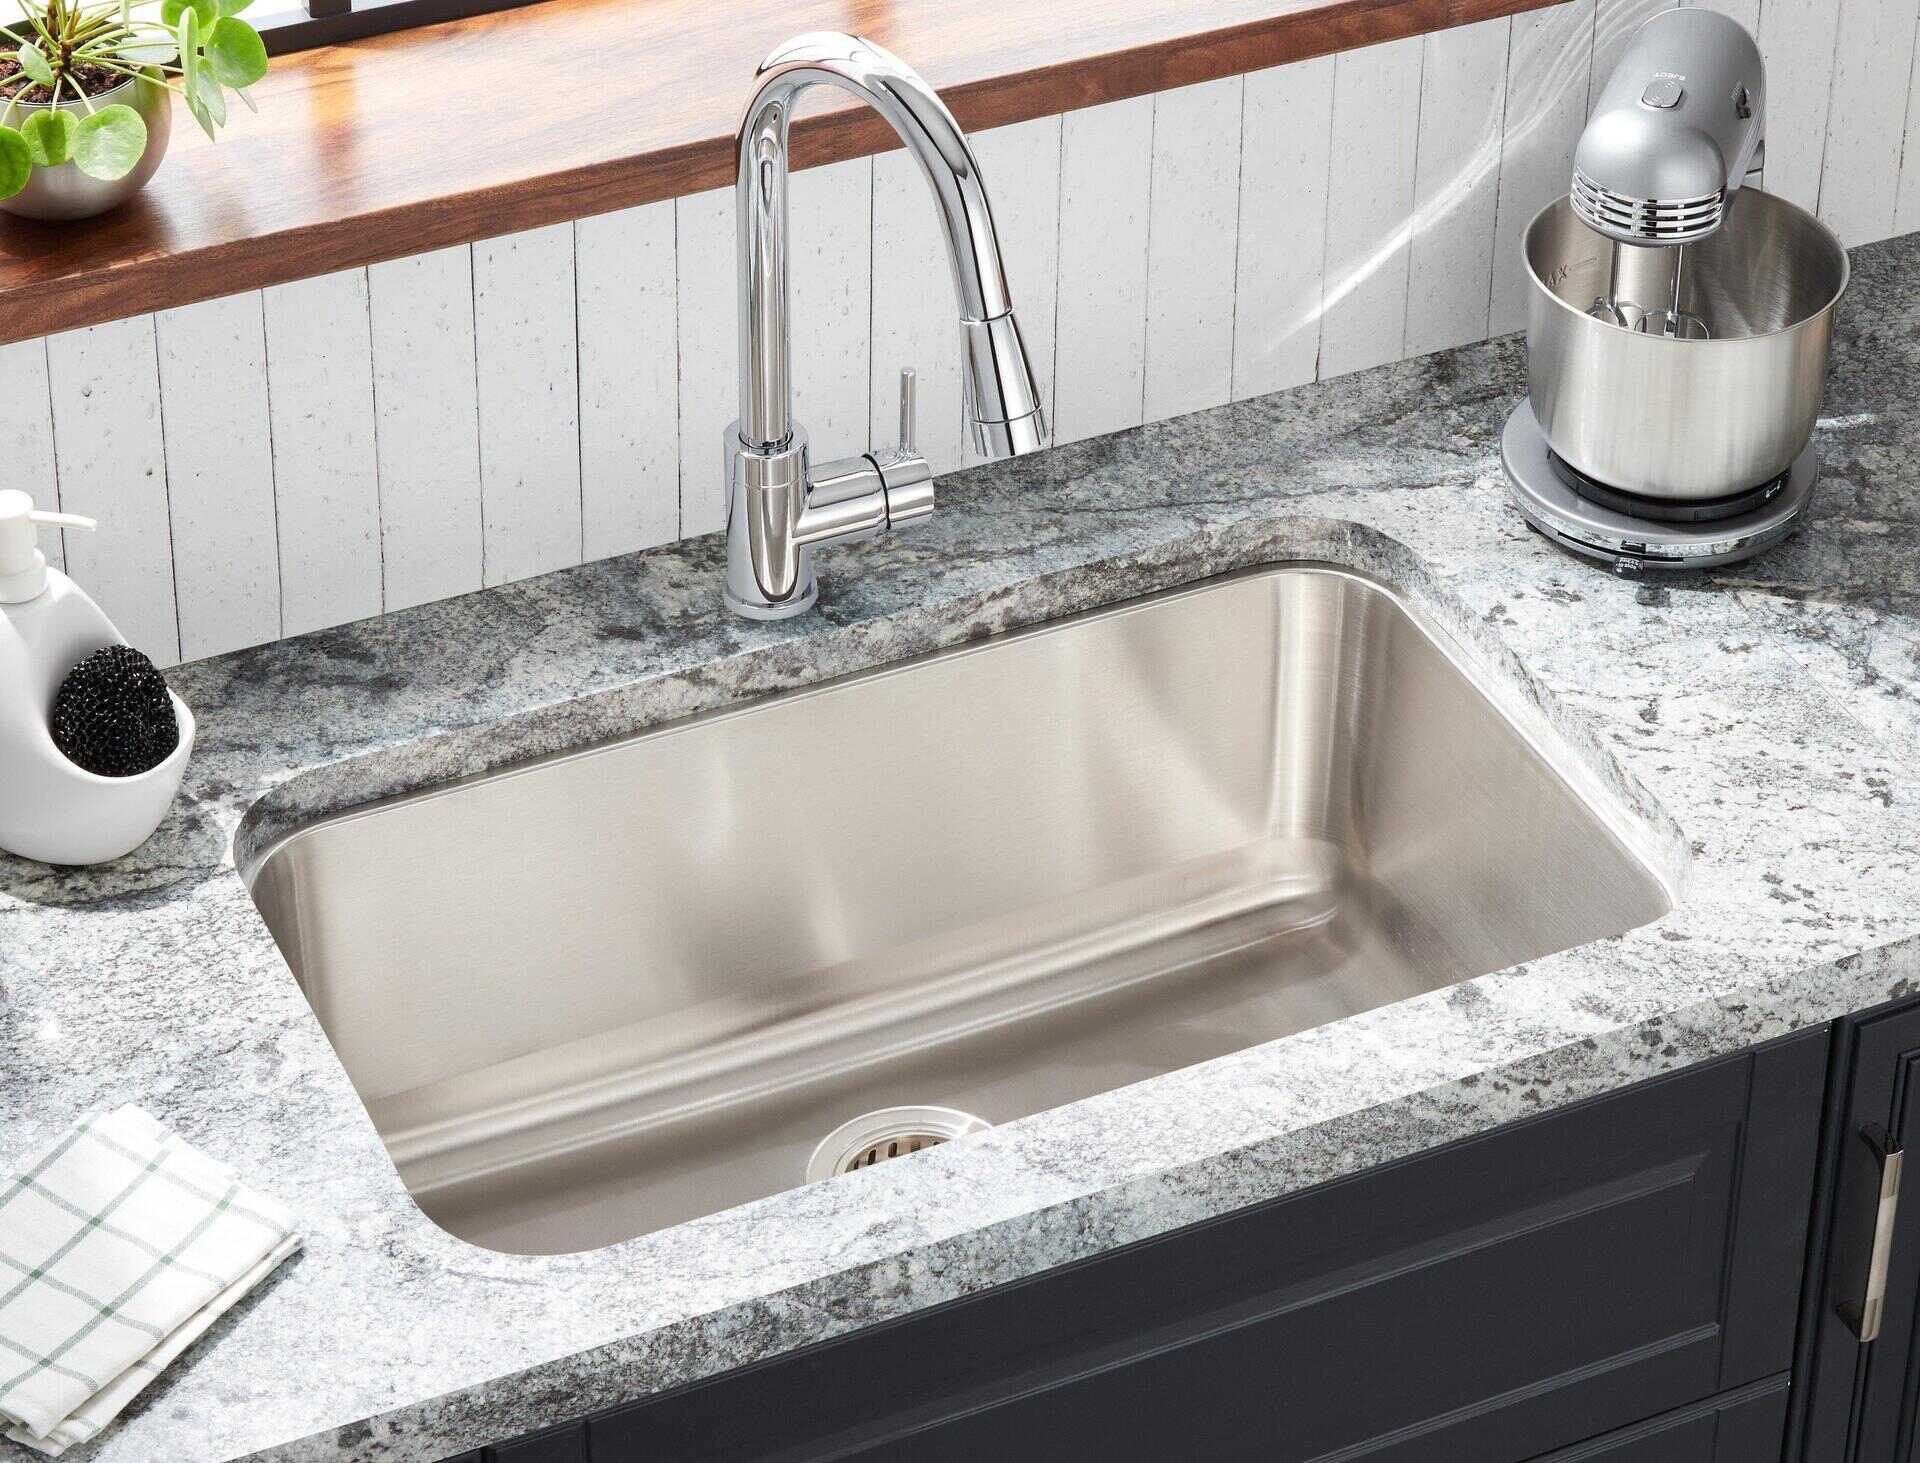
 When it comes to designing your dream kitchen, choosing the right sink is an important decision. The sink is not only a functional element, but it can also serve as a focal point in your kitchen design. One popular type of sink that offers both style and functionality is the flush mount kitchen sink. This type of sink is installed directly into the countertop, creating a seamless and sleek look. But before you dive into the installation process, there are a few things you need to consider to ensure you choose the right flush mount sink for your kitchen.
Size and Configuration
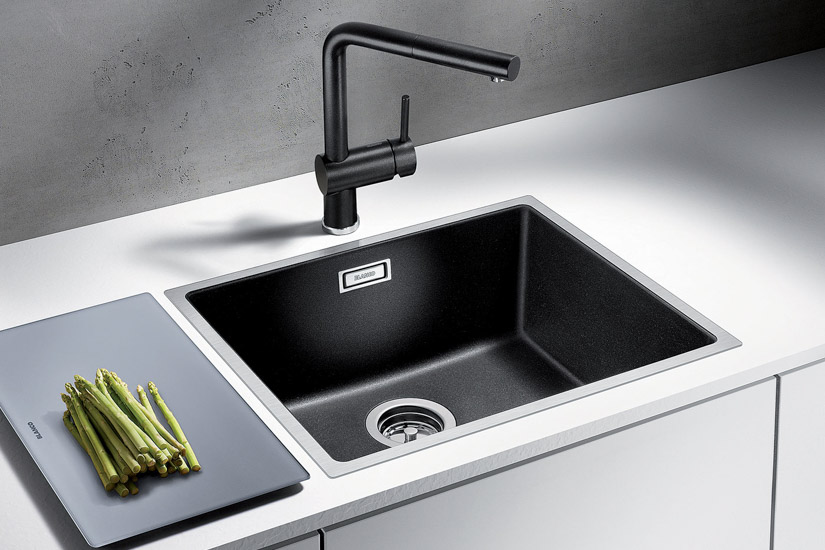
 Flush mount kitchen sinks come in a variety of sizes and configurations. The size and configuration you choose will depend on the size of your kitchen and your personal preferences. Smaller kitchens may benefit from a single bowl sink, while larger kitchens may have the space for a double bowl sink. Additionally, you can choose a sink with a built-in drainboard or a sink with an attached cutting board for added convenience. Consider your cooking and cleaning habits to determine the size and configuration that will work best for you.
Material and Finish
 Flush mount kitchen sinks are available in a range of materials, including stainless steel, porcelain, and composite. Each material offers its own benefits and can add a unique touch to your kitchen design. Stainless steel sinks are durable and easy to clean, while porcelain sinks offer a classic and elegant look. Composite sinks are a popular choice for modern kitchens as they come in a variety of colors and are resistant to scratches and stains. Consider the overall aesthetic of your kitchen and the level of maintenance you are willing to do when choosing the material and finish for your flush mount sink.
Installation Process
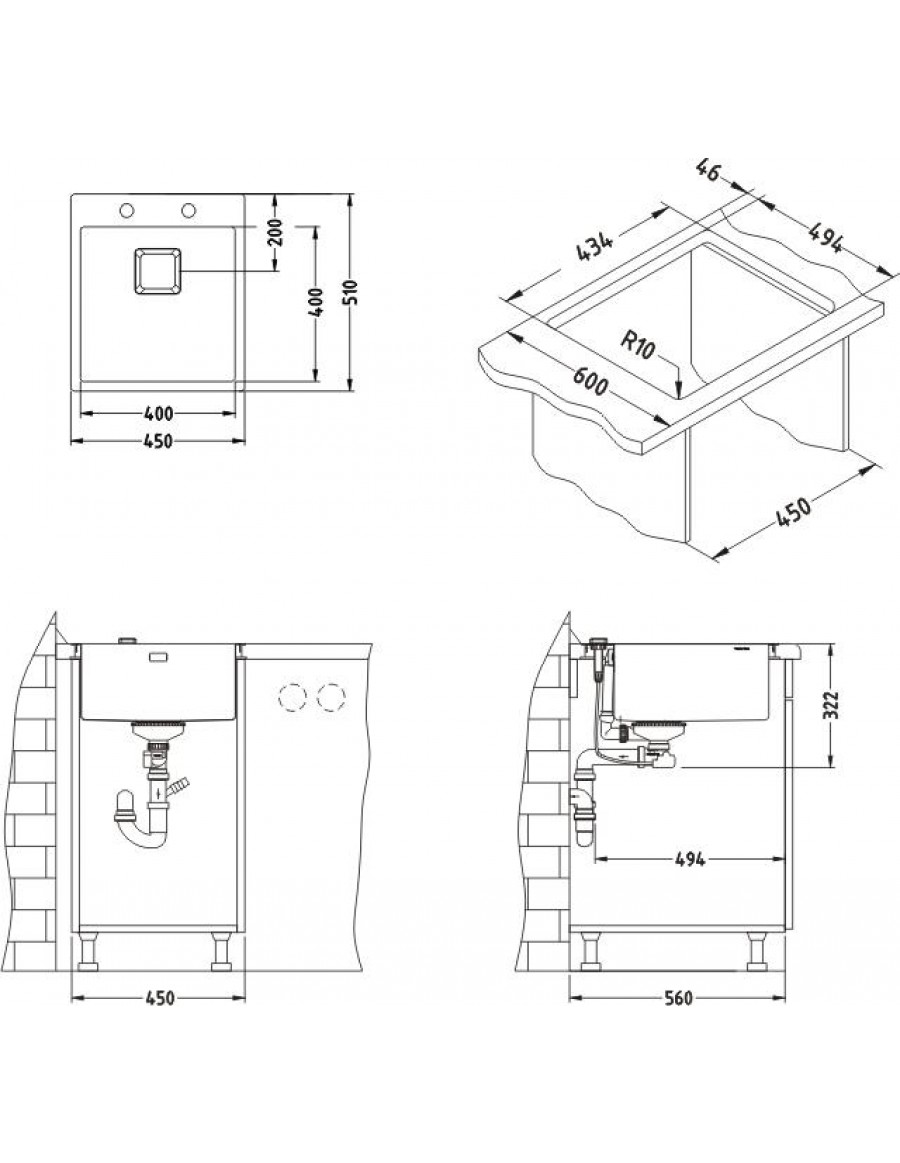
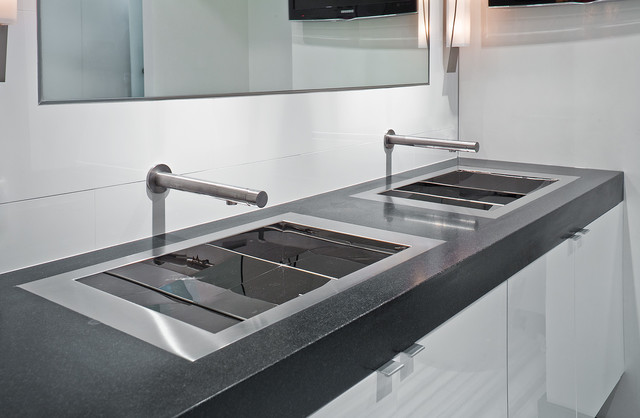 Installing a flush mount kitchen sink is not a complicated process, but it does require some preparation and careful measurements. Before purchasing your sink, make sure to measure your countertop opening to ensure the sink will fit properly. Also, consider the type of faucet you want to install and make sure the sink has the appropriate number of holes. Once you have your sink and faucet, follow the manufacturer's instructions for installation. It may be helpful to have a professional plumber assist with the installation to ensure everything is properly connected.
In conclusion, choosing and installing a flush mount kitchen sink can add both style and functionality to your kitchen design. By considering the size and configuration, material and finish, and following proper installation steps, you can create a beautiful and functional kitchen space. So go ahead and bring your dream kitchen to life with a sleek and seamless flush mount sink.







:no_upscale()/cdn.vox-cdn.com/uploads/chorus_asset/file/19495086/drain_0.jpg)


