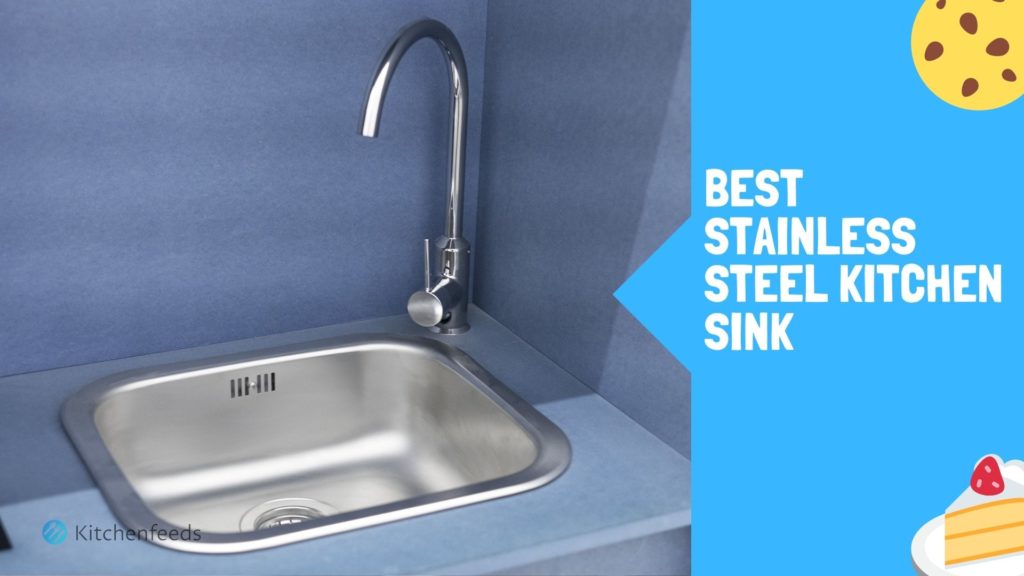
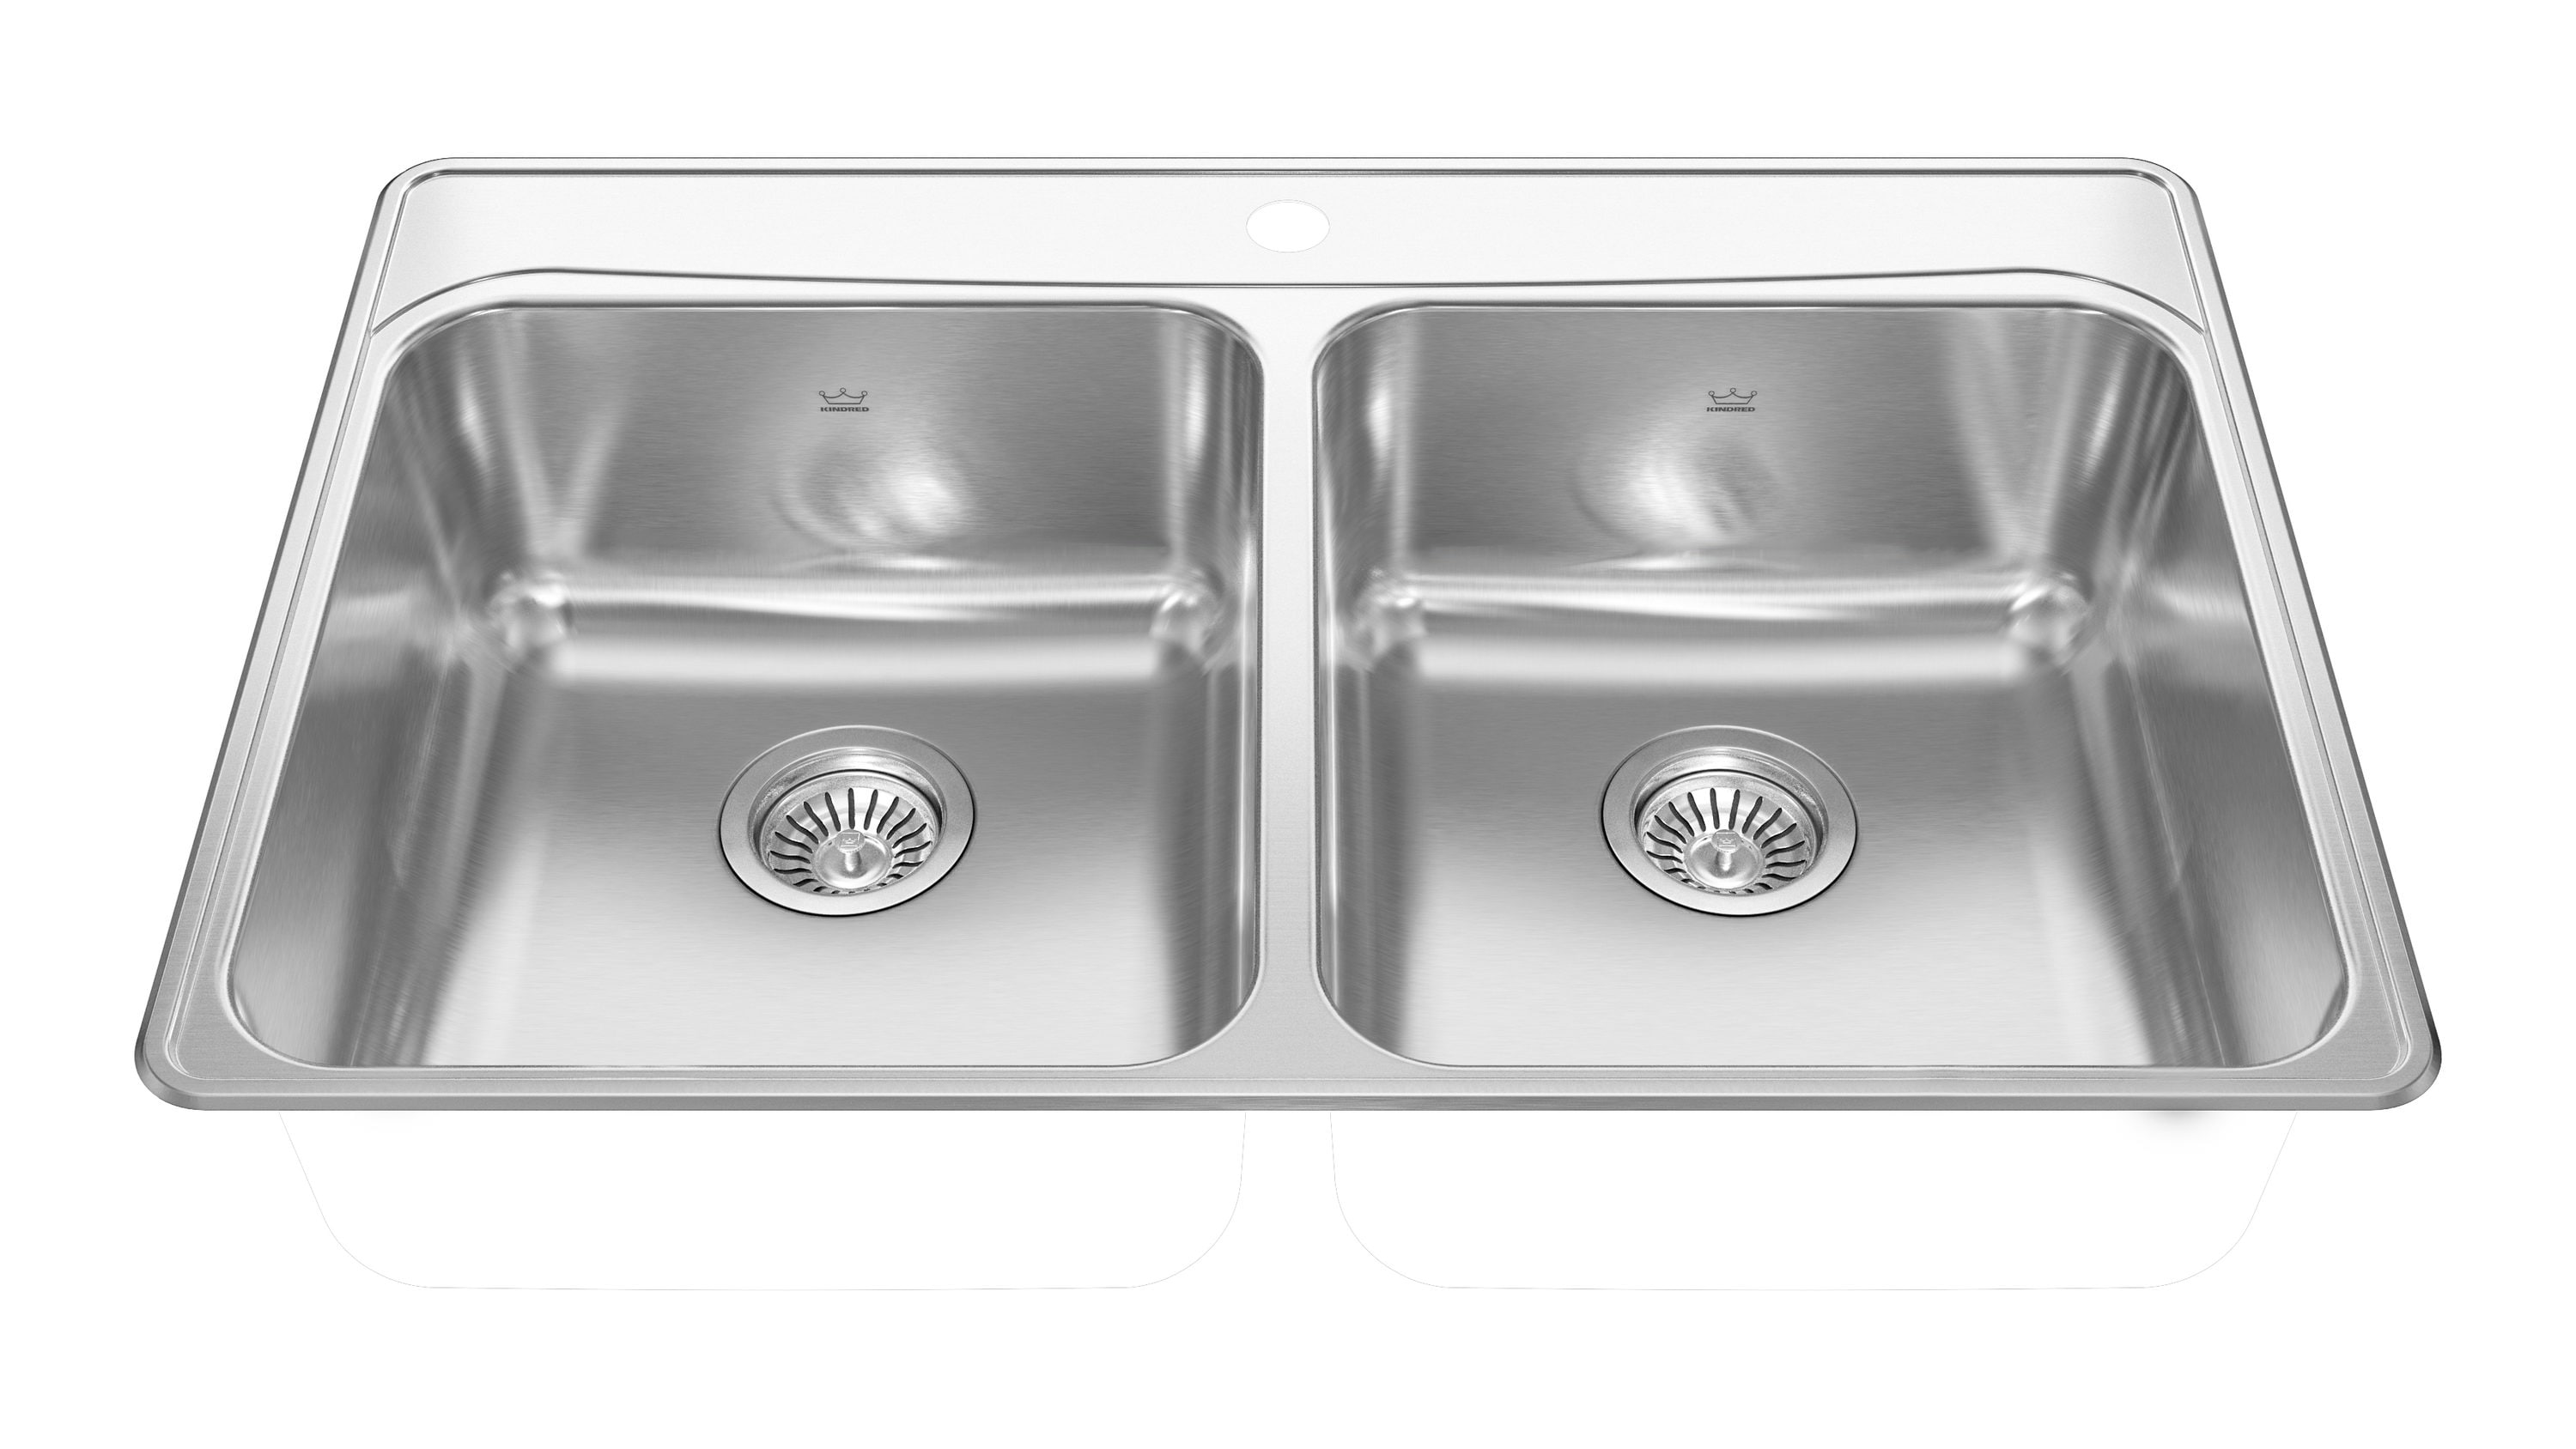
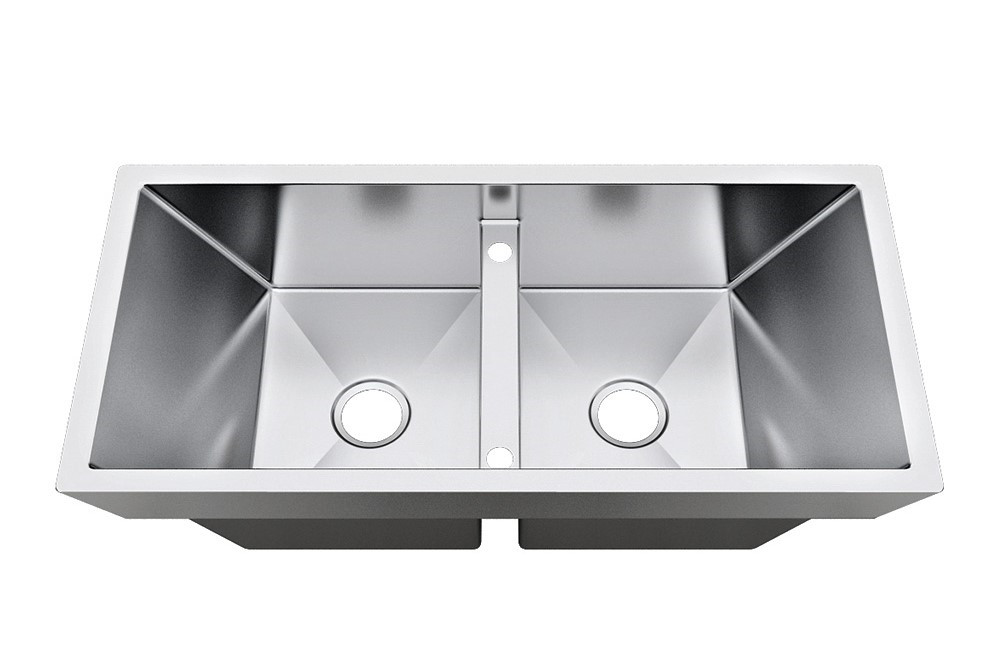
Installing a new kitchen sink can be a daunting task, but with the right tools and knowledge, you can easily install a top mount stainless steel kitchen sink. Stainless steel sinks are a popular choice among homeowners due to their durability, easy maintenance, and modern look. In this article, we will guide you through the step-by-step process of installing a flat top mount stainless steel kitchen sink. So let's get started!How to Install a Stainless Steel Kitchen Sink
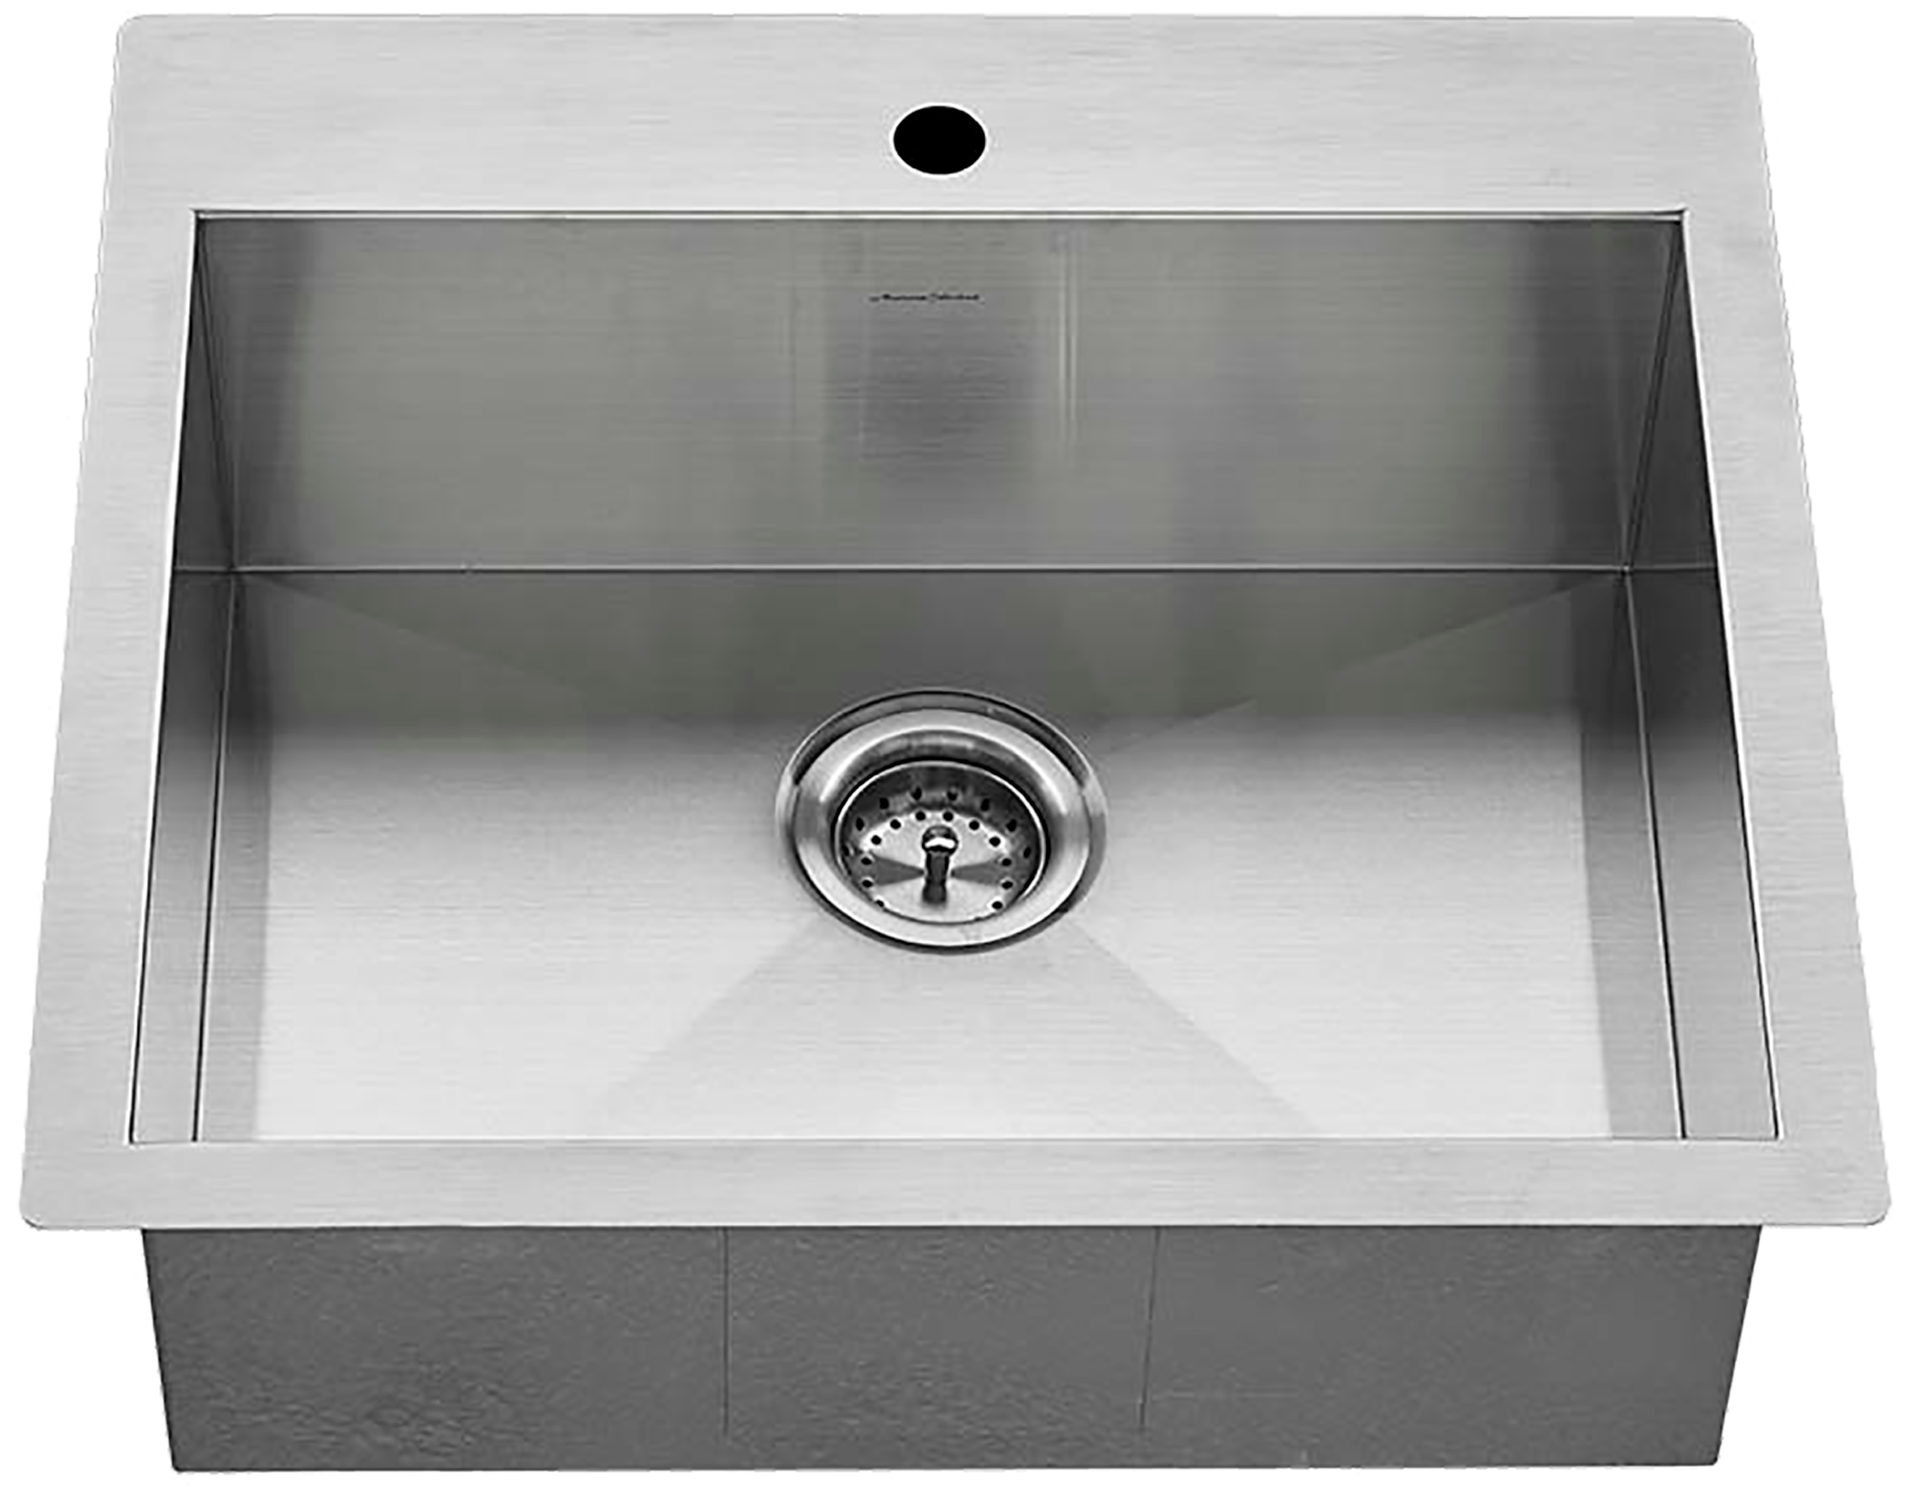
Before we dive into the installation process, let's go through the basic steps of installing a top mount kitchen sink. First, you need to measure the size of your sink and make sure it fits your countertop. Then, you need to cut a hole in the countertop according to the sink's measurements. Next, attach the mounting clips provided by the manufacturer to the underside of the sink. Finally, place the sink into the cutout and secure it in place with the mounting clips.How to Install a Top Mount Kitchen Sink
Now let's go through the detailed steps of installing a flat top mount stainless steel kitchen sink:Step-by-Step Guide for Installing a Flat Top Mount Kitchen Sink
The first step to any successful project is having all the necessary tools and materials. For installing a top mount stainless steel kitchen sink, you will need:Step 1: Gather Your Tools and Materials
Measure the size of your sink and make sure it fits the cutout in your countertop. If necessary, use a jigsaw to adjust the size of the cutout. Clean the underside of the sink and apply plumber's putty around the sink's edge to create a seal.Step 2: Measure and Prepare Your Sink
Attach the mounting clips provided by the manufacturer to the underside of the sink. The number of clips needed will depend on the size and weight of your sink. Make sure the clips are evenly spaced and securely attached.Step 3: Attach Mounting Clips
Carefully place the sink into the cutout in your countertop. Make sure the sink is centered and level. If necessary, use shims to level the sink. Once the sink is in place, tighten the mounting clips to secure the sink to the countertop.Step 4: Place the Sink into the Cutout
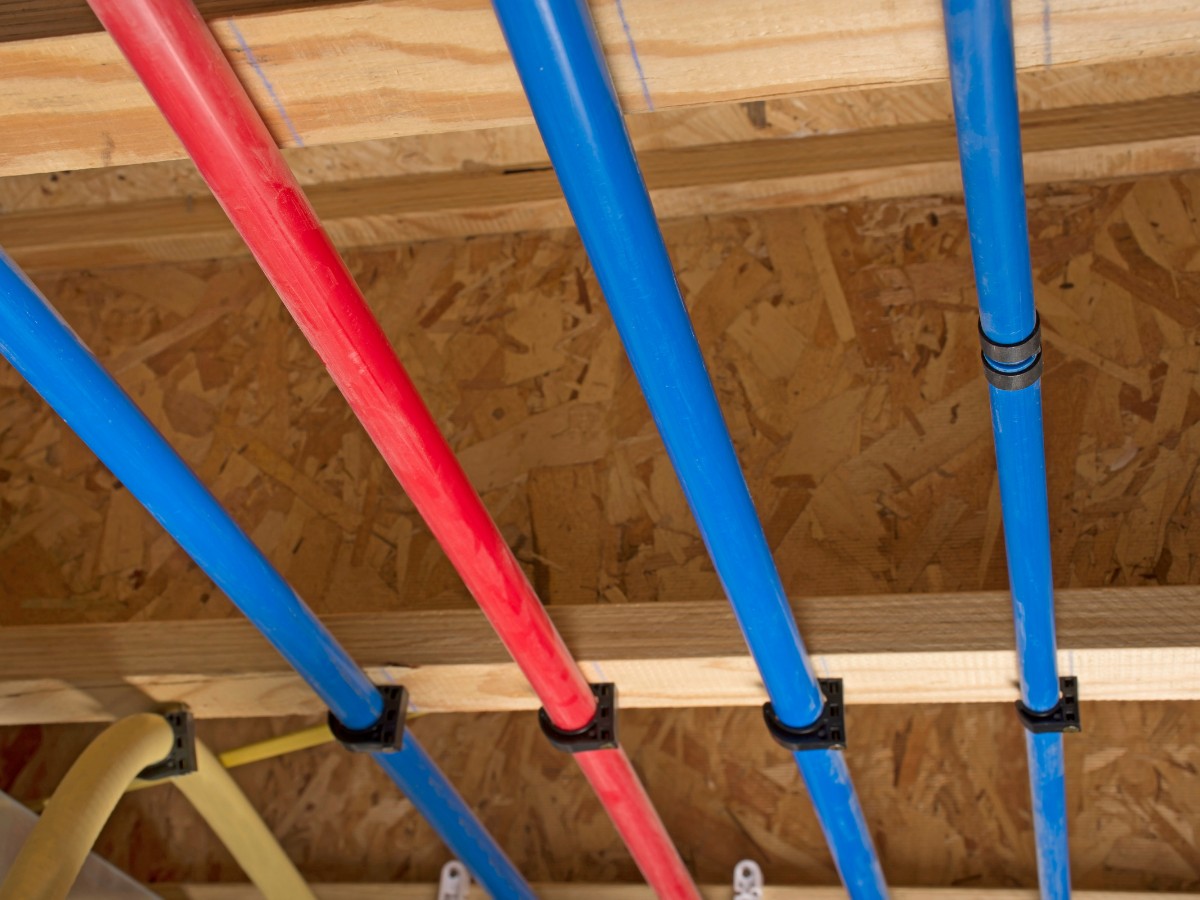
Using an adjustable wrench, connect the water supply lines to the water inlet valves on the underside of the sink. Make sure the connections are tight to prevent any leaks.Step 5: Connect the Water Supply
Using silicone caulk, seal the gap between the sink and the countertop. This will prevent any water from seeping into the gap and causing damage to your countertop. Smooth out the caulk with your finger for a neat finish.Step 6: Seal the Sink
Tips for a Successful Installation of a Flat Top Mount Kitchen Sink
Why Choose a Flat Top Mount Stainless Steel Kitchen Sink?
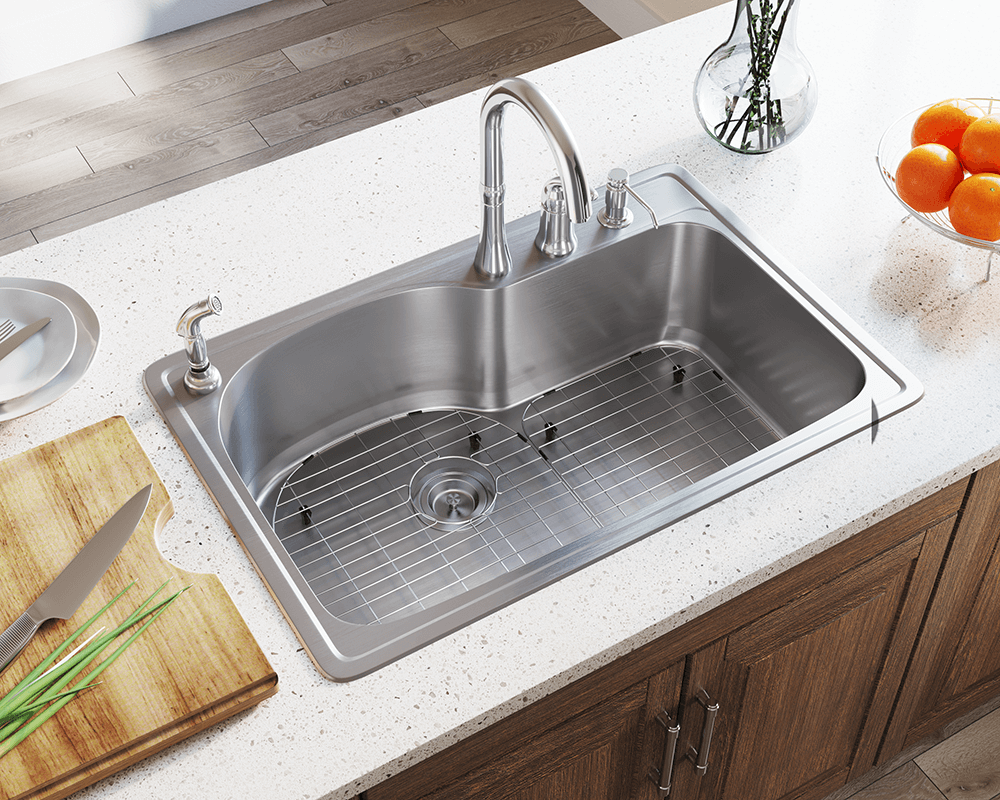
Modern and Stylish Design
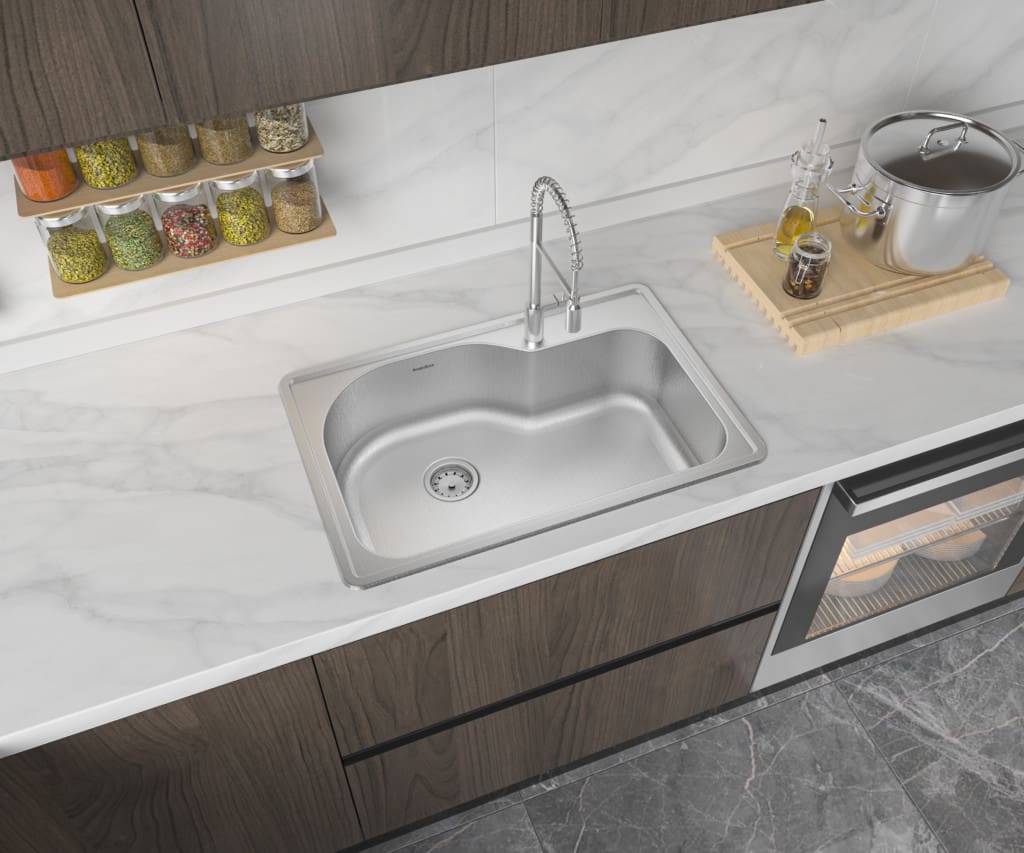
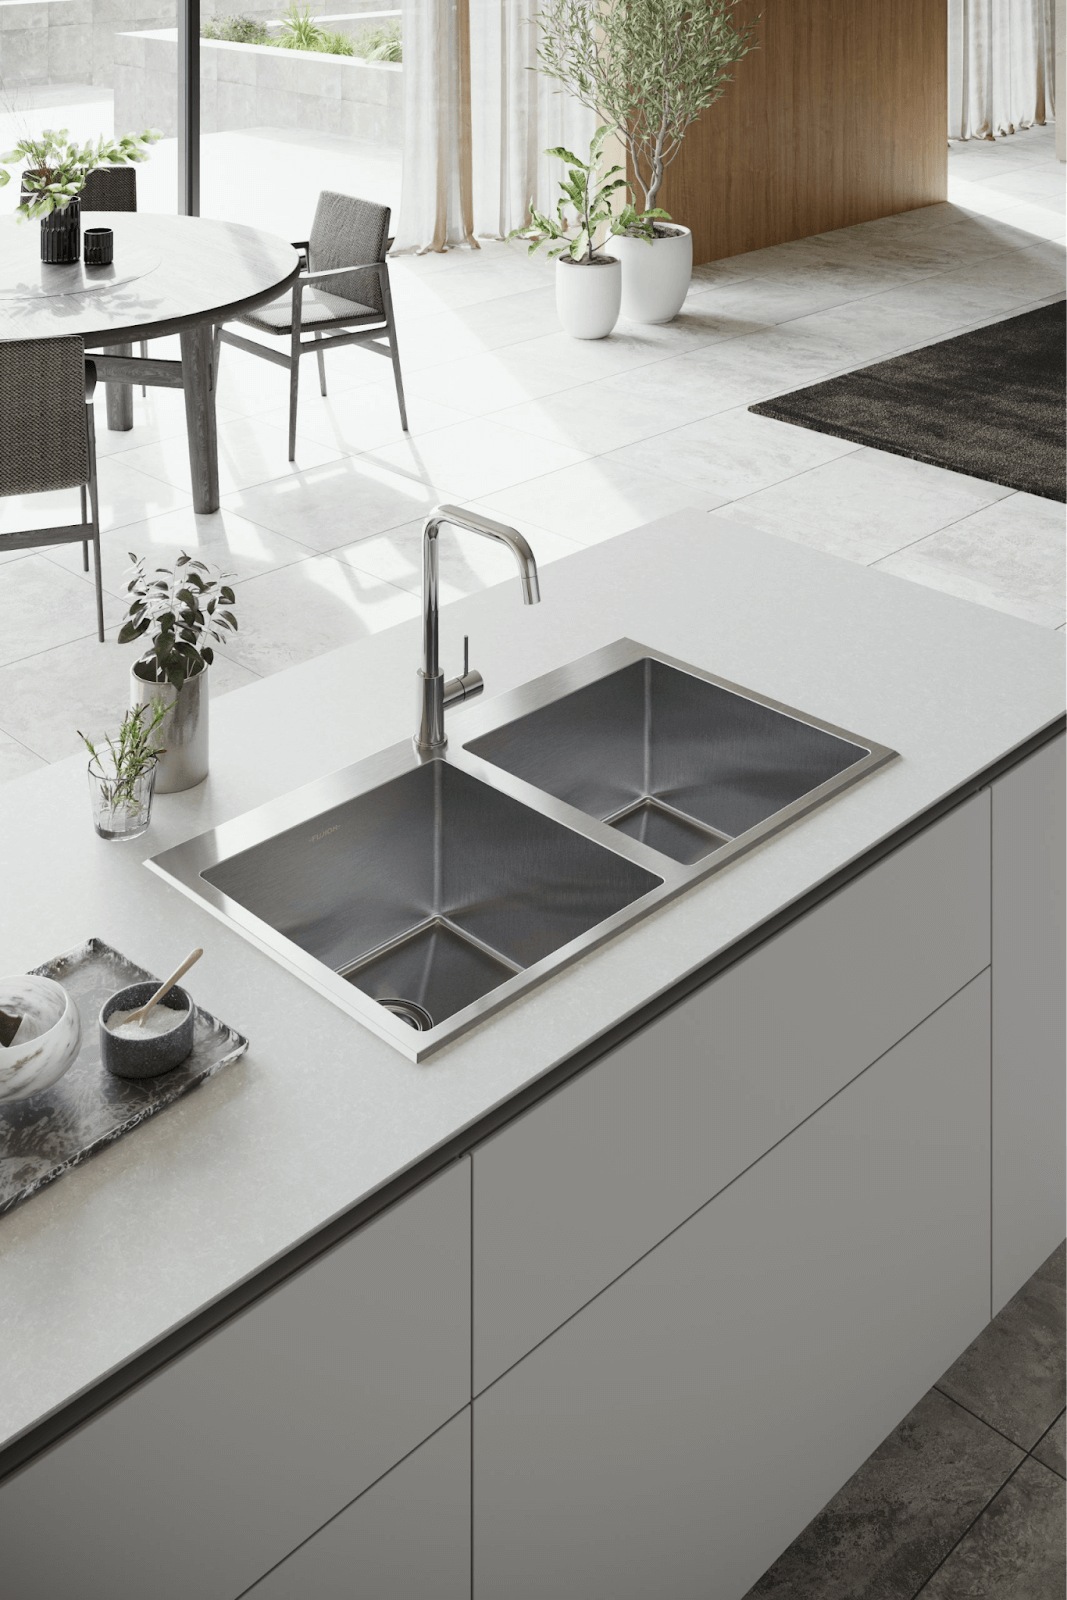
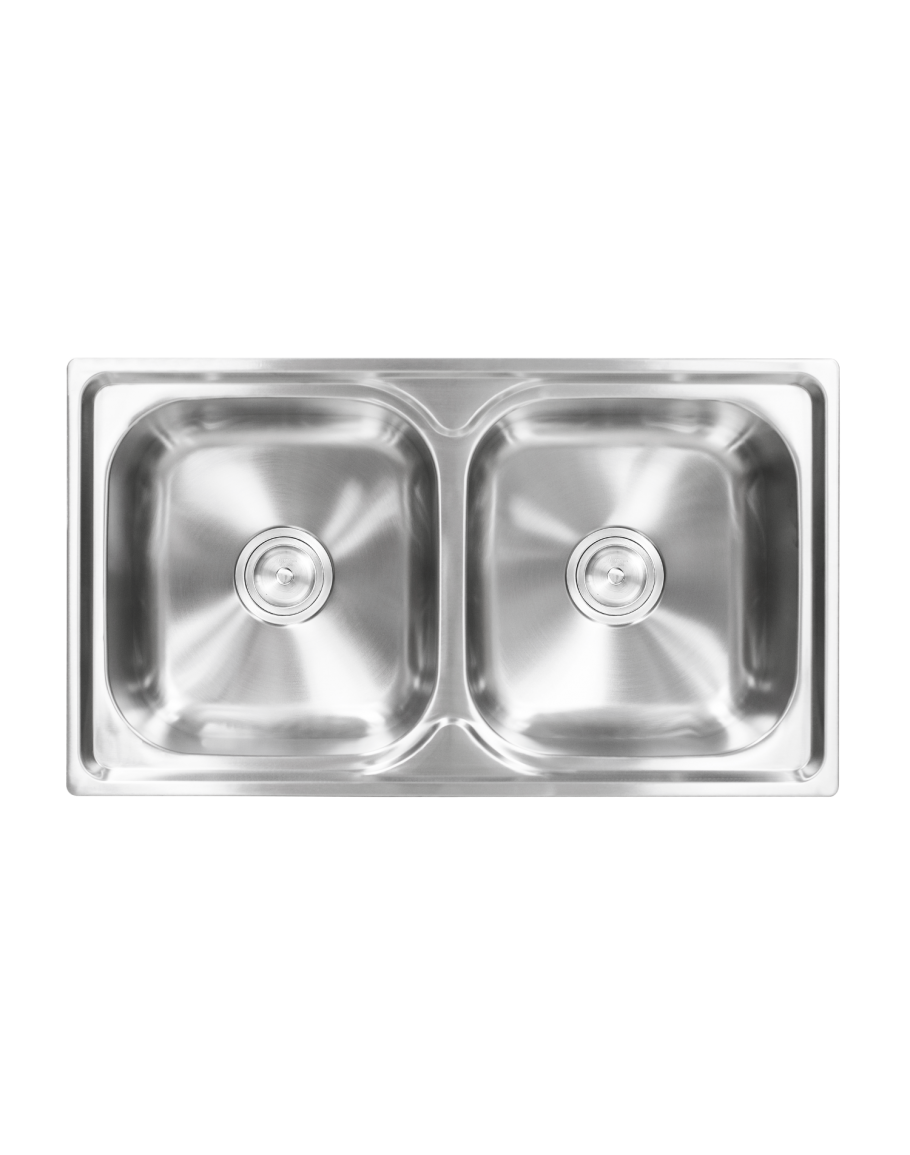
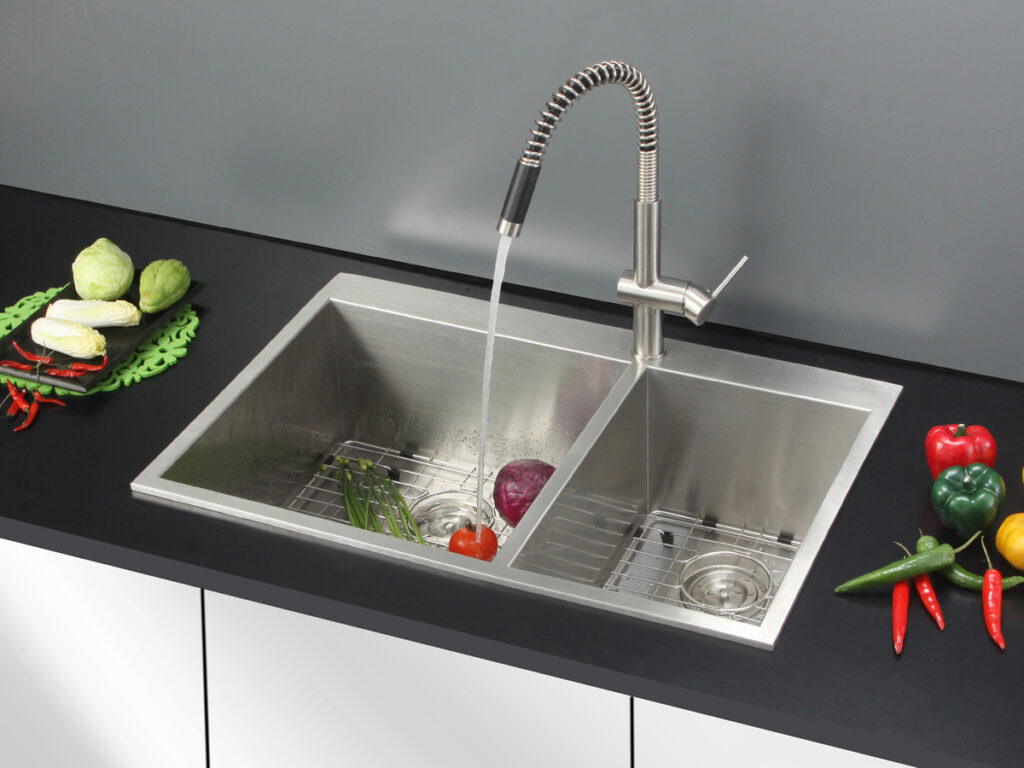
 One of the main reasons why homeowners choose a flat top mount stainless steel kitchen sink is its modern and stylish design. These sinks have a sleek and clean look that can instantly elevate the overall aesthetic of any kitchen. The flat top mount design allows for a seamless and flush installation, giving your kitchen a polished and contemporary feel. Plus, stainless steel is a timeless material that can complement any kitchen design, from traditional to modern.
Durability and Longevity
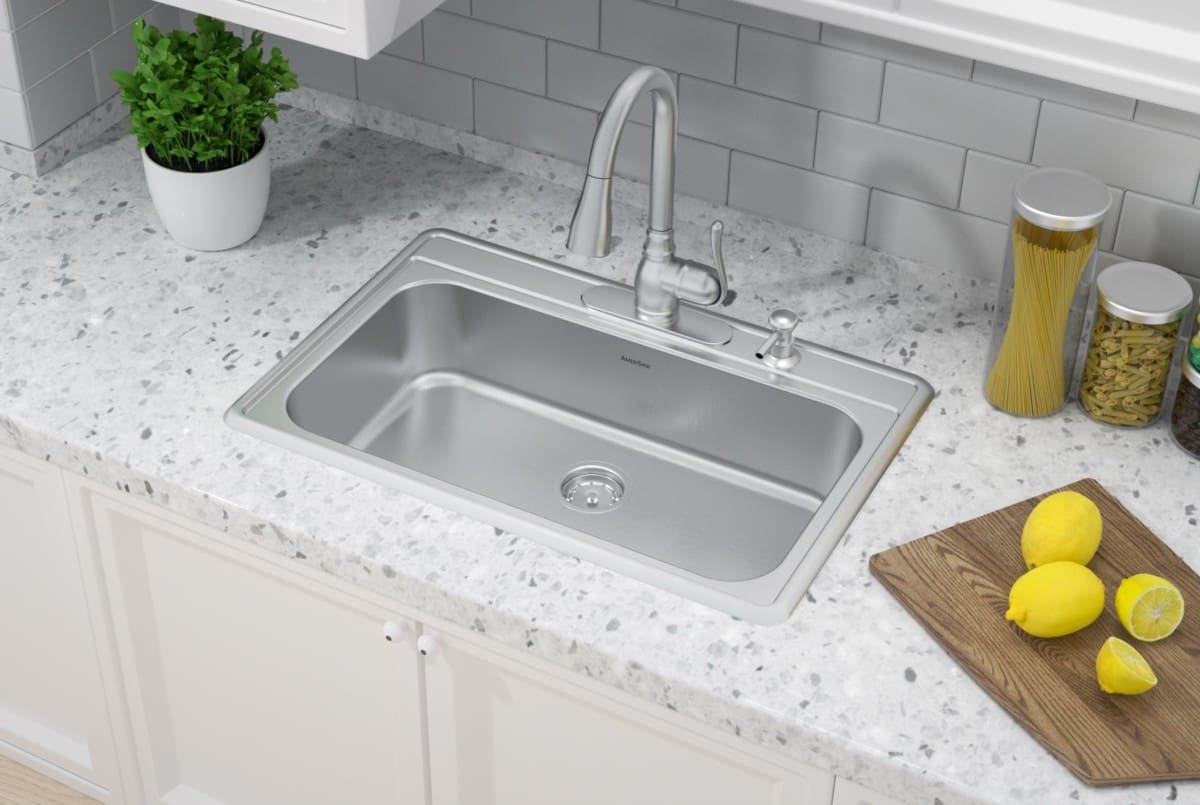 Stainless steel is known for its durability and longevity, making it an excellent choice for a kitchen sink. This material is resistant to scratches, dents, and stains, making it perfect for everyday use. It can also withstand high temperatures, which is ideal for a busy kitchen where hot pots and pans are frequently used. With proper care and maintenance, a flat top mount stainless steel kitchen sink can last for many years, making it a wise investment for your home.
Easy to Clean and Maintain
 Another advantage of a flat top mount stainless steel kitchen sink is its ease of cleaning and maintenance. The smooth surface of stainless steel makes it easy to wipe down and keep clean. It is also non-porous, which means it is less likely to harbor bacteria, making it a hygienic choice for your kitchen. Additionally, stainless steel does not require any special cleaners or techniques to keep it looking shiny and new, making it a convenient and practical option for busy homeowners.
Versatility and Compatibility
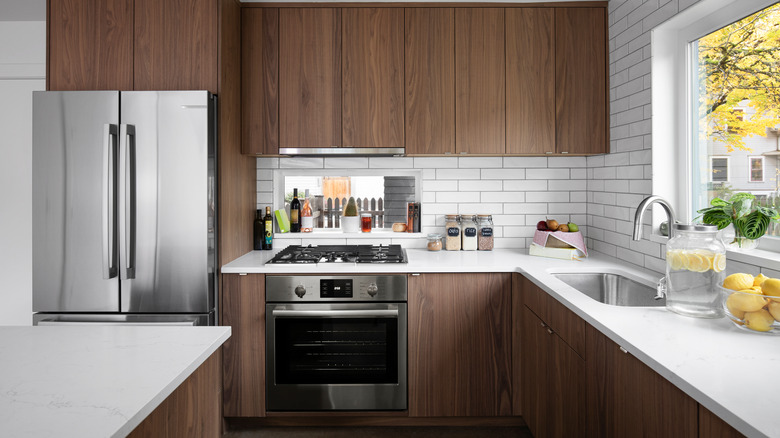
 Stainless steel is a versatile material that can be molded into various shapes and sizes, making it compatible with different kitchen layouts and designs. Whether you have a small or large kitchen, a flat top mount stainless steel sink can easily fit in and enhance the functionality of your space. It can also be paired with any type of countertop material, such as granite, quartz, or marble, without clashing with the overall design.
Conclusion
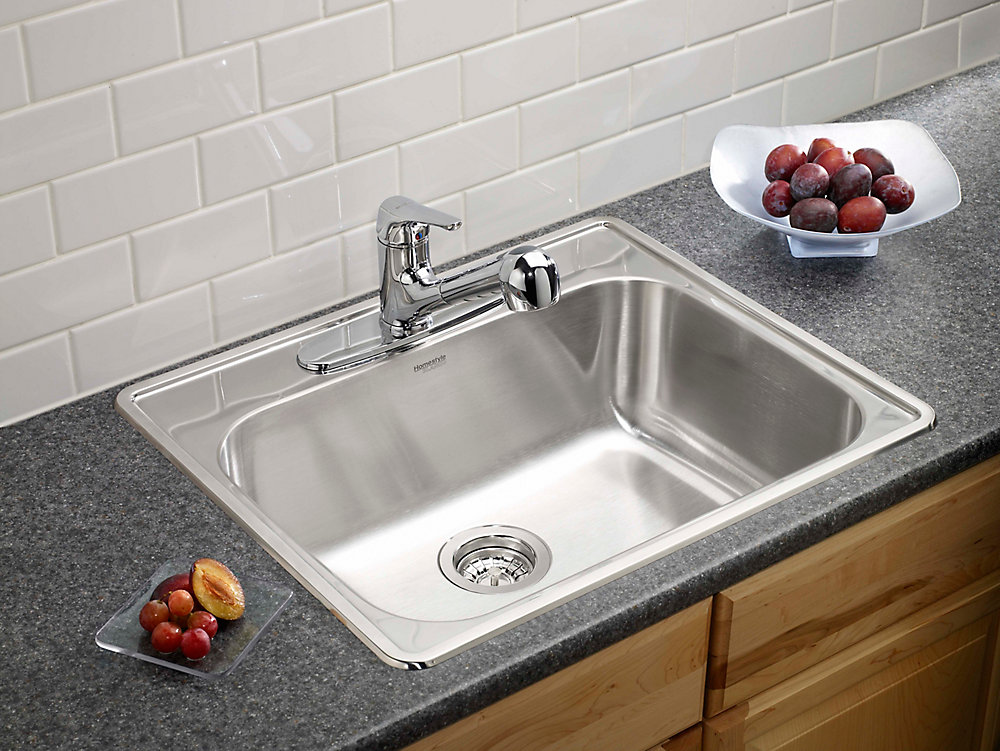 In conclusion, a flat top mount stainless steel kitchen sink is an excellent choice for any modern and stylish kitchen. Its durability, easy maintenance, versatility, and compatibility make it a practical and attractive option for homeowners. With its sleek design and long-lasting qualities, a flat top mount stainless steel sink is sure to be a valuable addition to your home. So why wait? Upgrade your kitchen today and enjoy the benefits of a flat top mount stainless steel kitchen sink.





:no_upscale()/cdn.vox-cdn.com/uploads/chorus_asset/file/19495086/drain_0.jpg)


