If you're looking to update your bathroom with a new sink, the Briggs Drop-In Bathroom Sink is a great choice. Not only is it stylish and functional, but it's also easy to install with the help of mounting clips. In this guide, we'll walk you through the steps of installing Briggs Drop-In Bathroom Sink Mounting Clips to help you achieve a professional and secure installation.Briggs Drop-In Bathroom Sink Mounting Clips Installation Guide


Briggs Drop-In Bathroom Sink Mounting Clips Installation Guide


The first step in installing Briggs Drop-In Bathroom Sink Mounting Clips is to gather all the necessary tools and materials. You will need a drill, a screwdriver, a level, a pencil, and the mounting clips that come with the sink. It's also important to read the manufacturer's instructions before starting the installation process.How to Install Briggs Drop-In Bathroom Sink Mounting Clips


How to Install Briggs Drop-In Bathroom Sink Mounting Clips


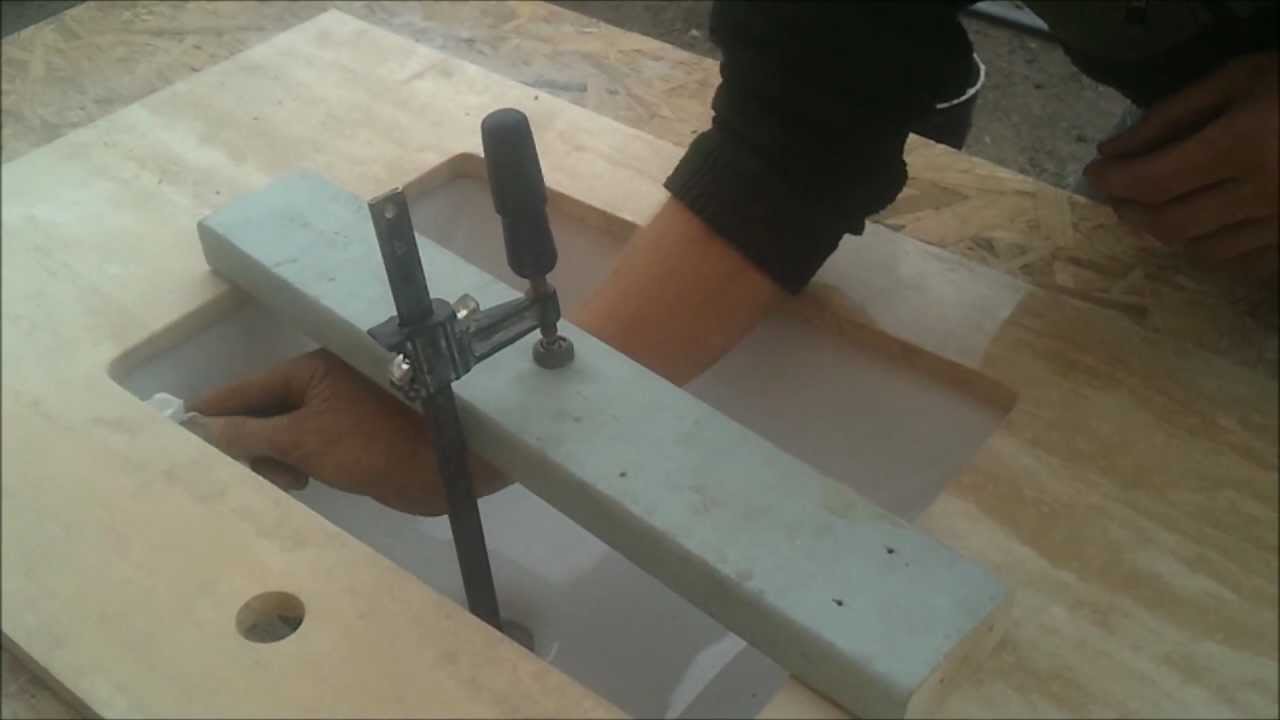

Start by placing the sink on the countertop and using a pencil to mark the placement of the sink on the counter. Use a level to ensure that the sink is straight and adjust if necessary. Once you have the sink in the desired position, use the pencil to mark where the mounting clips will go. Next, use a drill to make holes in the counter where you marked for the mounting clips. Make sure the holes are the correct size for the clips to fit in snugly. Then, place the clips in the holes and use a screwdriver to tighten the screws and secure the clips in place. Once the clips are securely in place, carefully lower the sink into the hole and make sure it fits snugly onto the clips. If the sink is not sitting evenly, adjust the clips as needed. Once the sink is in place and straight, use a screwdriver to tighten the clips from underneath the sink. This will ensure that the sink is securely attached to the counter.Step-by-Step Guide for Installing Briggs Drop-In Bathroom Sink Mounting Clips


Step-by-Step Guide for Installing Briggs Drop-In Bathroom Sink Mounting Clips


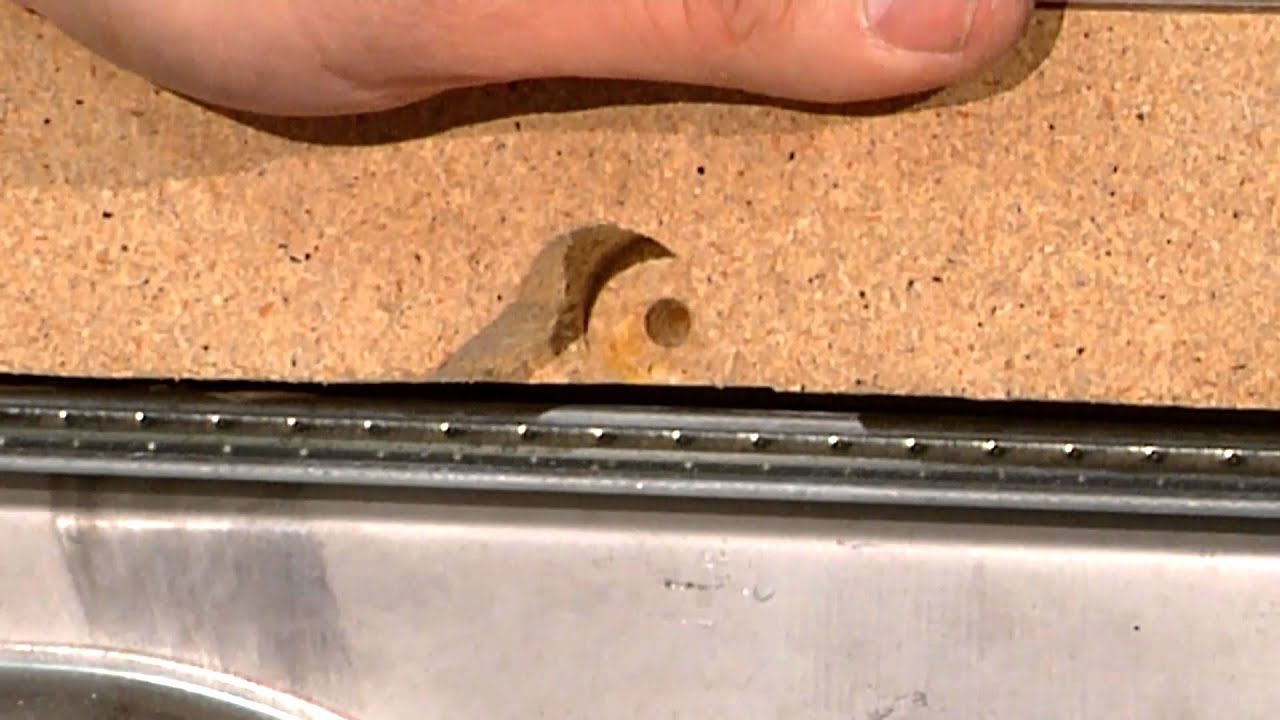

Now that you have the basic steps for installing Briggs Drop-In Bathroom Sink Mounting Clips, let's break it down into an easy DIY tutorial. Step 1: Gather all the necessary tools and materials, including a drill, screwdriver, level, pencil, and the mounting clips that come with the sink. Step 2: Place the sink on the countertop and use a pencil to mark the placement of the sink on the counter. Step 3: Use a level to ensure the sink is straight and adjust if necessary. Step 4: Mark where the mounting clips will go using a pencil. Step 5: Use a drill to make holes in the counter for the mounting clips. Step 6: Place the clips in the holes and use a screwdriver to tighten the screws and secure the clips in place. Step 7: Carefully lower the sink onto the clips and make sure it fits snugly. Step 8: Adjust the clips as needed to ensure the sink sits evenly. Step 9: Use a screwdriver to tighten the clips from underneath the sink.Easy DIY Tutorial for Installing Briggs Drop-In Bathroom Sink Mounting Clips


Easy DIY Tutorial for Installing Briggs Drop-In Bathroom Sink Mounting Clips


Here are a few tips and tricks to keep in mind when installing Briggs Drop-In Bathroom Sink Mounting Clips: Tip 1: Use a silicone adhesive to seal the sink to the counter for added stability and to prevent water from leaking. Tip 2: If the sink is heavy, enlist the help of a friend or family member to assist with the installation. Tip 3: Make sure to read the manufacturer's instructions carefully to ensure proper installation.Briggs Drop-In Bathroom Sink Mounting Clips: Installation Tips and Tricks
Briggs Drop-In Bathroom Sink Mounting Clips: Installation Tips and Tricks

To quickly summarize the installation process for Briggs Drop-In Bathroom Sink Mounting Clips: Step 1: Gather tools and materials. Step 2: Mark the placement of the sink on the counter. Step 3: Drill holes and place the mounting clips. Step 4: Secure the clips with screws. Step 5: Lower the sink onto the clips. Step 6: Adjust and tighten the clips.Quick and Simple Guide to Installing Briggs Drop-In Bathroom Sink Mounting Clips


Quick and Simple Guide to Installing Briggs Drop-In Bathroom Sink Mounting Clips


If you're still feeling unsure about installing Briggs Drop-In Bathroom Sink Mounting Clips, here are some expert tips to help you: Tip 1: Measure carefully to ensure the sink will fit in the designated space. Tip 2: Use a stud finder to locate and mark the studs behind the sink for added stability. Tip 3: If the sink comes with a template, use it to mark the placement of the sink on the counter.Expert Tips for Installing Briggs Drop-In Bathroom Sink Mounting Clips

Expert Tips for Installing Briggs Drop-In Bathroom Sink Mounting Clips
One of the great benefits of installing Briggs Drop-In Bathroom Sink Mounting Clips is that it allows for maximum space utilization in your bathroom. By mounting the sink instead of using a pedestal, you can use the space beneath the sink for storage or other purposes. Additionally, the sleek design of the Briggs Drop-In Bathroom Sink will give your bathroom a modern and spacious look, perfect for small bathrooms or those looking to maximize space.Maximizing Space: Installing Briggs Drop-In Bathroom Sink Mounting Clips


Maximizing Space: Installing Briggs Drop-In Bathroom Sink Mounting Clips

This article has provided a comprehensive installation guide for Briggs Drop-In Bathroom Sink Mounting Clips, from the necessary tools and materials to expert tips and tricks. By following these steps, you can easily install your new sink and achieve a professional and secure result.Briggs Drop-In Bathroom Sink Mounting Clips: A Comprehensive Installation Guide


Briggs Drop-In Bathroom Sink Mounting Clips: A Comprehensive Installation Guide

To recap, here are the step-by-step instructions for installing Briggs Drop-In Bathroom Sink Mounting Clips: Step 1: Gather tools and materials. Step 2: Mark the placement of the sink on the counter. Step 3: Drill holes and place the mounting clips. Step 4: Secure the clips with screws. Step 5: Lower the sink onto the clips. Step 6: Adjust and tighten the clips.Step-by-Step Instructions for Installing Briggs Drop-In Bathroom Sink Mounting Clips
Step-by-Step Instructions for Installing Briggs Drop-In Bathroom Sink Mounting Clips

Why Properly Installing Briggs Drop-In Bathroom Sink Mounting Clips is Essential for Your House Design

Proper Sink Installation Enhances the Aesthetic Appeal of Your Bathroom
 When it comes to designing your bathroom, every little detail matters. From the color scheme to the fixtures, each element contributes to the overall look and feel of the space. Your
bathroom sink
is no exception. It not only serves a functional purpose but also adds to the aesthetic appeal of your bathroom. Properly installing
Briggs drop-in bathroom sink mounting clips
is crucial to achieving a polished and professional look for your bathroom.
When it comes to designing your bathroom, every little detail matters. From the color scheme to the fixtures, each element contributes to the overall look and feel of the space. Your
bathroom sink
is no exception. It not only serves a functional purpose but also adds to the aesthetic appeal of your bathroom. Properly installing
Briggs drop-in bathroom sink mounting clips
is crucial to achieving a polished and professional look for your bathroom.
Ensures Sturdiness and Durability of Your Sink
 A poorly installed sink can be a nightmare to deal with in the long run. Loose or insecurely mounted sinks can lead to leaks, water damage, and even accidents. By using
Briggs drop-in bathroom sink mounting clips
, you can ensure that your sink is securely attached to the countertop. These clips are specifically designed to hold the weight of the sink and prevent any movement or shifting. This not only adds to the durability of your sink but also gives you peace of mind knowing that it is safely installed.
A poorly installed sink can be a nightmare to deal with in the long run. Loose or insecurely mounted sinks can lead to leaks, water damage, and even accidents. By using
Briggs drop-in bathroom sink mounting clips
, you can ensure that your sink is securely attached to the countertop. These clips are specifically designed to hold the weight of the sink and prevent any movement or shifting. This not only adds to the durability of your sink but also gives you peace of mind knowing that it is safely installed.
Prevents Water Leakage and Damage
 One of the most common issues with improper sink installation is water leakage. This can not only cause structural damage to your bathroom but also lead to mold growth, which can be hazardous to your health. By using
Briggs drop-in bathroom sink mounting clips
, you can ensure that your sink is tightly sealed to the countertop, leaving no room for water to seep through. This not only prevents any potential water damage but also helps maintain the overall cleanliness of your bathroom.
One of the most common issues with improper sink installation is water leakage. This can not only cause structural damage to your bathroom but also lead to mold growth, which can be hazardous to your health. By using
Briggs drop-in bathroom sink mounting clips
, you can ensure that your sink is tightly sealed to the countertop, leaving no room for water to seep through. This not only prevents any potential water damage but also helps maintain the overall cleanliness of your bathroom.
Easy Installation Process
 Installing
Briggs drop-in bathroom sink mounting clips
is a simple and straightforward process. With the right tools and instructions, you can easily complete the installation yourself, without the need for professional help. This not only saves you time and money but also gives you the satisfaction of knowing that your sink is properly installed.
In conclusion,
properly installing Briggs drop-in bathroom sink mounting clips
is essential for your house design. It not only enhances the aesthetic appeal of your bathroom but also ensures the sturdiness, durability, and prevents water leakage and damage. So, the next time you are installing a new sink or replacing an old one, make sure to use Briggs drop-in bathroom sink mounting clips for a flawless and functional bathroom design.
Installing
Briggs drop-in bathroom sink mounting clips
is a simple and straightforward process. With the right tools and instructions, you can easily complete the installation yourself, without the need for professional help. This not only saves you time and money but also gives you the satisfaction of knowing that your sink is properly installed.
In conclusion,
properly installing Briggs drop-in bathroom sink mounting clips
is essential for your house design. It not only enhances the aesthetic appeal of your bathroom but also ensures the sturdiness, durability, and prevents water leakage and damage. So, the next time you are installing a new sink or replacing an old one, make sure to use Briggs drop-in bathroom sink mounting clips for a flawless and functional bathroom design.