Are you looking to update your bathroom with a new vanity? Installing a bathroom vanity hanging strip is an essential step in the process. This small but crucial piece of hardware provides support for your vanity and ensures it stays securely in place. In this article, we will guide you through the steps of installing a bathroom vanity hanging strip and provide helpful tips to make the process easier. How to Install a Bathroom Vanity Hanging Strip
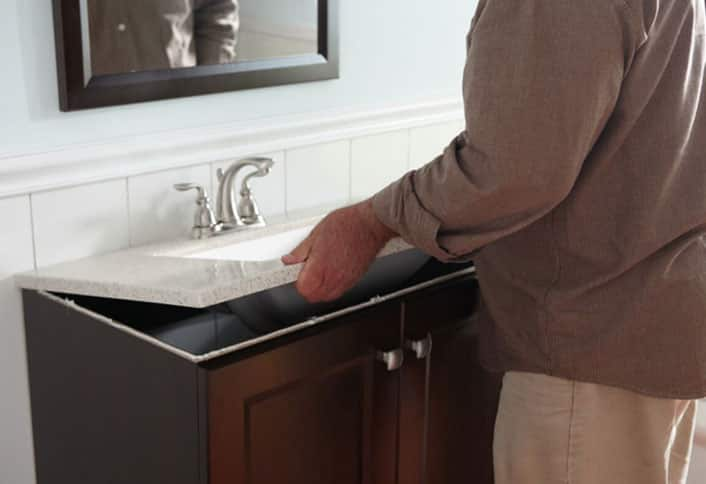
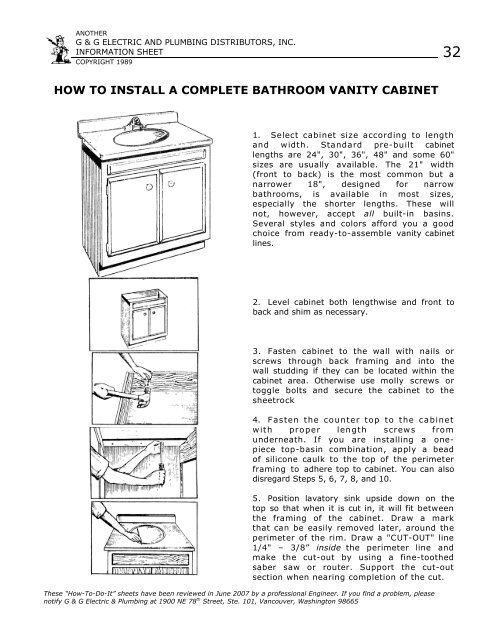
Installing a bathroom vanity hanging strip may seem like a daunting task, but with the right tools and approach, it can be a straightforward process. Here's a step-by-step guide to help you through it: Step 1: Measure and Mark the Wall - Begin by measuring the length of your vanity and marking the wall where you want to install the hanging strip. Use a pencil and level to ensure the markings are straight and even. Step 2: Gather Your Tools and Materials - You will need a drill, screws, a screwdriver, a level, a pencil, and a measuring tape. Make sure you have all the necessary tools and materials before starting the installation. Step 3: Drill Pilot Holes - Using a drill bit slightly smaller than your screws, drill pilot holes into the wall at the marked locations. This will make it easier to screw in the hanging strip later on. Step 4: Install the Hanging Strip - Place the hanging strip against the wall, lining it up with the pilot holes. Use a screwdriver to secure the strip to the wall using the screws. Make sure the strip is level before tightening the screws. Step 5: Secure the Vanity to the Hanging Strip - Once the hanging strip is securely in place, lift the vanity and carefully slide it onto the strip. Use screws to attach the vanity to the strip, making sure it is level and secure. Step 6: Finishing Touches - Finally, check the vanity for any gaps or unevenness. If needed, use shims to level it out. Once everything looks good, caulk around the vanity edges to create a seamless finish. Step-by-Step Guide for Installing a Bathroom Vanity Hanging Strip
Installing a bathroom vanity hanging strip is a DIY project that can save you money and give you a sense of accomplishment. With the right tools and approach, it can be a simple and rewarding task. By following the steps outlined above, you can confidently install a hanging strip and complete your bathroom vanity installation. DIY Bathroom Vanity Hanging Strip Installation
Here are some helpful tips to keep in mind when installing a bathroom vanity hanging strip: - Make sure the hanging strip is level before securing it to the wall. A crooked hanging strip can result in an uneven vanity. - Use screws that are long enough to securely attach the hanging strip to the wall. If the screws are too short, the strip may not provide enough support for the vanity. - Double-check your measurements and markings before drilling any holes. It's easier to make adjustments before the hanging strip is installed. - If your vanity has a back panel, make sure to attach it to the hanging strip for added stability. Tips for Installing a Bathroom Vanity Hanging Strip
With the right tools and approach, installing a bathroom vanity hanging strip can be a simple and straightforward process. By following the steps outlined in this article and keeping our tips in mind, you can have your hanging strip installed in no time. Bathroom Vanity Hanging Strip Installation Made Easy
You may be wondering, why is a hanging strip necessary for a bathroom vanity? The answer is simple - it provides support and stability for your vanity. Without a hanging strip, your vanity may become loose over time, causing damage and potential safety hazards. It also helps distribute the weight of the vanity evenly, preventing it from sagging or tilting. The Importance of a Bathroom Vanity Hanging Strip
While installing a bathroom vanity hanging strip may seem like a simple task, there are some common mistakes that can be easily avoided: - Not using a level to ensure the hanging strip is straight and even. This can result in an unlevel vanity. - Not securing the hanging strip to the wall properly. This can lead to a loose vanity and potential damage. - Forgetting to attach the back panel of the vanity to the hanging strip for added stability. Common Mistakes to Avoid When Installing a Bathroom Vanity Hanging Strip
Before starting the installation process, make sure you have the following tools and materials on hand: - Drill - Screws - Screwdriver - Level - Pencil - Measuring tape - Shims (if needed) - Caulk Tools and Materials Needed for Installing a Bathroom Vanity Hanging Strip
Measuring and cutting a bathroom vanity hanging strip is a crucial step in the installation process. Here's how to do it correctly: - Measure the length of your vanity and mark the wall where the hanging strip will be installed. - Use a level to make sure the markings are straight and even. - Measure the length of the hanging strip and mark where it needs to be cut to fit your vanity. - Use a saw to cut the hanging strip to the correct length. How to Measure and Cut a Bathroom Vanity Hanging Strip
Despite your best efforts, there may be some issues that arise during the installation process. Here are some common problems and how to troubleshoot them: - The hanging strip is not level: Use a level to double-check and make any necessary adjustments before securing it to the wall. - The vanity is not level: Use shims to level out the vanity before attaching it to the hanging strip. - The hanging strip is not securely attached to the wall: Check the length of the screws and use longer ones if needed. In conclusion, installing a bathroom vanity hanging strip is an essential step in the process of updating your bathroom. With the right tools, approach, and attention to detail, you can easily install a hanging strip and ensure your vanity stays securely in place for years to come. So don't wait any longer, follow our guide and get started on your bathroom vanity installation today! Troubleshooting Common Issues with Bathroom Vanity Hanging Strip Installation
How to Install a Bathroom Vanity Hanging Strip

What is a Bathroom Vanity Hanging Strip?
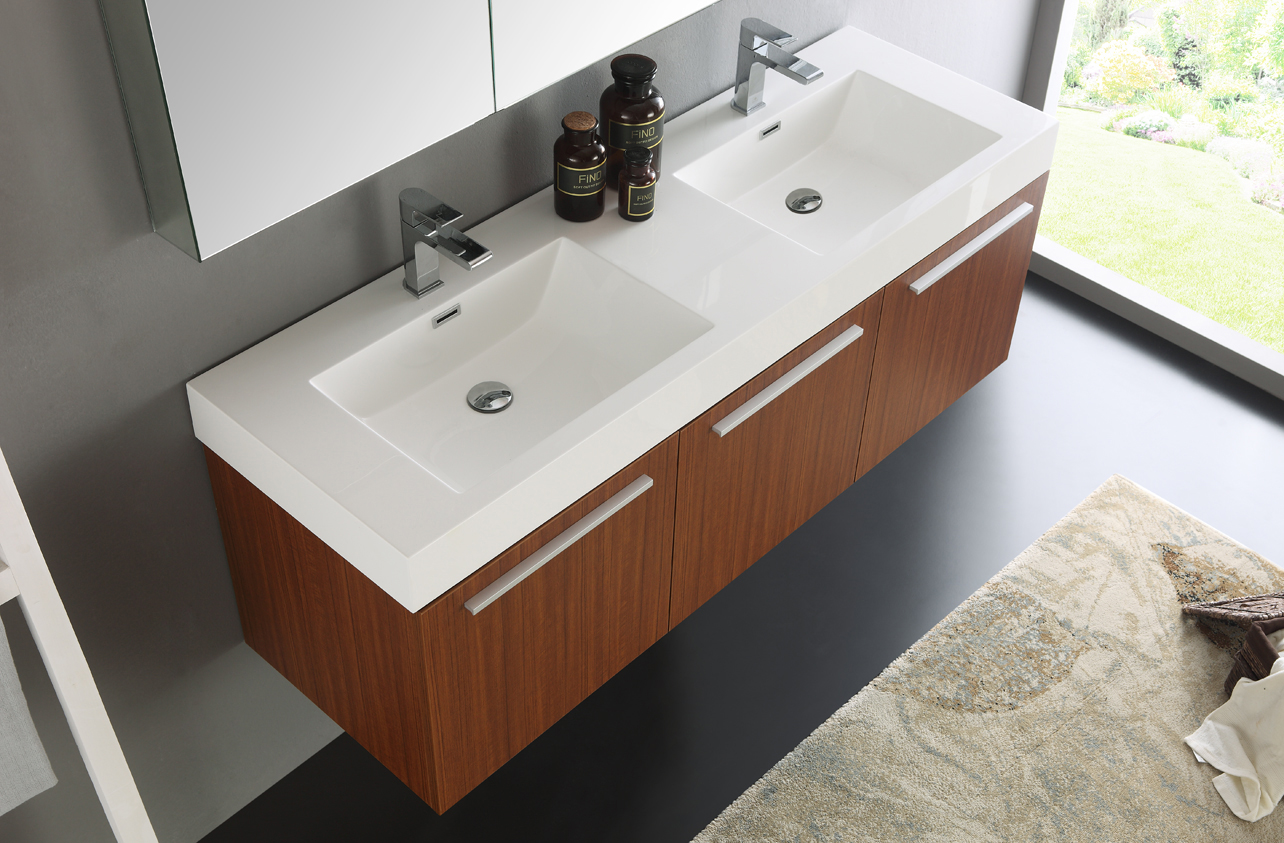
 A bathroom vanity hanging strip is a crucial component of any bathroom design. It is a long metal strip that is attached to the wall studs and provides a secure and stable base for your bathroom vanity. This strip eliminates the need for a bulky and unattractive base cabinet, giving your bathroom a sleek and modern look.
Step-by-Step Guide to Installing a Bathroom Vanity Hanging Strip
 Gather your materials:
Before you begin installing the hanging strip, make sure you have all the necessary materials. This includes a stud finder, measuring tape, level, drill, screws, and the hanging strip itself.
Locate the studs:
Use a stud finder to locate the wall studs where you will be installing the hanging strip. Mark the studs with a pencil to guide you during the installation process.
Measure and cut the strip:
Measure the length of your vanity and add an extra inch to that measurement. Use a hacksaw to cut the hanging strip to the desired length.
Attach the strip to the studs:
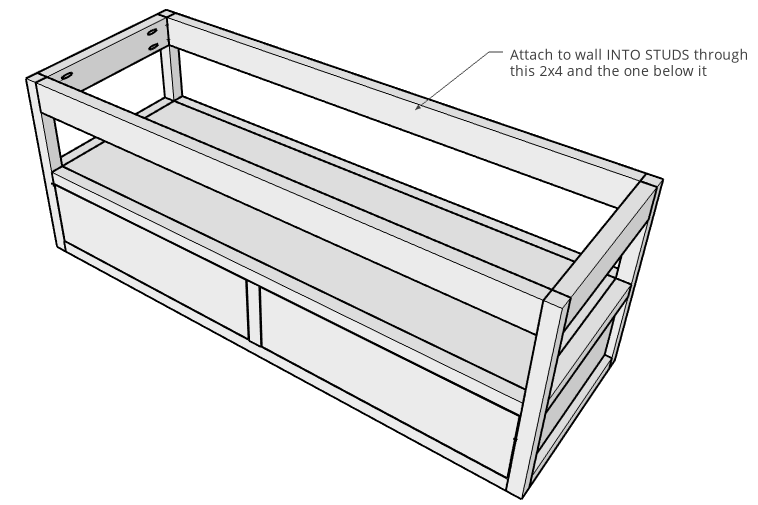
Place the hanging strip against the wall, lining it up with the pencil marks indicating the studs. Use a level to ensure it is straight, then drill screws through the holes in the strip and into the studs.
Secure the strip:
After attaching the strip to the studs, use additional screws to secure it to the wall. This will provide extra stability and prevent the strip from shifting.
Check for level:
Use a level to make sure the hanging strip is still straight and adjust if necessary.
Install the vanity:
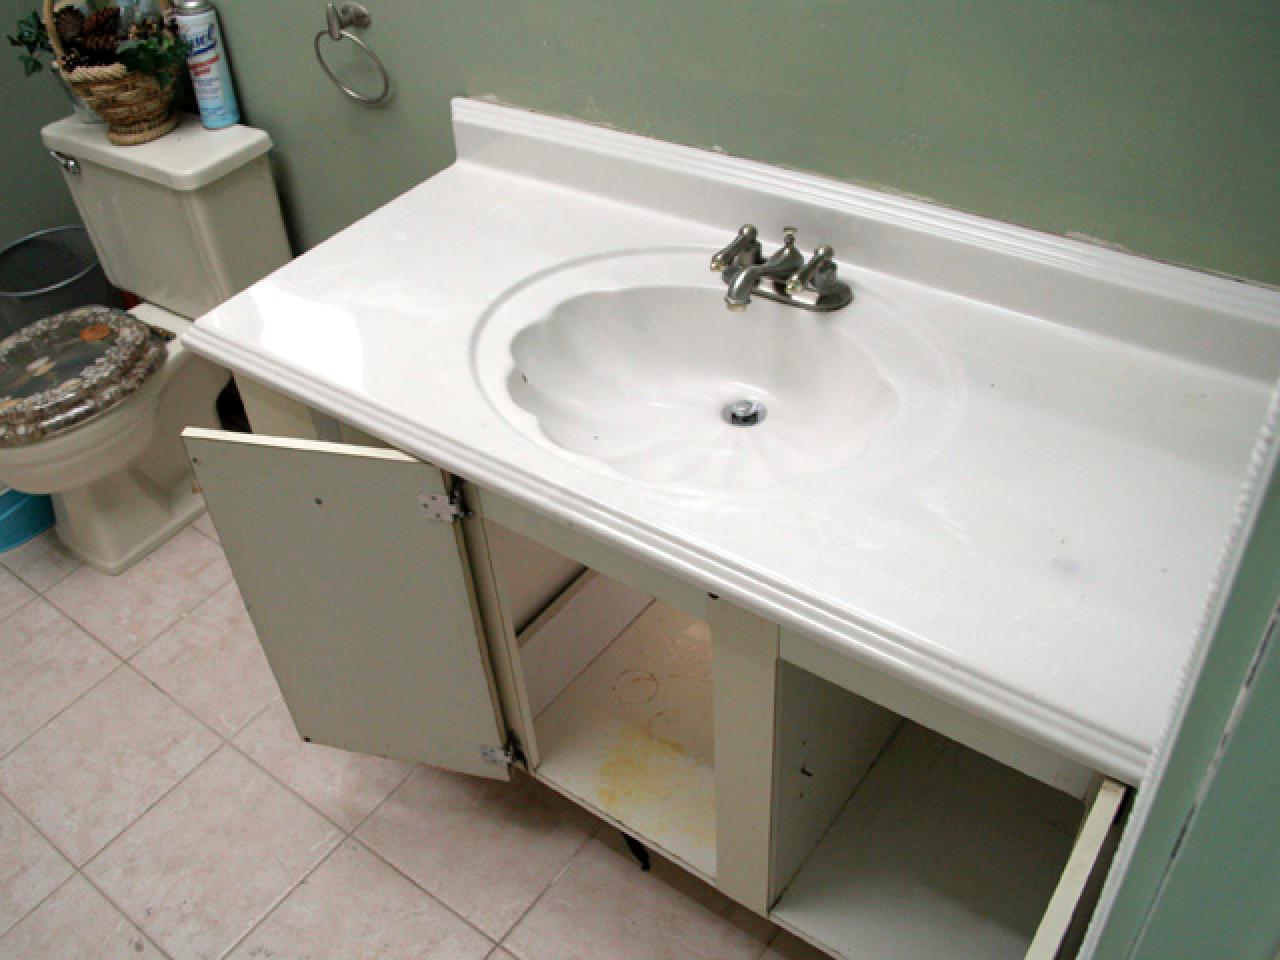
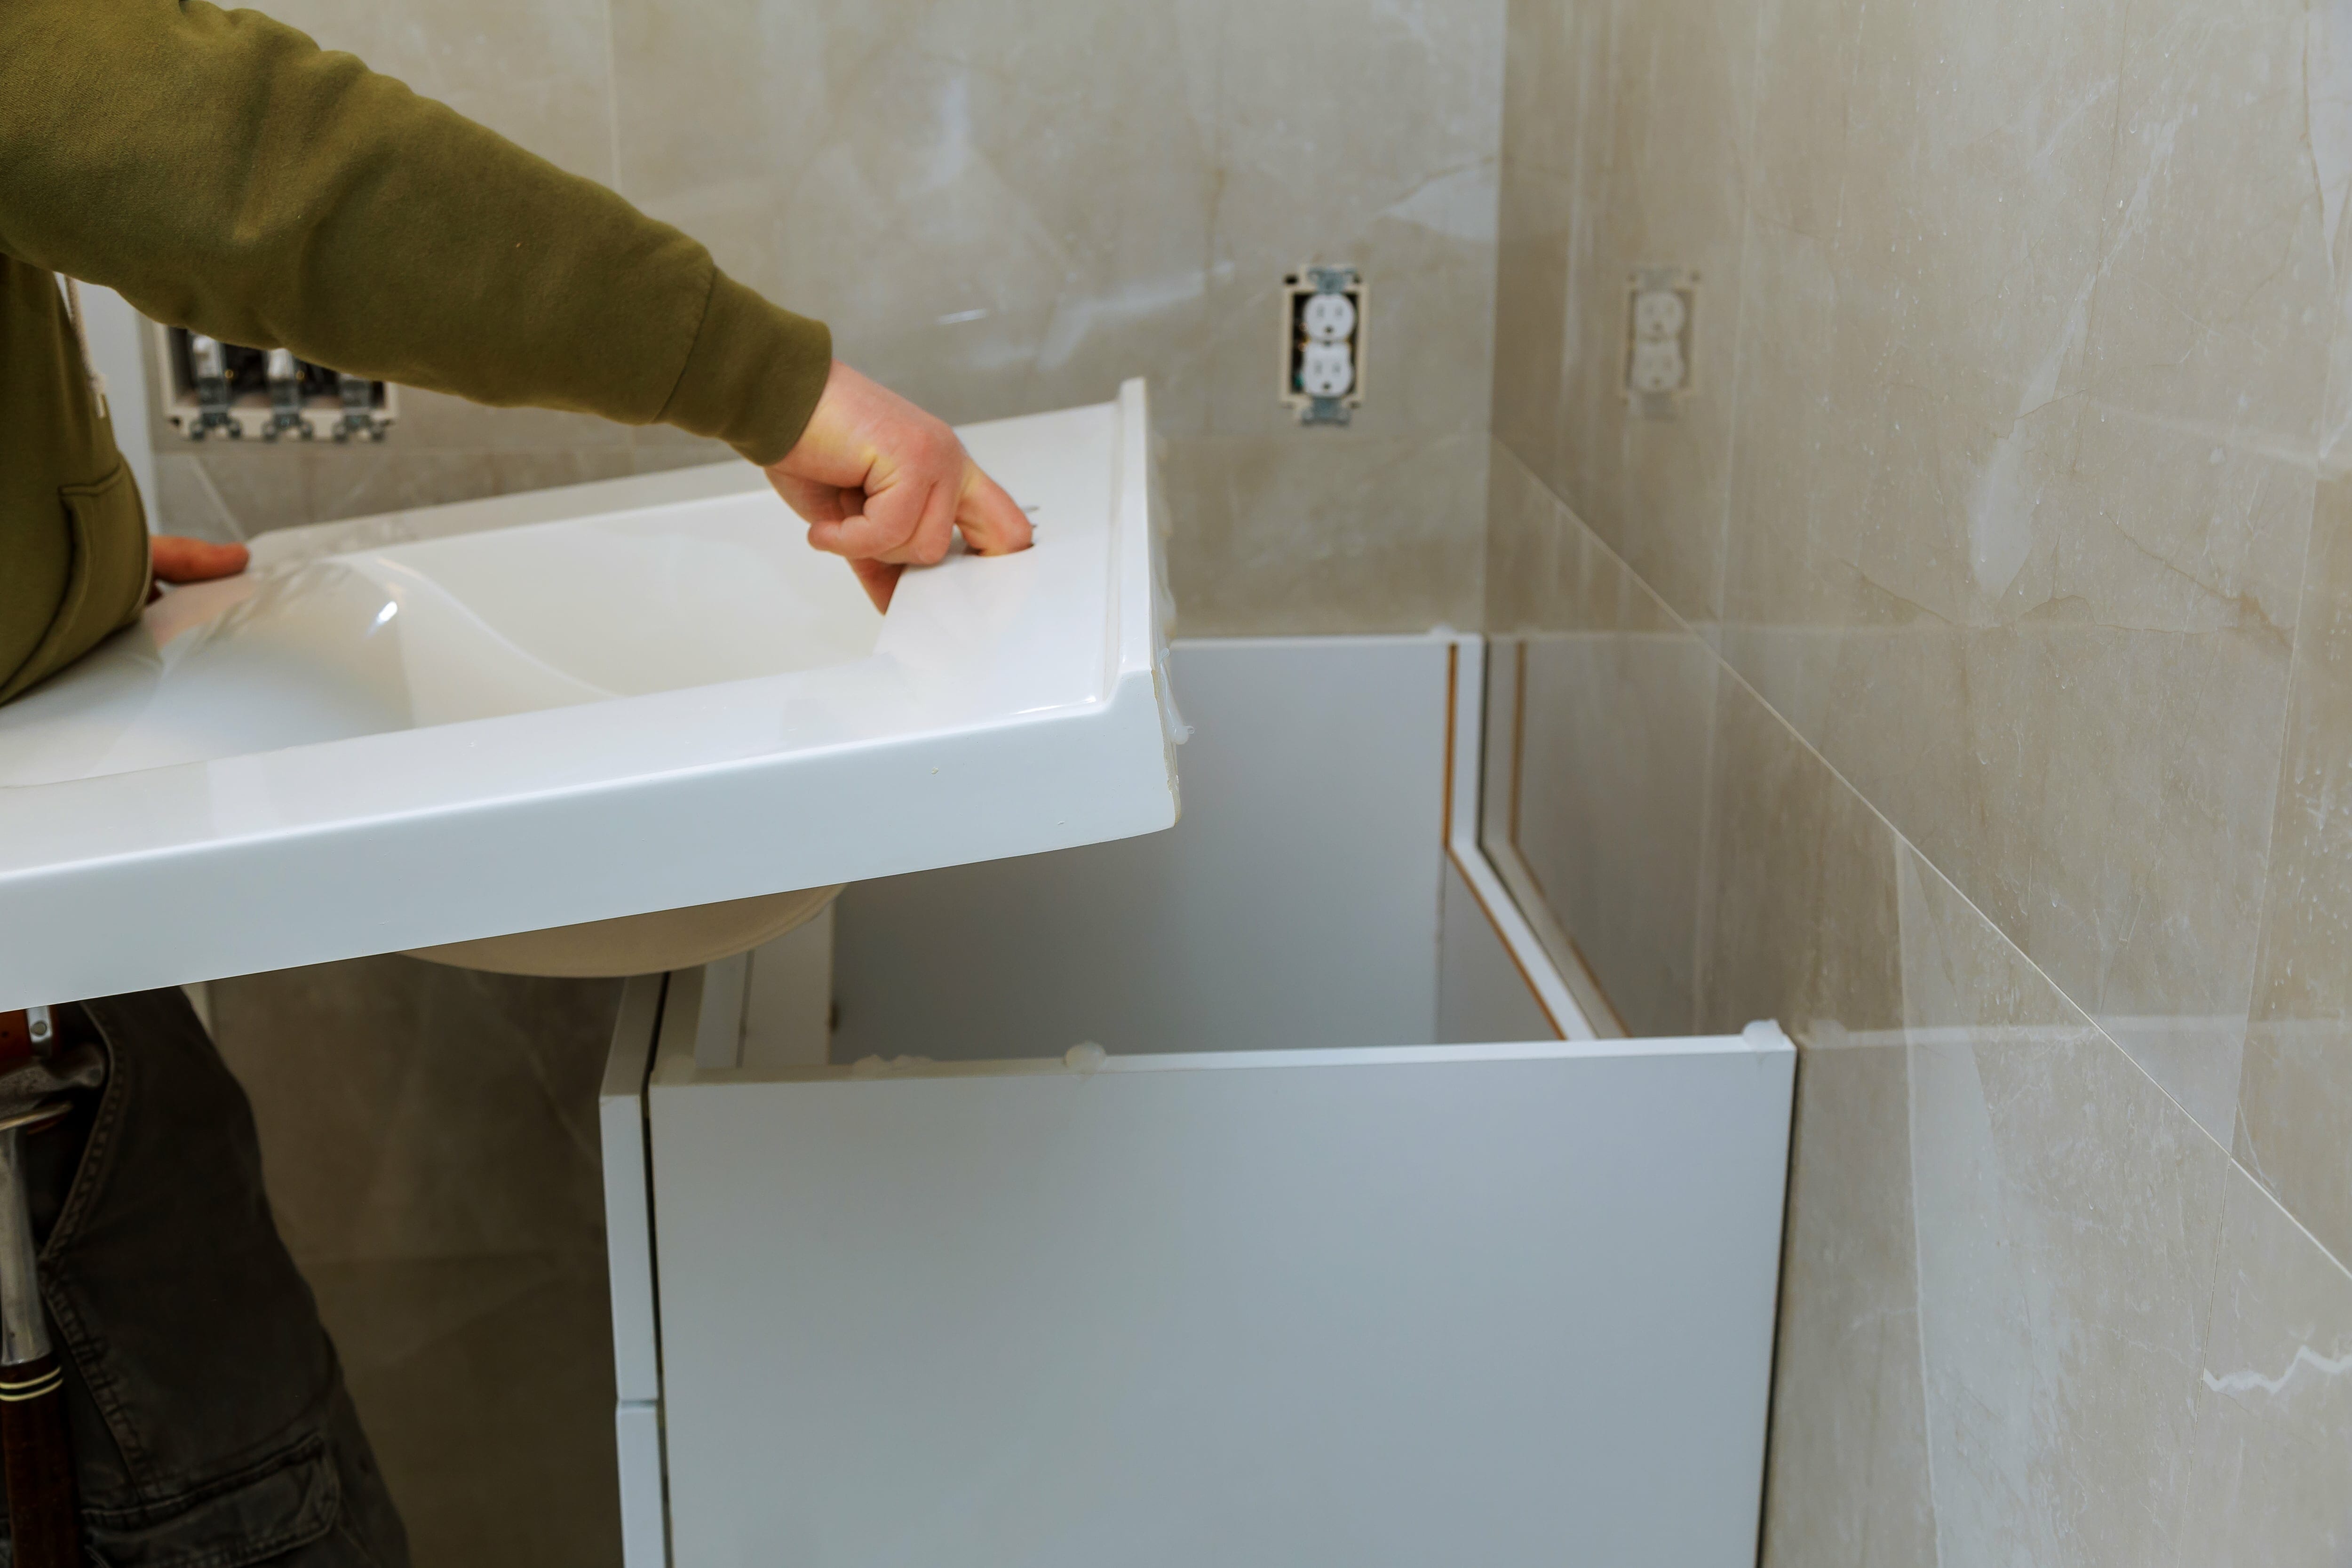
Once the hanging strip is securely in place, you can install your bathroom vanity. Simply place the vanity on top of the hanging strip and secure it with screws.
Benefits of a Bathroom Vanity Hanging Strip
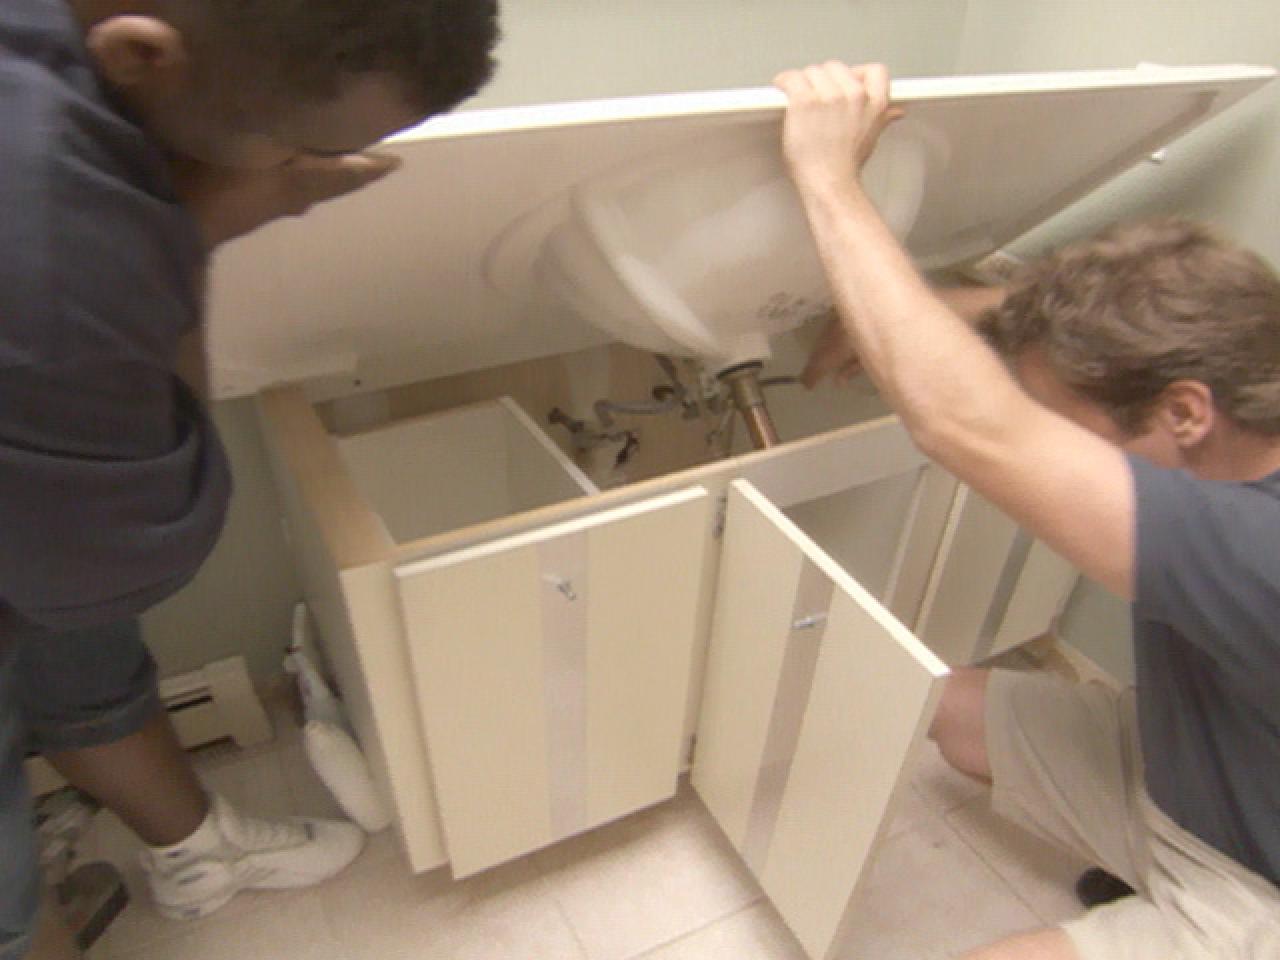 Installing a bathroom vanity hanging strip offers several benefits for your bathroom design. It creates a clean and modern look by eliminating the need for a bulky base cabinet. It also provides a sturdy and stable base for your vanity, preventing any wobbling or shifting. Additionally, the hanging strip is typically hidden behind the vanity, giving your bathroom a seamless and polished appearance.
In conclusion, installing a bathroom vanity hanging strip is a simple and effective way to enhance the look and functionality of your bathroom. By following these easy steps, you can achieve a sleek and modern design while also ensuring the stability and security of your vanity. So why wait? Upgrade your bathroom today with a vanity hanging strip.













:max_bytes(150000):strip_icc()/155068606-56a4a2985f9b58b7d0d7ef19.jpg)


