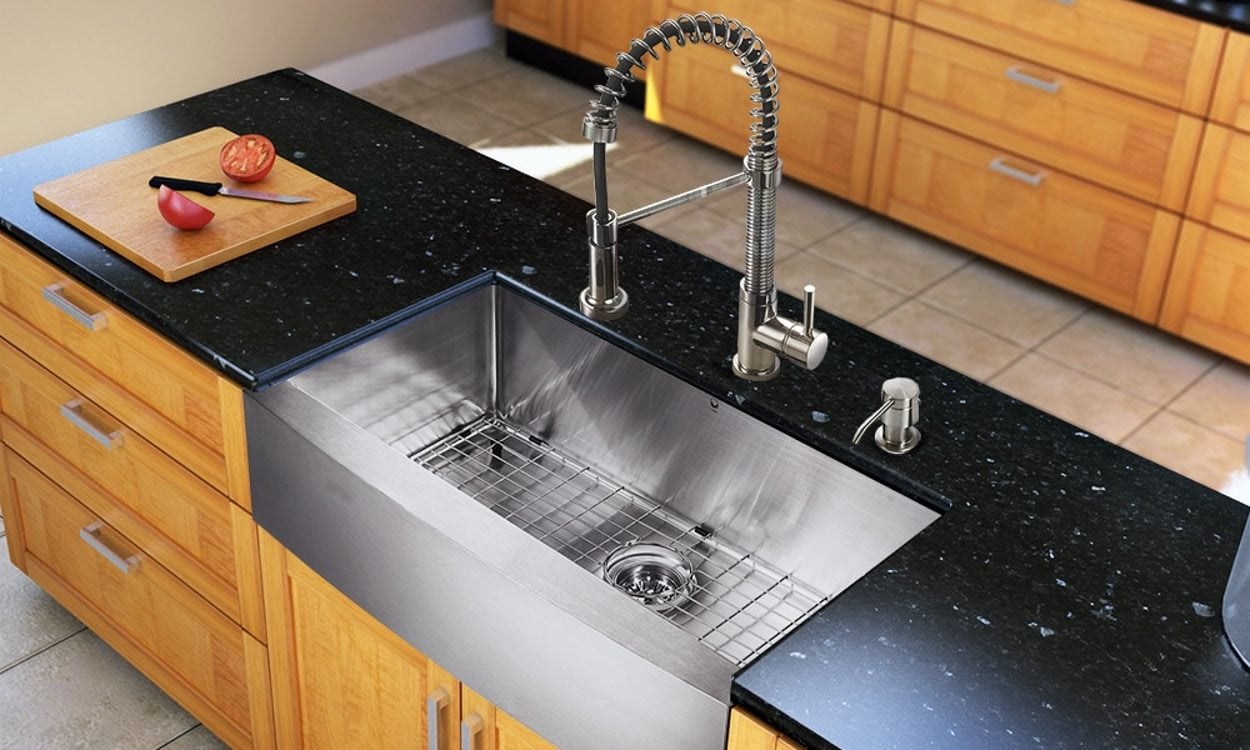
Are you looking to upgrade your kitchen and install a new under counter kitchen sink? This can be a great addition to any kitchen, providing a sleek and modern look while also freeing up counter space. However, the installation process can seem daunting, especially for those who are not experienced in plumbing or DIY projects. But don't worry, we've got you covered! In this article, we will guide you through the steps of installing an under counter kitchen sink, from start to finish. So let's get started!Installing an Under Counter Kitchen Sink


Installing an Under Counter Kitchen Sink


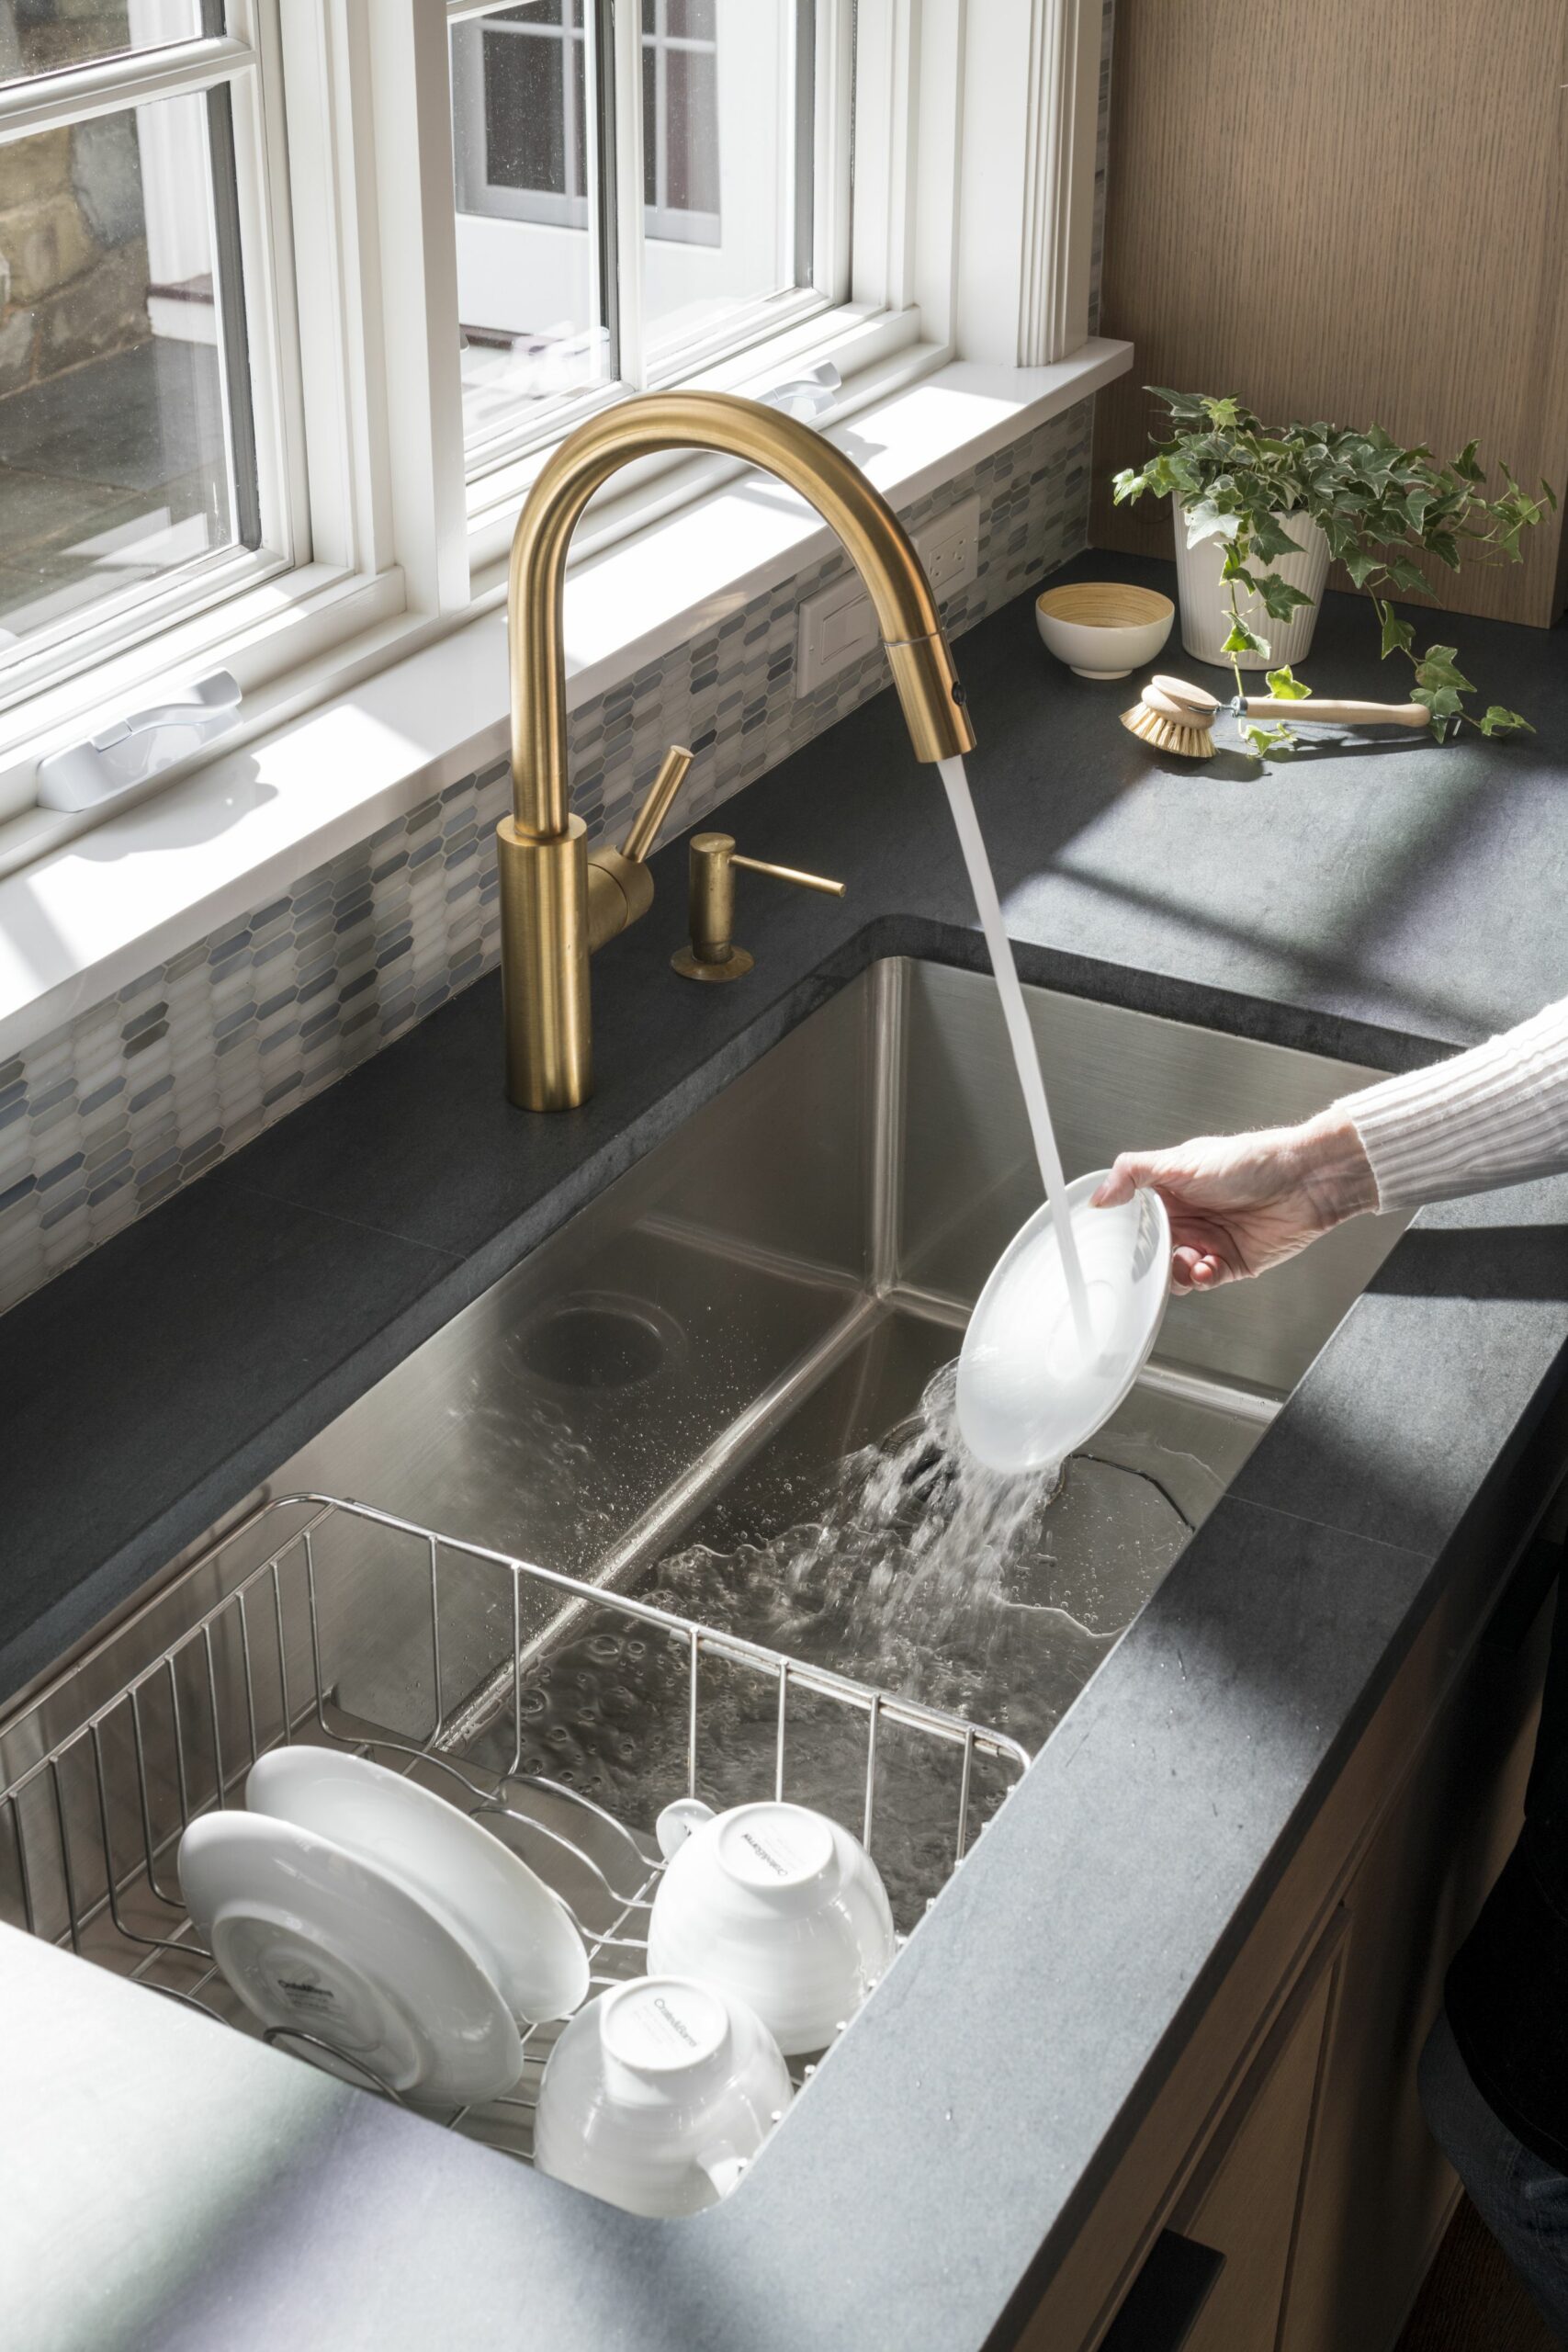
Before we dive into the step-by-step guide, let's first understand what an undermount sink is and how it differs from a traditional top-mounted sink. An undermount sink is installed underneath the countertop, with its rim not visible on the surface. This creates a seamless and clean look, as there is no lip or edge around the sink. In contrast, a top-mounted sink is dropped into a hole cut in the countertop, with its rim sitting on top of the counter. Undermount sinks are a popular choice for modern kitchens, as they offer a sleek and minimalist aesthetic.How to Install an Undermount Sink


How to Install an Undermount Sink


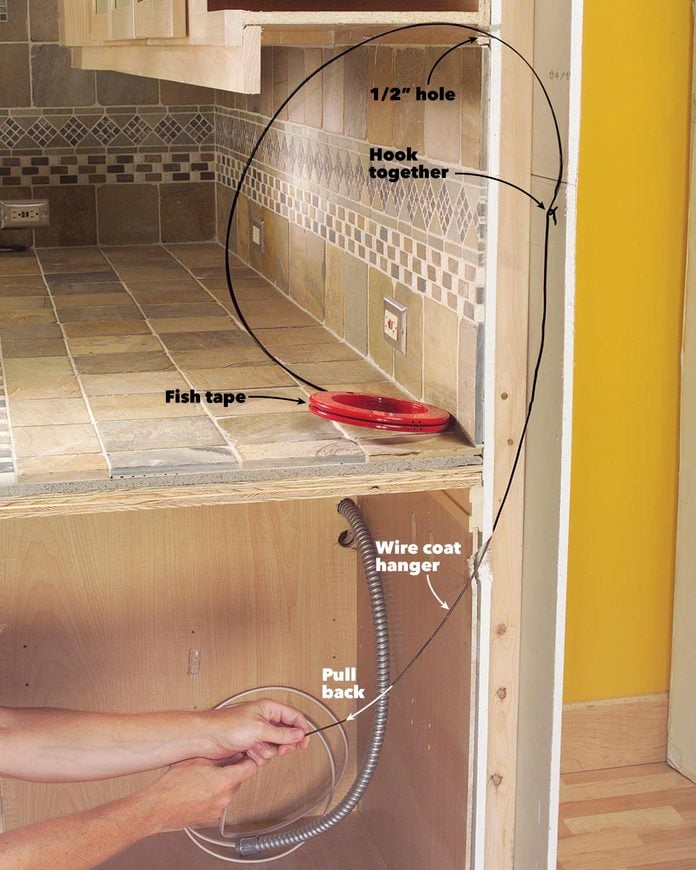
Now, let's get into the nitty-gritty of actually installing an under counter kitchen sink. Here are the steps you need to follow:Step-by-Step Guide for Installing an Under Counter Kitchen Sink


Step-by-Step Guide for Installing an Under Counter Kitchen Sink


.jpg)

To successfully install an under counter kitchen sink, you will need the following tools and materials:Tools and Materials Needed for Installing an Under Counter Kitchen Sink


Tools and Materials Needed for Installing an Under Counter Kitchen Sink


Here are some tips to keep in mind before and during the installation process:Tips for a Successful Under Counter Kitchen Sink Installation


Tips for a Successful Under Counter Kitchen Sink Installation


Here are some common mistakes to avoid when installing an under counter kitchen sink:Common Mistakes to Avoid When Installing an Under Counter Kitchen Sink


Common Mistakes to Avoid When Installing an Under Counter Kitchen Sink


If you prefer a visual guide, check out this helpful video tutorial on how to install an under counter kitchen sink:Video Tutorial: Installing an Under Counter Kitchen Sink


Video Tutorial: Installing an Under Counter Kitchen Sink

Before making a decision to install an under counter kitchen sink, it's essential to consider the pros and cons:Pros and Cons of Installing an Under Counter Kitchen Sink


Pros and Cons of Installing an Under Counter Kitchen Sink


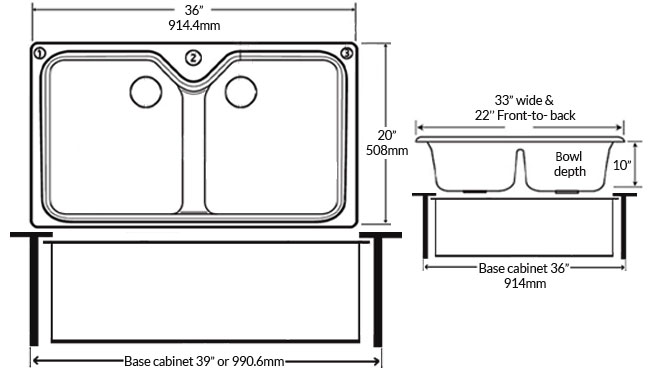
When it comes to selecting the right size under counter kitchen sink, there are a few things to consider:How to Choose the Right Size Under Counter Kitchen Sink for Your Space


How to Choose the Right Size Under Counter Kitchen Sink for Your Space


The cost of installing an under counter kitchen sink can vary depending on the size and type of sink, the materials used, and the labor costs. On average, the cost can range from $200 to $500 for the sink itself, and an additional $200 to $500 for installation, for a total of $400 to $1000. However, this cost can be significantly higher if you hire a professional plumber for the installation. Now that you have all the information you need, it's time to start planning and installing your new under counter kitchen sink. With the right tools and materials, and following our step-by-step guide, you can have a beautiful and functional sink in no time. Happy renovating!Cost Breakdown: Installing an Under Counter Kitchen Sink

Cost Breakdown: Installing an Under Counter Kitchen Sink
Types of Under Counter Kitchen Sinks

Single Bowl Sinks
 One of the most common types of under counter kitchen sinks is the single bowl sink. As the name suggests, this type of sink has only one bowl, making it perfect for smaller kitchens with limited counter space. It is also ideal for those who do not have a lot of dishes to wash and prefer a minimalist look in their kitchen.
Single bowl sinks
come in various sizes and shapes, so you can choose the one that best fits your needs and complements your kitchen design.
One of the most common types of under counter kitchen sinks is the single bowl sink. As the name suggests, this type of sink has only one bowl, making it perfect for smaller kitchens with limited counter space. It is also ideal for those who do not have a lot of dishes to wash and prefer a minimalist look in their kitchen.
Single bowl sinks
come in various sizes and shapes, so you can choose the one that best fits your needs and complements your kitchen design.
Double Bowl Sinks
 For those who have a larger kitchen and prefer a more traditional setup, a double bowl sink may be the perfect choice.
Double bowl sinks
have two separate bowls, allowing you to have one side for washing dishes and the other for food preparation. This type of sink is perfect for busy households where multiple people are working in the kitchen at the same time. You can also opt for a double bowl sink with different sizes, making it easier to wash larger pots and pans.
For those who have a larger kitchen and prefer a more traditional setup, a double bowl sink may be the perfect choice.
Double bowl sinks
have two separate bowls, allowing you to have one side for washing dishes and the other for food preparation. This type of sink is perfect for busy households where multiple people are working in the kitchen at the same time. You can also opt for a double bowl sink with different sizes, making it easier to wash larger pots and pans.
Composite Sinks
 If you want a more durable and low-maintenance option, a composite sink may be the way to go. These sinks are made from a mixture of materials such as granite, quartz, and resin, making them resistant to scratches, stains, and heat. They are also available in a variety of colors and finishes, making it easier to match them with your kitchen design.
Composite sinks
are a great long-term investment as they are known for their durability and ease of maintenance.
If you want a more durable and low-maintenance option, a composite sink may be the way to go. These sinks are made from a mixture of materials such as granite, quartz, and resin, making them resistant to scratches, stains, and heat. They are also available in a variety of colors and finishes, making it easier to match them with your kitchen design.
Composite sinks
are a great long-term investment as they are known for their durability and ease of maintenance.
Installation Process
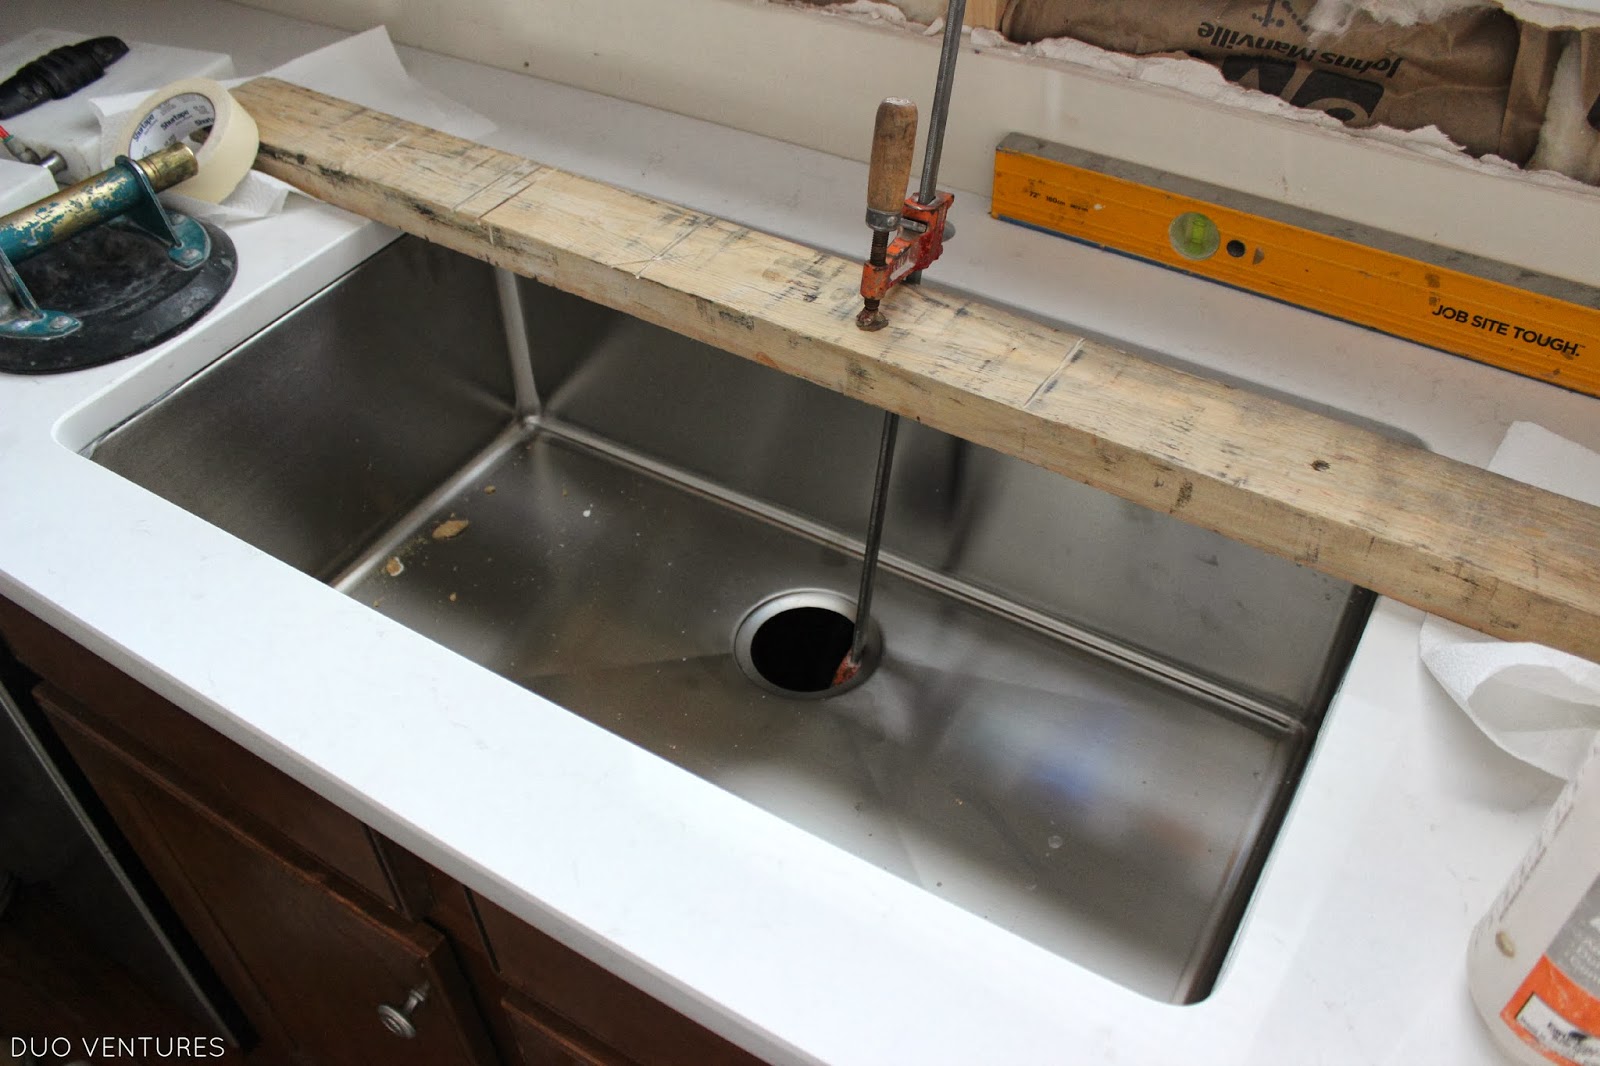
 Once you have chosen the type of under counter kitchen sink that best suits your needs, it is time to install it. Before starting the installation process, make sure to turn off the water supply to your kitchen. Next, remove the existing sink and clean the area thoroughly. Measure the opening for the new sink and make any necessary adjustments. Then, apply a thin layer of silicone caulk around the edge of the opening and carefully lower the sink into place. Secure the sink with clips or brackets and wipe away any excess caulk. Finally, reconnect the plumbing and turn on the water supply.
Installing an under counter kitchen sink
may seem daunting at first, but with the right tools and instructions, it can be a straightforward process.
In conclusion,
under counter kitchen sinks
come in various types and offer both functional and aesthetic benefits to your kitchen. Whether you prefer a single bowl sink for a minimalist look or a composite sink for durability, there is a perfect option for every kitchen. With the proper installation process, you can have a sleek and functional sink that complements your kitchen design. So, take your time and choose the right under counter kitchen sink for your home.
Once you have chosen the type of under counter kitchen sink that best suits your needs, it is time to install it. Before starting the installation process, make sure to turn off the water supply to your kitchen. Next, remove the existing sink and clean the area thoroughly. Measure the opening for the new sink and make any necessary adjustments. Then, apply a thin layer of silicone caulk around the edge of the opening and carefully lower the sink into place. Secure the sink with clips or brackets and wipe away any excess caulk. Finally, reconnect the plumbing and turn on the water supply.
Installing an under counter kitchen sink
may seem daunting at first, but with the right tools and instructions, it can be a straightforward process.
In conclusion,
under counter kitchen sinks
come in various types and offer both functional and aesthetic benefits to your kitchen. Whether you prefer a single bowl sink for a minimalist look or a composite sink for durability, there is a perfect option for every kitchen. With the proper installation process, you can have a sleek and functional sink that complements your kitchen design. So, take your time and choose the right under counter kitchen sink for your home.