Are you tired of constantly having to switch the water supply between your bathroom sink and toilet? Installing a T-valve can save you the hassle and make your life a lot easier. Here's a step-by-step guide on how to install a T-valve on your bathroom sink.1. How to Install a T-Valve on a Bathroom Sink


1. How to Install a T-Valve on a Bathroom Sink


:max_bytes(150000):strip_icc()/sink-pipe-under-wash-basin-119001607-6f28aec4c66944efb7a9a38cb622ab8b.jpg)
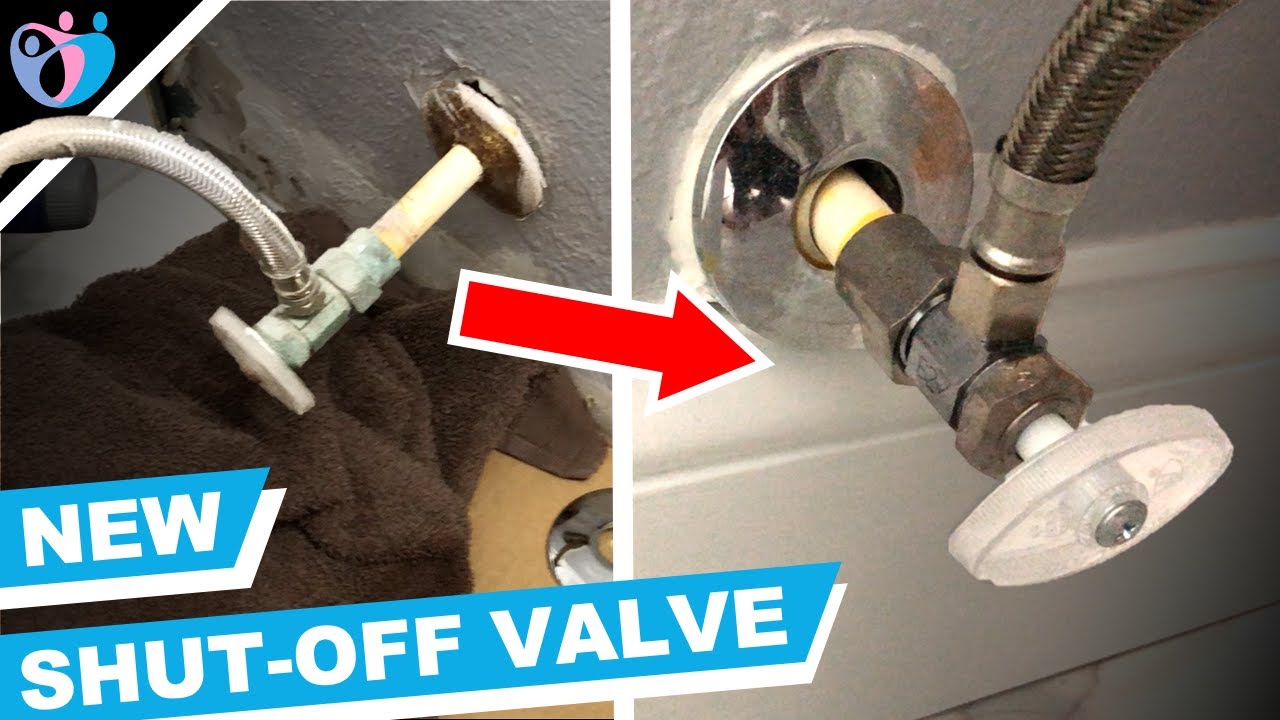


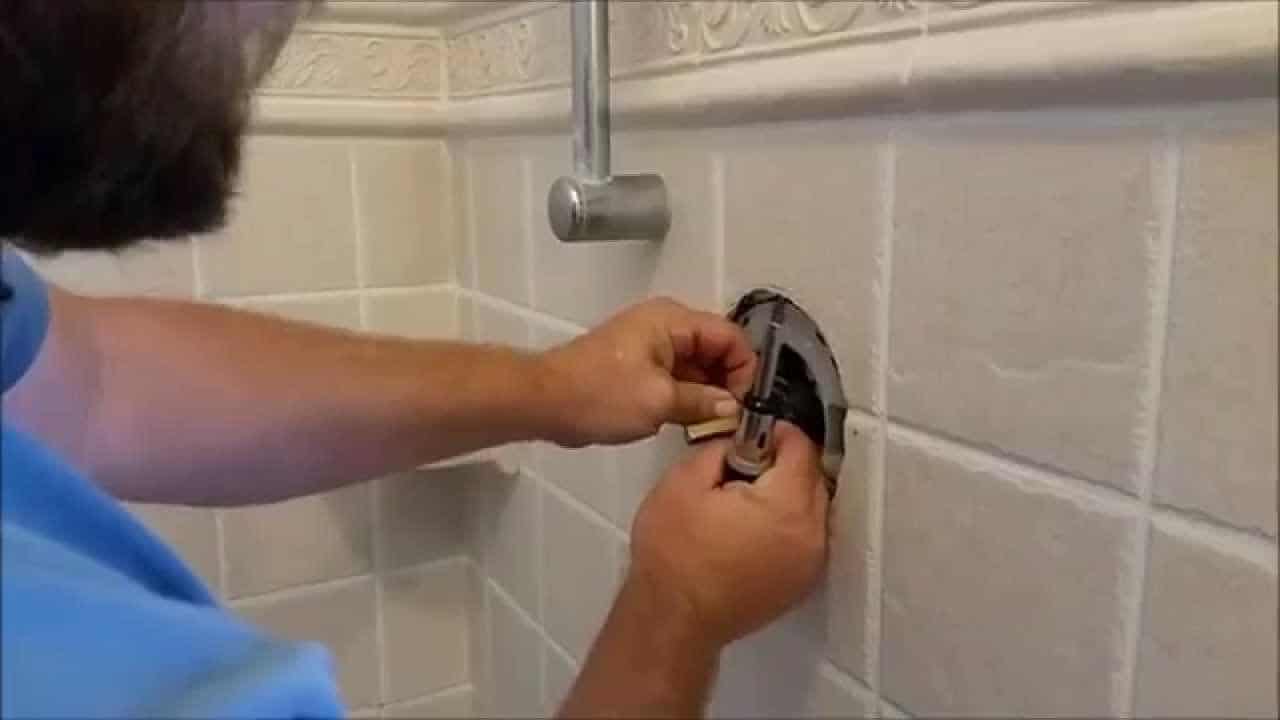
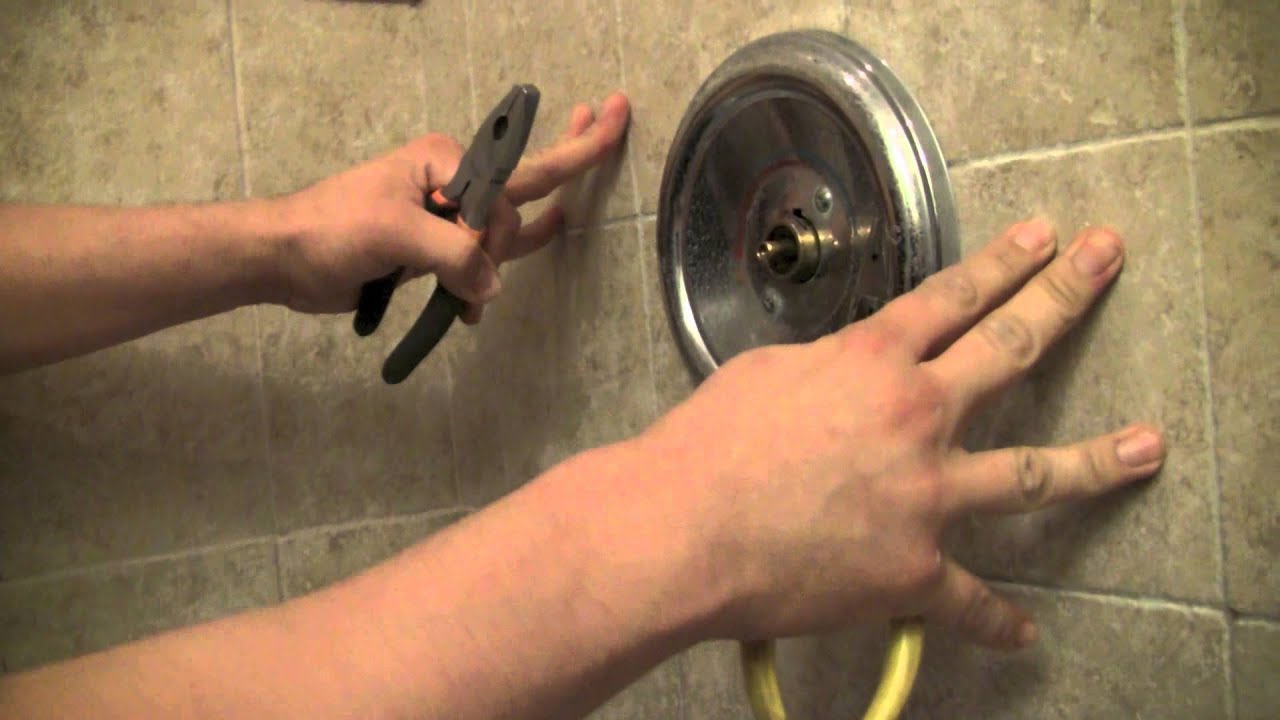
The first step is to gather all the necessary tools and materials. You will need a T-valve, adjustable wrench, Teflon tape, and a bucket to catch any water that may leak during the installation process. Next, shut off the water supply to your bathroom sink. This is usually located under the sink or near the main water supply valve for your house. Once the water is turned off, disconnect the water supply line from the shut-off valve. Use the adjustable wrench to loosen the nut and remove the line. Now, take the T-valve and wrap the threads with Teflon tape to ensure a tight seal. Make sure to wrap the tape in the same direction as the threads to prevent it from unraveling when you tighten the valve. Next, attach the T-valve to the shut-off valve and tighten it with the adjustable wrench. Then, connect the water supply line to the other end of the T-valve and tighten it with the wrench. Finally, connect the other end of the T-valve to the water supply line for your toilet. Make sure all connections are tight and secure.2. Step-by-Step Guide for Installing a T-Valve on a Bathroom Sink


2. Step-by-Step Guide for Installing a T-Valve on a Bathroom Sink


Installing a T-valve on your bathroom sink is a relatively simple DIY project. With the right tools and materials, you can easily complete the installation in under an hour. Not only will you save time and money by not having to hire a professional, but you will also have the satisfaction of completing a project on your own.3. DIY: Installing a T-Valve on a Bathroom Sink


3. DIY: Installing a T-Valve on a Bathroom Sink


When installing a T-valve on your bathroom sink, here are a few tips to keep in mind: 1. Measure twice, cut once: Before making any cuts or connections, make sure to measure everything twice to ensure accuracy. 2. Use Teflon tape: Teflon tape helps create a tight seal and prevent any leaks. Make sure to wrap the tape in the same direction as the threads. 3. Don't over-tighten: While it's important to have tight connections, be careful not to over-tighten as it can damage the threads and cause leaks.4. Tips for Installing a T-Valve on a Bathroom Sink

4. Tips for Installing a T-Valve on a Bathroom Sink


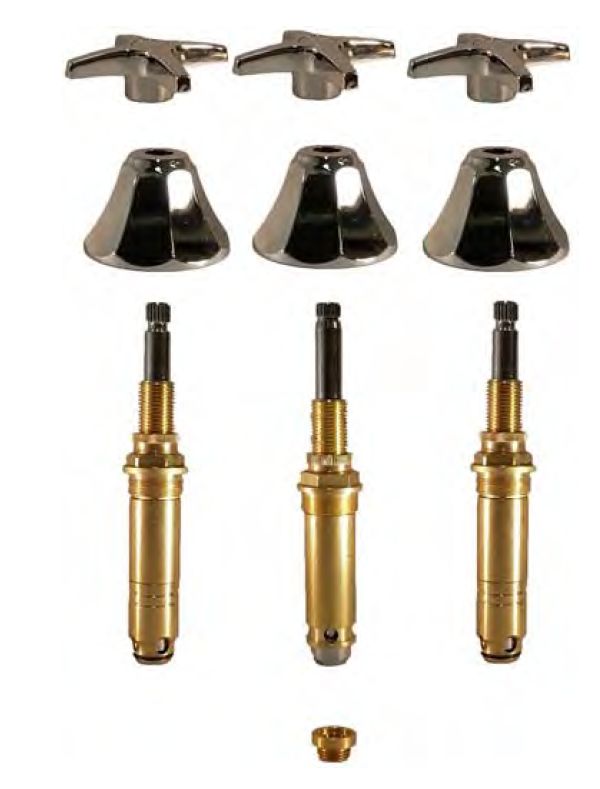
To install a T-valve on your bathroom sink, you will need the following tools and materials: - T-valve - Adjustable wrench - Teflon tape - Bucket5. Tools and Materials Needed for Installing a T-Valve on a Bathroom Sink


5. Tools and Materials Needed for Installing a T-Valve on a Bathroom Sink


While installing a T-valve on your bathroom sink may seem like a simple task, there are a few common mistakes that people make. These include: - Not turning off the water supply: It's important to shut off the water supply before starting the installation process to avoid any potential flooding. - Forgetting to use Teflon tape: Teflon tape helps create a tight seal and prevent leaks. Make sure to use it on all threaded connections. - Over-tightening: As mentioned before, over-tightening can cause damage to the threads and lead to leaks.6. Common Mistakes to Avoid When Installing a T-Valve on a Bathroom Sink


6. Common Mistakes to Avoid When Installing a T-Valve on a Bathroom Sink


If you notice any leaks after installing a T-valve on your bathroom sink, here are a few troubleshooting steps you can take to fix them: - Check all connections: Make sure all connections are tight and secure. If not, use an adjustable wrench to tighten them. - Replace old T-valve: If the leak is coming from the T-valve itself, it may be time to replace it with a new one. - Add more Teflon tape: If the leak is coming from a threaded connection, try adding more Teflon tape to create a tighter seal.7. Troubleshooting: How to Fix Leaks After Installing a T-Valve on a Bathroom Sink


7. Troubleshooting: How to Fix Leaks After Installing a T-Valve on a Bathroom Sink


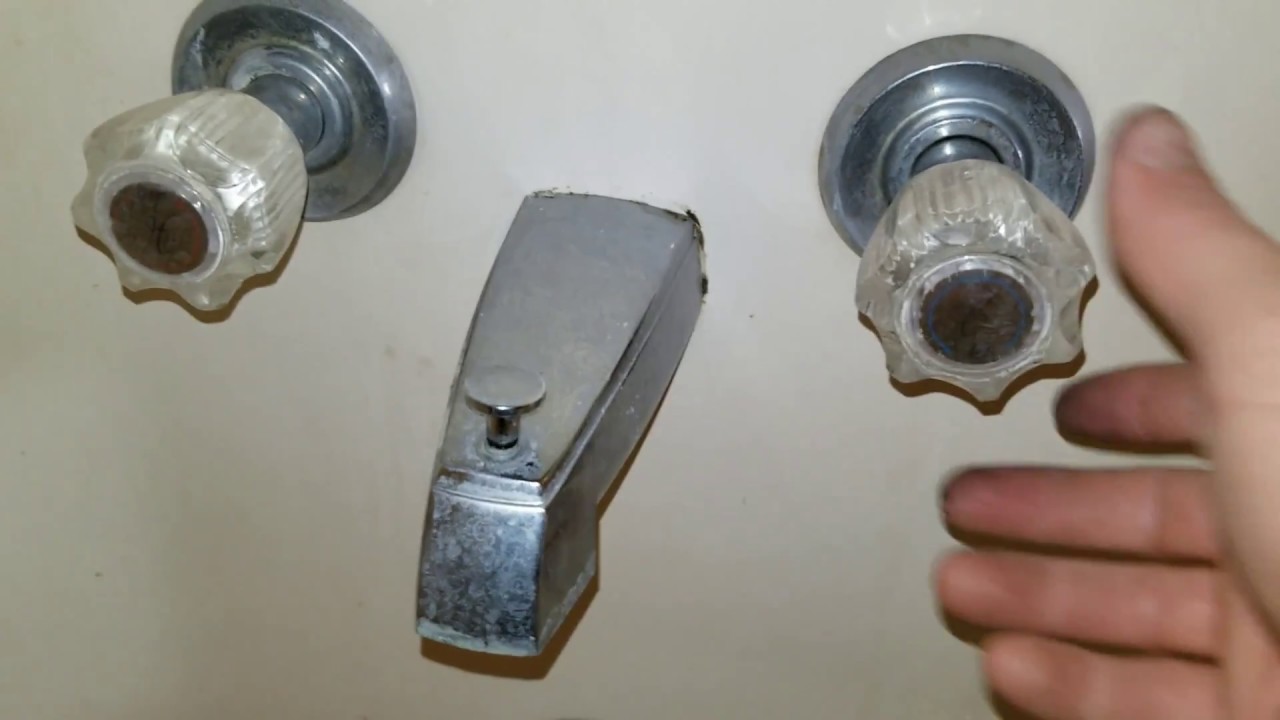
If you have an old T-valve on your bathroom sink that needs to be replaced, here's how you can do it: First, shut off the water supply and disconnect the water supply line from the T-valve. Then, use an adjustable wrench to loosen and remove the old T-valve. Once removed, follow the steps outlined in section two to install the new T-valve.8. How to Remove and Replace an Old T-Valve on a Bathroom Sink
8. How to Remove and Replace an Old T-Valve on a Bathroom Sink


Installing a T-valve on your bathroom sink offers several benefits, including: - Convenience: With a T-valve, you no longer have to switch the water supply between your sink and toilet, making your daily routine more convenient. - Saves time and energy: Instead of filling buckets of water to clean your toilet, you can now simply use the sink faucet. - Cost-effective: Installing a T-valve is a cost-effective solution compared to hiring a plumber to install a separate water supply line for your toilet.9. Benefits of Installing a T-Valve on a Bathroom Sink


9. Benefits of Installing a T-Valve on a Bathroom Sink


While hiring a professional plumber may seem like the easier option, installing a T-valve on your bathroom sink is a simple DIY project. Not only will you save money, but you will also have the satisfaction of completing the task on your own. However, if you are not confident in your abilities, it's always best to seek professional help.10. Professional vs. DIY: Which is the Best Option for Installing a T-Valve on a Bathroom Sink?


10. Professional vs. DIY: Which is the Best Option for Installing a T-Valve on a Bathroom Sink?


Why Install a T onto Your Bathroom Sink?

Maximizing Functionality and Aesthetics
 When it comes to designing your bathroom, every detail matters. From the color scheme to the type of fixtures, every decision can greatly impact the overall look and functionality of your space. One important element that is often overlooked is the addition of a T onto the bathroom sink. This small but mighty addition can bring both practicality and style to your bathroom.
Bathroom sink T's
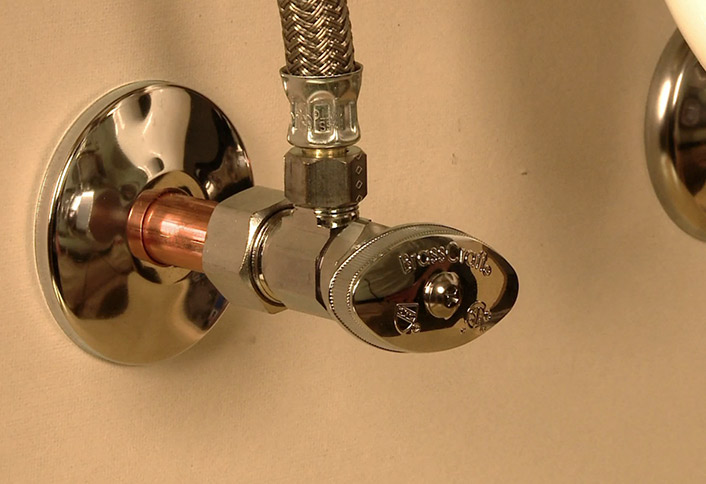
are a type of plumbing fitting that allows for two water sources to connect to one faucet. This means that you can have both hot and cold water running through the same faucet, making it easier to control the water temperature. This is especially useful for households with children or elderly individuals who may be sensitive to extreme temperatures.
But beyond its functional benefits, a
bathroom sink T
can also add a touch of elegance and sophistication to your bathroom design. With a wide range of styles, finishes, and materials available, you can easily find one that matches your existing fixtures and complements your overall aesthetic. From modern and sleek to classic and ornate, there is a T fitting to suit any bathroom style.
When it comes to designing your bathroom, every detail matters. From the color scheme to the type of fixtures, every decision can greatly impact the overall look and functionality of your space. One important element that is often overlooked is the addition of a T onto the bathroom sink. This small but mighty addition can bring both practicality and style to your bathroom.
Bathroom sink T's
are a type of plumbing fitting that allows for two water sources to connect to one faucet. This means that you can have both hot and cold water running through the same faucet, making it easier to control the water temperature. This is especially useful for households with children or elderly individuals who may be sensitive to extreme temperatures.
But beyond its functional benefits, a
bathroom sink T
can also add a touch of elegance and sophistication to your bathroom design. With a wide range of styles, finishes, and materials available, you can easily find one that matches your existing fixtures and complements your overall aesthetic. From modern and sleek to classic and ornate, there is a T fitting to suit any bathroom style.
Easy Installation and Maintenance
 Another advantage of installing a T onto your bathroom sink is its simple installation process. With the right tools and some basic plumbing knowledge, you can easily add a T fitting to your existing faucet. This makes it a cost-effective solution for those looking to upgrade their bathroom without breaking the bank.
Additionally,
bathroom sink T's
are also low maintenance, making them a practical choice for busy households. With only one faucet to clean and maintain, you can save time and effort on regular bathroom maintenance.
Another advantage of installing a T onto your bathroom sink is its simple installation process. With the right tools and some basic plumbing knowledge, you can easily add a T fitting to your existing faucet. This makes it a cost-effective solution for those looking to upgrade their bathroom without breaking the bank.
Additionally,
bathroom sink T's
are also low maintenance, making them a practical choice for busy households. With only one faucet to clean and maintain, you can save time and effort on regular bathroom maintenance.
Final Thoughts
:max_bytes(150000):strip_icc()/8_IMG_3767-56a4a2753df78cf772835b72.JPG) In conclusion, installing a T onto your bathroom sink is a small but impactful addition that can greatly enhance the functionality and design of your bathroom. With its practical benefits and aesthetic appeal, it is a must-have for any well-designed bathroom. So why wait? Upgrade your bathroom today and enjoy the convenience and style that a bathroom sink T has to offer.
In conclusion, installing a T onto your bathroom sink is a small but impactful addition that can greatly enhance the functionality and design of your bathroom. With its practical benefits and aesthetic appeal, it is a must-have for any well-designed bathroom. So why wait? Upgrade your bathroom today and enjoy the convenience and style that a bathroom sink T has to offer.