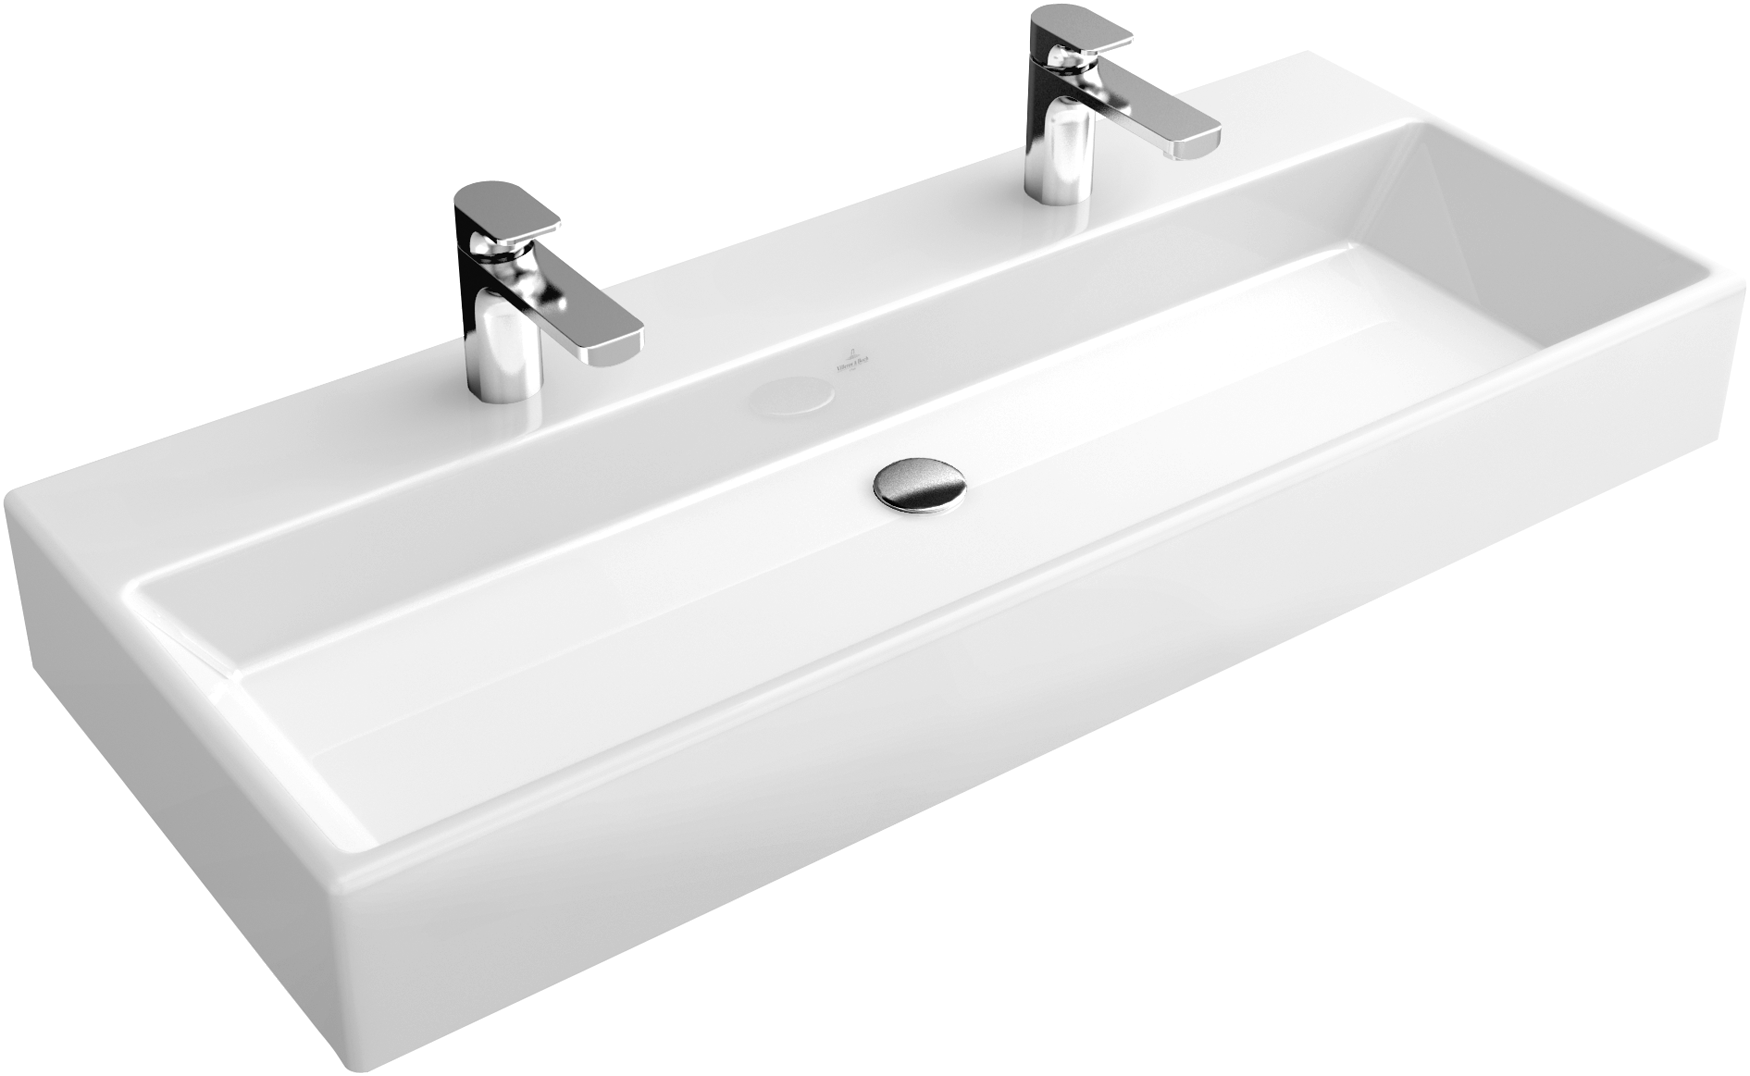
Installing a Plastic Bathroom Sink Drain: A Step-by-Step Guide
When it comes to upgrading your bathroom, installing a new sink can make a big impact. And one essential component of a sink is the drain. If you're considering a plastic bathroom sink drain, you've come to the right place. In this article, we'll walk you through the process of installing a plastic bathroom sink drain from start to finish.


installing


/GettyImages-184651030-5c44e84c46e0fb0001184712.jpg)


1. Gather Your Materials
Before you begin the installation process, make sure you have all the necessary materials. This includes the plastic sink drain kit, plumber's putty, a wrench, and plumber's tape. It's also a good idea to have a bucket and some rags on hand in case of any spills.


plastic


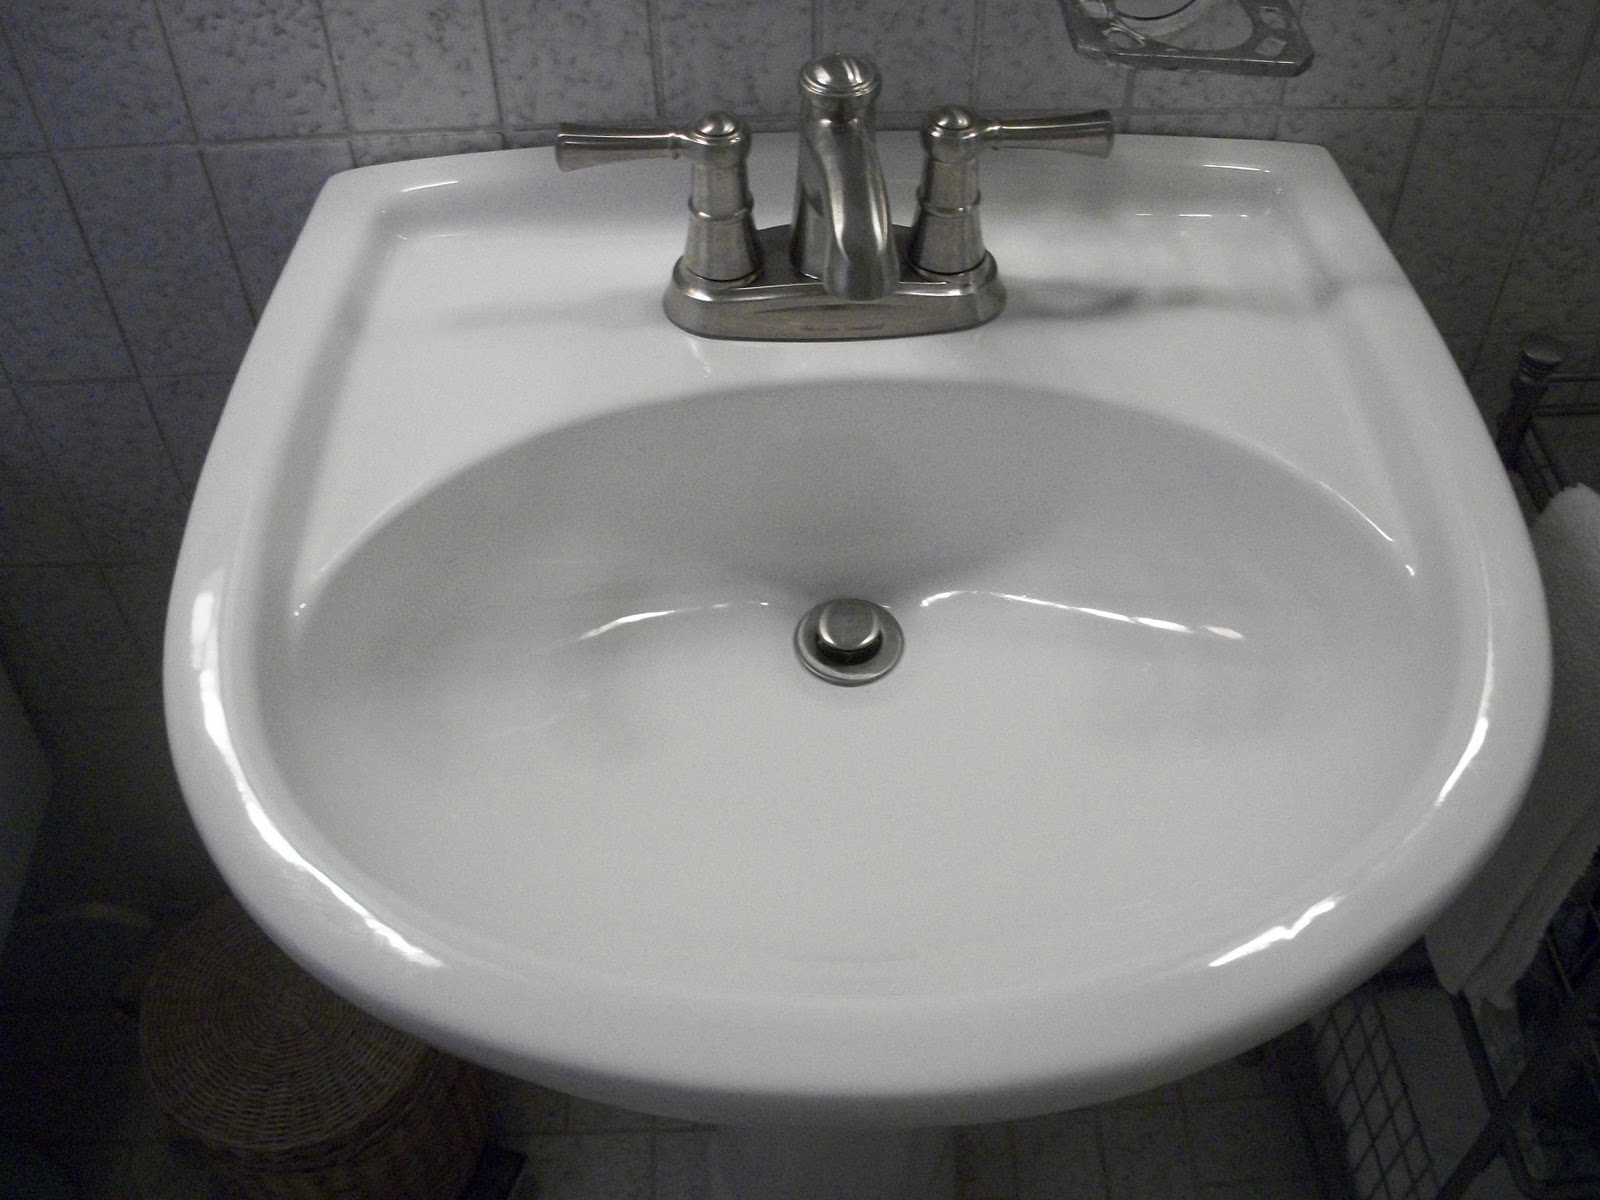
2. Remove the Old Drain
The first step in installing a plastic bathroom sink drain is to remove the old drain. This can typically be done by loosening the nut underneath the sink and pulling out the old drain. Make sure to clean any remaining putty or debris from the sink before moving on to the next step.


bathroom

/master-bathroom-design-ideas-4129362-hero-d896a889451341dfaa59c5b2beacf02d.jpg)
.jpg)

/beautiful-modern-bathroom-1036309750-19b81debcd5e49288b5e146214725274.jpg)


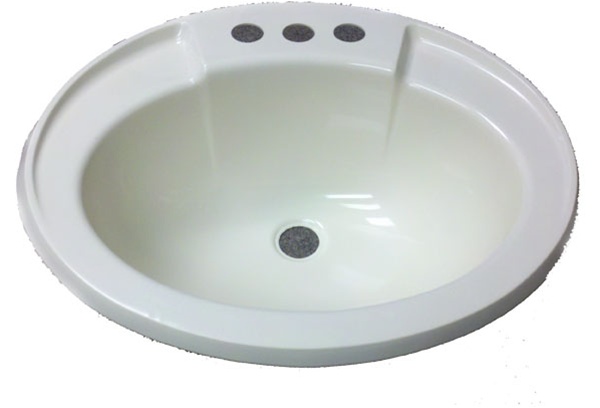
3. Apply Plumber's Putty
Next, take a small amount of plumber's putty and roll it into a thin rope. Place the putty around the rim of the drain opening on the sink. This will create a watertight seal when the drain is installed.


sink


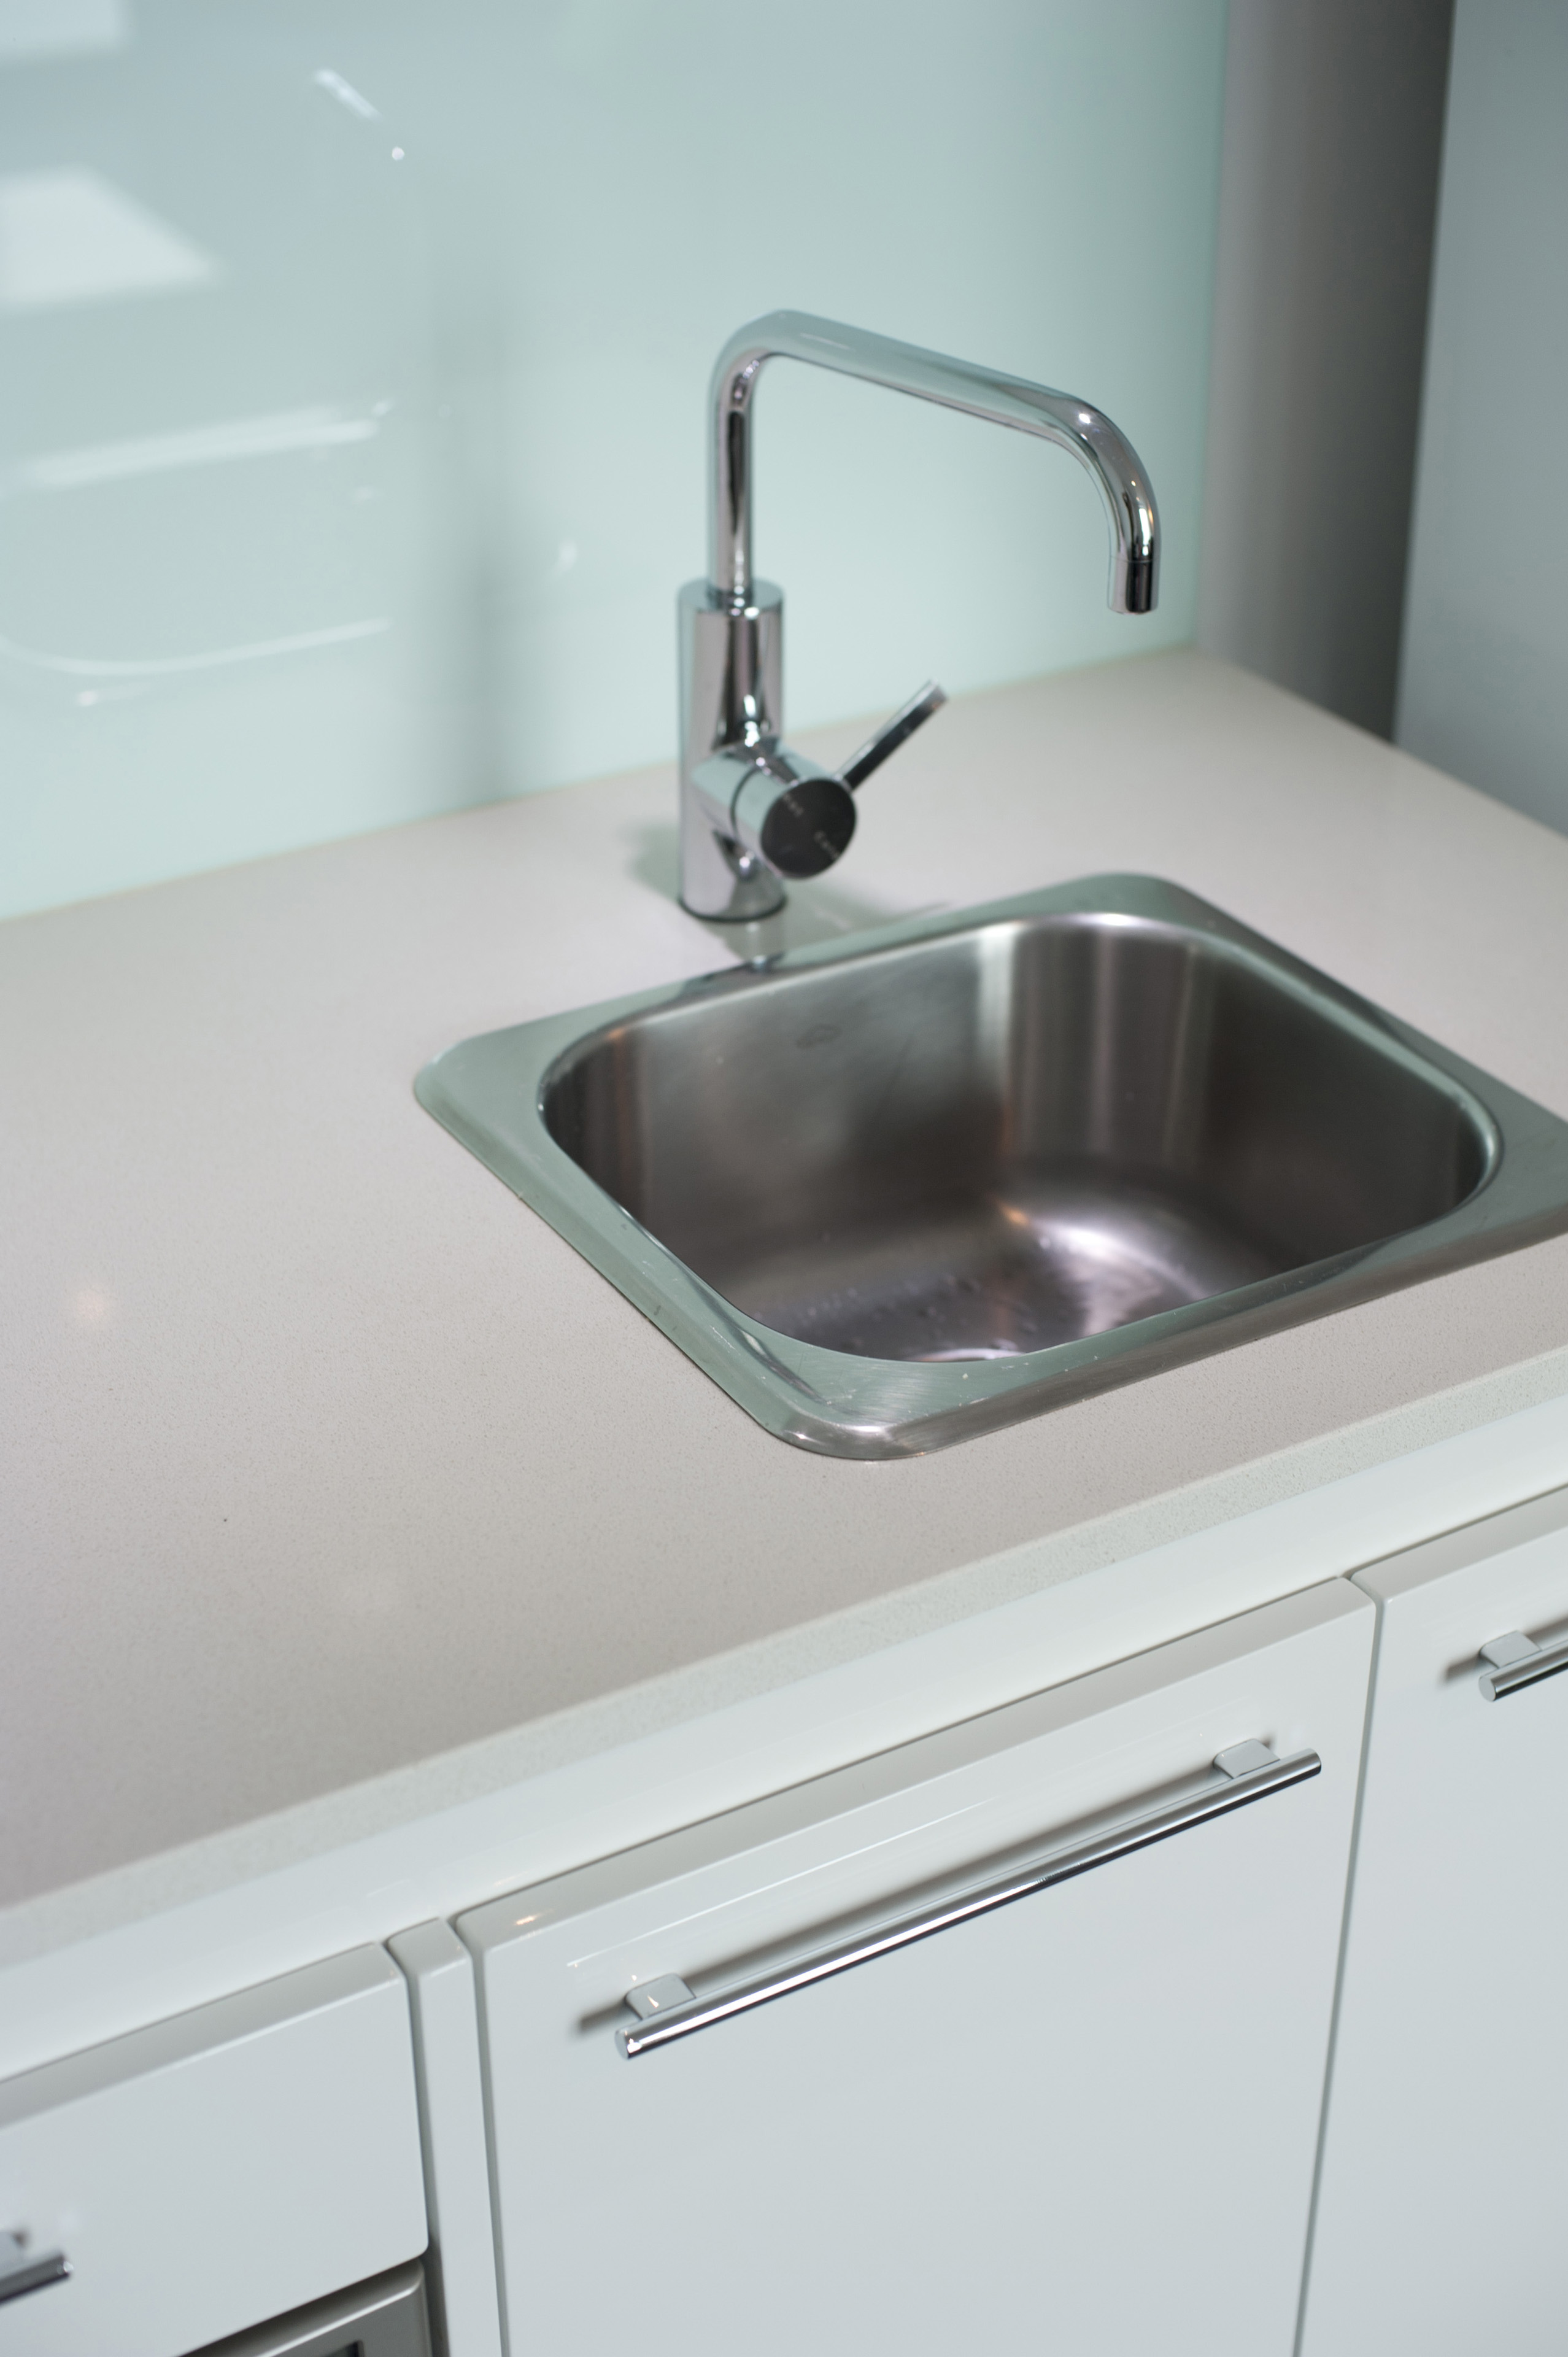
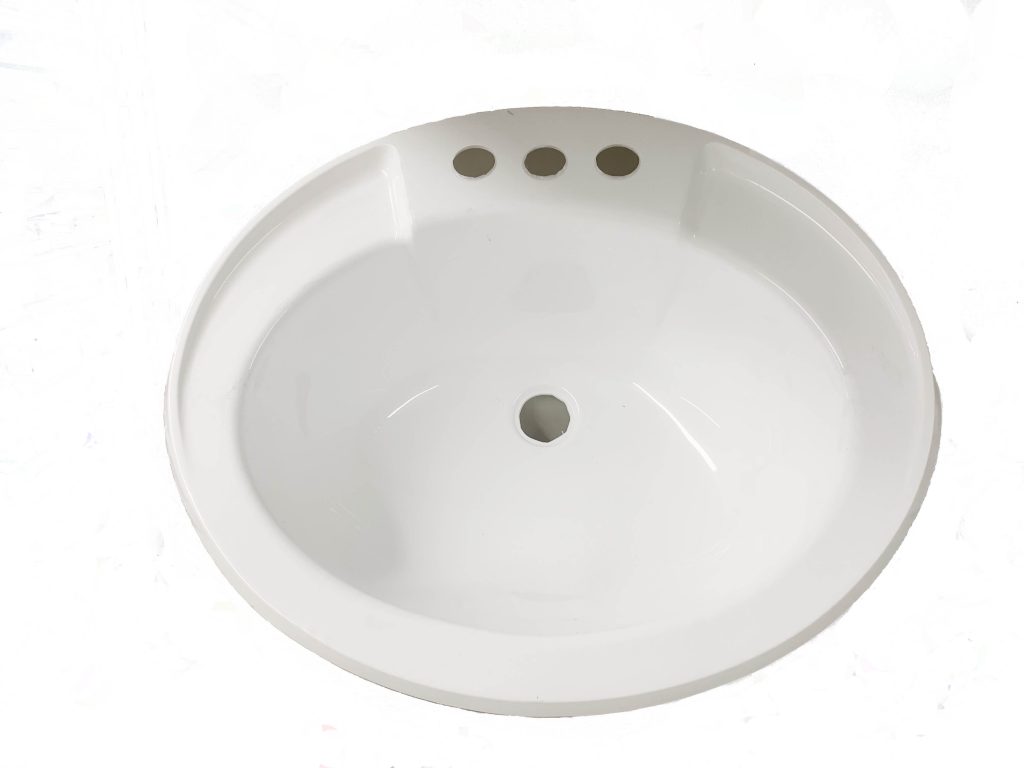
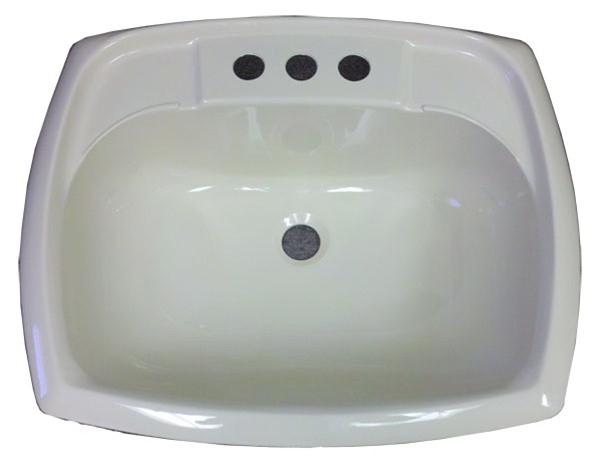
4. Insert the Drain
Now it's time to insert the plastic drain into the sink. Gently push the drain into the opening, making sure the putty creates a seal between the drain and the sink. If necessary, you can use a wrench to tighten the drain in place.

drain


5. Attach the Tailpiece
The next step is to attach the tailpiece, which is the pipe that connects the drain to the rest of the plumbing. Use plumber's tape to create a tight seal between the tailpiece and the drain.


installation


6. Connect the P-Trap
Once the tailpiece is in place, it's time to connect the P-trap. This is the curved pipe that prevents sewer gases from entering your bathroom. Make sure to use plumber's tape to create a tight seal between the P-trap and the tailpiece.


plastic sink


7. Check for Leaks
Before moving on to the final step, it's important to check for any leaks. Turn on the water and let it run for a few minutes to make sure everything is watertight. If you notice any leaks, tighten the connections until they stop.


bathroom sink


8. Secure the Drain
Once you're confident that there are no leaks, use a wrench to secure the drain in place. Make sure not to overtighten, as this can cause damage to the plastic drain.


drain installation


9. Clean Up
With the installation complete, it's time to clean up. Wipe away any excess putty or debris from the sink and surrounding area. This will give your new plastic bathroom sink drain a polished and professional look.


plastic drain


Why Choose a Plastic Bathroom Sink Drain?

Benefits of Using a Plastic Bathroom Sink Drain
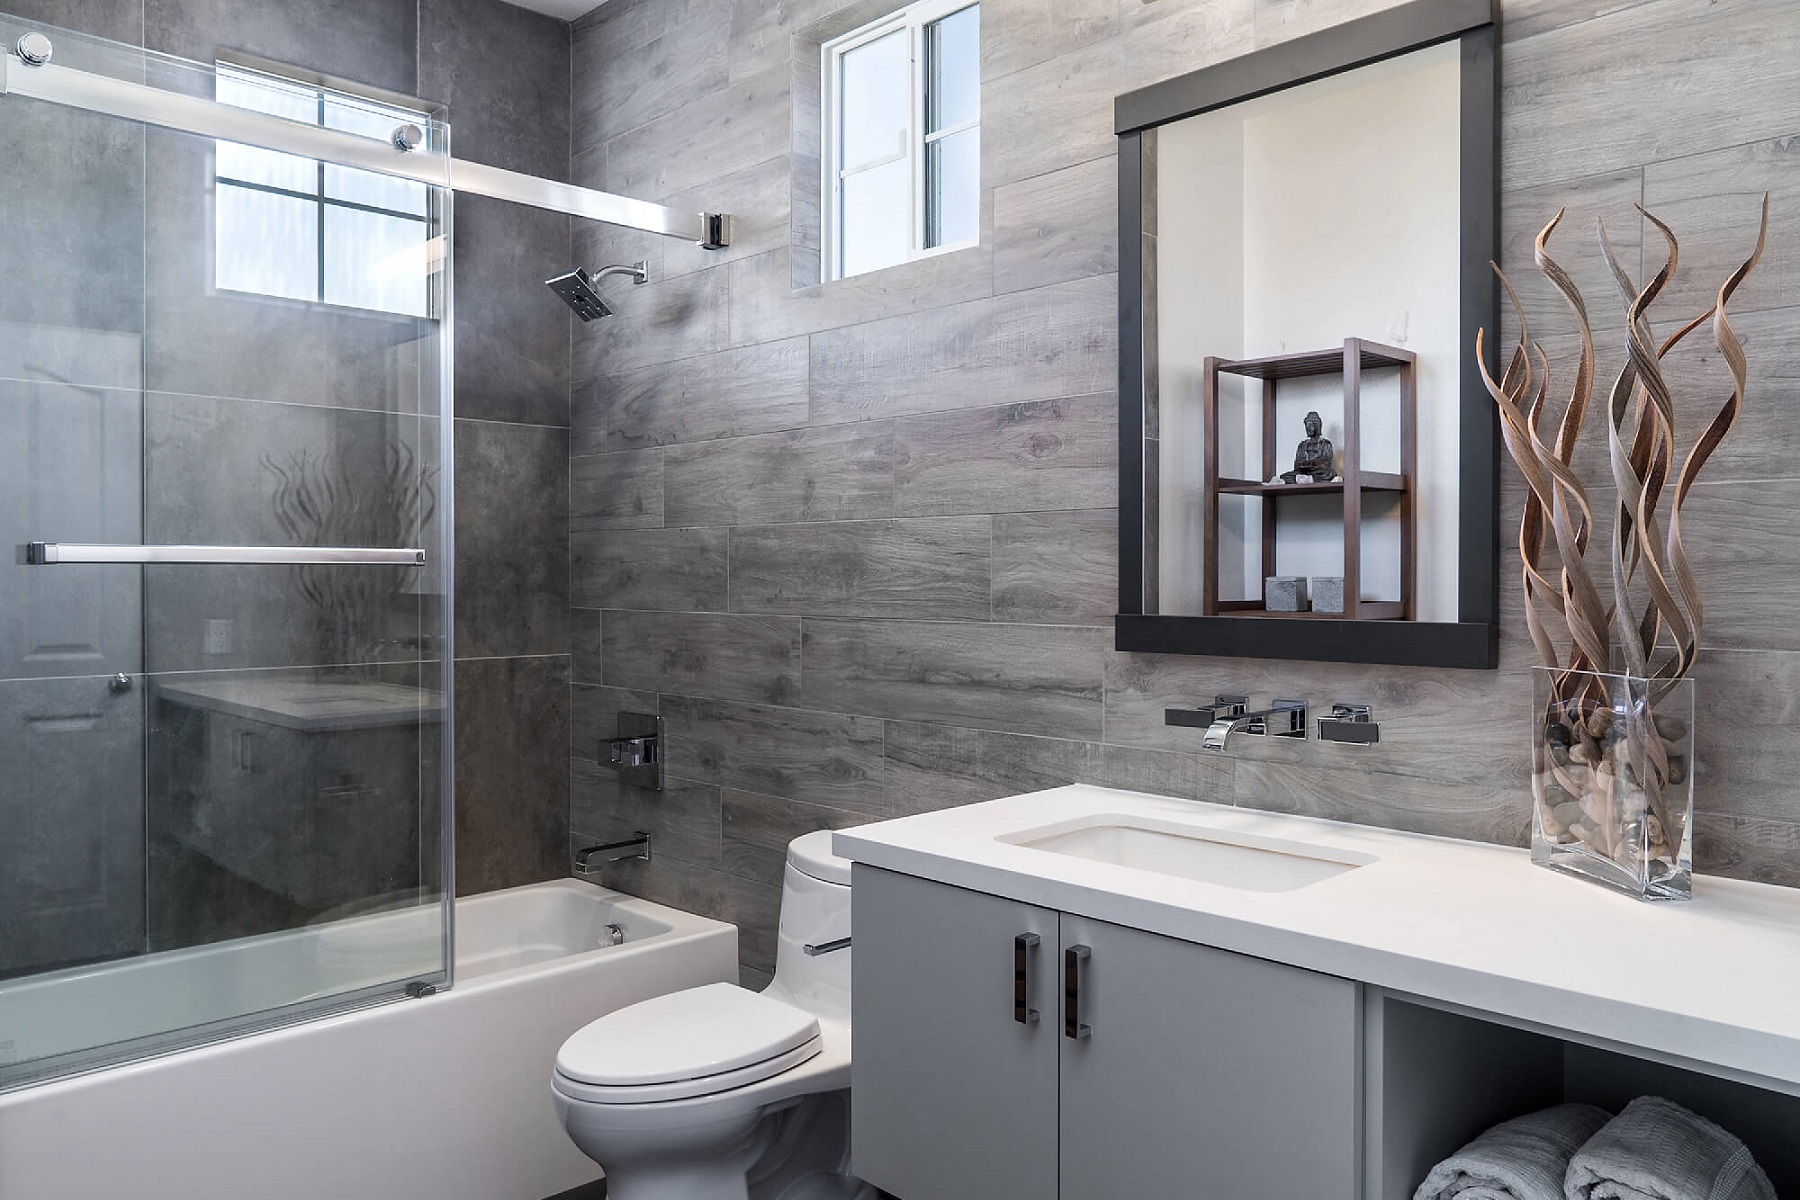
 When it comes to designing your bathroom, every detail matters. From the tiles to the fixtures, every element contributes to the overall look and functionality of your space. One important aspect that often gets overlooked is the
bathroom sink drain
. While there are various materials available for sink drains, plastic has emerged as a popular choice among homeowners. Here's why you should consider
installing a plastic bathroom sink drain
for your next bathroom renovation project.
When it comes to designing your bathroom, every detail matters. From the tiles to the fixtures, every element contributes to the overall look and functionality of your space. One important aspect that often gets overlooked is the
bathroom sink drain
. While there are various materials available for sink drains, plastic has emerged as a popular choice among homeowners. Here's why you should consider
installing a plastic bathroom sink drain
for your next bathroom renovation project.
Cost-Effective Option
 Compared to other materials such as metal or ceramic,
plastic bathroom sink drains
are significantly more affordable. This makes them a great option for those on a budget or looking to save some extra cash. Despite the lower price, plastic drains are still durable and long-lasting, making them a cost-effective choice for any bathroom design.
Compared to other materials such as metal or ceramic,
plastic bathroom sink drains
are significantly more affordable. This makes them a great option for those on a budget or looking to save some extra cash. Despite the lower price, plastic drains are still durable and long-lasting, making them a cost-effective choice for any bathroom design.
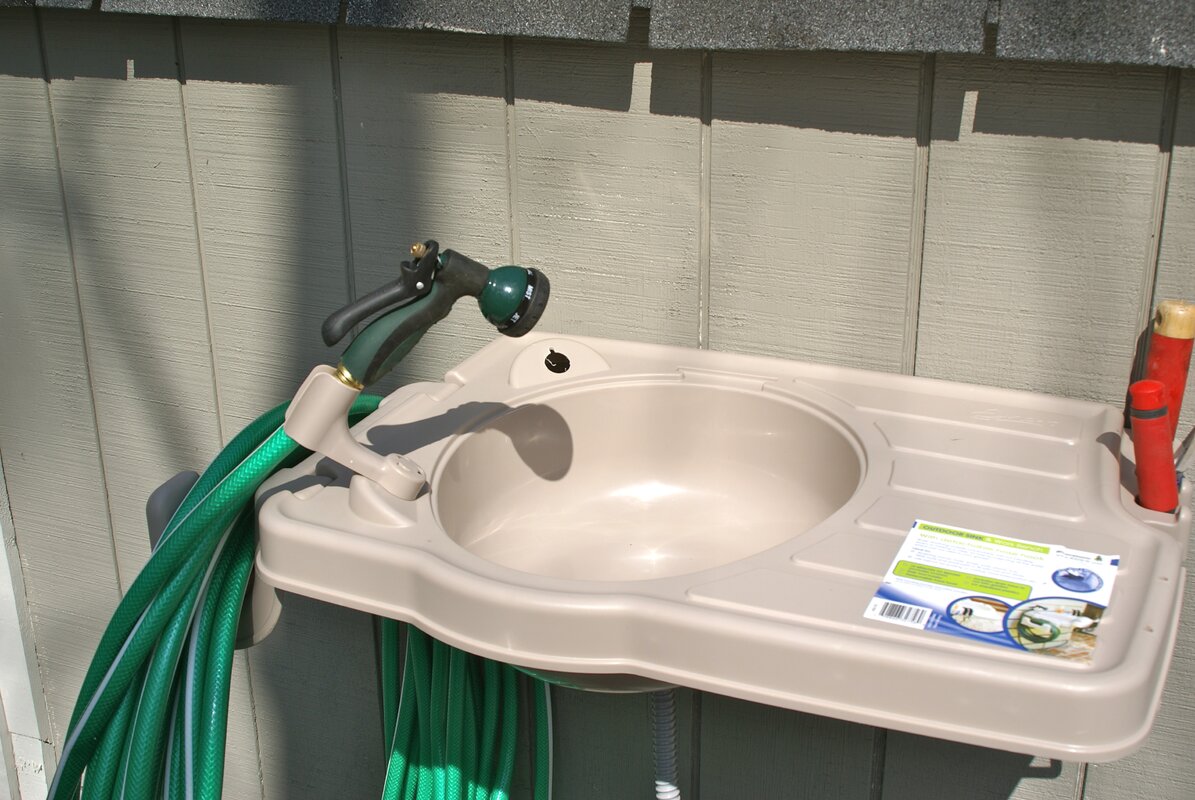
Easy Installation
 Another advantage of plastic bathroom sink drains is their ease of installation. Unlike metal drains, which can be tricky and time-consuming to install, plastic drains are lightweight and can be easily installed without the need for special tools or skills. This makes them a great option for DIY enthusiasts or those looking for a quick and hassle-free installation process.
Corrosion and Rust Resistant
 One of the main concerns with metal sink drains is the potential for corrosion and rust. Over time, exposure to water and moisture can cause metal drains to corrode, leading to unpleasant odors and potential leaks. Plastic drains, on the other hand, are naturally resistant to corrosion and rust, making them a more hygienic and low-maintenance option for your bathroom.
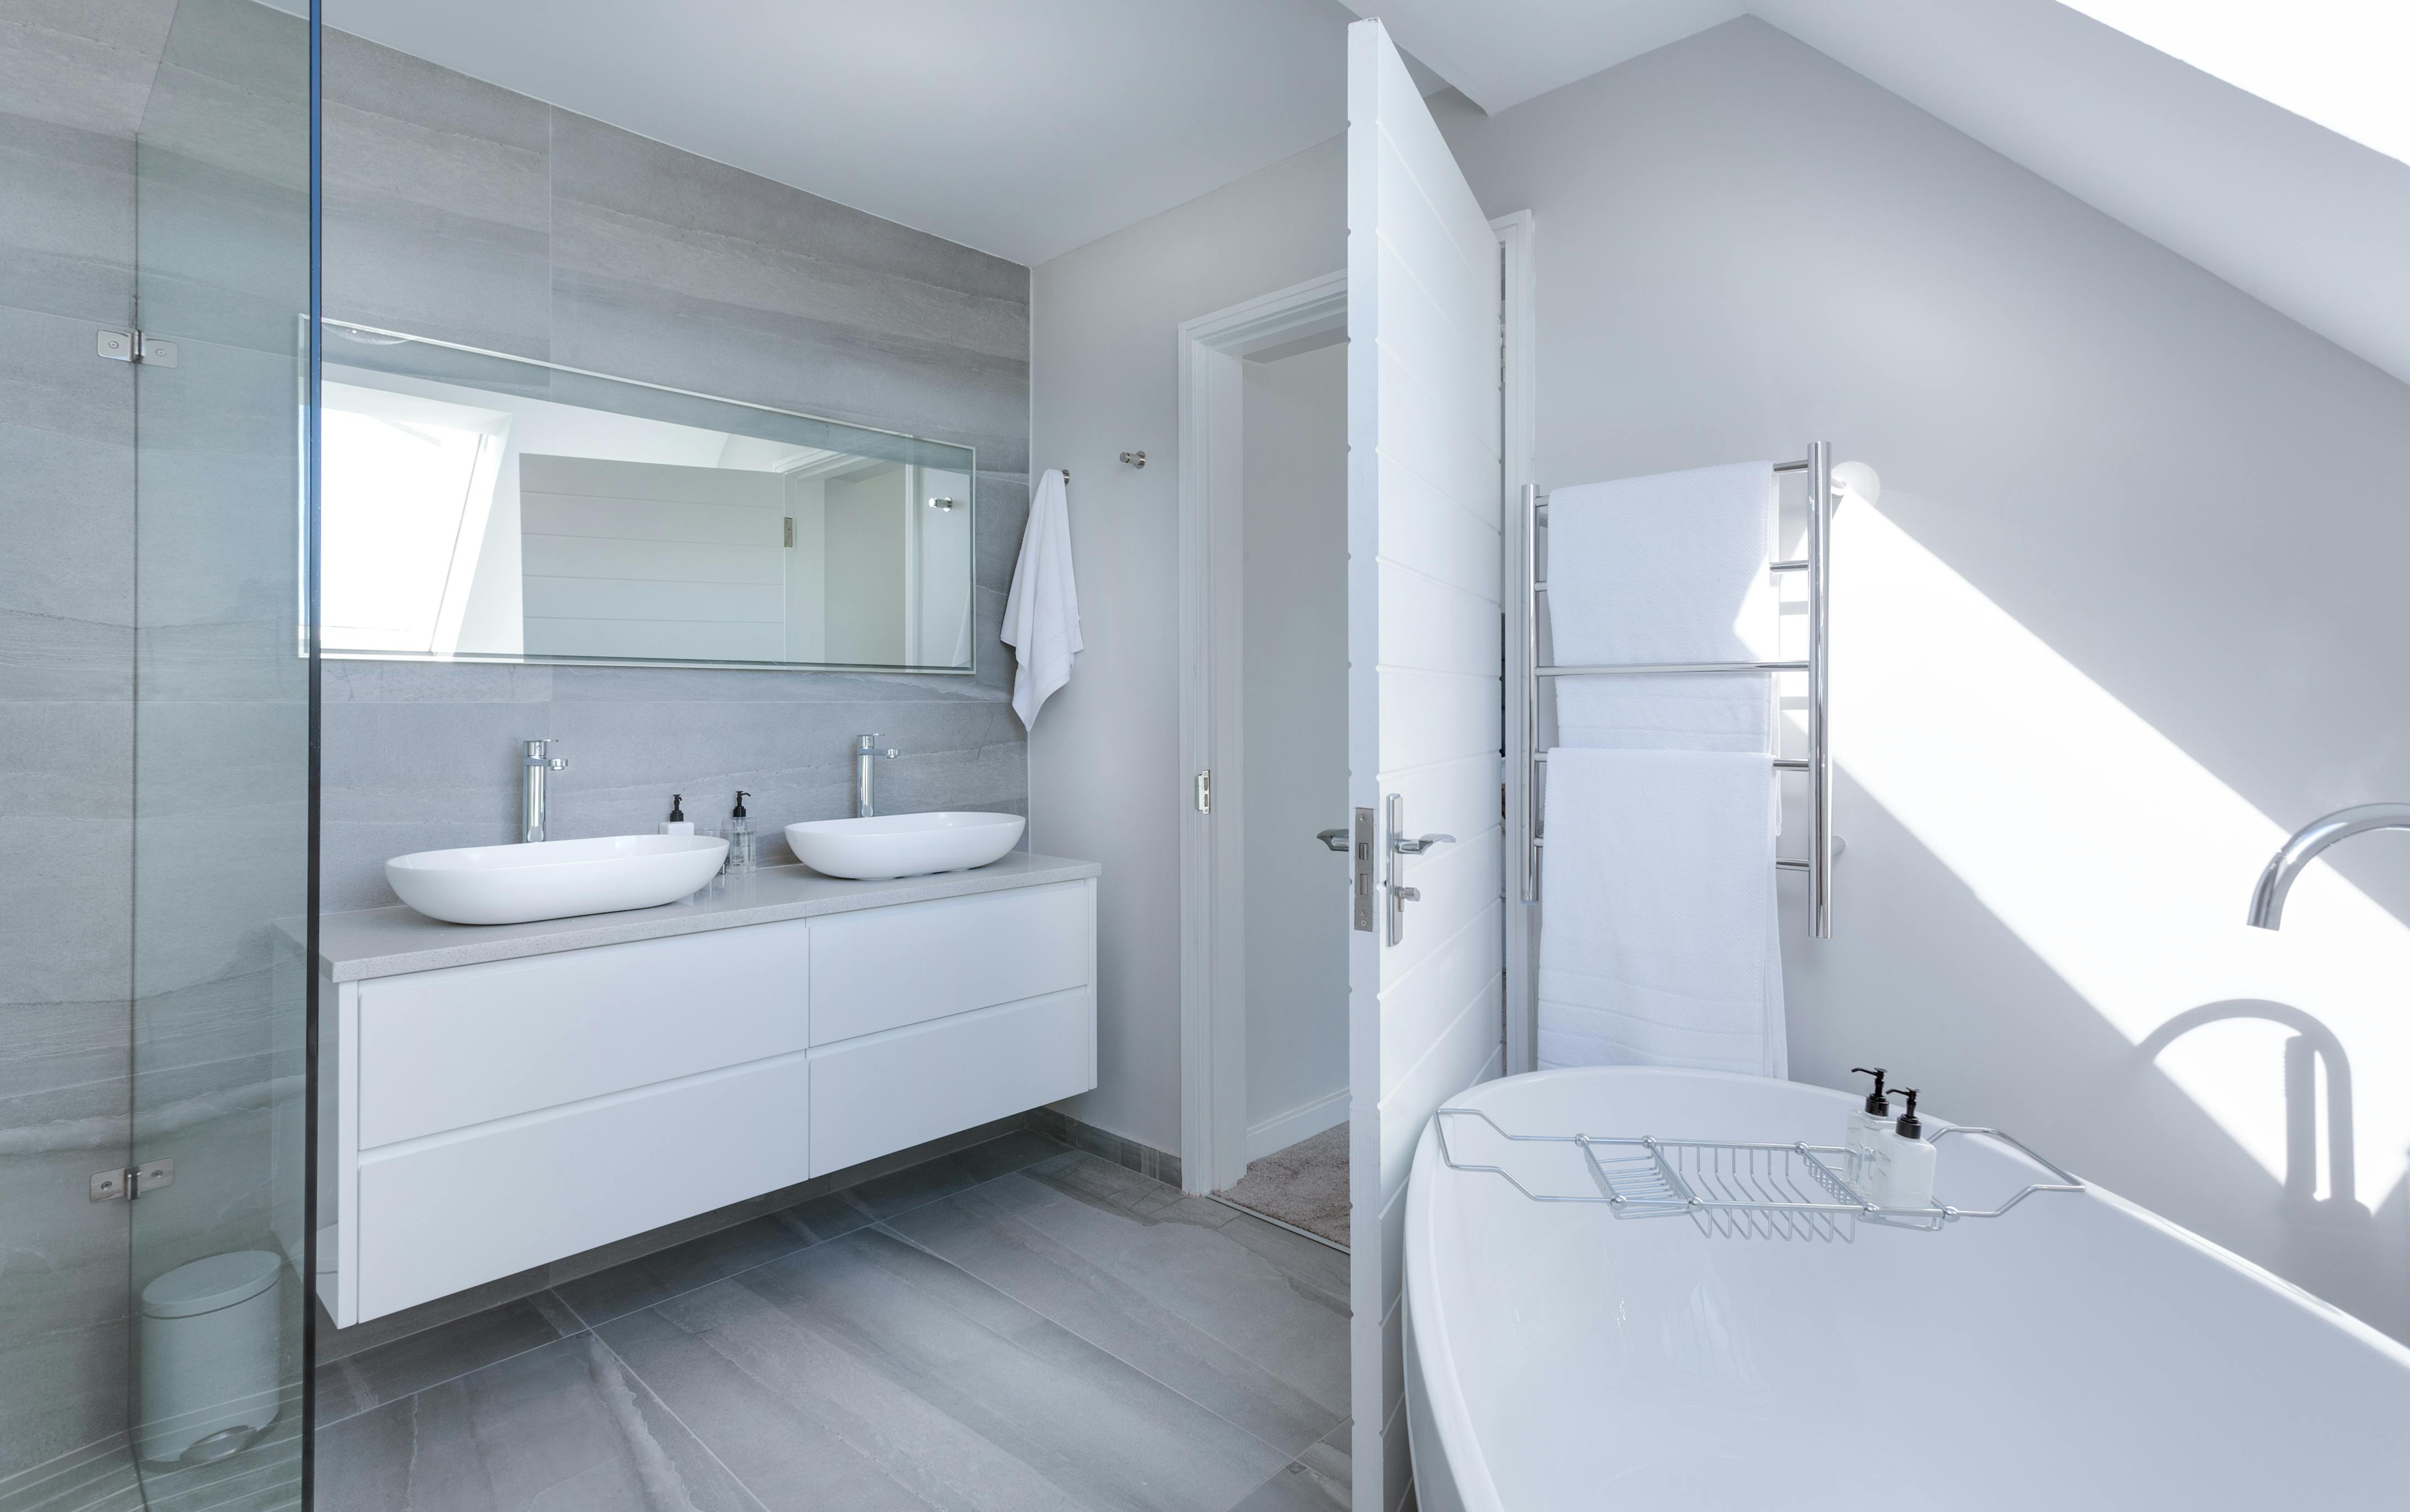
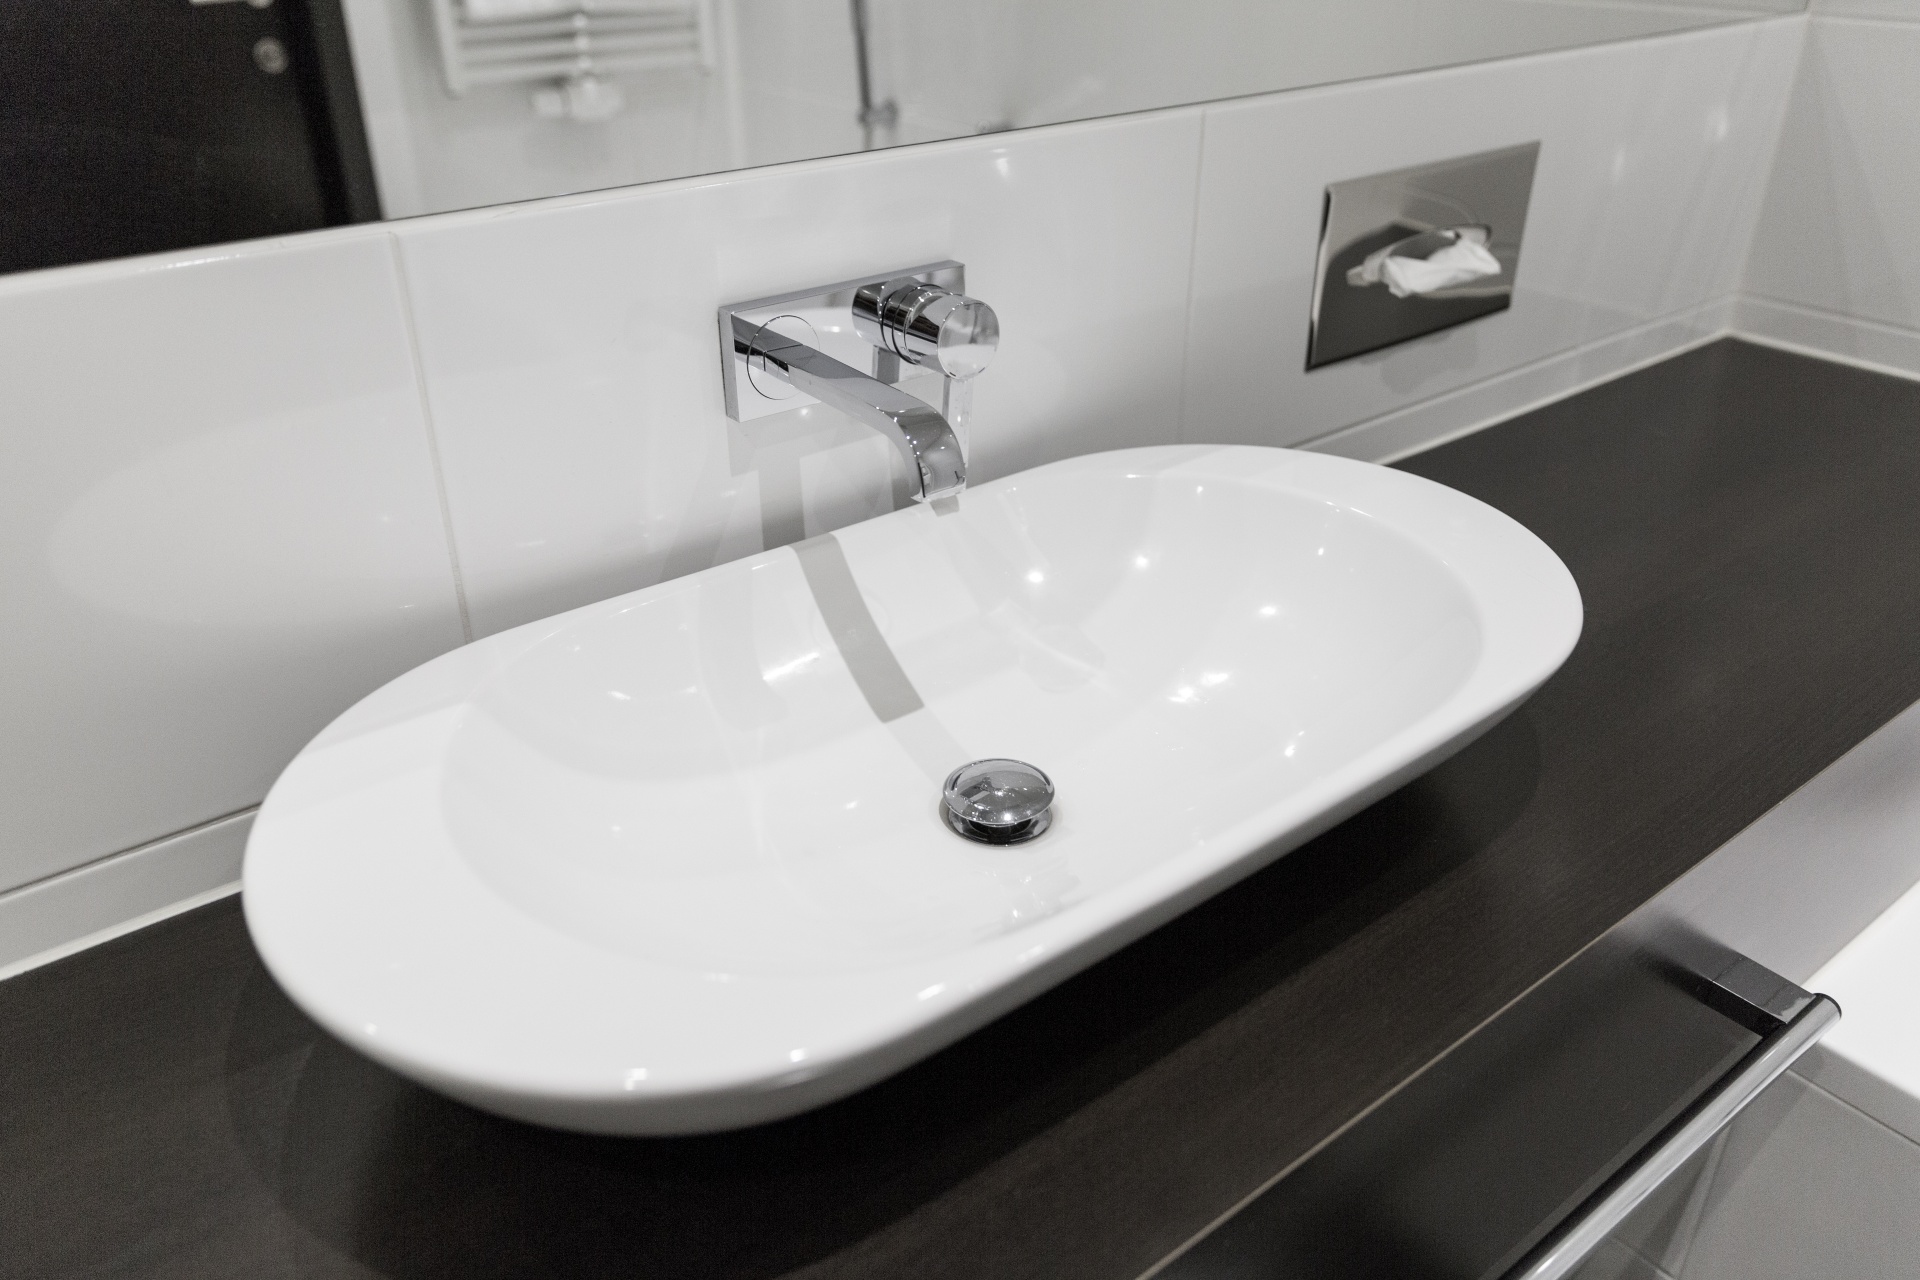
Variety of Styles and Colors
 Plastic bathroom sink drains come in a wide range of styles and colors, allowing you to choose one that best fits your bathroom design. Whether you prefer a sleek and modern look or a more traditional and classic style, there is a plastic drain to match your preferences. Plus, plastic drains can easily be painted or customized to match your existing bathroom fixtures.
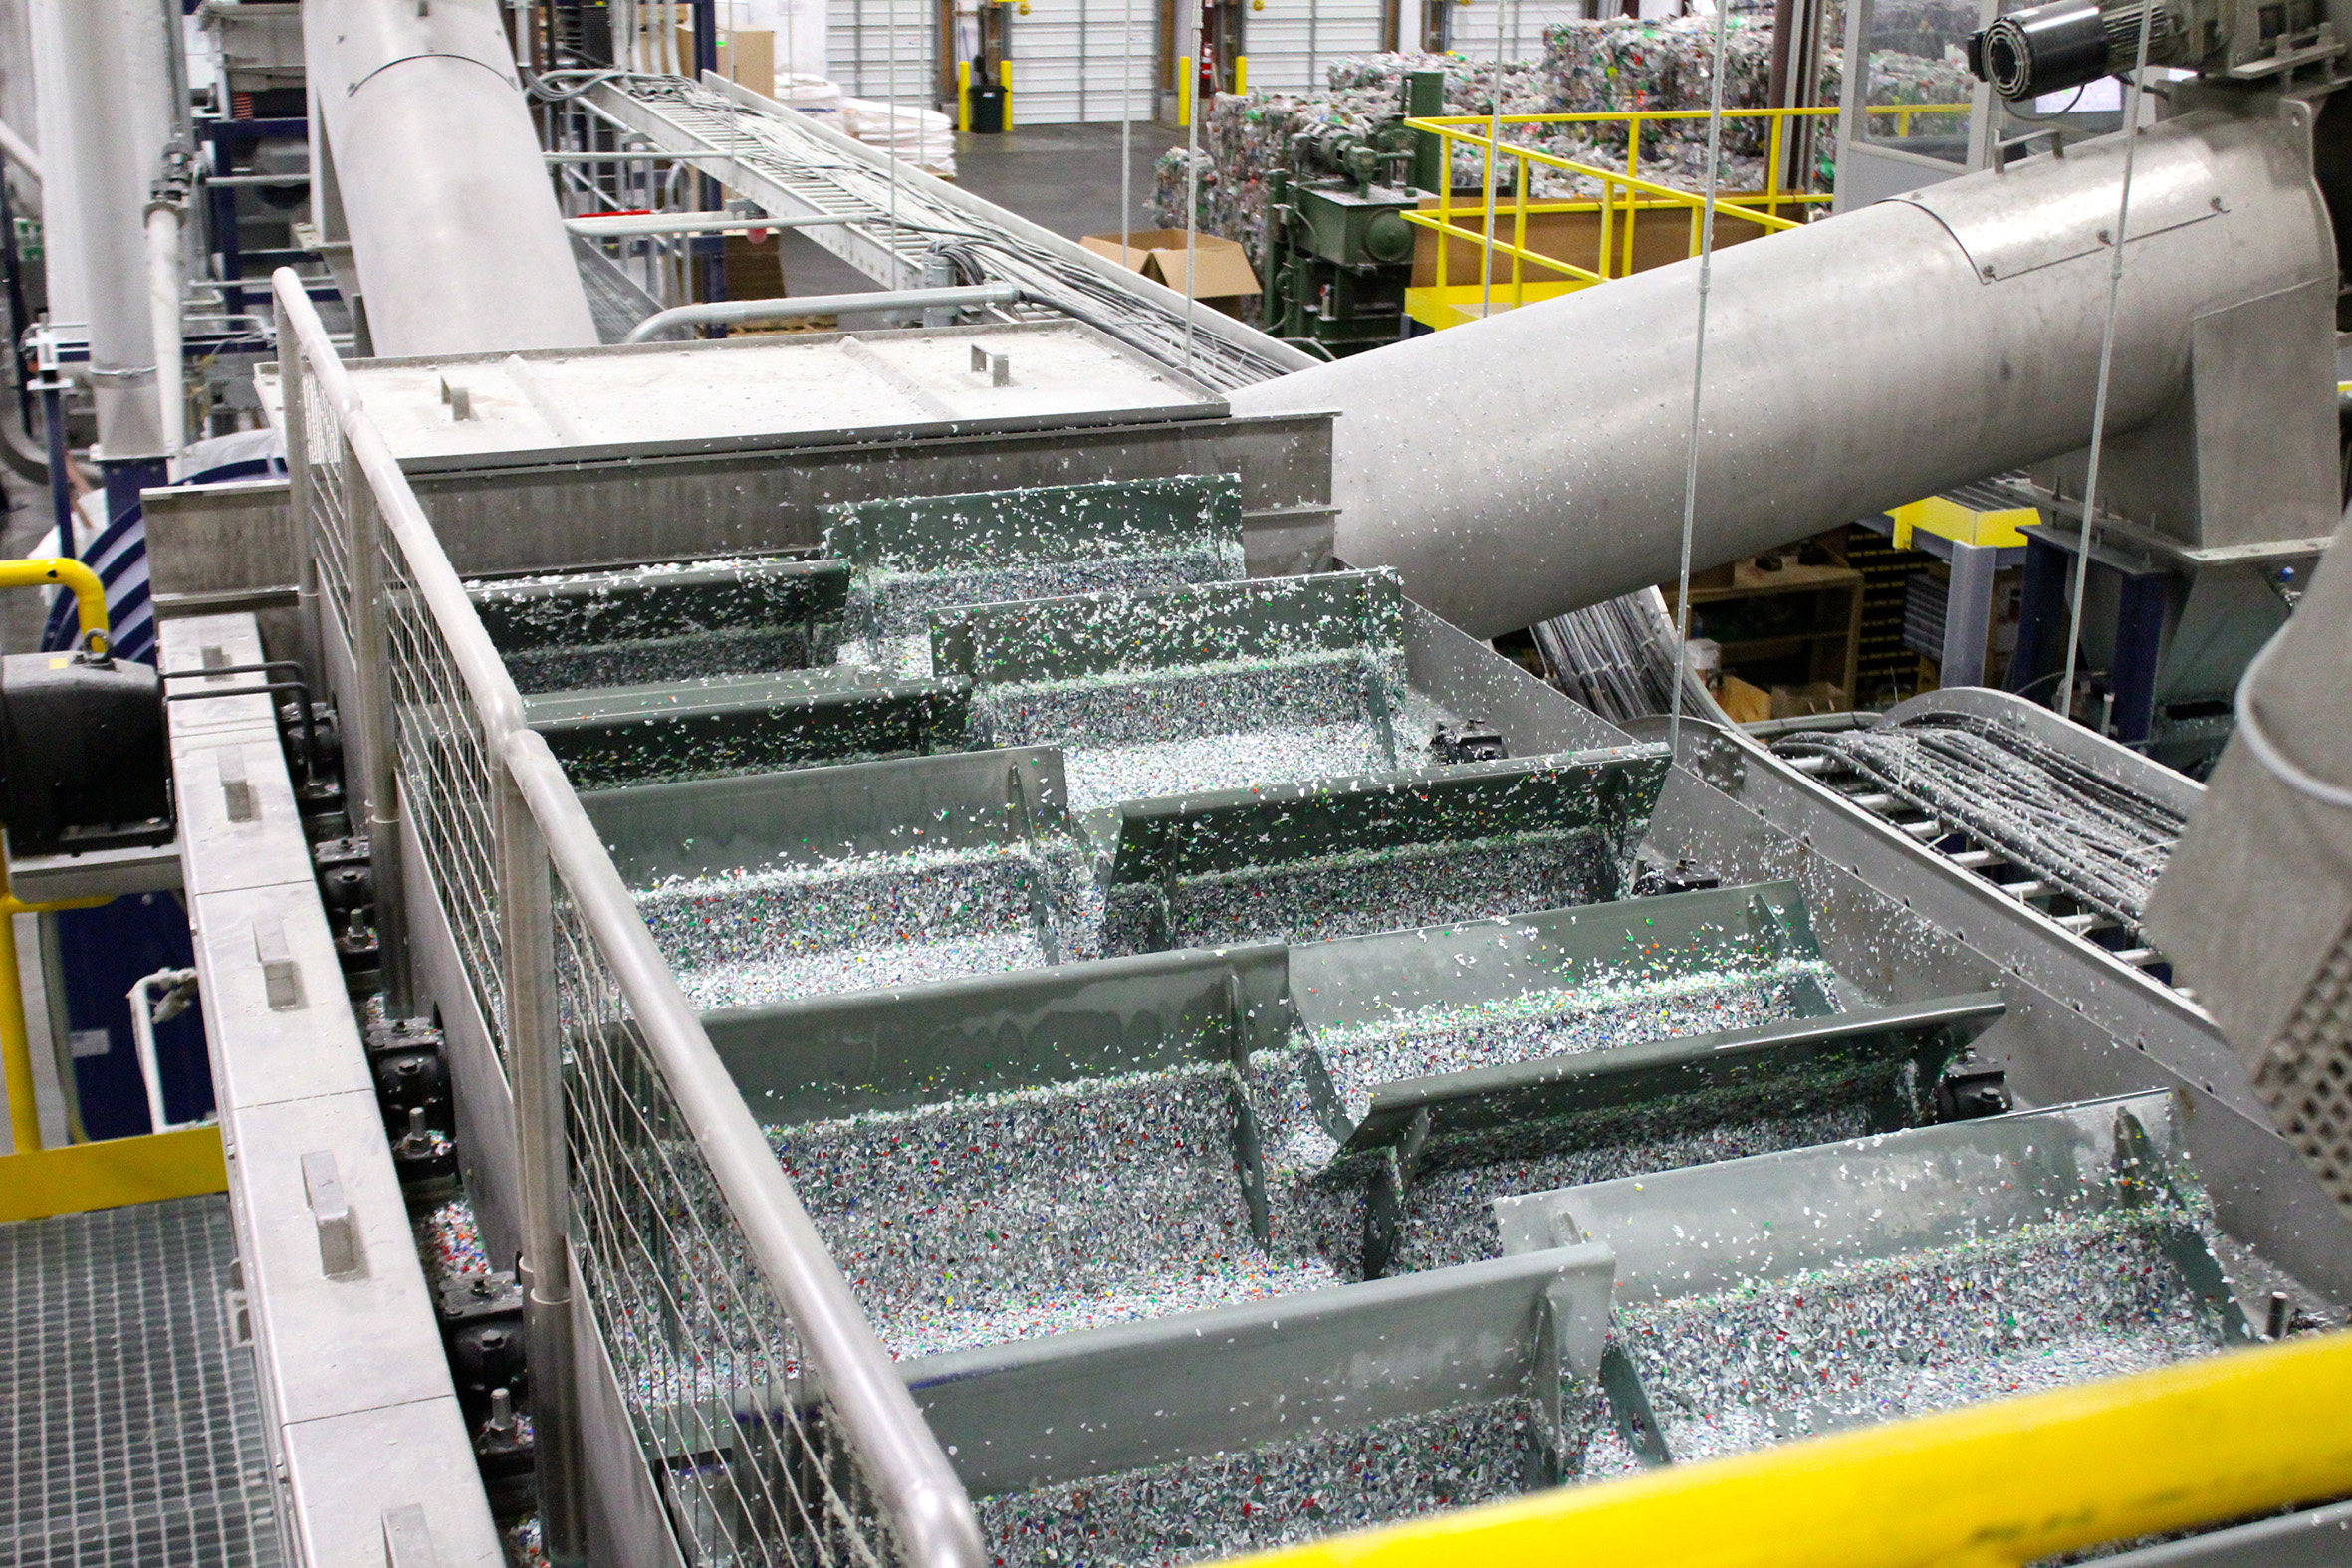
Environmentally Friendly
 Lastly, plastic bathroom sink drains are an environmentally friendly option. They are often made from recycled materials and can also be recycled at the end of their lifespan. By choosing a plastic drain, you are reducing your carbon footprint and contributing to a more sustainable future.
In conclusion,
installing a plastic bathroom sink drain
has numerous benefits that make it a practical and attractive choice for any bathroom design. From its affordability and ease of installation to its resistance to rust and variety of styles, plastic drains are a great addition to any bathroom. So why not consider this option for your next bathroom renovation project? Your wallet, the environment, and your bathroom's overall design will thank you.
Lastly, plastic bathroom sink drains are an environmentally friendly option. They are often made from recycled materials and can also be recycled at the end of their lifespan. By choosing a plastic drain, you are reducing your carbon footprint and contributing to a more sustainable future.
In conclusion,
installing a plastic bathroom sink drain
has numerous benefits that make it a practical and attractive choice for any bathroom design. From its affordability and ease of installation to its resistance to rust and variety of styles, plastic drains are a great addition to any bathroom. So why not consider this option for your next bathroom renovation project? Your wallet, the environment, and your bathroom's overall design will thank you.


