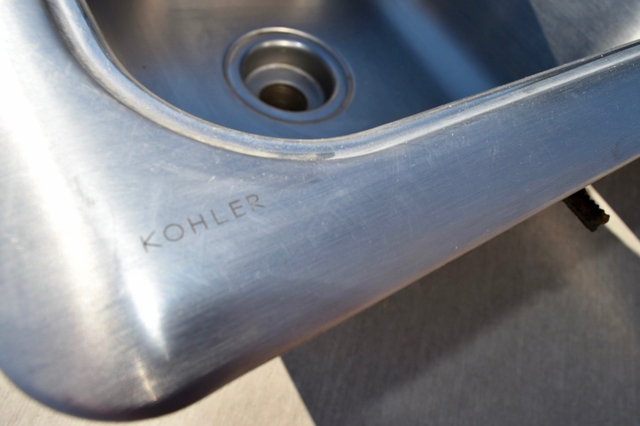
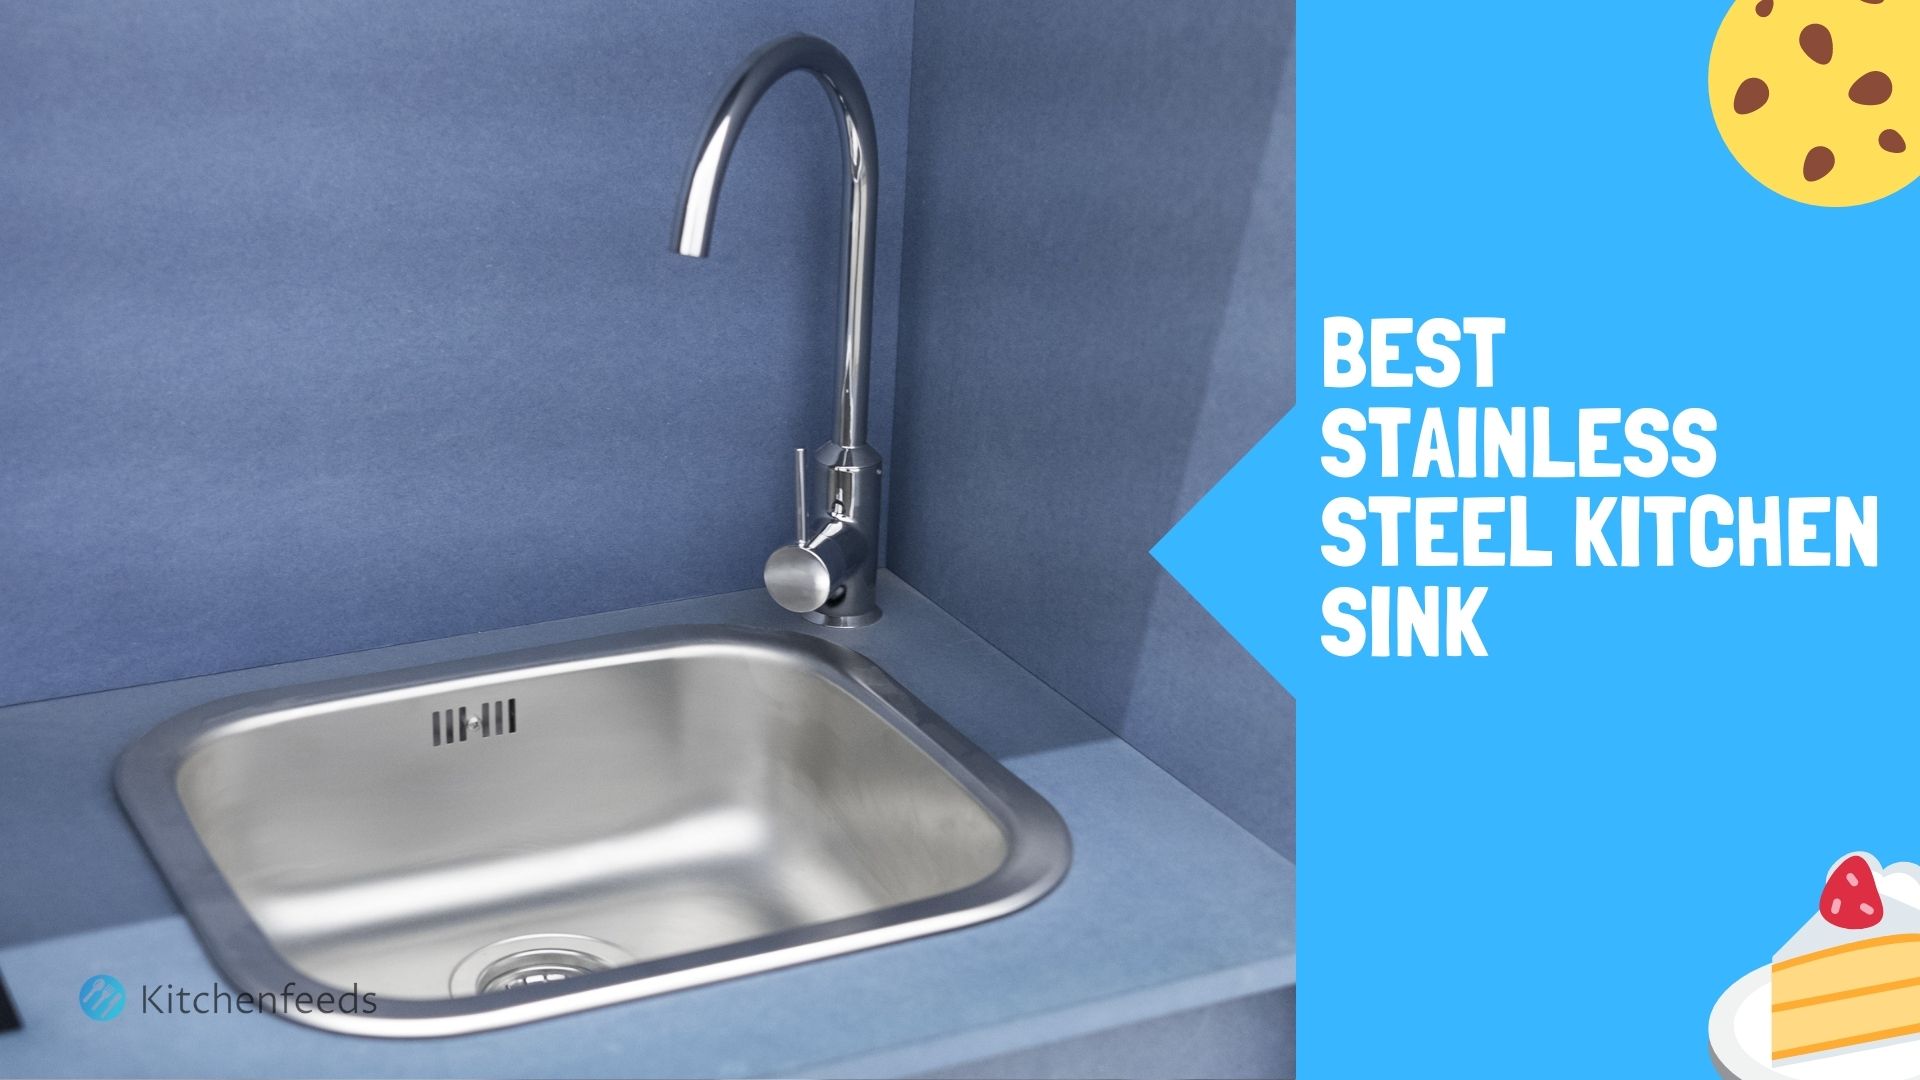
Are you looking to upgrade your kitchen with a new stainless steel sink? Look no further than Kohler, a trusted brand known for their high-quality and durable products. Installing a Kohler stainless steel kitchen sink may seem like a daunting task, but with the right tools and knowledge, it can be a simple and rewarding DIY project. In this guide, we will walk you through the steps of installing a Kohler stainless steel kitchen sink, from preparation to completion.How to Install a Kohler Stainless Steel Kitchen Sink
Before you begin the installation process, make sure you have all the necessary tools and materials. These include a tape measure, adjustable wrench, screwdriver, plumber’s putty, silicone caulk, and of course, your new Kohler stainless steel kitchen sink. Once you have everything ready, follow these steps:Installing a Kohler Stainless Steel Kitchen Sink: A Step-by-Step Guide
Start by measuring the size of your sink and countertop to ensure that your new Kohler sink will fit properly. If you are replacing an old sink, remove it and clean the area thoroughly. Make sure there are no obstructions or debris that could interfere with the installation.Step 1: Measure and Prepare
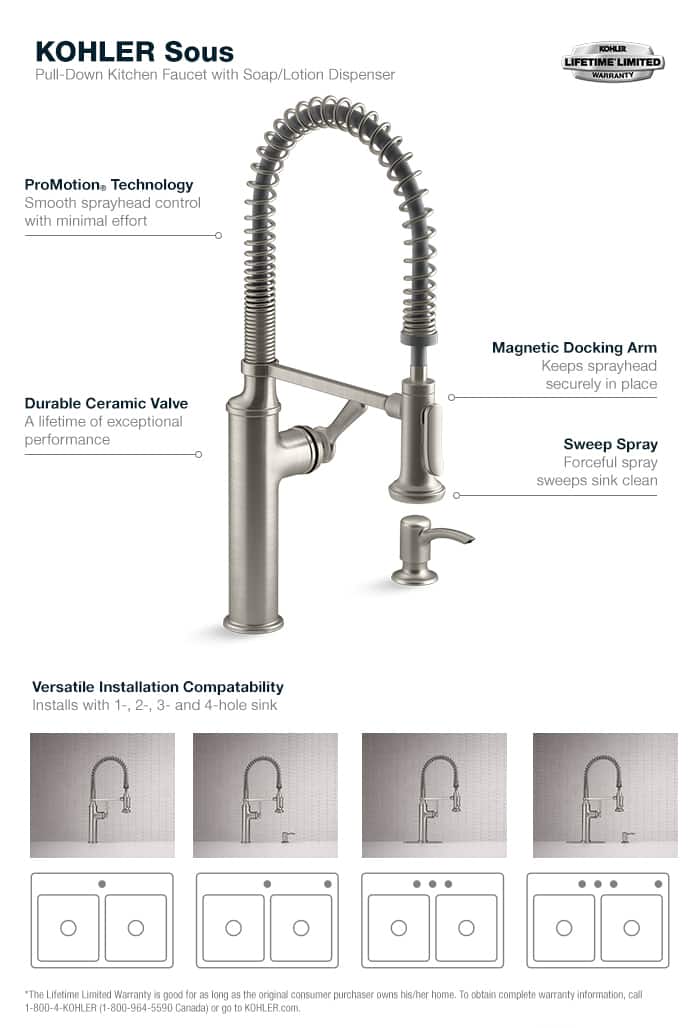
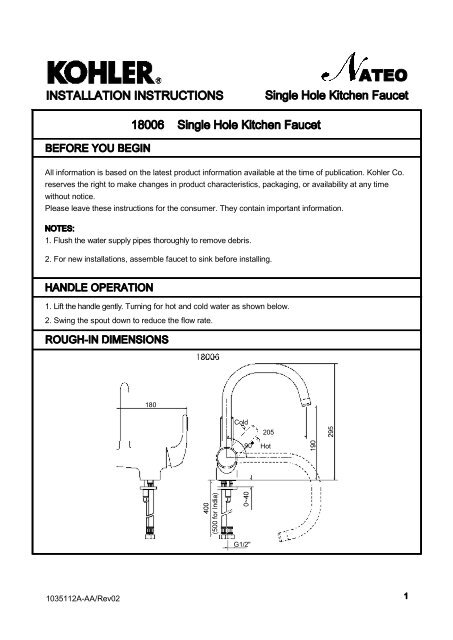
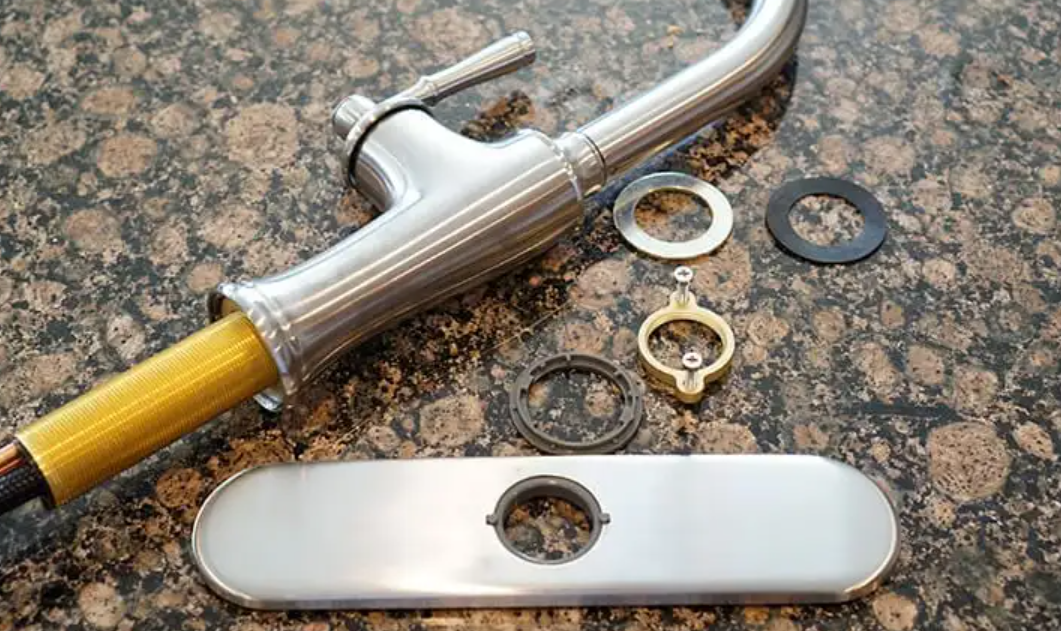
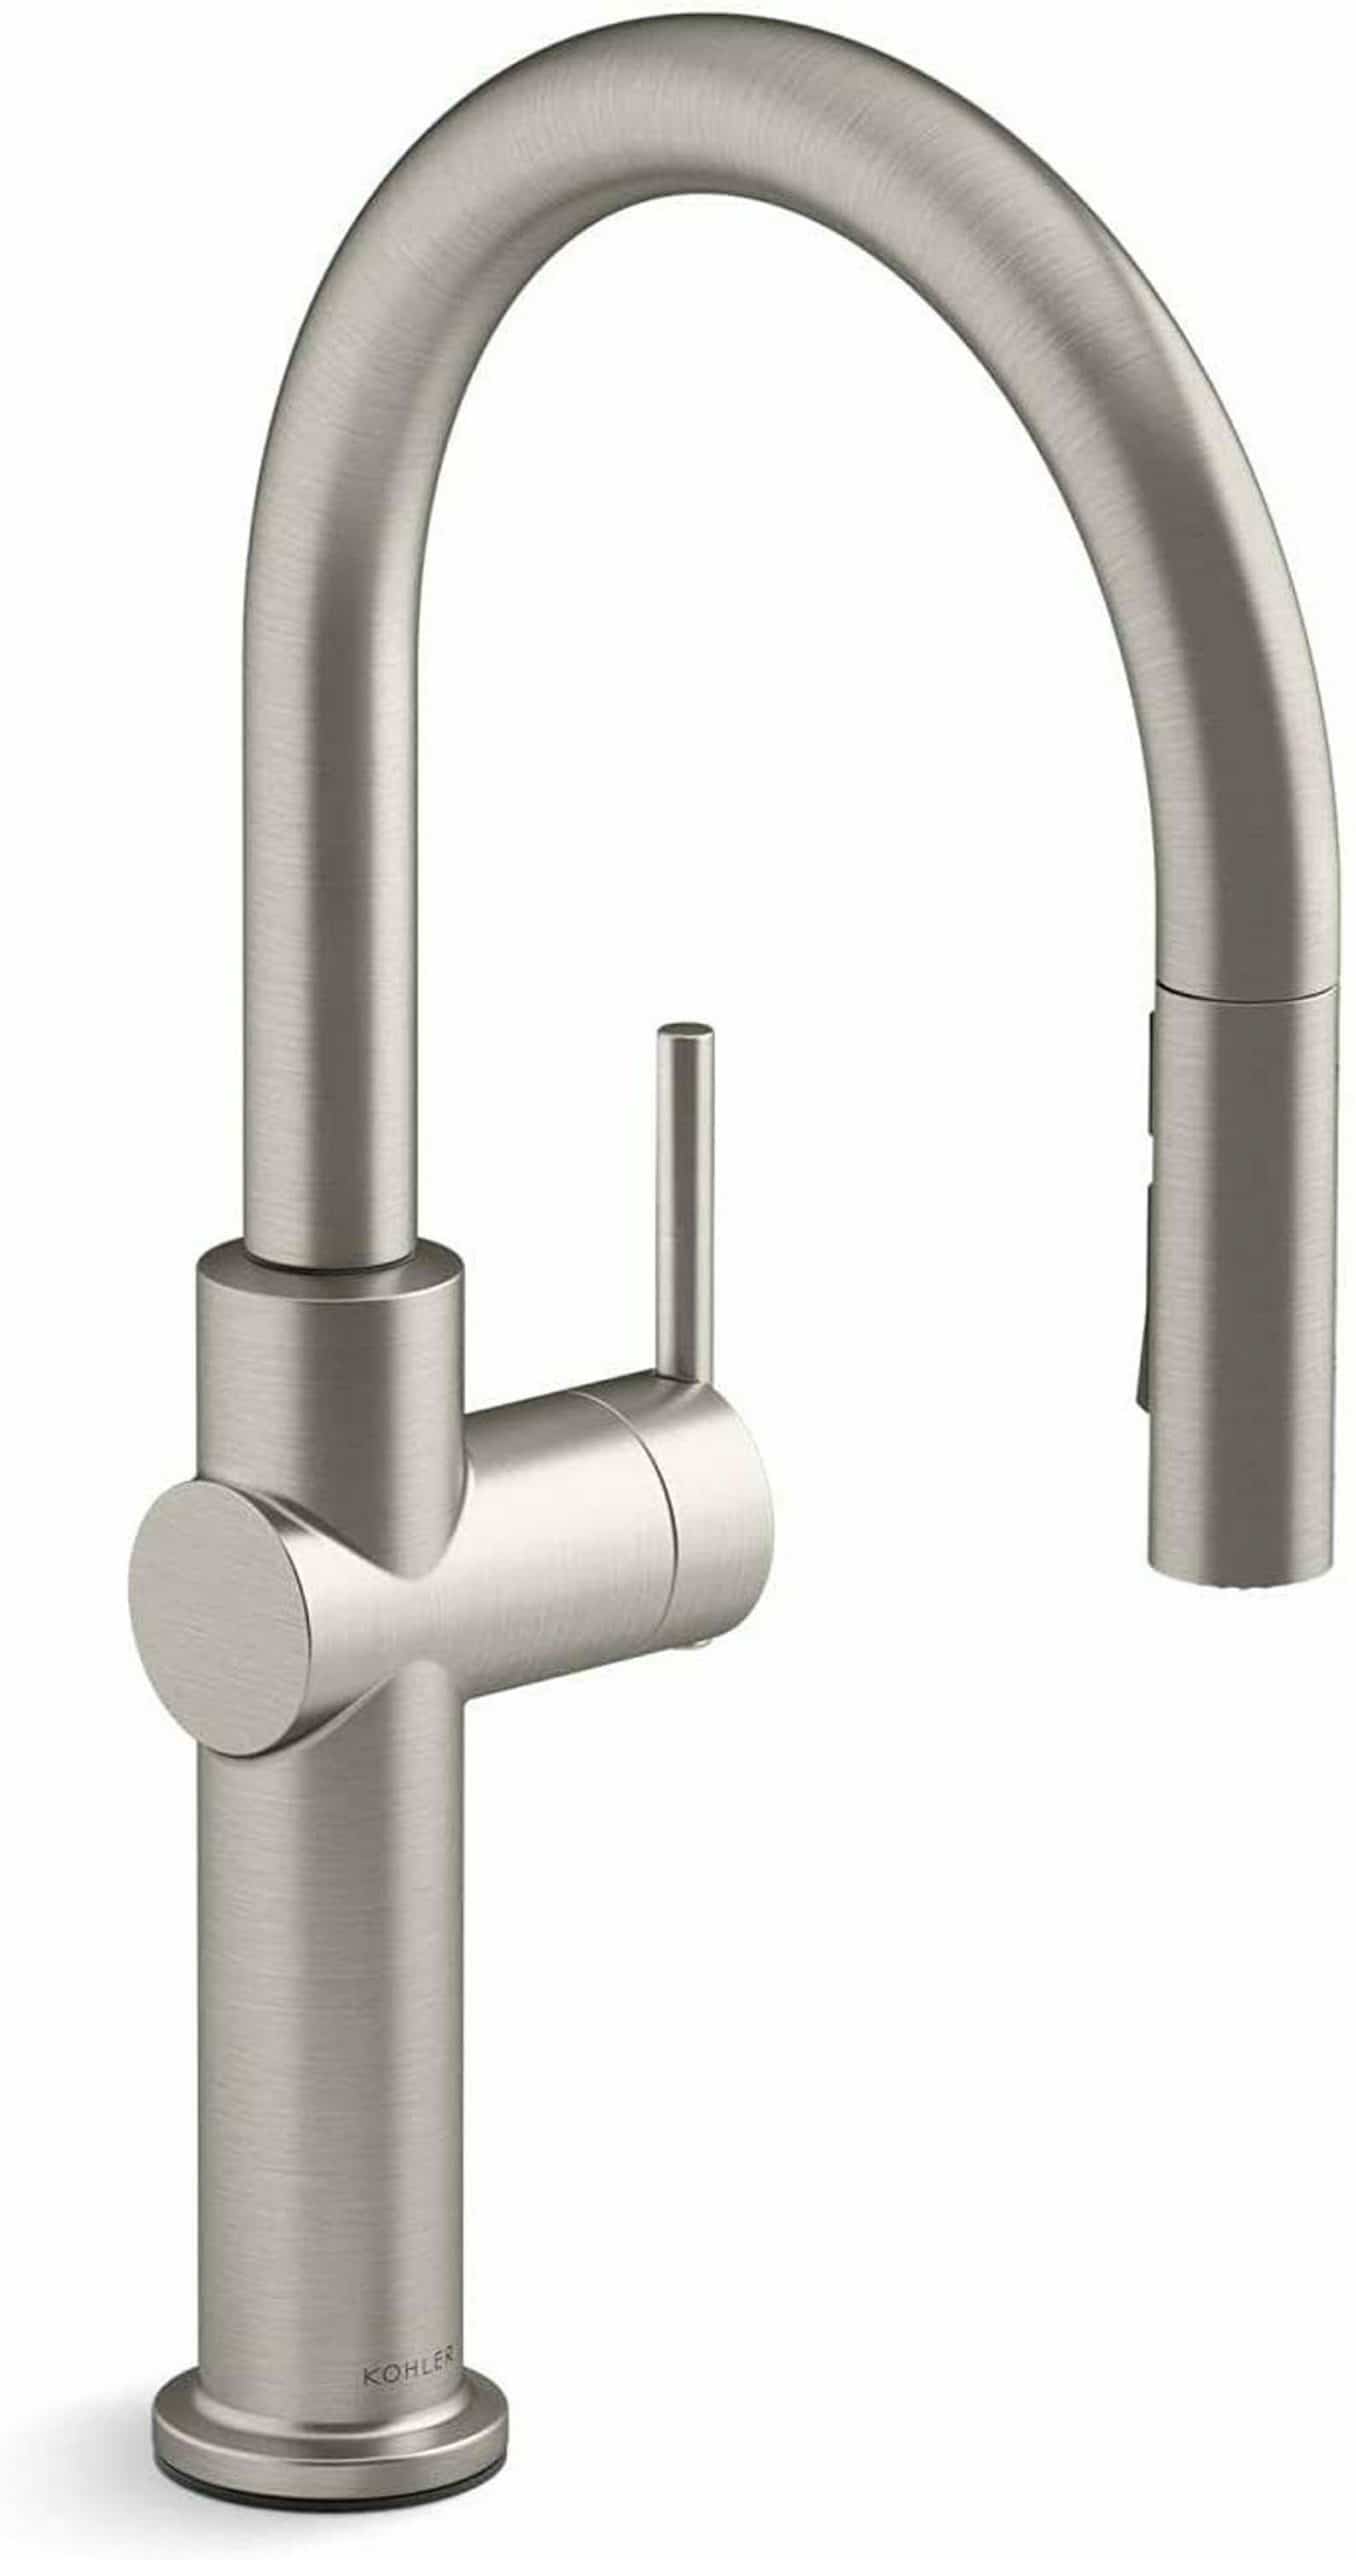
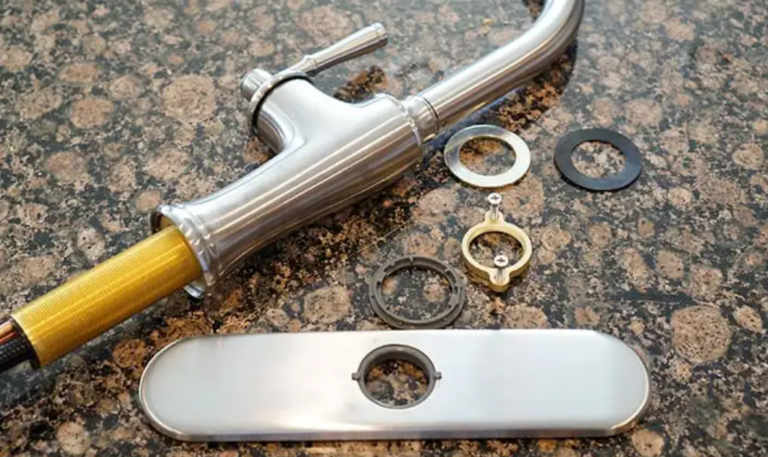
If you are installing a new faucet, do this before placing the sink into the countertop. Follow the manufacturer’s instructions for the specific faucet you have chosen. Make sure to tighten all connections securely.Step 2: Install the Faucet
Take a small amount of plumber’s putty and roll it into a thin rope. Apply this to the underside of the sink’s drain flange, making sure it is evenly distributed. This will create a watertight seal between the sink and the drain.Step 3: Apply Plumber’s Putty
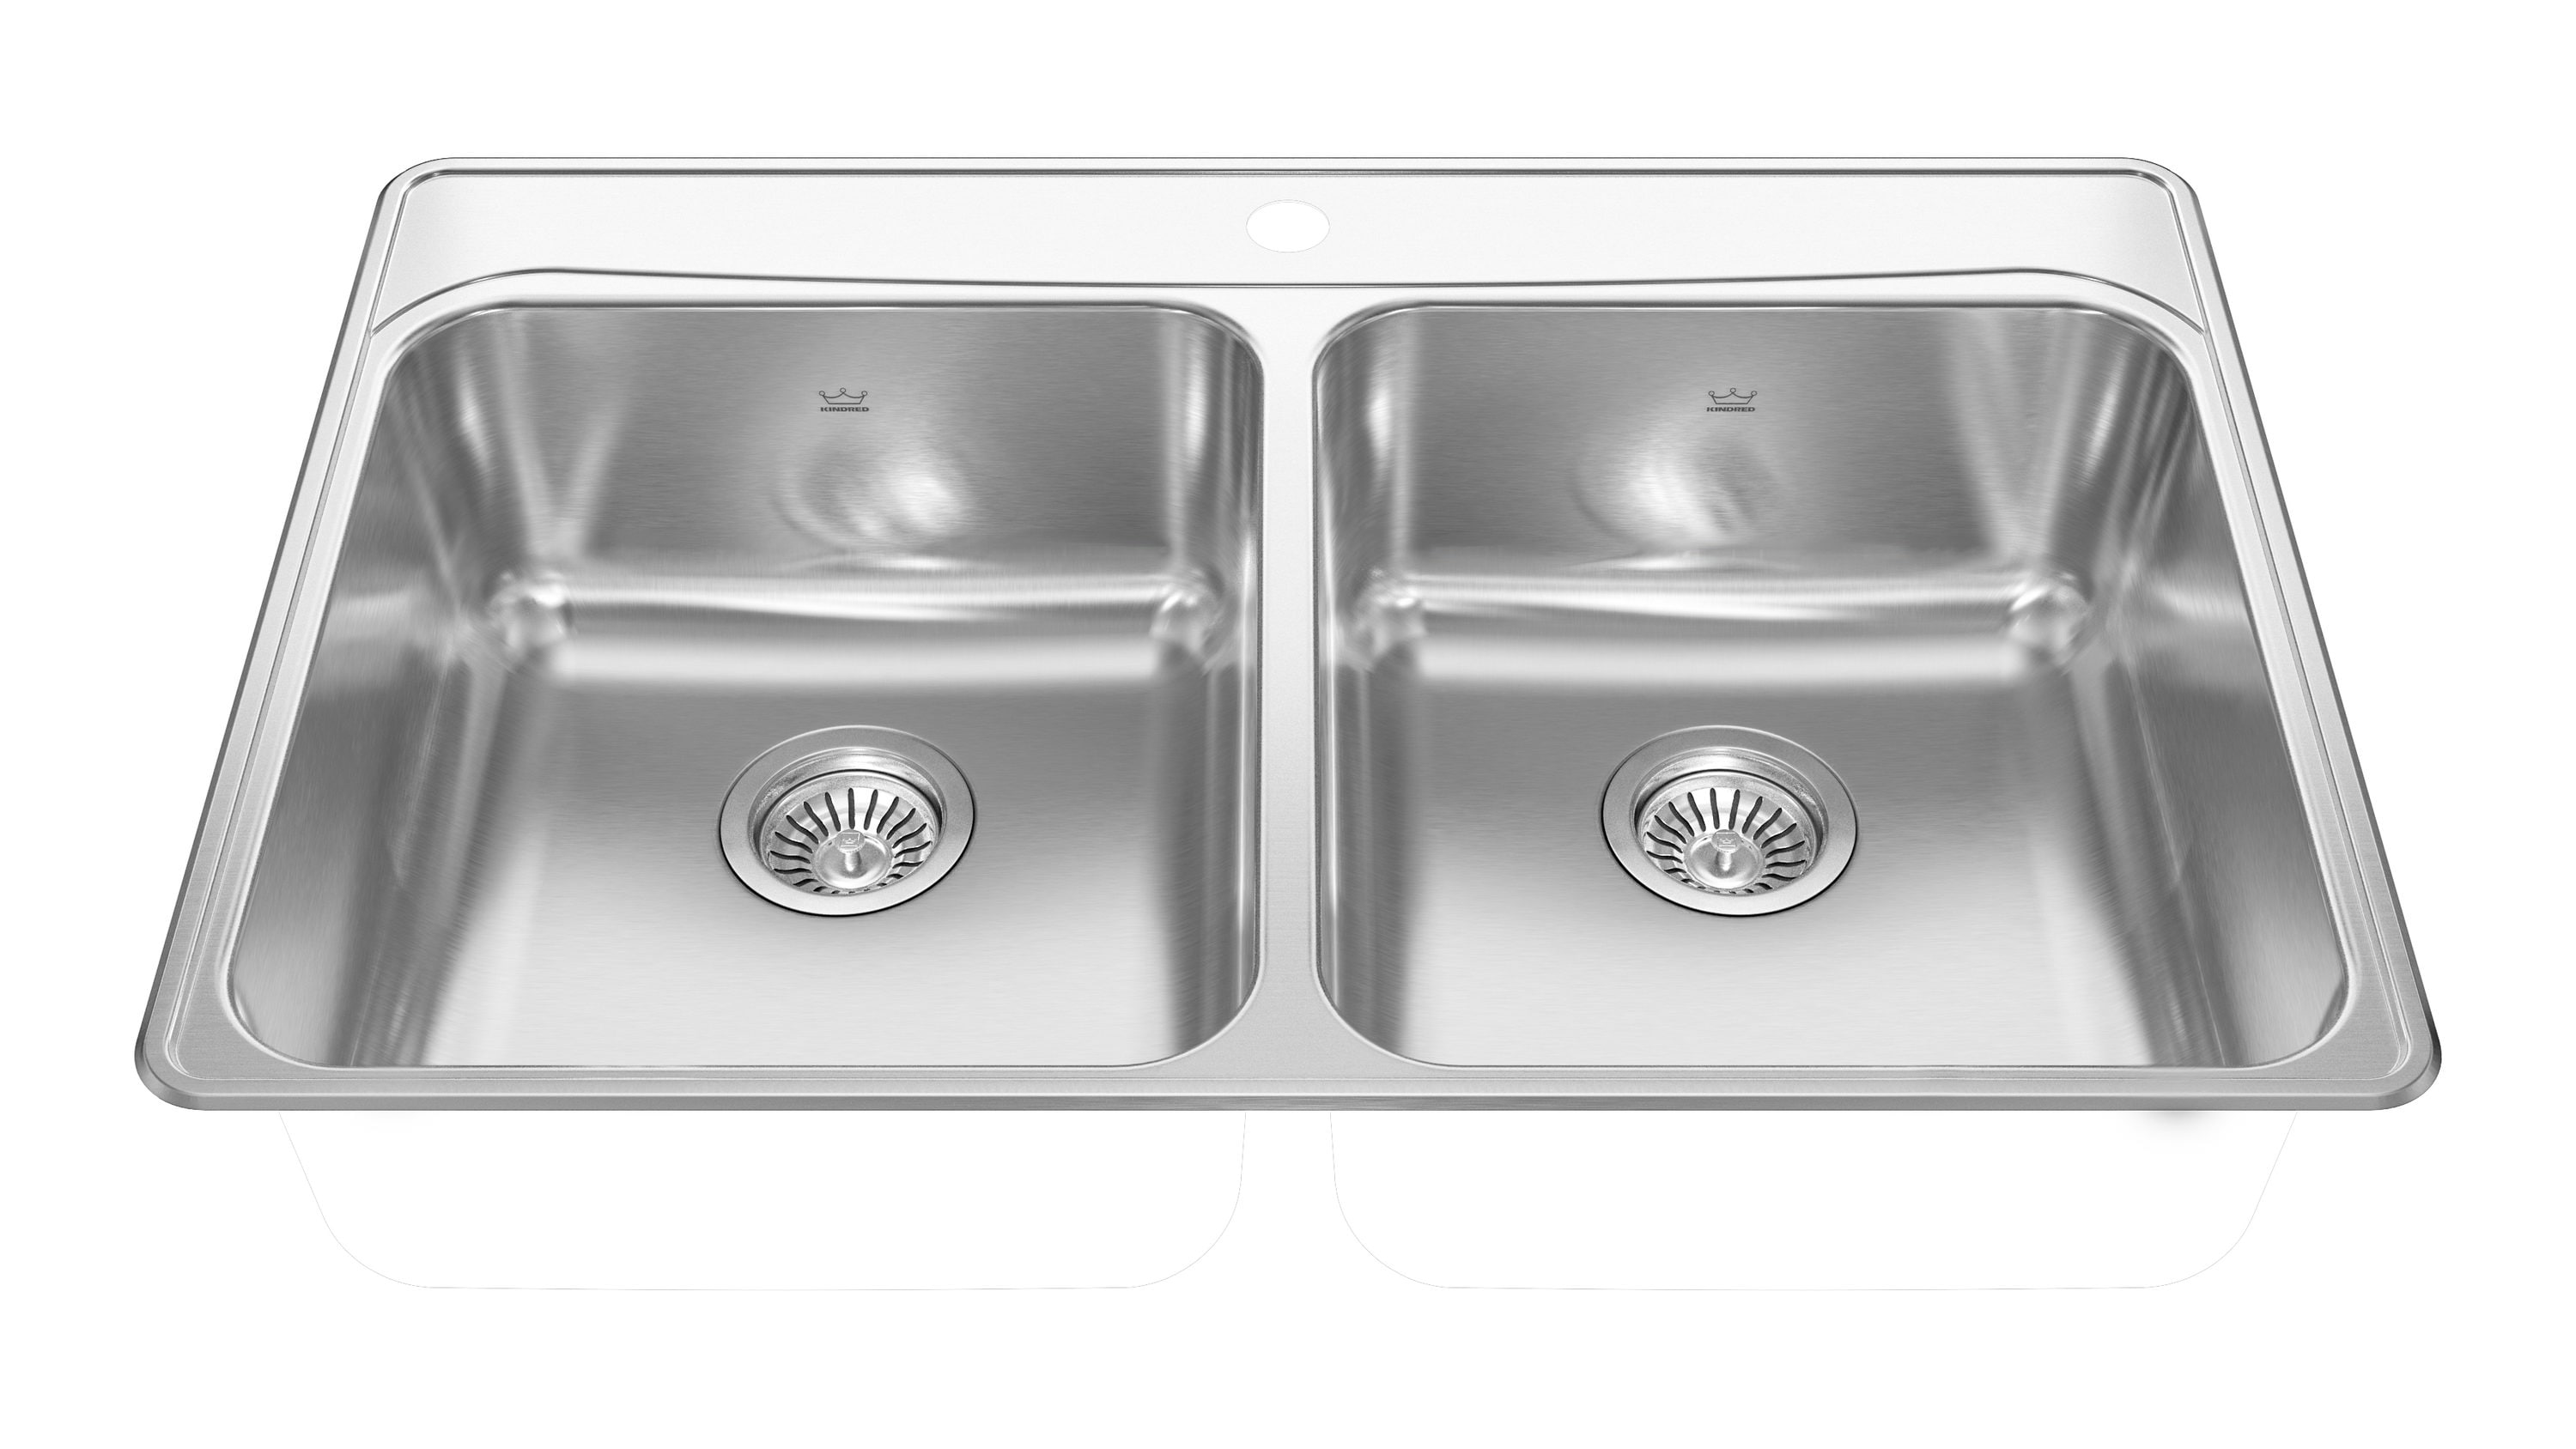
Place the sink into the countertop cutout, making sure it is centered and level. If your sink has clips, attach them to the underside of the countertop to hold the sink in place.Step 4: Position the Sink
Using a screwdriver, tighten the clips or mounting brackets to secure the sink in place. Be careful not to overtighten, as this could cause damage to the sink and countertop.Step 5: Secure the Sink
Underneath the sink, connect the drain assembly according to the manufacturer’s instructions. This typically involves attaching the drain flange to the sink’s drain opening and connecting the P-trap to the drain pipe.Step 6: Connect the Drain
Using silicone caulk, create a seal around the edges of the sink where it meets the countertop. This will prevent water from leaking underneath the sink and causing damage. Smooth out the caulk with your finger or a caulk finishing tool for a clean finish.Step 7: Seal the Sink
If you had to disconnect any plumbing during the installation, now is the time to reconnect it. Make sure all connections are tight and secure.Step 8: Reconnect Plumbing
Why Choose a Kohler Stainless Steel Kitchen Sink?

Durability and Strength
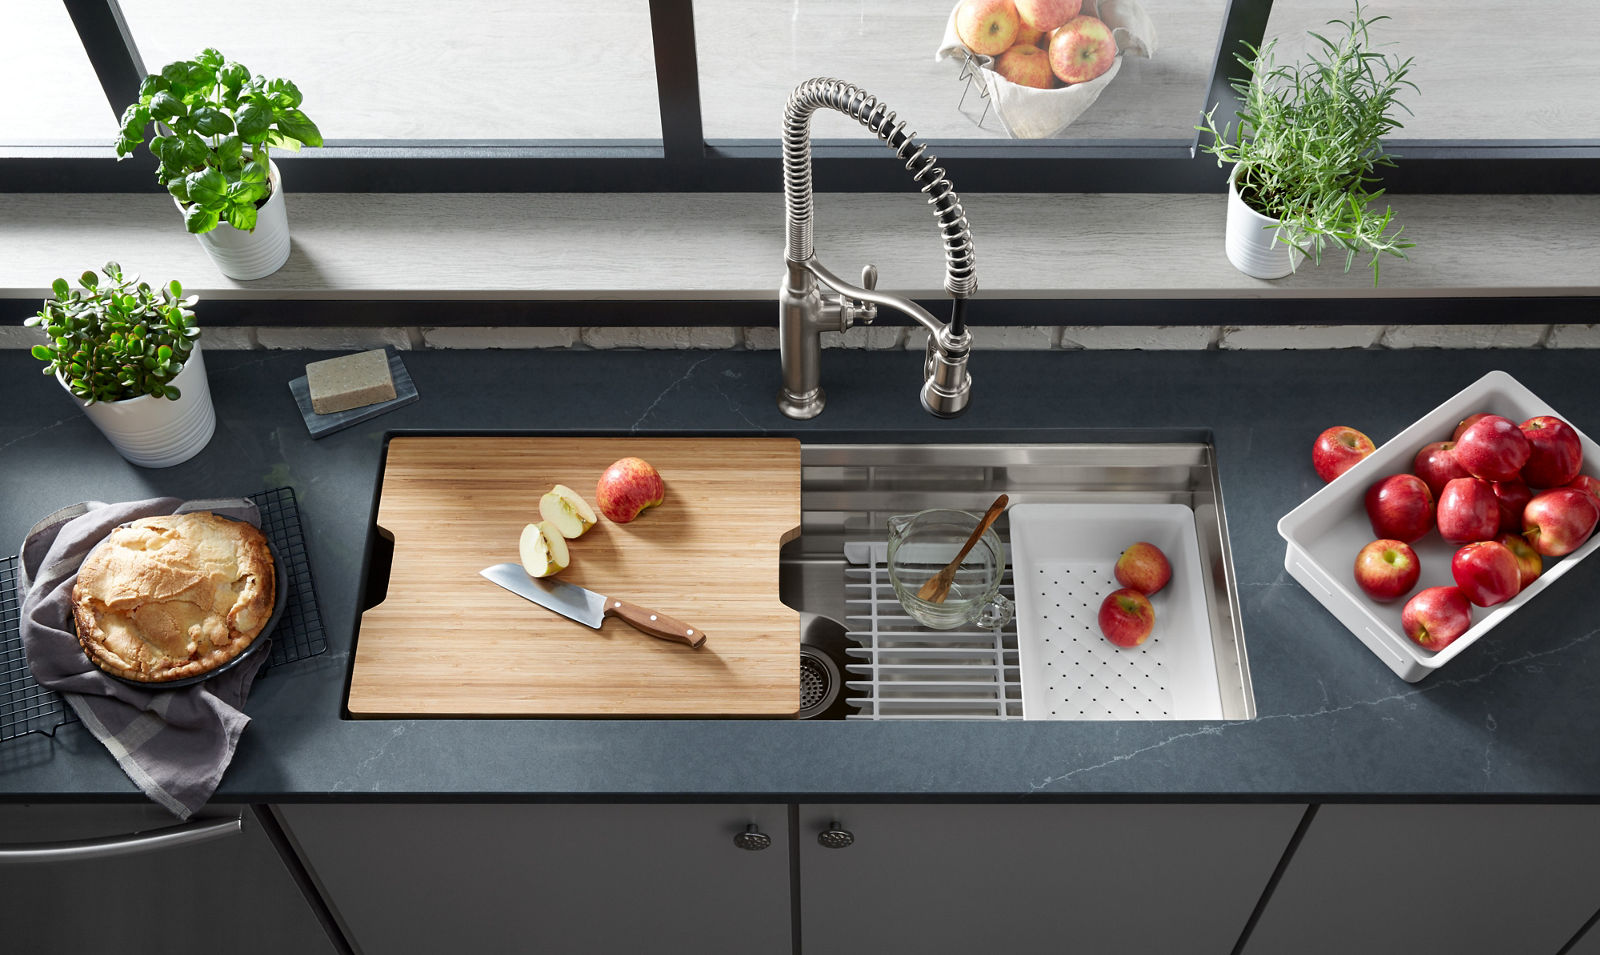 When it comes to choosing a kitchen sink, durability and strength should be at the top of your list. After all, you want a sink that can withstand the everyday wear and tear of a busy kitchen. This is where Kohler stainless steel sinks shine. Made from high-quality stainless steel, these sinks are built to last. They can handle heavy pots and pans, sharp utensils, and even the occasional accidental drop without denting or scratching. With proper care, a Kohler stainless steel sink can last you a lifetime.
Easy Maintenance
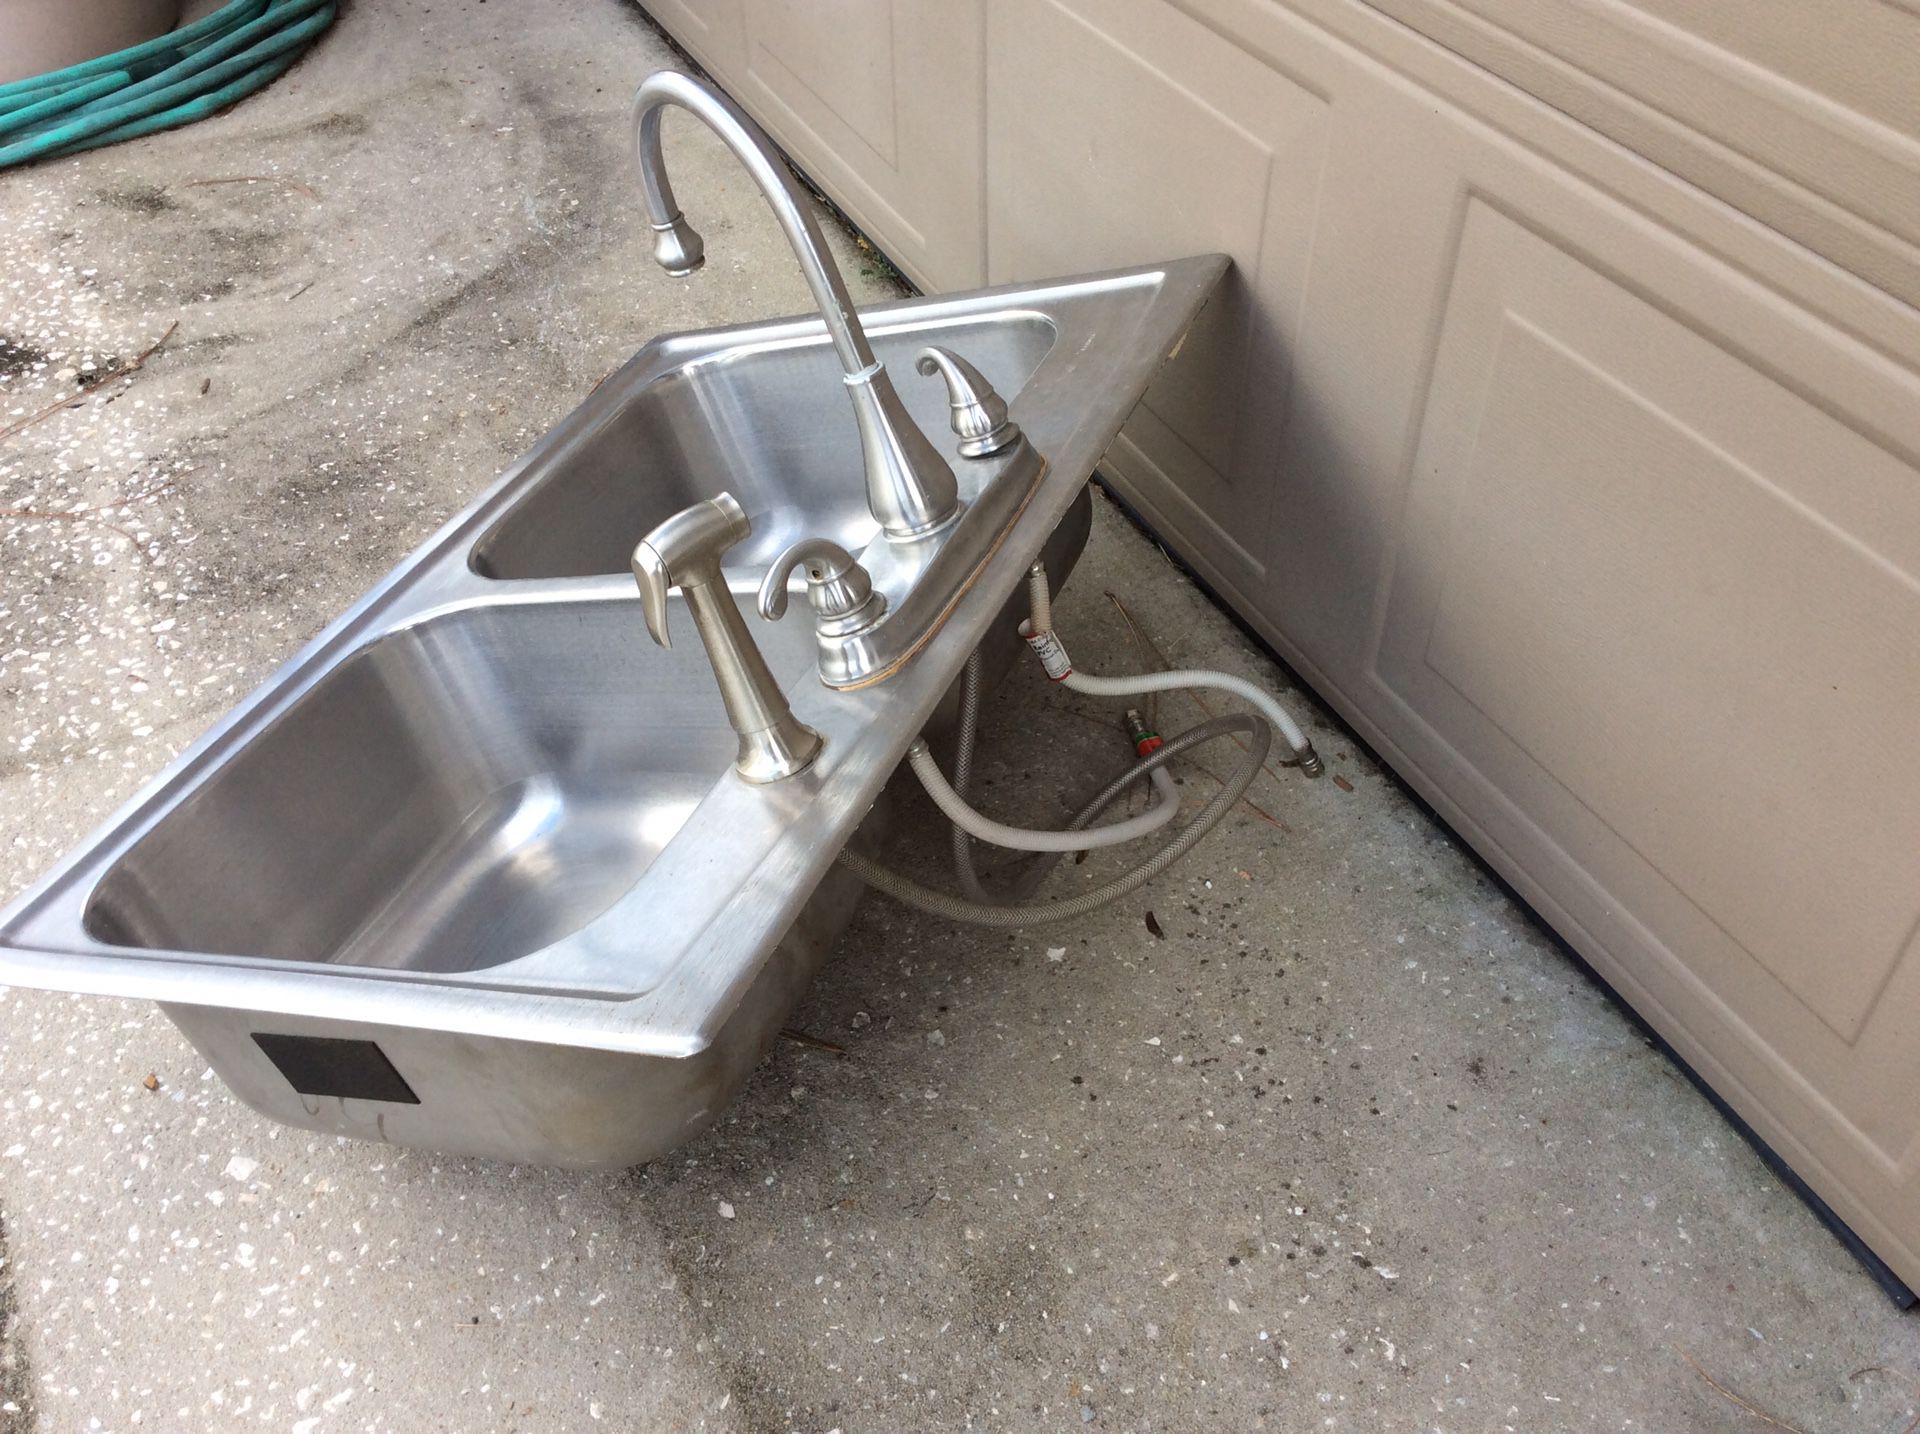 In addition to being durable, Kohler stainless steel sinks are also incredibly easy to maintain. They are resistant to stains, corrosion, and rust, making them the perfect choice for a busy kitchen. A quick wipe down with a mild cleaner is all it takes to keep your sink looking shiny and new. Plus, the smooth surface of stainless steel makes it difficult for food particles and bacteria to cling onto, ensuring a hygienic cooking environment.
Modern and Stylish Design
 Not only are Kohler stainless steel sinks functional, but they also add a touch of modern style to any kitchen. The sleek and shiny surface of stainless steel complements a variety of kitchen designs, from traditional to contemporary. Plus, Kohler offers a wide range of shapes and sizes to choose from, making it easy to find the perfect sink to fit your kitchen's layout and design.
Easy Installation
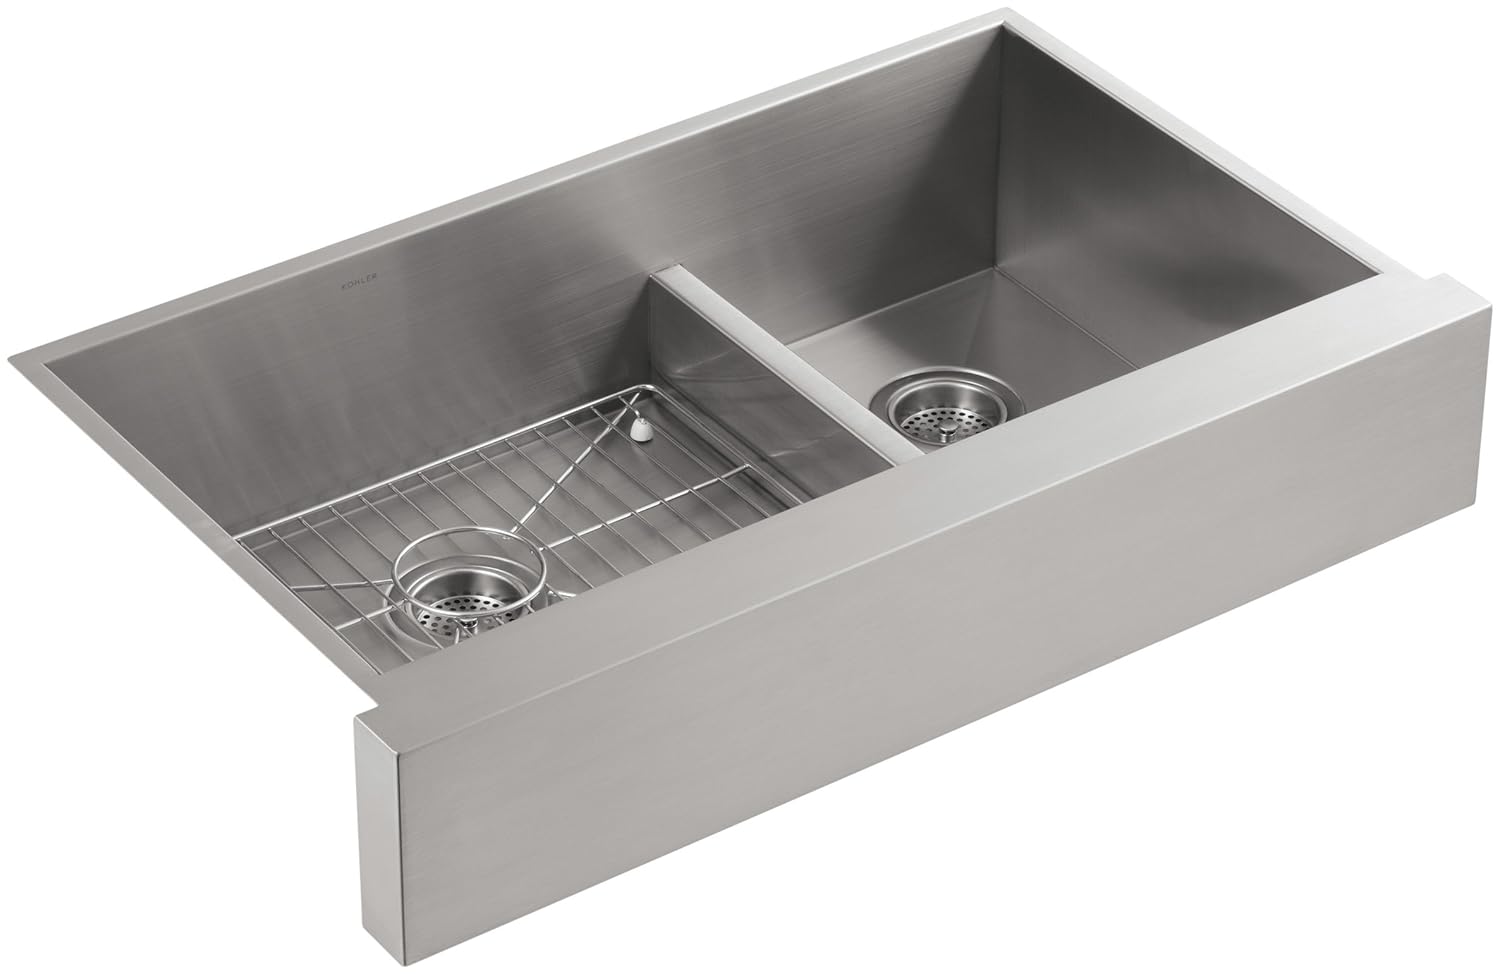
 Installing a Kohler stainless steel kitchen sink is a straightforward and hassle-free process. With a variety of options for top mount, undermount, and farmhouse installation, you can choose the style that best suits your needs. Plus, Kohler sinks come with detailed instructions and all the necessary hardware, making the installation process a breeze.
In conclusion, choosing a Kohler stainless steel kitchen sink is a smart and practical decision for any homeowner looking to upgrade their kitchen. With its durability, easy maintenance, modern design, and easy installation, a Kohler sink will not only add value to your home but also make your kitchen a more functional and stylish space. So why wait? Upgrade your kitchen with a Kohler stainless steel sink and enjoy its many benefits for years to come.
