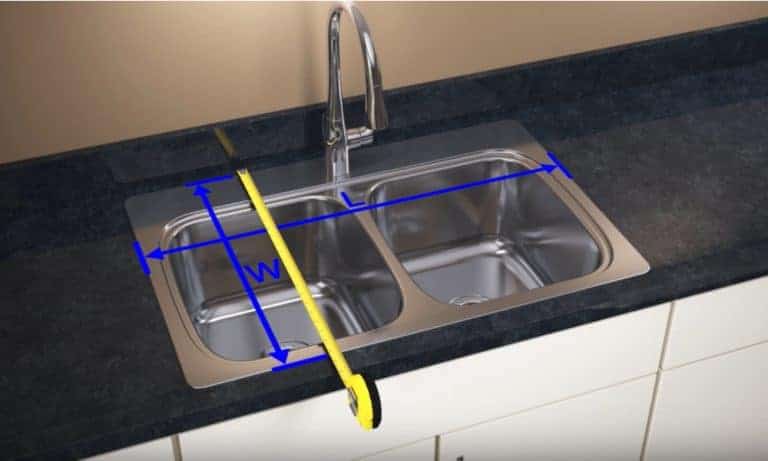
Before you begin installing your new kitchen sink, it's important to measure both the sink and the countertop to ensure they are a perfect fit. Start by measuring the width and length of the sink, as well as the depth. Then, measure the area where the sink will be installed on the countertop, making sure to account for any overhang. This will help you determine the exact size of the hole you will need to cut in the countertop.1. Measure the sink and countertop


1. Measure the sink and countertop


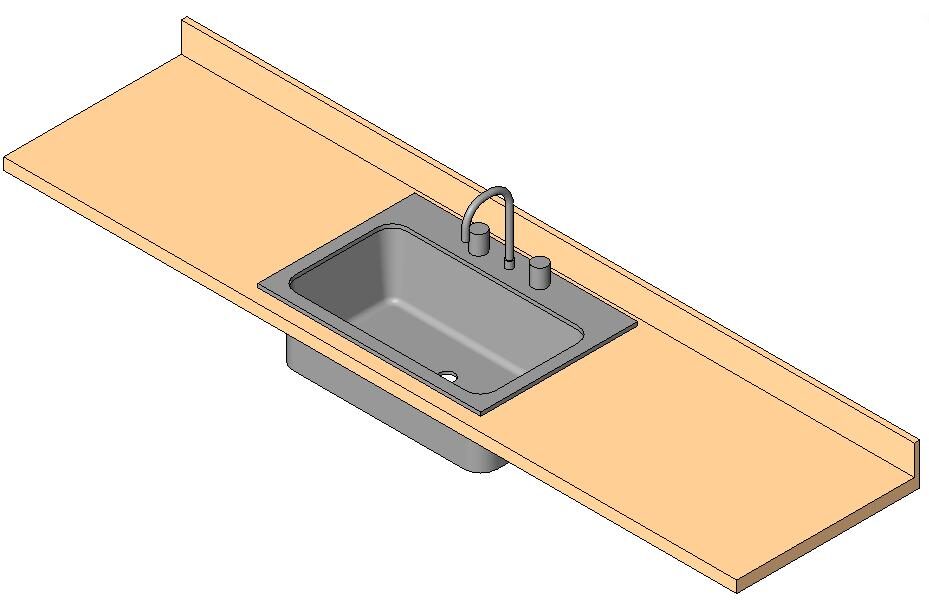
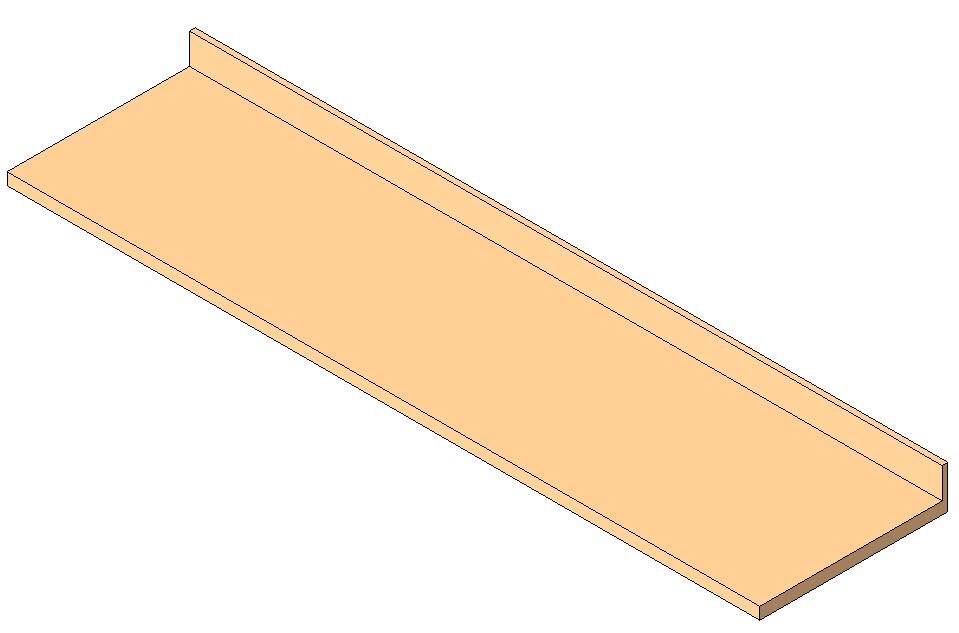


Using your measurements as a guide, mark the area on the countertop where the sink will be installed. Use a drill to create a starter hole for your jigsaw, and then carefully cut along the marked lines. Be sure to wear protective eyewear and work slowly to prevent any accidents. Once the hole is cut, test the fit of the sink to ensure it sits flush with the countertop.2. Cut the hole in the countertop


2. Cut the hole in the countertop


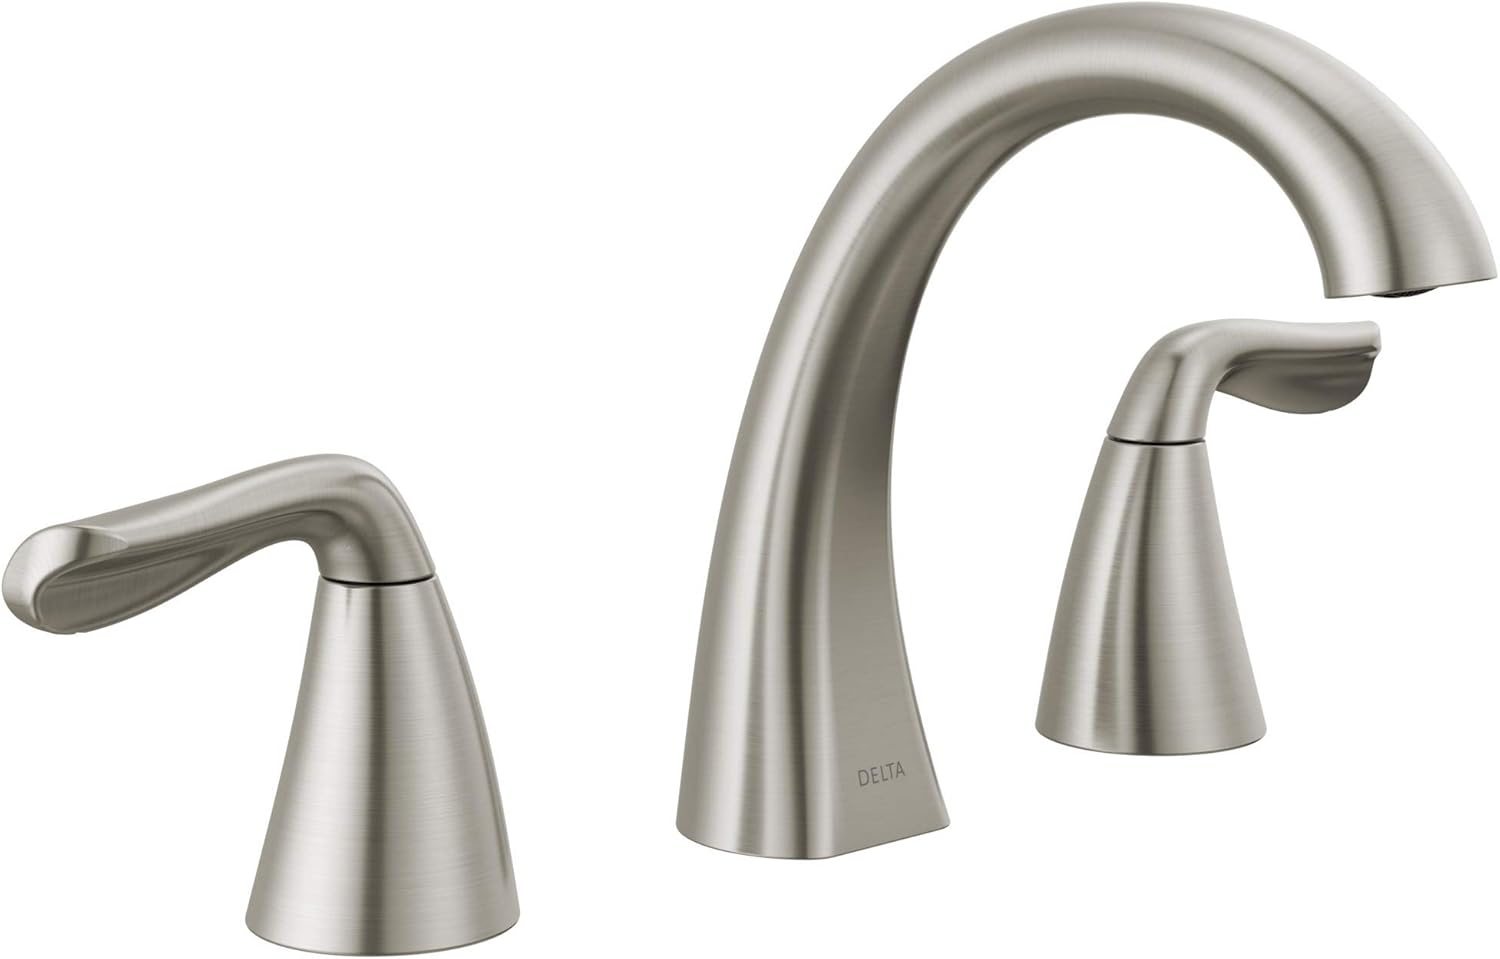
With the hole cut, you can now install the faucet and drain assembly. Follow the manufacturer's instructions for your specific sink model, but in general, you will need to attach the faucet and drain pieces to the sink before placing it in the hole. This may also be a good time to install any additional features, such as a soap dispenser or sprayer.3. Install the faucet and drain assembly


3. Install the faucet and drain assembly


/RemovingAeratorAssembly-99881d30169b43cebc3fe72f6d4b25b9.jpg)


Once the faucet and drain assembly are in place, you can secure the sink to the countertop. Apply a bead of silicone sealant around the edge of the sink, then carefully lower it into the hole. Use clamps to hold the sink in place while the sealant dries, following the manufacturer's recommended drying time.4. Attach the sink to the countertop


4. Attach the sink to the countertop


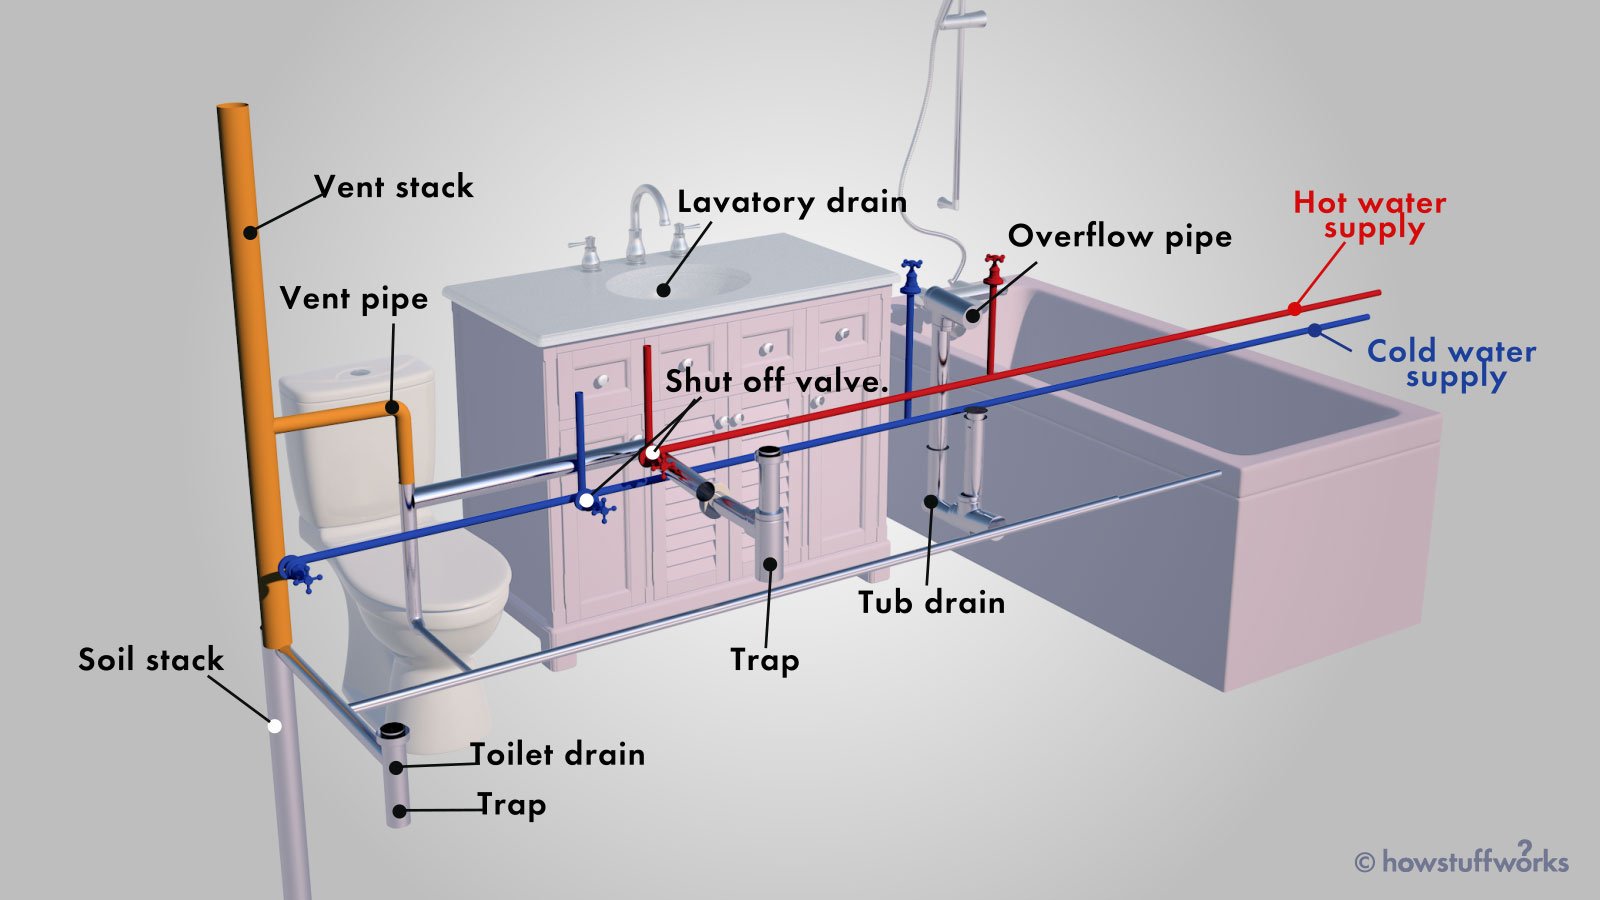
With the sink in place, you can now connect the water supply lines. Be sure to turn off the water supply before doing so, and use plumber's tape to secure the connections. Double check for any leaks before moving on to the next step.5. Connect the water supply lines

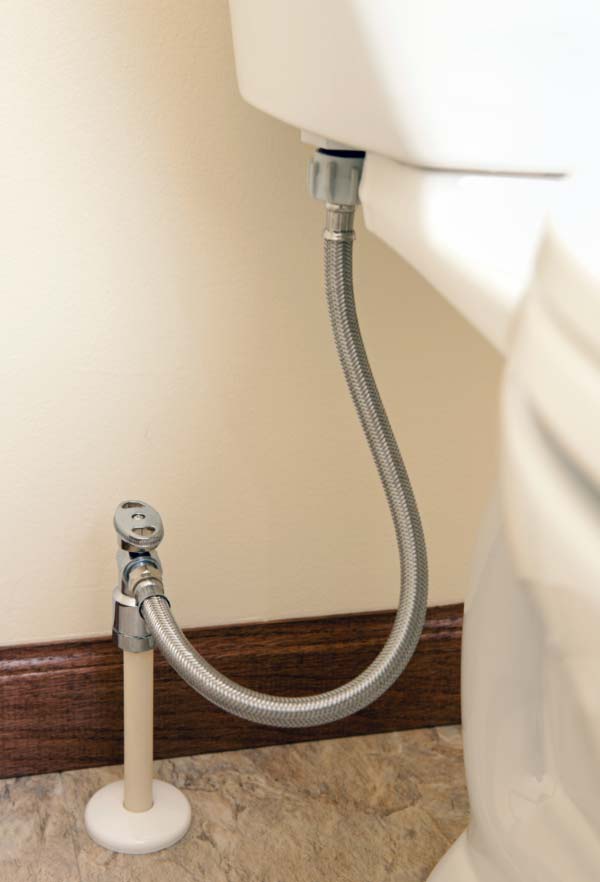
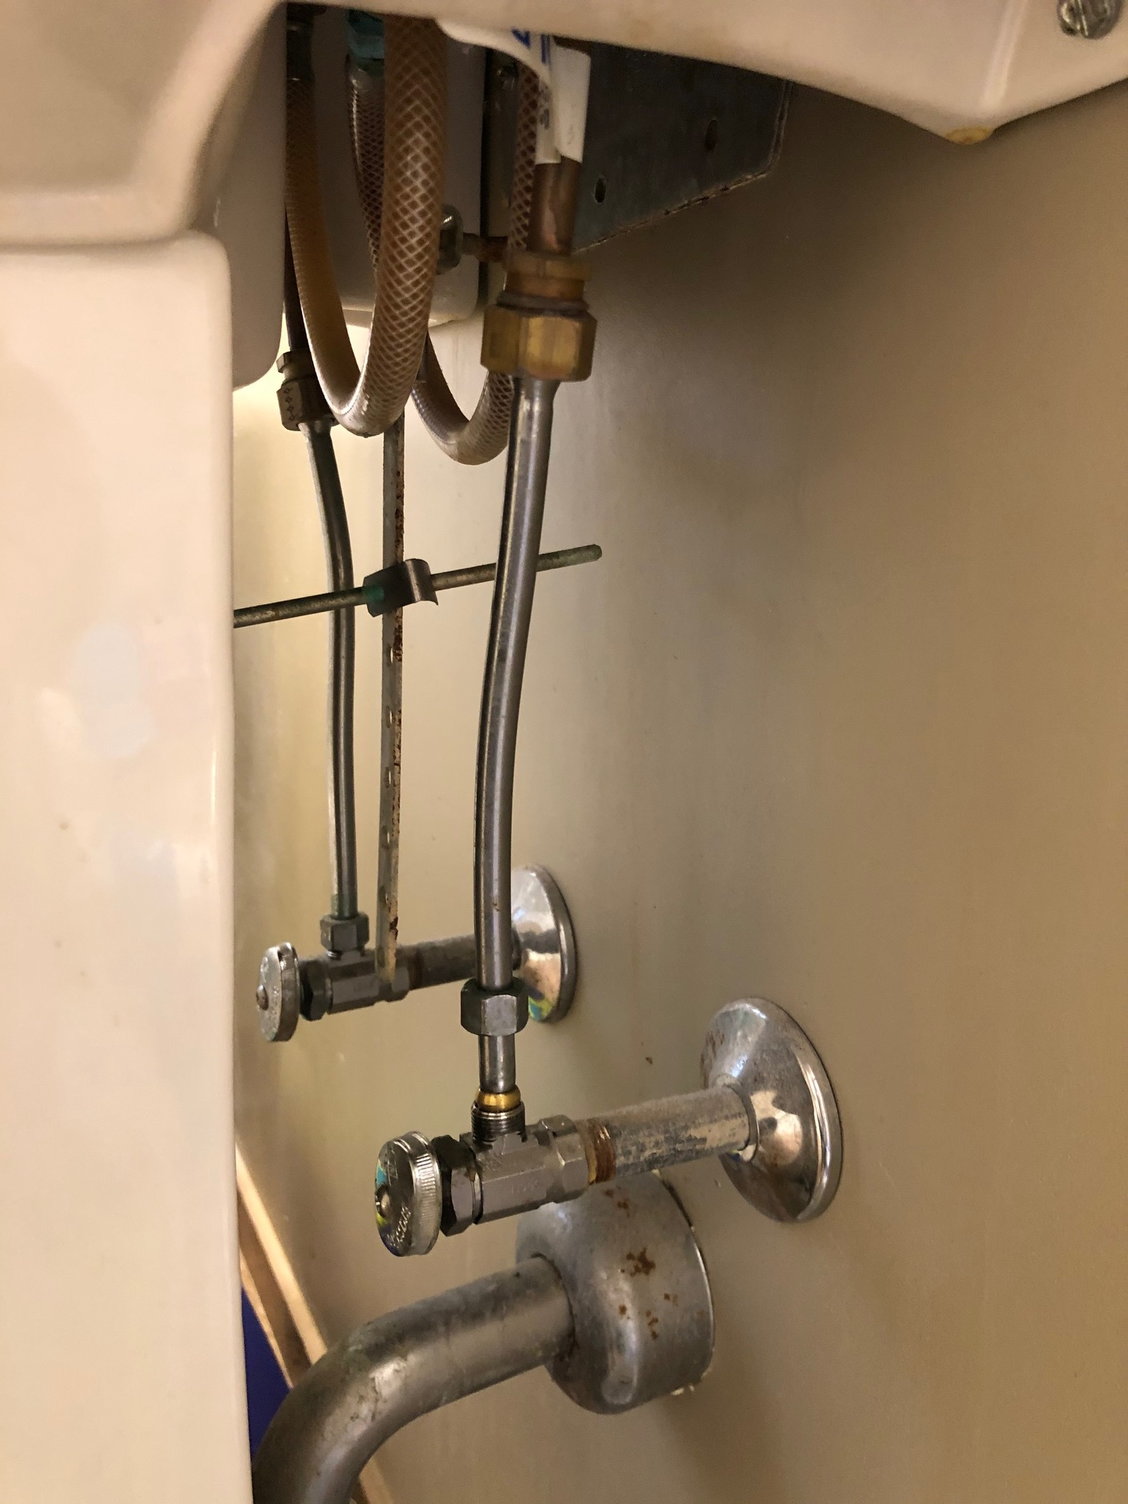
5. Connect the water supply lines


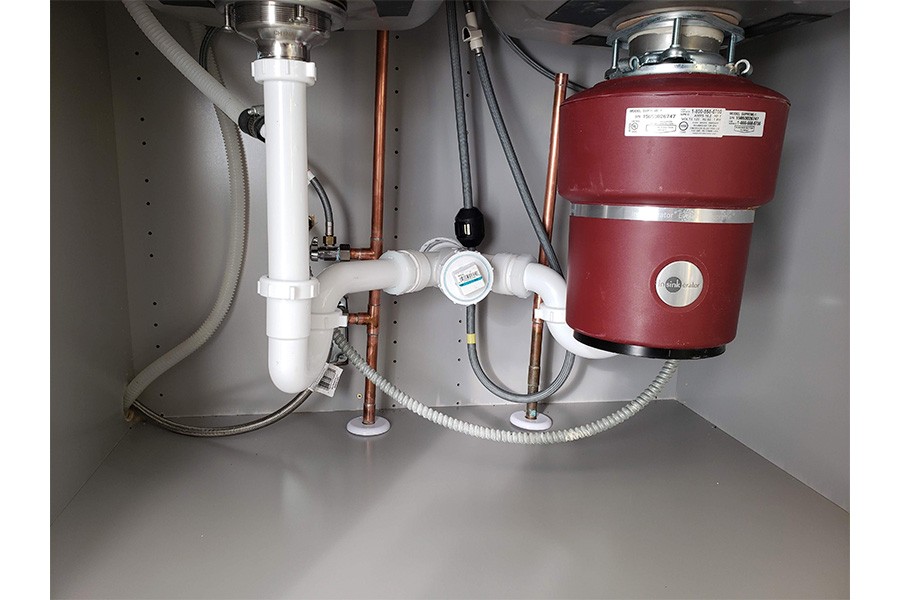
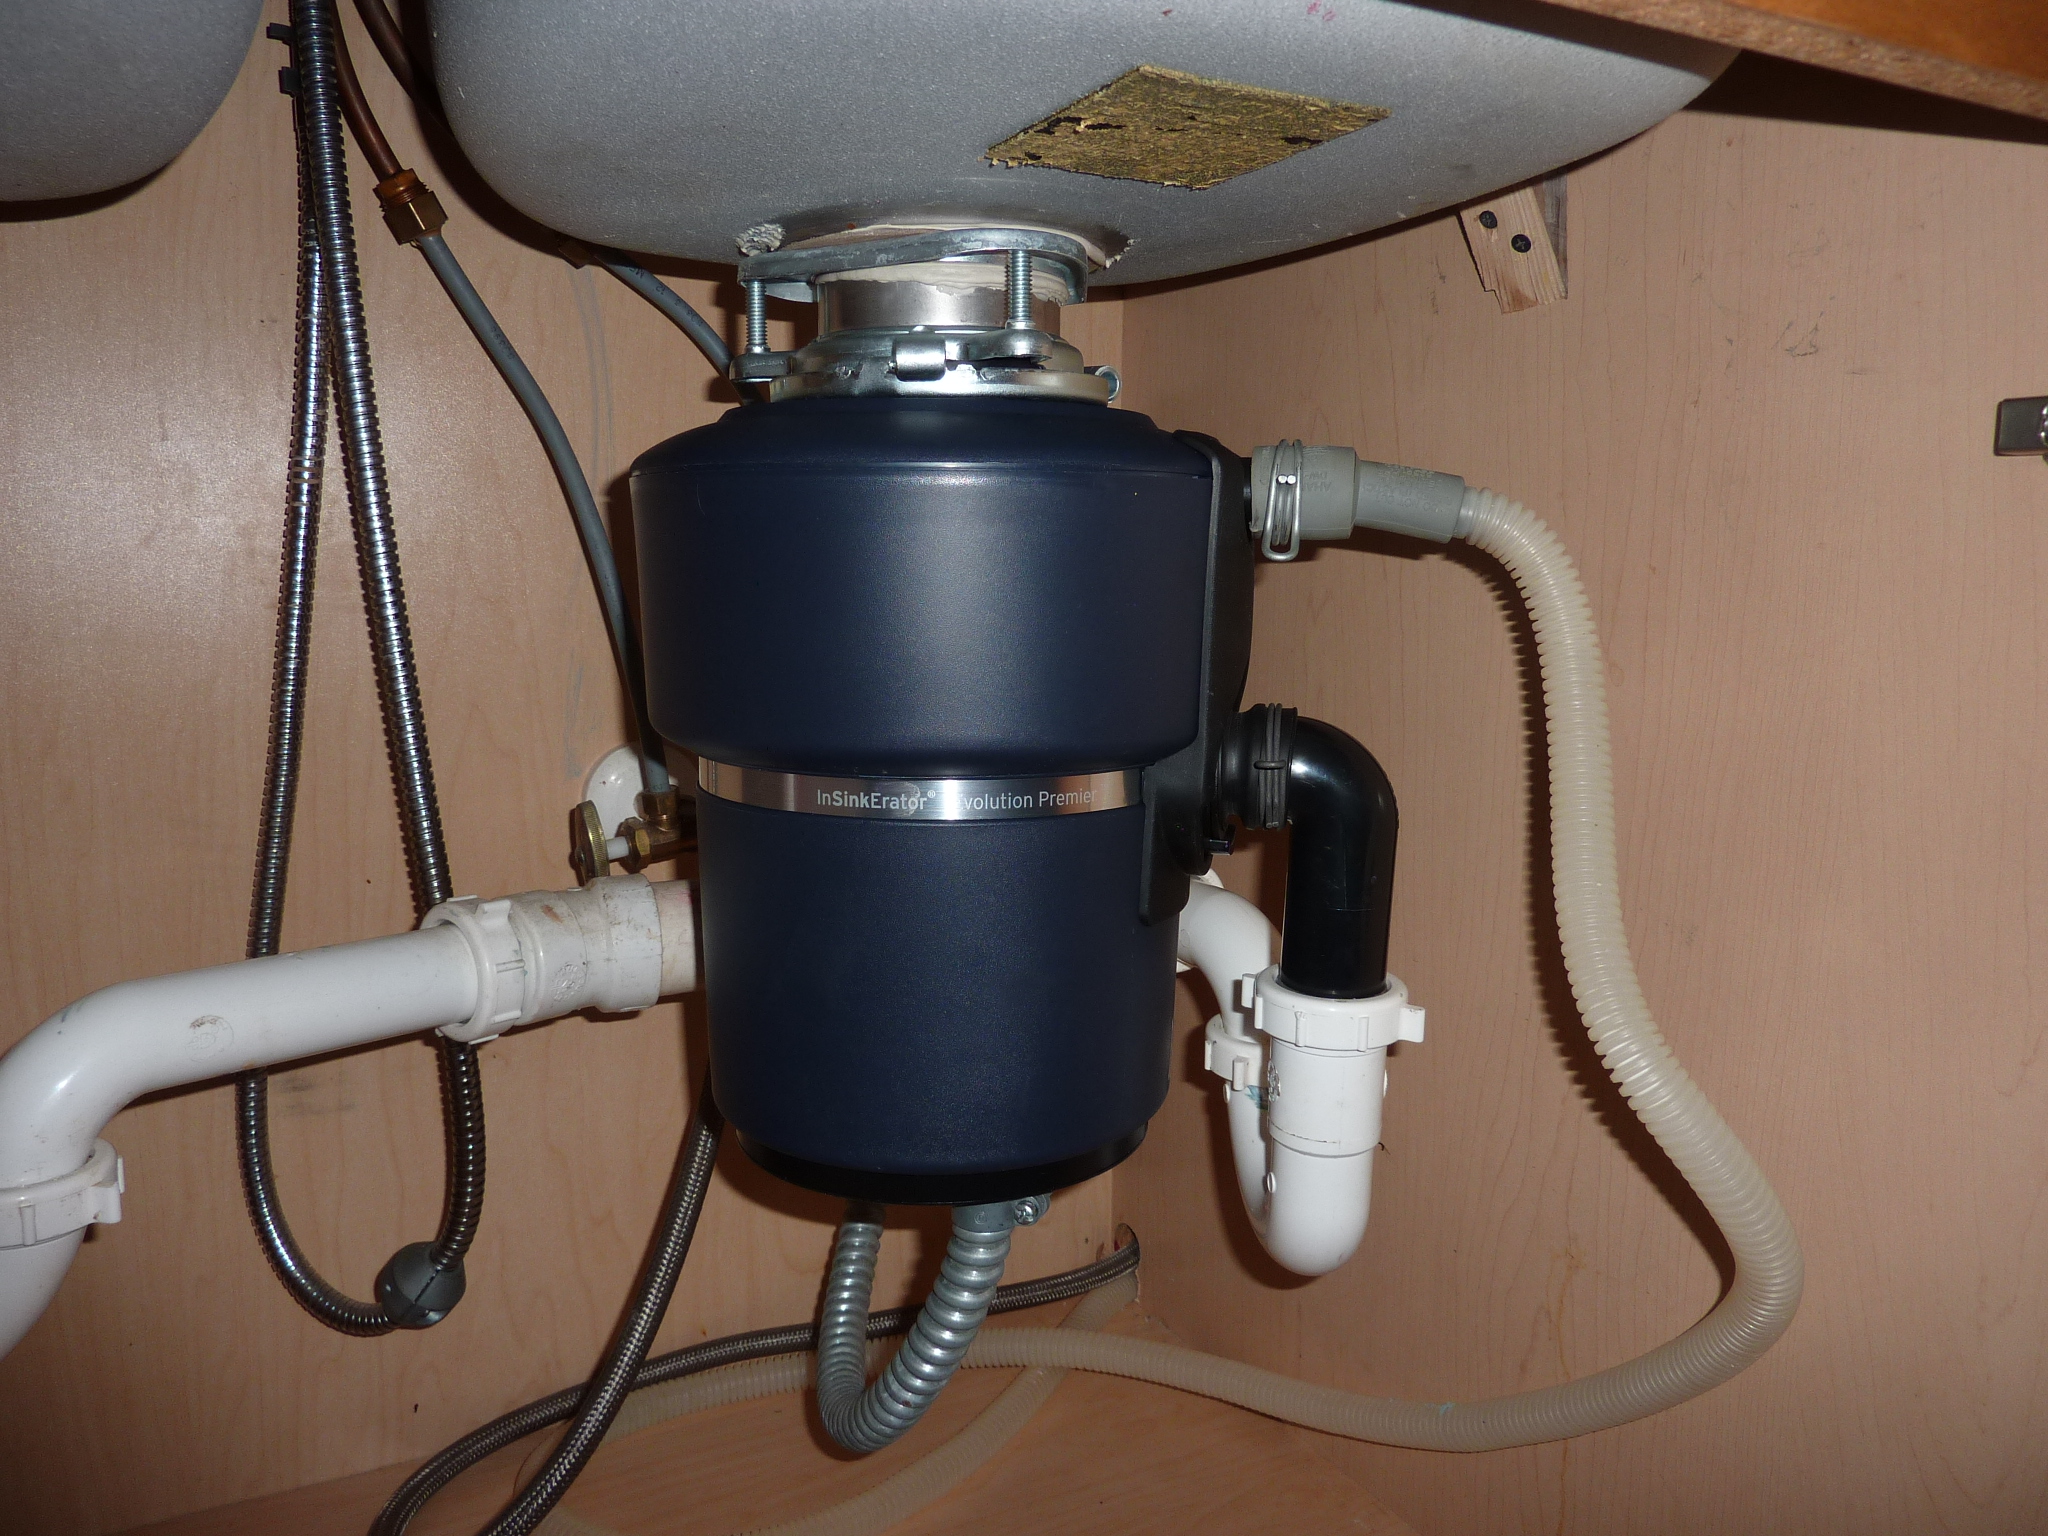
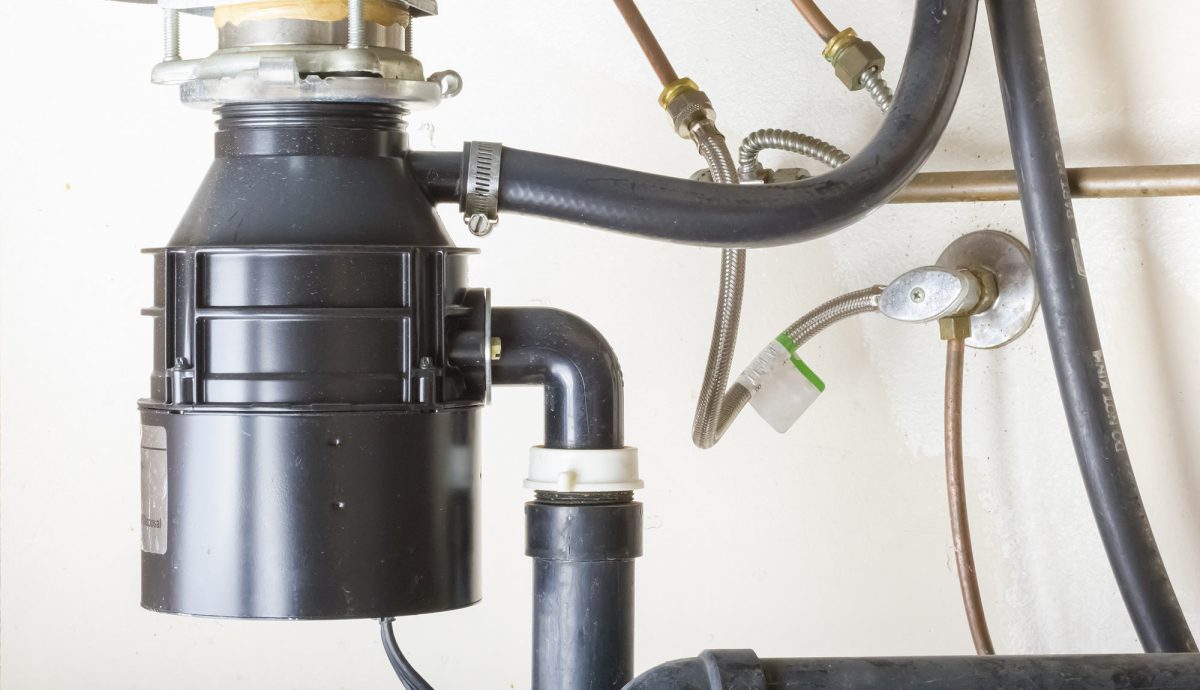
If you have a garbage disposal, now is the time to install it. Follow the manufacturer's instructions for installation and make sure to connect it to the drain pipe before testing it out. It may also be necessary to install a separate electrical outlet for the disposal.6. Install the garbage disposal (if applicable)


6. Install the garbage disposal (if applicable)


/garbage-disposal-installation-1824830-08-4a2a7bd4007f4f36a7a5392a58b07b6e.jpg)

:max_bytes(150000):strip_icc()/garbage-disposal-installation-1824830-01-73cf0263b344447488ed8e15f7f2bc78.jpg)

With the sink securely in place, you can now apply another layer of sealant around the edges to ensure a watertight seal. Smooth out the sealant with your finger or a putty knife for a clean finish.7. Apply sealant around the edges of the sink


7. Apply sealant around the edges of the sink


In addition to the sealant, you can also use clips to secure the sink to the underside of the countertop. These clips will help distribute the weight of the sink and prevent it from shifting or moving over time.8. Secure the sink to the countertop with clips


8. Secure the sink to the countertop with clips


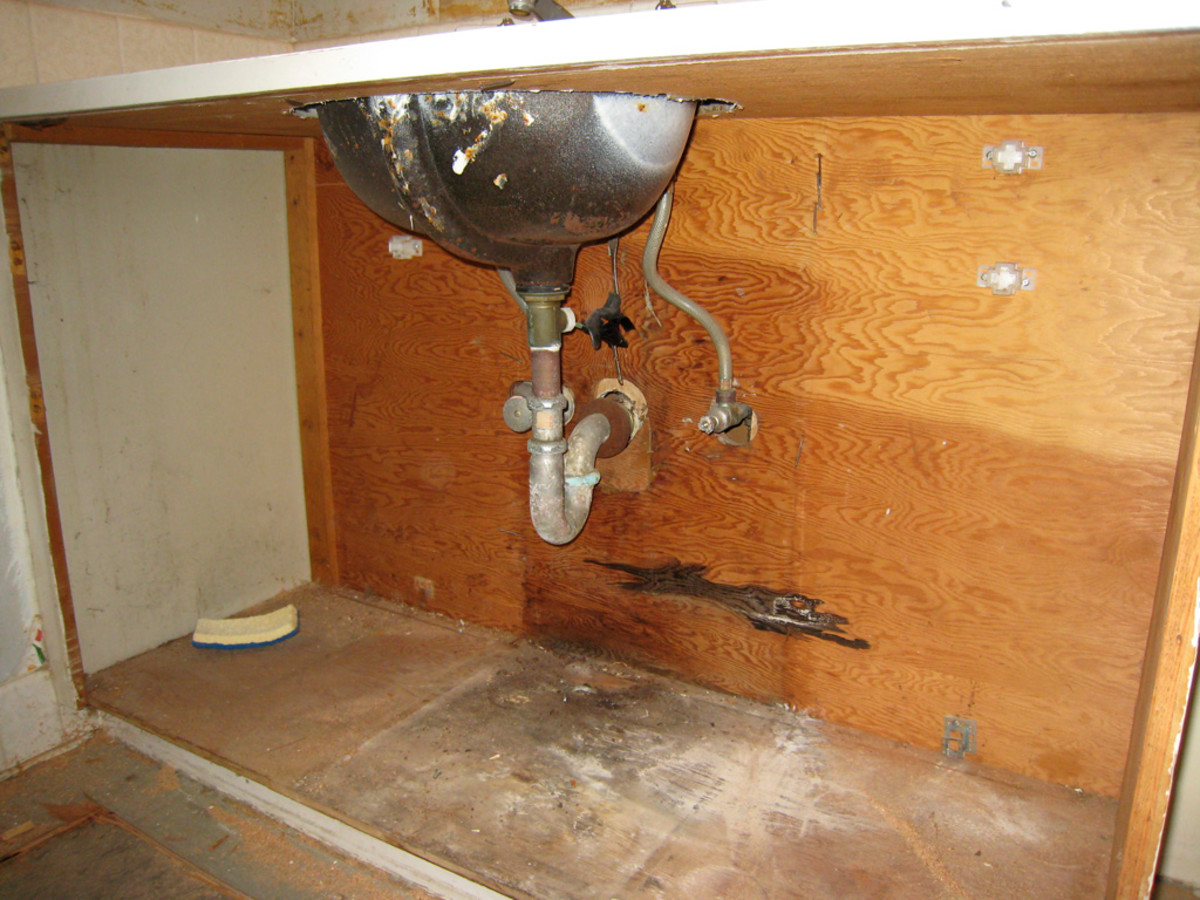
The final step in installing a kitchen sink is to connect the drain pipe to the plumbing. This involves attaching the P-trap and any other necessary fittings, and making sure everything is tight and secure. Once again, be sure to check for leaks before moving on.9. Connect the drain pipe to the plumbing


9. Connect the drain pipe to the plumbing


With everything in place, it's time to test for leaks and make any necessary adjustments. Turn on the water supply and run water through the sink, checking for any leaks around the faucet or drain. If you do find a leak, tighten the connections or add more sealant as needed. Congratulations, you have successfully installed a kitchen sink in a new countertop! With these steps, you can confidently tackle this project and enjoy your new kitchen sink for years to come.10. Test for leaks and make any necessary adjustments


10. Test for leaks and make any necessary adjustments


Why Choosing the Right Kitchen Sink is Crucial for Your New Countertop

The Importance of a Kitchen Sink in a New Countertop
 When designing a new kitchen, the sink may not be the first thing that comes to mind. However, it is an essential element that can greatly impact the functionality and design of your new countertop. A kitchen sink is used for various tasks such as washing dishes, preparing food, and even as a spot to fill pots with water. Therefore, choosing the right kitchen sink for your new countertop is crucial for a smooth and efficient cooking experience.
Factors to Consider When Choosing a Kitchen Sink
 Material:
One of the main factors to consider when choosing a kitchen sink is the material. You want a sink that is durable, easy to clean, and complements the overall design of your kitchen. Stainless steel, granite, and porcelain are popular options that offer both functionality and aesthetics.
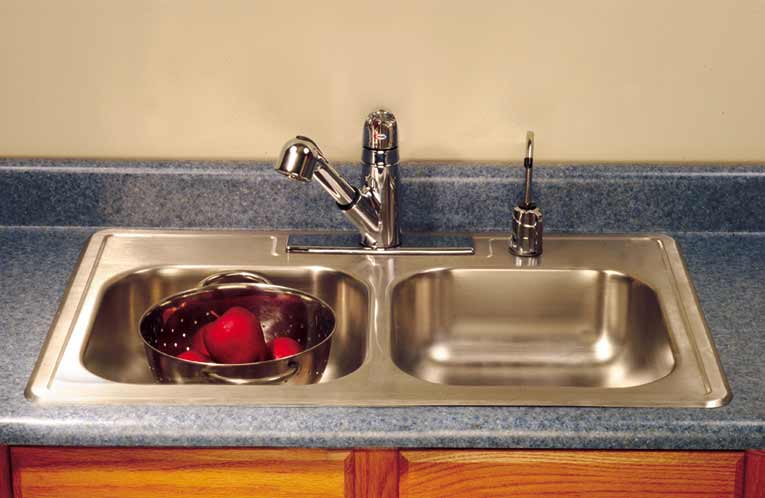
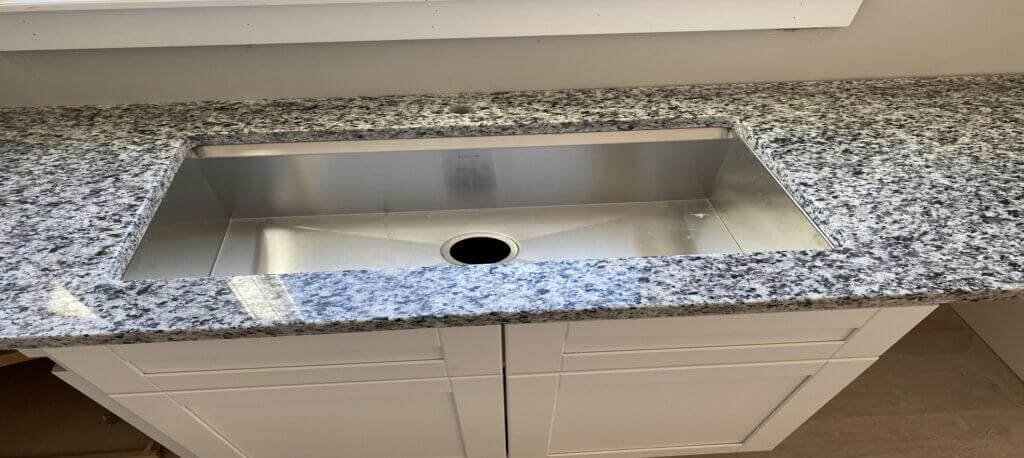
Size and Configuration:
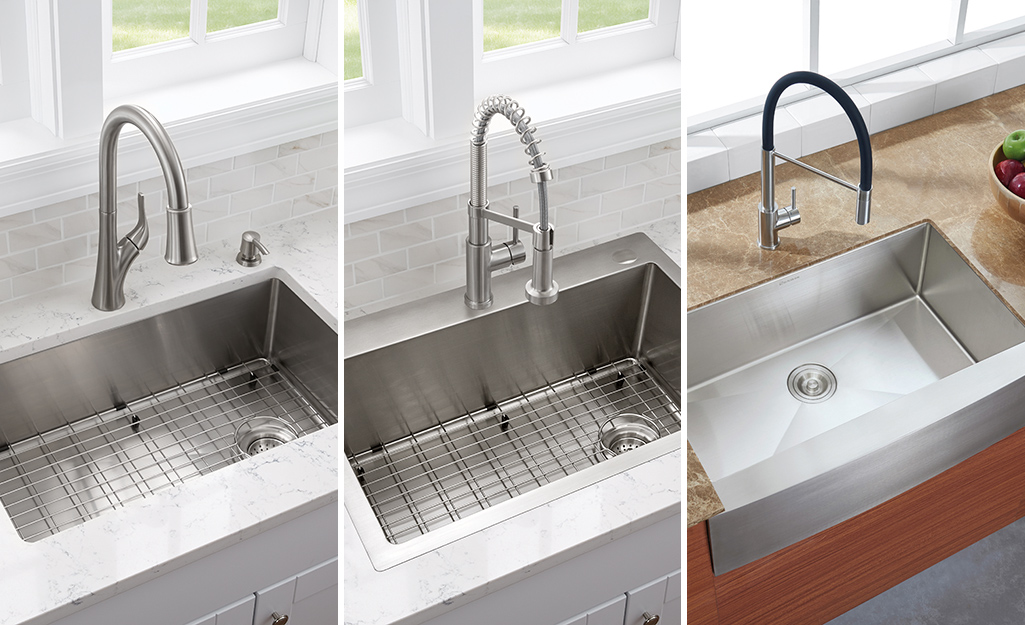
The size and configuration of your kitchen sink should also be taken into consideration. If you have a small kitchen, a single-bowl sink may be more suitable, while a larger kitchen can accommodate a double-bowl sink. You should also consider the depth of the sink and whether you want it to be undermount or top mount.
Style:
The style of your kitchen sink can greatly impact the overall look of your countertop. You can choose from traditional farmhouse sinks, sleek and modern designs, or even unique options like a trough sink. It is important to choose a style that complements your kitchen's design and reflects your personal taste.
Material:
One of the main factors to consider when choosing a kitchen sink is the material. You want a sink that is durable, easy to clean, and complements the overall design of your kitchen. Stainless steel, granite, and porcelain are popular options that offer both functionality and aesthetics.
Size and Configuration:
The size and configuration of your kitchen sink should also be taken into consideration. If you have a small kitchen, a single-bowl sink may be more suitable, while a larger kitchen can accommodate a double-bowl sink. You should also consider the depth of the sink and whether you want it to be undermount or top mount.
Style:
The style of your kitchen sink can greatly impact the overall look of your countertop. You can choose from traditional farmhouse sinks, sleek and modern designs, or even unique options like a trough sink. It is important to choose a style that complements your kitchen's design and reflects your personal taste.
Installation Process
 Once you have chosen the perfect kitchen sink for your new countertop, the installation process should be done with precision and care. It is important to hire a professional installer who has experience working with your chosen sink material. Installing a sink in a new countertop requires proper measurements, cutting, and sealing to ensure a secure and functional fit.
In conclusion, the kitchen sink may seem like a minor detail in the grand scheme of designing a new kitchen, but it plays a crucial role in both functionality and design. Taking the time to carefully choose the right sink for your new countertop and hiring a professional for installation will ensure a successful and enjoyable cooking experience in your new kitchen.
Once you have chosen the perfect kitchen sink for your new countertop, the installation process should be done with precision and care. It is important to hire a professional installer who has experience working with your chosen sink material. Installing a sink in a new countertop requires proper measurements, cutting, and sealing to ensure a secure and functional fit.
In conclusion, the kitchen sink may seem like a minor detail in the grand scheme of designing a new kitchen, but it plays a crucial role in both functionality and design. Taking the time to carefully choose the right sink for your new countertop and hiring a professional for installation will ensure a successful and enjoyable cooking experience in your new kitchen.