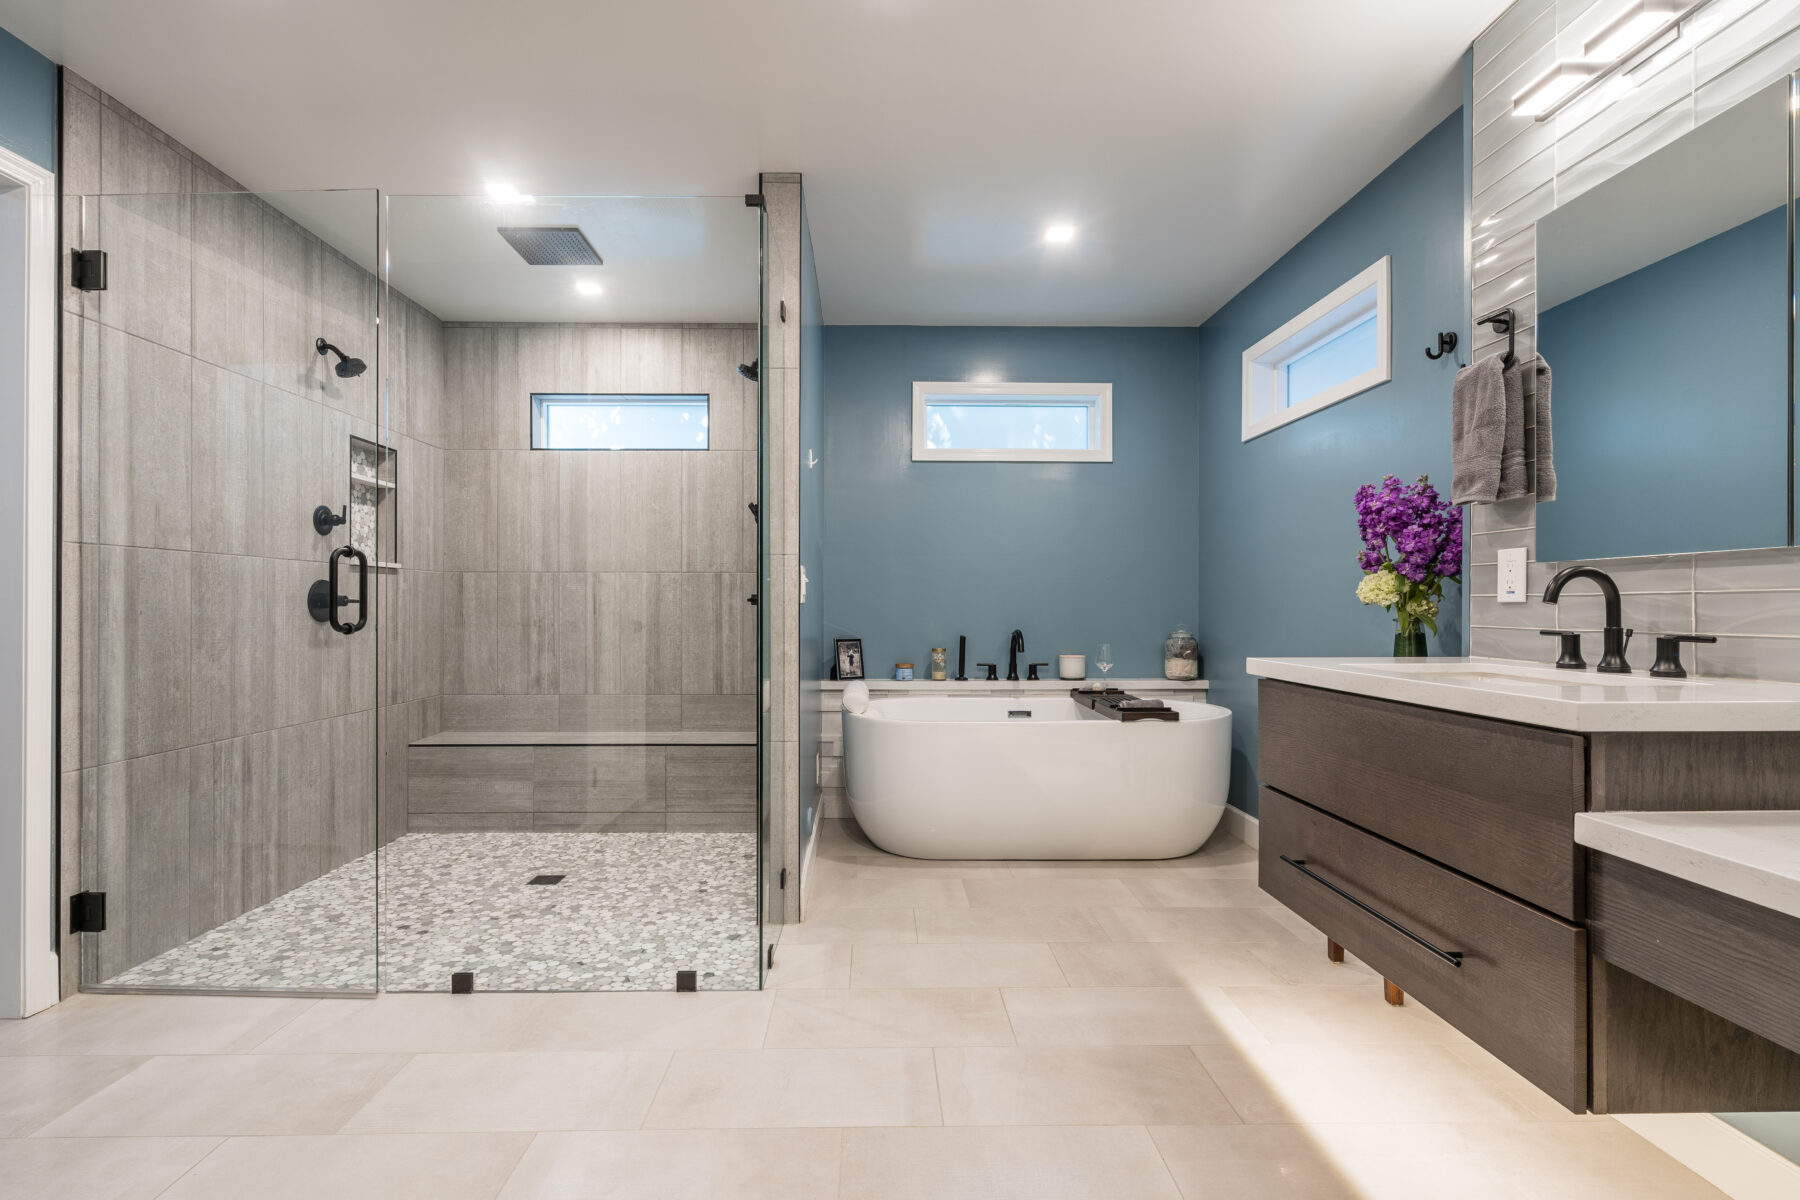
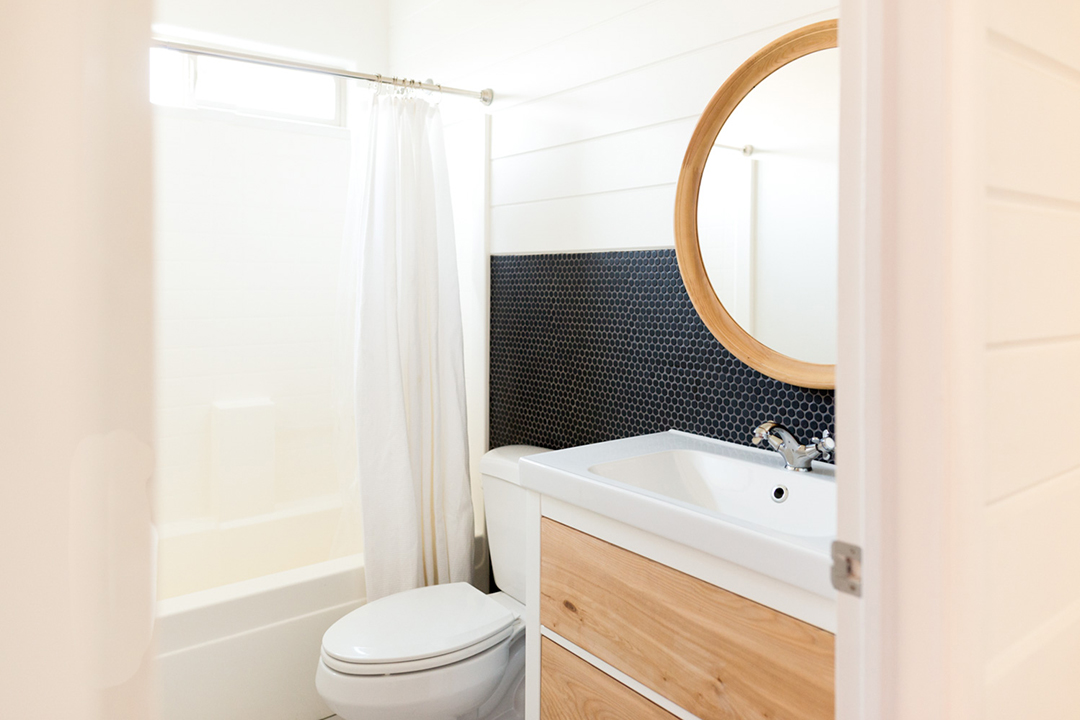
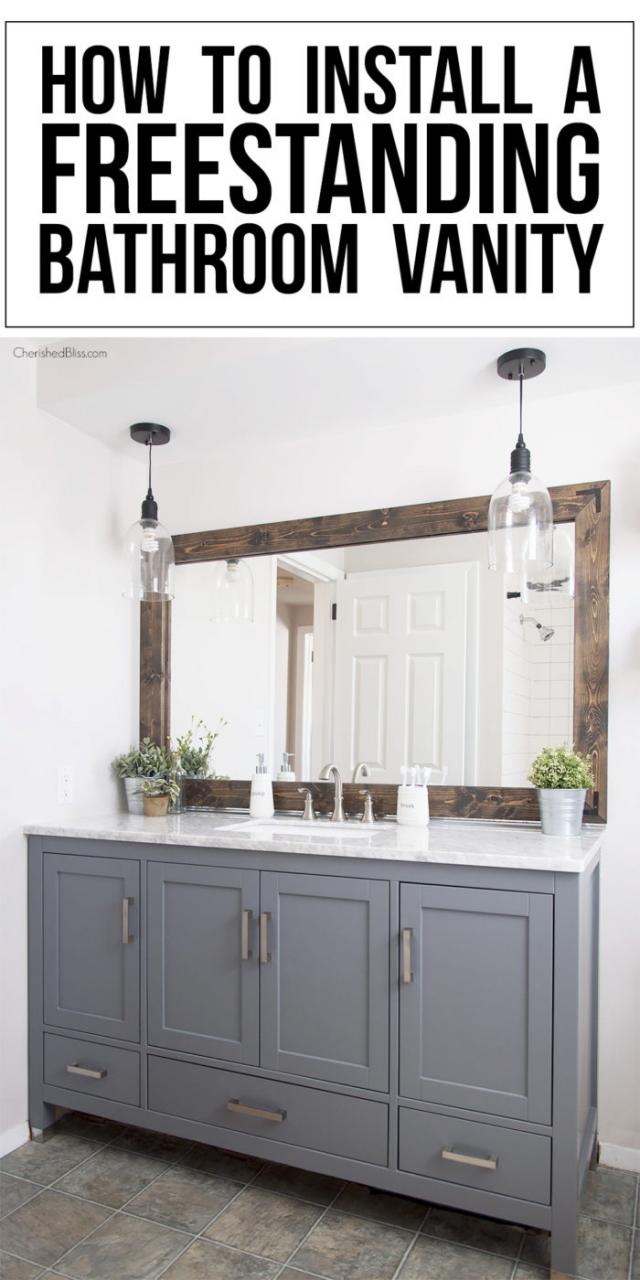
Installing a freestanding bathroom vanity can be a great way to update the look of your bathroom while also adding functionality and storage. Whether you're planning a full bathroom renovation or just want to switch out your current vanity, installing a freestanding option is a relatively simple process that can be done on your own with the right tools and preparation. In this guide, we'll walk you through the steps of installing a freestanding bathroom vanity and provide some helpful tips and tricks along the way.How to Install a Freestanding Bathroom Vanity
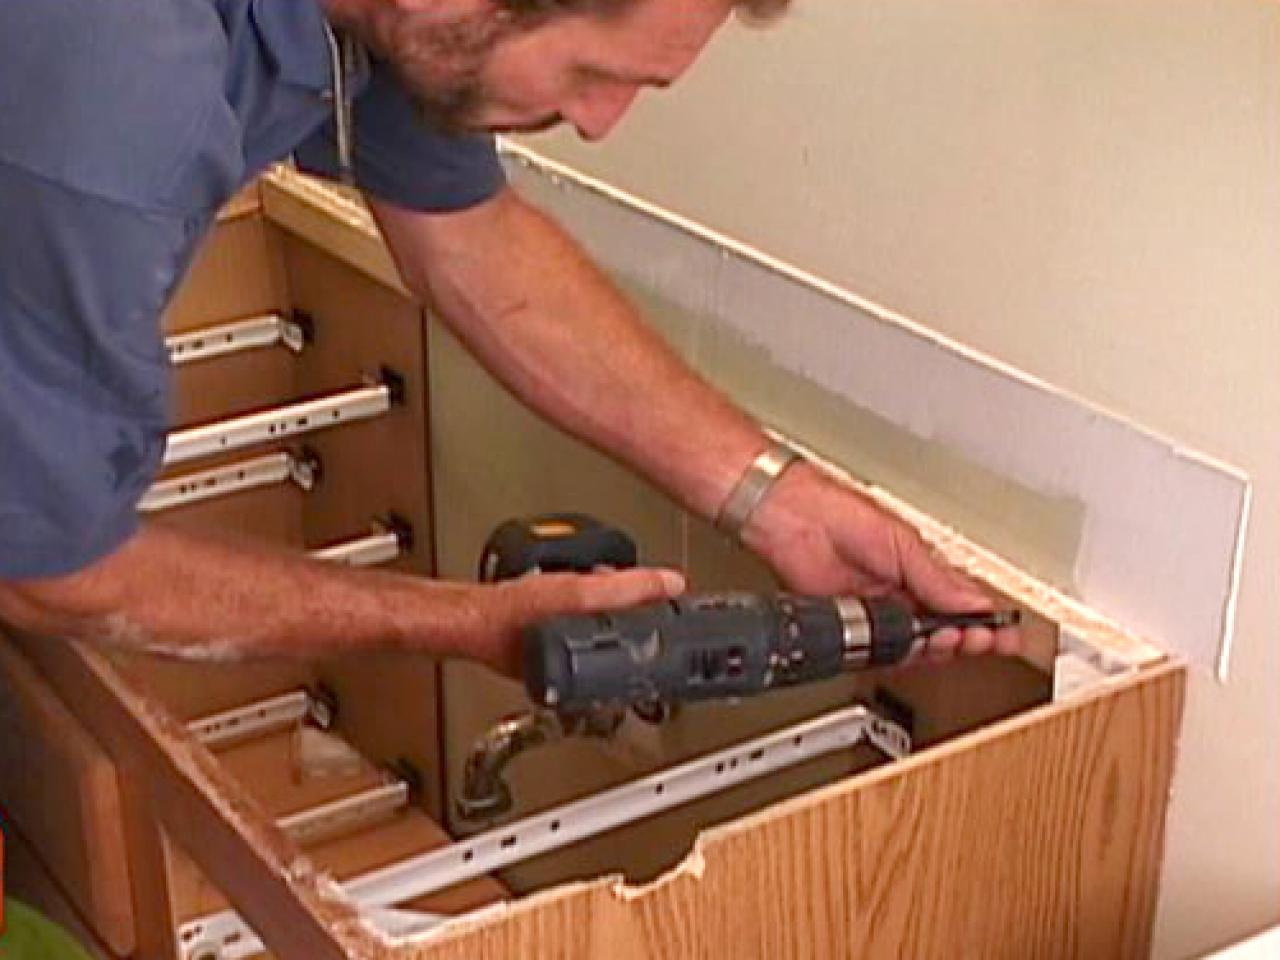
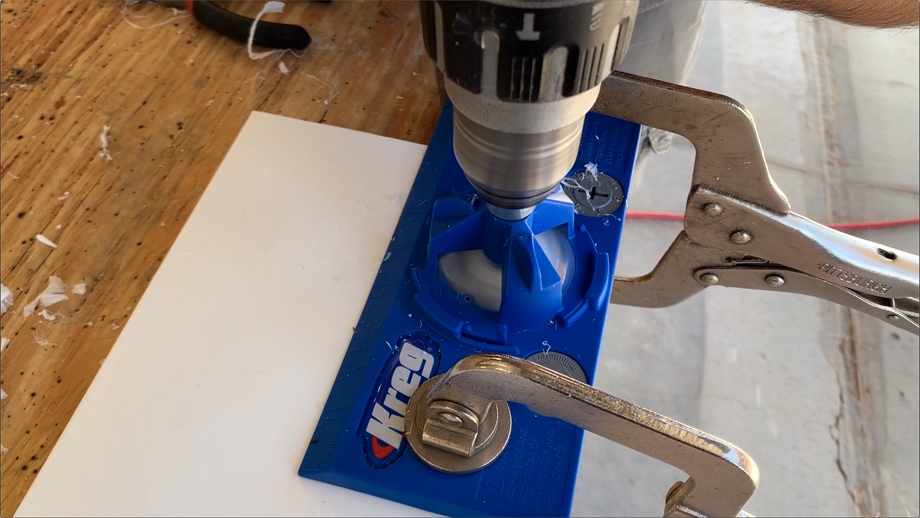
Before you begin the installation process, make sure you have all the necessary tools and materials on hand. This includes a drill, level, measuring tape, plumber's putty, and any additional hardware that may come with your vanity. Once you have everything you need, follow these steps: Step 1: Measure the space where your vanity will be installed to ensure a proper fit. You'll want to take into account the width, depth, and height of the vanity, as well as any surrounding fixtures or obstacles. Step 2: Turn off the water supply to your bathroom and disconnect any plumbing from your current vanity. Step 3: Remove your old vanity and clean the area where the new one will be installed. Step 4: Assemble your freestanding vanity according to the manufacturer's instructions. This may involve attaching legs, shelves, or other components. Step 5: Place the vanity in the desired location and use a level to ensure it is straight and even. Step 6: Secure the vanity to the wall using screws or brackets. This will help prevent any movement or tipping over time. Step 7: Reconnect the plumbing to your vanity, making sure all connections are tight and secure. Use plumber's putty to seal any visible gaps. Step 8: Add any finishing touches, such as attaching hardware or installing a backsplash. Step 9: Turn the water supply back on and test for any leaks or issues with the plumbing. Step 10: Enjoy your newly installed freestanding bathroom vanity!Step-by-Step Guide for Installing a Freestanding Bathroom Vanity
If you're planning a DIY bathroom renovation, installing a freestanding vanity is a great way to save money and add a personal touch to your space. By following the steps outlined above, you can easily install a freestanding vanity on your own without the need for professional help. Just be sure to take your time and carefully follow the instructions to ensure a successful installation.DIY Bathroom Renovation: Installing a Freestanding Vanity
Before you start the installation process, it's important to have all the necessary tools and materials on hand. In addition to the ones mentioned earlier, you may also need a hammer, screwdriver, and caulk. It's always a good idea to have a few extra supplies on hand in case of any unexpected issues or mishaps.Essential Tools and Materials for Installing a Freestanding Bathroom Vanity
Proper measurement and preparation are key to a successful installation. Make sure to measure the space accurately and take into account any obstacles or fixtures that may affect the placement of your vanity. It's also a good idea to have a helper on hand to hold the vanity in place as you measure and secure it to the wall.Tips for Measuring and Preparing for Installing a Freestanding Bathroom Vanity
While installing a freestanding vanity is a relatively straightforward process, there are some common mistakes that can easily be avoided with proper preparation and attention to detail. These include not properly securing the vanity to the wall, not sealing plumbing connections, and not measuring accurately.Common Mistakes to Avoid When Installing a Freestanding Bathroom Vanity
Securing your vanity to the wall is crucial for stability and safety. Use screws or brackets to firmly attach the vanity to the wall, and check with a level to ensure it is straight and even. If necessary, use shims to adjust the levelness of the vanity before securing it in place.Securing and Leveling Your Freestanding Bathroom Vanity During Installation
Once your vanity is securely in place, it's time to connect the plumbing and add any finishing touches. Make sure all connections are tight and secure, and use caulk or plumber's putty to seal any gaps. You can also add hardware, such as drawer pulls or faucet fixtures, to complete the look of your new freestanding vanity.Connecting Plumbing and Finishing Touches for Your Freestanding Bathroom Vanity
Before deciding to install a freestanding vanity, it's important to consider the pros and cons. Some of the advantages include easy installation, versatility in design and style, and the ability to easily switch out or update the vanity in the future. However, some potential drawbacks may include limited storage space and the potential for tipping if not securely attached to the wall.Pros and Cons of Installing a Freestanding Bathroom Vanity
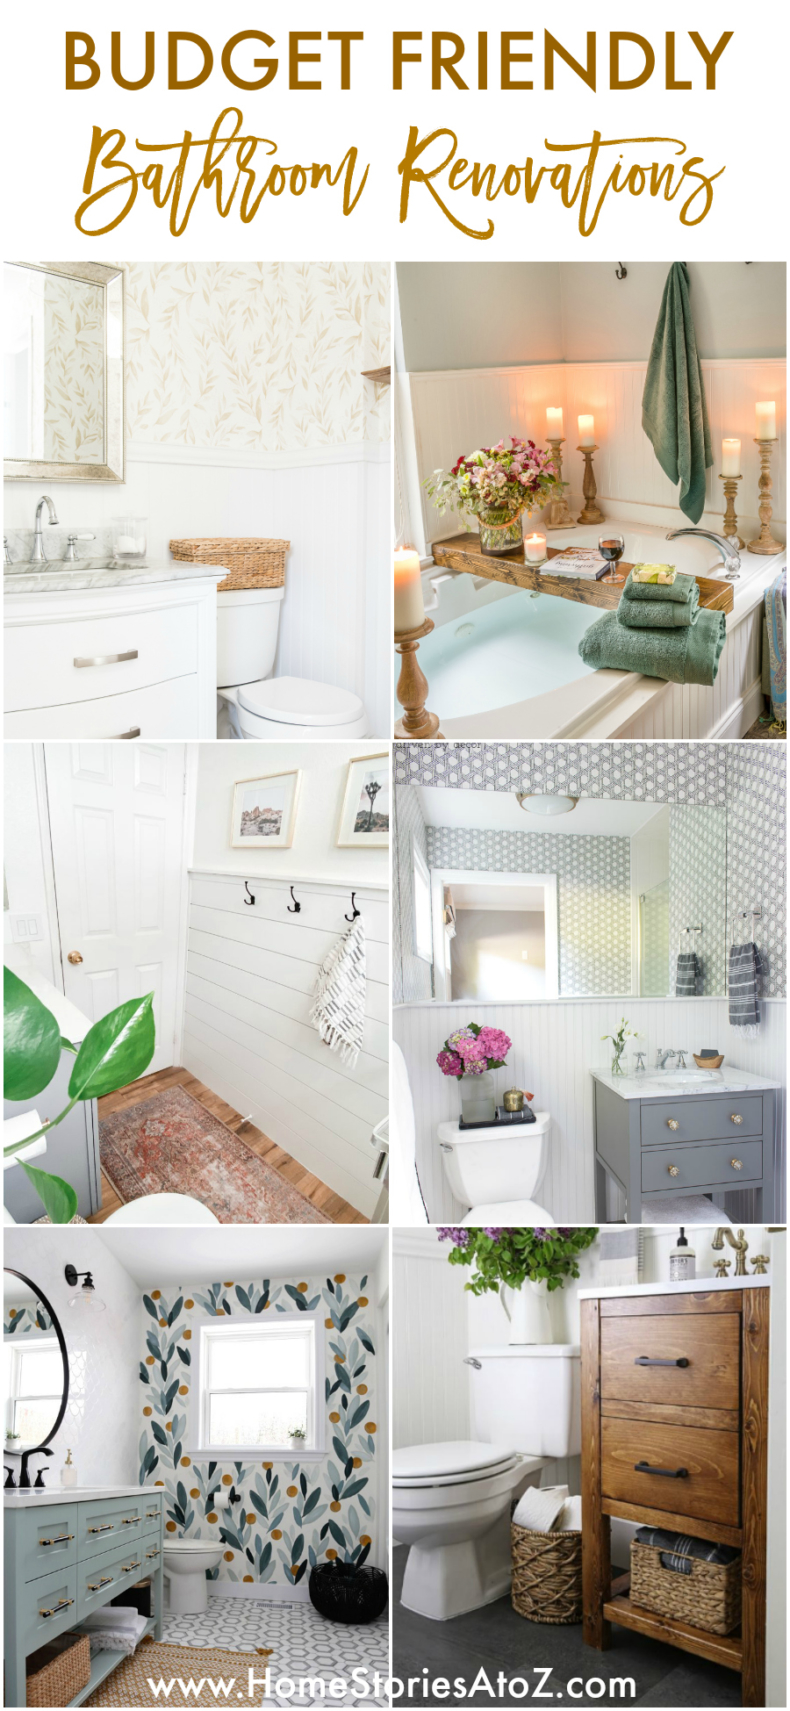
If you're on a budget but still want to update your bathroom with a new vanity, there are plenty of affordable options available. Look for sales or discounts at home improvement stores, or consider purchasing a pre-owned or refurbished vanity. You can also save money by installing the vanity yourself rather than hiring a professional.Budget-Friendly Options for Installing a Freestanding Bathroom Vanity
Why Choose a Freestanding Bathroom Vanity?

Functionality and Style in One
 If you're looking to upgrade your bathroom's design,
installing a freestanding bathroom vanity
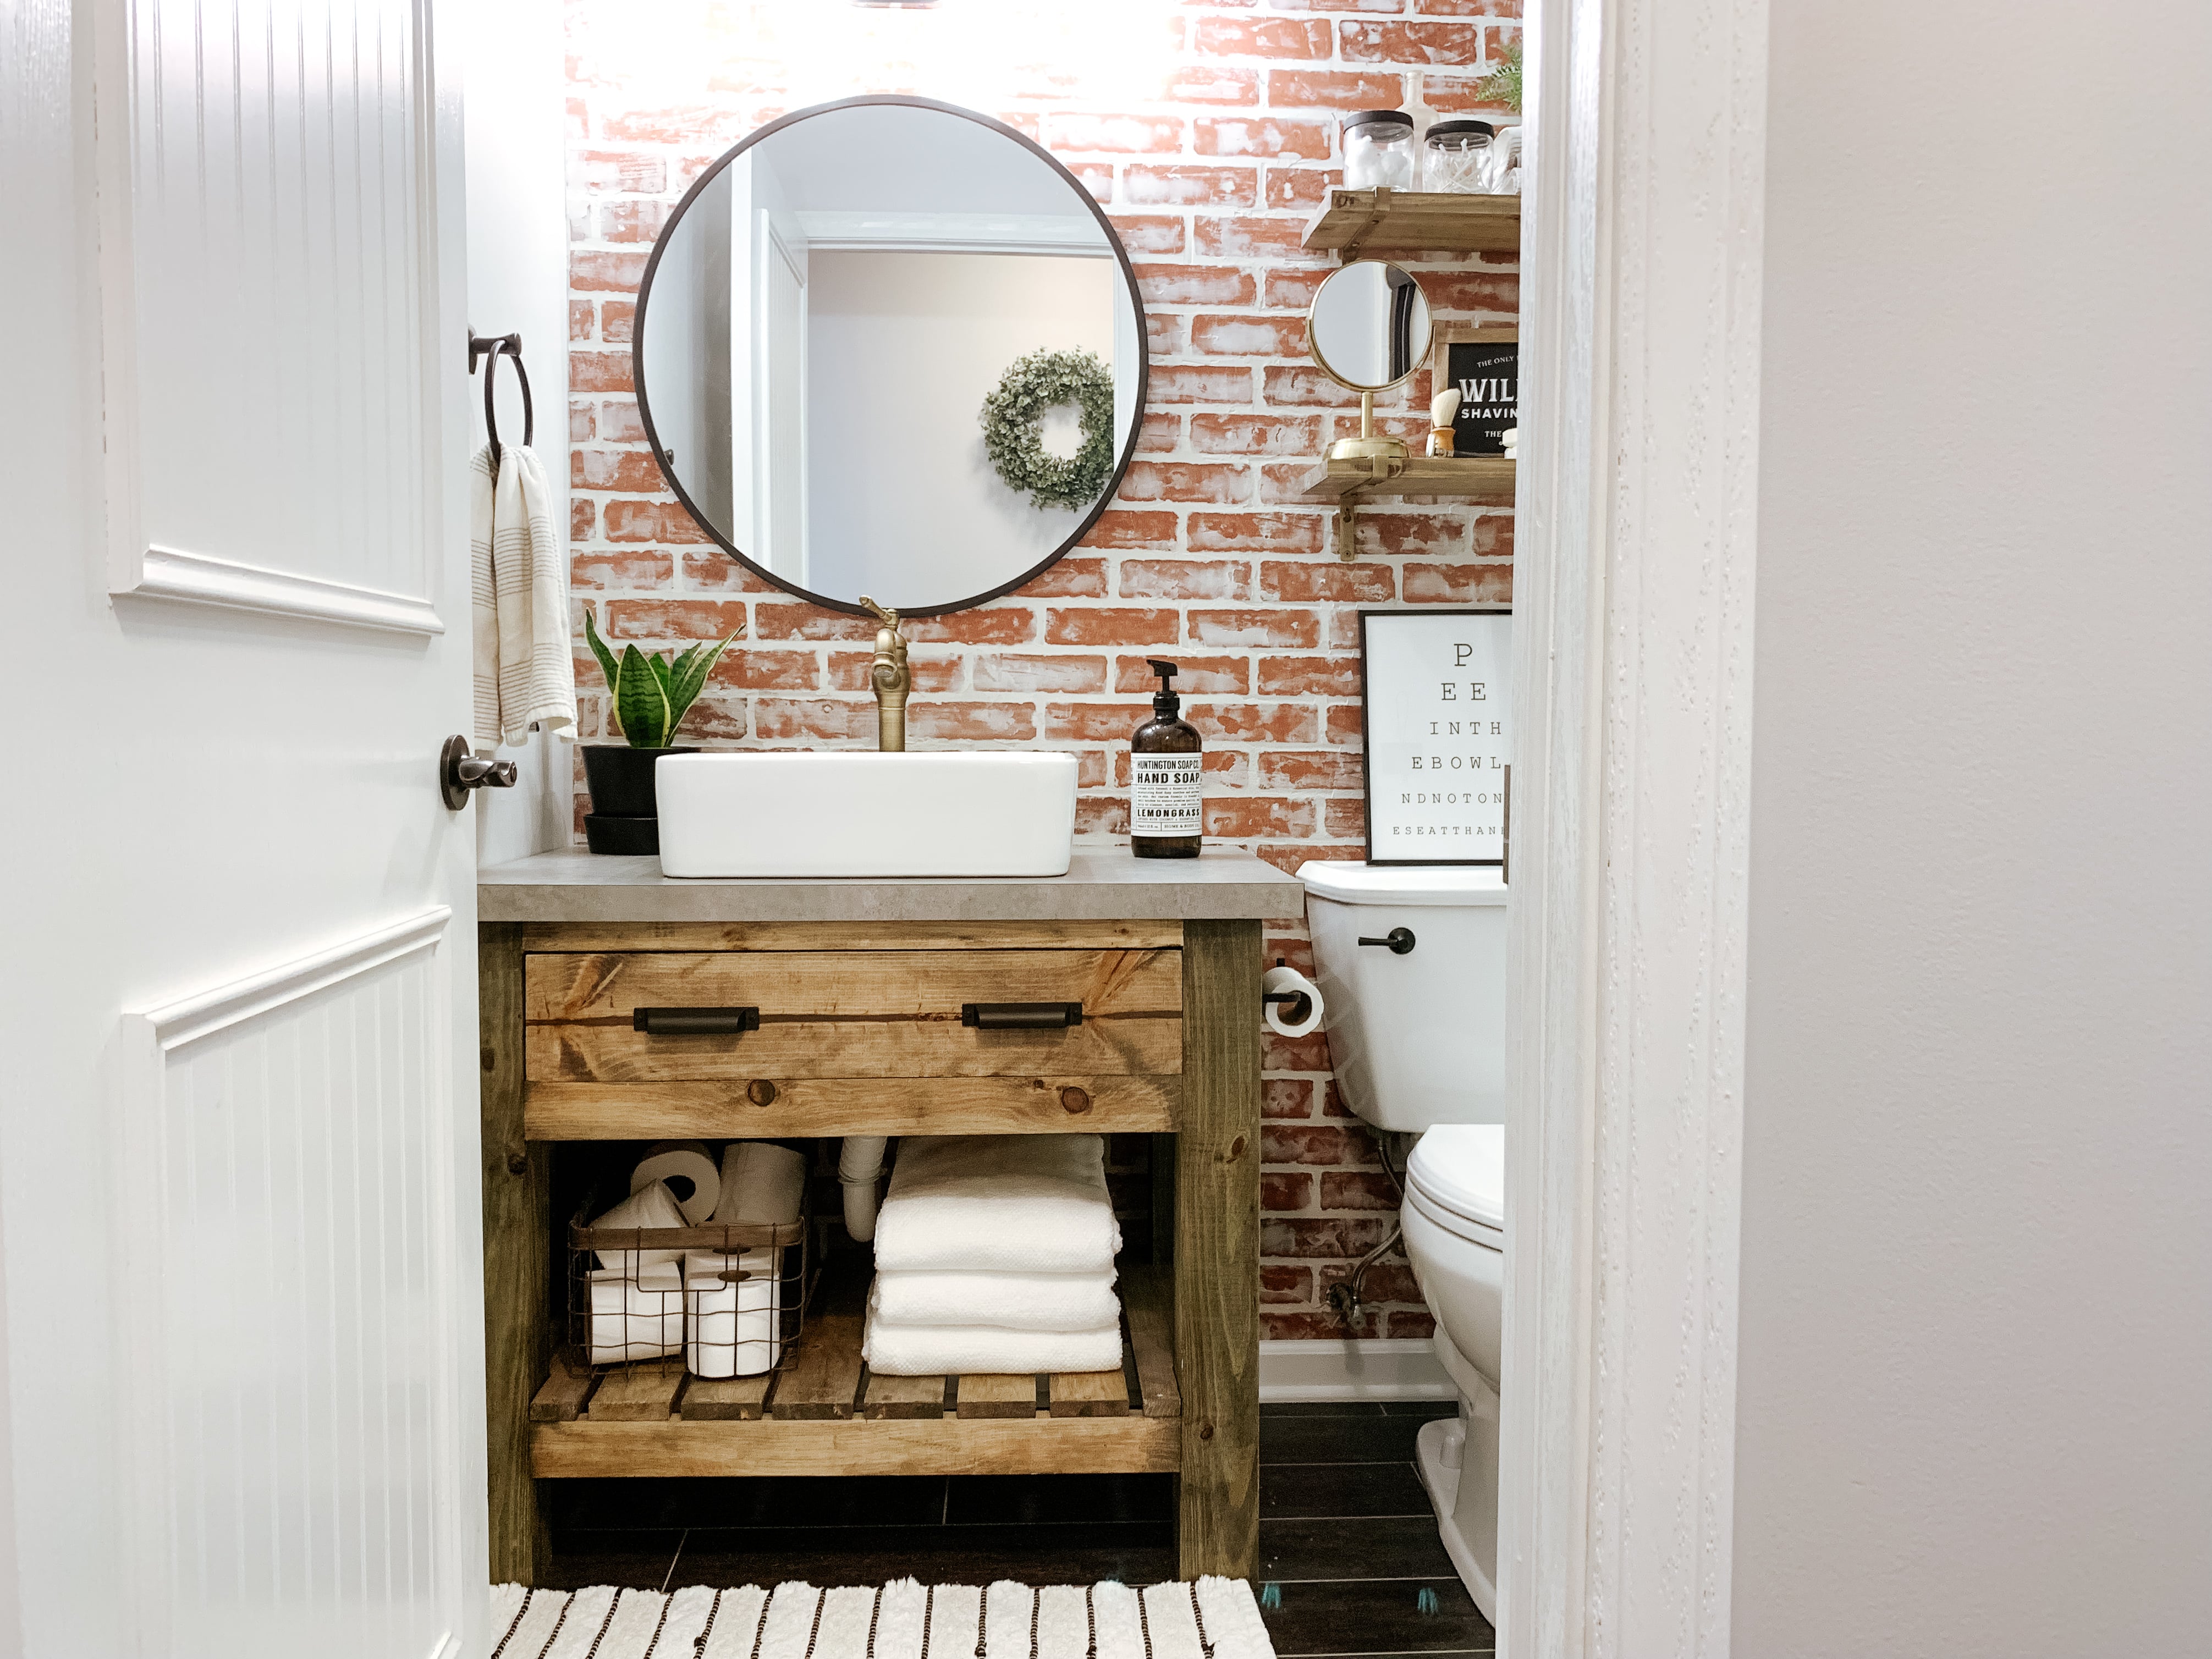
is a great place to start. Not only does it add functionality to your space, but it also adds style and character. Freestanding vanities come in a variety of designs, materials, and sizes, making it easy to find one that fits your specific needs and aesthetic preferences.
Maximizes Space
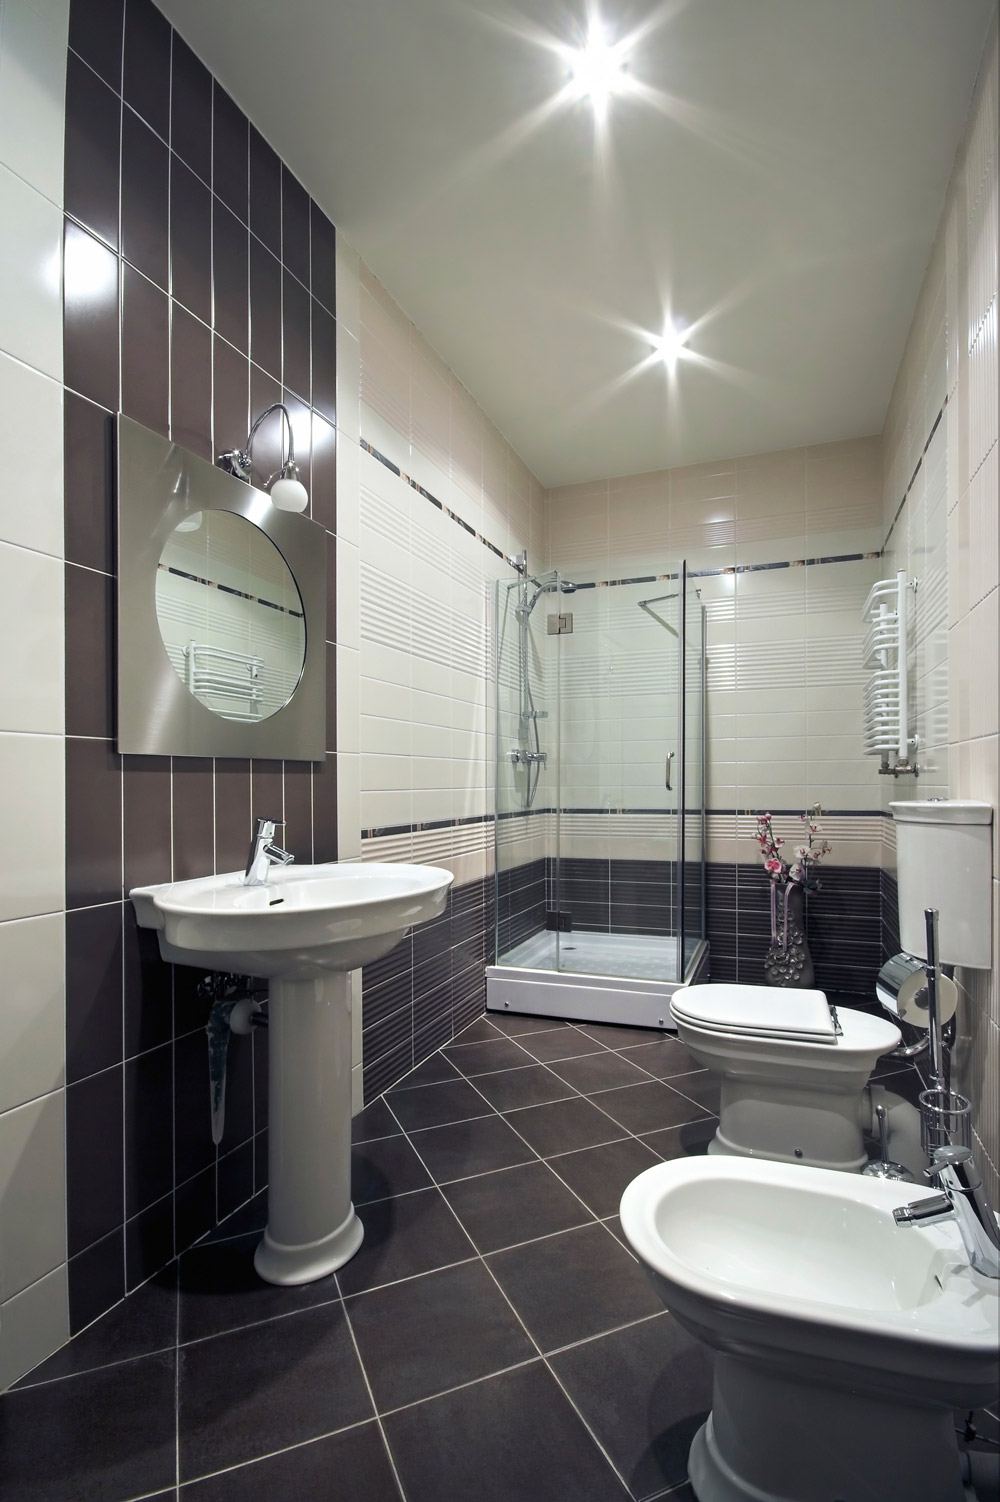
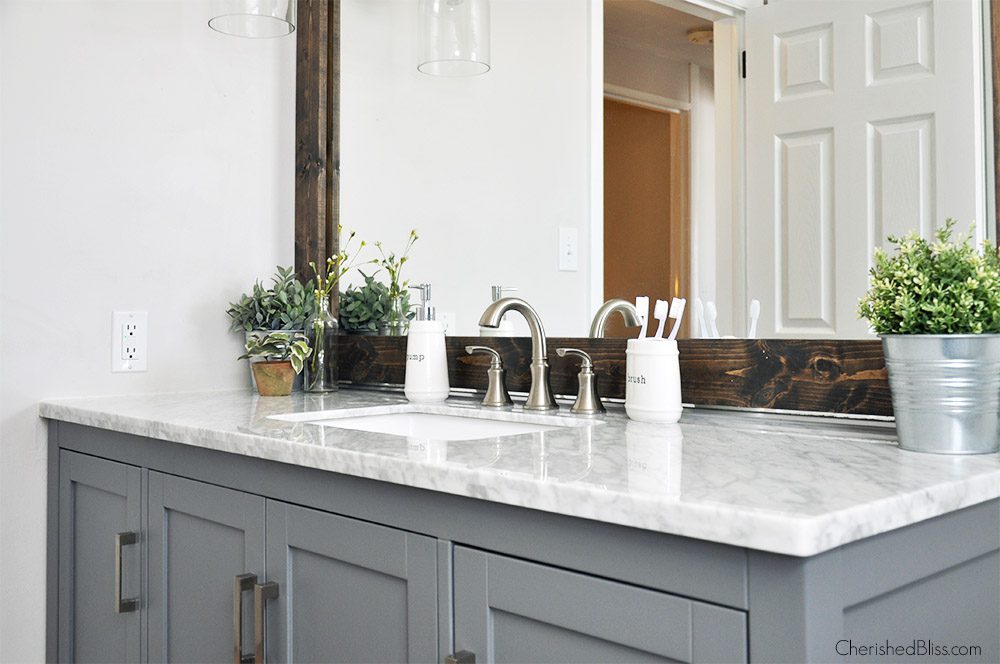 One of the biggest advantages of a freestanding vanity is that it maximizes space in your bathroom. Unlike built-in vanities, which are attached to the wall, freestanding vanities stand on their own and take up less floor space. This is especially beneficial for smaller bathrooms where every inch counts. You can also choose a wall-mounted freestanding vanity to create the illusion of more space.
Easy to Install
 Installing a freestanding bathroom vanity
is a relatively simple process, making it a popular choice for DIY home projects. Since it doesn't need to be attached to the wall, all you need to do is secure it to the floor. This eliminates the need for any complicated plumbing or construction work. Plus, if you ever decide to remodel your bathroom, a freestanding vanity can easily be moved or replaced without any major renovations.
Flexible Design Options
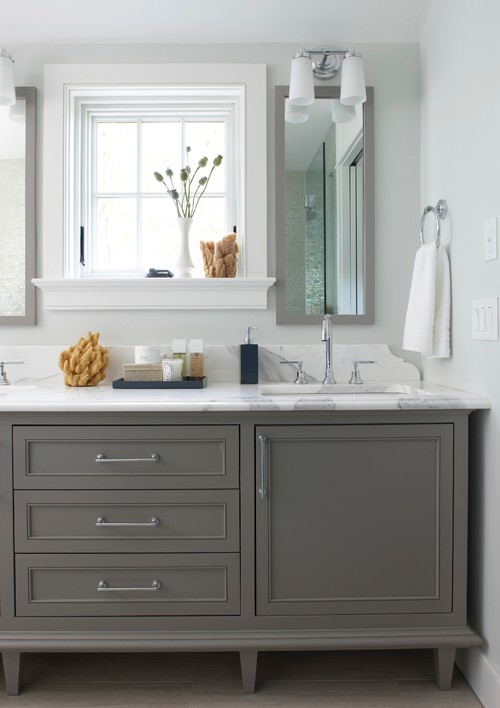
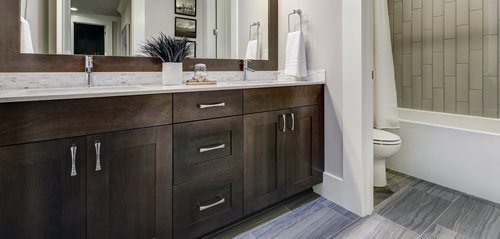
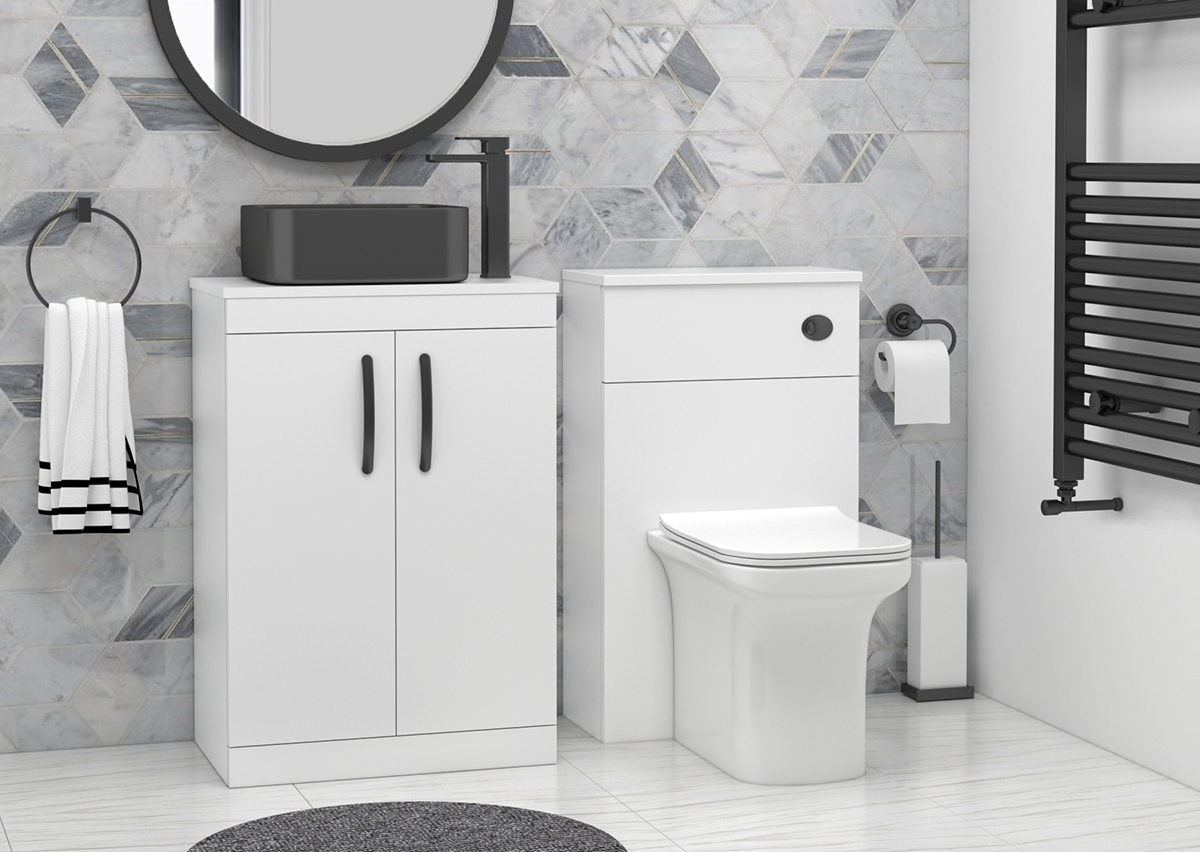
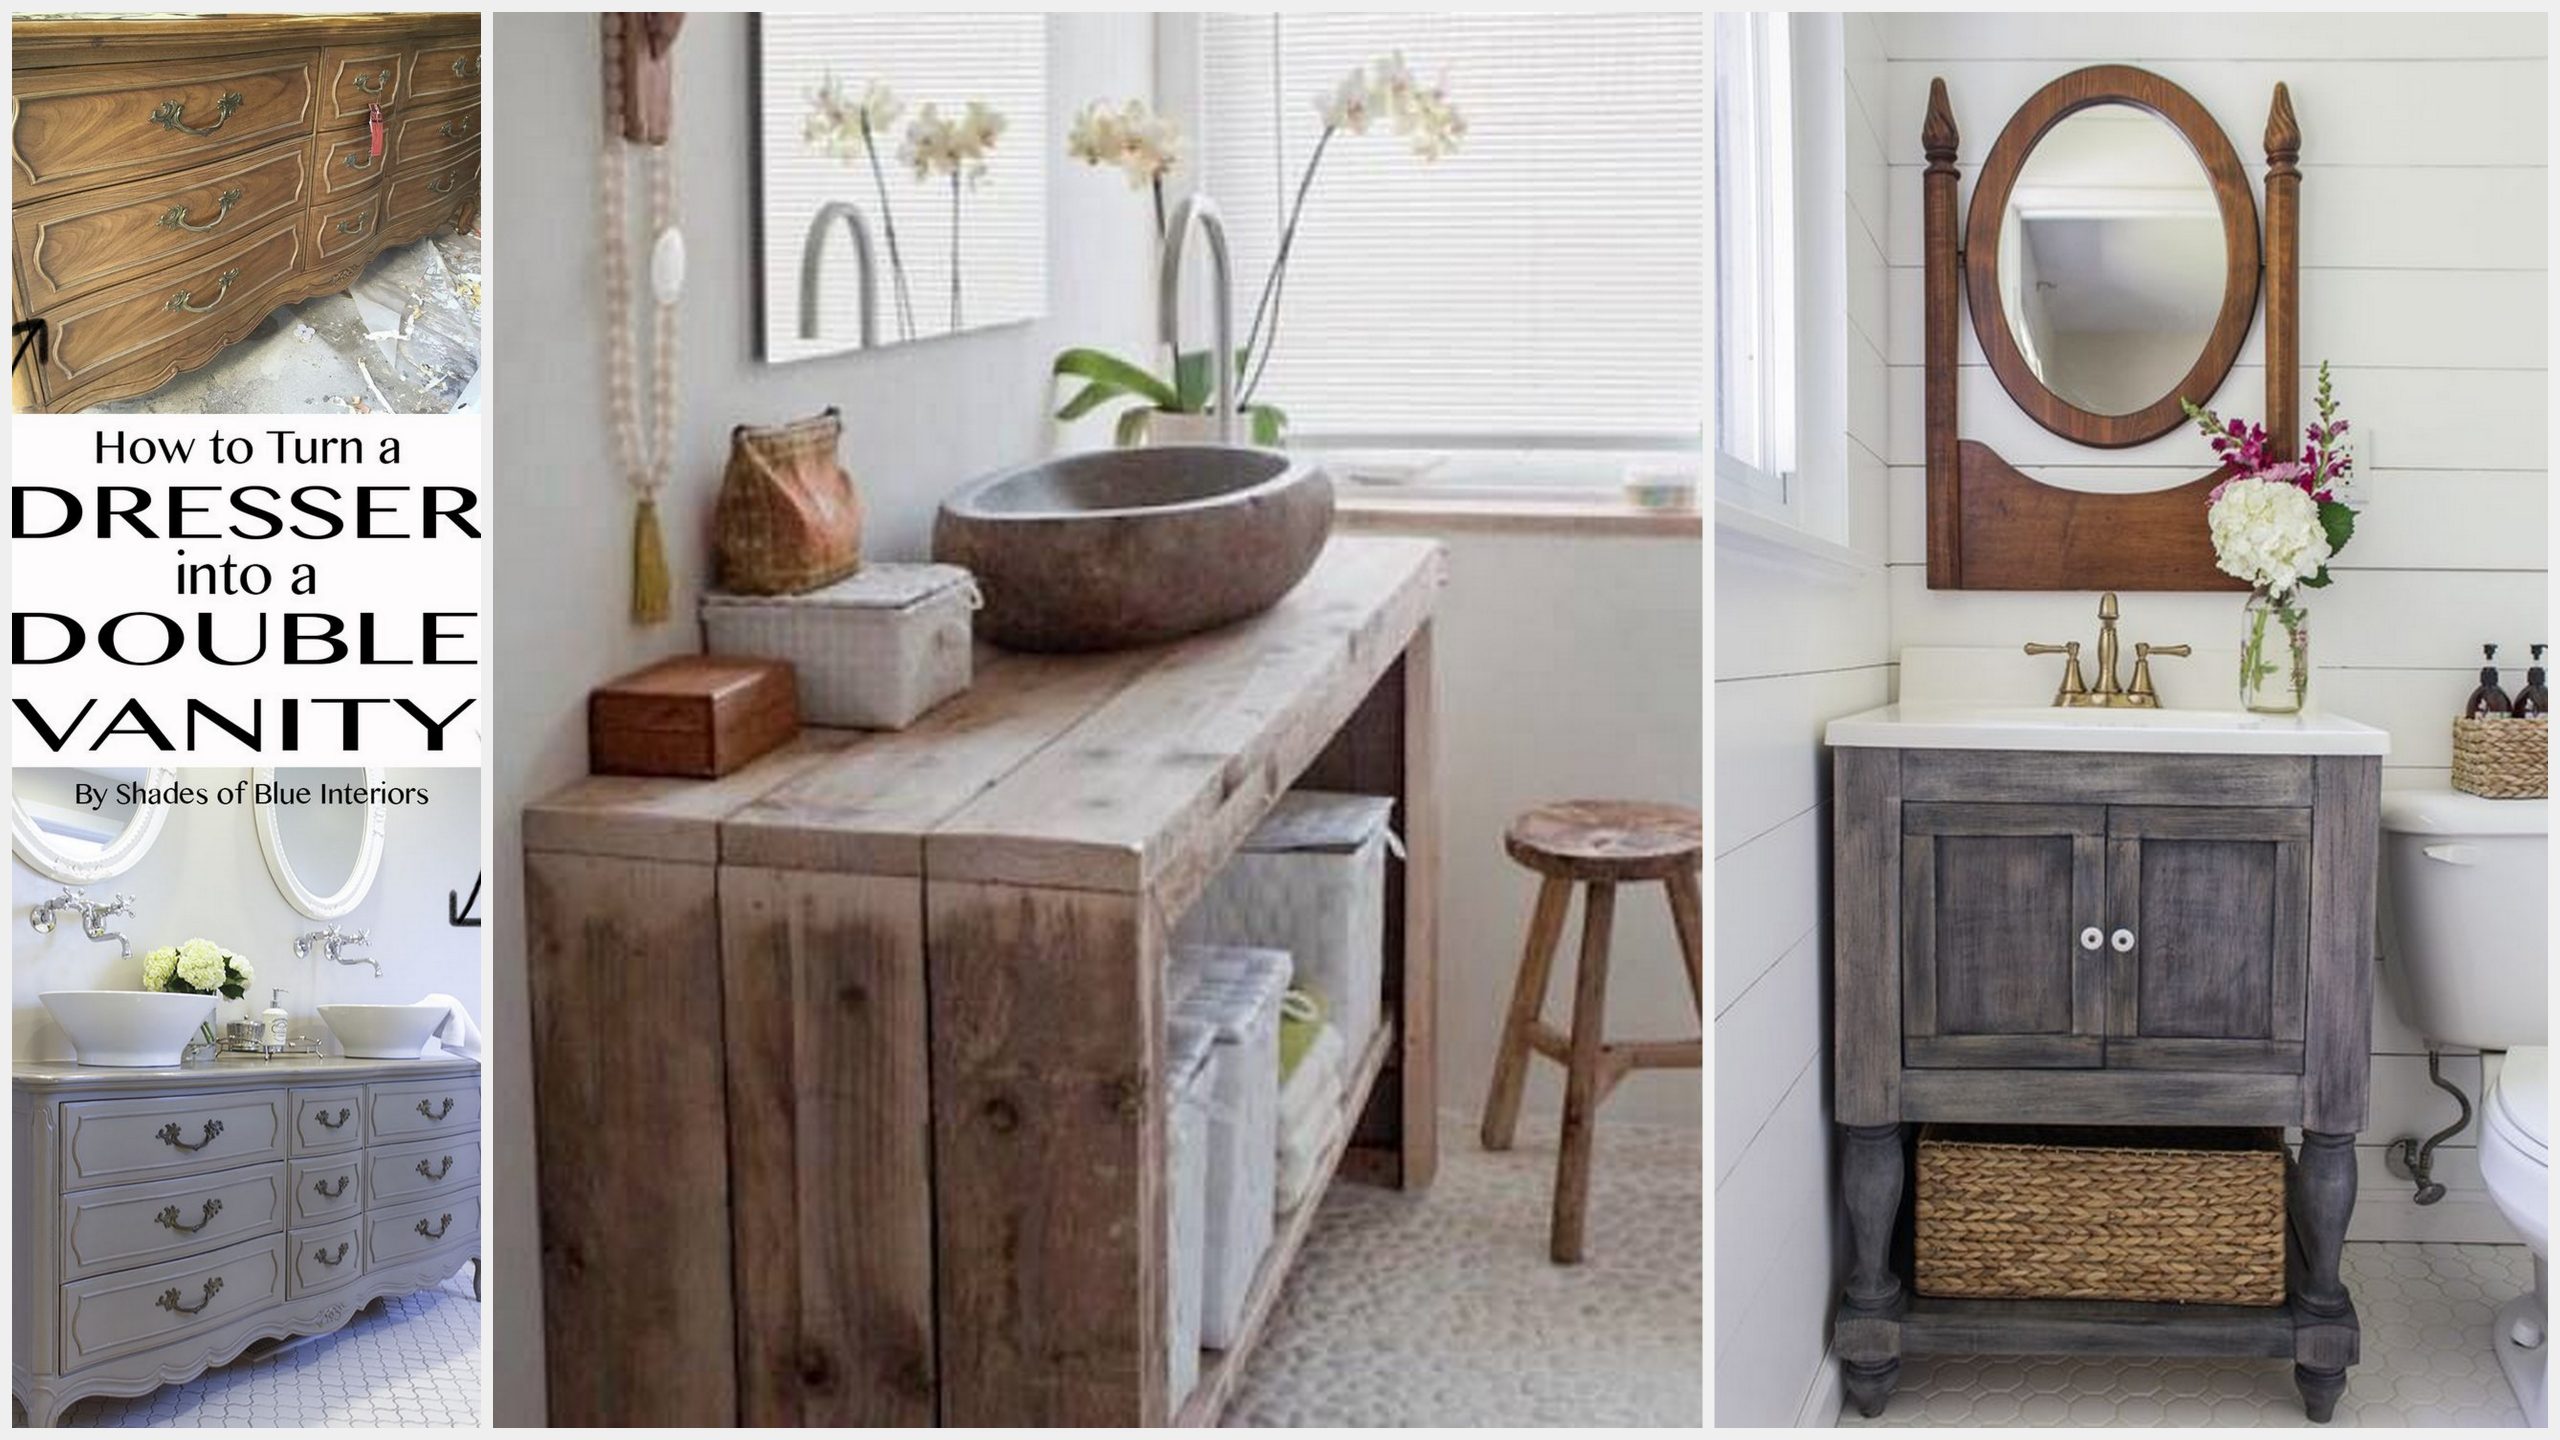
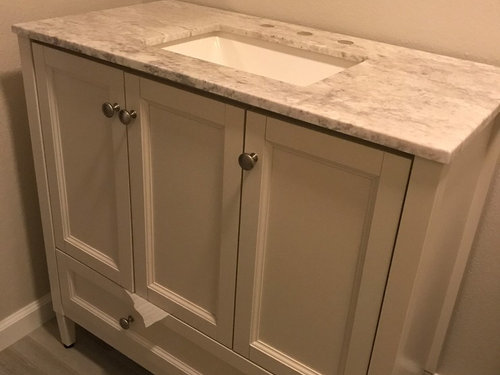 With a freestanding vanity, you have the flexibility to choose from a wide range of designs to suit your personal style and the overall look of your bathroom. From sleek and modern to traditional and rustic, there is a freestanding vanity to match any aesthetic. You can also mix and match different vanity tops, sinks, and hardware to create a truly unique and personalized look.
In Conclusion
 A freestanding bathroom vanity offers a perfect blend of functionality and style. It maximizes space, is easy to install, and provides flexibility in design options. Whether you're looking to upgrade your bathroom or starting a new house design project, consider
incorporating a freestanding bathroom vanity
for a practical and stylish addition to your space.

