1. Installing Bathroom Sink Plumbing: A Step-by-Step Guide
Are you considering a bathroom renovation and need to install a new sink? Or perhaps you're building a new home and need to tackle the plumbing for your bathroom sink. Whatever the case may be, installing bathroom sink plumbing may seem like a daunting task. But fear not, with the right tools and knowledge, you can easily tackle this DIY project. In this article, we'll guide you through the process of installing your bathroom sink plumbing. So let's get started!
2. Bathroom Sink Installation: Preparing for the Task
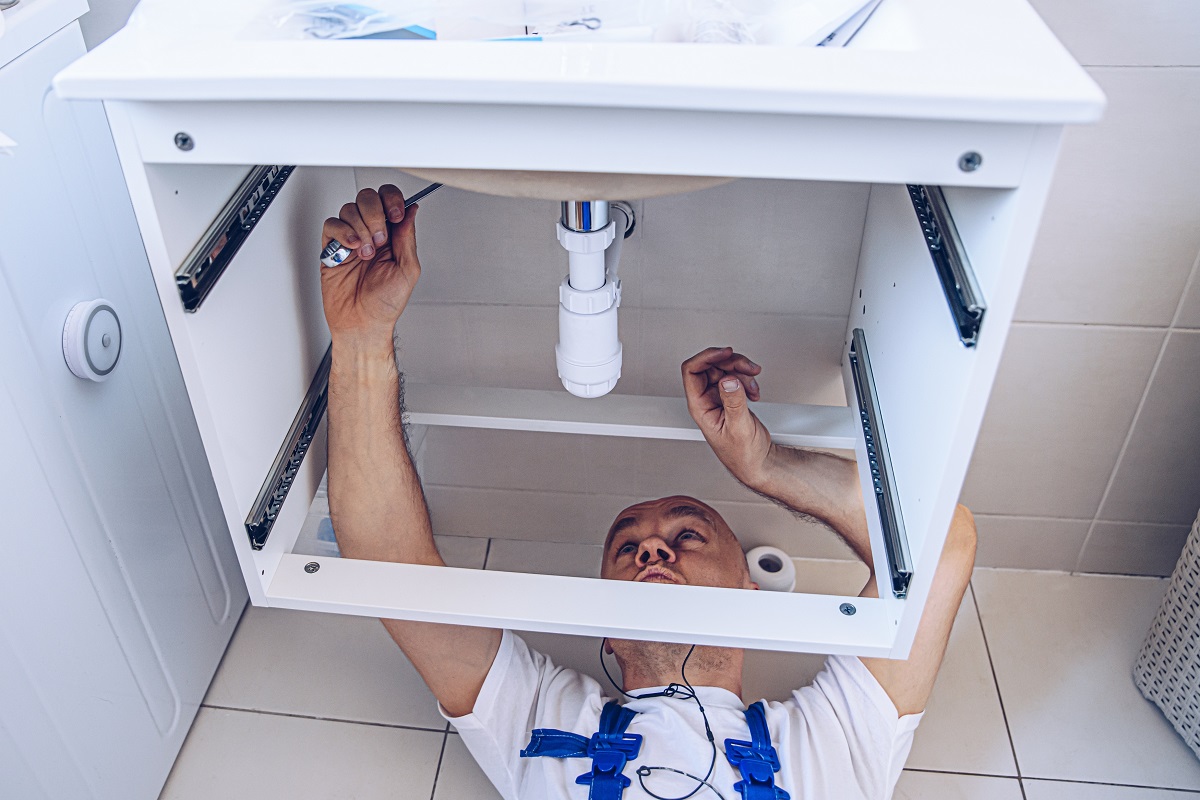
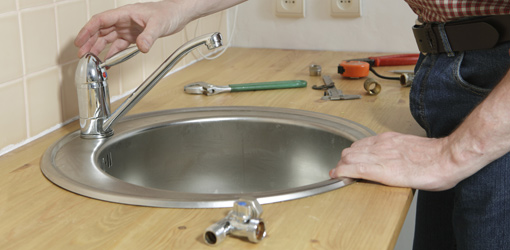
Before you begin installing your bathroom sink plumbing, there are a few things you need to do to prepare for the task. First, turn off the water supply to the bathroom. This is usually located under the sink or in the basement. Next, gather all the necessary tools and materials, including a wrench, pliers, Teflon tape, and the sink plumbing kit. It's also a good idea to have a bucket and towels handy in case of any leaks.
3. Plumbing for Bathroom Sink: Understanding the Diagram
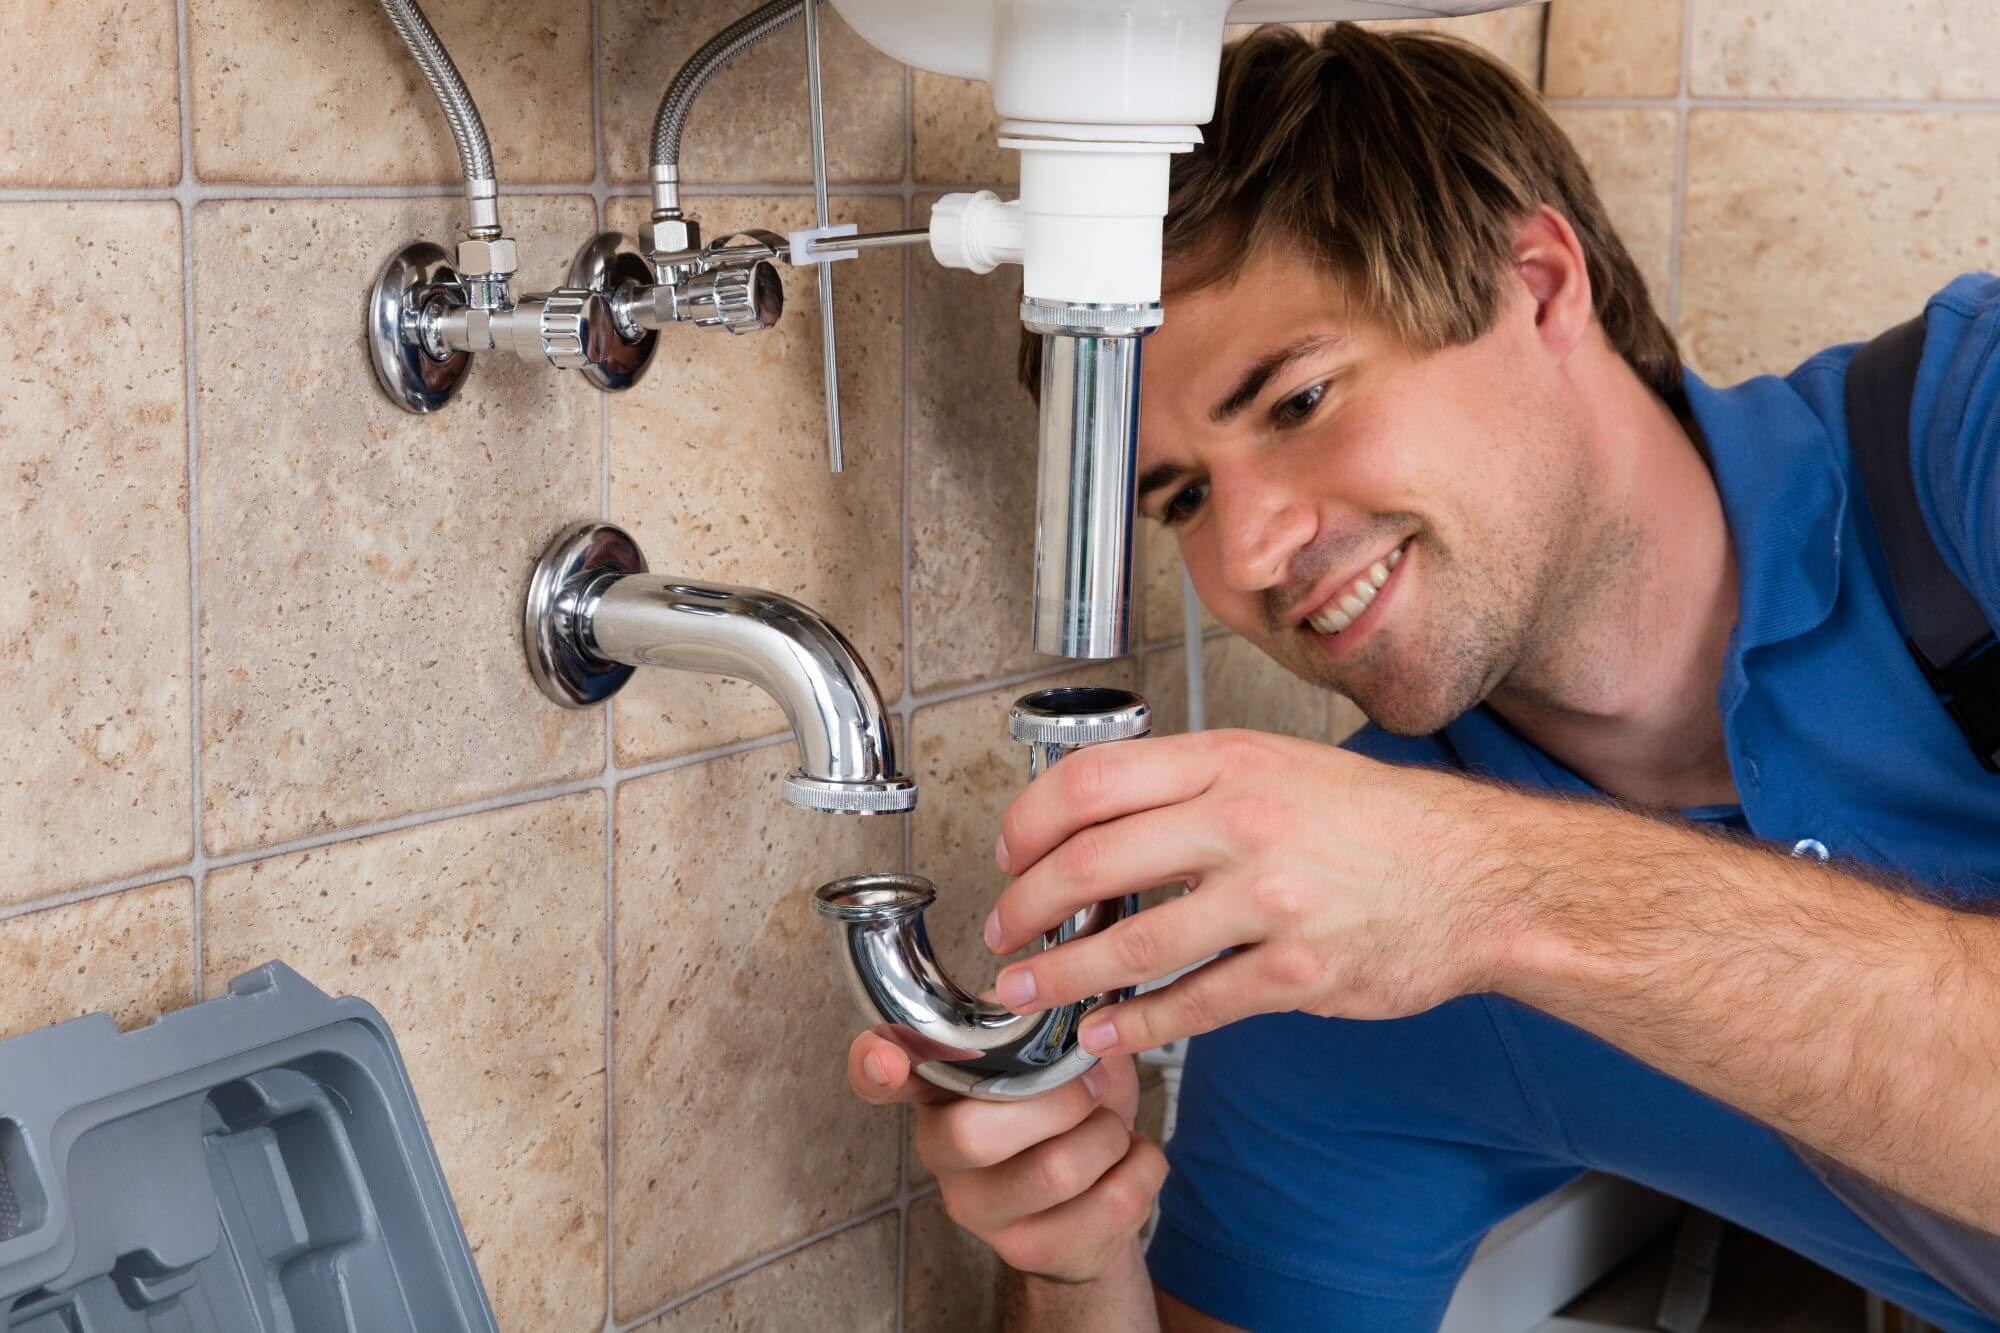
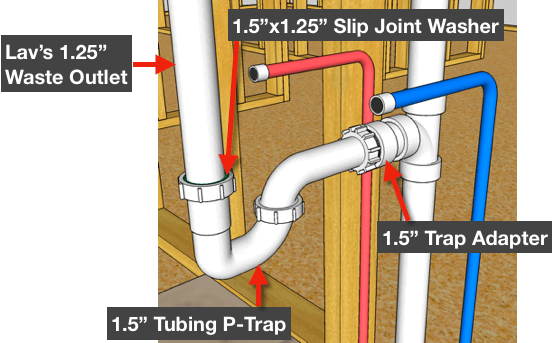
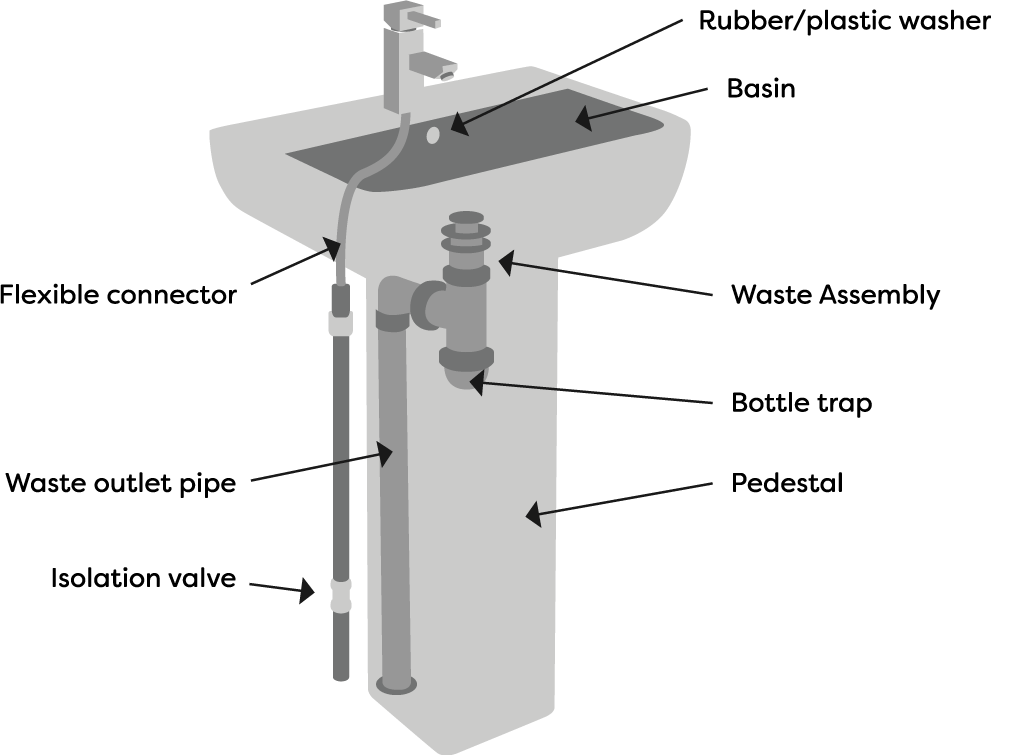
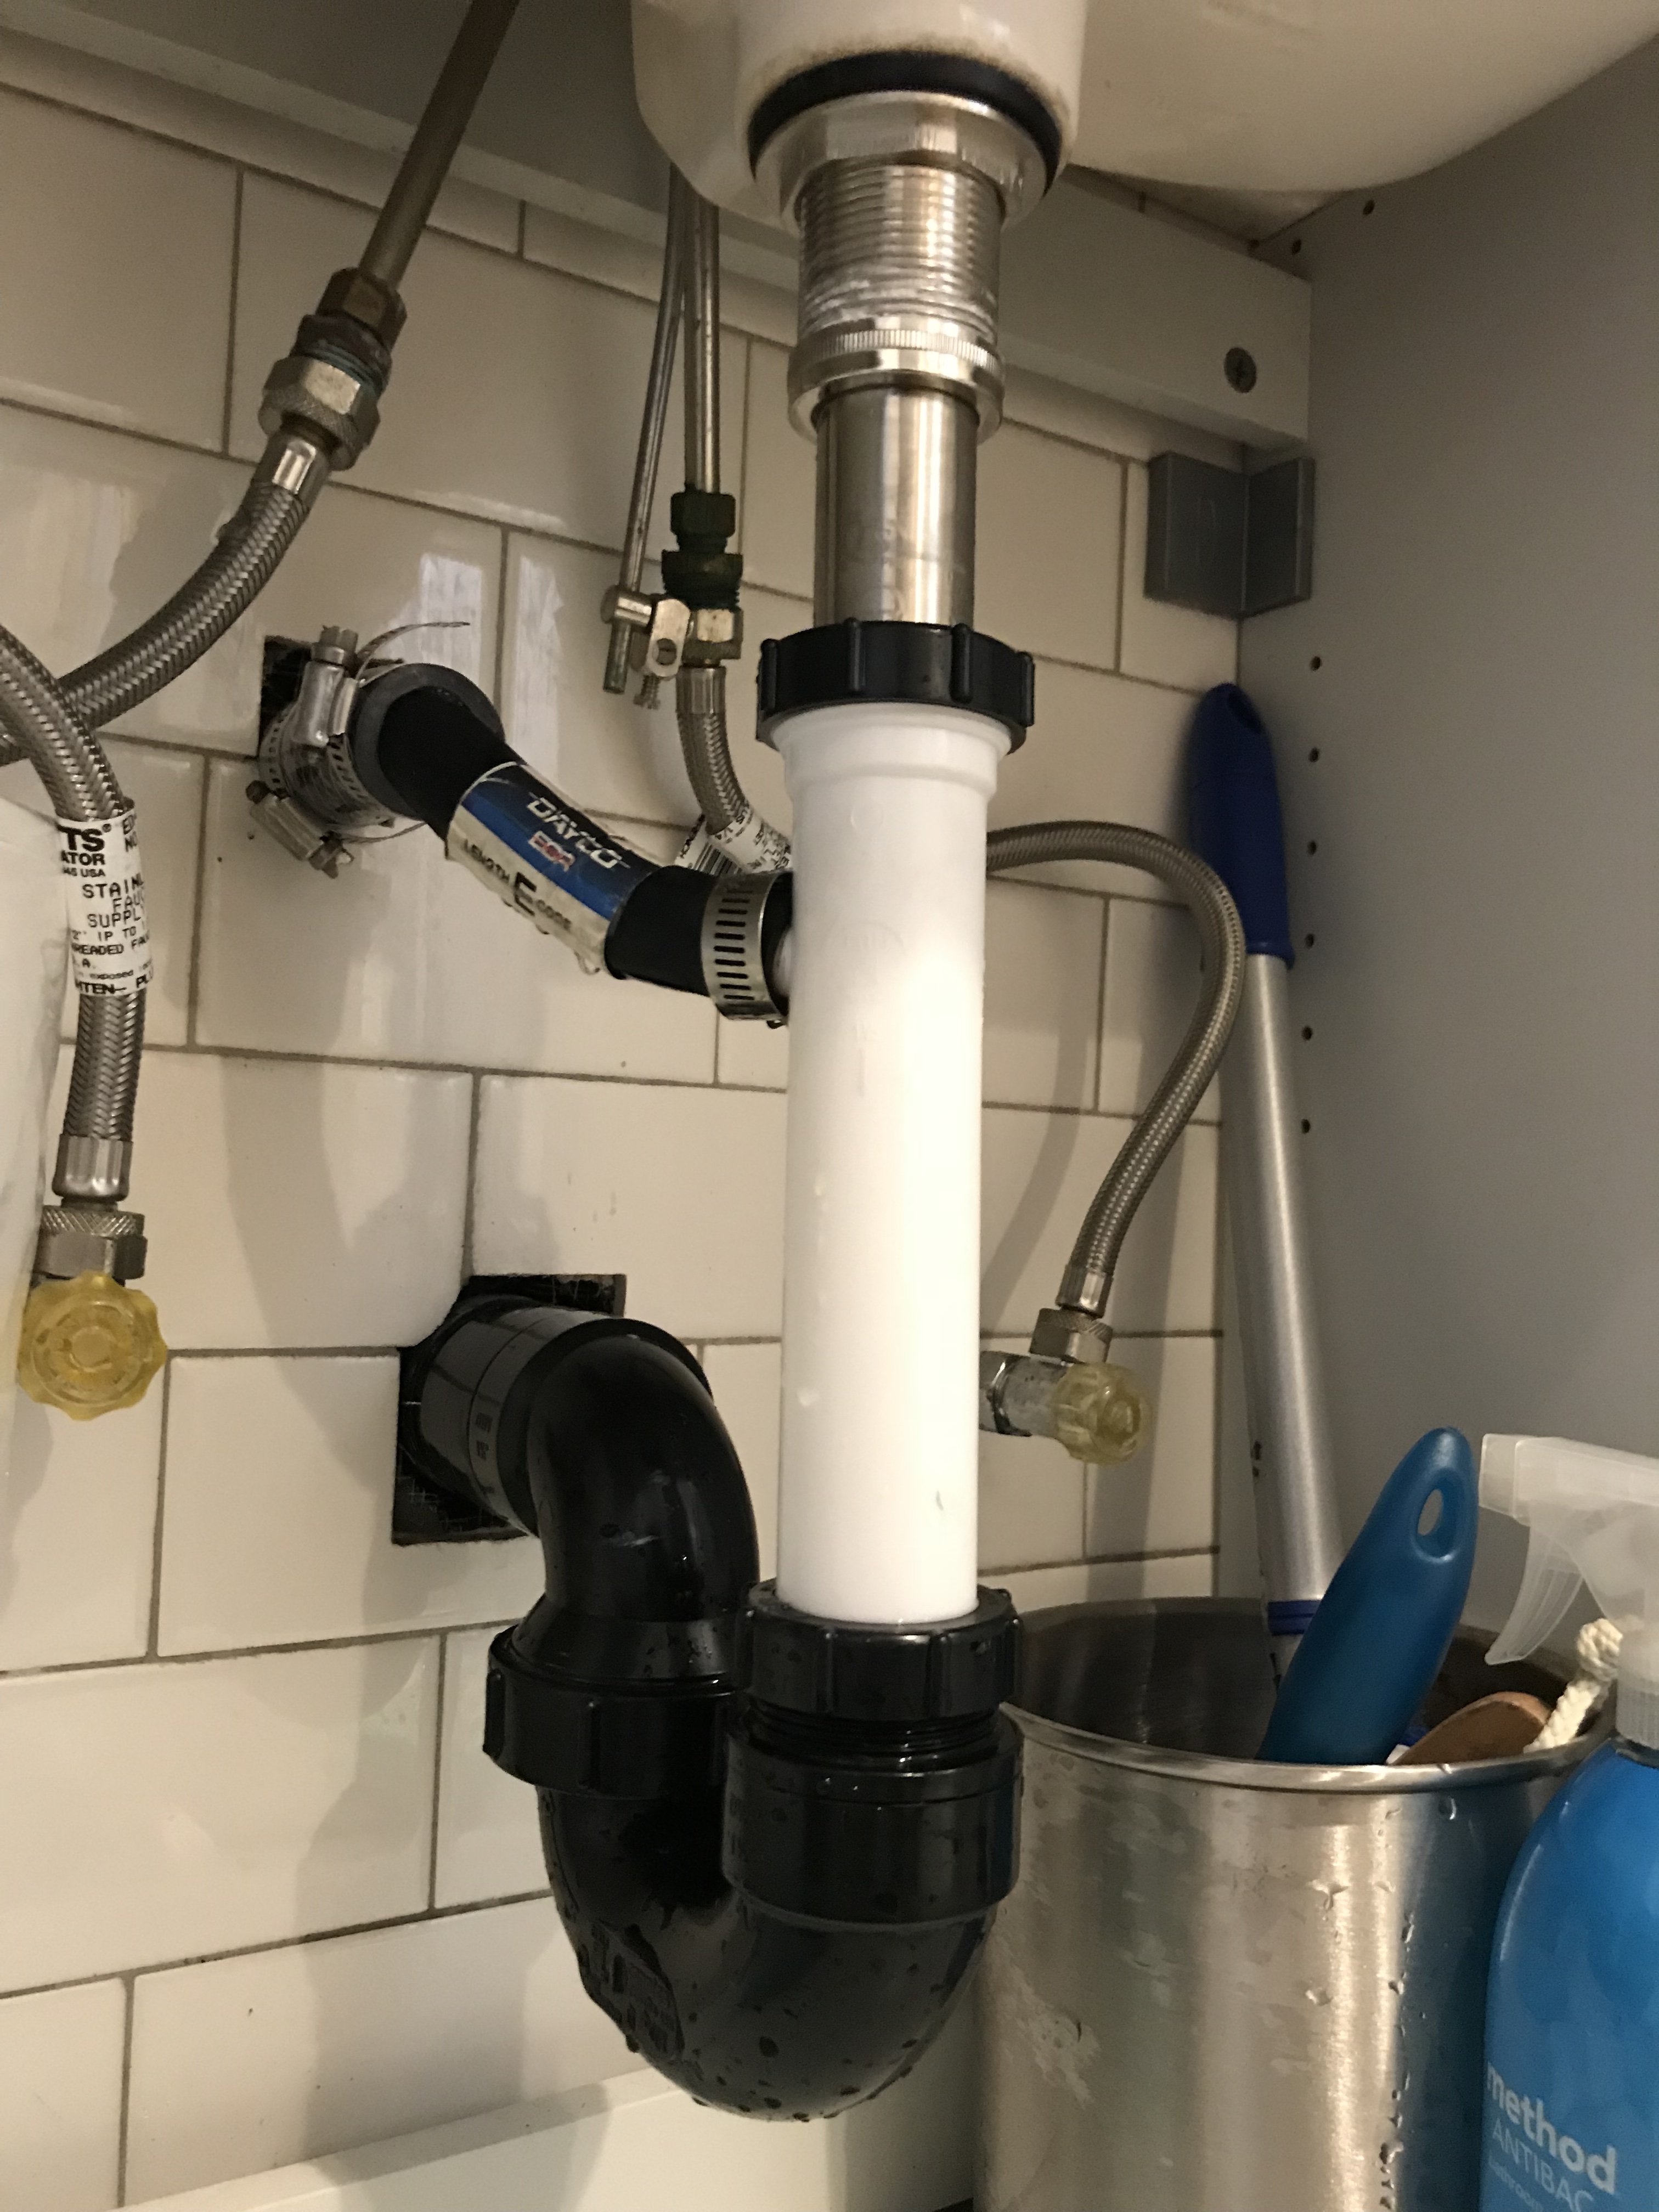
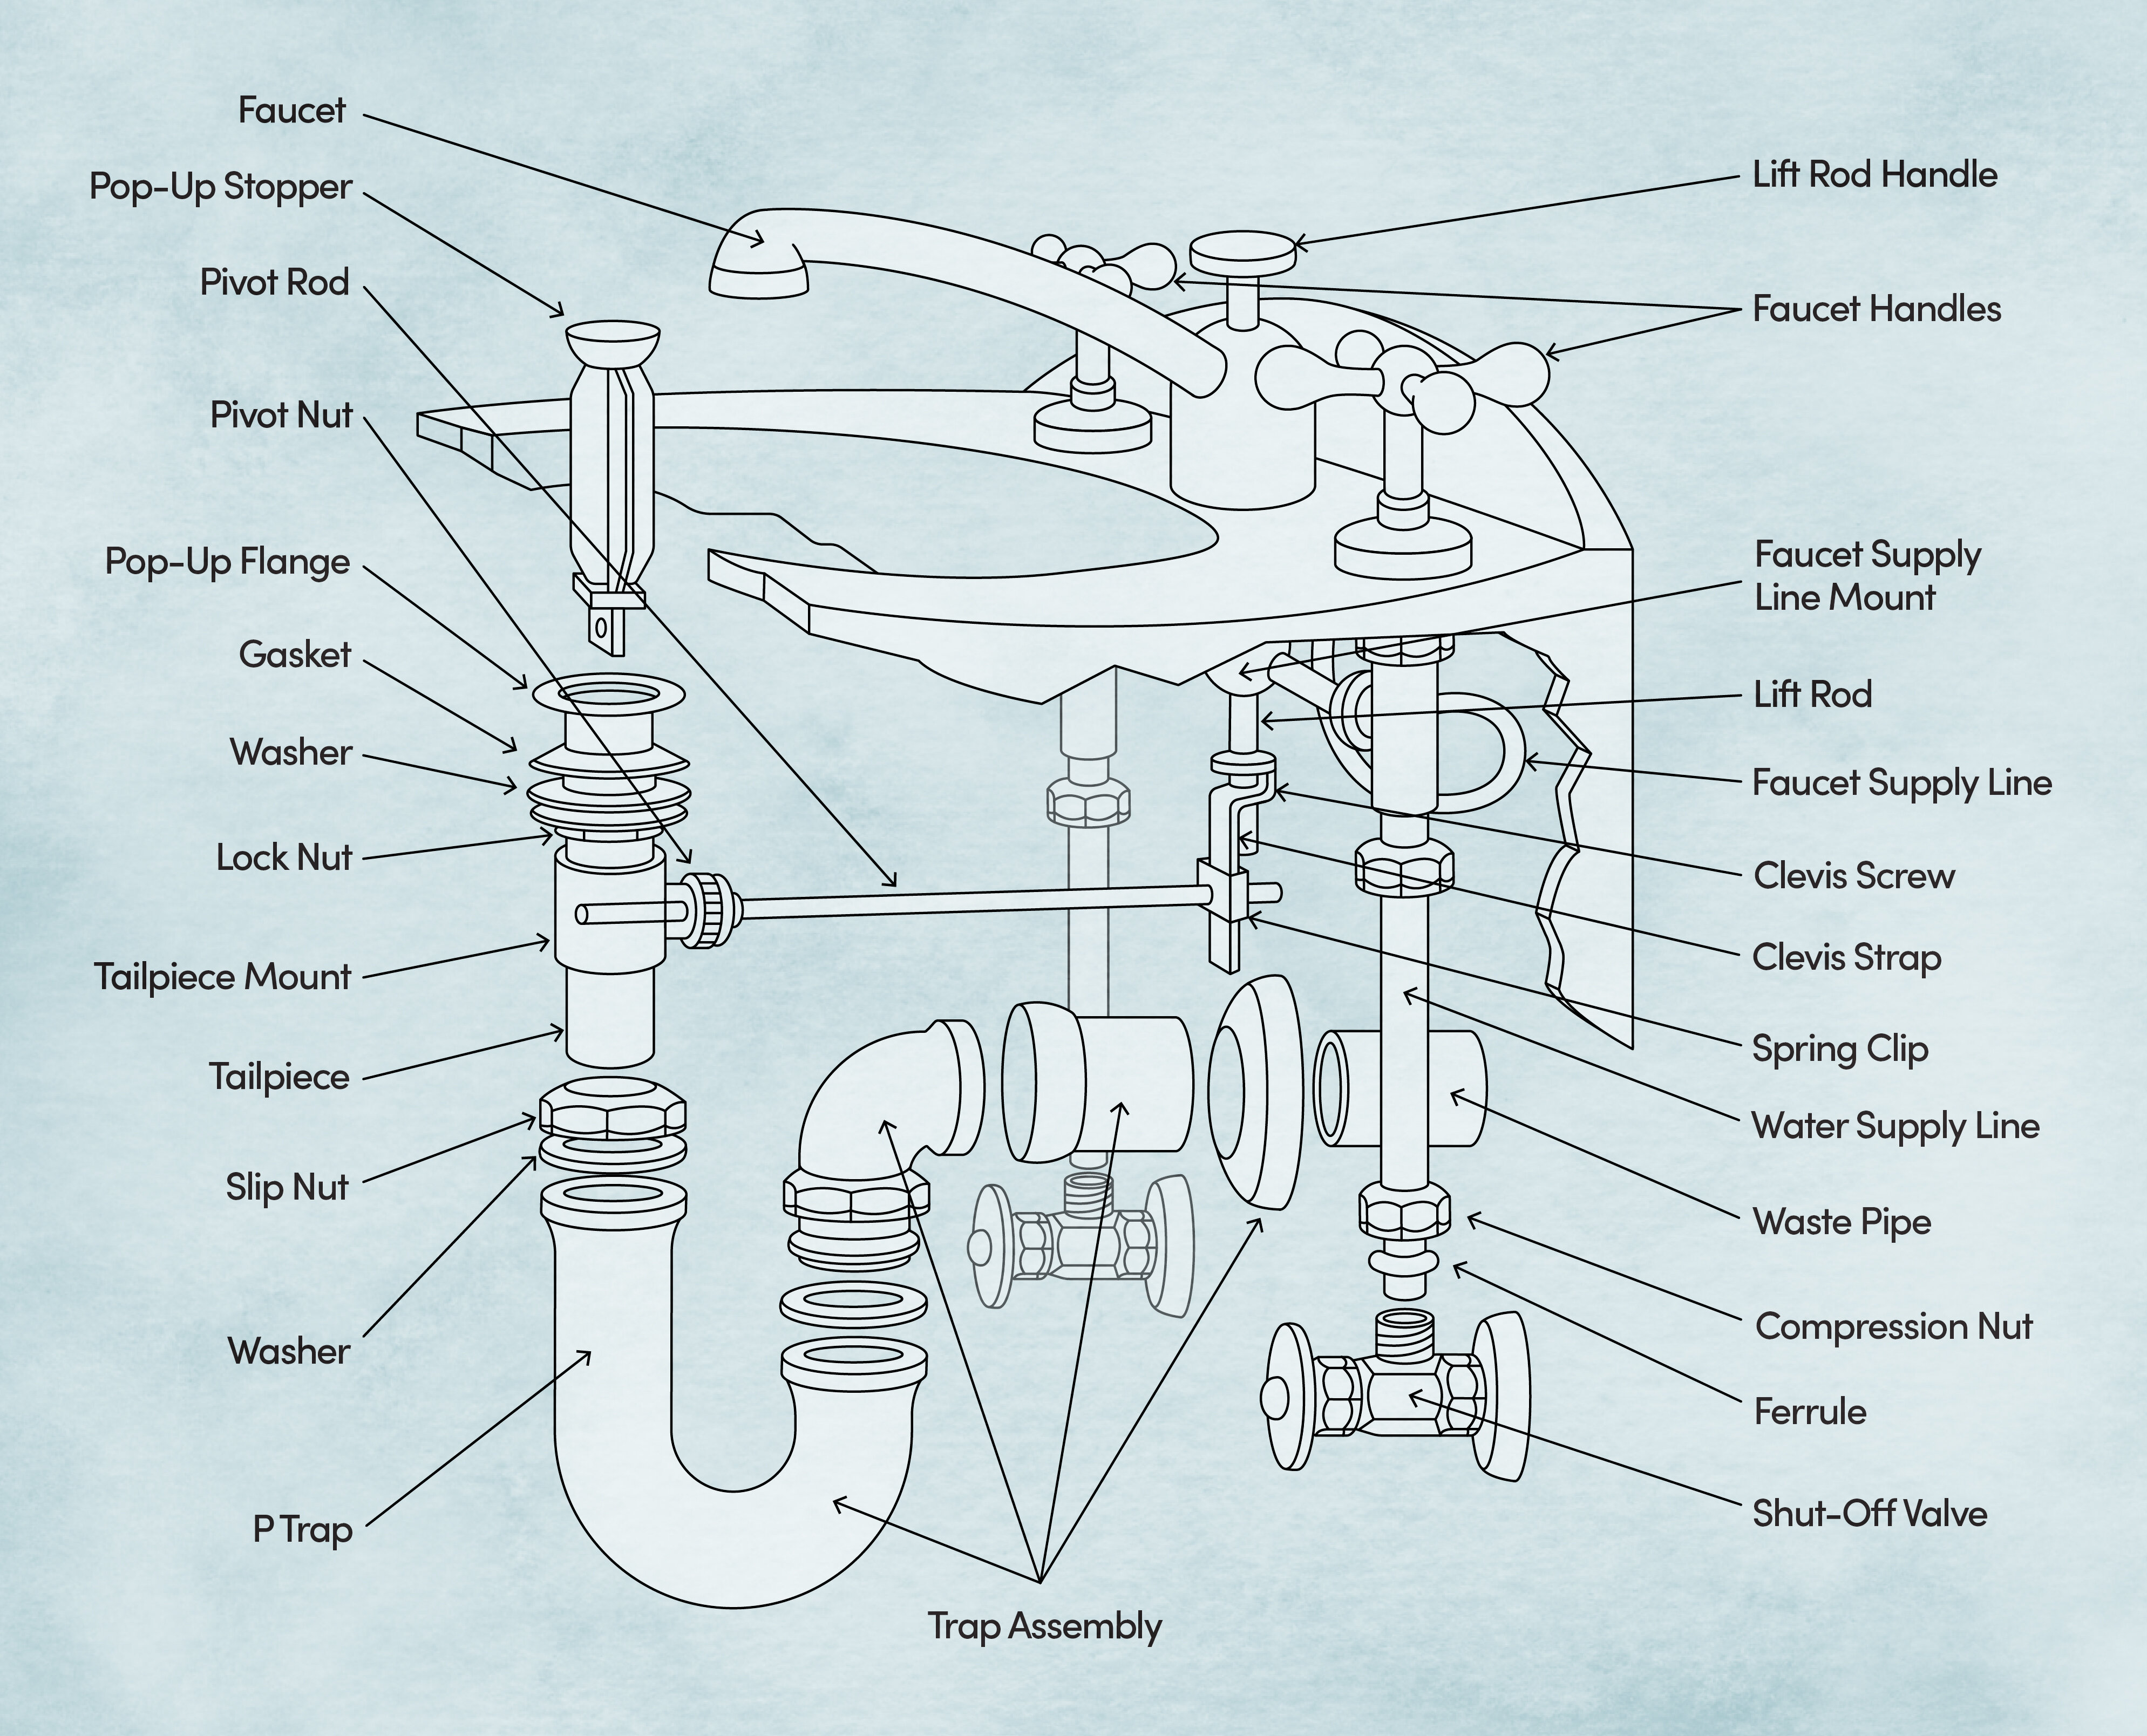
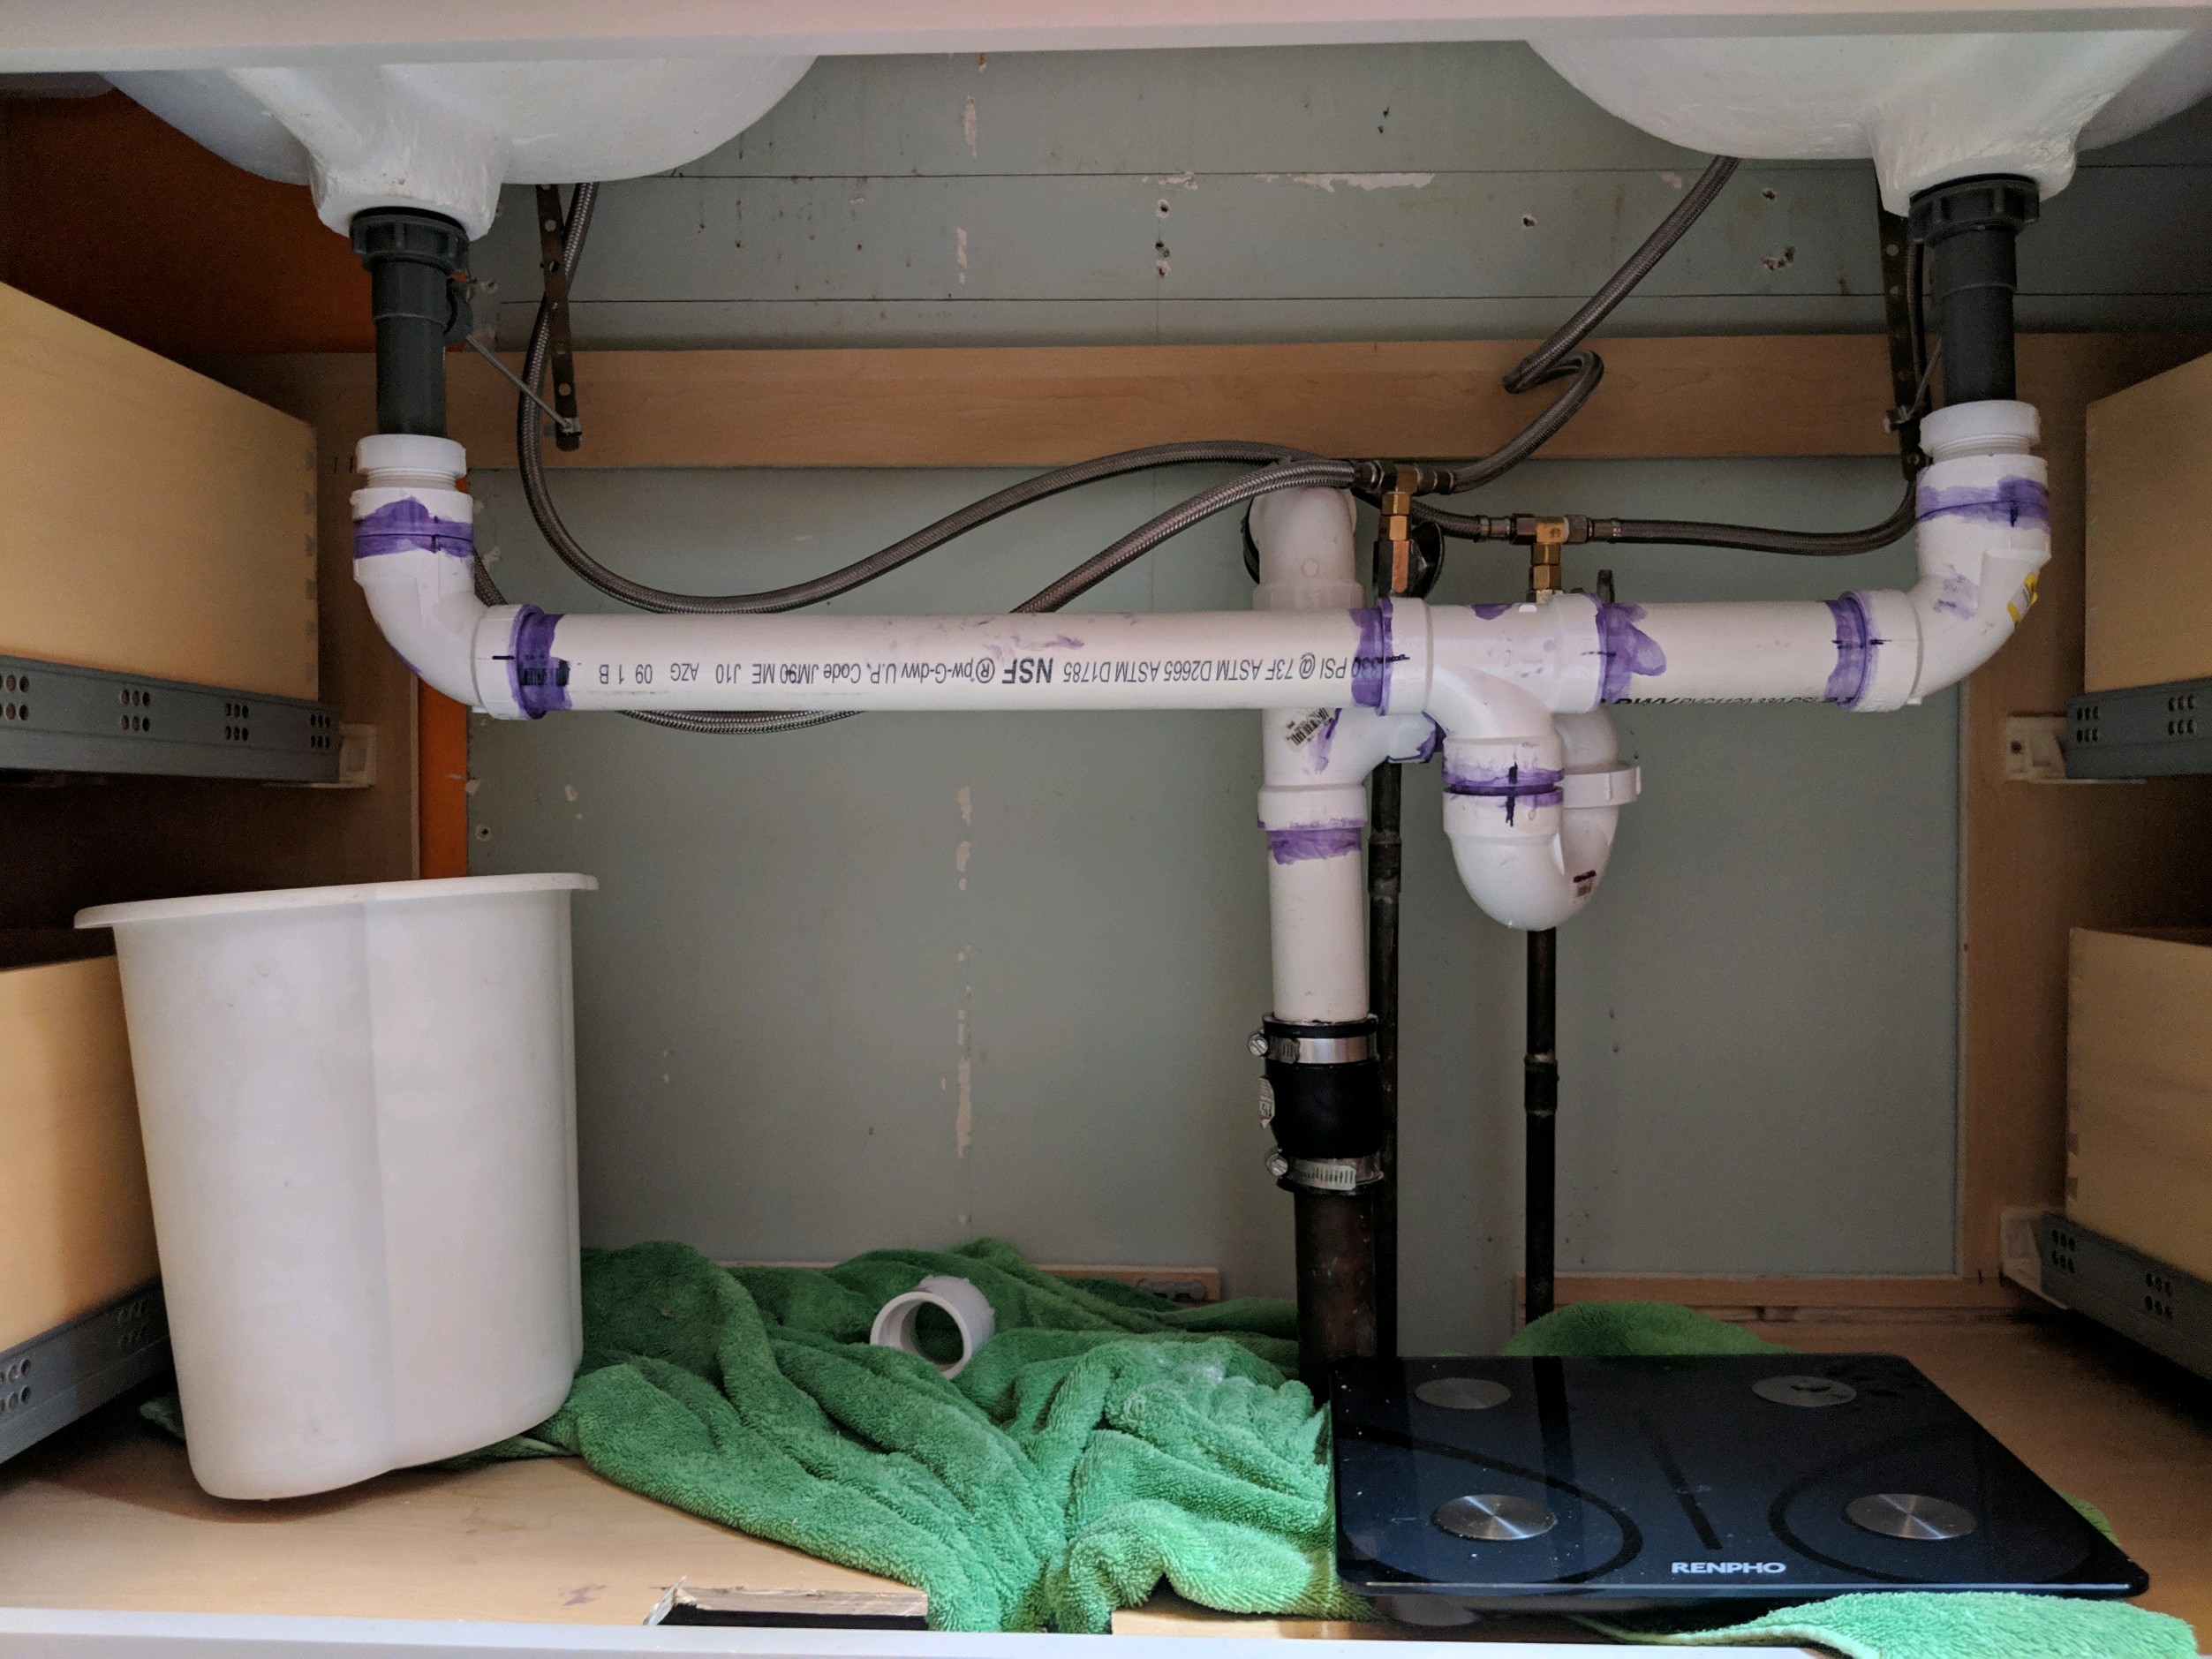
Before you start installing the plumbing for your bathroom sink, it's important to understand the diagram. This will help you visualize how the different parts and pieces fit together. A typical bathroom sink plumbing diagram includes a trap, tailpiece, and supply lines. The trap is the curved piece that connects the sink drain to the drainpipe. The tailpiece connects the sink to the trap, and the supply lines connect the sink to the water supply.
4. Bathroom Sink Plumbing Parts: What You Need to Know
When it comes to bathroom sink plumbing, there are a few essential parts that you need to know about. These include the sink drain, which is the opening at the bottom of the sink where the water drains out. The drainpipe is the pipe that carries the water from the sink drain to the main drain line. The P-trap is the curved piece that prevents sewer gases from entering your bathroom. And the supply lines are the pipes that bring water to the sink from the main water supply.
5. Roughing In: Preparing for the Bathroom Sink Installation
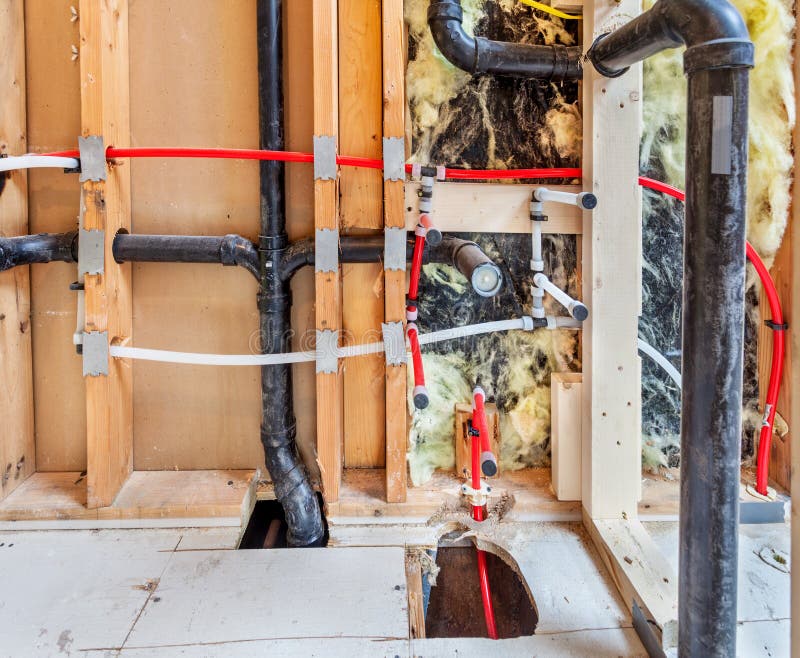
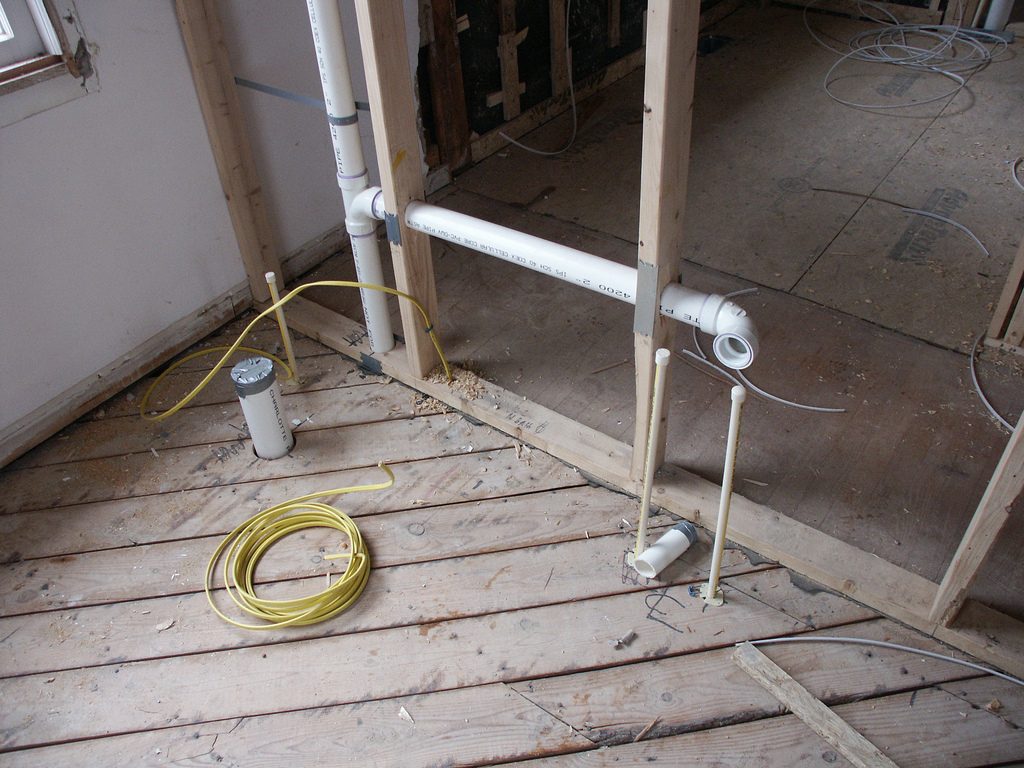
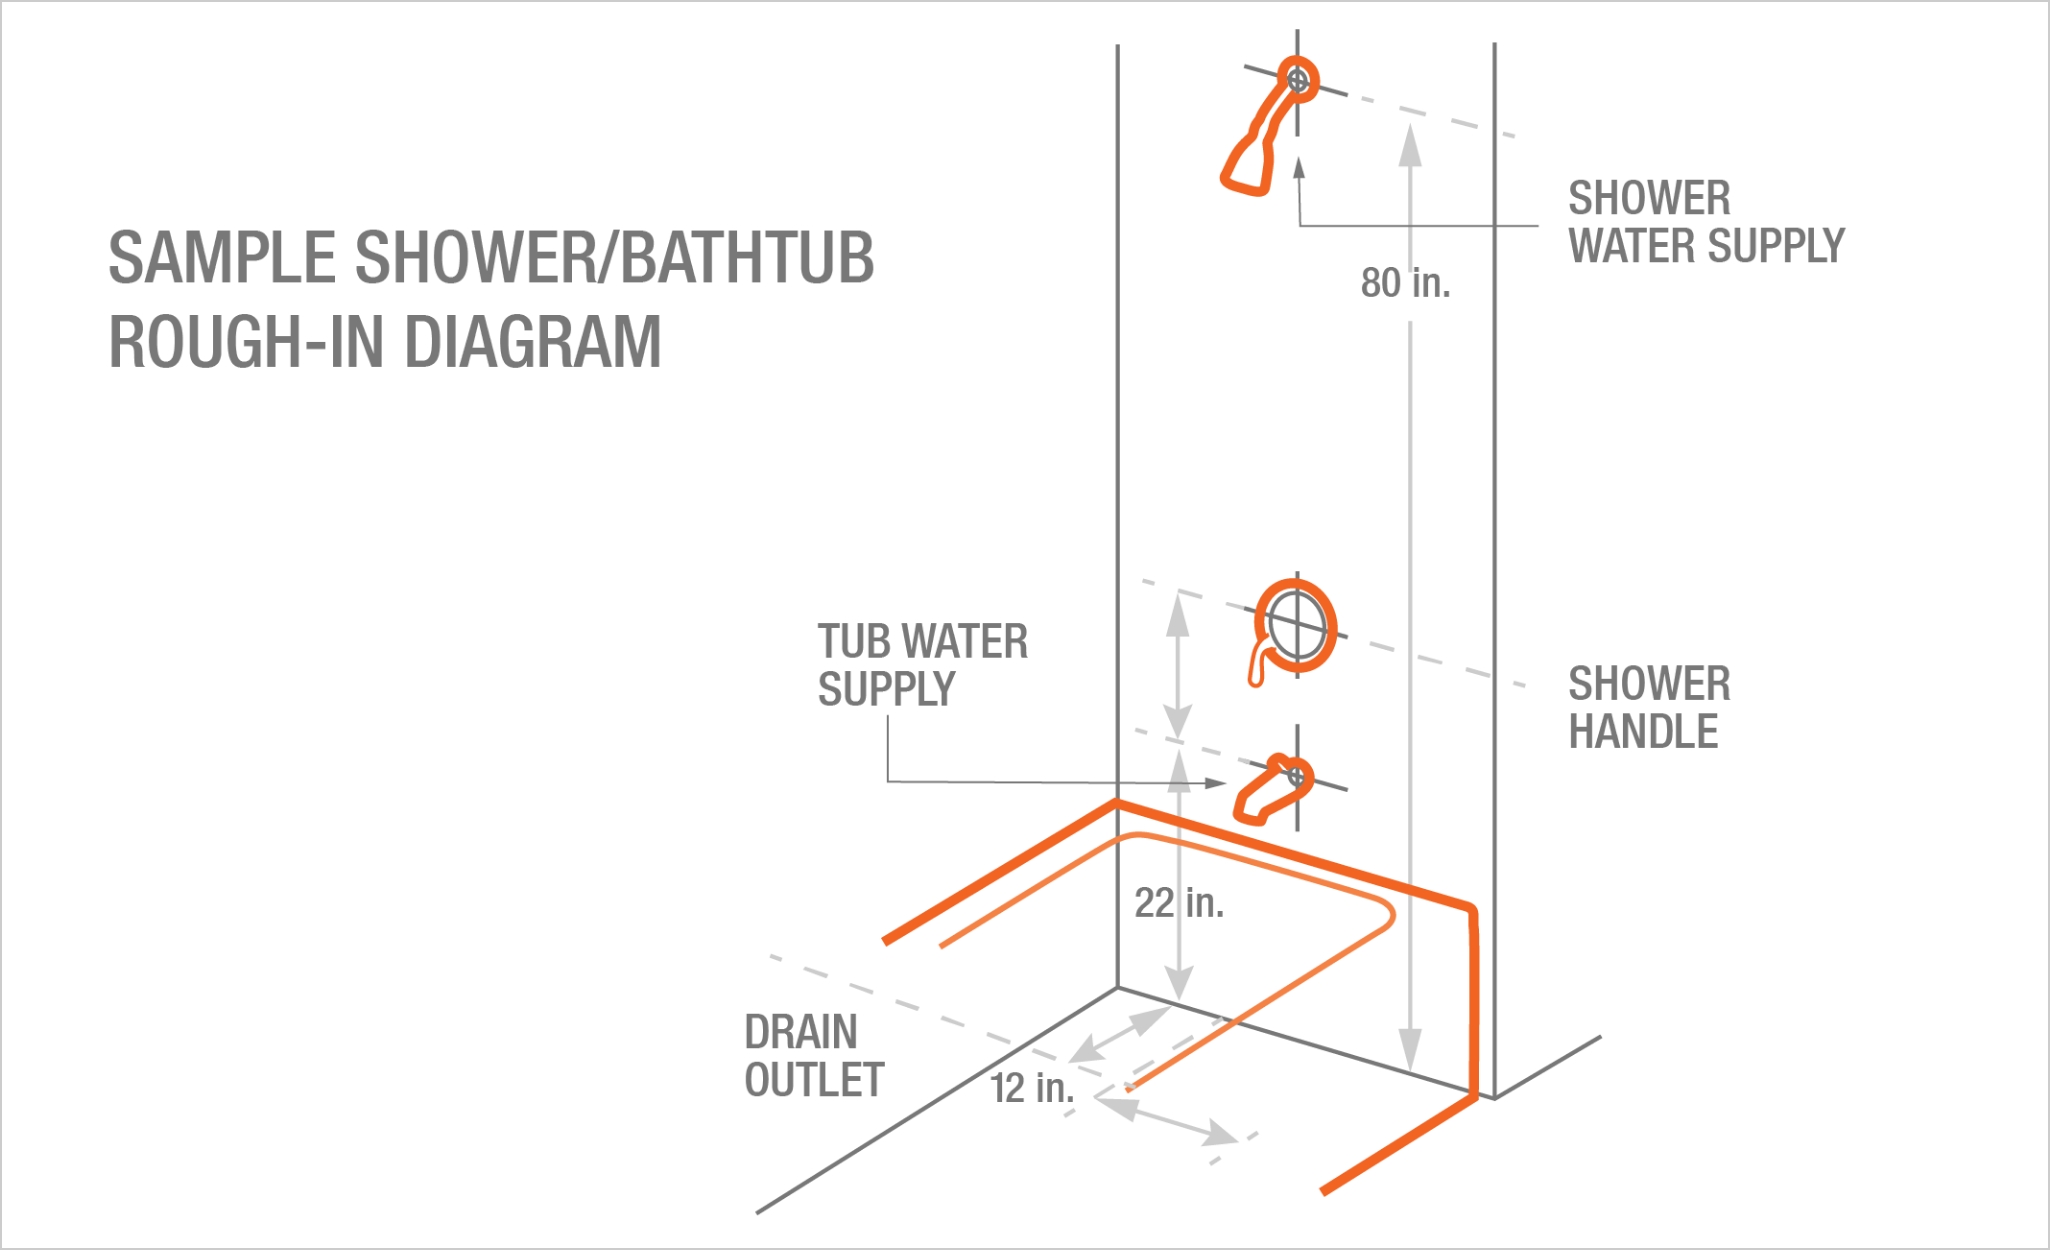
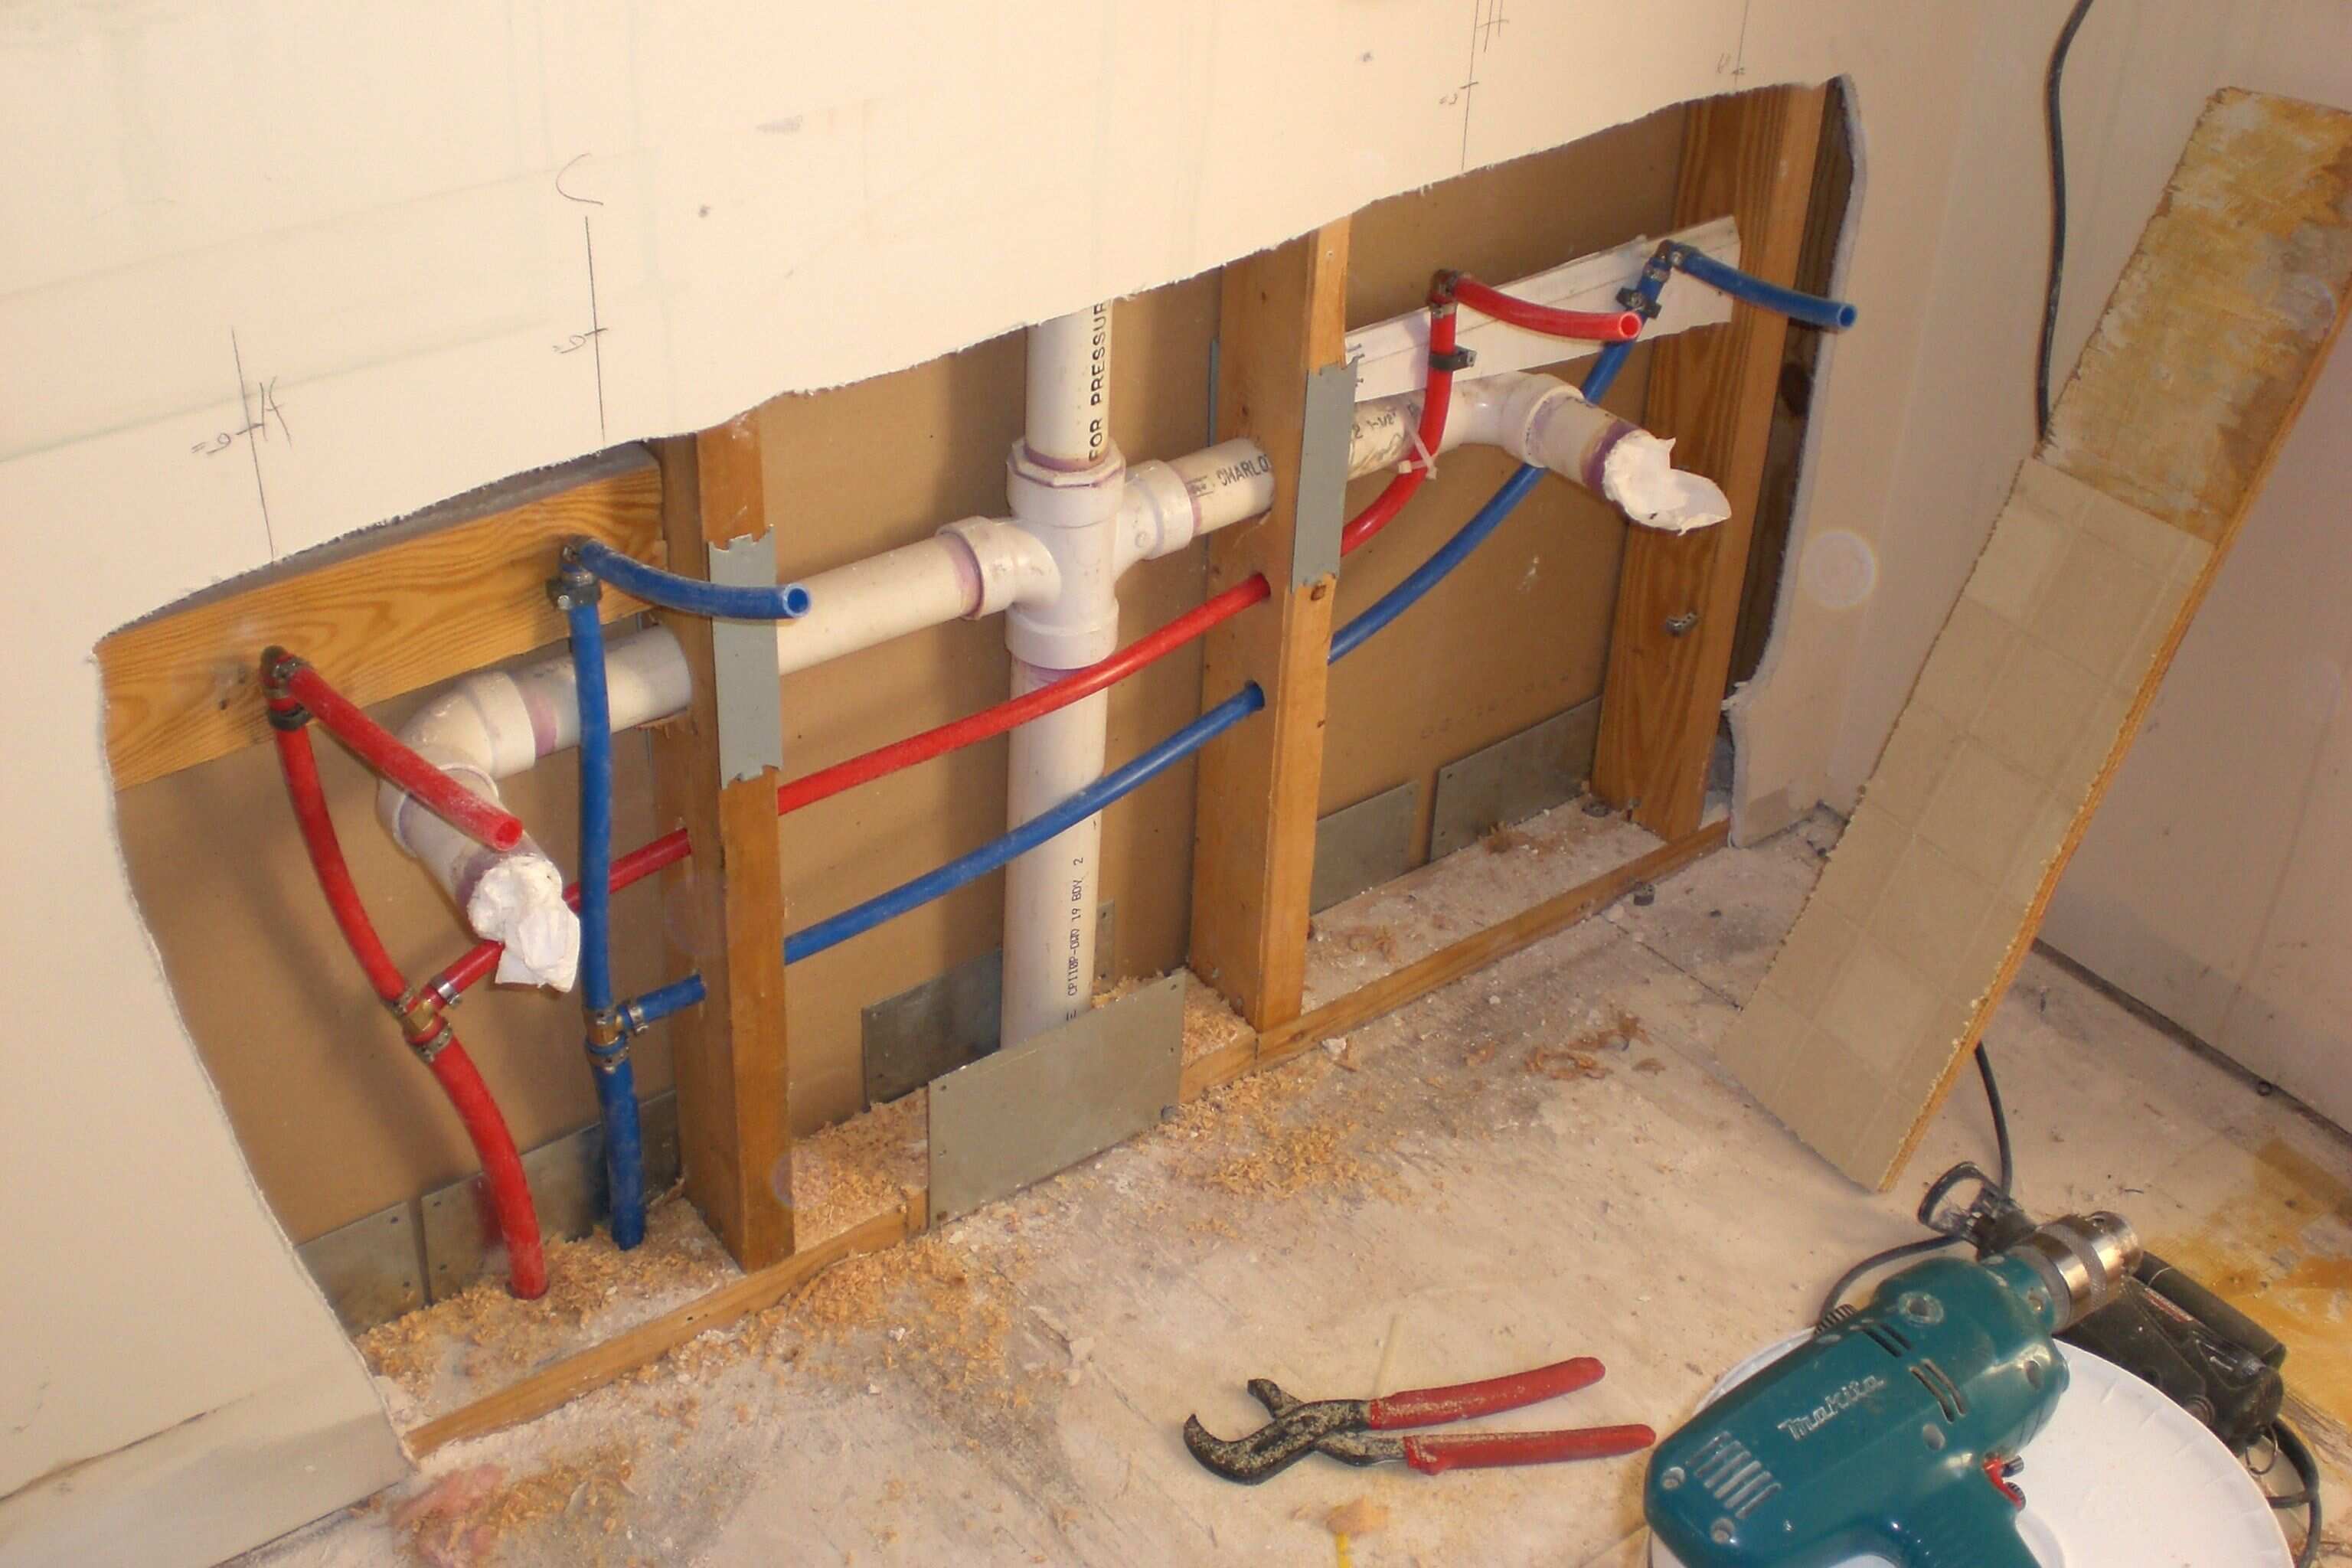
Before you can install your bathroom sink, you'll need to rough in the plumbing. This involves cutting holes in the wall or floor where the drainpipe and supply lines will go. It's essential to measure and double-check your measurements to ensure that everything lines up correctly. You'll also need to install the P-trap and drainpipe before installing the sink.
6. Bathroom Sink Plumbing Kit: What's Included?
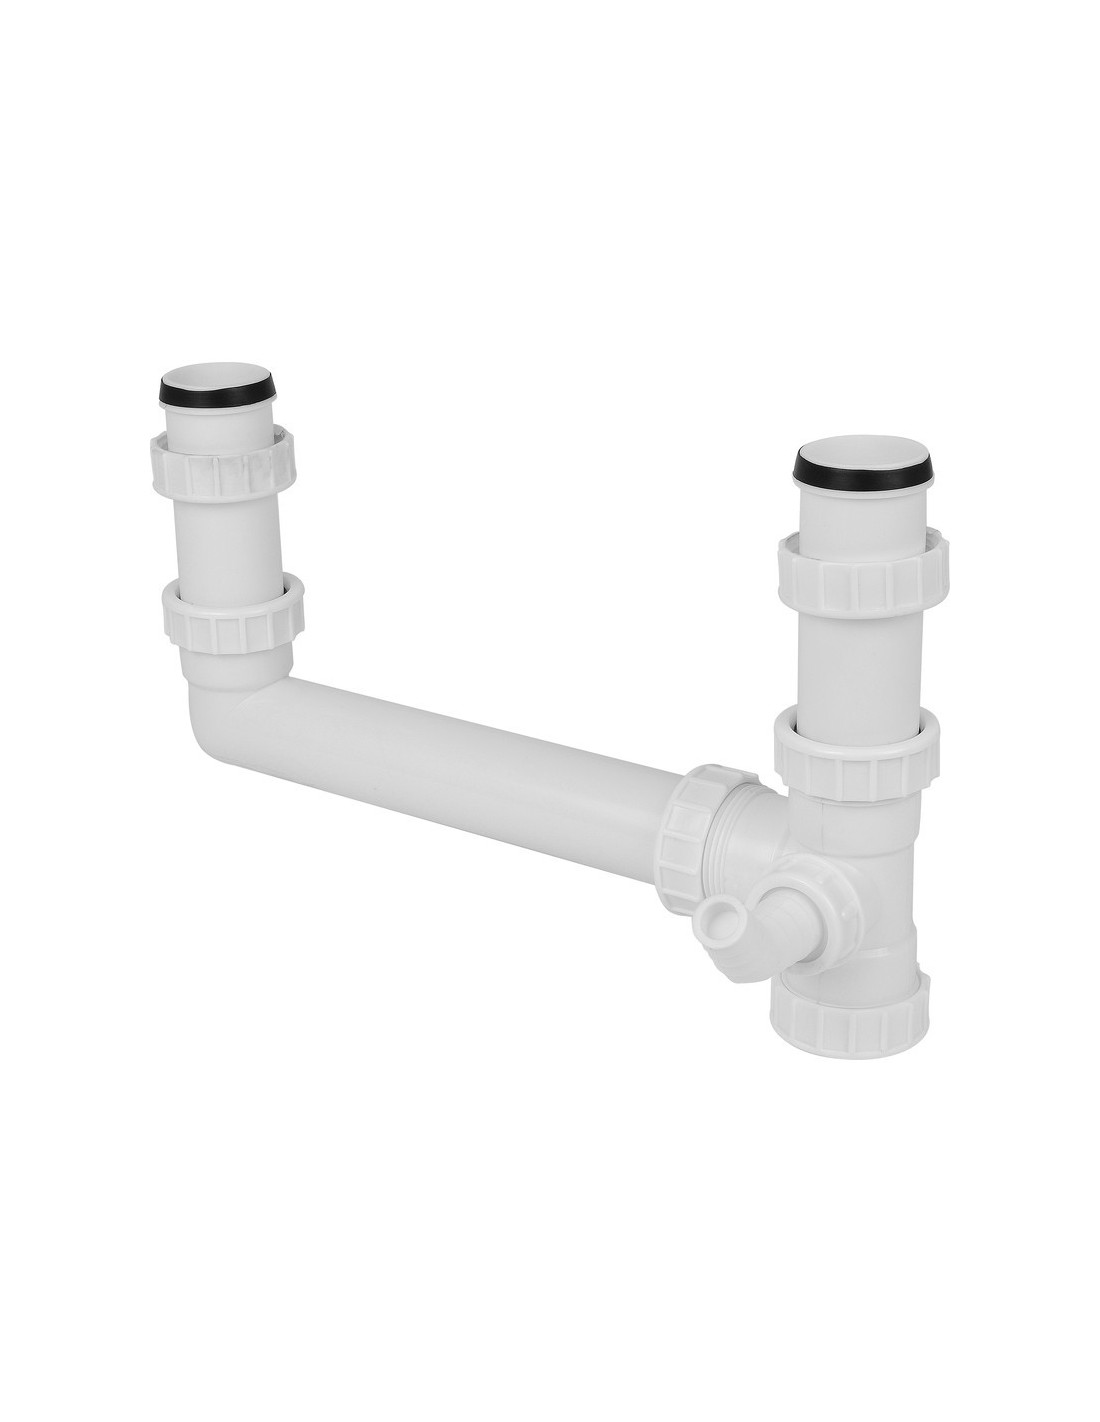
When purchasing a bathroom sink plumbing kit, it's essential to know what's included. Most kits come with the necessary hardware, such as the drain, tailpiece, and P-trap. Some may also include supply lines, but you may need to purchase these separately. It's important to read the instructions and make sure you have all the necessary parts before beginning the installation process.
7. Repairing Bathroom Sink Plumbing: Troubleshooting Common Issues
If you're installing a new bathroom sink, you may encounter some common issues while connecting the plumbing. One issue could be a leaky drain, which is often caused by a loose or improperly installed tailpiece. To fix this, tighten the connections and add Teflon tape to create a watertight seal. Another issue could be a clogged drain, which can be remedied with a plunger or a drain snake.
8. Installation Process: Step-by-Step Guide
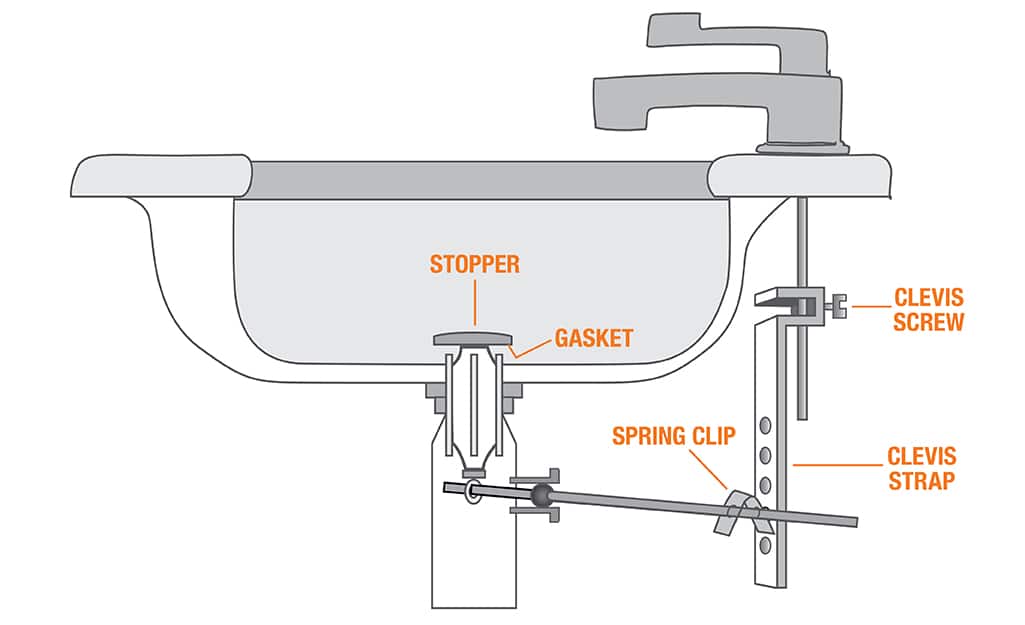
Now that you have all the necessary knowledge and materials, it's time to begin the installation process. To start, connect the supply lines to the faucet and tighten with a wrench. Next, install the drain and P-trap by applying Teflon tape to the threads and tightening the connections. Once the sink is in place, connect the tailpiece to the drain and secure it with a nut. Finally, turn on the water supply and check for any leaks.
9. Venting Your Bathroom Sink Plumbing: Why It's Important
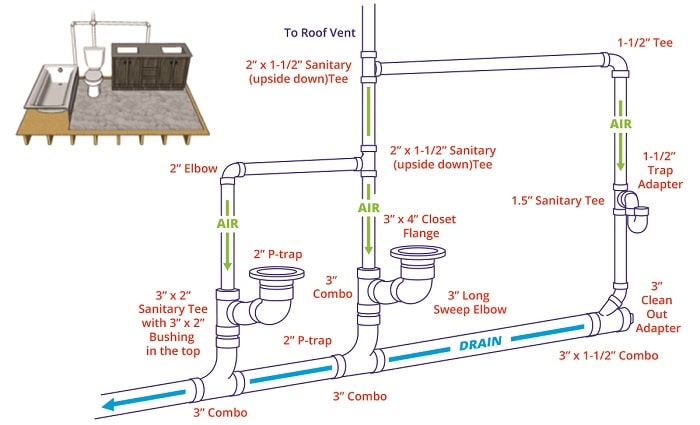
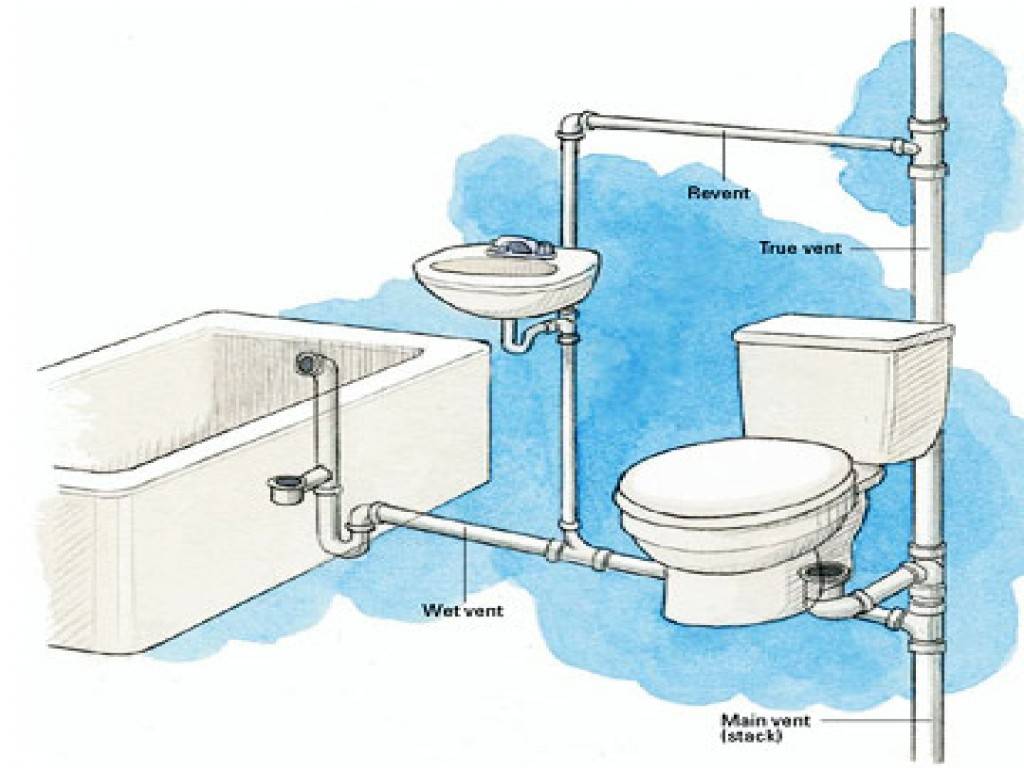
Proper venting is crucial for your bathroom sink plumbing to function correctly. Venting allows air to enter the drain system, preventing airlocks and allowing water to flow smoothly. Without proper venting, you may experience gurgling noises, slow drainage, or even sewer gas odors. If your bathroom sink is located against an exterior wall, you may need to install an air admittance valve to vent the drain.
10. Final Steps: Putting the Finishing Touches on Your Bathroom Sink
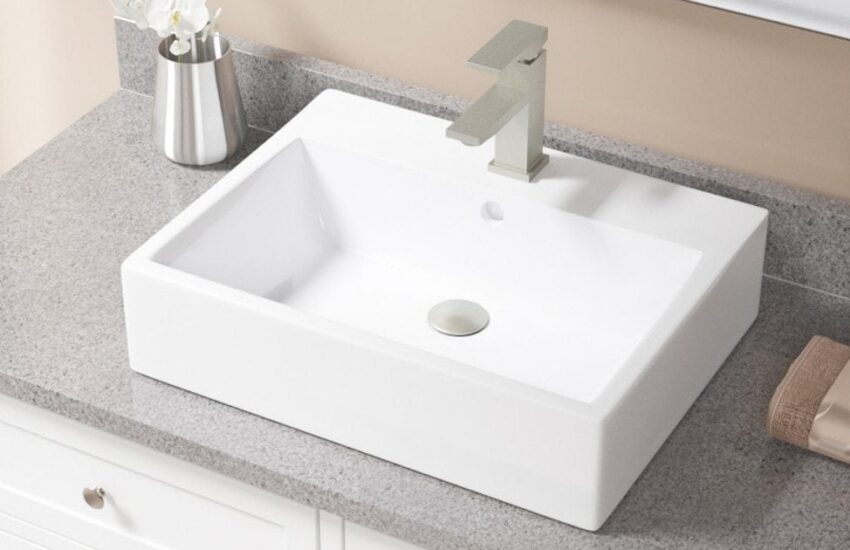
With the plumbing installed and everything functioning correctly, it's time to put the finishing touches on your bathroom sink. This can include sealing any gaps between the sink and the countertop, installing a faucet aerator for water conservation, and adding any decorative elements, such as a backsplash or decorative drain cover. With these final touches, your bathroom sink installation is complete!
Now that you know the ins and outs of installing bathroom sink plumbing, you can confidently tackle this DIY project. Remember to double-check your measurements, follow the instructions, and take your time to ensure a successful installation. With your new bathroom sink in place, you can enjoy a functional and stylish addition to your bathroom.
Additional Steps for Installing a Bathroom Sink Plumbing

1. Connect the Water Supply
 Once you have installed the sink and drain, it is time to connect the water supply. This step is crucial as it will allow you to use the sink for everyday tasks like washing your hands or brushing your teeth. To connect the water supply, you will need to attach the hot and cold water lines to the corresponding valves underneath the sink. Use a wrench to tighten the connections and make sure there are no leaks.
2. Install the Faucet
3. Seal the Sink
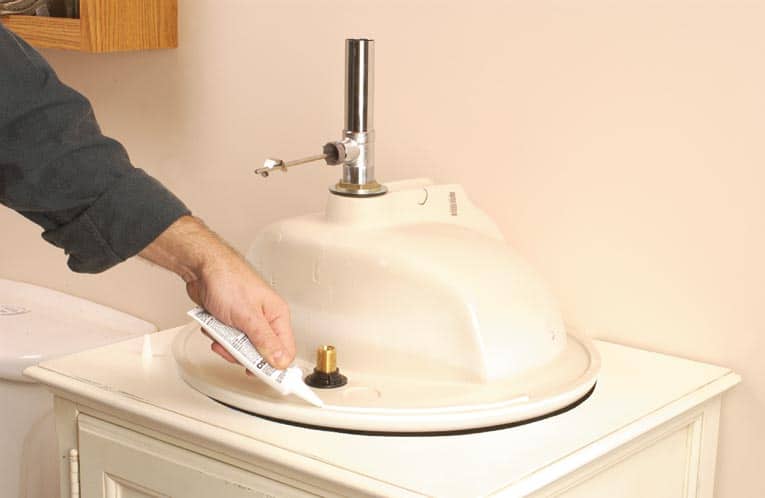
 To prevent any water from leaking under the sink, it is important to seal the edges of the sink where it meets the countertop. You can use a silicone caulk for this purpose. Apply a thin bead of caulk along the edges of the sink and smooth it out with your finger or a caulk tool. This will not only create a watertight seal but also give your sink a clean and finished look.
Conclusion
 Installing a bathroom sink plumbing may seem like a daunting task, but with the right tools and instructions, it can be a simple and satisfying DIY project. Follow these additional steps to ensure a successful and professional installation. Don't forget to regularly check for any leaks and fix them promptly to avoid any water damage. With a little bit of effort, you can have a fully functioning and stylish bathroom sink in no time.


