If you’re looking to upgrade your bathroom and add a touch of style and functionality, installing a top mount bathroom sink is a great option. This type of sink is easy to install and can be a DIY project for those who are handy. In this guide, we’ll take you through the step-by-step process of installing a top mount bathroom sink, as well as some tips and tricks to help you along the way.Top Mount Bathroom Sink Installation Guide


Top mount bathroom sink installation guide


/bathroom-sink-523598998-5797c0dc5f9b58461f3d5c23.jpg)


The first step in installing a top mount bathroom sink is to gather all the necessary tools and materials. You’ll need a sink, faucet, drain assembly, plumber’s putty, silicone caulk, adjustable wrench, screwdriver, and a level. Once you have everything on hand, you can begin the installation process. 1. Start by turning off the water supply to your bathroom. This can usually be done by turning off the main water valve or the valve under the sink. 2. Next, remove the old sink and faucet, if there is one. This may require using a wrench to loosen any nuts or bolts holding the sink in place. 3. Measure and mark the placement of the new sink on the countertop. Use a level to ensure the sink will be installed evenly. 4. Apply a thin layer of plumber’s putty around the edge of the sink opening. This will help create a watertight seal. 5. Carefully place the sink into the opening, pressing down to secure it in place. Wipe away any excess putty with a damp cloth. 6. Install the faucet according to the manufacturer’s instructions, usually by screwing it onto the sink from underneath. 7. Attach the drain assembly to the bottom of the sink. Again, refer to the manufacturer’s instructions for specific details. 8. Apply a bead of silicone caulk around the edge of the sink, where it meets the countertop. This will create a waterproof seal and prevent any water from leaking through. 9. Once the caulk is applied, use a damp cloth to smooth it out and remove any excess. 10. Turn the water supply back on and test the sink and faucet for any leaks. If everything looks good, you’re all set!How to Install a Top Mount Bathroom Sink


How to install a top mount bathroom sink


1. Turn off the water supply to your bathroom. 2. Remove the old sink and faucet. 3. Measure and mark the placement of the new sink on the countertop. 4. Apply a layer of plumber’s putty around the sink opening. 5. Place the sink into the opening and secure it in place. 6. Install the faucet according to the manufacturer’s instructions. 7. Attach the drain assembly to the sink. 8. Apply a bead of silicone caulk around the edge of the sink. 9. Smooth out the caulk and remove any excess. 10. Turn the water supply back on and check for leaks.Step-by-Step Guide for Installing a Top Mount Bathroom Sink


Step-by-step guide for installing a top mount bathroom sink


Installing a top mount bathroom sink can be a DIY project for those who are comfortable with basic plumbing tasks. With the right tools and materials, you can save money by doing it yourself. Just be sure to follow the manufacturer’s instructions and take your time to ensure a proper installation.DIY Top Mount Bathroom Sink Installation


DIY top mount bathroom sink installation


When installing a top mount bathroom sink, there are a few tips to keep in mind to make the process smoother: - Measure the sink and countertop carefully to ensure a proper fit. - Use a level to ensure the sink is installed evenly. - Don’t over-tighten any nuts or bolts, as this can cause damage to the sink or countertop. - Use plumber’s putty and silicone caulk for a watertight seal.Top Mount Bathroom Sink Installation Tips


Top mount bathroom sink installation tips
- Sink - Faucet - Drain assembly - Plumber’s putty - Silicone caulk - Adjustable wrench - Screwdriver - LevelTools Needed for Installing a Top Mount Bathroom Sink


Tools needed for installing a top mount bathroom sink
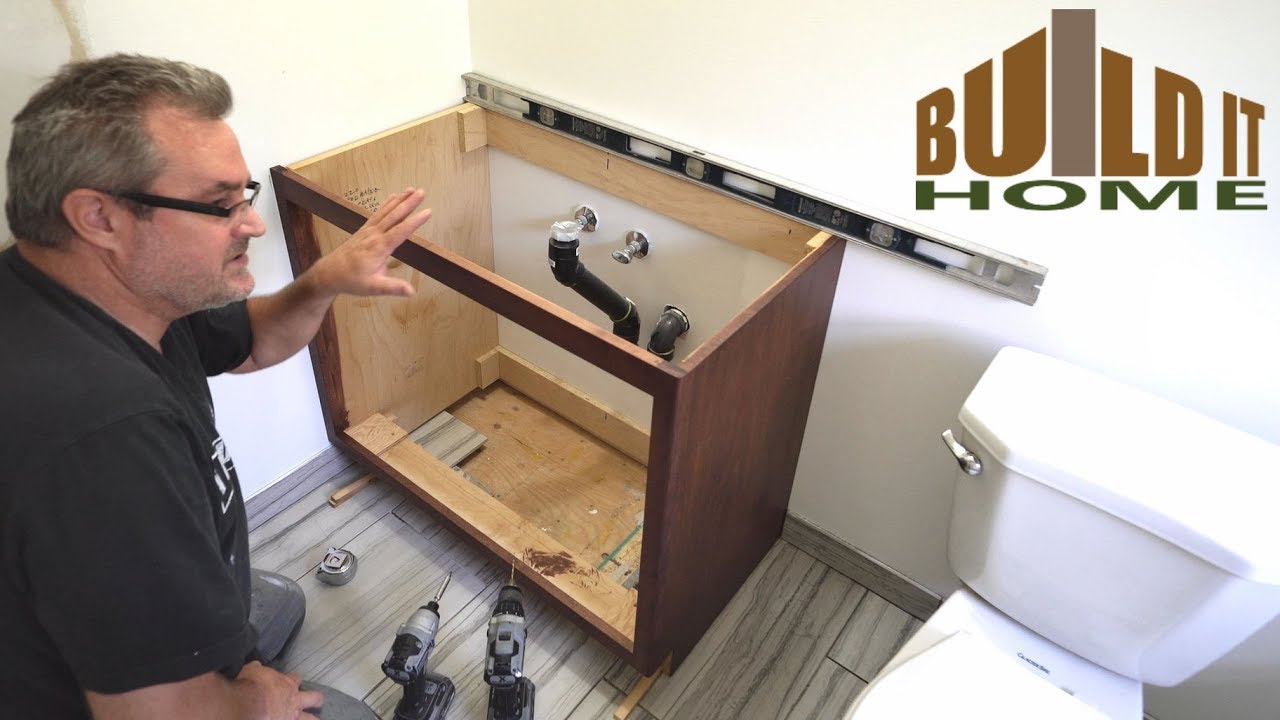

If you’re a visual learner, there are many video tutorials available online that can guide you through the top mount bathroom sink installation process. These can be helpful for those who are new to DIY projects or need a step-by-step visual guide.Top Mount Bathroom Sink Installation Video Tutorial

Top mount bathroom sink installation video tutorial

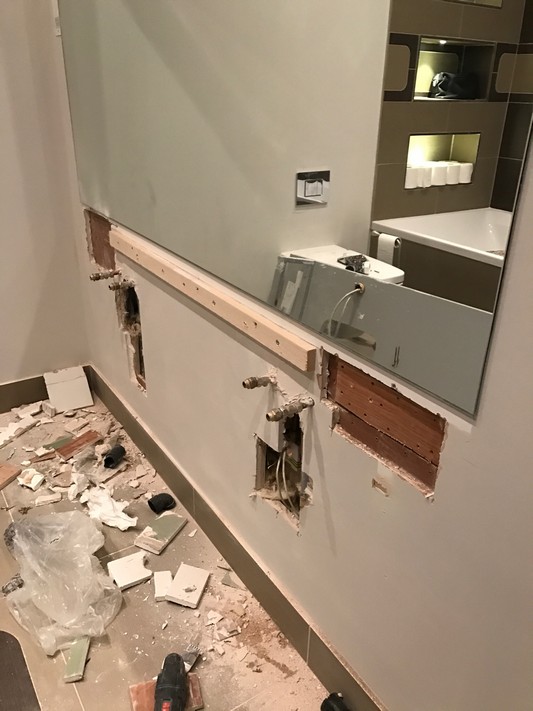
While installing a top mount bathroom sink may seem simple, there are some common mistakes that can be made. These include: - Not properly measuring the sink or countertop, resulting in an ill-fitting sink. - Forgetting to turn off the water supply before beginning the installation. - Using too much plumber’s putty, which can cause it to squeeze out and create a messy seal.Common Mistakes to Avoid When Installing a Top Mount Bathroom Sink

Common mistakes to avoid when installing a top mount bathroom sink


The cost and time for installing a top mount bathroom sink will vary depending on the specific sink and faucet you choose, as well as the complexity of the installation process. On average, the cost can range from $100 to $500, with a time estimate of 1-2 hours for a DIY installation.Top Mount Bathroom Sink Installation Cost and Time Estimate

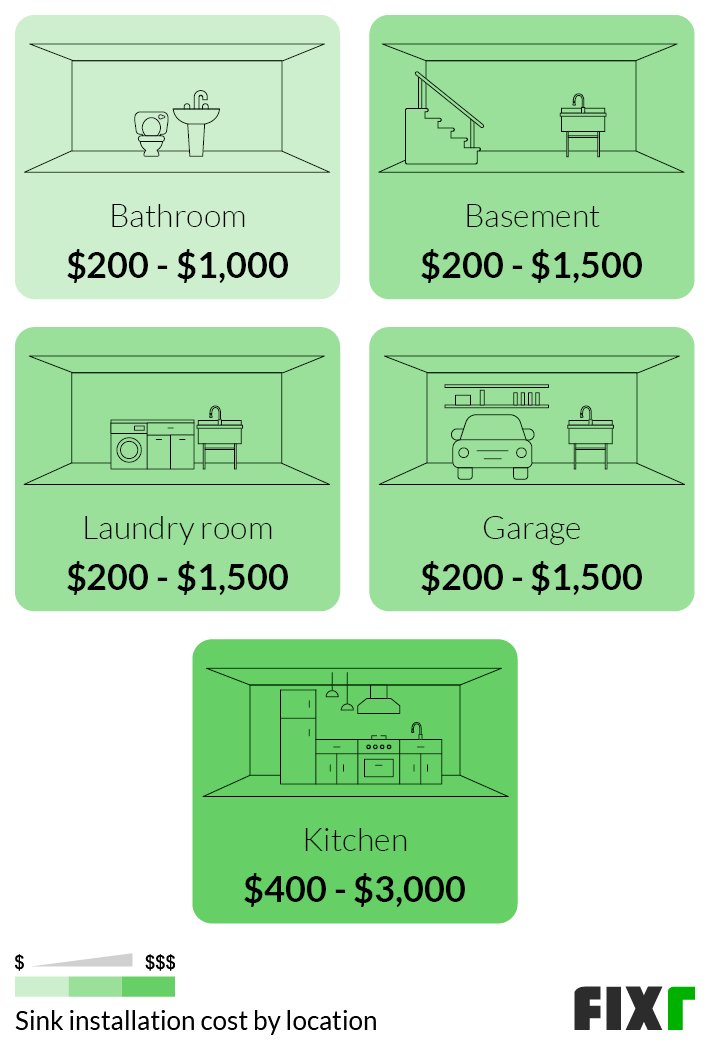

Top mount bathroom sink installation cost and time estimate


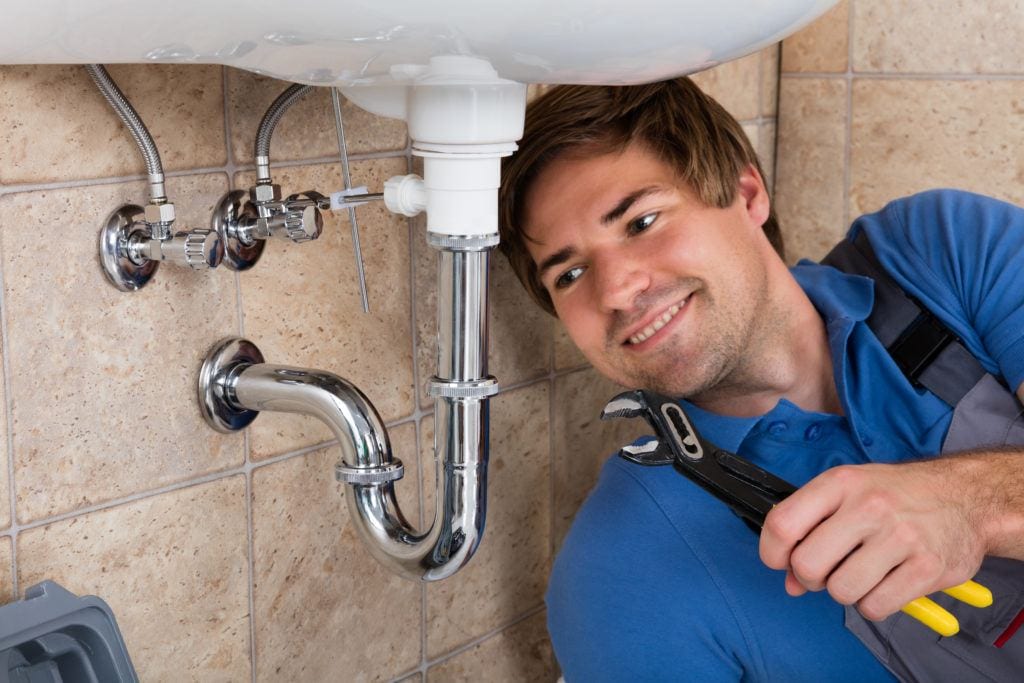
If you’re not comfortable with DIY projects or simply don’t have the time, you can hire a professional to install your top mount bathroom sink. This can ensure a proper installation and save you the time and effort of doing it yourself.Professional Top Mount Bathroom Sink Installation Services

Professional top mount bathroom sink installation services


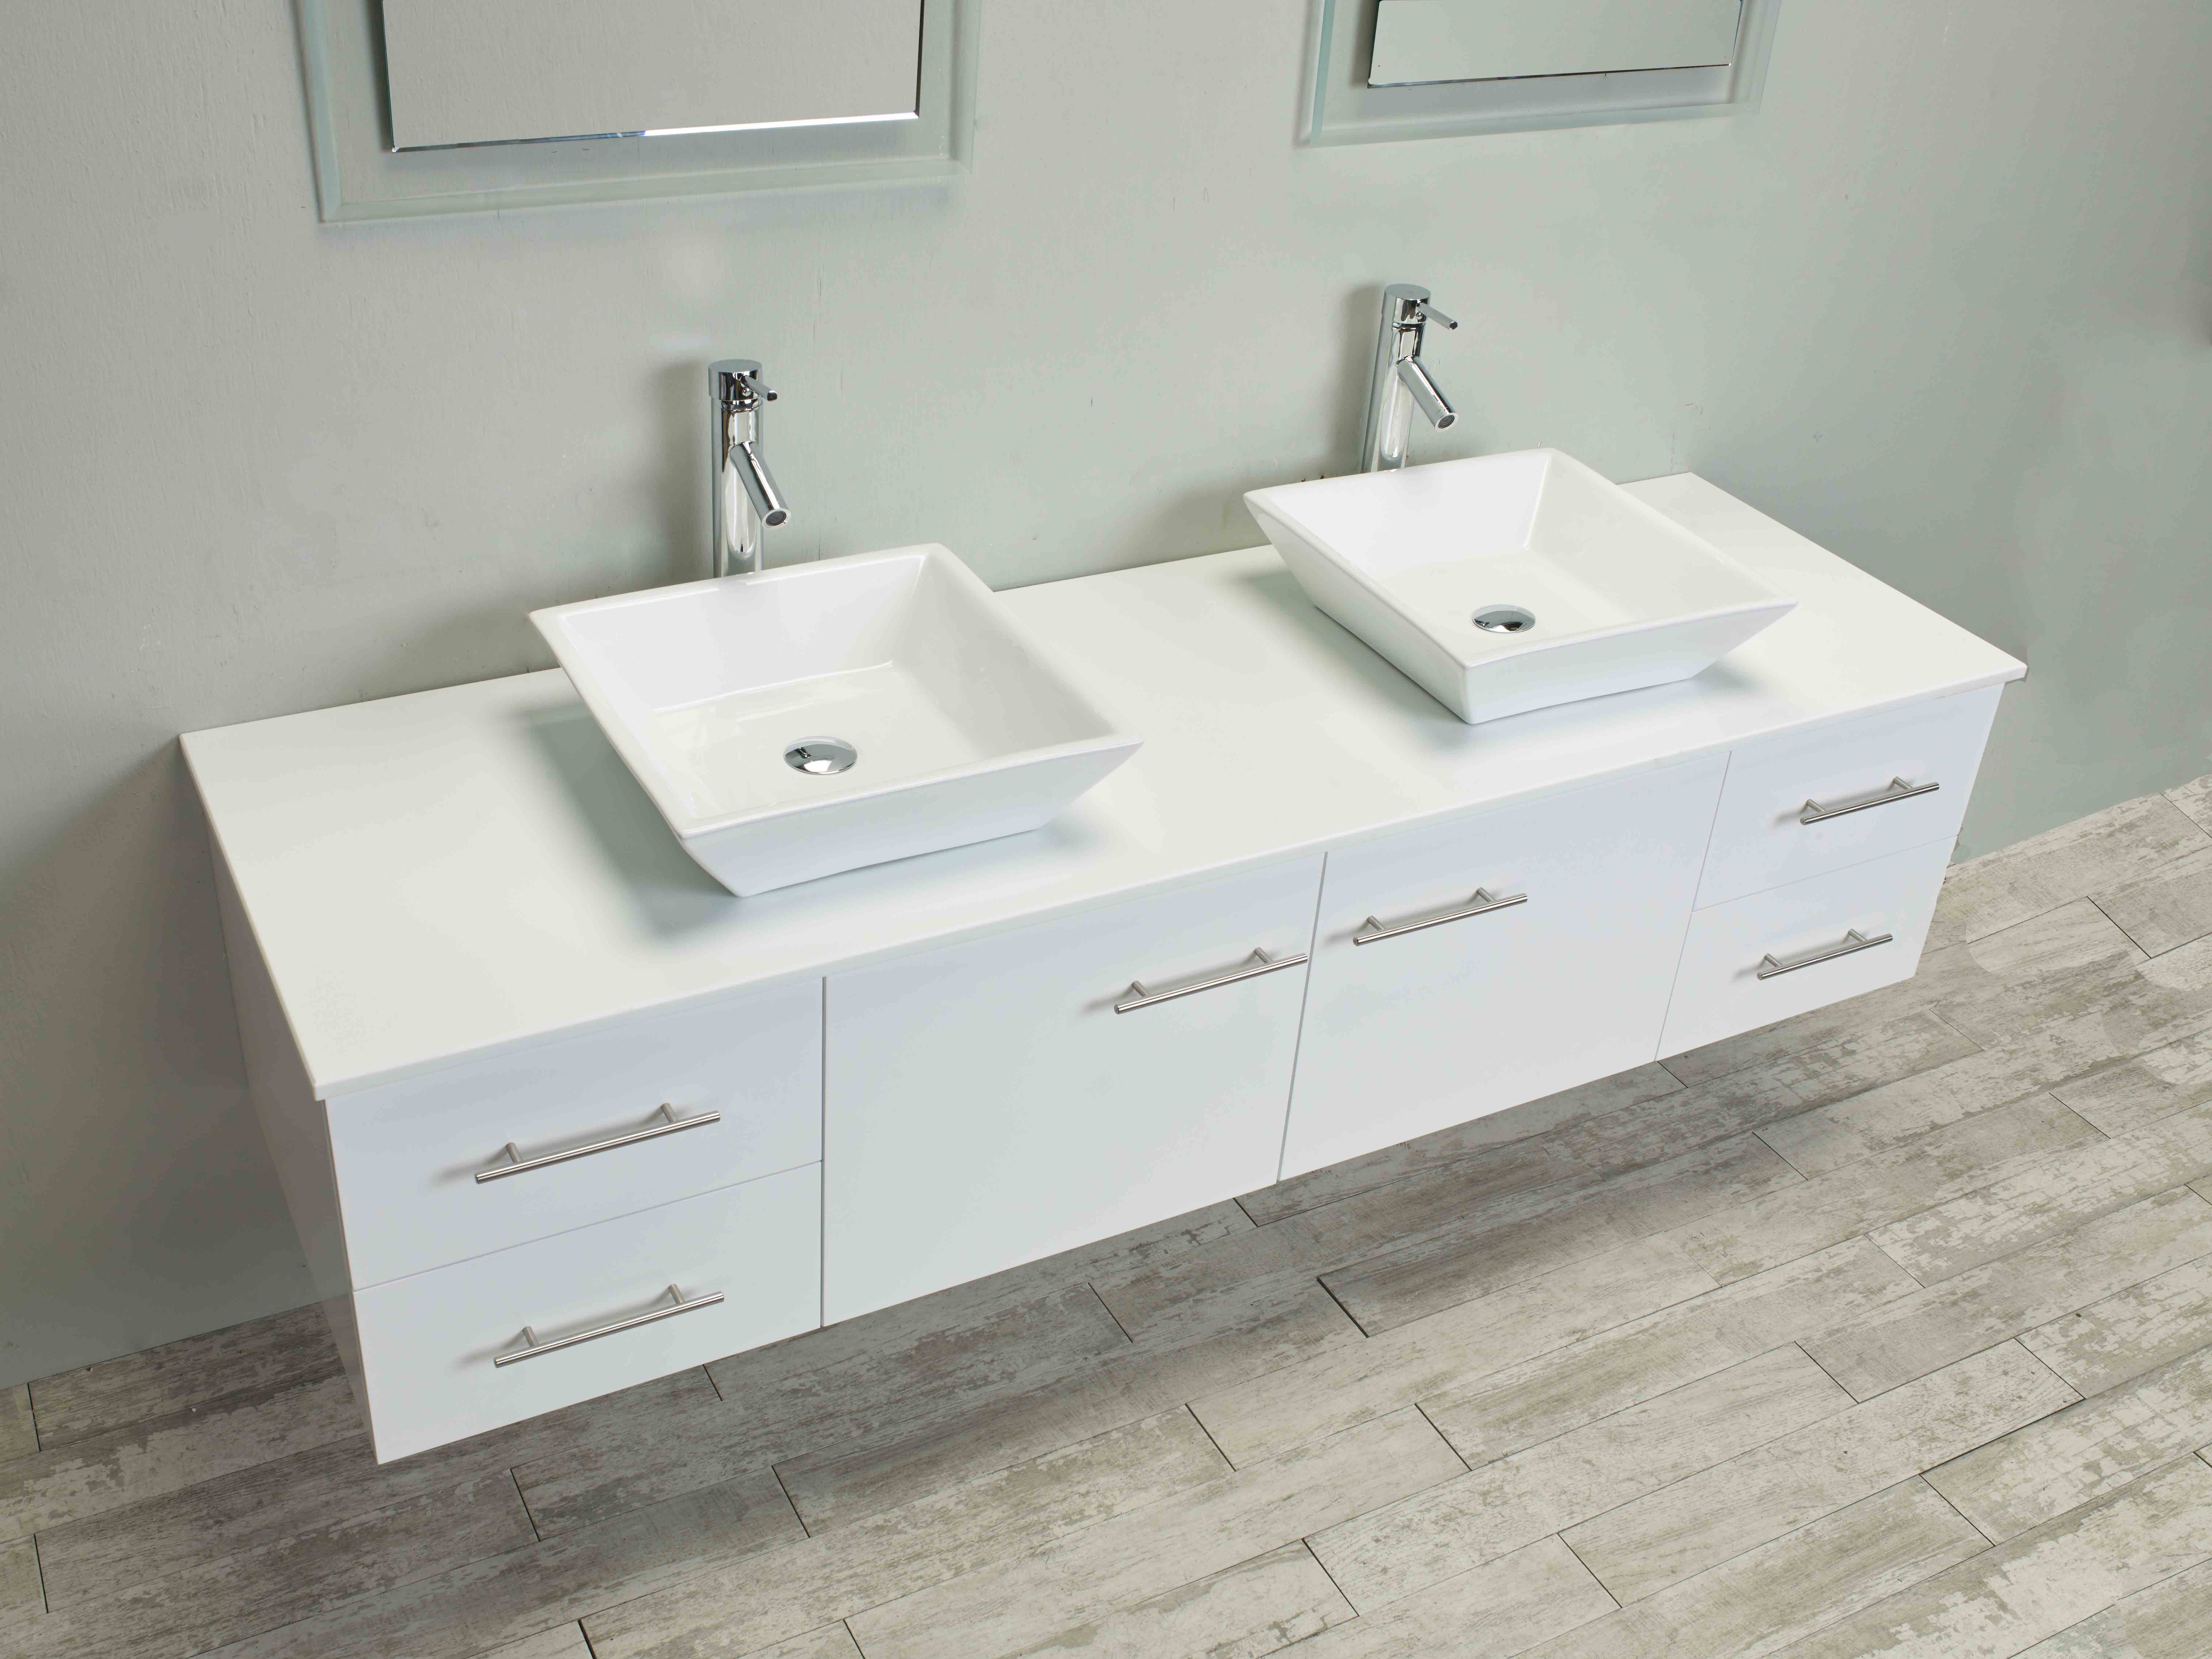
How to Install a Top Mount Bathroom Sink for a Sleek and Functional Design

Why Choose a Top Mount Bathroom Sink?
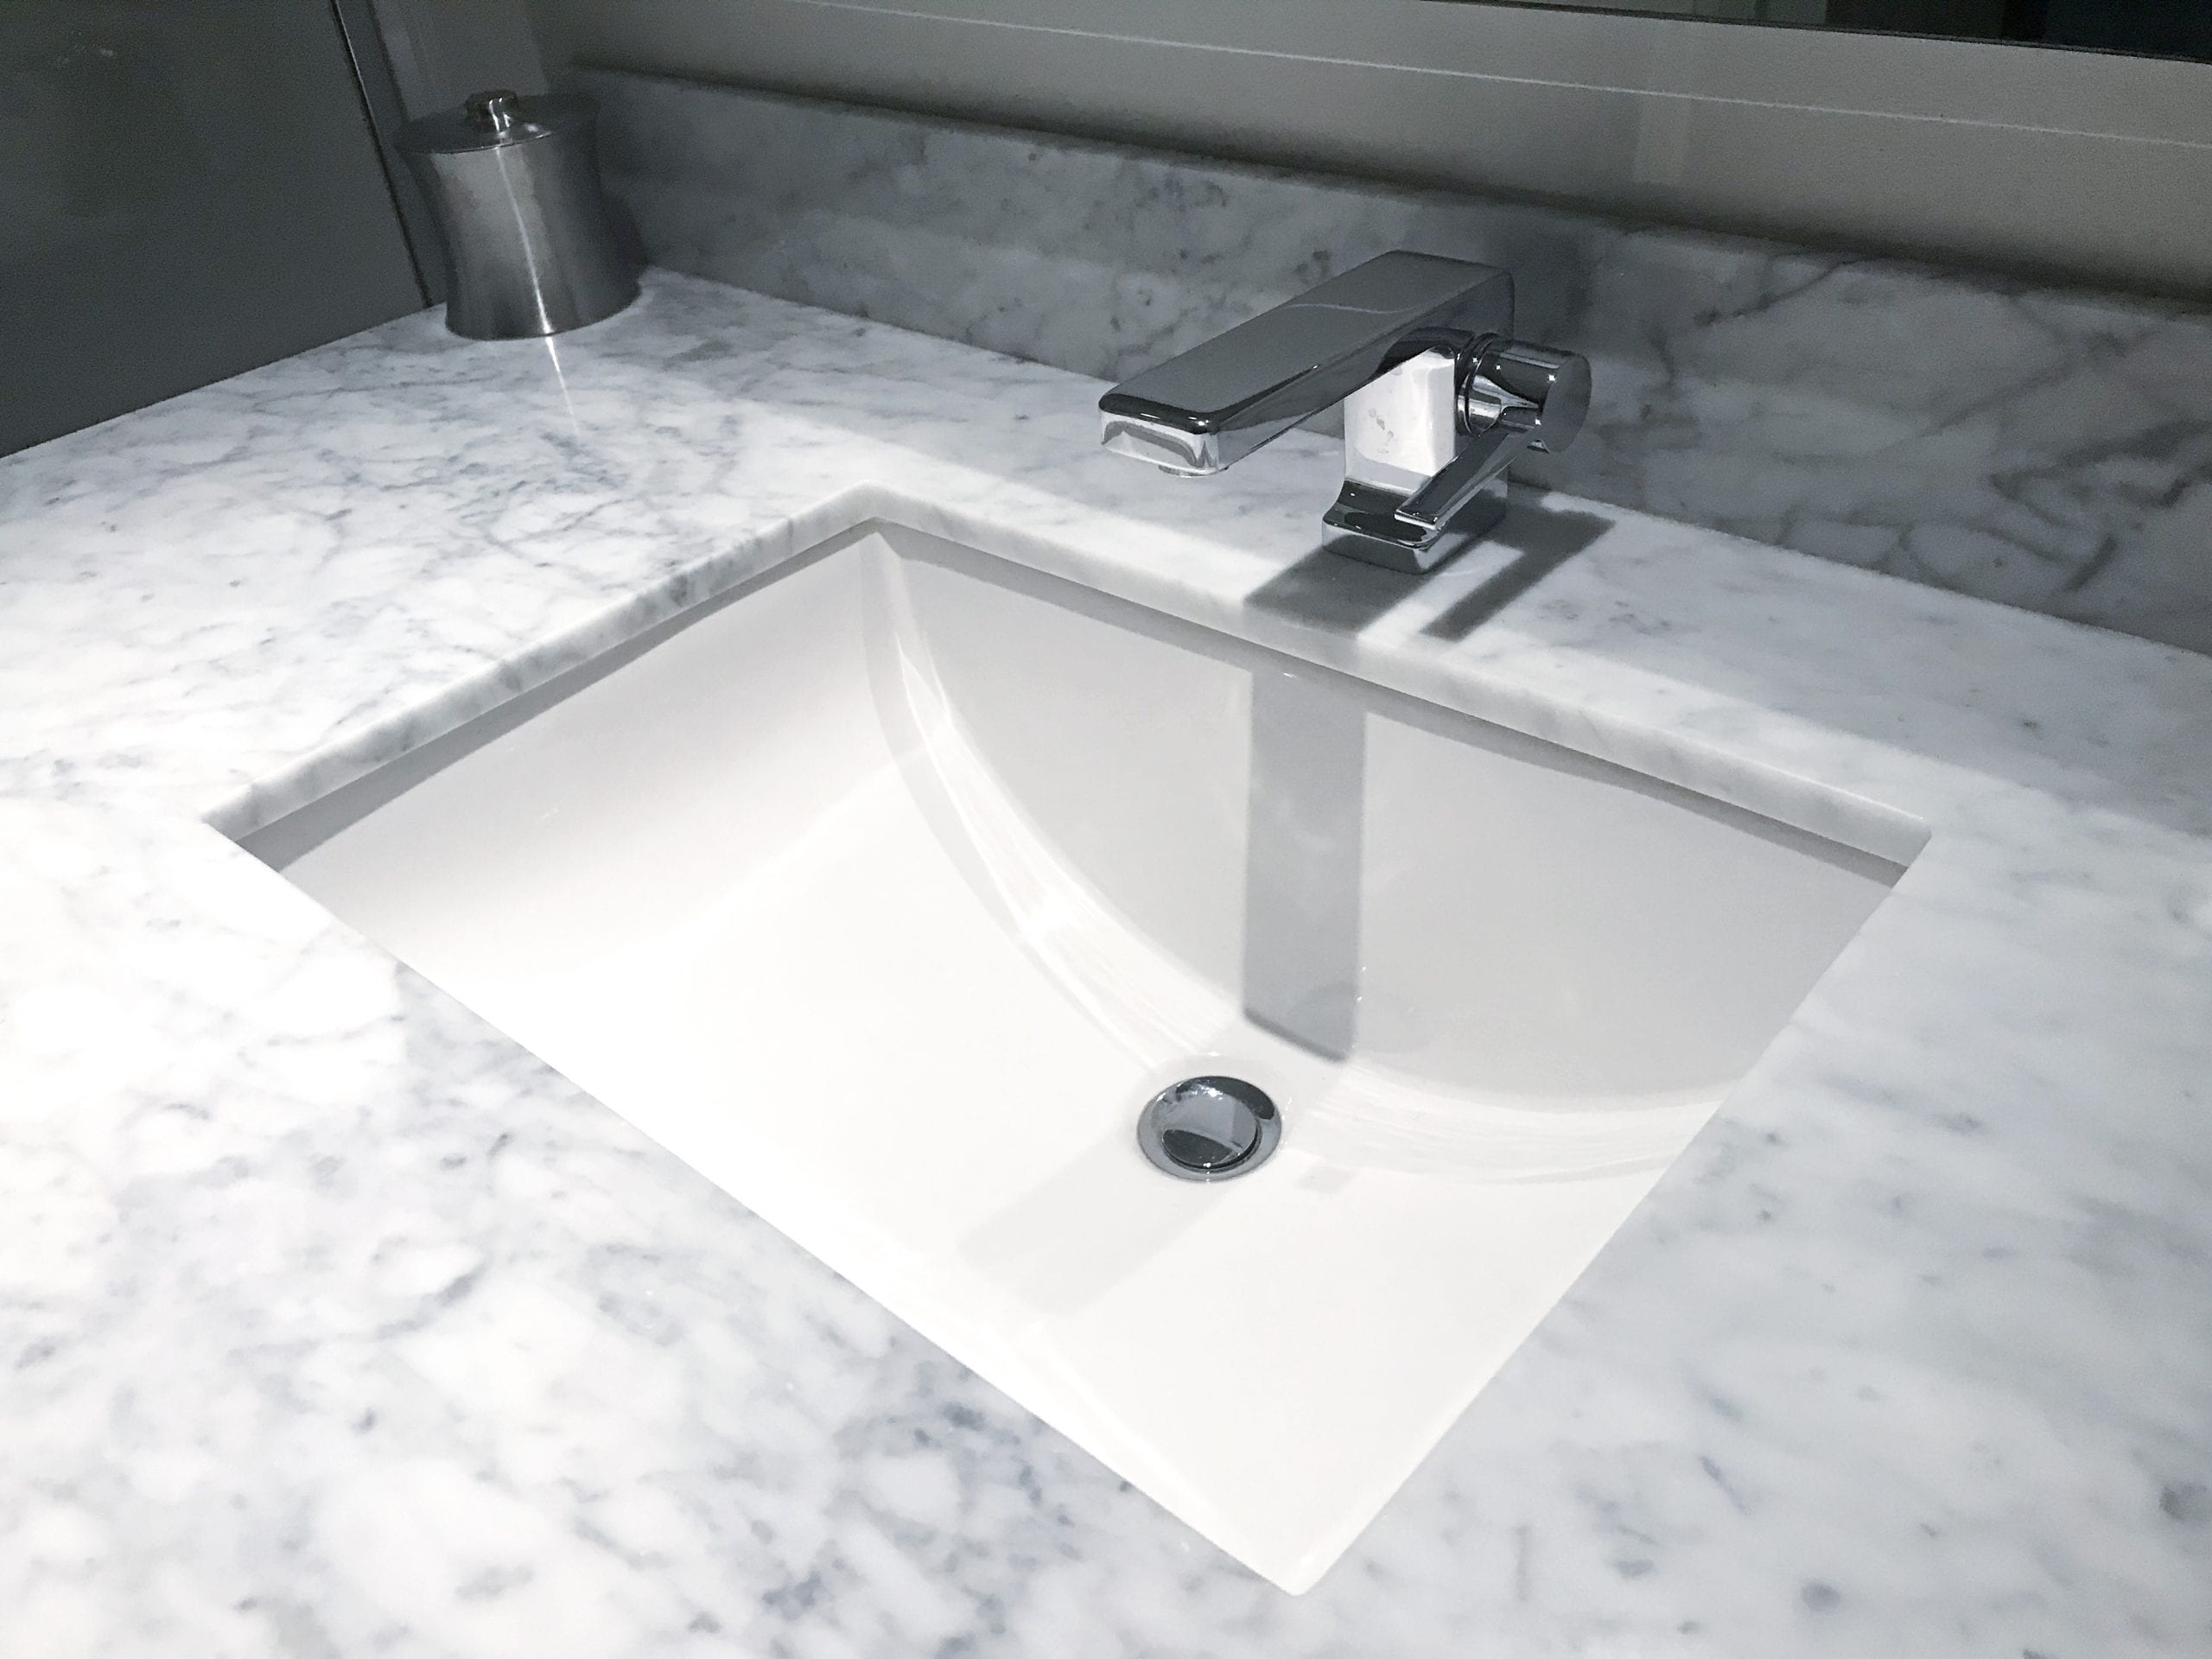
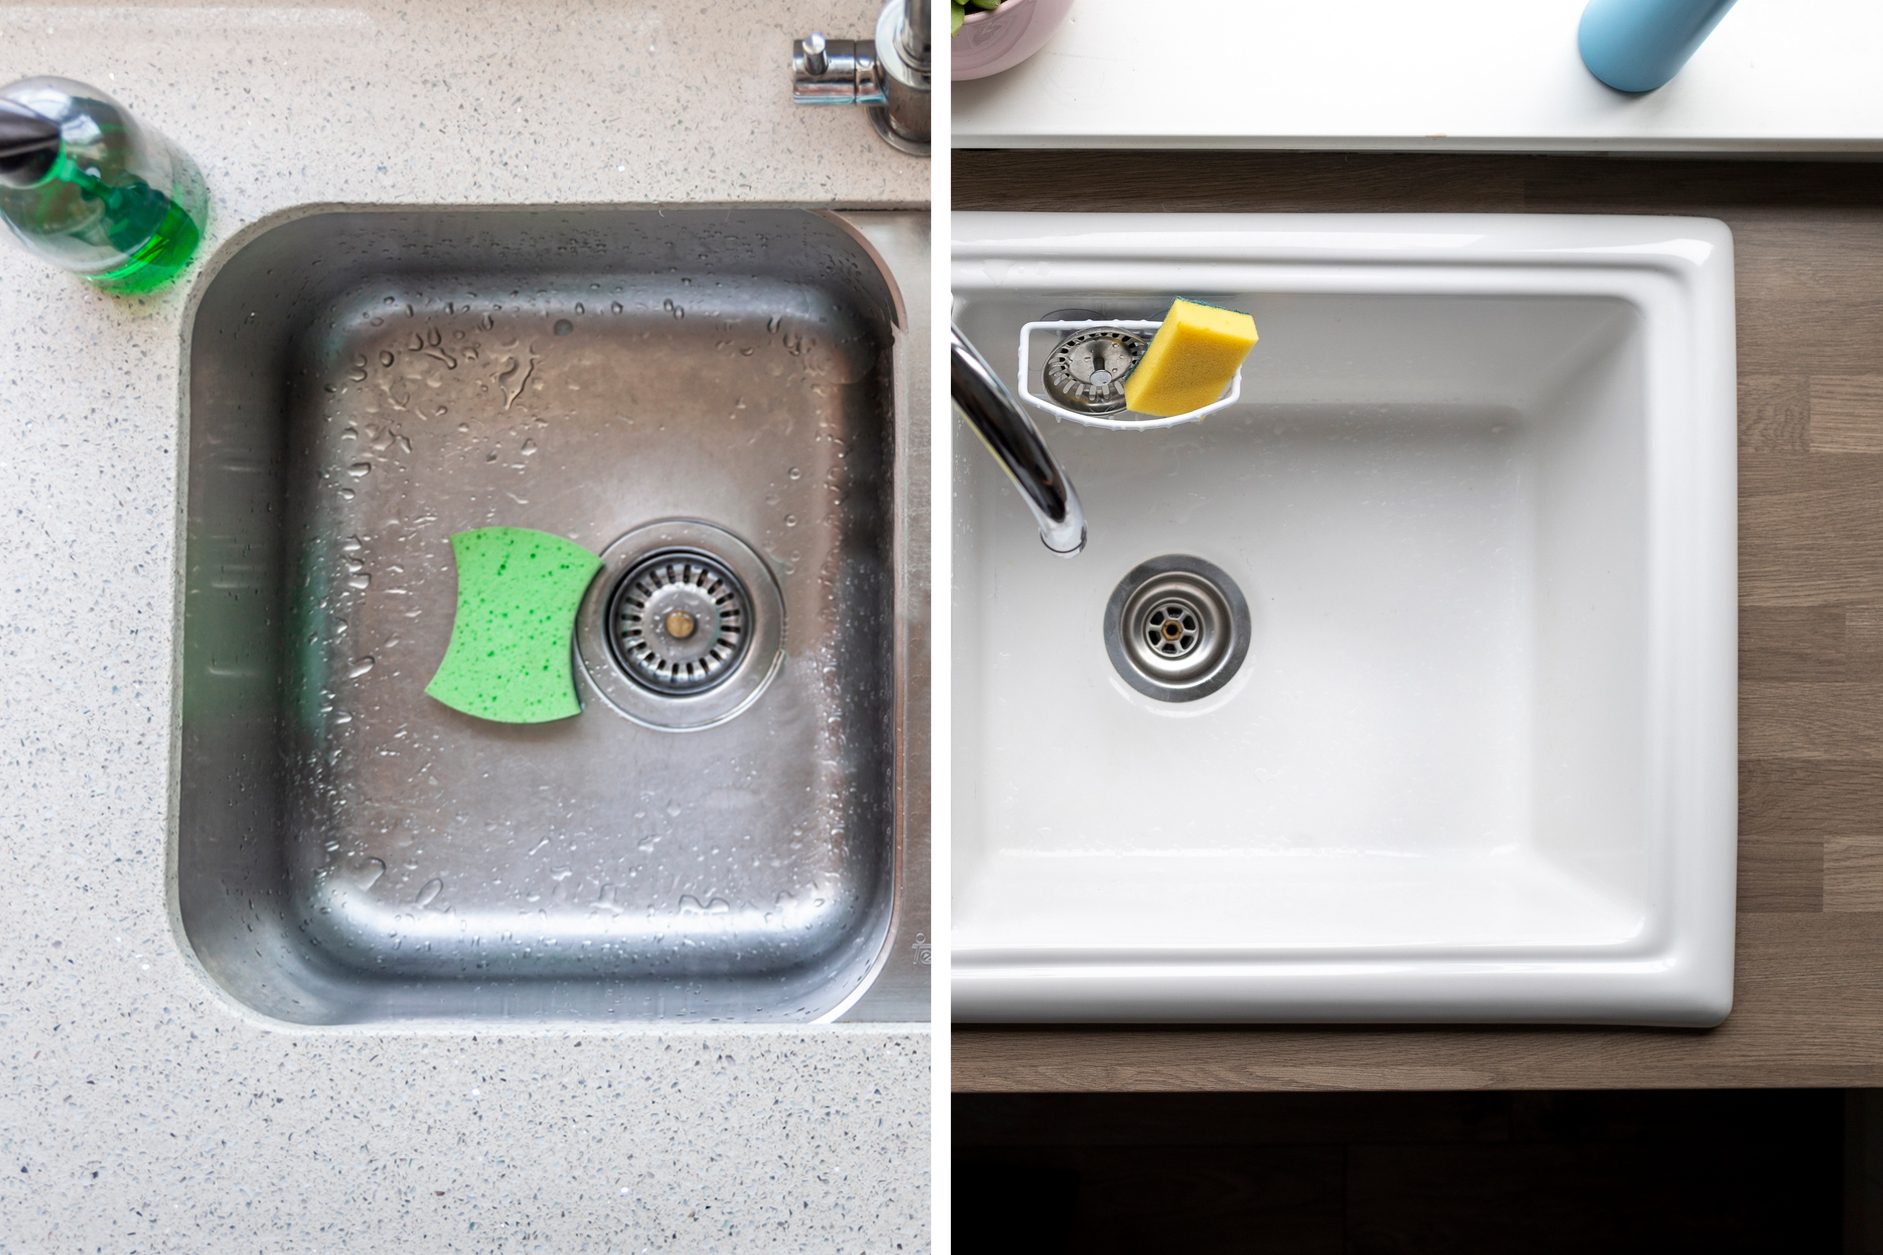
 When it comes to designing your bathroom, the sink is an important element that can greatly impact the overall look and functionality of the space. A top mount bathroom sink, also known as a drop-in sink, is a popular choice for many homeowners due to its versatility and ease of installation. This type of sink is mounted directly onto the countertop, with the rim of the sink sitting on top of the counter. Its simple installation process makes it a great option for those looking to upgrade their bathroom without breaking the bank.
Materials and Tools Needed
 Before getting started, it is important to gather all the necessary materials and tools. You will need a top mount bathroom sink, a faucet, plumber's putty, silicone caulk, a wrench, a screwdriver, and a drill. Make sure to choose a sink and faucet that complement each other and fit the existing plumbing in your bathroom.
Step-by-Step Guide
 Step 1: Measure and Mark
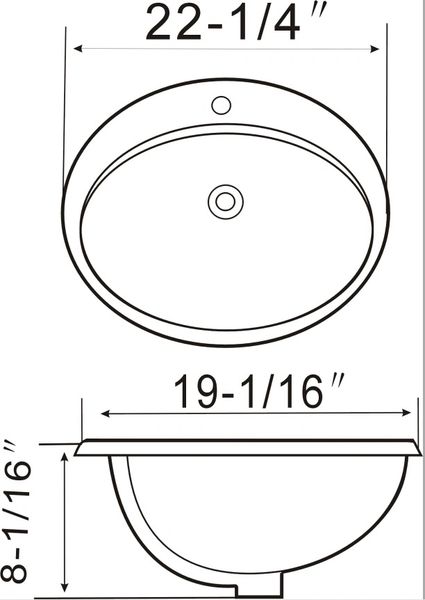
Start by measuring the sink and marking its placement on the countertop. Use a level to ensure the sink will sit straight. Then, mark the location of the faucet and any additional holes that need to be drilled for accessories, such as a soap dispenser or sprayer.
Step 2: Prepare the Sink
Apply a thin layer of plumber's putty around the underside of the sink's rim. This will help create a watertight seal once the sink is installed. If your sink comes with a mounting bracket, attach it to the underside of the sink using the screws provided.
Step 3: Install the Faucet
Follow the manufacturer's instructions to install the faucet onto the sink. Make sure to use the appropriate tools and tighten all connections to prevent any leaks.
Step 4: Place the Sink
Carefully lower the sink into the marked placement on the countertop. Make sure it is centered and level before proceeding.
Step 5: Secure the Sink
Using a screwdriver and wrench, tighten the mounting clips or brackets to secure the sink in place. Be careful not to over-tighten as this can cause damage to the sink.
Step 6: Attach the Drain and Faucet
Connect the drain and faucet to the sink according to the manufacturer's instructions. Use silicone caulk to seal around the edges of the sink and any additional holes that were drilled.
Step 7: Test for Leaks
Turn on the water supply and run the faucet to make sure there are no leaks. If there are any leaks, tighten the connections or reapply caulk as needed.
Step 1: Measure and Mark
Start by measuring the sink and marking its placement on the countertop. Use a level to ensure the sink will sit straight. Then, mark the location of the faucet and any additional holes that need to be drilled for accessories, such as a soap dispenser or sprayer.
Step 2: Prepare the Sink
Apply a thin layer of plumber's putty around the underside of the sink's rim. This will help create a watertight seal once the sink is installed. If your sink comes with a mounting bracket, attach it to the underside of the sink using the screws provided.
Step 3: Install the Faucet
Follow the manufacturer's instructions to install the faucet onto the sink. Make sure to use the appropriate tools and tighten all connections to prevent any leaks.
Step 4: Place the Sink
Carefully lower the sink into the marked placement on the countertop. Make sure it is centered and level before proceeding.
Step 5: Secure the Sink
Using a screwdriver and wrench, tighten the mounting clips or brackets to secure the sink in place. Be careful not to over-tighten as this can cause damage to the sink.
Step 6: Attach the Drain and Faucet
Connect the drain and faucet to the sink according to the manufacturer's instructions. Use silicone caulk to seal around the edges of the sink and any additional holes that were drilled.
Step 7: Test for Leaks
Turn on the water supply and run the faucet to make sure there are no leaks. If there are any leaks, tighten the connections or reapply caulk as needed.
In Conclusion
:max_bytes(150000):strip_icc()/8_IMG_3767-56a4a2753df78cf772835b72.JPG) Installing a top mount bathroom sink is a simple and cost-effective way to update your bathroom's design. With the right tools and materials, you can easily achieve a sleek and functional look that will elevate your bathroom's overall aesthetic. Remember to take your time and follow the manufacturer's instructions carefully to ensure a successful installation.
Installing a top mount bathroom sink is a simple and cost-effective way to update your bathroom's design. With the right tools and materials, you can easily achieve a sleek and functional look that will elevate your bathroom's overall aesthetic. Remember to take your time and follow the manufacturer's instructions carefully to ensure a successful installation.