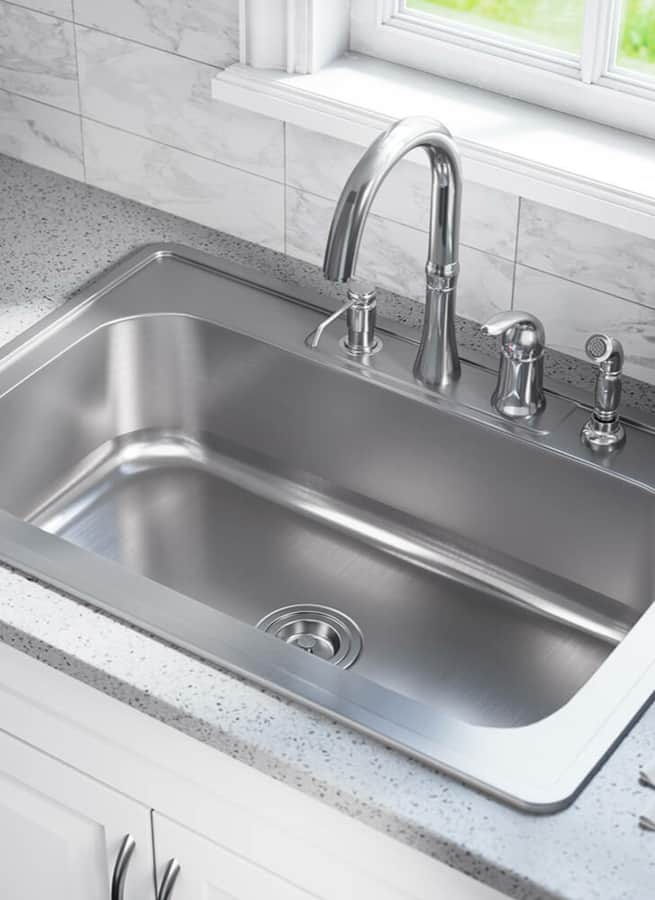
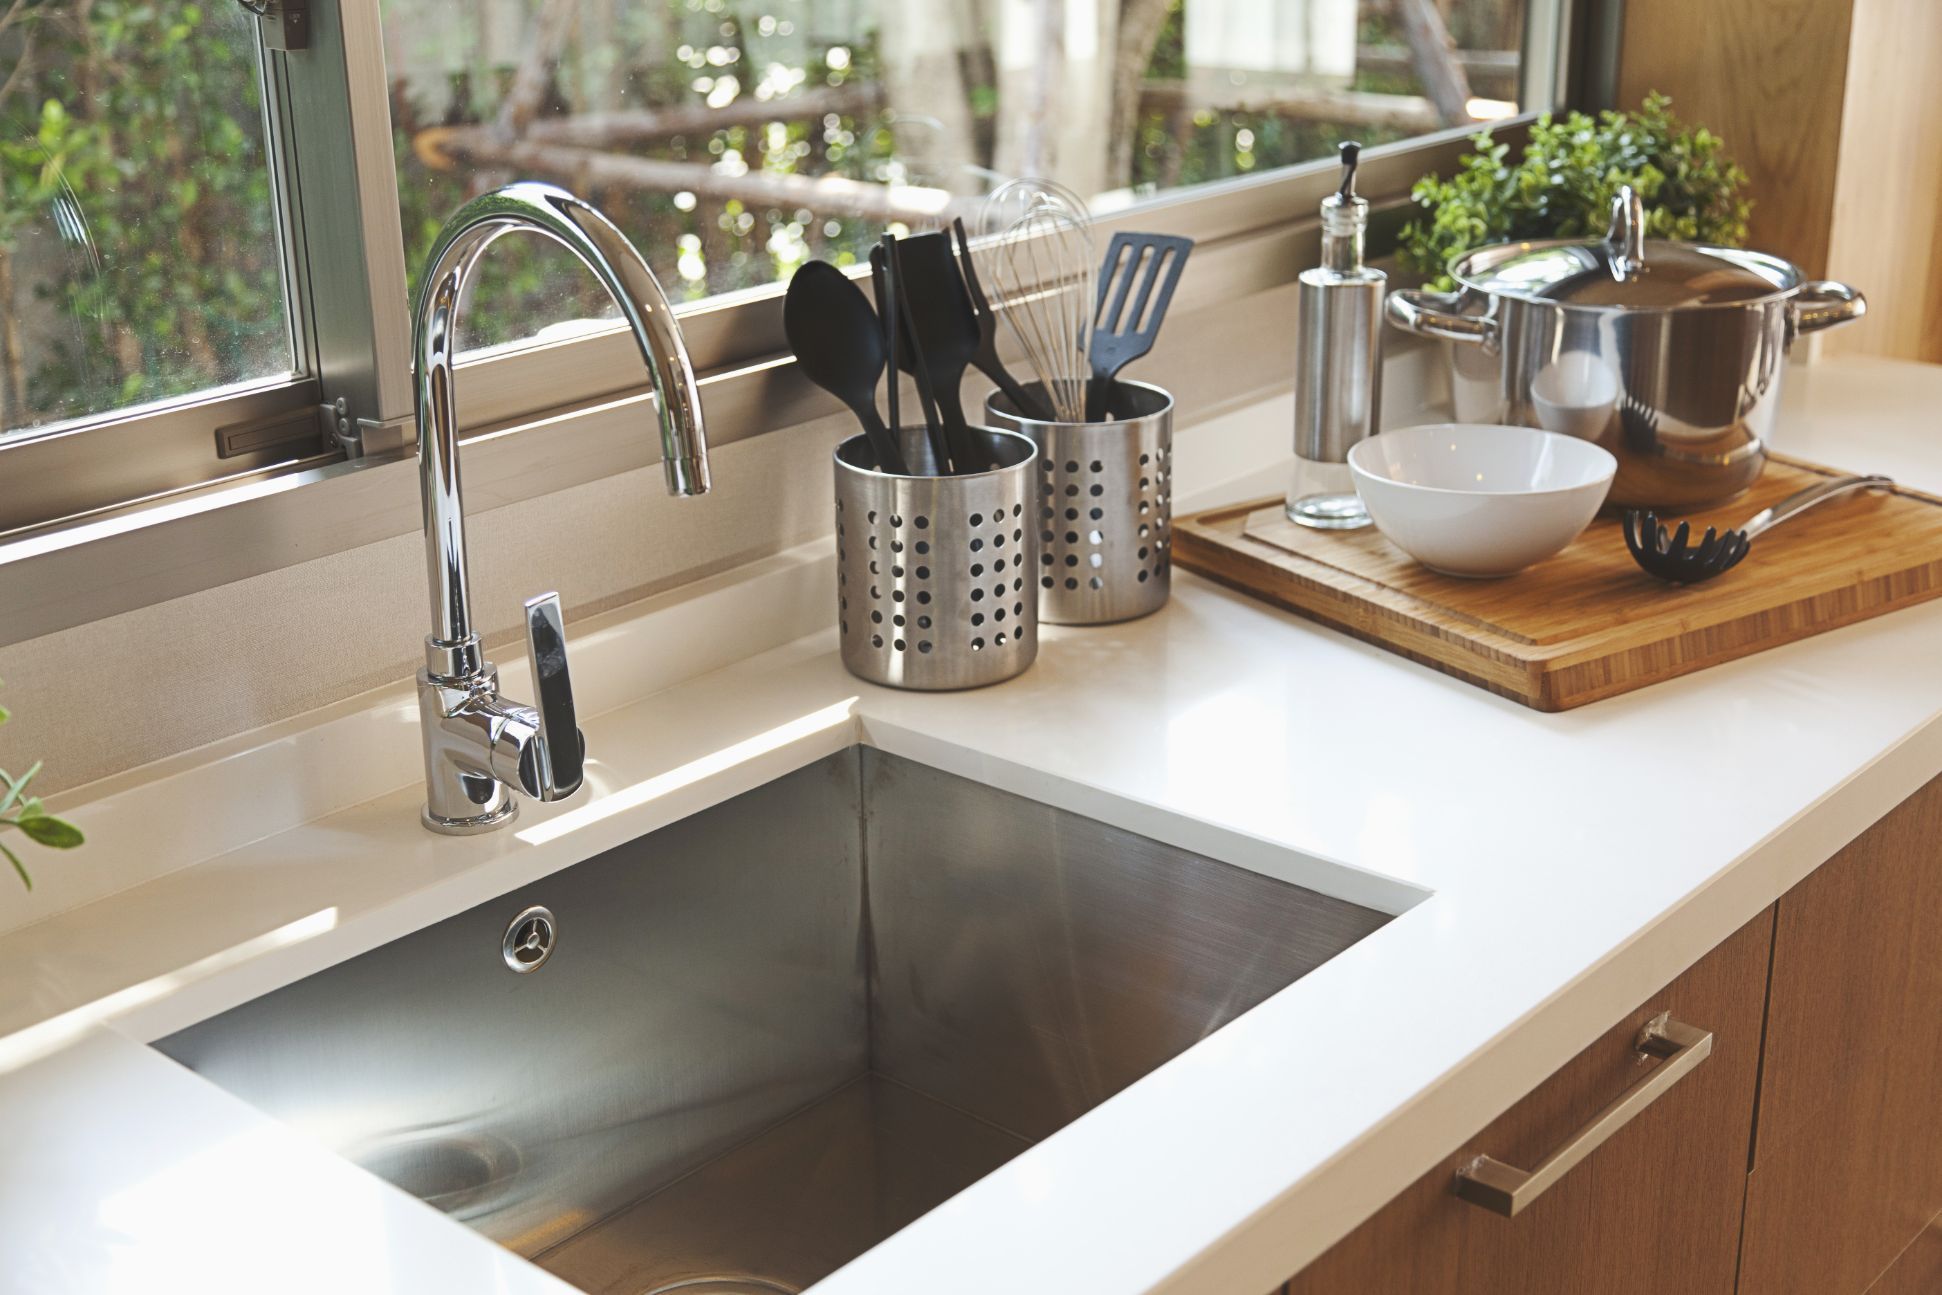
If you're looking to upgrade your kitchen with a sleek and durable sink, a stainless steel kitchen sink is a great choice. Not only does it add a modern touch to your space, but it's also resistant to stains and scratches. And the best part? You can install it yourself with just a few simple tools and some caulk. In this guide, we'll walk you through the steps of installing a stainless steel kitchen sink with caulk.How to Install a Stainless Steel Kitchen Sink with Caulk
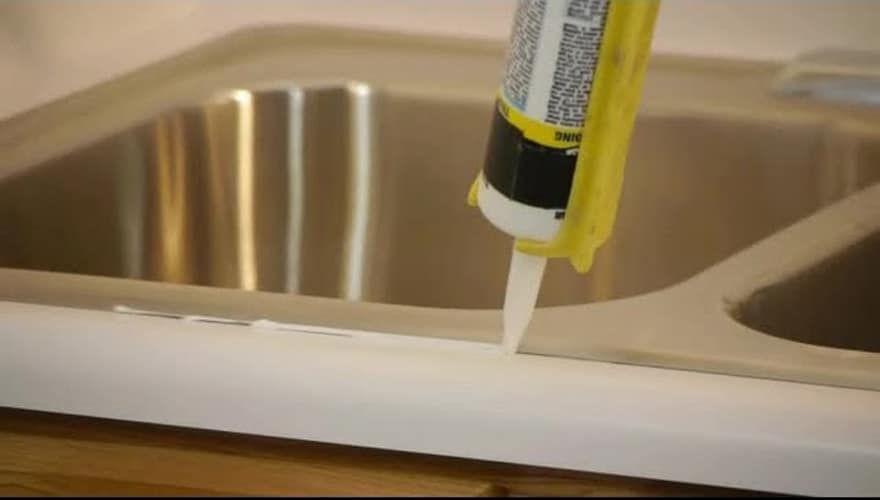
Installing a stainless steel kitchen sink may seem like a daunting task, but with the right tools and a little bit of patience, it can be done easily. The first step is to measure your sink and make sure it will fit in your countertop. Then, gather all the necessary tools and materials, including a drill, a screwdriver, and of course, the caulk. Once you have everything ready, follow these steps: Step 1: Prepare the Sink Before you begin the installation, make sure your sink is clean and free of any debris. If your sink comes with clips, attach them to the rim of the sink. These clips will help secure the sink to the countertop later on. Step 2: Apply the Caulk Using a caulk gun, apply a thin and even layer of caulk around the edge of the sink. This will create a watertight seal between the sink and the countertop. Be sure to leave a small gap for the clips to fit through. Step 3: Place the Sink Once the caulk is applied, carefully place the sink into the countertop cutout. Make sure it is centered and level before moving on to the next step. Step 4: Secure the Sink Using a screwdriver, tighten the clips around the edge of the sink to secure it to the countertop. This will also help to press the sink firmly into the caulk, creating a strong bond. Step 5: Clean Up Wipe away any excess caulk with a damp cloth. Be sure to clean off any caulk that may have gotten onto the sink's surface as well. Allow the caulk to dry completely before using the sink.How to Install a Stainless Steel Kitchen Sink
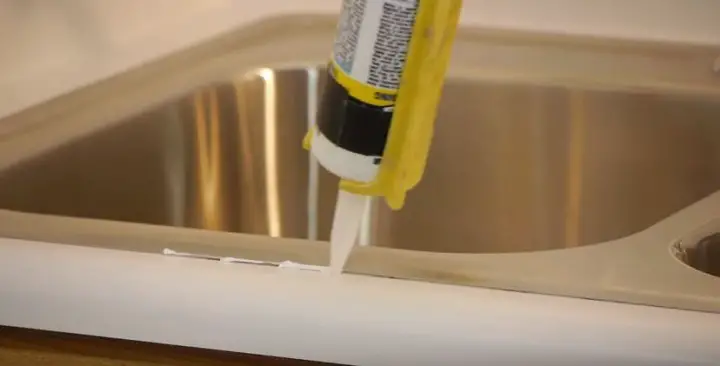
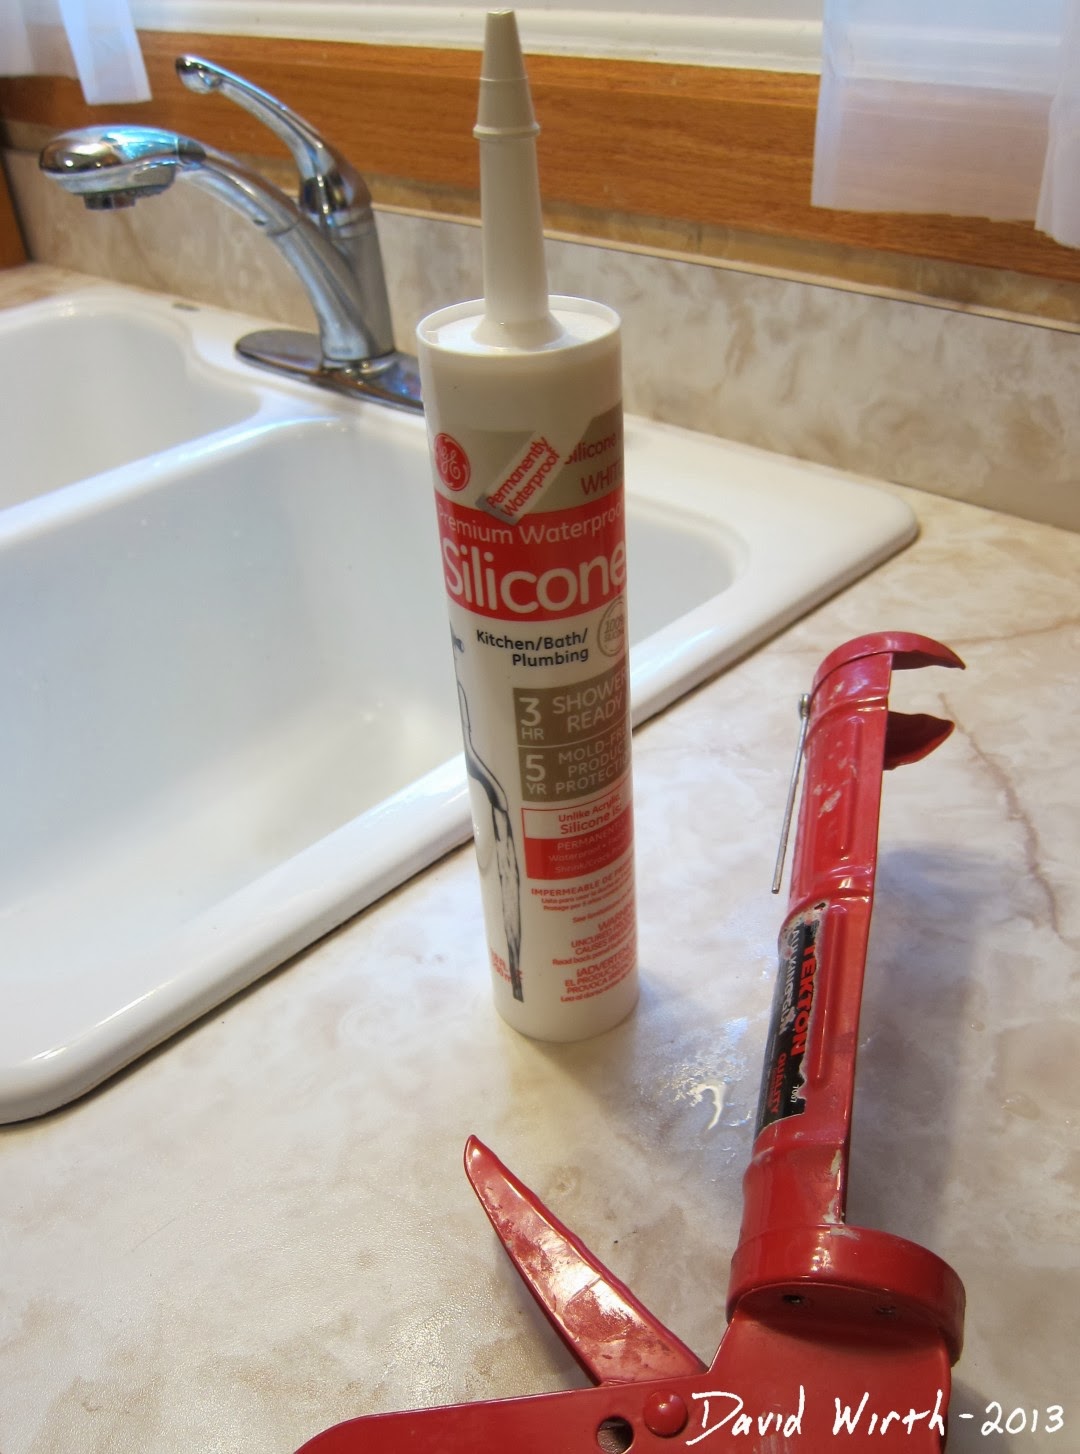
Caulking a stainless steel kitchen sink is an important step in the installation process. It not only helps to secure the sink, but it also prevents water from seeping in between the sink and the countertop. Follow these steps to properly caulk your stainless steel kitchen sink: Step 1: Clean the Area Before applying caulk, make sure the area around the sink is clean and dry. Use a degreaser or rubbing alcohol to remove any dirt or residue. Step 2: Prepare the Caulk If you're using caulk from a tube, cut the tip at a 45-degree angle to create a small opening. If you're using a caulk gun, load the tube and make sure the plunger is in place. Step 3: Apply the Caulk Starting at one end of the sink, slowly apply a thin and even layer of caulk along the edge. Use steady pressure on the caulk gun or tube to ensure a consistent flow. If you make a mistake, use a wet finger or a caulk smoothing tool to remove any excess caulk. Step 4: Smooth Out the Caulk Once the caulk is applied, use a wet finger or a caulk smoothing tool to smooth out the caulk and create a straight line. This will also help to remove any air bubbles and ensure a tight seal. Step 5: Let it Dry Allow the caulk to dry completely before using your sink. This can take anywhere from 24 to 48 hours, depending on the type of caulk you used. Once it's dry, you can start using your new stainless steel kitchen sink!How to Caulk a Stainless Steel Kitchen Sink
To summarize, here's a step-by-step guide for installing a stainless steel kitchen sink with caulk: Step 1: Measure your sink and gather all necessary tools and materials. Step 2: Prepare the sink by cleaning it and attaching clips to the rim. Step 3: Apply a layer of caulk around the edge of the sink. Step 4: Place the sink into the countertop cutout and secure it with the clips. Step 5: Clean up any excess caulk and let it dry completely. Step 6: Caulk around the edges of the sink and smooth it out with a wet finger or caulk smoothing tool. Step 7: Allow the caulk to dry completely before using the sink.Step-by-Step Guide for Installing a Stainless Steel Kitchen Sink with Caulk
Before you begin the installation process, make sure you have all the necessary tools and materials on hand. Here's a list of what you'll need: Tools:Tools and Materials Needed for Installing a Stainless Steel Kitchen Sink with Caulk
Here are some tips to keep in mind for a successful installation of your stainless steel kitchen sink: - Measure your sink and countertop carefully to ensure a proper fit. - Use a high-quality caulk that is specifically designed for kitchen and bathroom use. - Take your time and be patient during the installation process to avoid mistakes. - Follow the manufacturer's instructions for the best results.Tips for a Successful Installation of a Stainless Steel Kitchen Sink with Caulk
While installing a stainless steel kitchen sink with caulk is a relatively simple process, there are some common mistakes that can easily be avoided: - Not measuring the sink and countertop properly, resulting in a poor fit. - Using low-quality caulk that may not create a strong seal. - Rushing the installation process, leading to crooked or uneven sink placement. - Not allowing the caulk to dry completely before using the sink.Common Mistakes to Avoid When Installing a Stainless Steel Kitchen Sink with Caulk
If you prefer visual instructions, there are many helpful video tutorials available online that can guide you through the installation process step-by-step. Watching a video can be especially beneficial for visual learners who may find written instructions more difficult to follow.Video Tutorial: How to Install a Stainless Steel Kitchen Sink with Caulk
While hiring a professional to install your stainless steel kitchen sink may seem like the easier option, it can also be quite costly. With the right tools and materials, installing a kitchen sink yourself is a budget-friendly alternative that can also be a satisfying DIY project. As long as you follow the proper steps and take your time, you can achieve professional-looking results without breaking the bank.Professional Installation vs. DIY: Which is Better for Installing a Stainless Steel Kitchen Sink with Caulk?
To keep your stainless steel kitchen sink looking like new, it's important to properly maintain and clean it on a regular basis. Here are some tips to help you keep your sink in top condition: - Clean your sink regularly with a mild soap and water. Avoid harsh chemicals that can damage the finish. - Rinse and dry your sink after each use to prevent water spots and mineral buildup. - Use a soft cloth or sponge to avoid scratching the surface of the sink. - Do not use abrasive cleaners or scrubbers, as they can scratch and dull the finish.How to Maintain and Clean a Stainless Steel Kitchen Sink with Caulk
Why Install a Stainless Steel Kitchen Sink with Caulk?

Benefits of a Stainless Steel Kitchen Sink
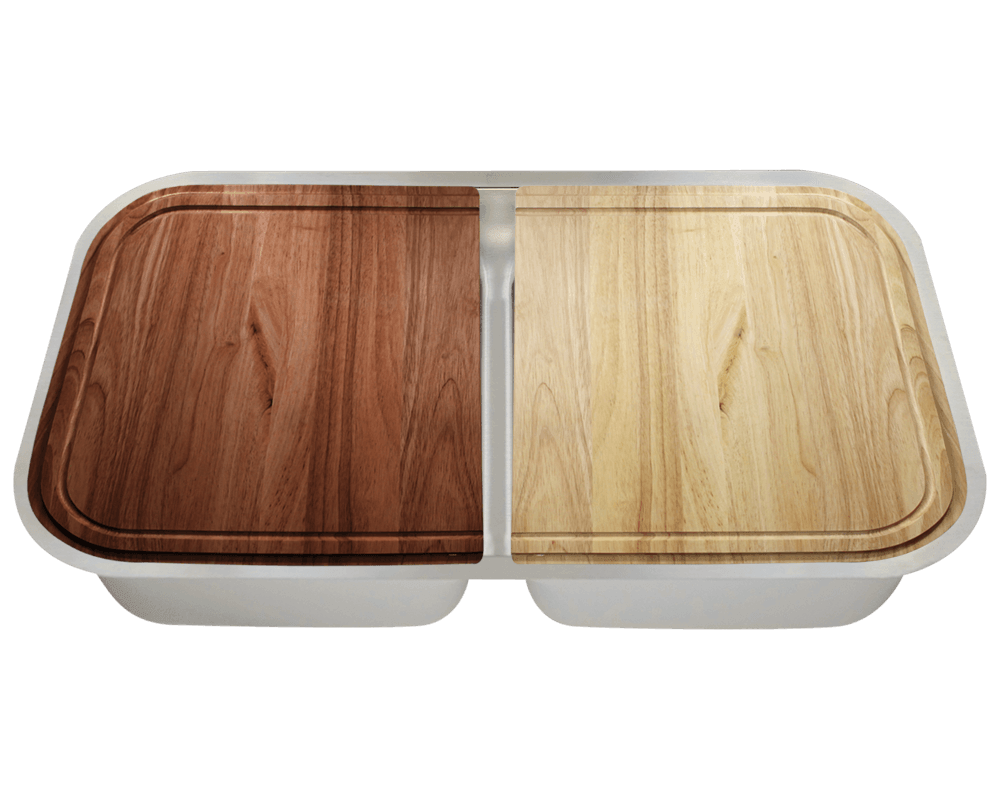
 Stainless steel sinks have become a popular choice for many homeowners due to their durability, low maintenance, and sleek look. They are resistant to stains, scratches, and heat, making them perfect for everyday use in the kitchen. Additionally, they are affordable and come in a variety of sizes and designs to fit any kitchen layout.
The Importance of Proper Installation
 When it comes to installing a new kitchen sink, it is important to have it done correctly to avoid any potential issues in the future. One crucial step in the installation process is using caulk to seal the edges of the sink to the countertop. This not only provides a clean and finished look, but it also helps to prevent water and debris from getting trapped in the gaps between the sink and the countertop.
How to Install a Stainless Steel Kitchen Sink with Caulk
 First, start by measuring the dimensions of your sink and countertop to ensure a proper fit. Next, clean the area around the sink and countertop to remove any debris and old caulk. Then, apply a generous amount of
silicone caulk
along the edges of the sink, making sure to cover all gaps. Carefully place the sink onto the countertop, pressing down firmly to ensure a secure bond. Wipe away any excess caulk with a damp cloth. Allow the caulk to dry completely before using the sink.
Tips for a Successful Installation
 For the best results, it is recommended to use
stainless steel sink clips
to secure the sink to the countertop. These clips can be easily installed underneath the sink and provide additional support to prevent the sink from shifting. It is also important to choose a high-quality caulk that is specifically designed for use in kitchens and can withstand exposure to water and heat.
Final Thoughts
 Installing a stainless steel kitchen sink with caulk is a simple and cost-effective way to upgrade the look and functionality of your kitchen. With the right tools and techniques, you can achieve a professional and long-lasting result. So why wait?
Upgrade your kitchen
today with a new stainless steel sink and enjoy its many benefits for years to come.




:no_upscale()/cdn.vox-cdn.com/uploads/chorus_asset/file/19495086/drain_0.jpg)

.jpg)
