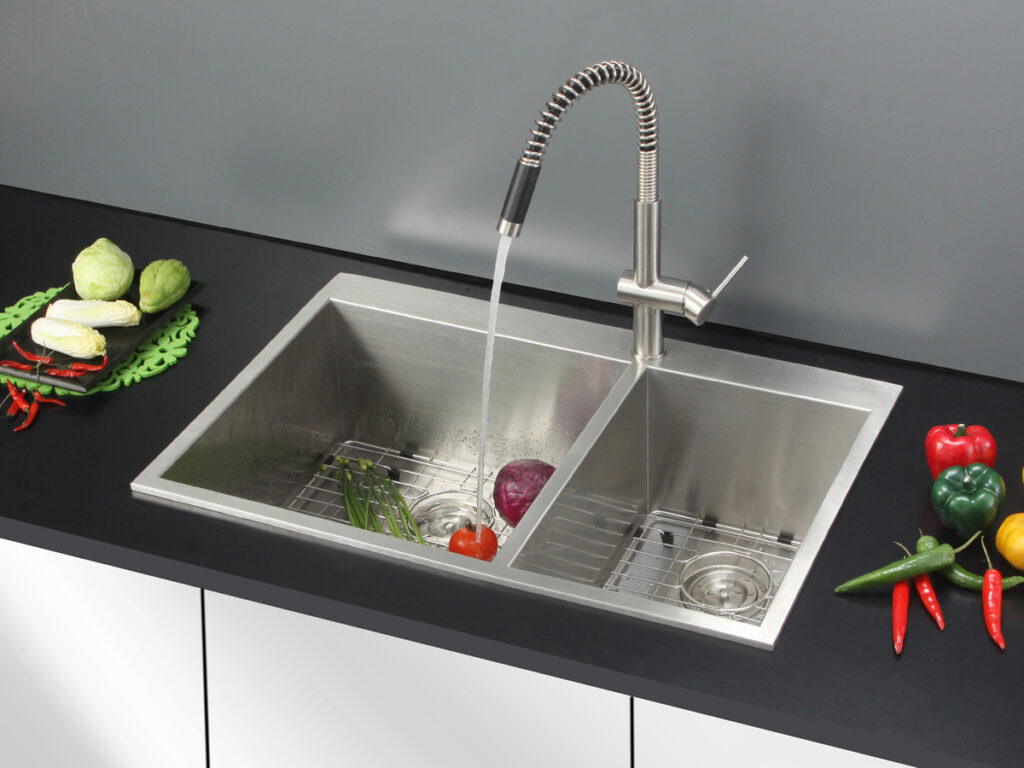
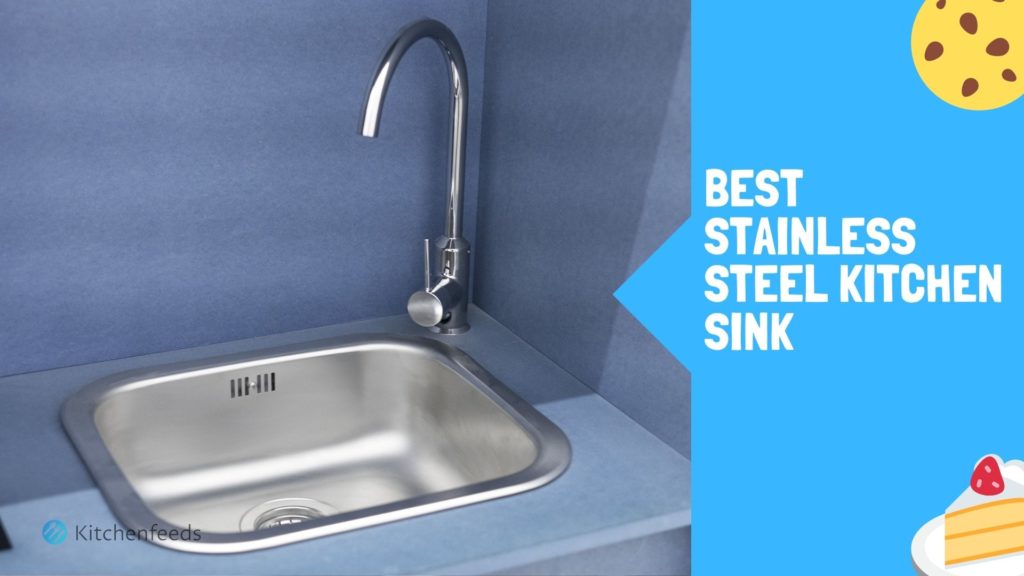
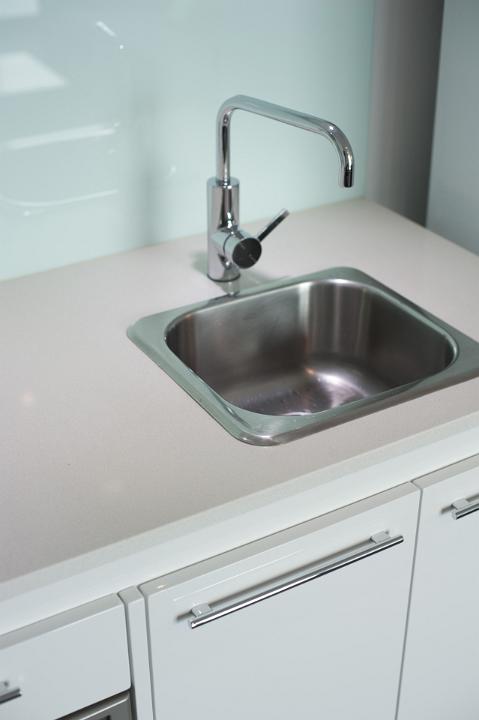
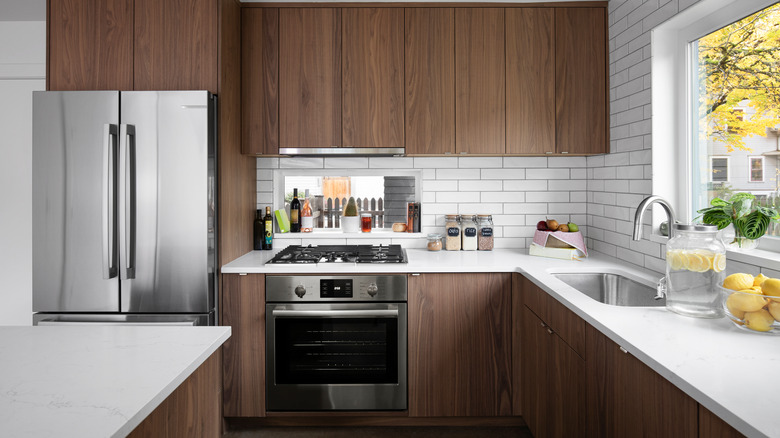
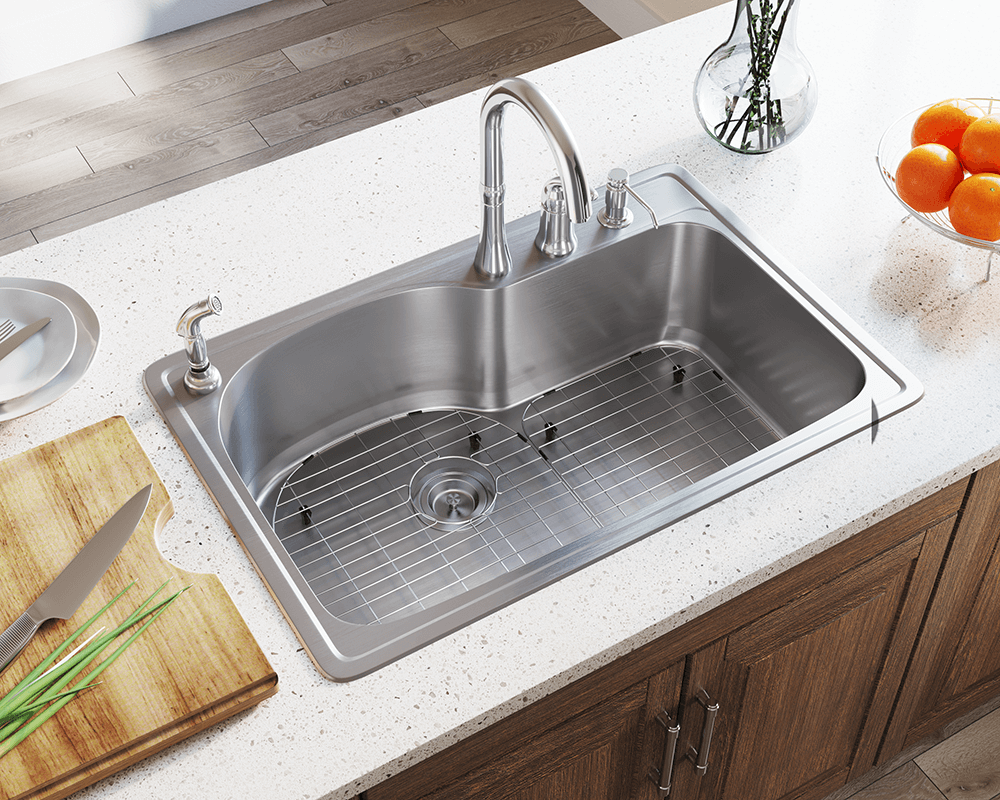
Installing a new kitchen sink can be a daunting task, but with the right tools and knowledge, it can be a DIY project that can save you money and give your kitchen a fresh new look. In this article, we will guide you through the process of installing a stainless steel kitchen sink, from start to finish.How to Install a Stainless Steel Kitchen Sink


How to Install a Stainless Steel Kitchen Sink


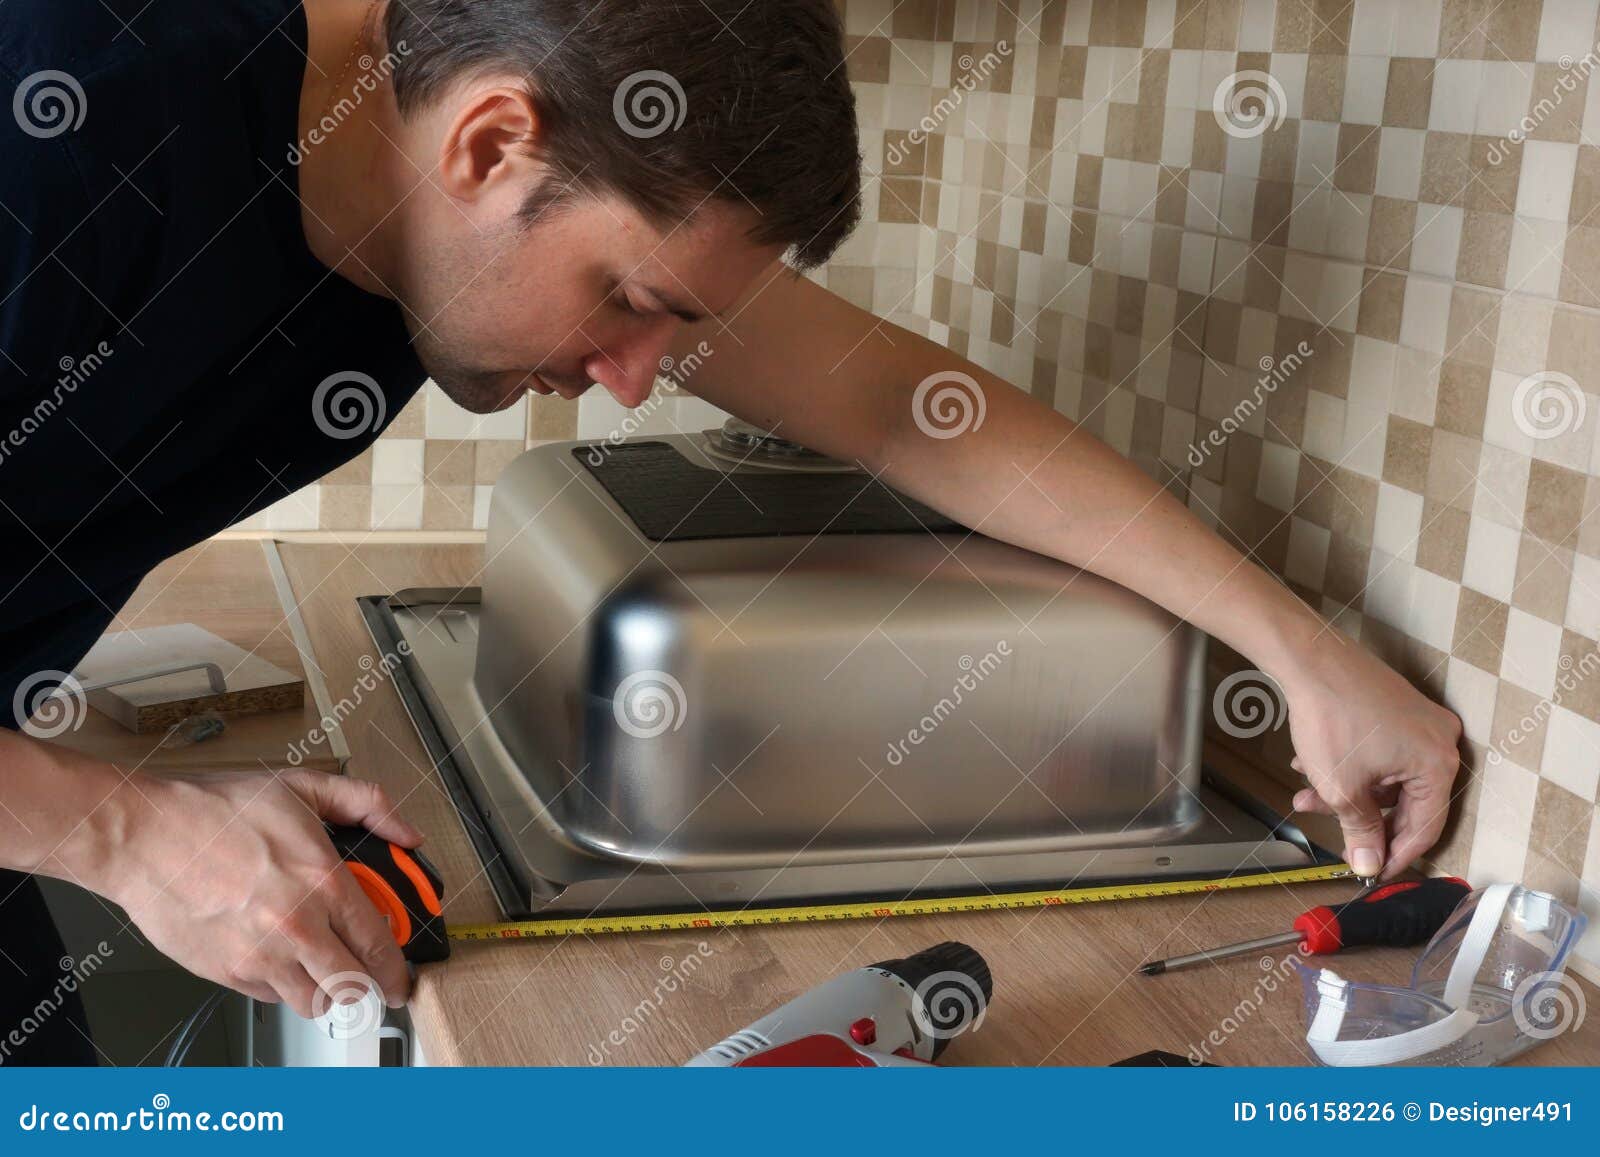
Before you start the installation process, make sure you have all the necessary tools and materials. This includes a new stainless steel kitchen sink, mounting brackets, plumber's putty, silicone caulk, and a screwdriver. Once you have everything ready, follow these steps: Step 1: Measure and Prepare the Sink Opening Step 2: Install the Mounting Brackets Step 3: Apply Plumber's Putty Step 4: Position the Sink Step 5: Secure the Sink Step 6: Connect the Drain Step 7: Apply Silicone Caulk Step 8: Install Faucet and Drain PipesStep-by-Step Guide for Installing a Stainless Steel Kitchen Sink
Using a measuring tape, measure the dimensions of your new sink and mark them on the countertop. Use a jigsaw to cut out the sink opening, making sure to follow the lines accurately.
Place the mounting brackets on the underside of the sink and secure them with screws. Make sure they are evenly spaced and aligned with the edges of the sink.
Roll plumber's putty into a thin rope and apply it around the edge of the sink opening. This will create a watertight seal between the sink and the countertop.
Carefully lower the sink into the opening, making sure it is aligned properly. Press down firmly to ensure a good seal with the plumber's putty.
Using the mounting brackets, secure the sink to the countertop. Make sure they are tight enough to hold the sink in place, but not so tight that they damage the sink or countertop.
Connect the drain to the sink by screwing the locknut onto the bottom of the sink. Use plumber's putty to create a seal between the drain and the sink.
Apply a thin line of silicone caulk around the edge of the sink where it meets the countertop. This will create a waterproof seal and prevent any leaks.
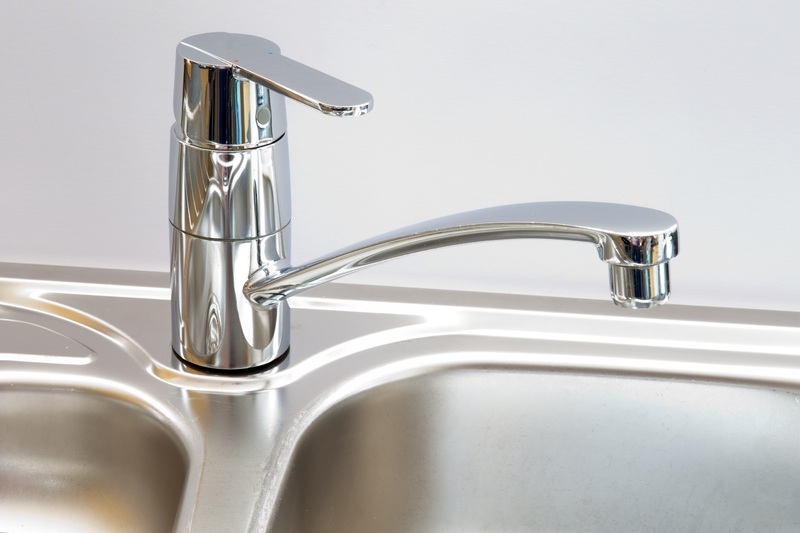
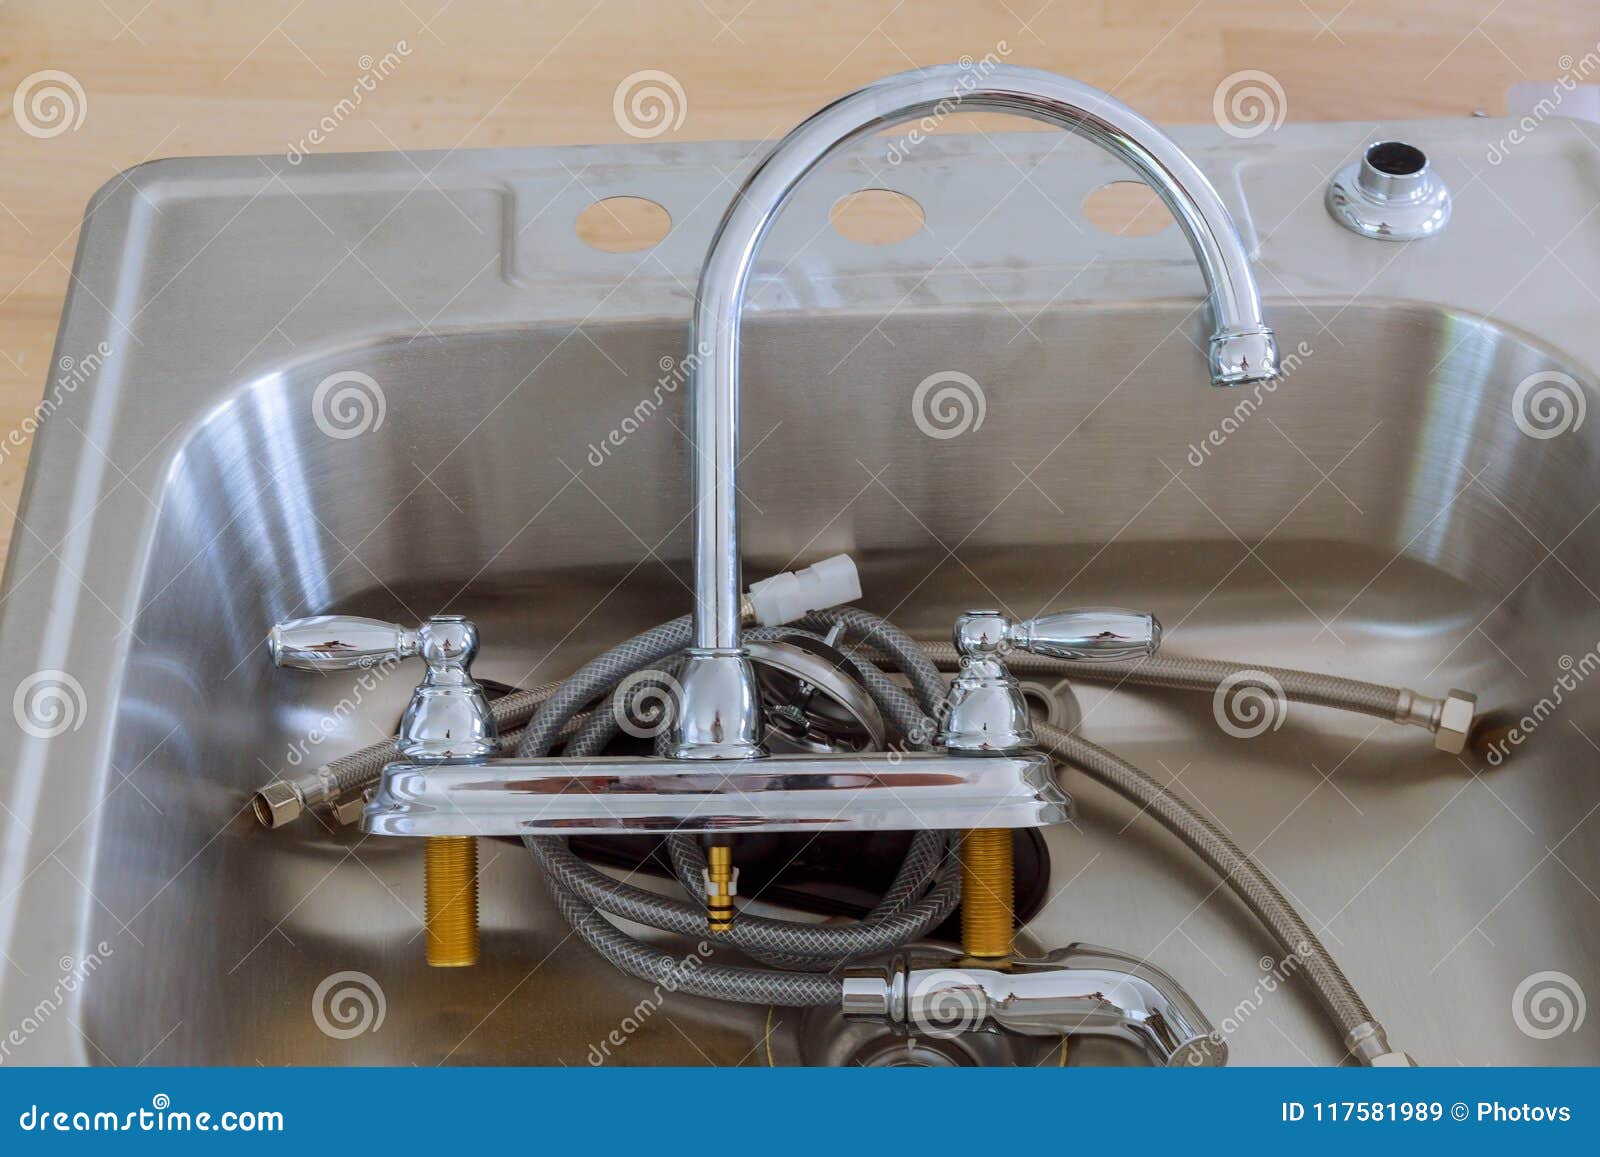
Follow the manufacturer's instructions to install the faucet and drain pipes. Make sure to tighten all connections and check for any leaks before using the sink.

Step-by-Step Guide for Installing a Stainless Steel Kitchen Sink


If you are feeling confident in your DIY skills, installing a stainless steel kitchen sink can be a rewarding project. Not only will you save money on installation costs, but you will also have the satisfaction of knowing you did it yourself. Just make sure to follow the steps carefully and take your time.DIY: Installing a Stainless Steel Kitchen Sink

DIY: Installing a Stainless Steel Kitchen Sink


Here are a few tips and tricks to keep in mind when installing a stainless steel kitchen sink: Tip 1: Choose the Right Size Sink Tip 2: Use Quality Materials Tip 3: Don't Overtighten Tip 4: Check for LeaksInstalling a Stainless Steel Kitchen Sink: Tips and Tricks
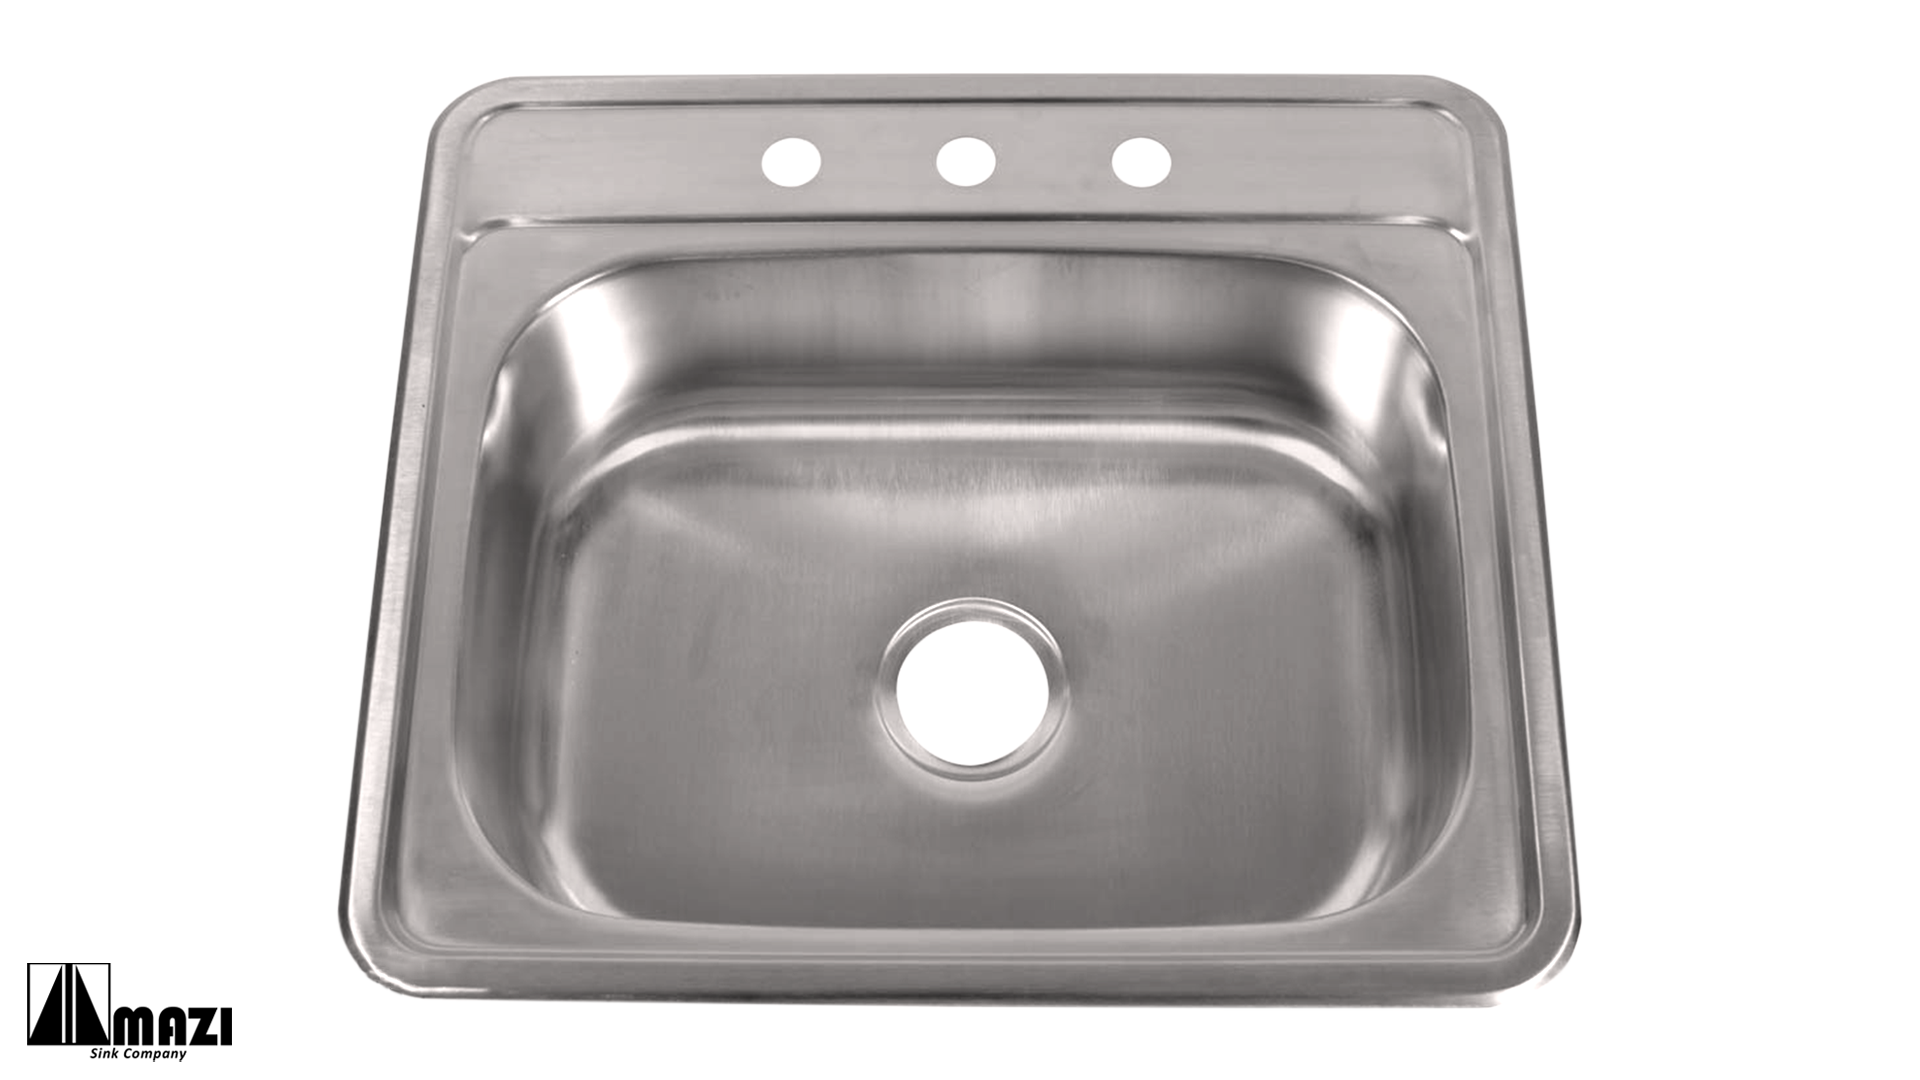
Make sure to measure the dimensions of your sink opening before purchasing a new sink. You want to make sure it fits properly and leaves enough room for your faucet and other accessories.
Invest in quality materials, such as stainless steel sink and mounting brackets, to ensure your sink will last for years to come. This will also prevent any potential leaks or damage.
When securing the sink with mounting brackets, make sure not to overtighten them. This can cause damage to the sink or countertop. Use just enough pressure to hold the sink in place.
Before using your sink, make sure to check for any leaks. Run water in the sink and check all the connections and seals to ensure there are no leaks.


Installing a Stainless Steel Kitchen Sink: Tips and Tricks


There is no one "right" way to install a stainless steel kitchen sink, as it will depend on your specific sink and countertop. However, following the steps outlined above can ensure a successful installation process. If you are unsure or uncomfortable with the process, it is always best to consult a professional.The Best Way to Install a Stainless Steel Kitchen Sink


The Best Way to Install a Stainless Steel Kitchen Sink


If you are looking for a comprehensive guide on how to install a stainless steel kitchen sink, you have come to the right place. This article covers all the necessary steps, tips, and tricks to help you successfully install your new sink.Stainless Steel Kitchen Sink Installation: A Comprehensive Guide


Stainless Steel Kitchen Sink Installation: A Comprehensive Guide

Before starting the installation process, it is important to know the basics of installing a stainless steel kitchen sink. This includes understanding the tools and materials needed, as well as the steps involved. Doing your research beforehand can save you time and prevent any mistakes.Installing a Stainless Steel Kitchen Sink: What You Need to Know

Installing a Stainless Steel Kitchen Sink: What You Need to Know
If you want to take your installation skills to the next level, here are a few expert tips to keep in mind: Tip 1: Use a Template Tip 2: Double Check Measurements Tip 3: Follow Manufacturer's InstructionsExpert Tips for Installing a Stainless Steel Kitchen Sink
Some sinks come with a template that can be placed over the countertop to help guide your cuts. If your sink doesn't come with one, you can create your own by tracing the sink onto a piece of cardboard.
Measure twice, cut once. Double-checking your measurements can prevent any costly mistakes and ensure a proper fit for your sink.
Make sure to read and follow the manufacturer's instructions for your specific sink. They may have specific steps or recommendations for installation.

Expert Tips for Installing a Stainless Steel Kitchen Sink

Here are a few dos and don'ts to keep in mind when installing a stainless steel kitchen sink: Do: Check for Support Do: Seal Properly Don't: Rush the ProcessThe Dos and Don'ts of Installing a Stainless Steel Kitchen Sink
Make sure the sink is properly supported before installing it. This will prevent any sagging or damage to the sink.
Properly sealing the sink with plumber's putty and silicone caulk is crucial for preventing leaks.
Take your time and follow the steps carefully. Rushing the installation process can lead to mistakes and potential damage.


The Dos and Don'ts of Installing a Stainless Steel Kitchen Sink


Lastly, here are a few common mistakes to avoid when installing a stainless steel kitchen sink: Mistake 1: Not Leveling the Sink Mistake 2: Overloading the Sink Mistake 3: Forgetting to Turn Off Water SupplyCommon Mistakes to Avoid When Installing a Stainless Steel Kitchen Sink
Make sure the sink is level before securing it. An uneven sink can cause water to pool and lead to leaks.
Avoid overloading the sink with heavy items, as this can cause damage or scratching to the stainless steel.
Before starting the installation process, make sure to turn off the water supply to prevent any accidents or flooding.


Common Mistakes to Avoid When Installing a Stainless Steel Kitchen Sink


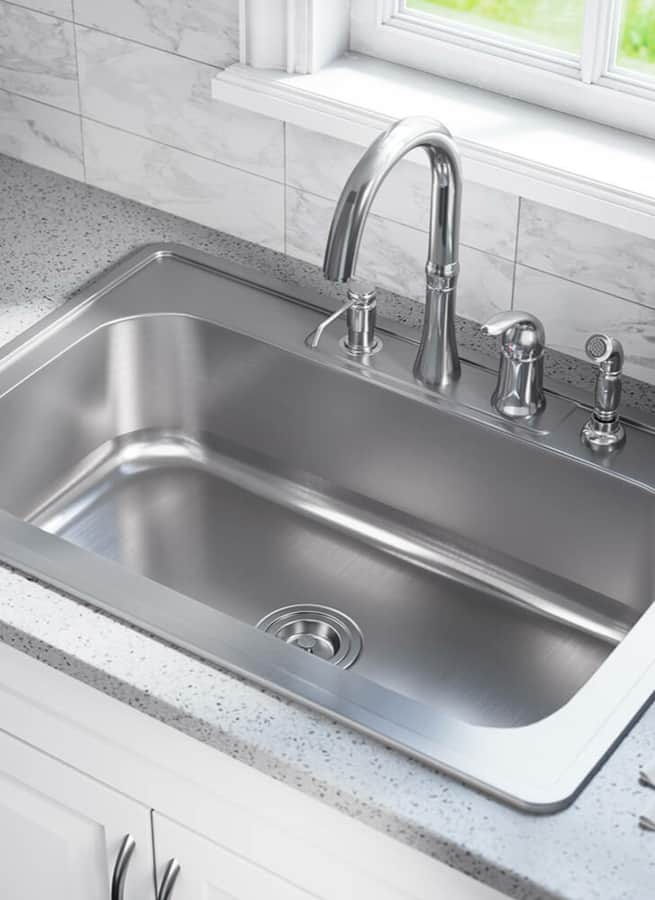
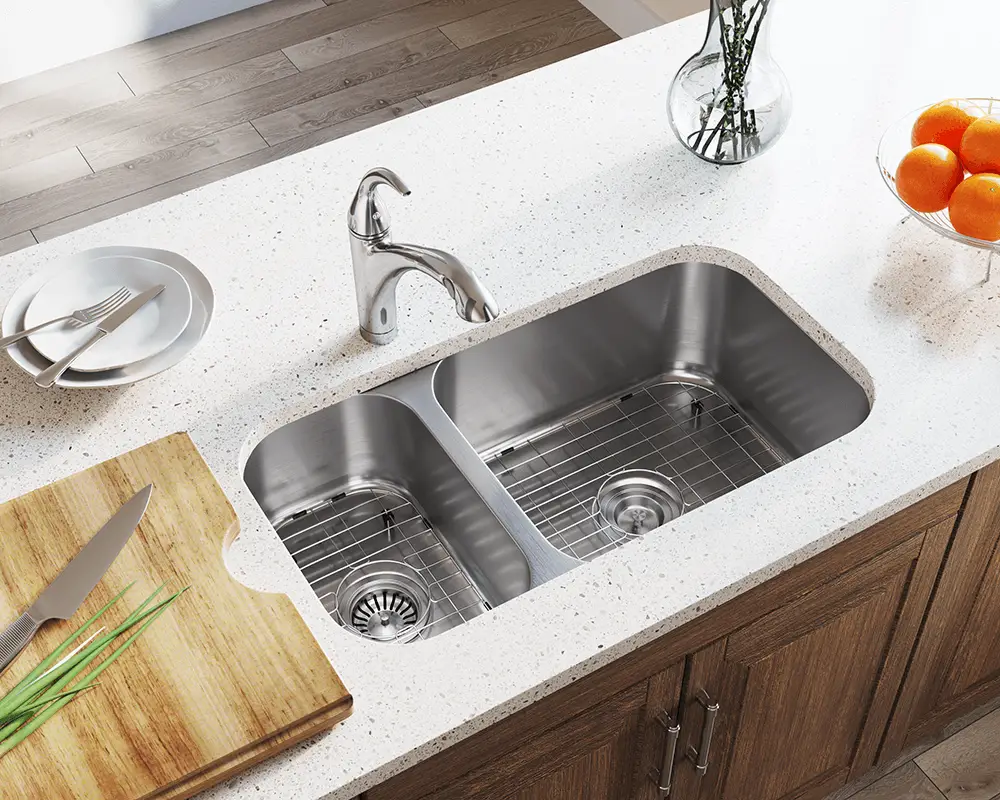
Benefits of Installing a Stainless Steel Kitchen Sink

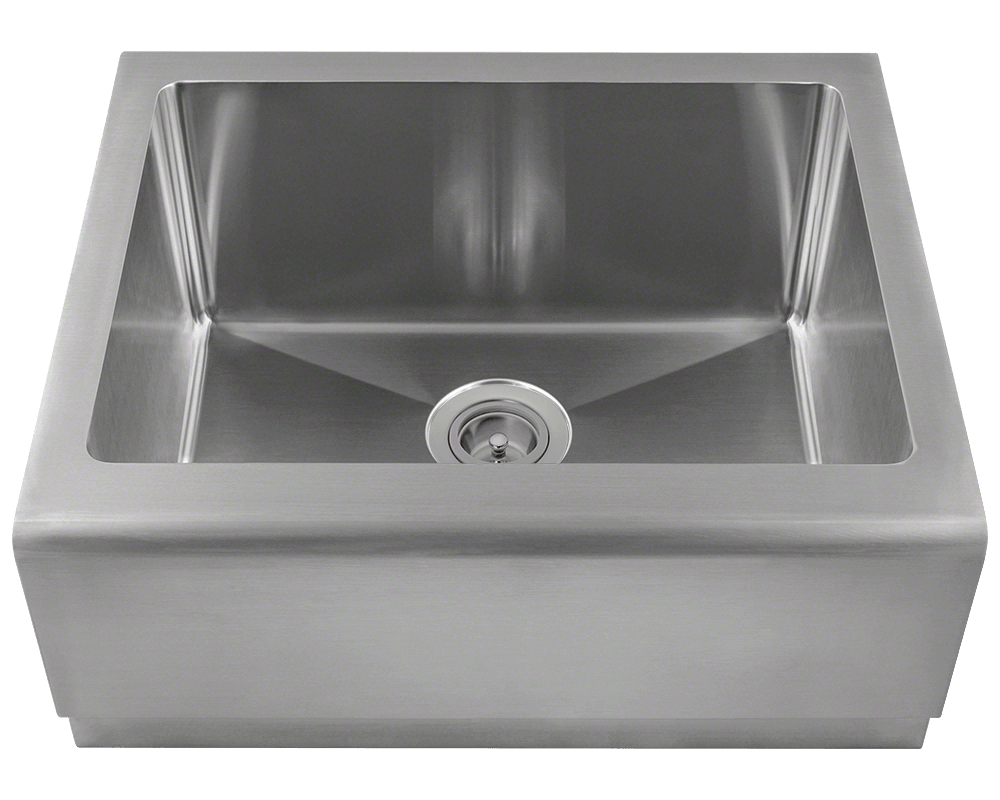
Durability and Longevity
 One of the most important factors to consider when choosing a kitchen sink is durability. After all, it is a heavily used area in the kitchen and needs to withstand daily wear and tear.
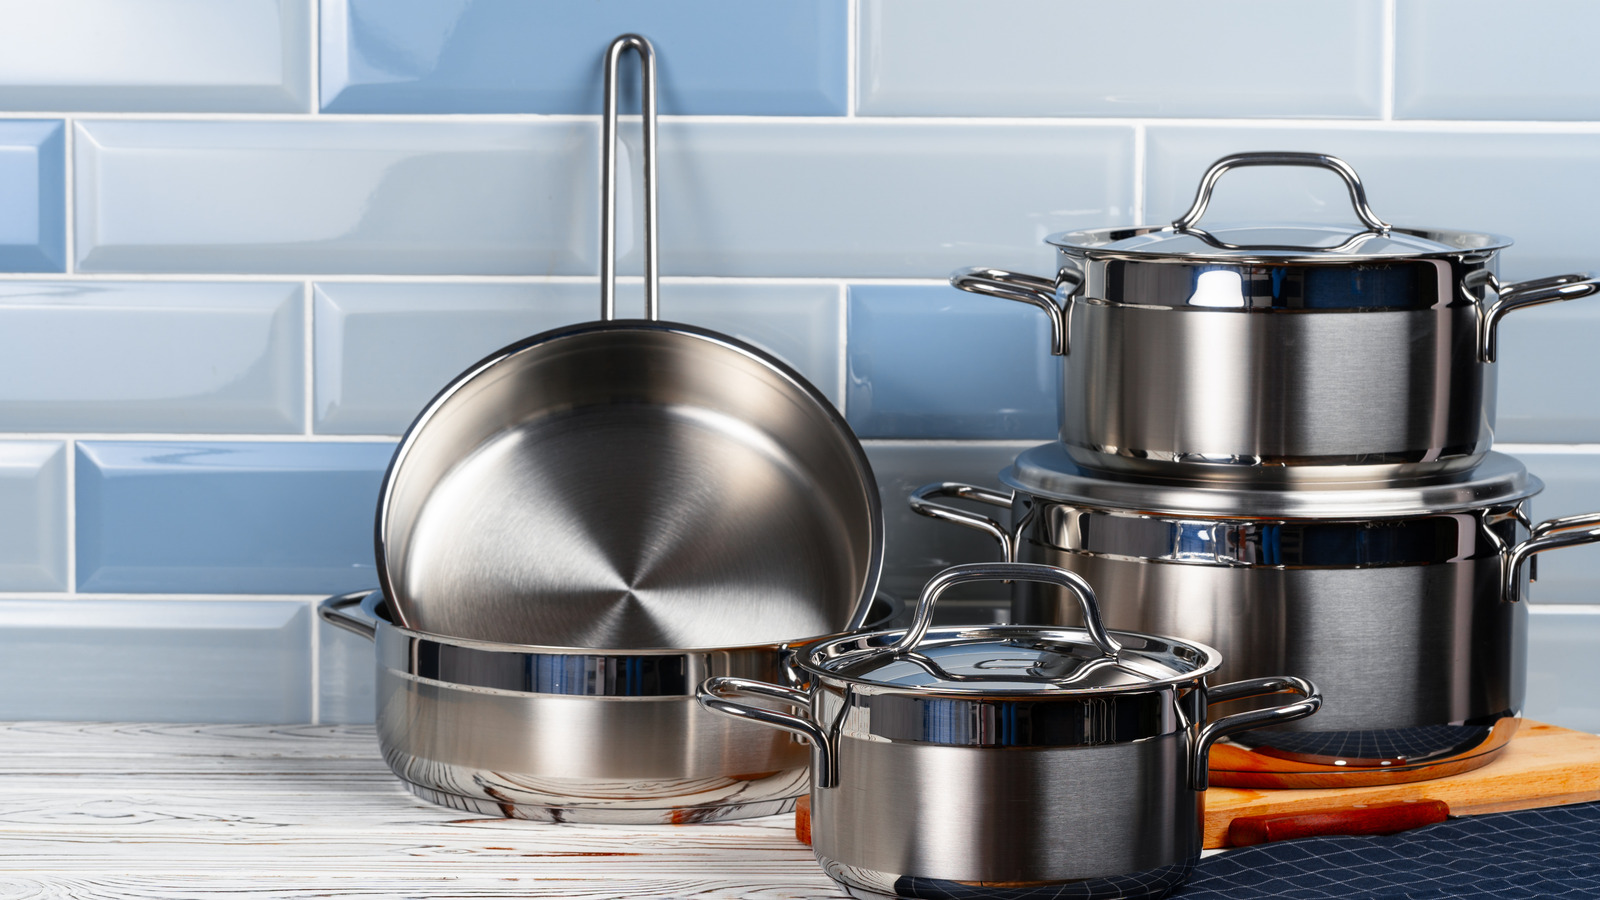
Stainless steel kitchen sinks are known for their strength and durability, making them a popular choice among homeowners.
They are resistant to scratches, dents, and stains, making them perfect for busy kitchen environments. Additionally, stainless steel is a non-porous material, which means it is less likely to harbor bacteria and germs, making it a more hygienic option for your kitchen.
One of the most important factors to consider when choosing a kitchen sink is durability. After all, it is a heavily used area in the kitchen and needs to withstand daily wear and tear.
Stainless steel kitchen sinks are known for their strength and durability, making them a popular choice among homeowners.
They are resistant to scratches, dents, and stains, making them perfect for busy kitchen environments. Additionally, stainless steel is a non-porous material, which means it is less likely to harbor bacteria and germs, making it a more hygienic option for your kitchen.
Design Flexibility
 Another advantage of
installing a stainless steel kitchen sink
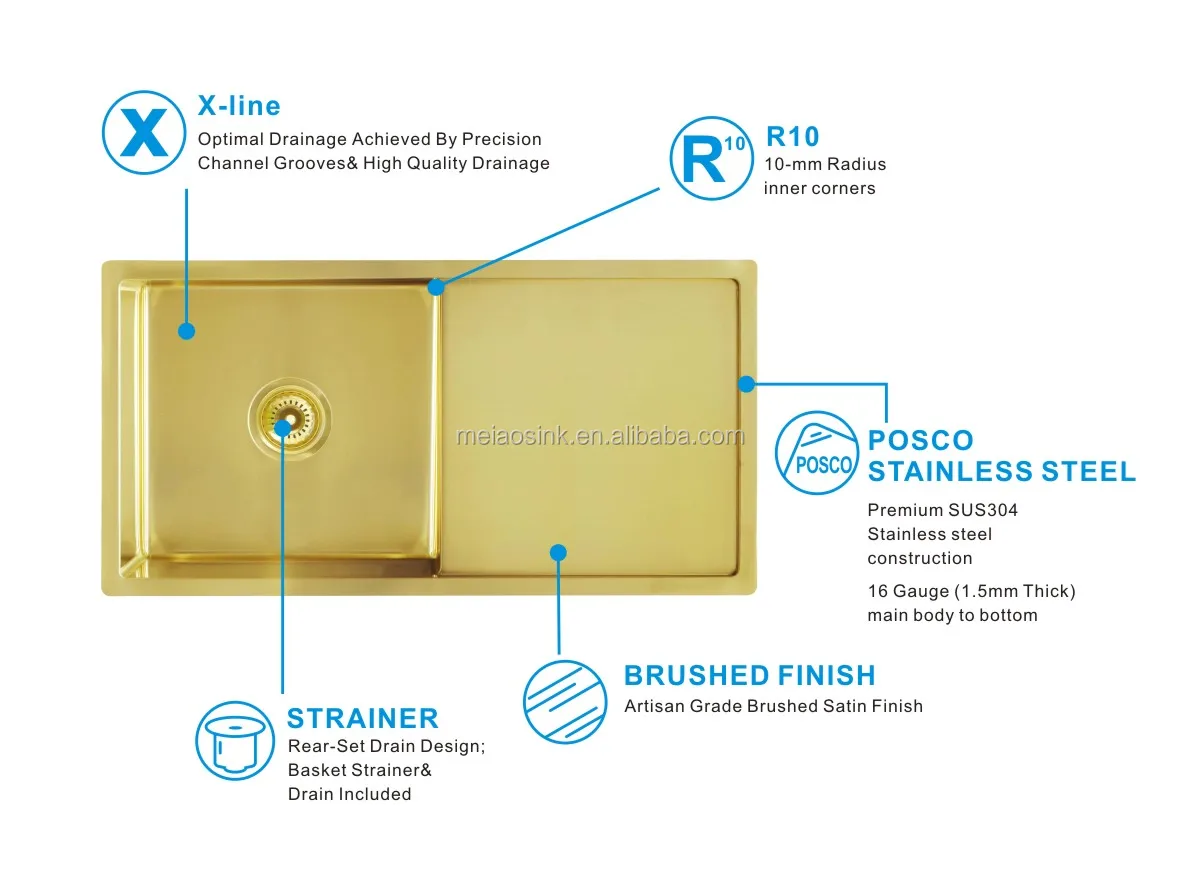
is the design flexibility it offers. These sinks come in a variety of shapes, sizes, and configurations, making it easier to find one that fits your kitchen's layout and style. Whether you have a small or large kitchen, there is a stainless steel sink that will complement it perfectly. They also come in different finishes, such as brushed, polished, or matte, allowing you to choose one that matches your kitchen's overall aesthetic.
Another advantage of
installing a stainless steel kitchen sink
is the design flexibility it offers. These sinks come in a variety of shapes, sizes, and configurations, making it easier to find one that fits your kitchen's layout and style. Whether you have a small or large kitchen, there is a stainless steel sink that will complement it perfectly. They also come in different finishes, such as brushed, polished, or matte, allowing you to choose one that matches your kitchen's overall aesthetic.
Easy to Clean and Maintain
 Keeping your kitchen sink clean and well-maintained is essential for a hygienic kitchen.
Stainless steel sinks are effortless to clean and maintain
, making them a popular choice for busy households. They only require a quick wipe with a mild cleaner and soft cloth to keep them looking shiny and new. Also, because they are resistant to stains and scratches, you don't have to worry about using harsh chemicals or scrubbing too hard, which can damage other types of sinks.
Keeping your kitchen sink clean and well-maintained is essential for a hygienic kitchen.
Stainless steel sinks are effortless to clean and maintain
, making them a popular choice for busy households. They only require a quick wipe with a mild cleaner and soft cloth to keep them looking shiny and new. Also, because they are resistant to stains and scratches, you don't have to worry about using harsh chemicals or scrubbing too hard, which can damage other types of sinks.
Affordability
 When it comes to kitchen renovations, costs can add up quickly.
Stainless steel sinks are a budget-friendly option
for those looking to upgrade their kitchen without breaking the bank. They are generally less expensive than other materials like granite or porcelain, making them a popular choice for homeowners on a budget. Additionally, because they are durable and long-lasting, you won't have to worry about replacing your sink anytime soon, saving you even more money in the long run.
In conclusion,
installing a stainless steel kitchen sink
has numerous benefits, from durability and design flexibility to easy maintenance and affordability. It is a practical and stylish addition to any kitchen, and with proper care, it can last for years to come. So, if you're planning a kitchen remodel or simply looking to upgrade your sink, consider a stainless steel option for a functional and beautiful kitchen.
When it comes to kitchen renovations, costs can add up quickly.
Stainless steel sinks are a budget-friendly option
for those looking to upgrade their kitchen without breaking the bank. They are generally less expensive than other materials like granite or porcelain, making them a popular choice for homeowners on a budget. Additionally, because they are durable and long-lasting, you won't have to worry about replacing your sink anytime soon, saving you even more money in the long run.
In conclusion,
installing a stainless steel kitchen sink
has numerous benefits, from durability and design flexibility to easy maintenance and affordability. It is a practical and stylish addition to any kitchen, and with proper care, it can last for years to come. So, if you're planning a kitchen remodel or simply looking to upgrade your sink, consider a stainless steel option for a functional and beautiful kitchen.


/small-living-room-ideas-4129044-hero-25cff5d762a94ccba3472eaca79e56cb.jpg)