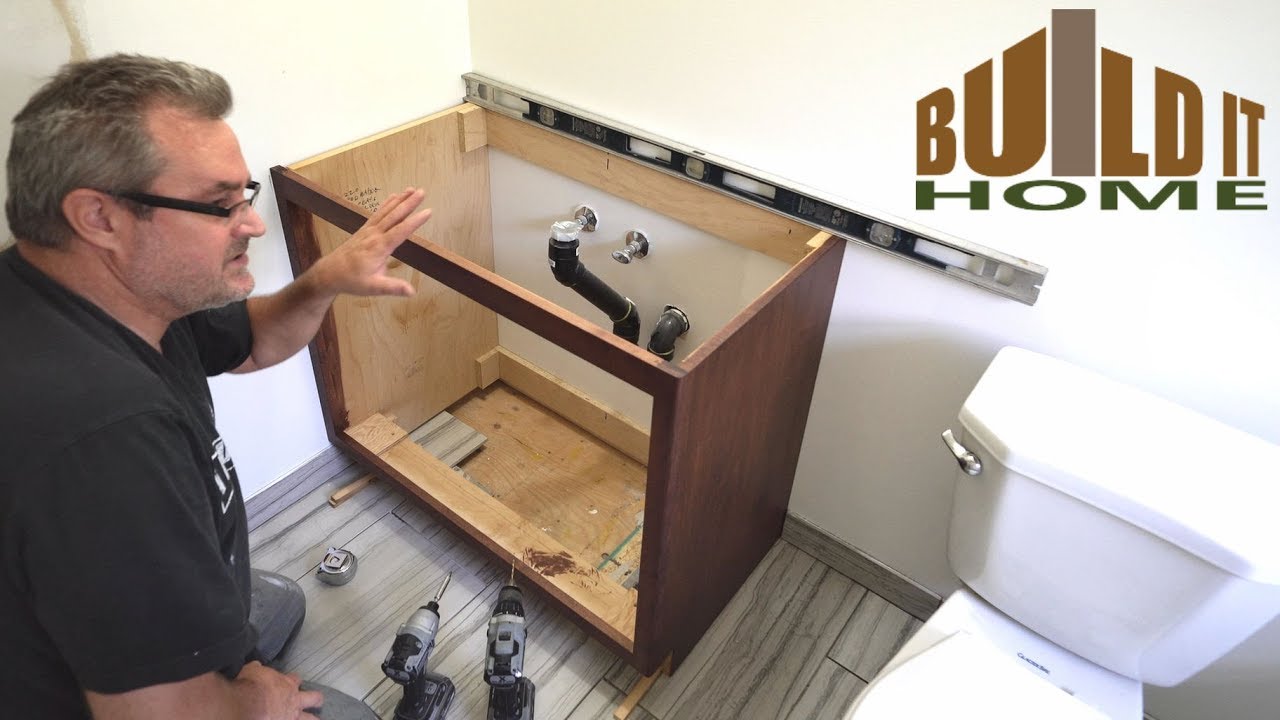
If you're looking to add some extra style and functionality to your bathroom vanity, installing a side splash is a great way to do so. Not only does it protect your walls from water damage, but it also adds a finishing touch to your vanity. Here is a step-by-step guide on how to install a side splash for your bathroom vanity.How to Install a Side Splash for a Bathroom Vanity


How to Install a Side Splash for a Bathroom Vanity
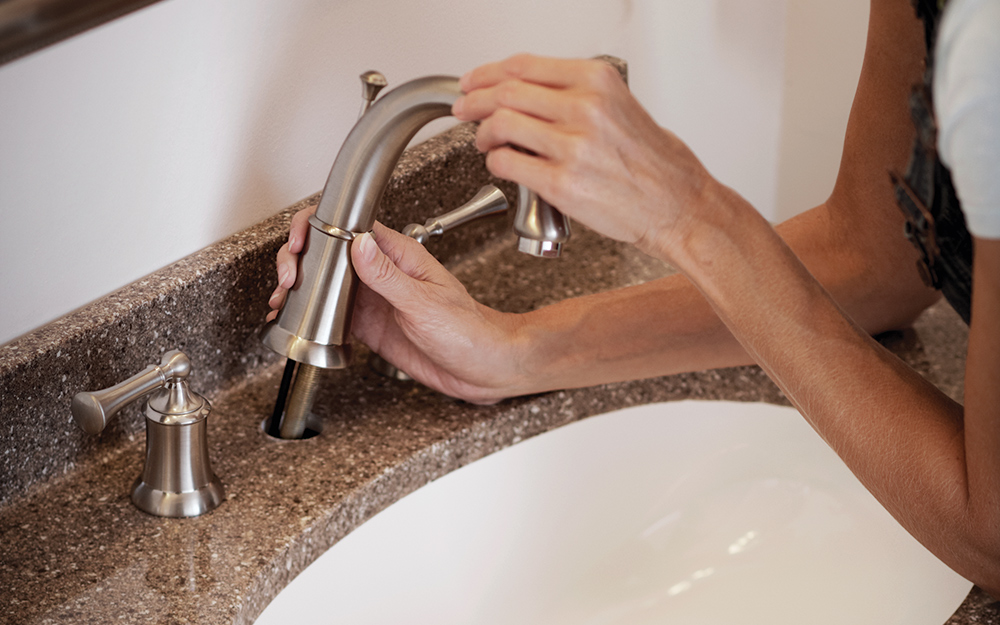
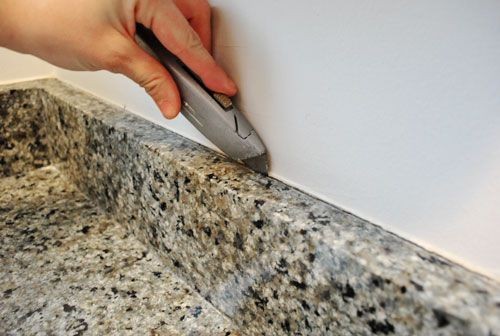
Before starting the installation process, make sure you have all the necessary tools and materials. This includes a measuring tape, pencil, level, caulk gun, construction adhesive, and of course, the side splash. Now, let's get started. Step 1: Measure and Mark Using a measuring tape, measure the length of your vanity from one end to the other. Next, mark this measurement on the back of your side splash. Use a pencil and a level to ensure the line is straight. Step 2: Cut the Side Splash Using a saw or a utility knife, carefully cut along the marked line on the back of the side splash. Make sure to wear protective gear and use caution while cutting. Step 3: Apply Adhesive Apply a generous amount of construction adhesive on the back of the side splash. Be sure to cover the entire surface evenly. Step 4: Position and Press Carefully position the side splash on the side of the vanity and press firmly to secure it in place. Use a level to make sure it is straight. Step 5: Caulk the Edges Using a caulk gun, apply a bead of caulk along the top and bottom edges of the side splash where it meets the vanity. This will create a watertight seal and prevent any water from seeping behind the splash. Step 6: Let it Dry Allow the adhesive and caulk to dry completely before using your vanity or running any water near the side splash. Refer to the manufacturer's instructions for the recommended drying time.Step-by-Step Guide for Installing a Side Splash on a Bathroom Vanity


Step-by-Step Guide for Installing a Side Splash on a Bathroom Vanity
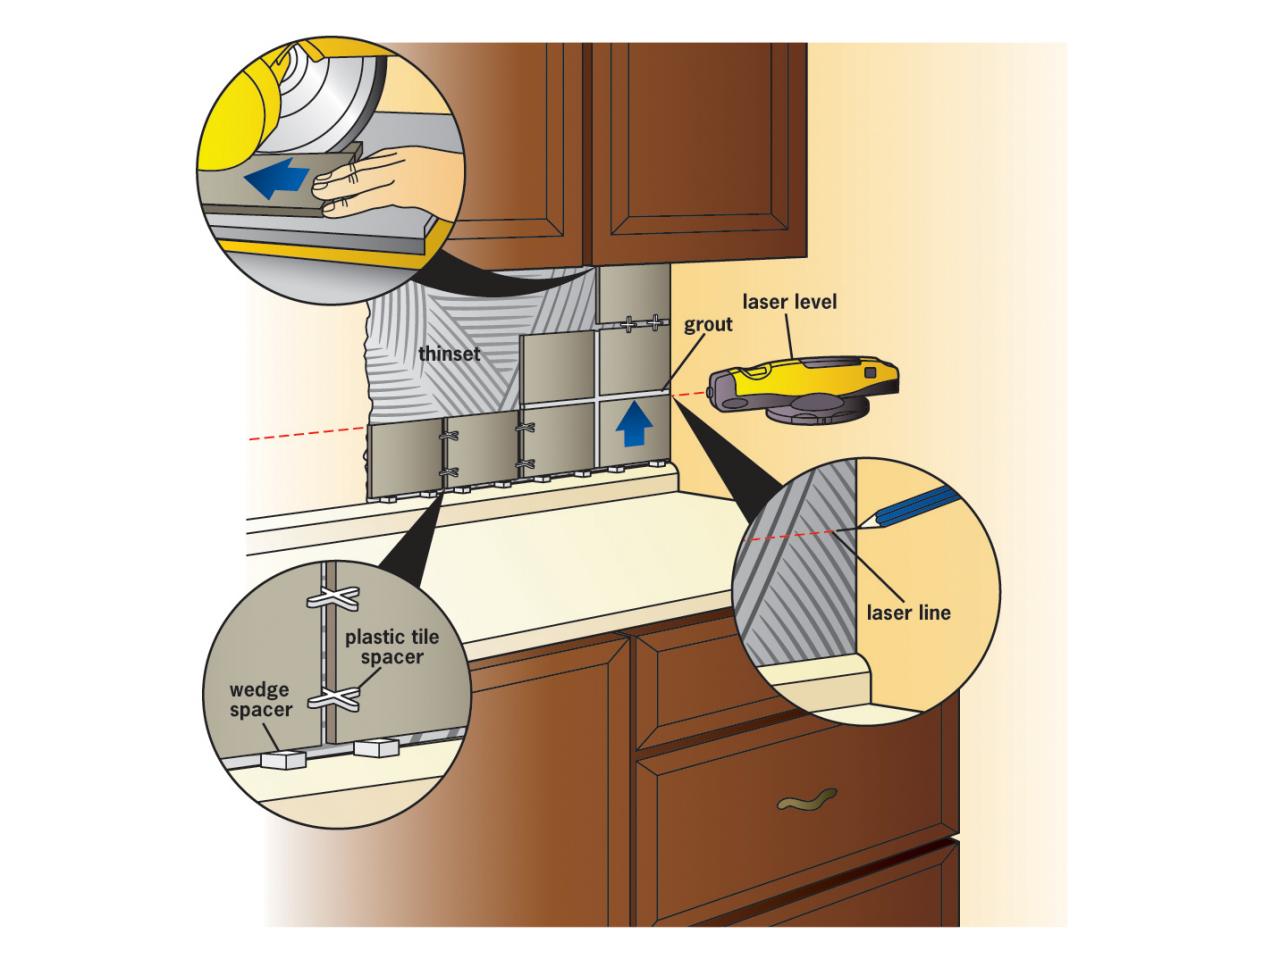
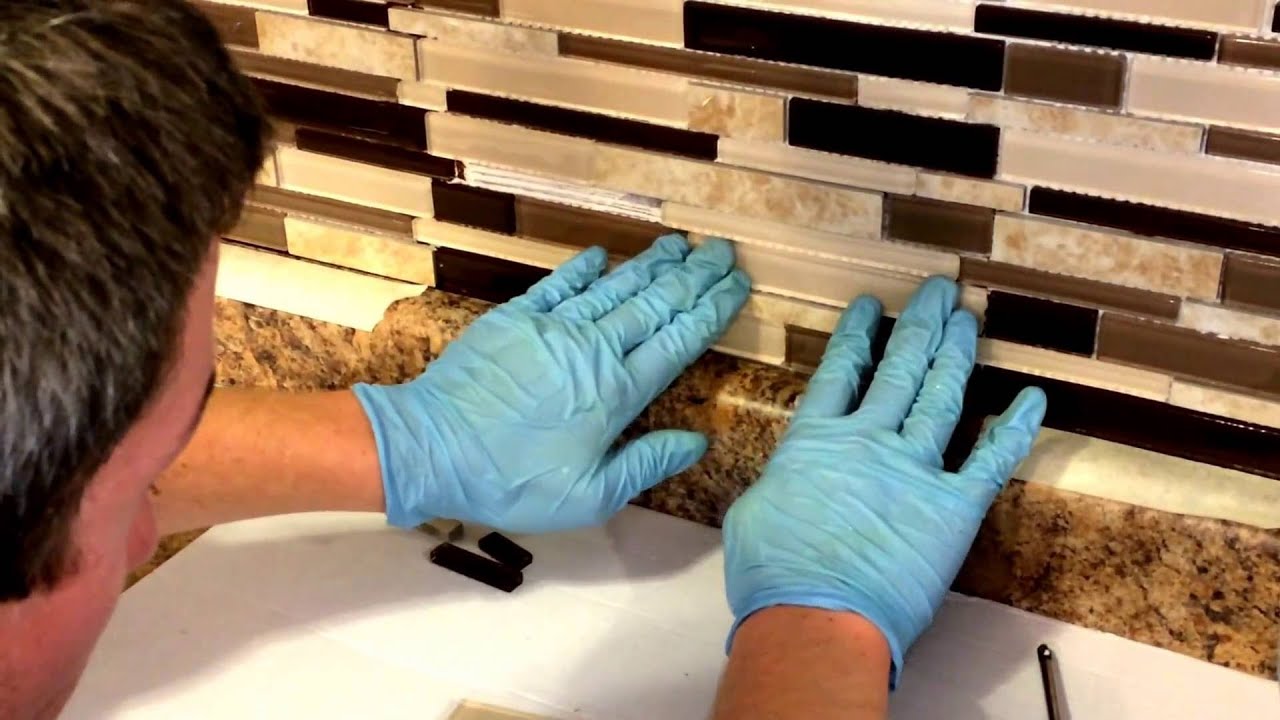

If you're a fan of DIY projects, installing a side splash on your bathroom vanity is a simple and rewarding task. Follow the steps below for a quick and easy tutorial. Step 1: Gather Your Materials Make sure you have all the necessary tools and materials before starting the installation process. This includes a measuring tape, saw or utility knife, construction adhesive, and caulk gun. Step 2: Measure and Cut Measure the length of your vanity and mark the measurement on the back of the side splash. Using a saw or utility knife, carefully cut along the marked line. Step 3: Apply Adhesive Apply a generous amount of construction adhesive on the back of the side splash, covering the entire surface evenly. Step 4: Position and Press Position the side splash on the side of the vanity and press firmly to secure it in place. Use a level to ensure it is straight. Step 5: Caulk the Edges Using a caulk gun, apply a bead of caulk along the top and bottom edges of the side splash where it meets the vanity. Step 6: Let it Dry Allow the adhesive and caulk to dry completely before using your vanity or running any water near the side splash.DIY Tutorial: Installing a Side Splash on a Bathroom Vanity


DIY Tutorial: Installing a Side Splash on a Bathroom Vanity


If you're short on time but still want to add a side splash to your bathroom vanity, follow these simple steps for a quick and easy installation process. Step 1: Measure and Cut Using a measuring tape, measure the length of your vanity and mark the measurement on the back of the side splash. Cut along the marked line using a saw or utility knife. Step 2: Apply Adhesive Apply a thin layer of construction adhesive on the back of the side splash. Step 3: Position and Press Position the side splash on the side of the vanity and press firmly to secure it in place. Step 4: Let it Dry Allow the adhesive to dry completely before using your vanity or running any water near the side splash.Quick and Easy Way to Install a Side Splash on a Bathroom Vanity


Quick and Easy Way to Install a Side Splash on a Bathroom Vanity


Having the right tools and materials is crucial for a successful installation of a side splash on your bathroom vanity. Here are the essentials you'll need: 1. Measuring Tape: This will help you get accurate measurements for the side splash. 2. Saw or Utility Knife: You'll need a saw or utility knife to cut the side splash to the correct size. 3. Construction Adhesive: This will be used to secure the side splash to the vanity. 4. Caulk Gun: You'll need this to apply caulk along the edges of the side splash.Essential Tools and Materials for Installing a Side Splash on a Bathroom Vanity

Essential Tools and Materials for Installing a Side Splash on a Bathroom Vanity


To ensure a smooth and successful installation process, here are some expert tips to keep in mind: 1. Use a Level: This will help you make sure the side splash is straight. 2. Cut with Caution: When cutting the side splash, be sure to wear protective gear and use caution to avoid any injuries. 3. Apply Enough Adhesive: Make sure to apply a generous amount of adhesive to ensure the side splash is secure. 4. Let it Dry: It's important to let the adhesive and caulk dry completely before using your vanity or running any water near the side splash.Expert Tips for Installing a Side Splash on a Bathroom Vanity

Expert Tips for Installing a Side Splash on a Bathroom Vanity


While installing a side splash may seem like a simple task, there are some common mistakes that can easily be avoided. Here are a few to keep in mind: 1. Not Measuring Correctly: It's important to measure accurately to ensure the side splash fits perfectly on your vanity. 2. Using the Wrong Adhesive: Make sure to use a construction adhesive that is suitable for your type of vanity and side splash material. 3. Skipping the Caulk: Caulking the edges of the side splash is crucial for preventing water damage and creating a watertight seal.Common Mistakes to Avoid When Installing a Side Splash on a Bathroom Vanity


Common Mistakes to Avoid When Installing a Side Splash on a Bathroom Vanity


Getting the correct measurements and making precise cuts is key to achieving a perfect fit for your side splash on the bathroom vanity. Here's how: Step 1: Measure the Vanity Using a measuring tape, measure the length of your vanity from one end to the other. Step 2: Mark the Measurement Mark the measured length on the back of the side splash using a pencil. Step 3: Cut Carefully Using a saw or utility knife, carefully cut along the marked line on the back of the side splash.How to Measure and Cut a Side Splash for a Perfect Fit on a Bathroom Vanity

How to Measure and Cut a Side Splash for a Perfect Fit on a Bathroom Vanity


Choosing the right adhesive is crucial for a successful installation of a side splash on your bathroom vanity. Here are some of the best adhesives to consider: 1. Liquid Nails Fuze*It All Surface Construction Adhesive: This is a versatile adhesive that can be used on a variety of surfaces, including wood, ceramic, and stone. 2. Gorilla Heavy Duty Construction Adhesive: This adhesive is known for its strength and durability, making it a great choice for securing a side splash to a vanity. 3. Loctite PL Premium Polyurethane Construction Adhesive: This adhesive is waterproof and works well with a variety of materials, making it a great option for a bathroom vanity.Best Adhesives for Installing a Side Splash on a Bathroom Vanity


Best Adhesives for Installing a Side Splash on a Bathroom Vanity

If you're not a fan of using construction adhesive, there are alternative options for installing a side splash on your bathroom vanity. These include using countertop adhesive caulk or double-sided adhesive strips. However, keep in mind that these may not provide as strong of a bond as construction adhesive. Now that you know how to install a side splash for your bathroom vanity, it's time to get started. Follow these steps and expert tips for a successful and stylish addition to your bathroom. Remember to measure twice and cut once, and always use caution when handling tools. Enjoy your newly installed side splash and the added protection and aesthetics it brings to your vanity.Alternative Options for Installing a Side Splash on a Bathroom Vanity


Alternative Options for Installing a Side Splash on a Bathroom Vanity


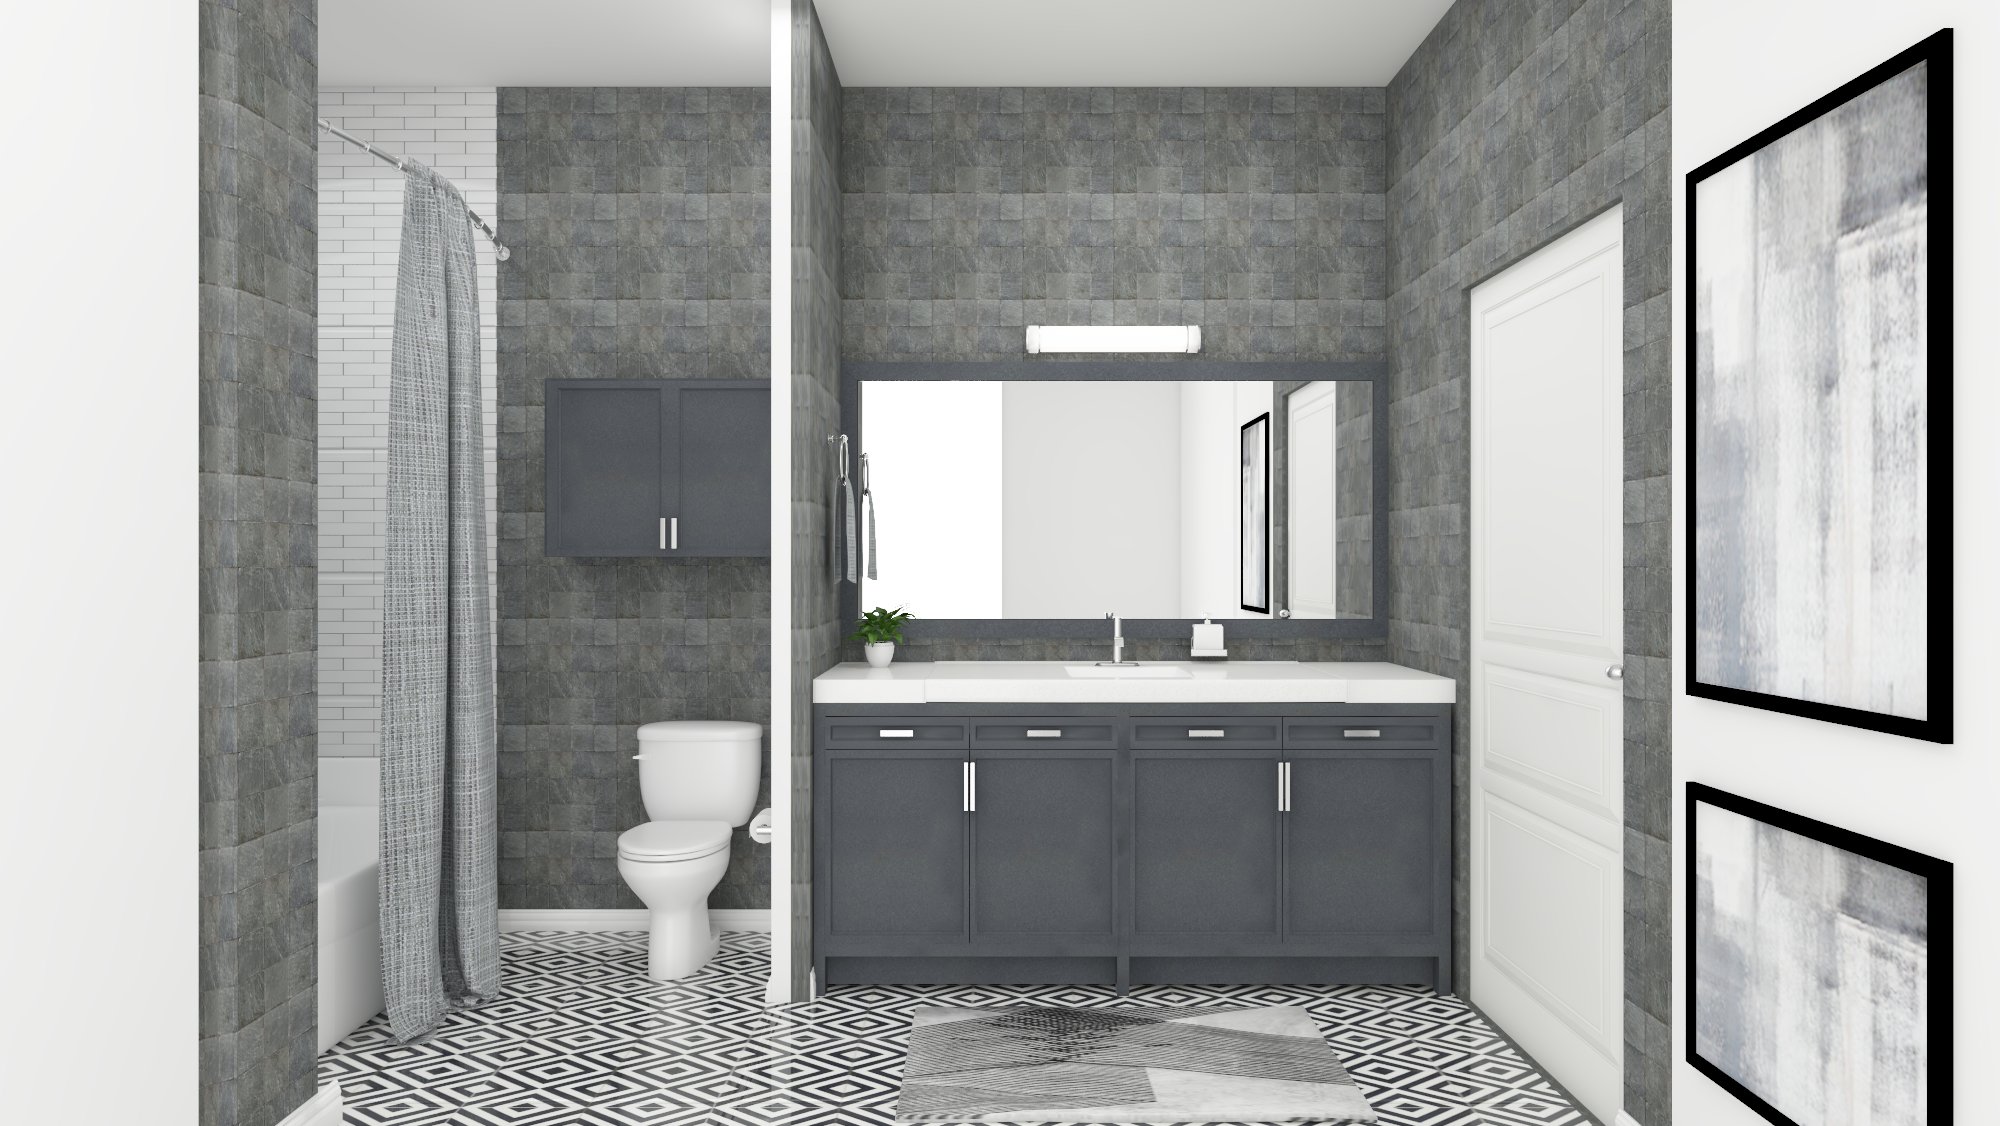
Maximize Your Bathroom Space with Side Splash Vanity
 When it comes to designing a functional and stylish bathroom, every detail counts. One often overlooked element is the side splash vanity. This simple addition not only adds aesthetic appeal to your bathroom but also serves a practical purpose.
Installing a side splash bathroom vanity
is a great way to maximize your space and elevate the overall design of your bathroom.
When it comes to designing a functional and stylish bathroom, every detail counts. One often overlooked element is the side splash vanity. This simple addition not only adds aesthetic appeal to your bathroom but also serves a practical purpose.
Installing a side splash bathroom vanity
is a great way to maximize your space and elevate the overall design of your bathroom.
The Benefits of Installing a Side Splash Bathroom Vanity
 1. Adds Extra Protection
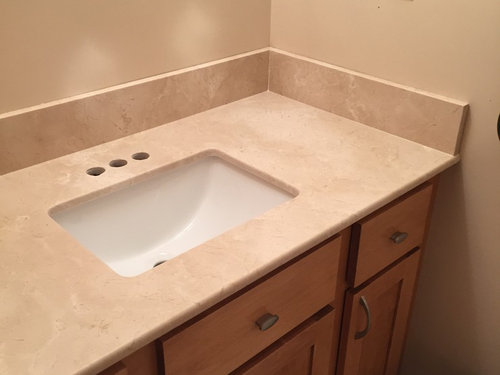
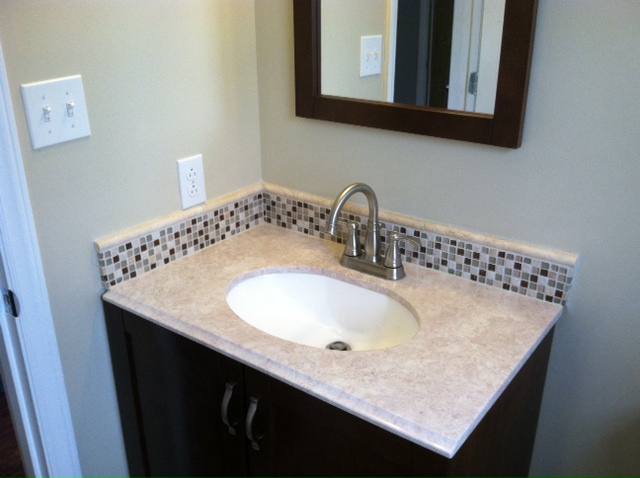
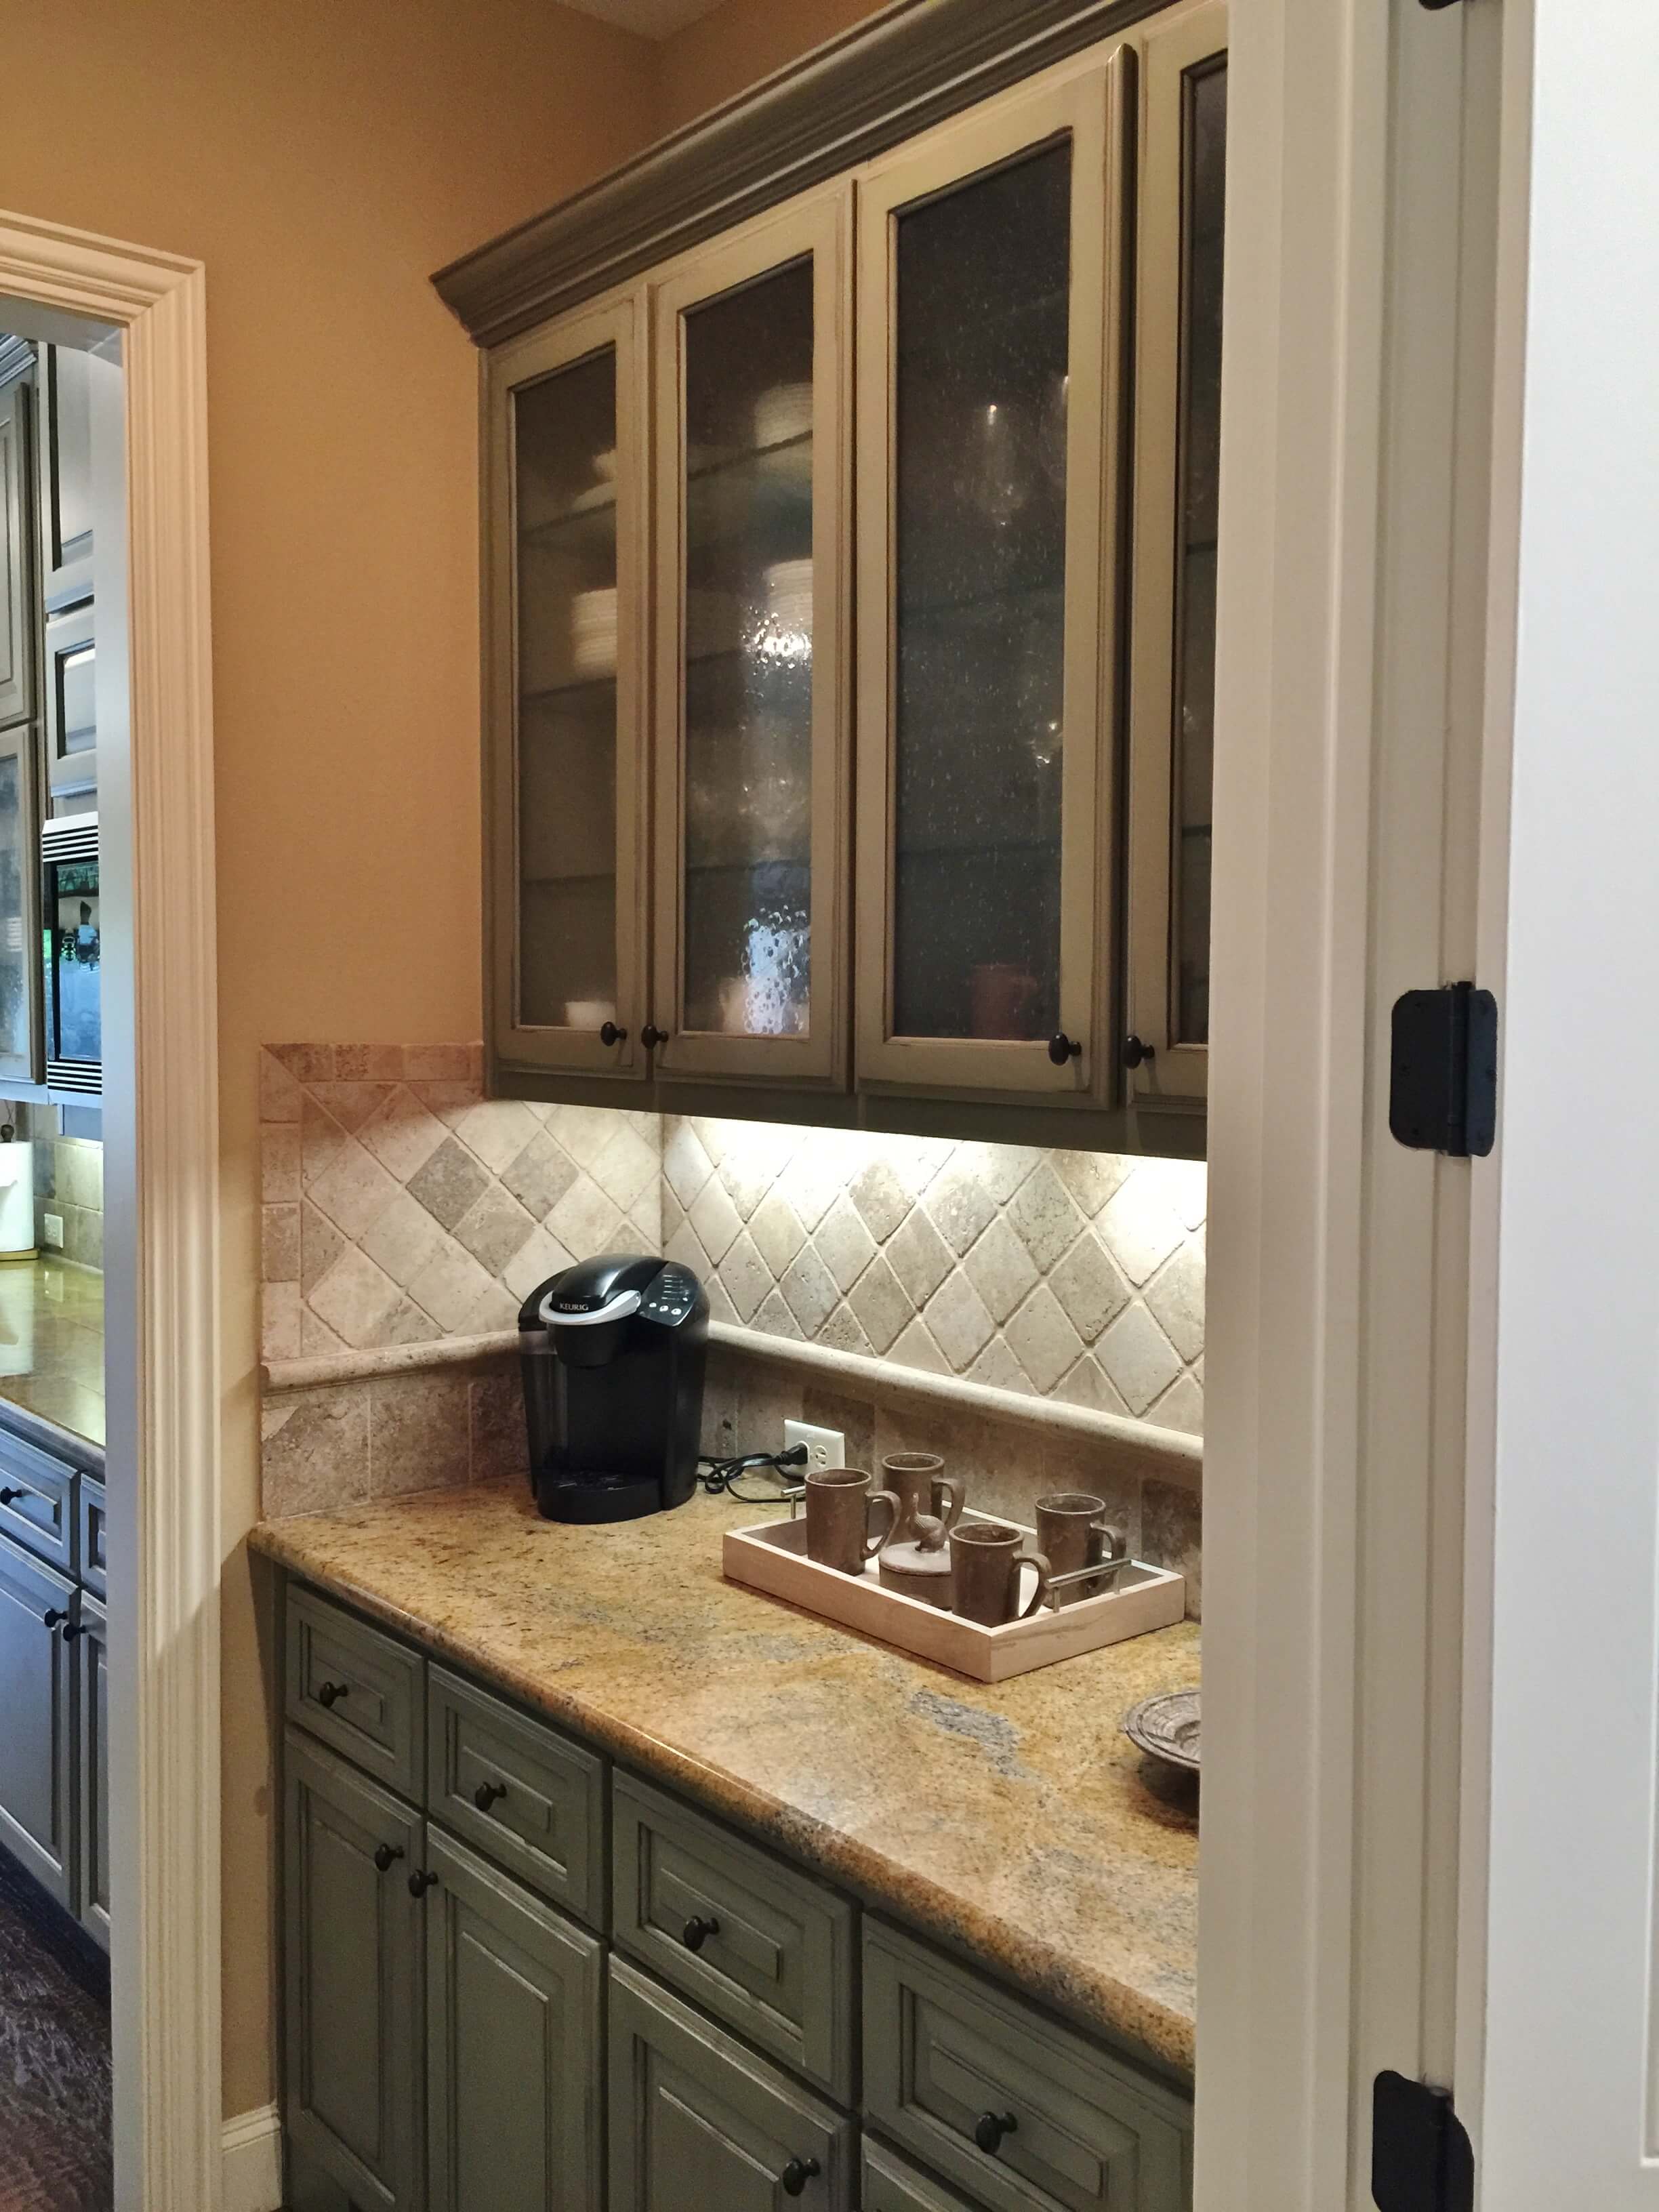
A side splash is a small strip of material that is attached to the side of your bathroom vanity. It serves as a barrier between the vanity and the wall, protecting it from water damage, stains, and scratches. This is especially useful if your bathroom is prone to moisture or if you have kids who tend to splash water everywhere. With a side splash, you can rest easy knowing your vanity will last longer and maintain its pristine look.
2. Maximizes Space
If you have a small bathroom, every inch of space counts.
Installing a side splash bathroom vanity
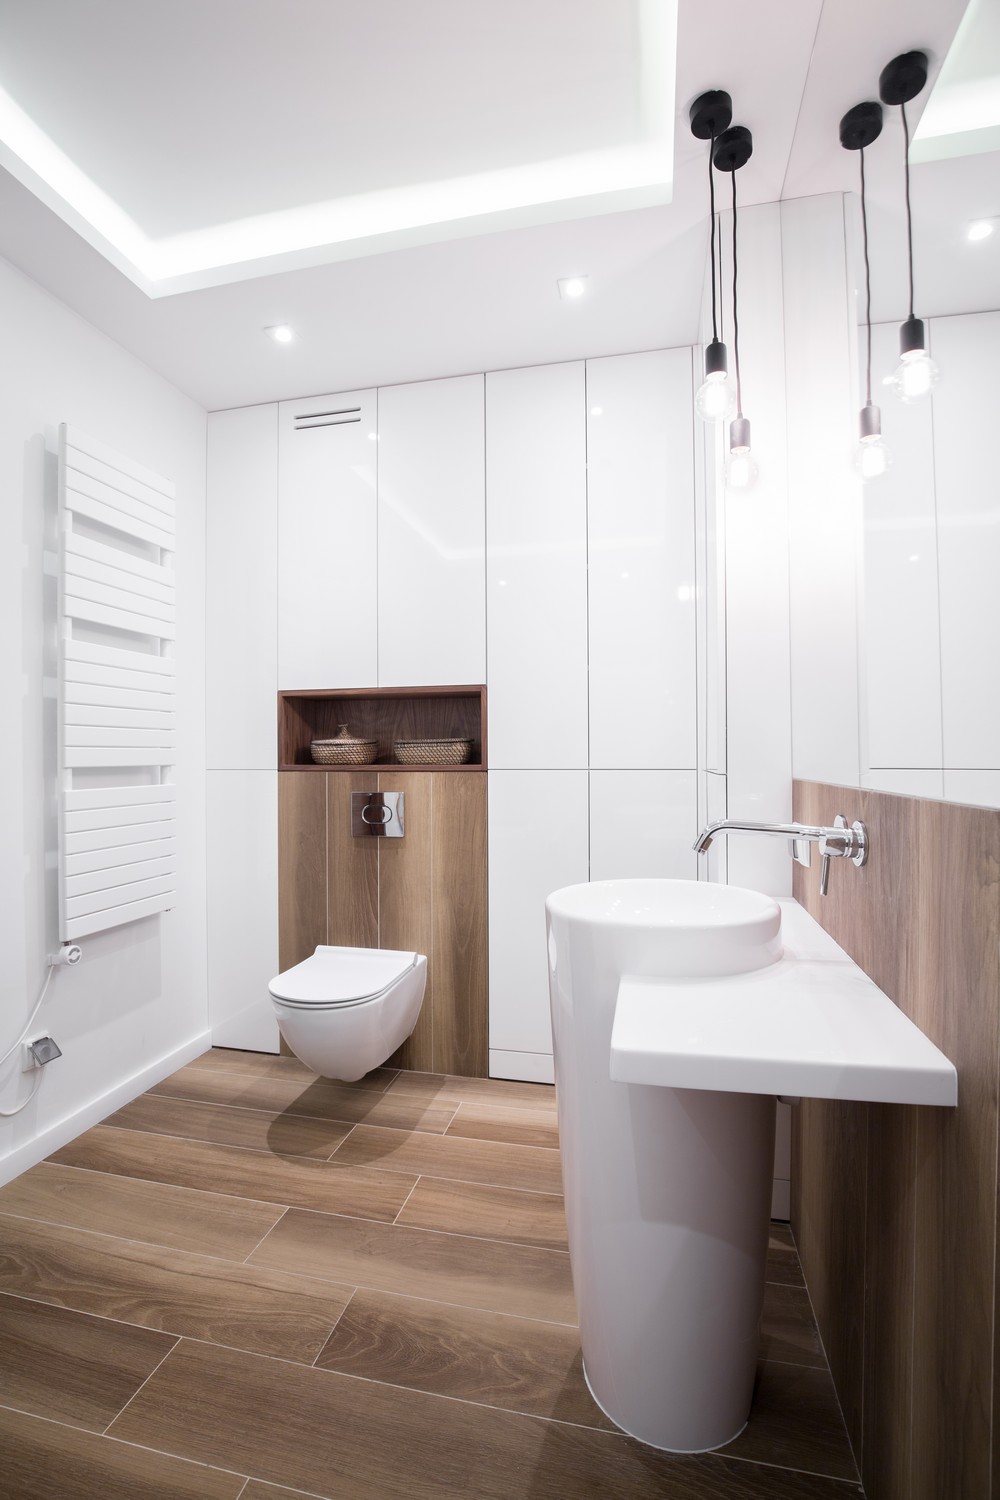
can help you make the most out of your limited space. It eliminates the need for a separate backsplash, allowing you to use that space for other bathroom essentials. This is especially beneficial for bathrooms with limited counter space, as it creates a seamless and clutter-free look.
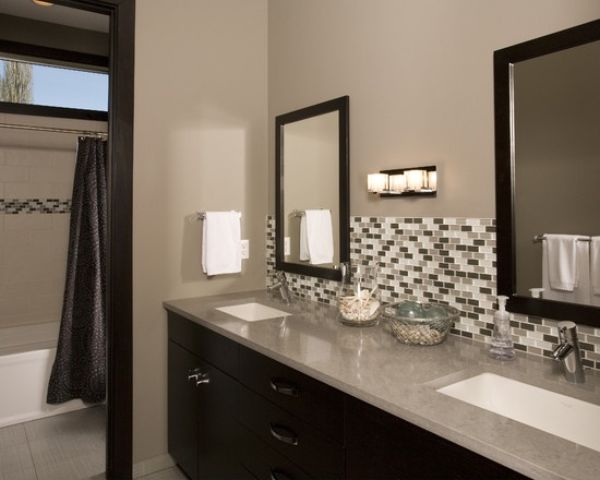
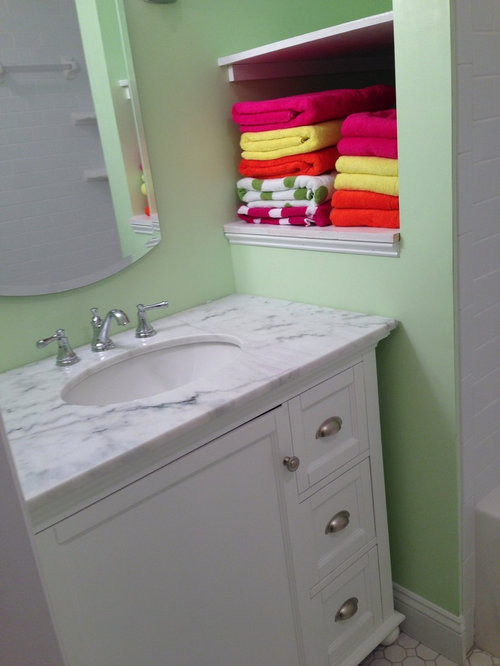
3. Elevates Your Bathroom Design
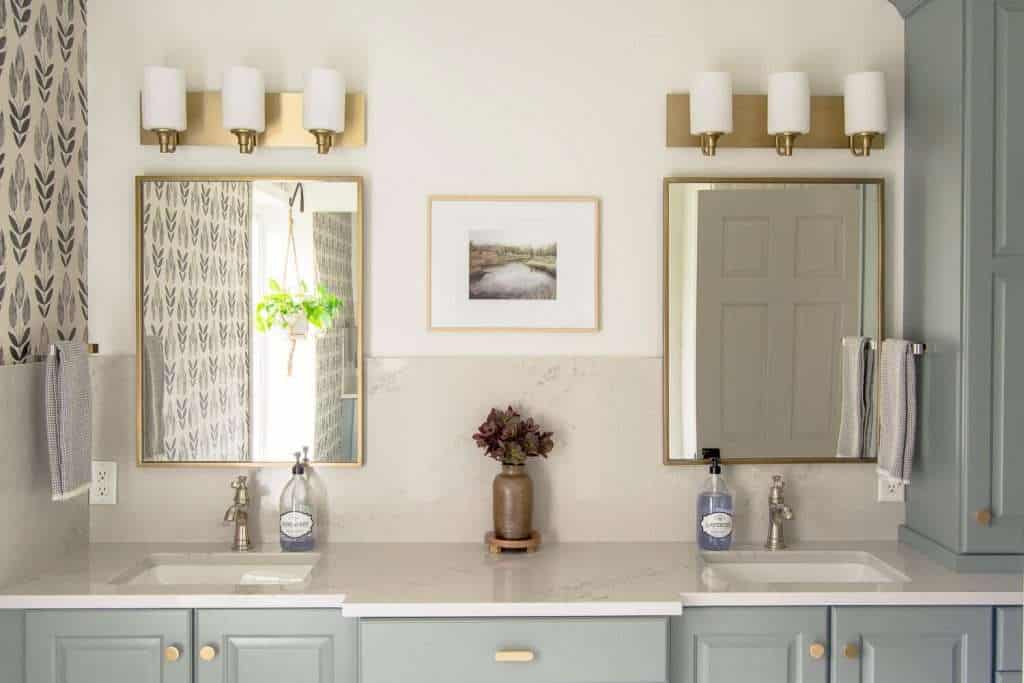
Aside from its practical purposes, a side splash vanity also adds a touch of elegance and sophistication to your bathroom. It comes in a variety of materials, such as marble, granite, and quartz, allowing you to choose one that complements your bathroom's overall design. This small addition can instantly elevate the look and feel of your bathroom and make it feel more luxurious.
1. Adds Extra Protection
A side splash is a small strip of material that is attached to the side of your bathroom vanity. It serves as a barrier between the vanity and the wall, protecting it from water damage, stains, and scratches. This is especially useful if your bathroom is prone to moisture or if you have kids who tend to splash water everywhere. With a side splash, you can rest easy knowing your vanity will last longer and maintain its pristine look.
2. Maximizes Space
If you have a small bathroom, every inch of space counts.
Installing a side splash bathroom vanity
can help you make the most out of your limited space. It eliminates the need for a separate backsplash, allowing you to use that space for other bathroom essentials. This is especially beneficial for bathrooms with limited counter space, as it creates a seamless and clutter-free look.
3. Elevates Your Bathroom Design
Aside from its practical purposes, a side splash vanity also adds a touch of elegance and sophistication to your bathroom. It comes in a variety of materials, such as marble, granite, and quartz, allowing you to choose one that complements your bathroom's overall design. This small addition can instantly elevate the look and feel of your bathroom and make it feel more luxurious.
How to Install Side Splash Bathroom Vanity
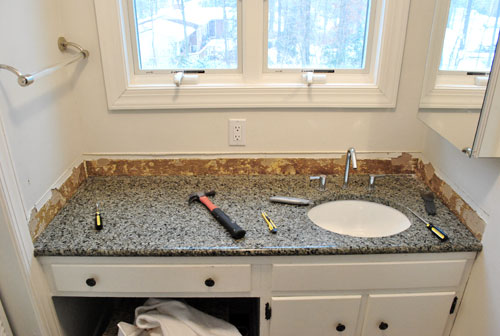
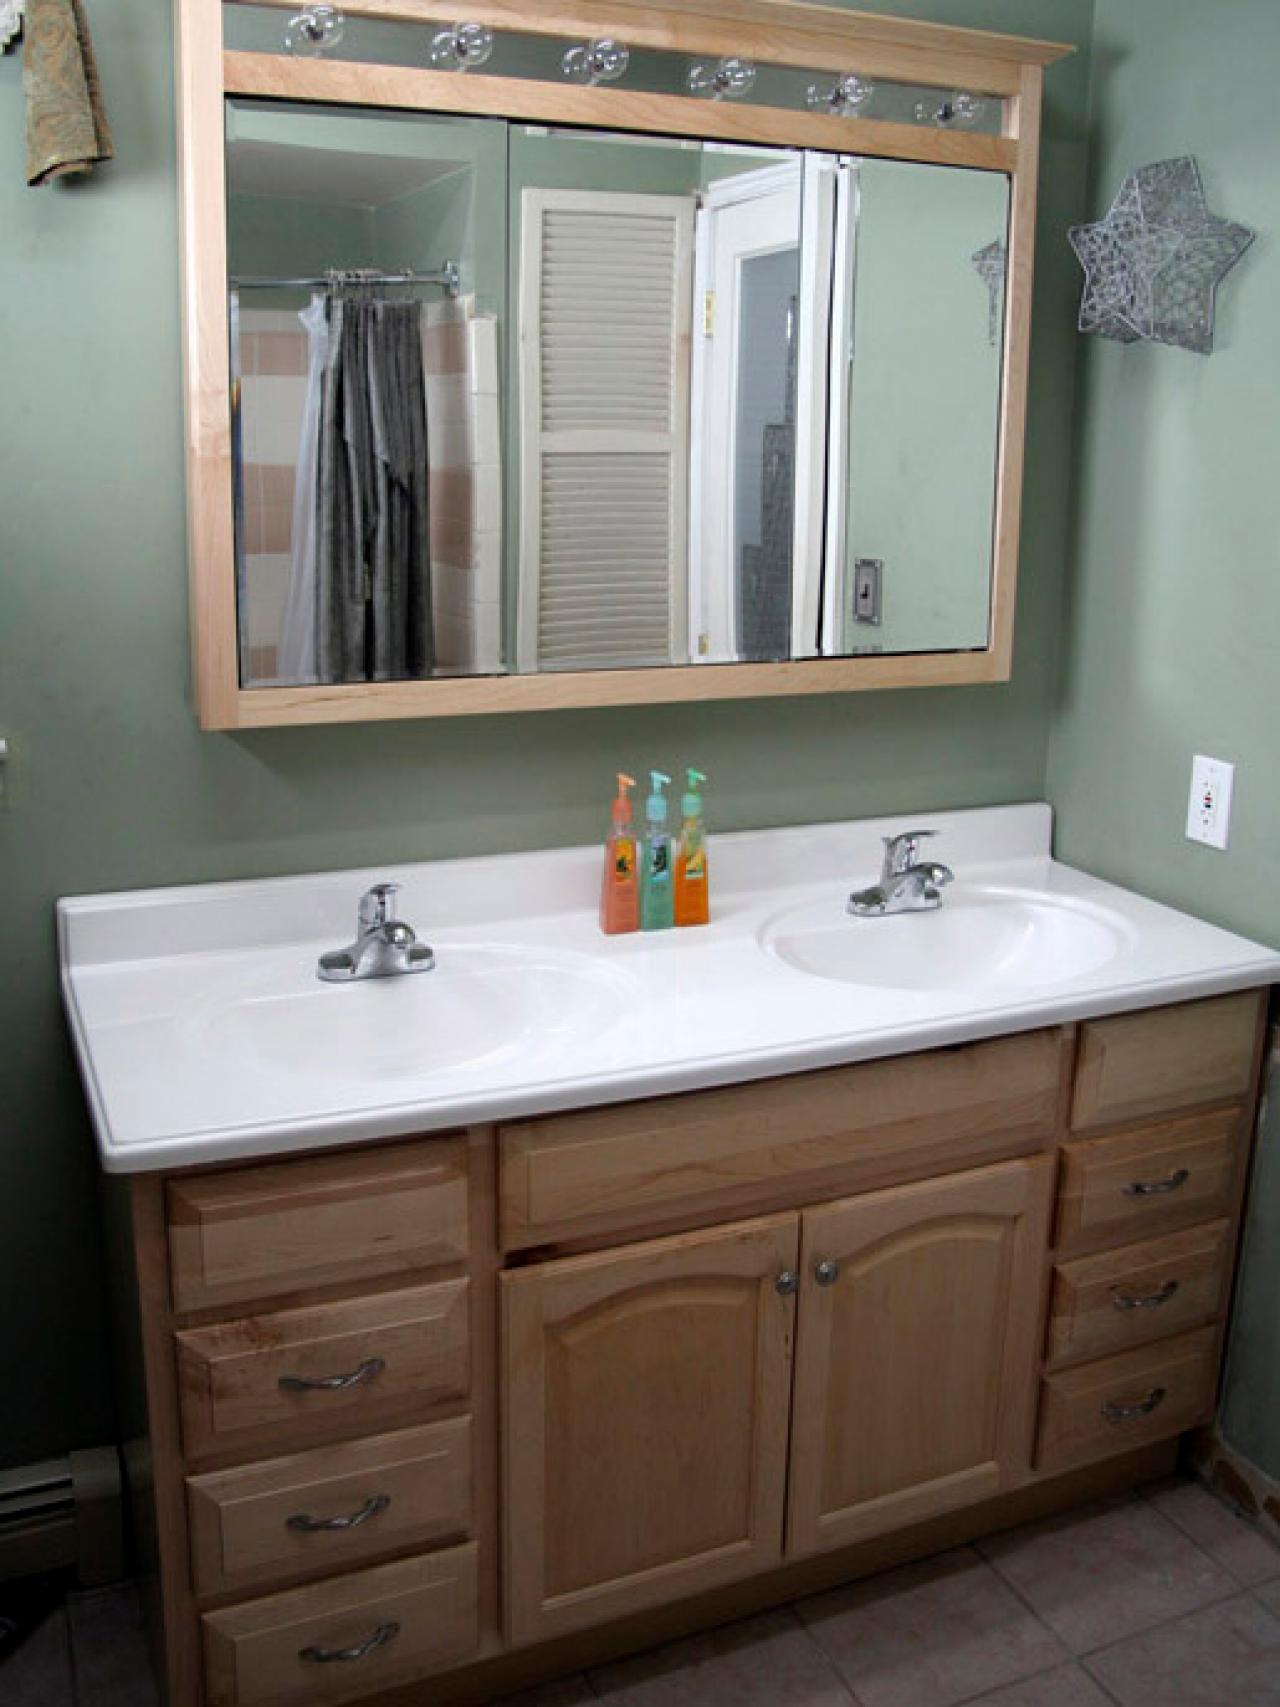
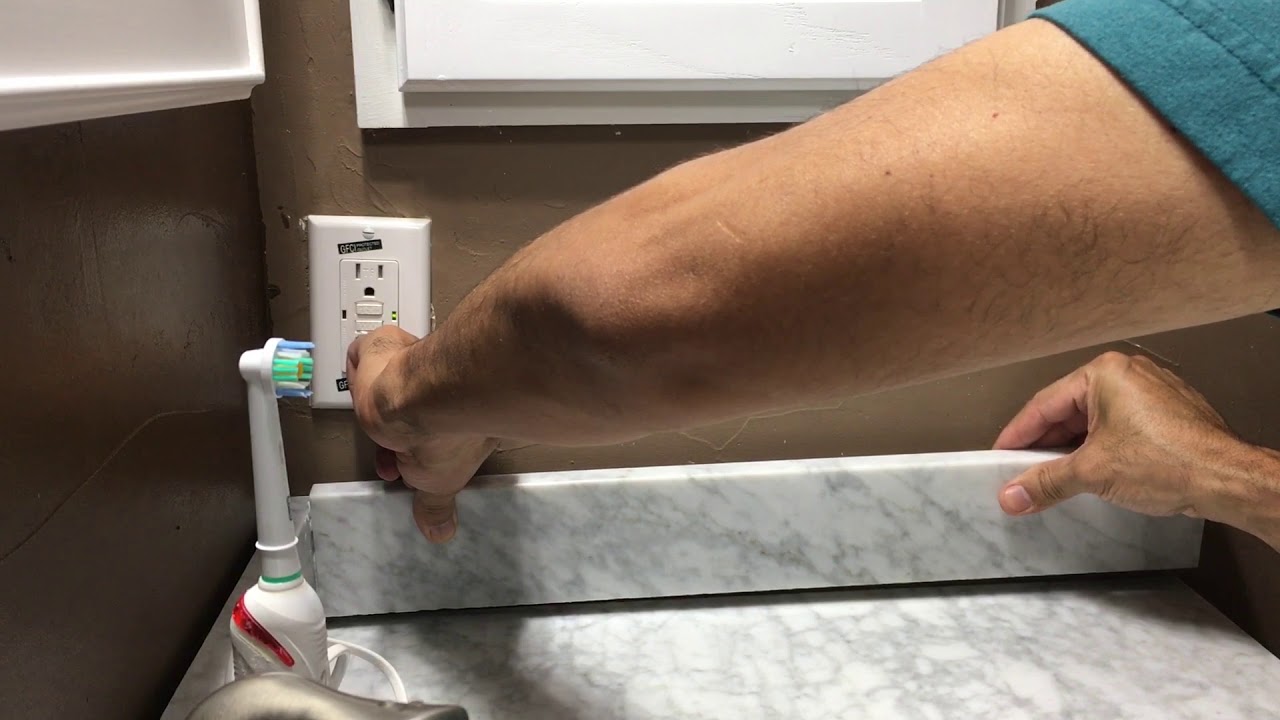
 Installing a side splash bathroom vanity is a relatively simple task, and you can do it yourself with the right tools and materials. First, measure the length and height of your vanity sides to determine the size of the side splash you need. Next, cut the side splash material to fit your vanity and attach it using adhesive or caulking. Make sure to seal any gaps between the side splash and the wall to prevent water from seeping through.
In conclusion,
installing a side splash bathroom vanity
is a wise and practical decision for any homeowner looking to upgrade their bathroom design. It adds an extra layer of protection, maximizes space, and enhances the overall look of your bathroom. So, if you're planning a bathroom renovation or simply want to give your bathroom a quick makeover, consider adding a side splash vanity to your design.
Installing a side splash bathroom vanity is a relatively simple task, and you can do it yourself with the right tools and materials. First, measure the length and height of your vanity sides to determine the size of the side splash you need. Next, cut the side splash material to fit your vanity and attach it using adhesive or caulking. Make sure to seal any gaps between the side splash and the wall to prevent water from seeping through.
In conclusion,
installing a side splash bathroom vanity
is a wise and practical decision for any homeowner looking to upgrade their bathroom design. It adds an extra layer of protection, maximizes space, and enhances the overall look of your bathroom. So, if you're planning a bathroom renovation or simply want to give your bathroom a quick makeover, consider adding a side splash vanity to your design.