Installing a pop up drain in your bathroom sink may not seem like a necessity, but it actually serves an important role in maintaining the functionality and cleanliness of your sink. This small yet crucial part helps to prevent clogs, trap debris, and control the flow of water. In this article, we will guide you on how to install a pop up drain in your bathroom sink in 10 easy steps.1. The Importance of Installing a Pop Up Drain in Your Bathroom Sink
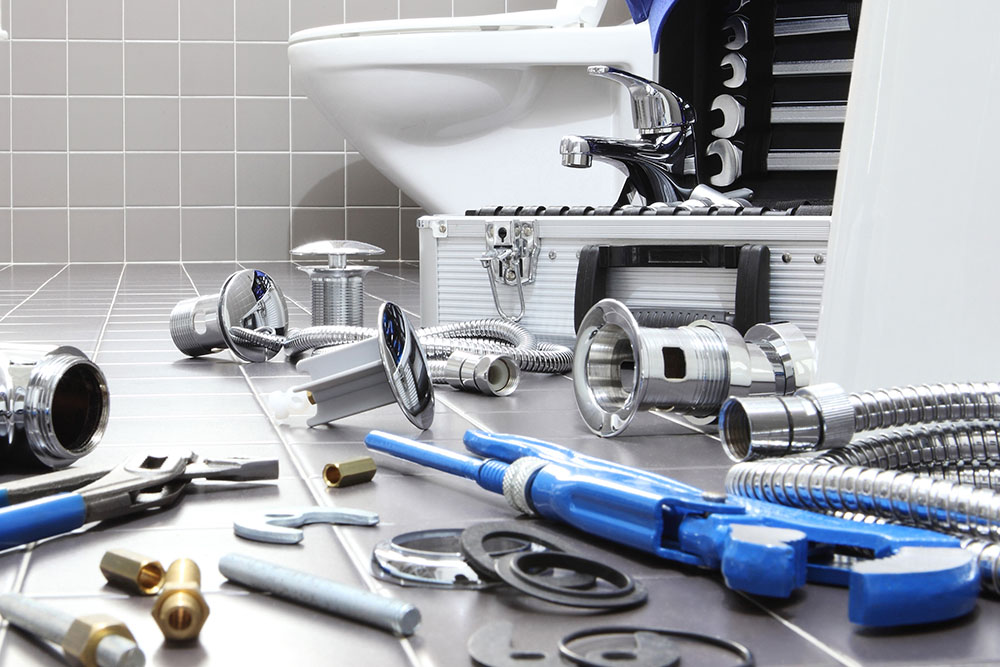
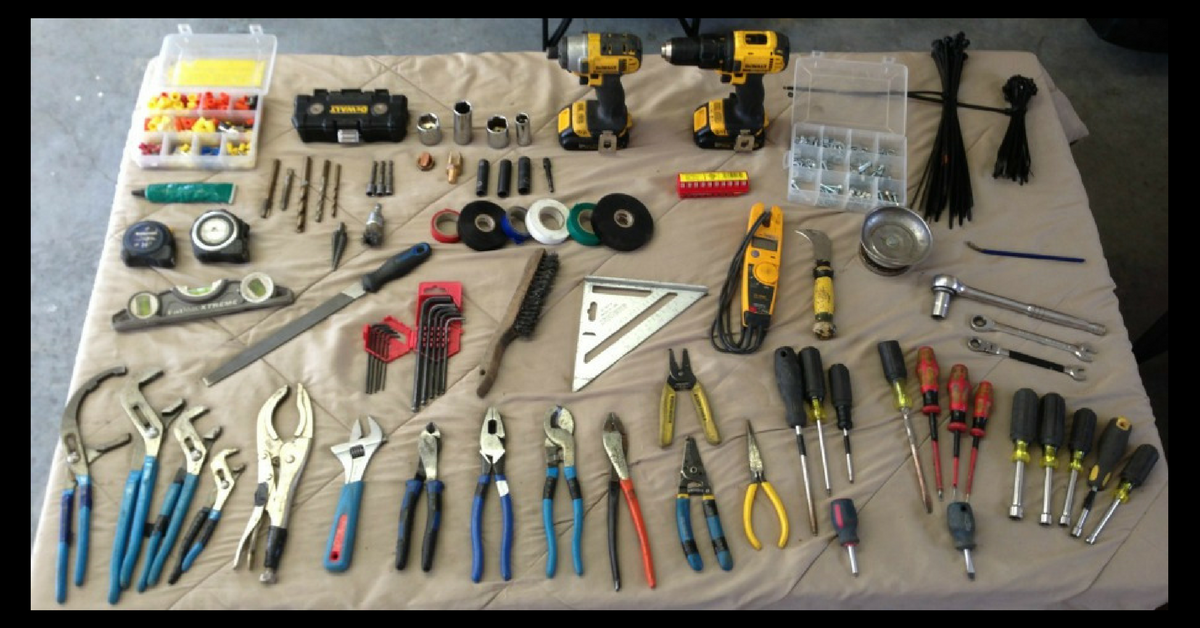
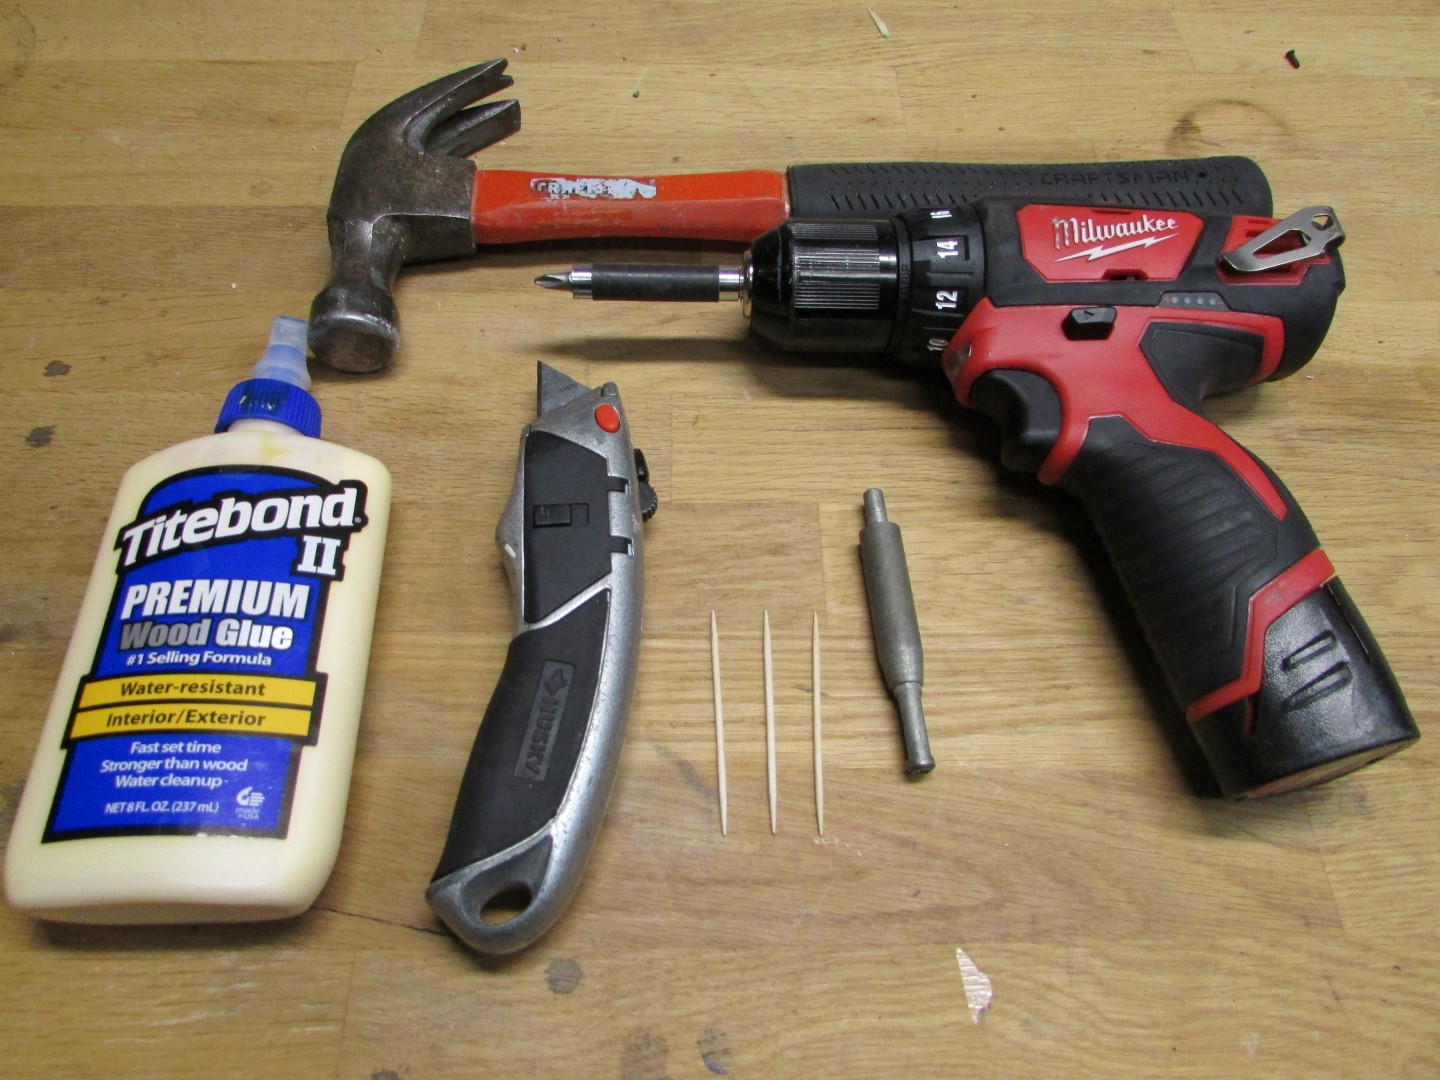
Before starting the installation process, it is important to gather all the necessary tools and materials. This includes a pop up drain kit, plumber's putty, adjustable wrench, pliers, and a screwdriver. You may also need a bucket, old towel, and a flashlight for better visibility.2. Getting Ready for Installation
While it is possible to install a pop up drain on your own, it is important to assess your plumbing skills and knowledge beforehand. If you have no prior experience with plumbing, it may be best to hire a professional to ensure proper installation and avoid any potential issues.3. DIY or Professional Installation?
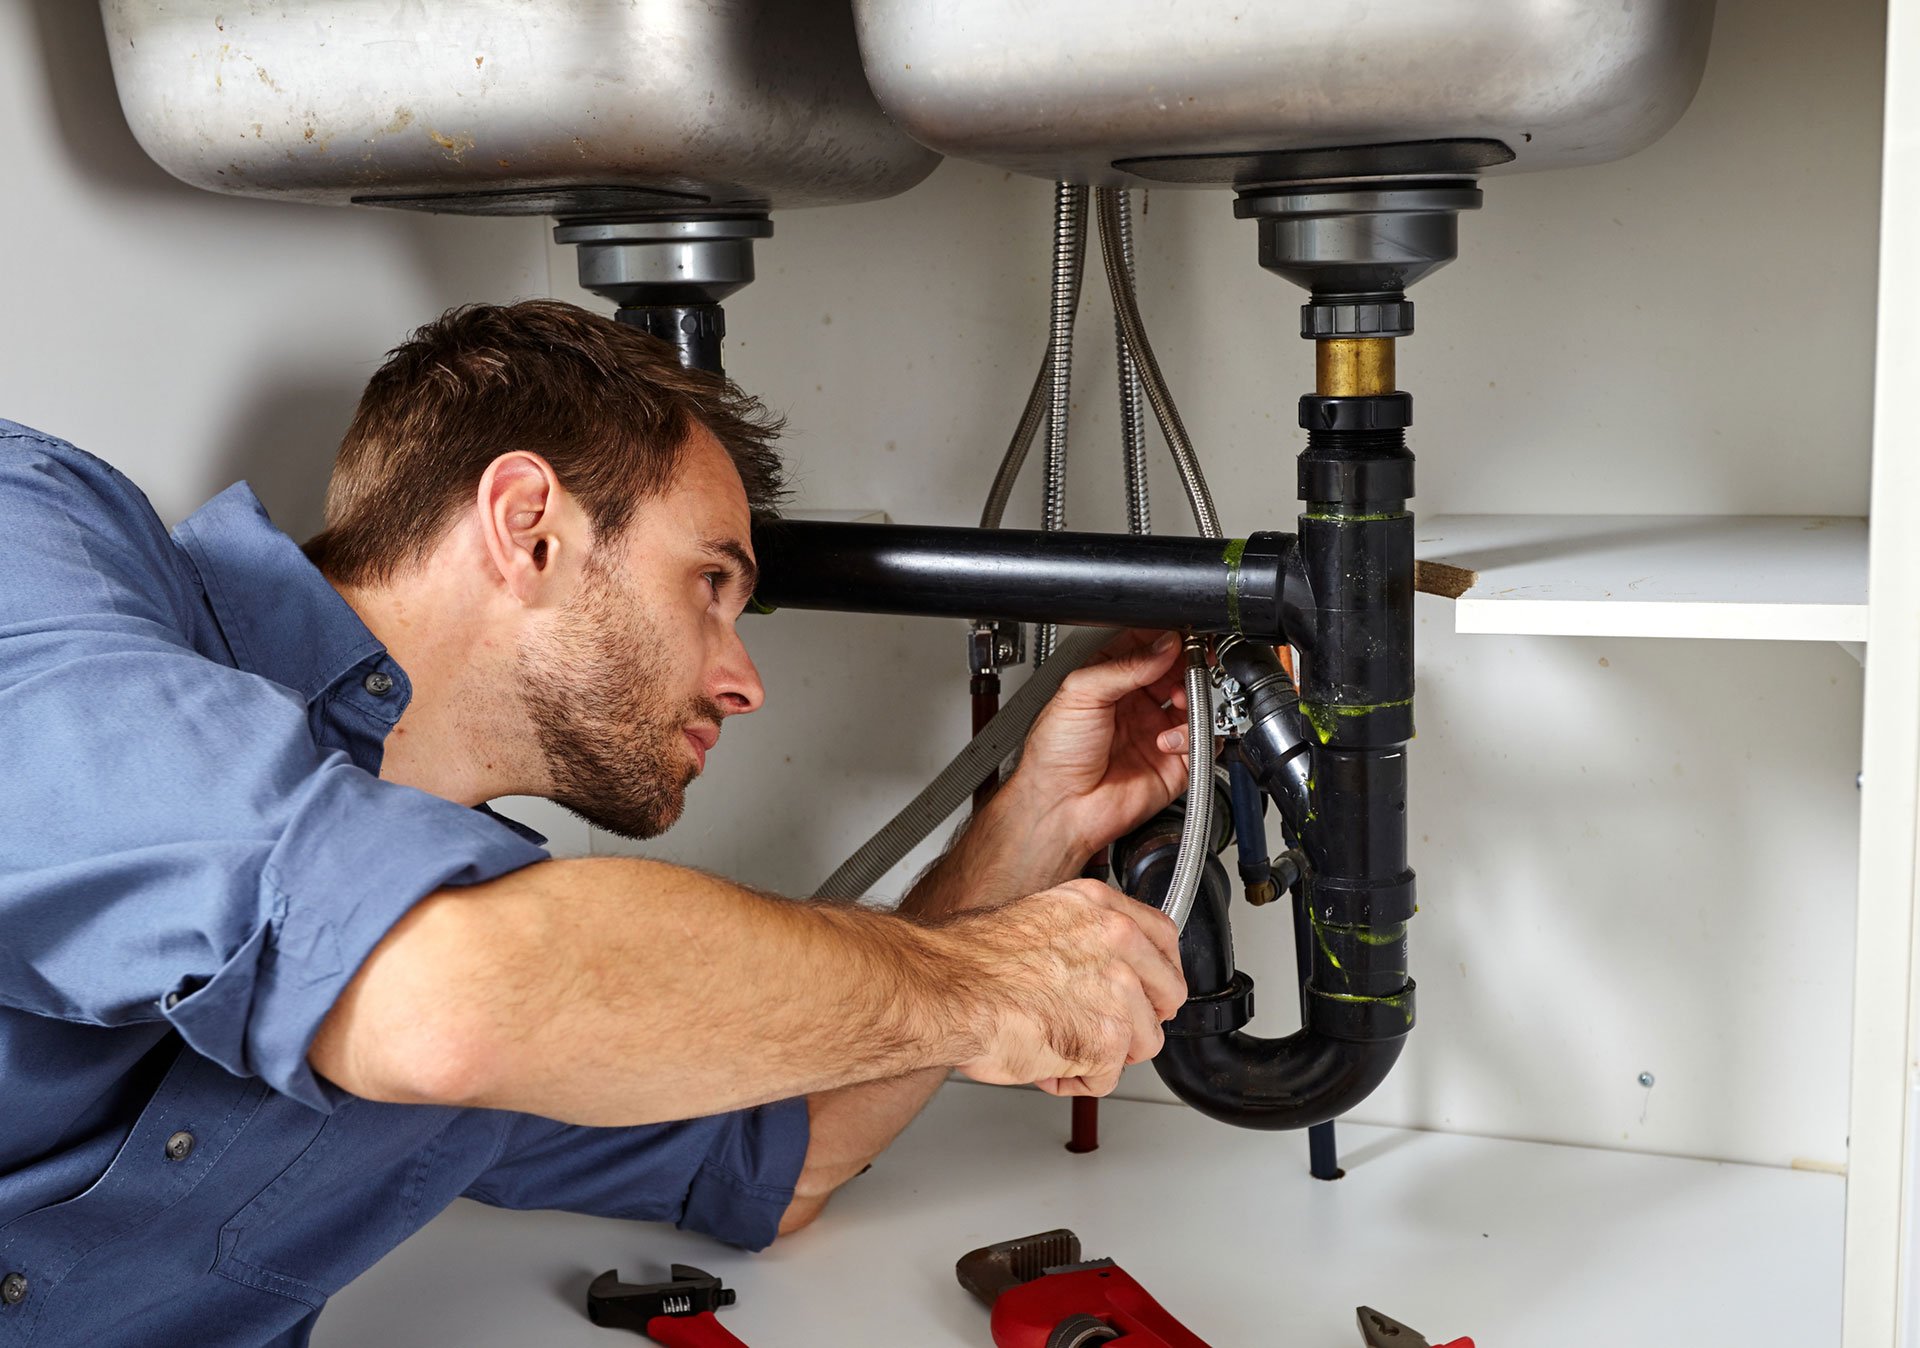
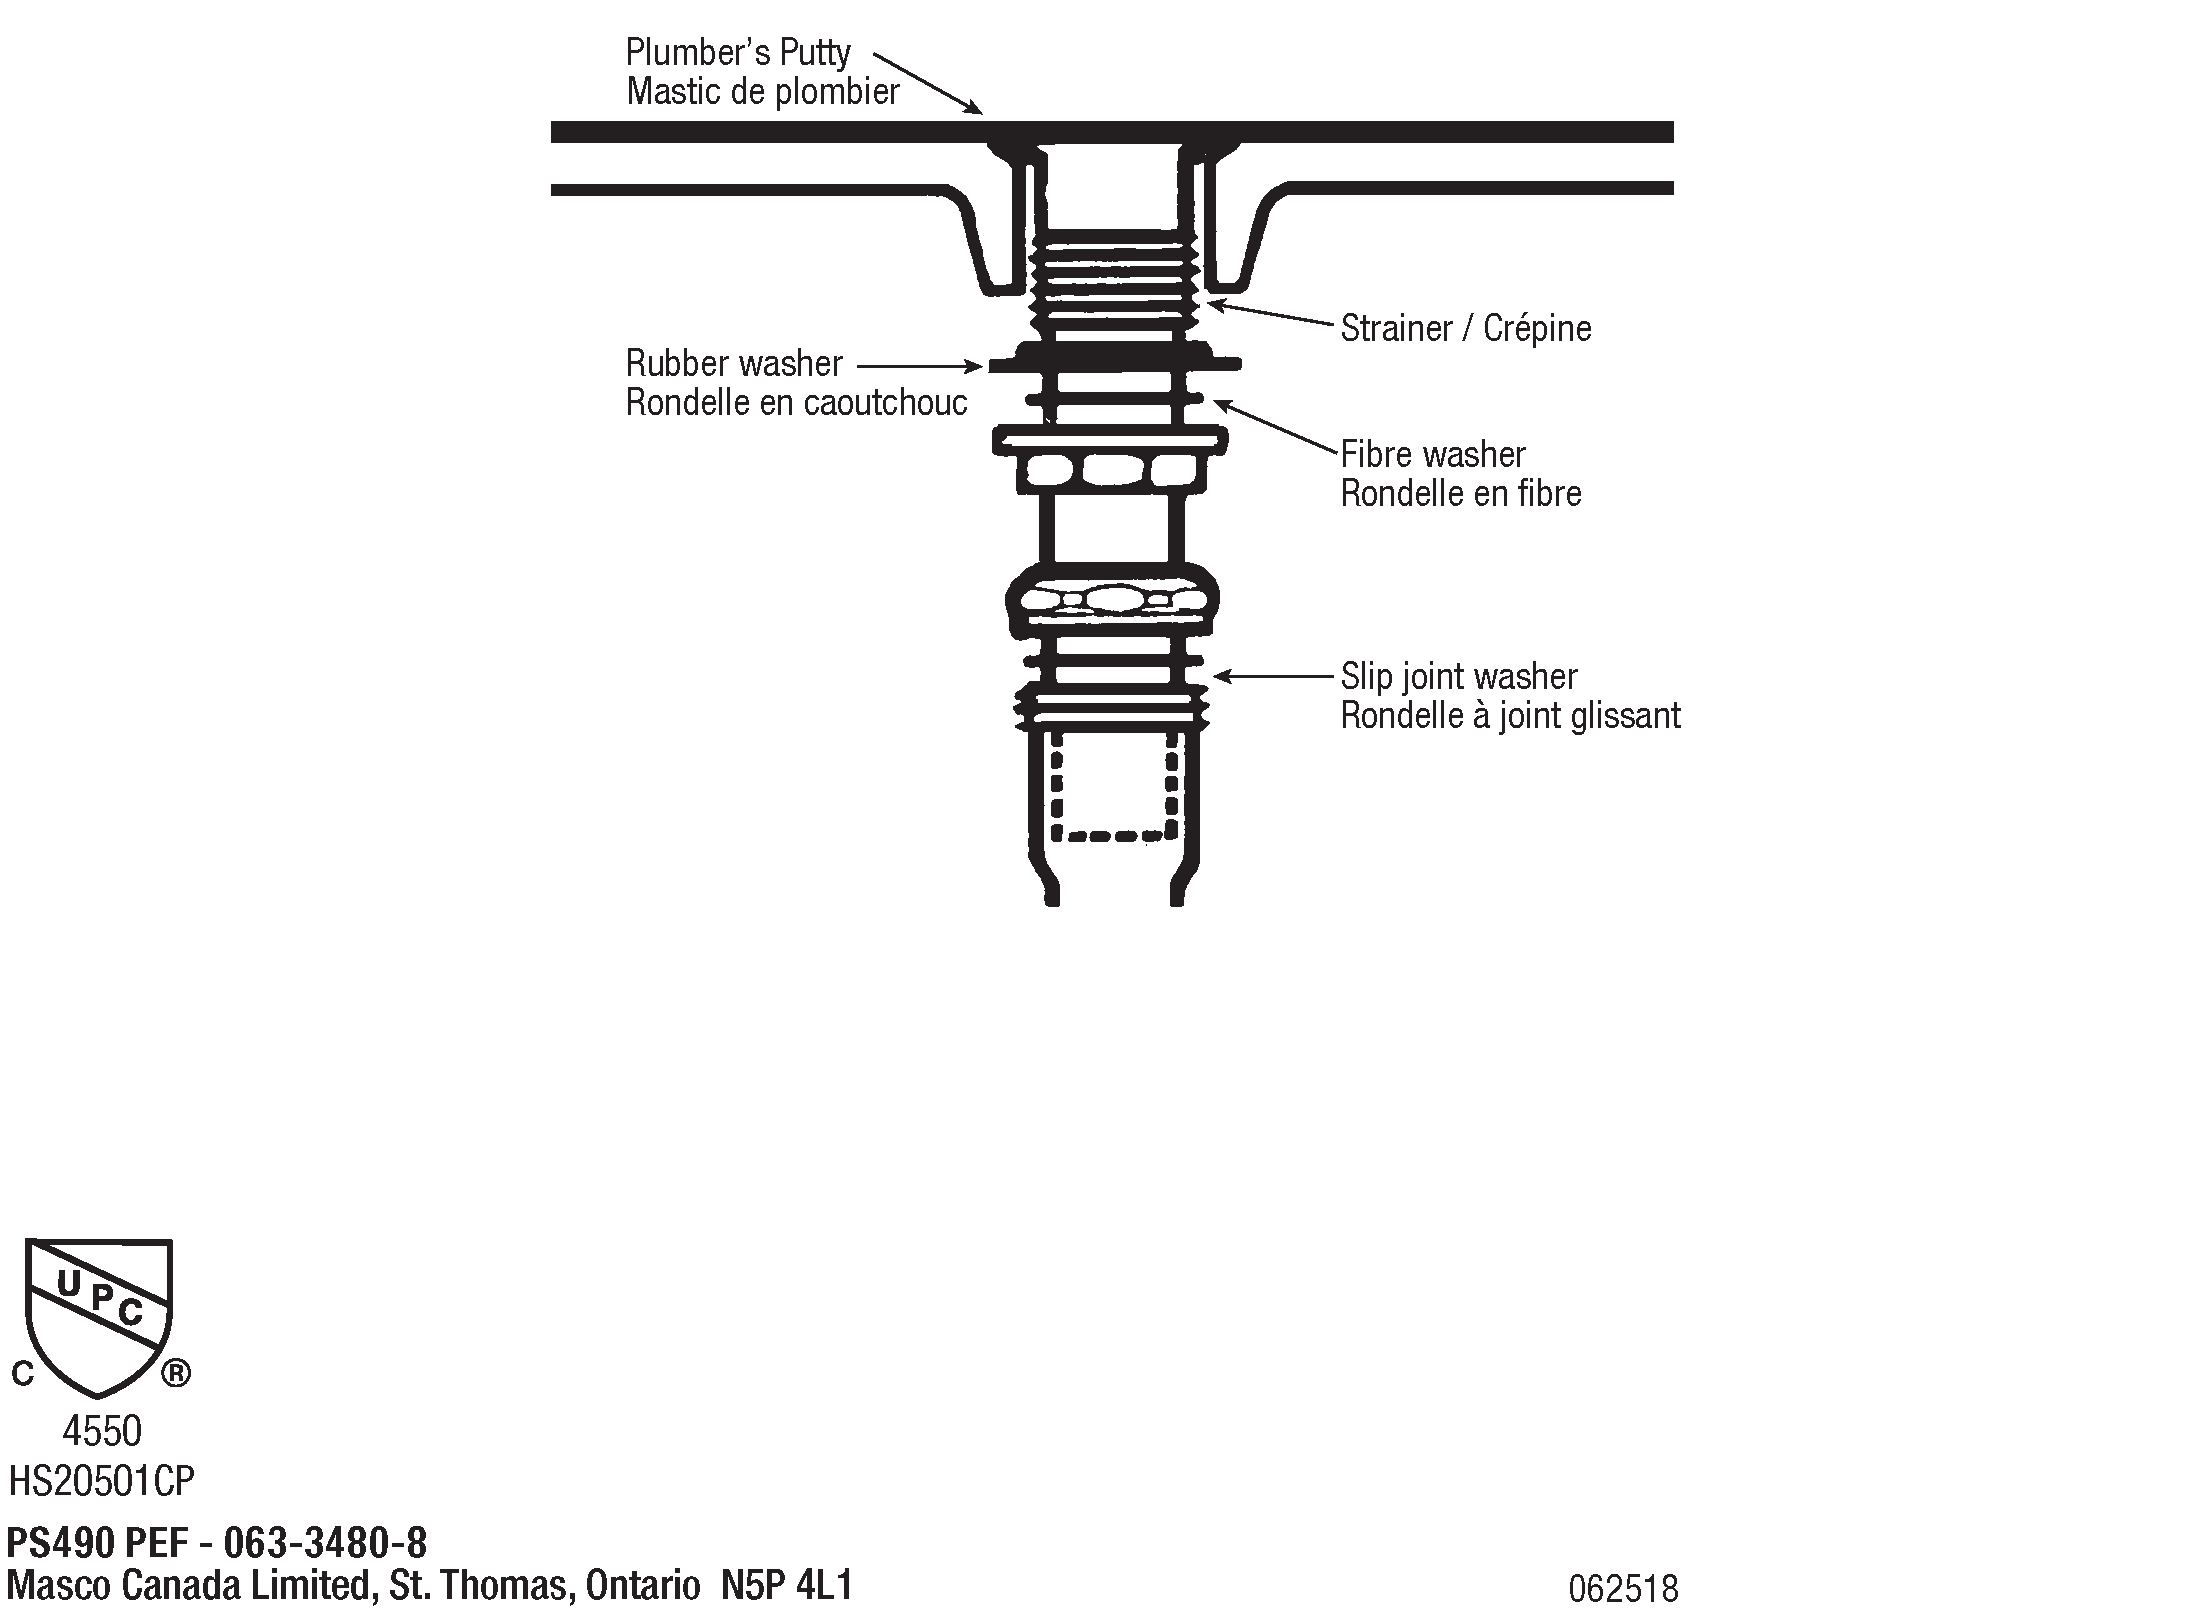
Start by removing the old drain assembly from your sink. This can be done by unscrewing the drain flange and pulling it out. Clean the area around the drain hole and apply plumber's putty around the opening. Then, insert the pop up drain through the hole, making sure it is in the correct position.4. Step by Step Guide for Installation
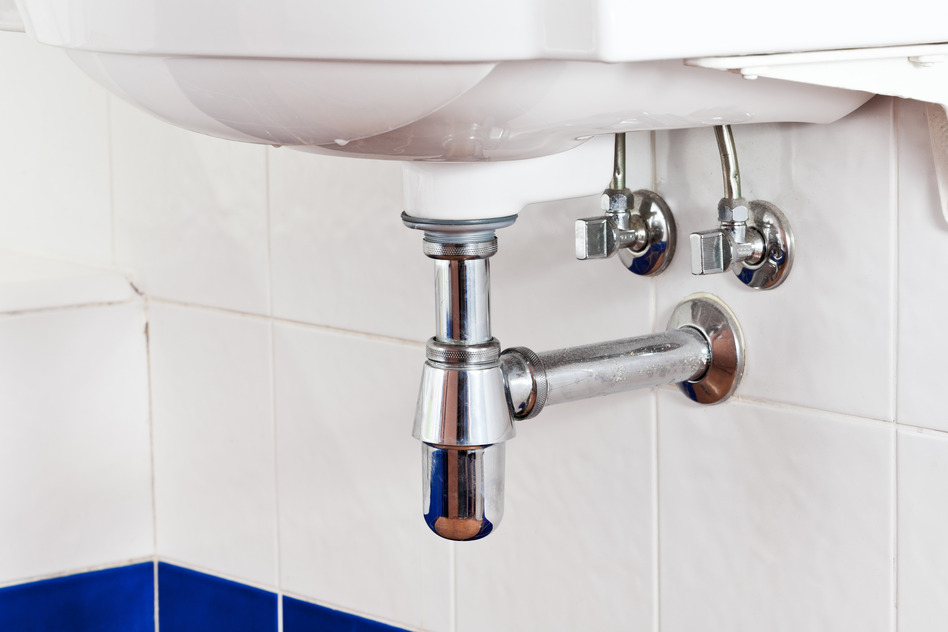
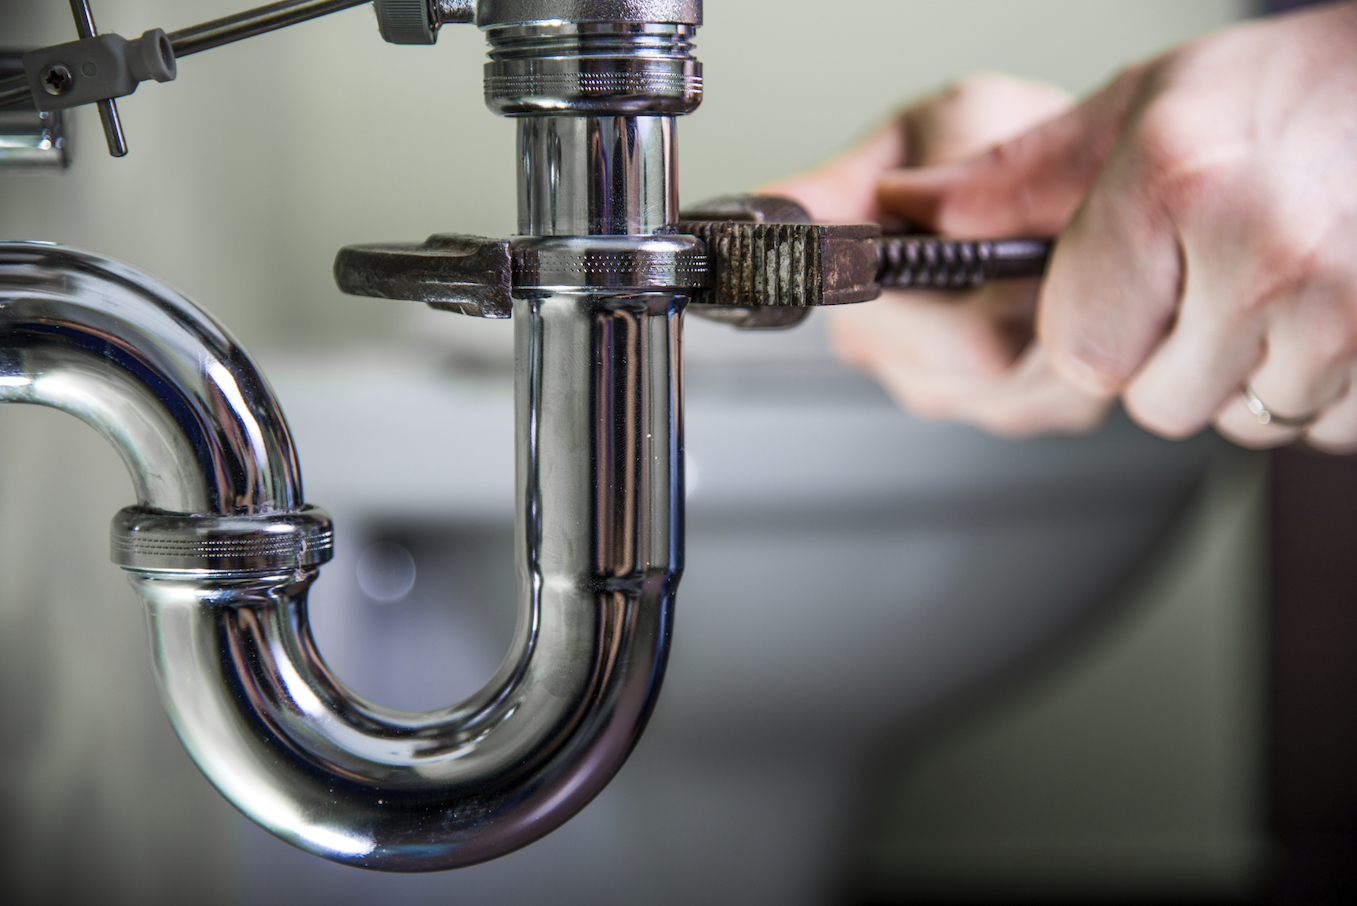
Once the pop up drain is in place, secure it by tightening the drain flange from underneath the sink. Use your adjustable wrench to ensure a tight fit. Wipe off any excess putty from around the edges.5. Tightening the Drain Flange
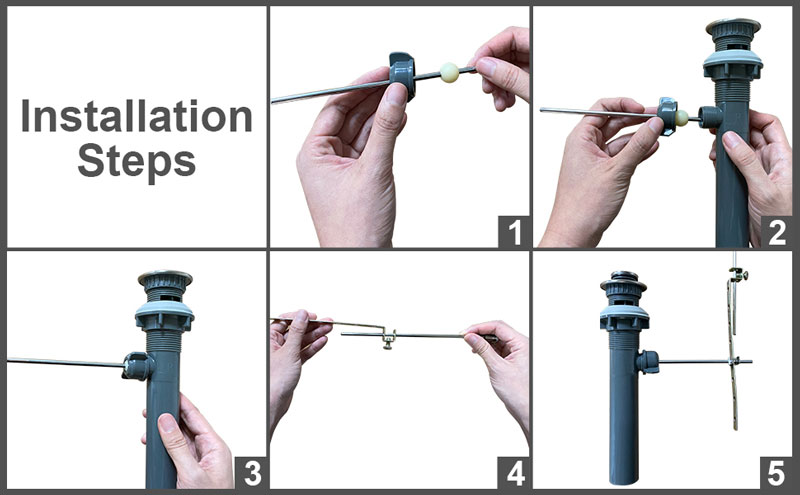
Next, you will need to attach the lift rod to the pop up drain. This rod controls the movement of the stopper. Insert the lift rod through the hole at the back of the faucet and connect it to the pop up drain using the provided clip or screw.6. Attaching the Lift Rod
Before testing the pop up drain, make sure the stopper is in the correct position. To adjust it, simply lift the lift rod and move the stopper up or down until it sits evenly over the drain.7. Adjusting the Stopper
Now it's time to test your newly installed pop up drain. Run water into the sink and check for any leaks. If you notice any, tighten the connections or reapply plumber's putty if necessary. Then, test the stopper by lifting and lowering it to ensure it is functioning properly.8. Testing the Drain
If you prefer a visual guide, there are many helpful video tutorials available online that can walk you through the installation process step by step. These can be especially helpful for those who are new to DIY plumbing projects.9. Video Tutorial for Visual Guidance
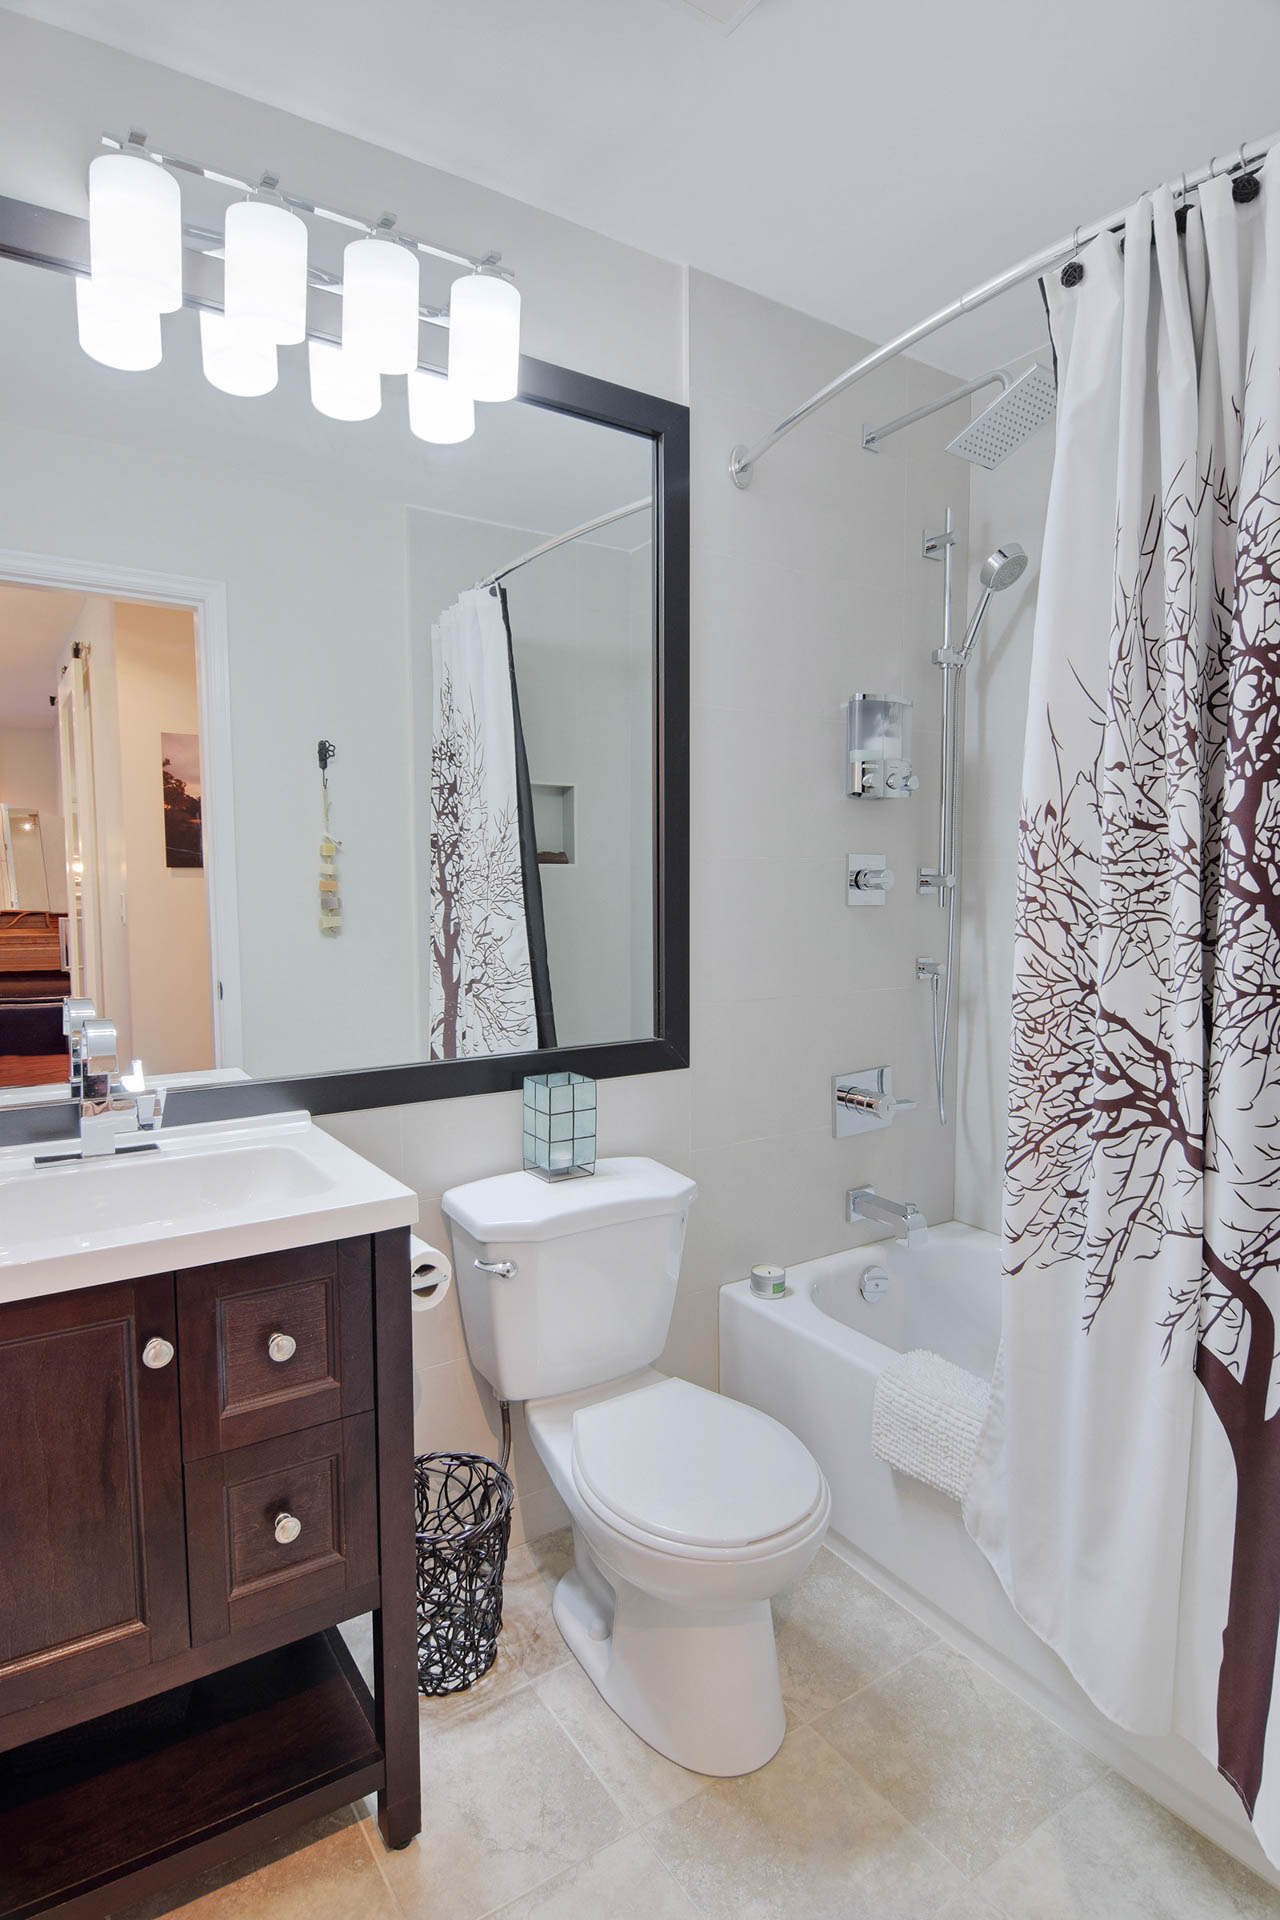
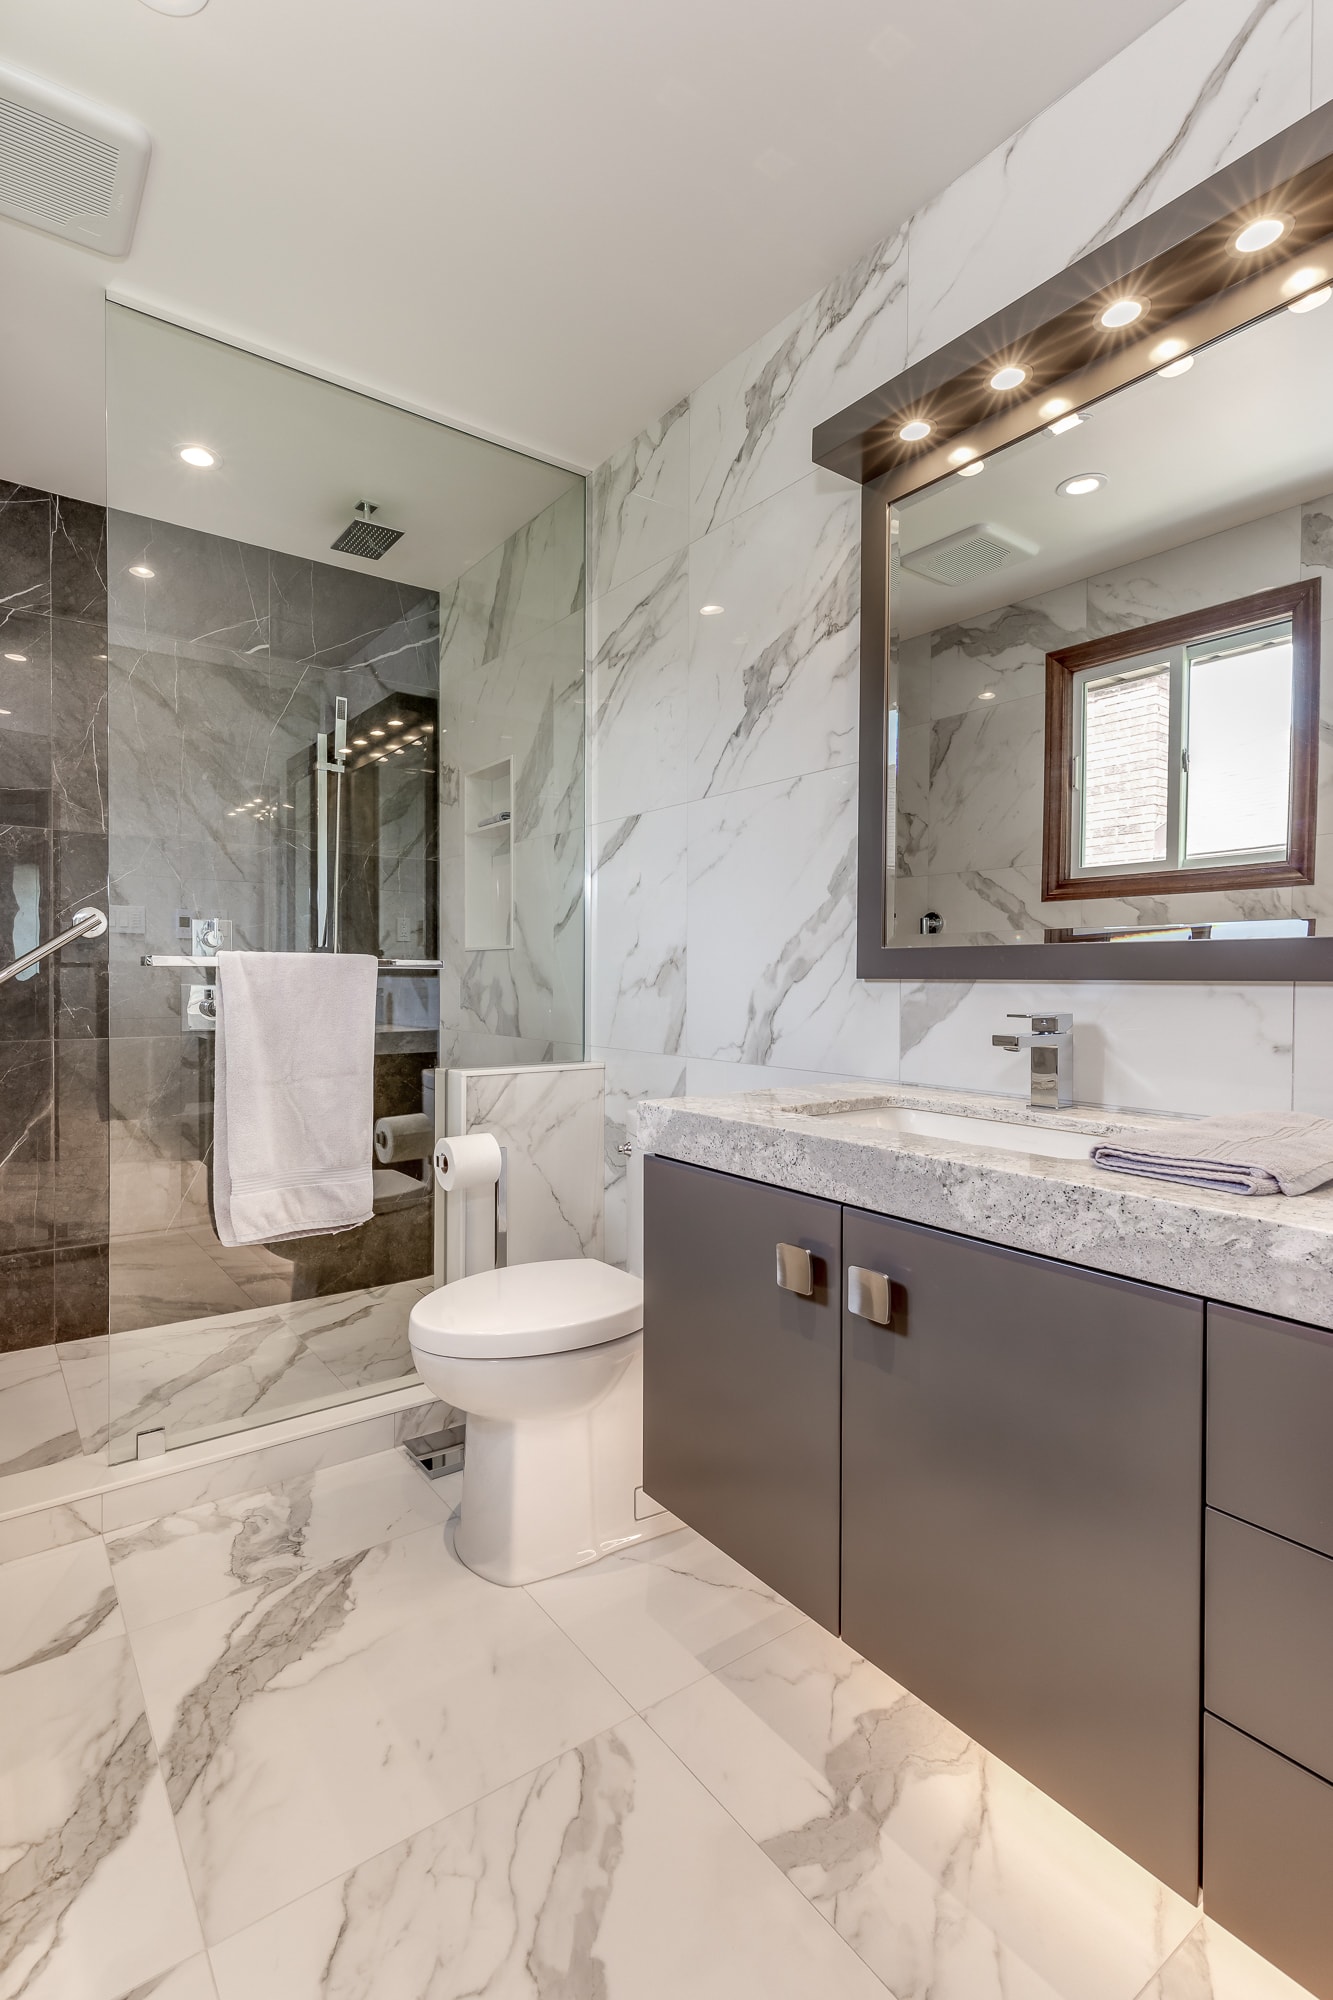
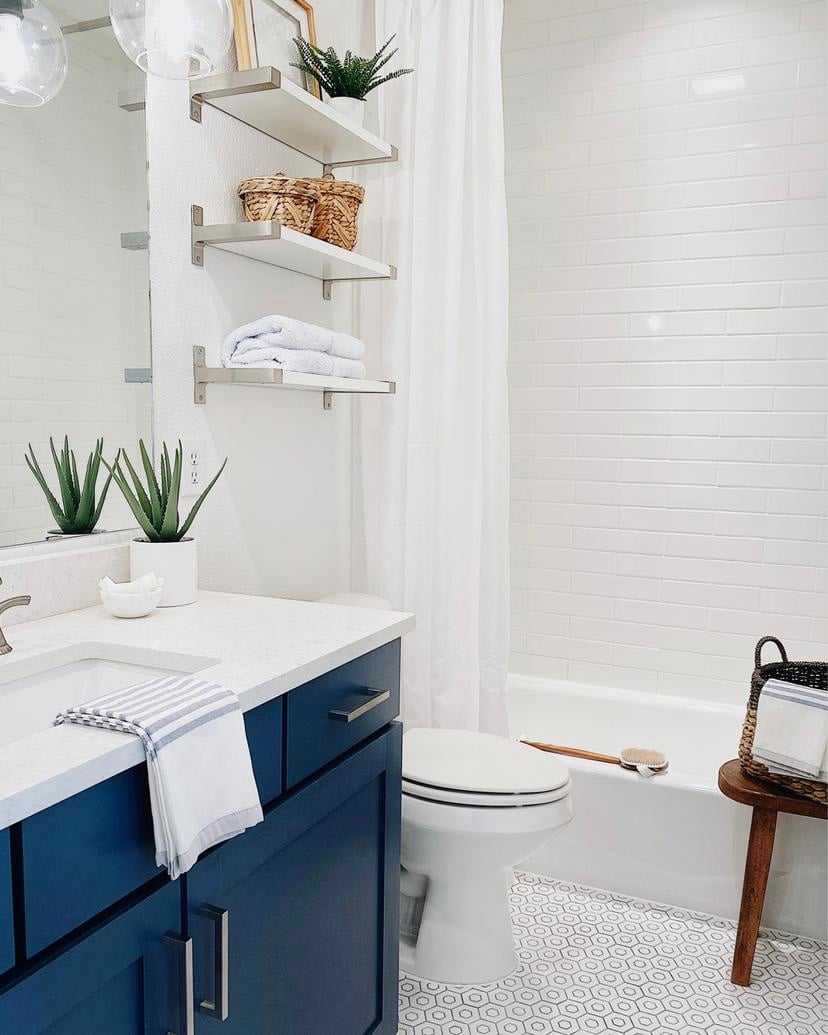
If you are planning a bathroom renovation, it may be a good time to consider installing a pop up drain in your sink. This small addition can add a touch of modernity and functionality to your bathroom, making it a worthwhile investment for the long term.10. Incorporating a Pop Up Drain in Your Bathroom Renovation
Why You Should Consider Installing a Pop Up Drain in Your Bathroom Sink

Save Space and Add a Sleek Look to Your Bathroom
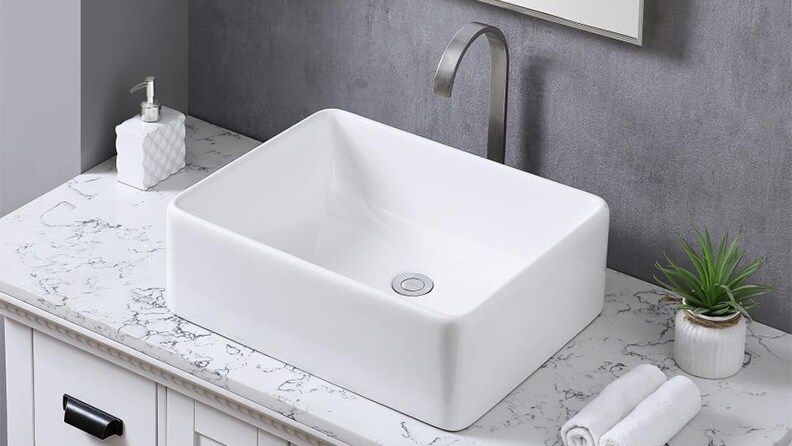
 If you're looking to add a touch of modern design to your bathroom, consider installing a pop up drain in your sink. This type of drain not only saves space, but it also adds a sleek and contemporary look to your bathroom. Traditional drains can take up a considerable amount of room in your sink, making it appear cluttered and taking away from the overall design aesthetic. However, with a pop up drain, the mechanism is located under the sink, freeing up valuable space and giving your sink a clean and streamlined appearance.
Pop up drains
are also available in a variety of finishes, such as chrome, brushed nickel, and oil-rubbed bronze, allowing you to choose one that best complements your bathroom's overall design. This small yet impactful change can make a big difference in the overall look and feel of your bathroom.
Easy to Use and Maintain
 In addition to its aesthetic benefits, a pop up drain is also incredibly easy to use and maintain. Unlike traditional drains, which require you to pull up a lever or push down a stopper to open and close the drain, a pop up drain is controlled with a simple push of a button. This makes it easier for individuals with limited mobility or dexterity to use, as well as for children who may struggle with traditional drains.
Furthermore,
pop up drains
are typically easier to clean and maintain. Traditional drains can collect hair, soap scum, and other debris, leading to clogs and unpleasant odors. With a pop up drain, you can easily remove and clean the stopper, ensuring that your sink stays clean and odor-free.
Prevent Costly Plumbing Repairs
 Another benefit of installing a pop up drain in your bathroom sink is that it can help prevent costly plumbing repairs. Traditional drains can be prone to clogs and buildup, which can lead to slow draining and even pipe damage. With a pop up drain, the stopper can be easily removed, allowing for a more thorough cleaning and preventing buildup that can cause plumbing issues down the line.
In addition, if you have young children who are prone to dropping small objects down the drain, a pop up drain can serve as a barrier, preventing these objects from causing clogs or damage to your pipes.
In Conclusion
 There are many benefits to installing a pop up drain in your bathroom sink, from saving space and adding a sleek look to your bathroom, to its ease of use and maintenance, and its ability to prevent costly plumbing repairs. Consider making this small yet impactful change to your bathroom and enjoy the many benefits it has to offer.














/GettyImages-98064882-5a3684ef4e46ba003693c061.jpg)
/Plastic-Plumbing-Pipe-183508152-58a47c925f9b58819c9c8ac6.jpg)




















/how-to-install-a-sink-drain-2718789-hero-b5b99f72b5a24bb2ae8364e60539cece.jpg)




/173239777-copy-56a49c725f9b58b7d0d7d17a.jpg)
