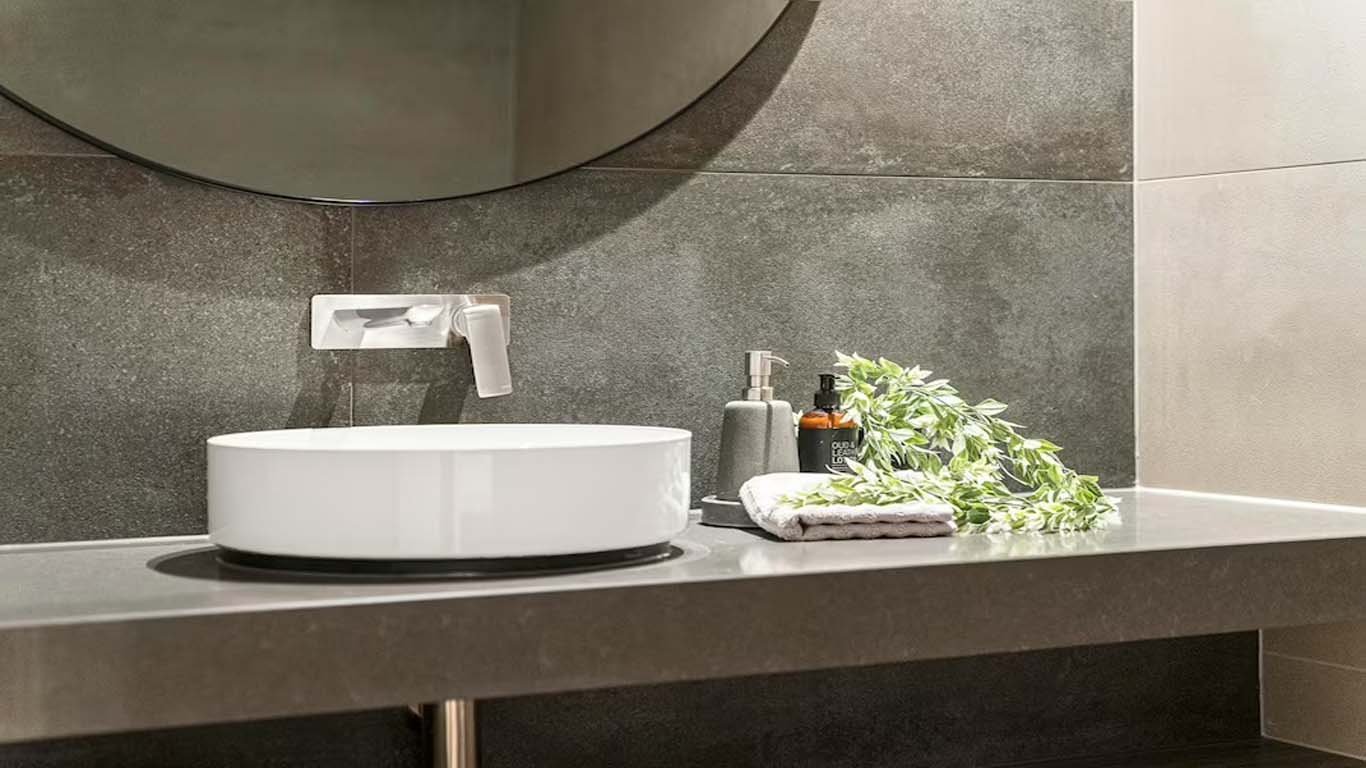
1. Planning the Installation of Plumbing Out of Wall Bathroom Sink
When it comes to bathroom renovations, installing a new sink can make a big impact. However, if you're looking for a modern and sleek look, you may want to consider installing the plumbing out of the wall. This not only creates a seamless and clean aesthetic, but it also saves space and makes cleaning easier. Here's a step-by-step guide on how to install plumbing out of wall bathroom sink.


install plumbing out of wall bathroom sink

2. Gather Your Materials
The first step is to gather all the necessary materials for the installation. These include a sink, faucet, drain, P-trap, water supply lines, and any necessary tools such as a wrench, screwdriver, and plumber's putty. It's essential to have all the materials on hand before starting the installation to avoid any delays or interruptions.
how to install plumbing out of wall bathroom sink


3. Shut Off the Water Supply
Before starting any plumbing work, it's crucial to shut off the water supply to the bathroom. This will prevent any water from leaking and causing damage during the installation process. The shut-off valve is usually located under the sink or in the basement. If you can't find it, you may need to turn off the main water supply to your home.


bathroom sink plumbing installation


4. Remove Old Sink and Plumbing
If you're replacing an old sink, you'll need to remove it and any attached plumbing first. This involves turning off the water supply, disconnecting the water supply lines, and removing the drain and P-trap. It's essential to have a bucket or towel on hand to catch any excess water that may be in the pipes.


bathroom sink plumbing installation guide


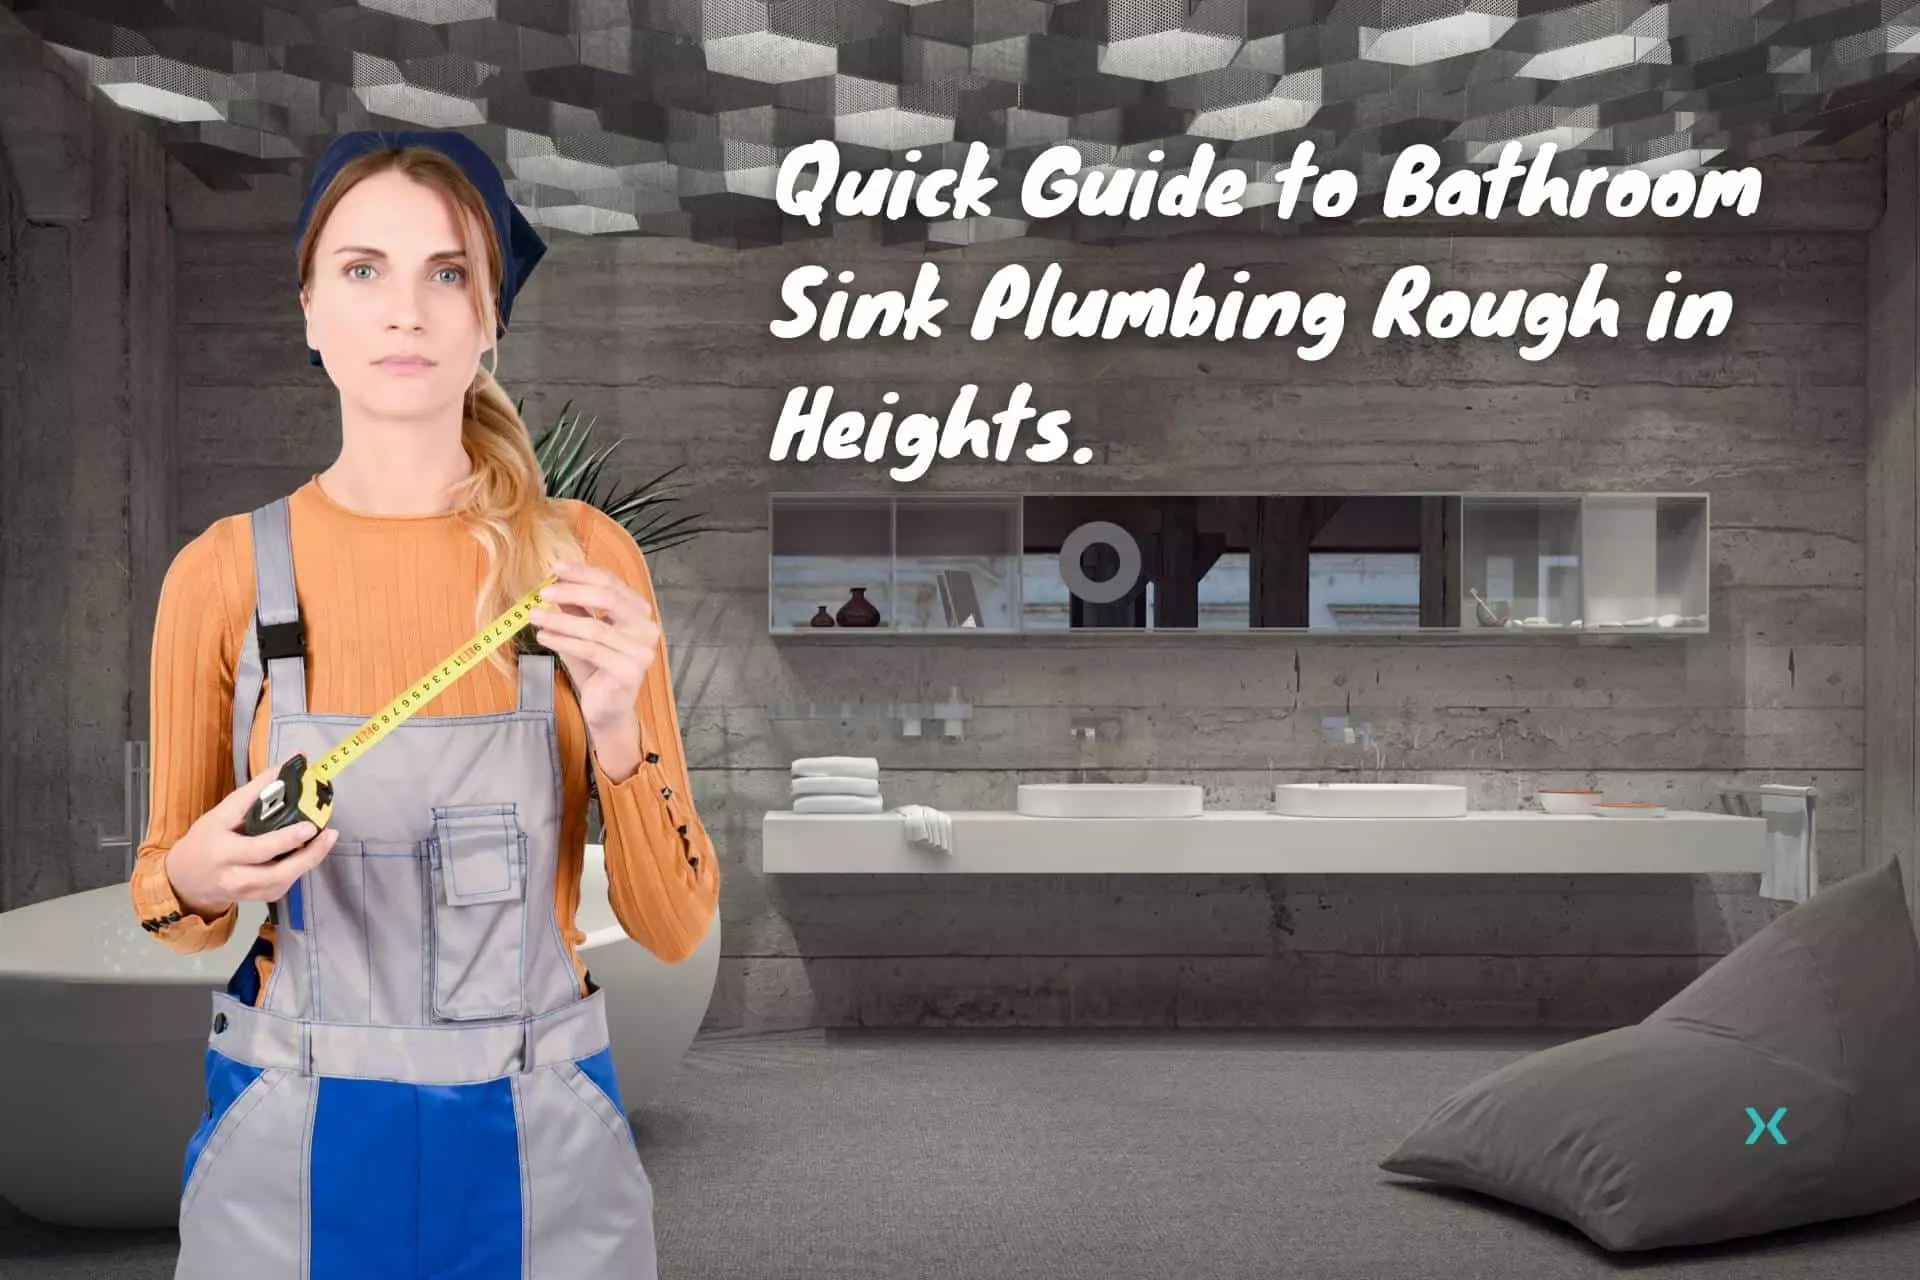
5. Measure and Mark the Sink's Placement
Once the old sink and plumbing have been removed, it's time to measure and mark the placement of the new sink. Use a level to ensure that the sink will be installed straight and mark the location of the sink's drain and faucet holes on the wall. This will help guide you when attaching the plumbing.

bathroom sink plumbing installation instructions


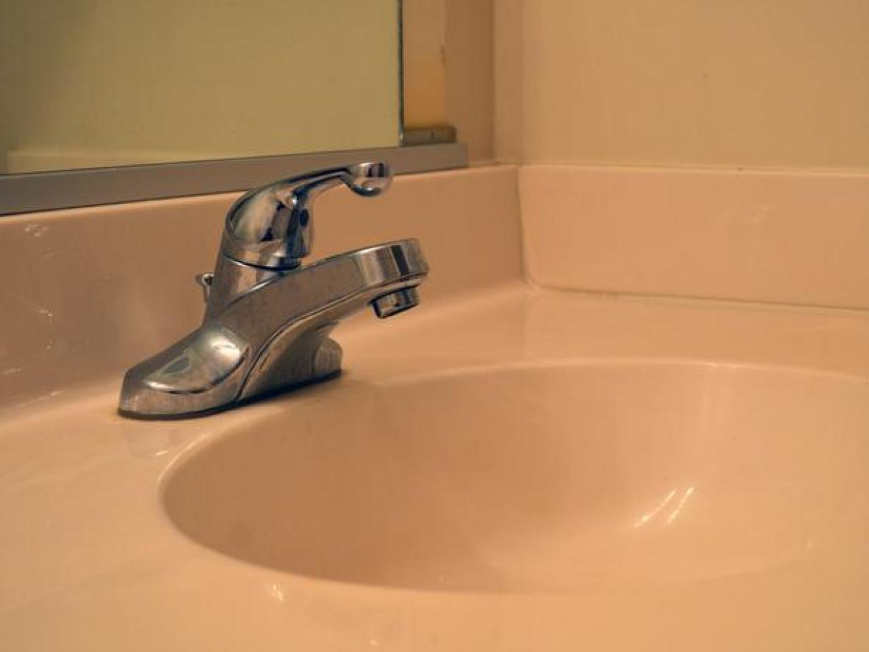
6. Install the Faucet
Begin by installing the faucet onto the sink following the manufacturer's instructions. This typically involves attaching the faucet to the sink using a mounting nut and gasket. Make sure to use plumber's putty around the base of the faucet to create a watertight seal.

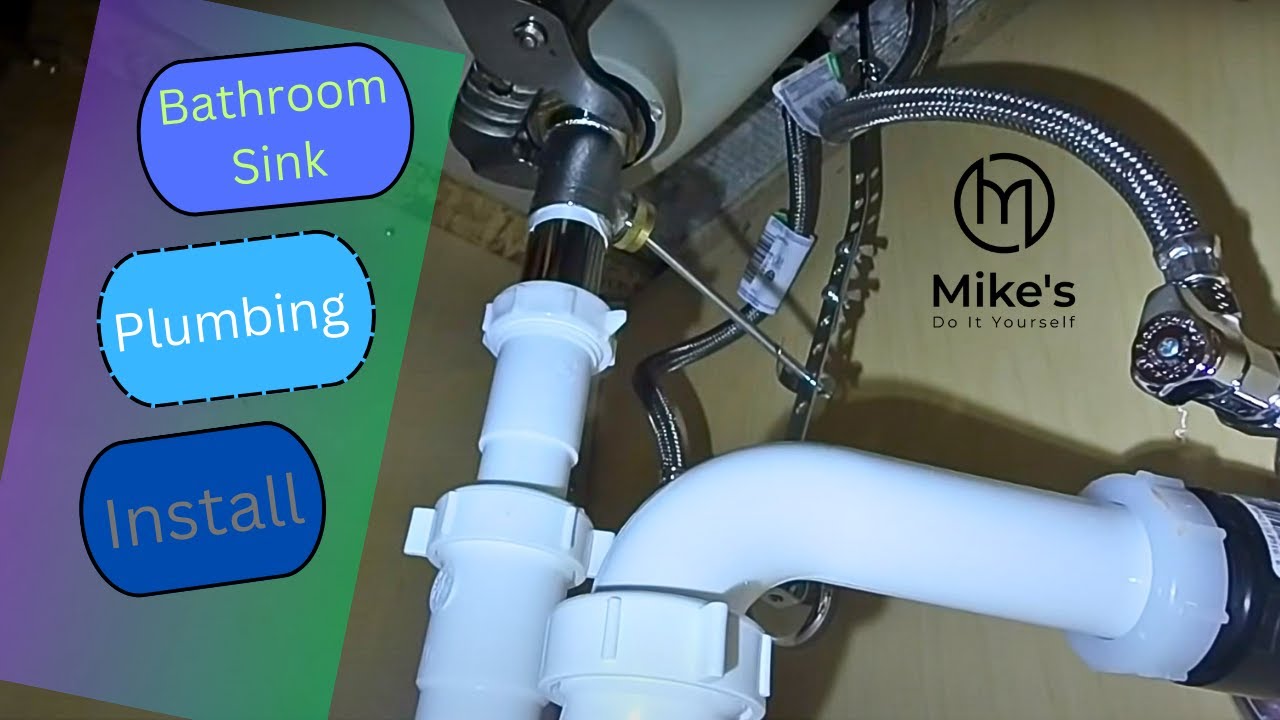
bathroom sink plumbing installation video

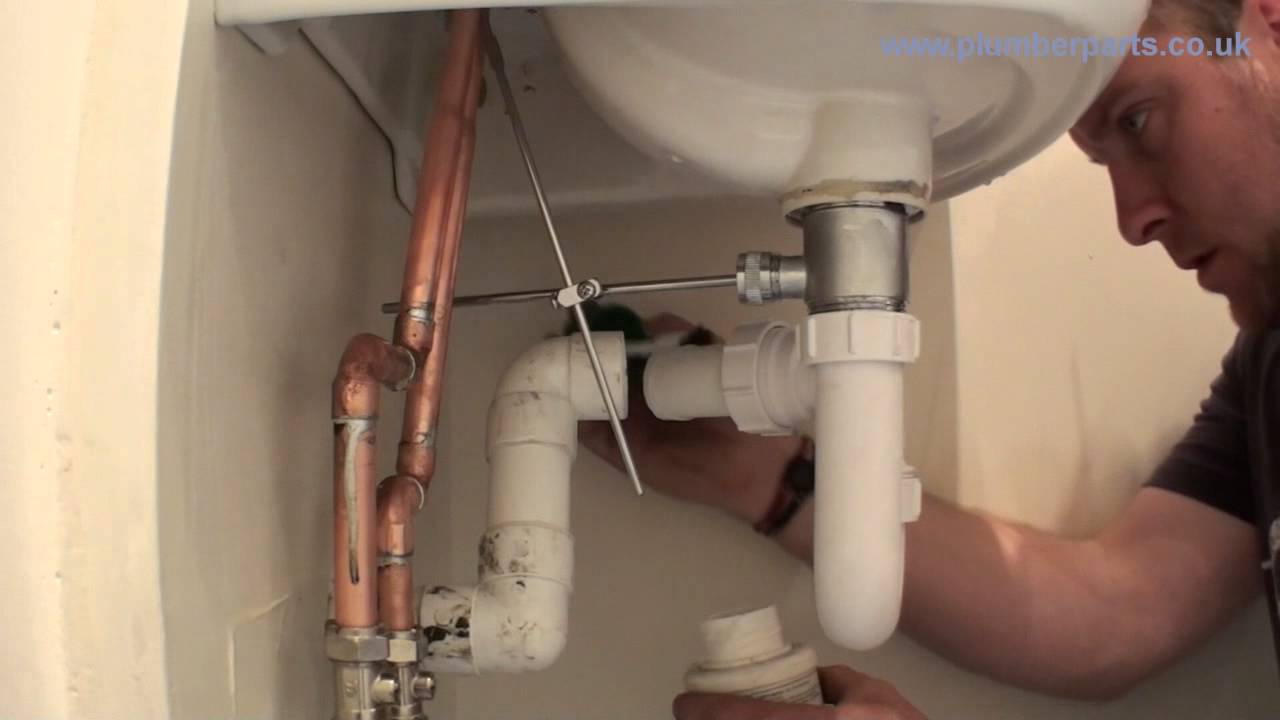
7. Attach the Drain and P-Trap
Next, attach the drain and P-trap to the sink. Apply plumber's putty to the drain and insert it into the sink's drain hole. Secure it in place with the provided gasket and nut. Then, attach the P-trap to the drain and the wall using slip nuts and washers. Make sure the P-trap is angled downward for proper drainage.


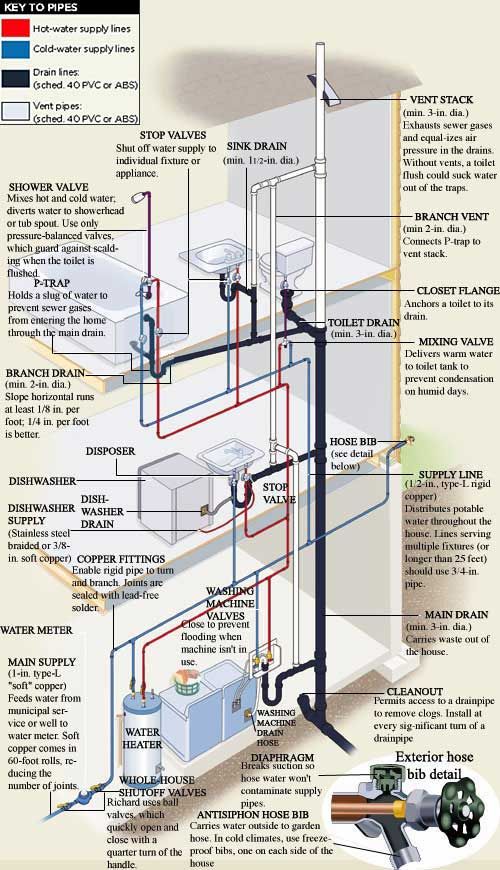
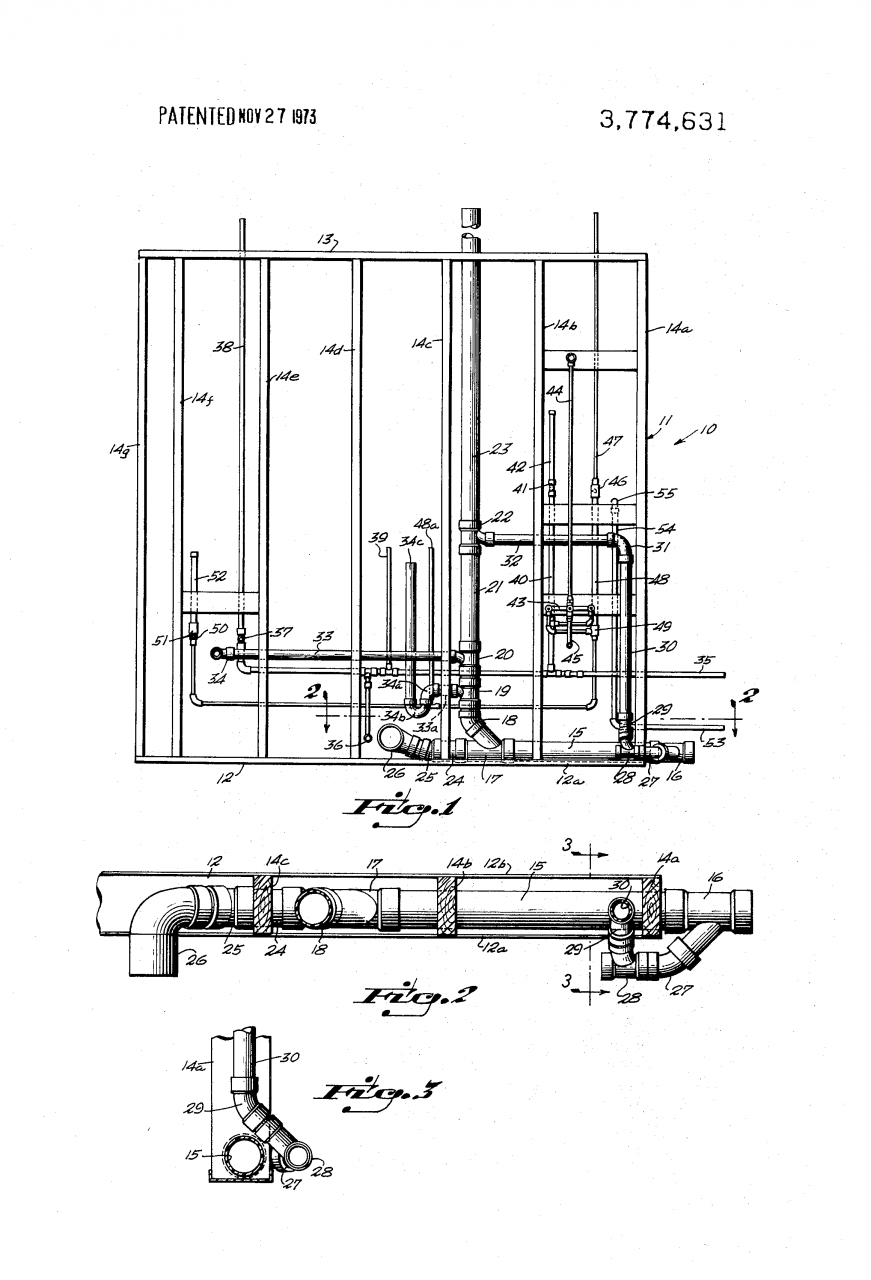
bathroom sink plumbing installation diagram


8. Install Water Supply Lines
With the drain and P-trap in place, it's time to install the water supply lines. Cut the lines to the appropriate length and attach them to the shut-off valve and the corresponding hot and cold water inlet on the faucet. Make sure to use Teflon tape on the threads for a secure connection.


bathroom sink plumbing installation cost

9. Secure Sink to the Wall
Once all the plumbing is in place, it's time to secure the sink to the wall. Use a drill to attach the sink's mounting brackets to the wall. Then, carefully lift the sink and align it with the marks you made earlier. Secure the sink to the brackets using the provided screws.


bathroom sink plumbing installation kit

10. Turn on Water Supply and Test
Finally, turn on the water supply and test the sink to ensure everything is working correctly. Check for any leaks and make adjustments as needed. If everything looks good, you can now enjoy your new wall-mounted bathroom sink!
bathroom sink plumbing installation tips


Installing Plumbing Out of Wall Bathroom Sink: A Guide for House Design

The Importance of Proper Plumbing in House Design
 When it comes to designing a house, every detail counts. This includes the plumbing system, which is essential for the proper functioning of a bathroom. One important aspect of bathroom plumbing is the placement of the sink. While most sinks are installed into the wall, some homeowners prefer to have their plumbing
installed out of the wall
. This not only adds a unique touch to the design but also has functional benefits. In this article, we will discuss how to properly install plumbing out of the wall for a bathroom sink.
When it comes to designing a house, every detail counts. This includes the plumbing system, which is essential for the proper functioning of a bathroom. One important aspect of bathroom plumbing is the placement of the sink. While most sinks are installed into the wall, some homeowners prefer to have their plumbing
installed out of the wall
. This not only adds a unique touch to the design but also has functional benefits. In this article, we will discuss how to properly install plumbing out of the wall for a bathroom sink.
Step 1: Determine the Location
 The first step in installing plumbing out of the wall for a bathroom sink is to determine the location. This will depend on the layout of the bathroom and the desired design. It is important to consider the placement of other fixtures such as the toilet and shower, as well as the location of existing plumbing lines.
Related main keywords
such as "bathroom design" and "plumbing layout" should also be taken into consideration during this step.
The first step in installing plumbing out of the wall for a bathroom sink is to determine the location. This will depend on the layout of the bathroom and the desired design. It is important to consider the placement of other fixtures such as the toilet and shower, as well as the location of existing plumbing lines.
Related main keywords
such as "bathroom design" and "plumbing layout" should also be taken into consideration during this step.
Step 2: Prepare the Wall
 Once the location is determined, the next step is to prepare the wall for the plumbing. This may involve cutting into the drywall and creating a space for the pipes to run through. It is important to
properly seal
any openings to prevent water leaks and mold growth. This step also allows for any necessary adjustments to be made to the layout of the bathroom.
Once the location is determined, the next step is to prepare the wall for the plumbing. This may involve cutting into the drywall and creating a space for the pipes to run through. It is important to
properly seal
any openings to prevent water leaks and mold growth. This step also allows for any necessary adjustments to be made to the layout of the bathroom.
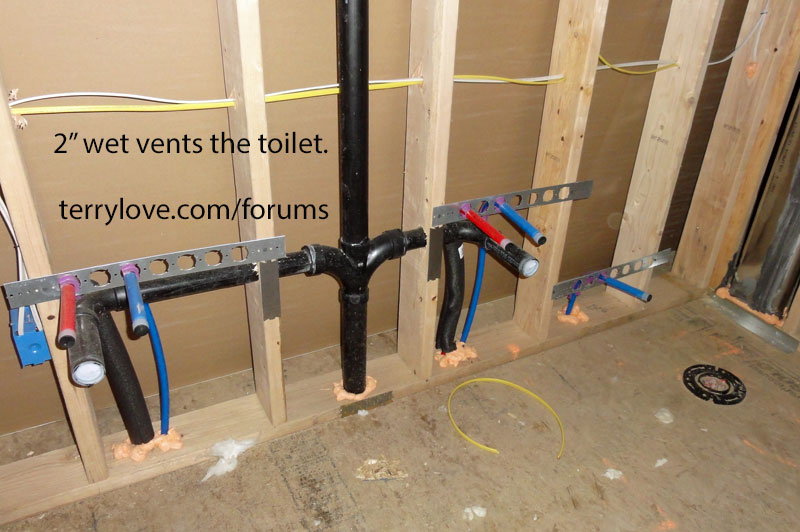
Step 3: Install the Pipes
 After the wall is prepared, it is time to install the pipes. This should be done carefully to ensure proper alignment and support.
Featured keywords
such as "plumbing installation" and "pipe alignment" should be kept in mind during this step. It is also important to use
high-quality materials
to ensure the durability and longevity of the plumbing system.
After the wall is prepared, it is time to install the pipes. This should be done carefully to ensure proper alignment and support.
Featured keywords
such as "plumbing installation" and "pipe alignment" should be kept in mind during this step. It is also important to use
high-quality materials
to ensure the durability and longevity of the plumbing system.
Step 4: Connect to the Sink
 Once the pipes are in place, it is time to connect them to the sink. This involves installing the drain and water supply lines.
Proper measurements
should be taken to ensure a proper fit and
prevent leaks
. It is also important to
secure
the pipes to the wall for stability.
Once the pipes are in place, it is time to connect them to the sink. This involves installing the drain and water supply lines.
Proper measurements
should be taken to ensure a proper fit and
prevent leaks
. It is also important to
secure
the pipes to the wall for stability.
Step 5: Test and Adjust
 Before completing the installation, it is important to test the plumbing system for any leaks or functional issues. If necessary, adjustments can be made at this stage. It is also important to
check for proper water pressure
and make any necessary adjustments to the pipes.
Before completing the installation, it is important to test the plumbing system for any leaks or functional issues. If necessary, adjustments can be made at this stage. It is also important to
check for proper water pressure
and make any necessary adjustments to the pipes.
In Conclusion
 Installing plumbing out of the wall for a bathroom sink may seem like a daunting task, but with the right preparation and
attention to detail
, it can be done successfully. By following these steps and using high-quality materials, you can achieve a unique and functional design for your bathroom. Don't be afraid to get creative and incorporate your own personal style into the plumbing installation process. With proper installation, your sink will not only look great but also function properly for years to come.
Installing plumbing out of the wall for a bathroom sink may seem like a daunting task, but with the right preparation and
attention to detail
, it can be done successfully. By following these steps and using high-quality materials, you can achieve a unique and functional design for your bathroom. Don't be afraid to get creative and incorporate your own personal style into the plumbing installation process. With proper installation, your sink will not only look great but also function properly for years to come.