Installing an overmount bathroom sink is a great way to update your bathroom without breaking the bank. This type of sink is also known as a drop-in or top-mount sink, and it is easy to install even for those with little DIY experience. In this guide, we will take you through the step-by-step process of installing an overmount bathroom sink. How to Install an Overmount Bathroom Sink
Before you begin the installation process, it is important to gather all the necessary tools and materials. You will need a drill, screwdriver, plumber's putty, silicone caulk, and a wrench. You will also need the sink, faucet, drain assembly, and any additional accessories such as a soap dispenser or sprayer. Make sure to read the manufacturer's instructions for your specific sink model before starting the installation. Overmount Bathroom Sink Installation Guide
Step 1: Begin by turning off the water supply to your bathroom. This can usually be done by turning the shut-off valves under the sink clockwise. If you do not have these valves, you will need to turn off the main water supply to your house. Step 2: Place the sink upside down on a flat surface and attach the faucet and drain assembly according to the manufacturer's instructions. Step 3: Apply plumber's putty around the underside of the sink's flange. Step 4: Carefully lift the sink and place it over the hole in the vanity or countertop. Make sure the sink is centered and press it down firmly to create a tight seal with the putty. Step 5: From underneath the sink, use a wrench to tighten the mounting clips to secure the sink in place. Step 6: Connect the water supply lines to the faucet and tighten the connections with a wrench. Step 7: Apply a bead of silicone caulk around the edge of the sink where it meets the vanity or countertop. This will provide a watertight seal and prevent any leaks. Step 8: Reconnect the water supply and turn it on to test for any leaks. If there are no leaks, you can proceed to the final step. Step 9: Install any additional accessories such as a soap dispenser or sprayer according to the manufacturer's instructions. Step-by-Step Instructions for Installing an Overmount Bathroom Sink
If you are a DIY enthusiast, installing an overmount bathroom sink can be a fun and rewarding project. Not only will you save money on labor costs, but you will also have the satisfaction of completing the project yourself. Just make sure to follow the manufacturer's instructions carefully and take your time to ensure a proper and secure installation. DIY Bathroom Sink Installation: Overmount Style
Here are some helpful tips to keep in mind when installing an overmount bathroom sink: Tip 1: Measure the sink and the hole in the vanity or countertop before purchasing to ensure a proper fit. Tip 2: Always read the manufacturer's instructions before starting the installation. Tip 3: Be sure to turn off the water supply before beginning the installation to prevent any accidents or water damage. Tip 4: Use a level to make sure the sink is properly aligned before securing it in place. Tips for Installing an Overmount Bathroom Sink
Before installing an overmount bathroom sink, there are a few things you need to keep in mind: Tip 1: Overmount sinks are easier to install than undermount sinks because they do not require any additional support from the countertop. Tip 2: Overmount sinks are more visible and can be a focal point in your bathroom design. Make sure to choose a sink that complements your overall aesthetic. What You Need to Know Before Installing an Overmount Bathroom Sink
Like any home improvement project, there are pros and cons to consider before installing an overmount bathroom sink. Pros: Easy to install, budget-friendly, and available in a variety of styles and materials. Cons: Can take up valuable countertop space and may require more frequent cleaning due to the exposed edges. The Pros and Cons of Installing an Overmount Bathroom Sink
To ensure a smooth and successful installation, here are some common mistakes to avoid: Mistake 1: Not measuring the sink and hole properly before purchasing. Mistake 2: Not turning off the water supply before starting the installation. Mistake 3: Not following the manufacturer's instructions carefully. Common Mistakes to Avoid When Installing an Overmount Bathroom Sink
When choosing an overmount bathroom sink, consider the following factors: Factor 1: Sink size and shape. Make sure the sink fits comfortably in your bathroom and complements your design aesthetic. Factor 2: Material. Overmount sinks are available in a variety of materials, such as porcelain, stainless steel, and granite. Choose a material that is durable and easy to maintain. Factor 3: Faucet compatibility. Make sure the sink you choose is compatible with the faucet you want to install. How to Choose the Right Overmount Bathroom Sink for Your Space
If you encounter any issues during the installation process, here are some troubleshooting tips: Issue 1: Leaks. If you notice any leaks, make sure all connections are tightened and apply more silicone caulk around the edges of the sink. Issue 2: Uneven sink. If the sink is not level, loosen the mounting clips and adjust until the sink is level before tightening them again. With these tips and instructions, you can easily install an overmount bathroom sink in your home and give your bathroom a fresh new look. Remember to take your time and follow the manufacturer's instructions carefully for a successful installation. Enjoy your new sink and the updated look of your bathroom! Troubleshooting Tips for Overmount Bathroom Sink Installation
Why Choose an Overmount Bathroom Sink for Your House Design?

Enhance the Aesthetic Appeal of Your Bathroom
 When it comes to designing your bathroom, every detail matters. From the tiles on the floor to the color of the walls, each element contributes to the overall aesthetic appeal of the space. Choosing the right
overmount bathroom sink
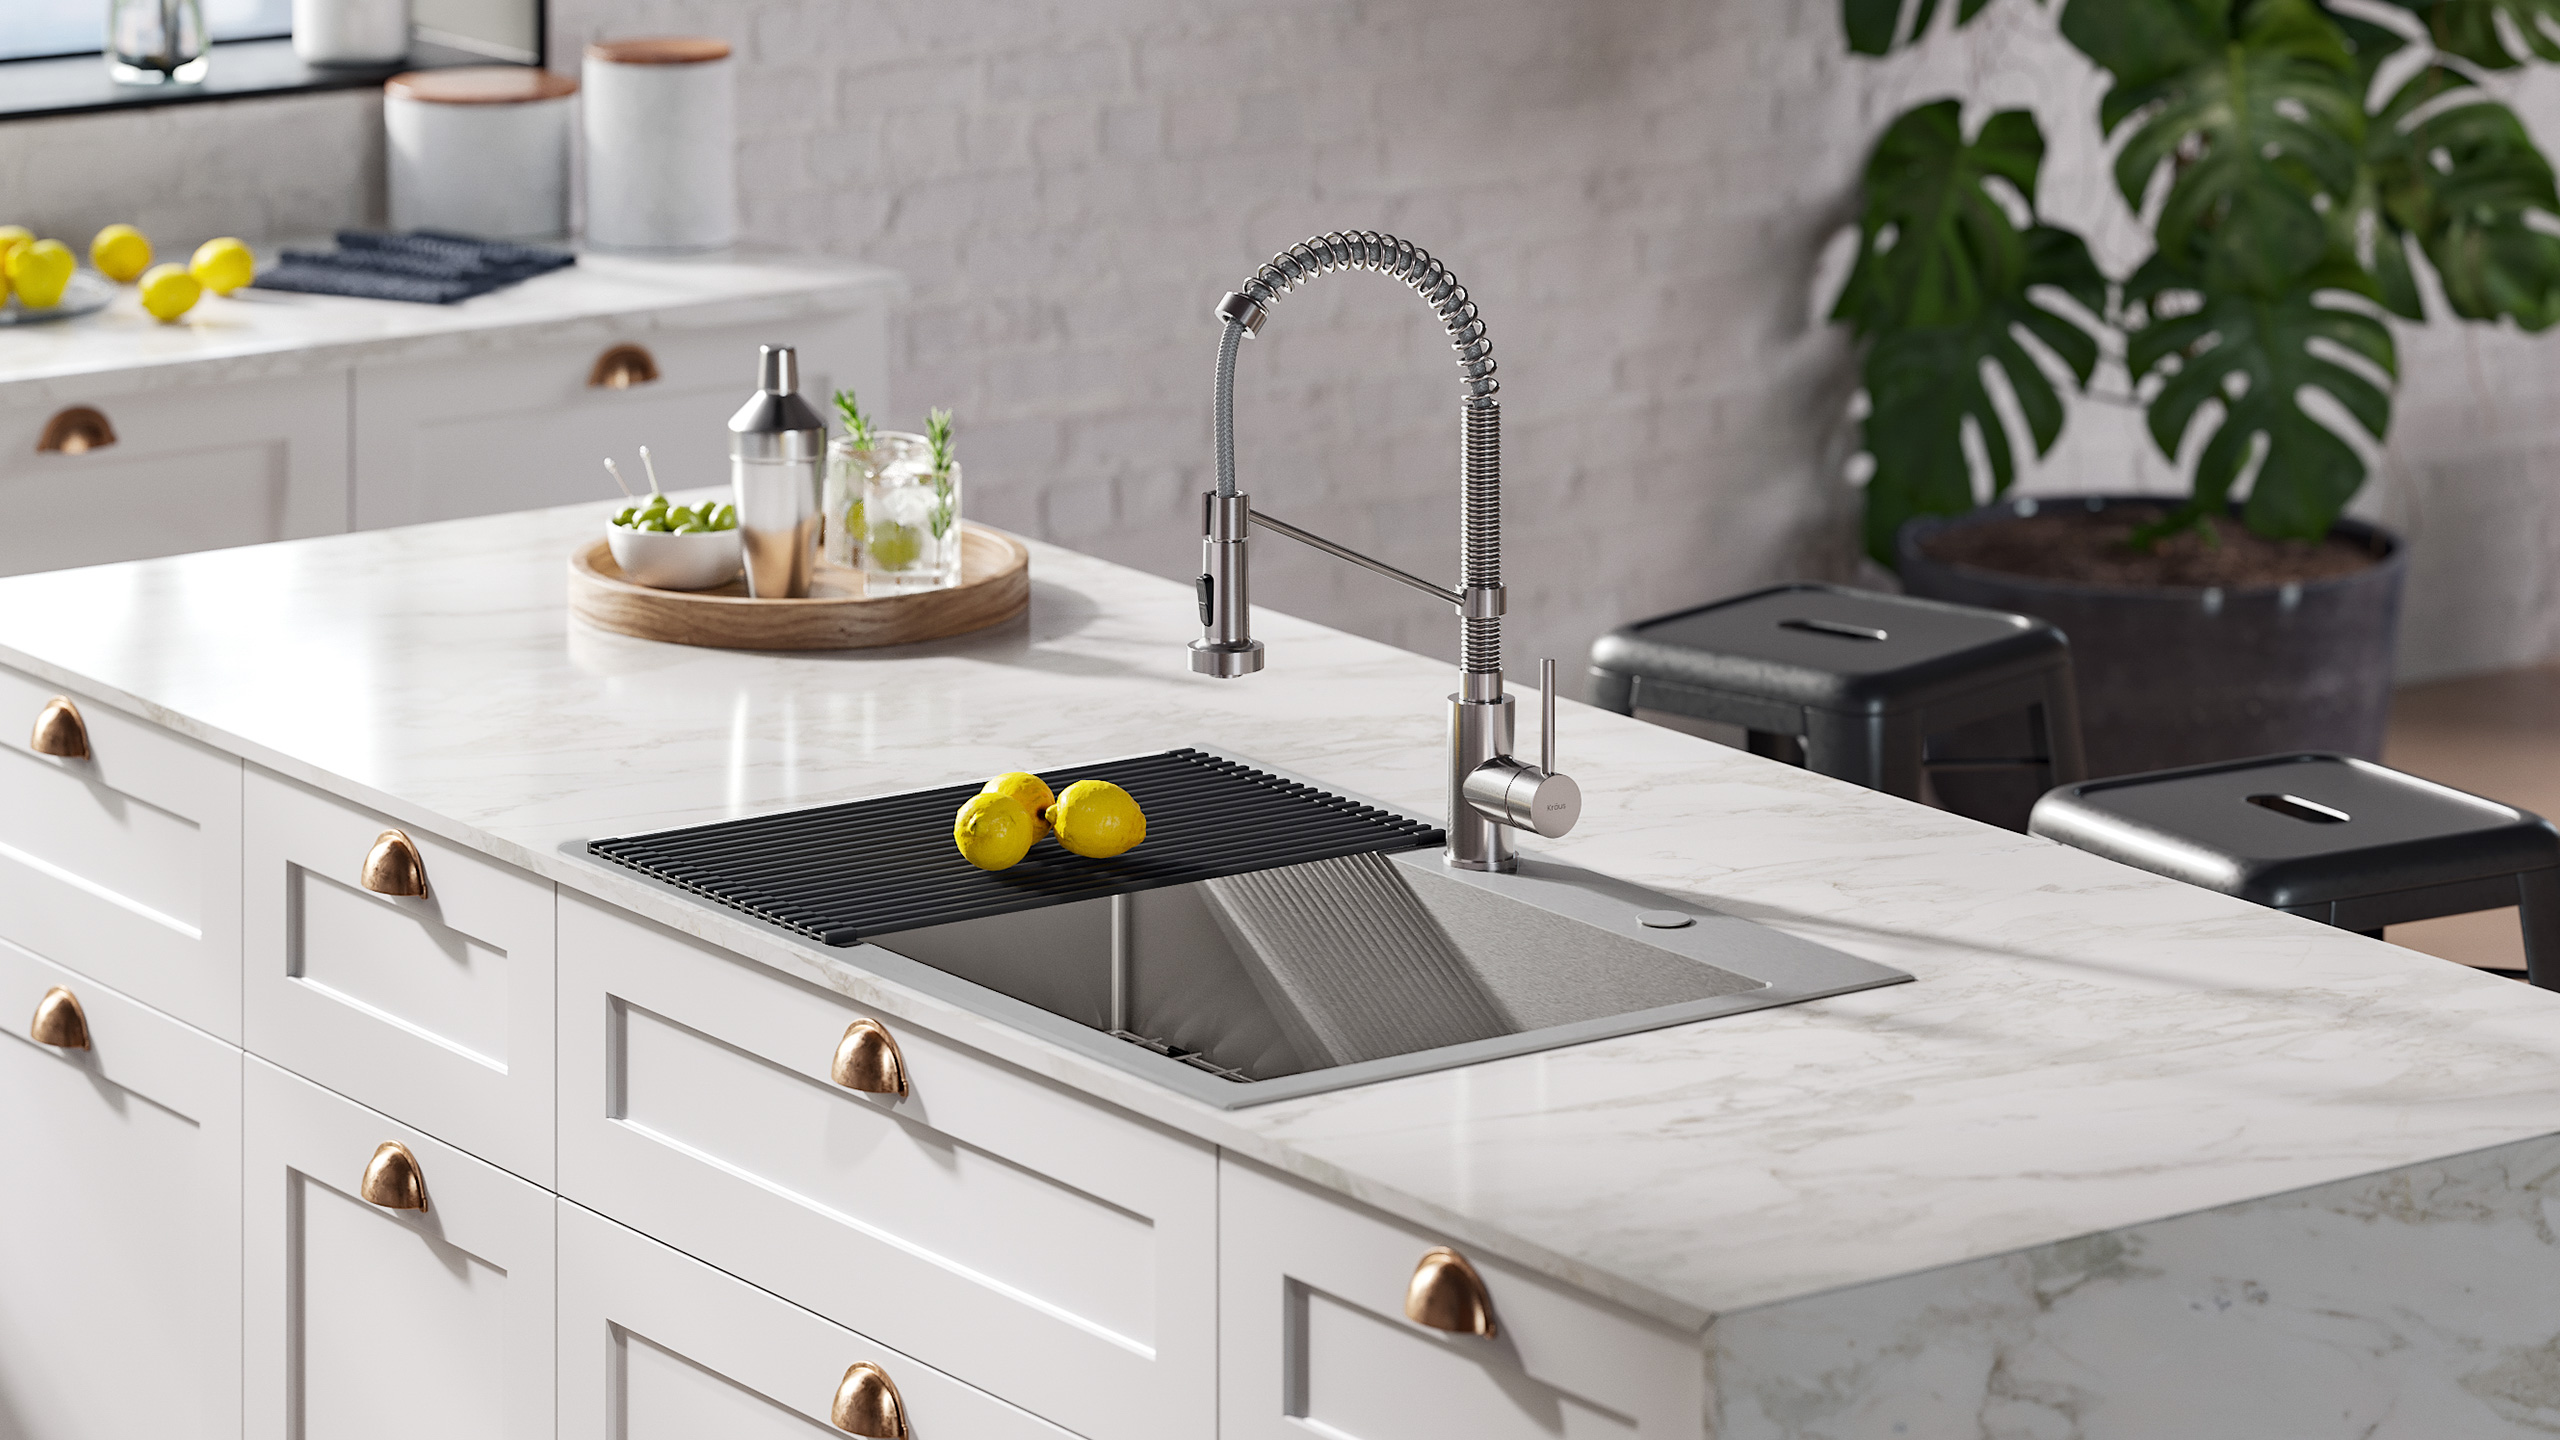
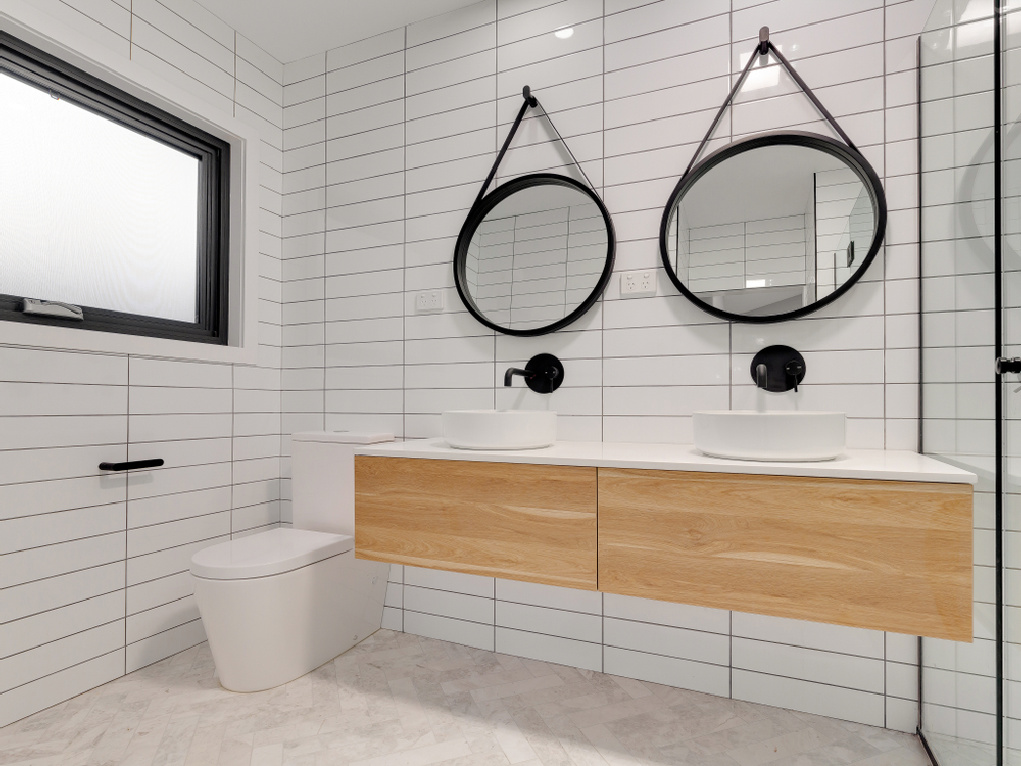
can play a crucial role in elevating the look and feel of your bathroom. These sinks are designed to sit on top of the counter, creating a modern and sleek look. They come in a variety of shapes, sizes, and materials, allowing you to choose the perfect one to complement your house design.
Easy Installation and Maintenance
 Installing an
overmount bathroom sink
is relatively simple and can be done by a professional or as a DIY project. Unlike undermount sinks, there is no need to cut into the countertop, making the process less invasive and time-consuming. Additionally, overmount sinks are easier to maintain as they do not require caulking or sealing. They can be easily removed and replaced if needed, making them a practical option for any busy household.
Maximize Space and Functionality
 If you have a smaller bathroom, an overmount sink can be a great choice. Its design allows for more counter space, making the bathroom feel more spacious and functional. This is especially useful for shared bathrooms where multiple people need to use the sink at the same time. With an overmount sink, there is no need to sacrifice style for functionality.
Durable and Versatile
 Overmount bathroom sinks are typically made from durable materials such as porcelain, stainless steel, or stone. This makes them resistant to scratches, stains, and chips, ensuring they will last for years to come. They also come in a variety of styles, making it easy to find one that matches your house design. Whether you prefer a classic white sink or a more modern black one, there is an overmount sink to suit your taste.
In conclusion, choosing an overmount bathroom sink for your house design is a smart and stylish choice. It not only enhances the aesthetic appeal of your bathroom but also offers easy installation and maintenance, maximizes space and functionality, and is durable and versatile. So, when it comes to designing your bathroom, don't overlook the importance of a well-chosen sink. Consider an overmount sink and see the difference it can make in your bathroom.















/Basic-kitchen-sink-types-1821207_color_rev-0b539306b9ef4236a136624ad2a89a4c.jpg)










:max_bytes(150000):strip_icc()/what-is-under-the-bathroom-sink-3973574-03-c2c800c743054899aca9bdcc0535db34.jpg)


