Installing a new kitchen sink faucet is a great way to update the look of your kitchen and improve its functionality. Whether you are replacing an old faucet or installing one for the first time, the process may seem daunting. However, with the right tools and some basic knowledge, you can easily install a kitchen sink faucet on your own. In this guide, we will take you through the step-by-step process of installing a kitchen sink faucet.How to Install a Kitchen Sink Faucet


How to Install a Kitchen Sink Faucet


If you already have a kitchen sink faucet in place but it's starting to show signs of wear and tear, it may be time to replace it. Replacing a kitchen sink faucet is similar to installing a new one, but you will have to first remove the old faucet. This can be a bit trickier, especially if the old faucet is rusted or stuck in place. However, with the right tools and some patience, you can successfully replace your kitchen sink faucet and give your kitchen a fresh new look.How to Replace a Kitchen Sink Faucet


How to Replace a Kitchen Sink Faucet


While you can always hire a professional plumber to install your kitchen sink faucet, doing it yourself can save you a lot of money. Plus, it can be a satisfying experience to complete a DIY project in your own home. To install a kitchen sink faucet on your own, you will need some basic plumbing knowledge and the right tools. Don't worry, we will guide you through the process and provide you with all the necessary steps to successfully install your own kitchen sink faucet.DIY Kitchen Sink Faucet Installation


DIY Kitchen Sink Faucet Installation


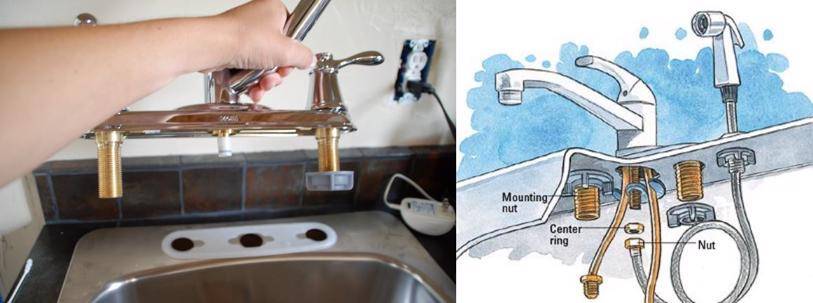
Now that you have a general idea of the process, let's break down the steps for installing a kitchen sink faucet in more detail. Step 1: Gather Your Tools and Materials Before you begin, make sure you have all the necessary tools and materials. This includes a new kitchen sink faucet, adjustable wrench, pliers, Teflon tape, plumber's putty, and a bucket to catch any water that may drip during the installation process. Step 2: Shut Off the Water Supply Before you start removing the old faucet, make sure to turn off the water supply. This can usually be done by turning off the shut-off valves located under the sink. Step 3: Remove the Old Faucet Using a wrench or pliers, loosen the nuts that hold the old faucet in place. Once the nuts are removed, you can pull out the old faucet. If it's stuck, you may need to use a lubricant or a faucet puller to loosen it. Step 4: Clean the Sink Area With the old faucet removed, clean the sink area and remove any old putty or residue. This will provide a clean surface for your new faucet to sit on. Step 5: Install the New Faucet Follow the manufacturer's instructions to install the new faucet. Generally, this involves attaching the faucet to the sink and tightening the nuts underneath to secure it in place. Step 6: Connect the Water Supply Lines Once the faucet is in place, connect the water supply lines to the hot and cold water valves. Use Teflon tape to ensure a tight seal. Step 7: Turn On the Water Supply Before testing your new faucet, make sure to turn the water supply back on and check for any leaks. If you notice any, tighten the connections as needed. Step 8: Apply Plumber's Putty and Install the Drain If your new faucet came with a new drain, apply plumber's putty to the bottom of the drain and screw it into place on the sink. Wipe off any excess putty. Step 9: Test Your New Faucet Turn on the water and test your new faucet. Make sure both hot and cold water are running properly and there are no leaks. Step 10: Clean Up Once your new faucet is successfully installed and functioning, clean up any tools and materials and enjoy your newly updated kitchen sink.Step-by-Step Guide for Installing a Kitchen Sink Faucet

Step-by-Step Guide for Installing a Kitchen Sink Faucet
:no_upscale()/cdn.vox-cdn.com/uploads/chorus_asset/file/19495086/drain_0.jpg)


Here is a list of the tools and materials you will need to install a kitchen sink faucet:Tools and Materials Needed for Installing a Kitchen Sink Faucet


Tools and Materials Needed for Installing a Kitchen Sink Faucet


Here are some helpful tips to keep in mind when installing a kitchen sink faucet:Tips for a Successful Kitchen Sink Faucet Installation


Tips for a Successful Kitchen Sink Faucet Installation


Here are some common mistakes to avoid when installing a kitchen sink faucet:Common Mistakes to Avoid When Installing a Kitchen Sink Faucet


Common Mistakes to Avoid When Installing a Kitchen Sink Faucet


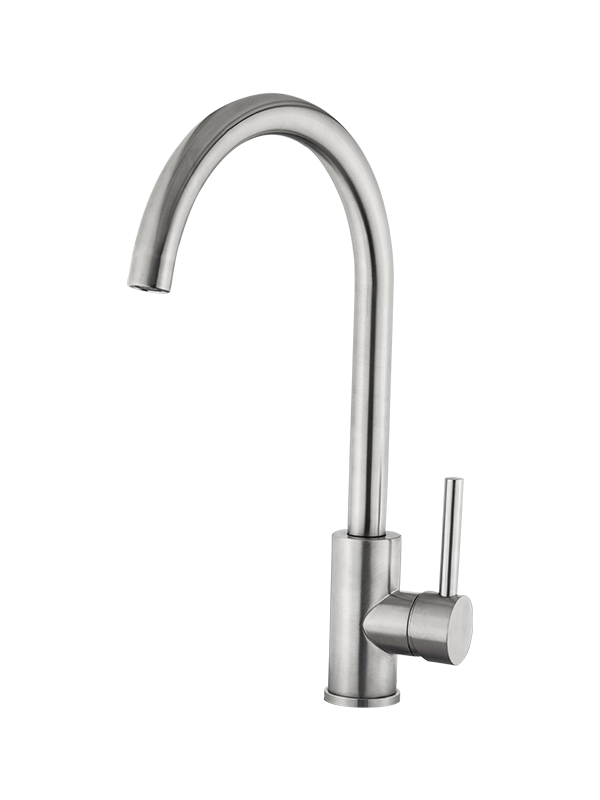
When choosing a kitchen sink faucet, consider the style of your kitchen and the functionality you need. There are many types of faucets available, including single handle, double handle, pull-down, and touchless. Make sure to choose a faucet that fits your sink and matches the overall aesthetic of your kitchen.How to Choose the Right Kitchen Sink Faucet for Your Space
/header-16x19-image-640w-853h.jpg)

How to Choose the Right Kitchen Sink Faucet for Your Space


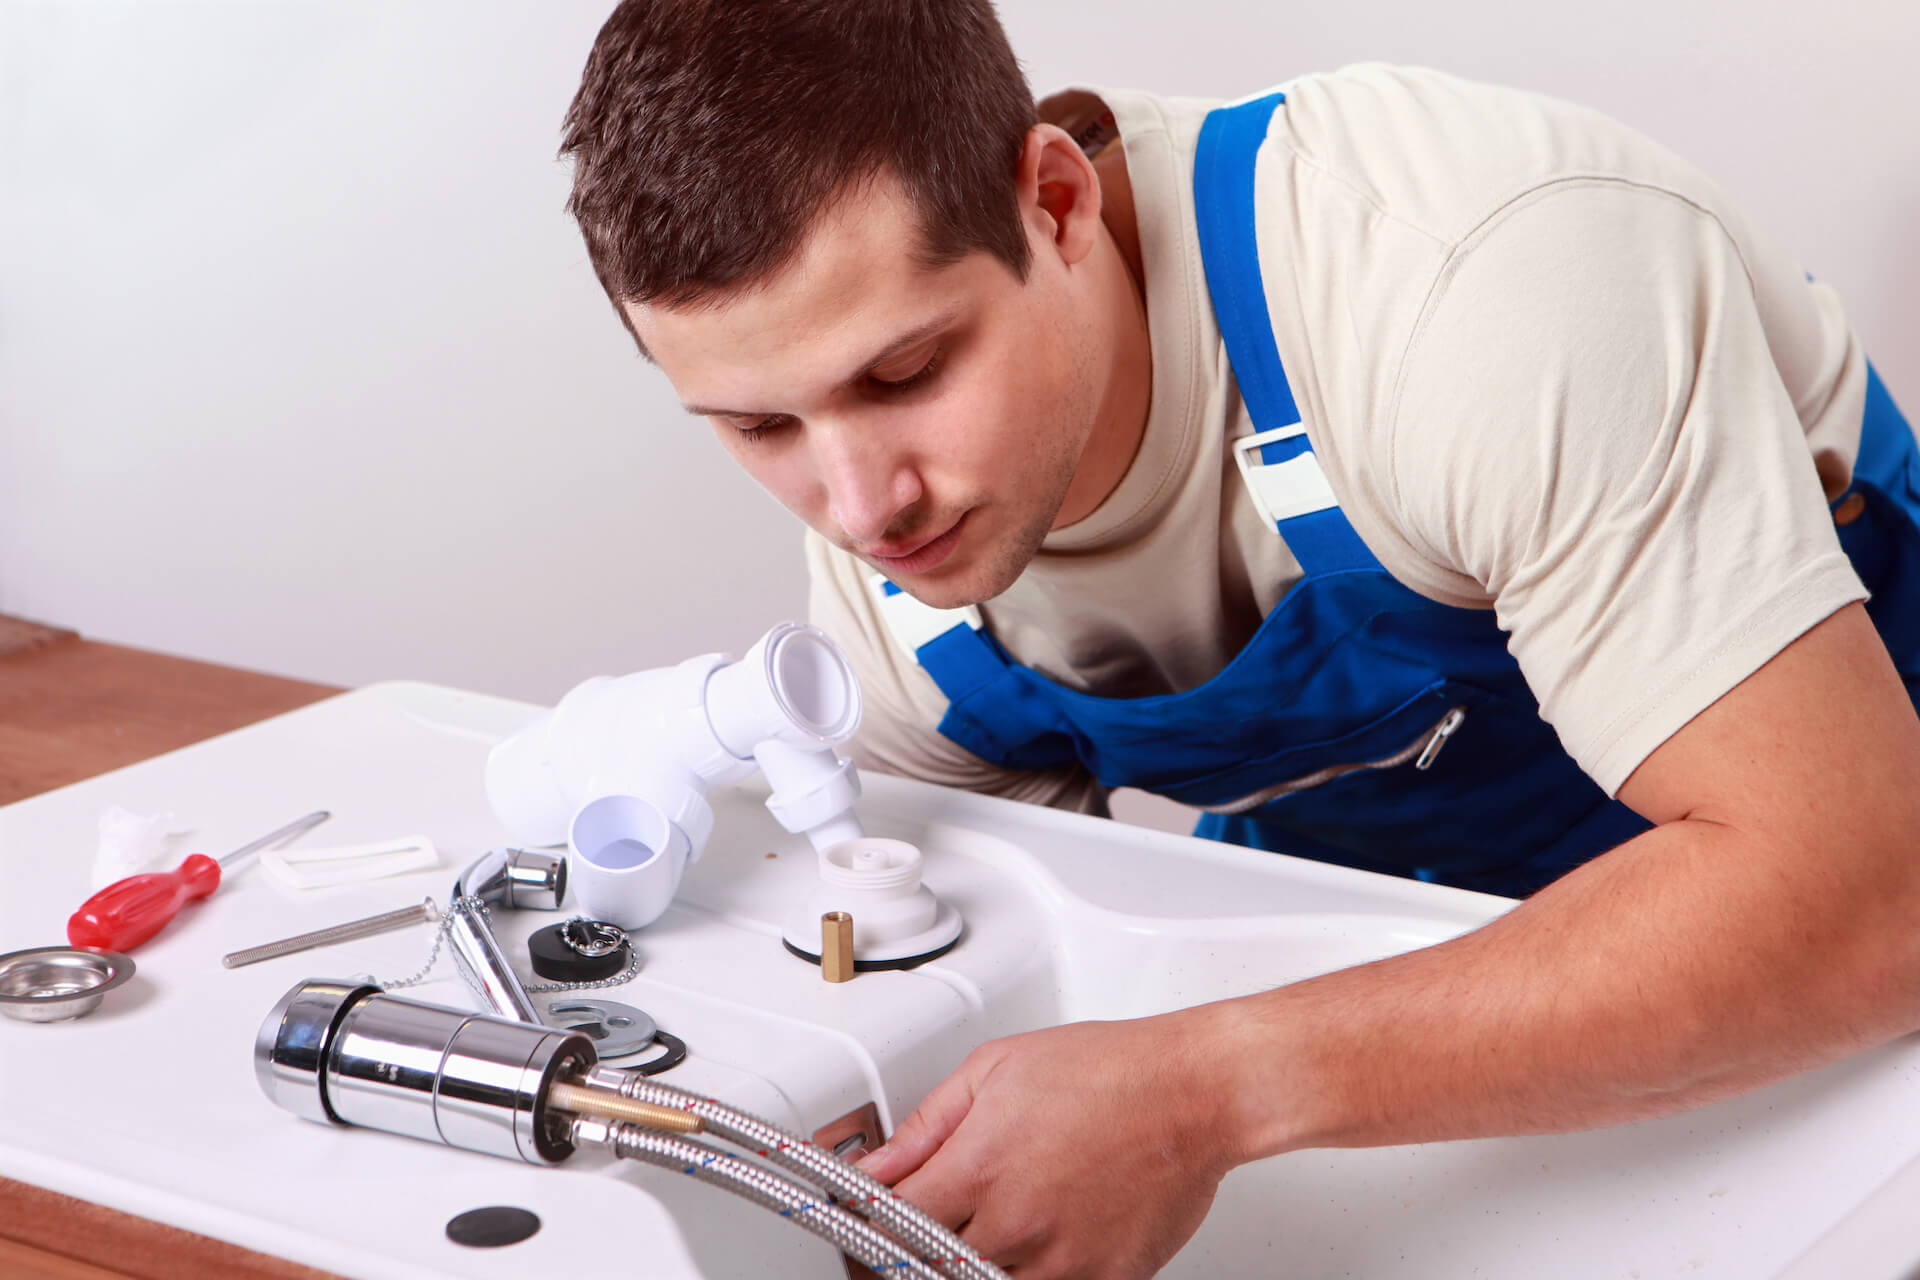
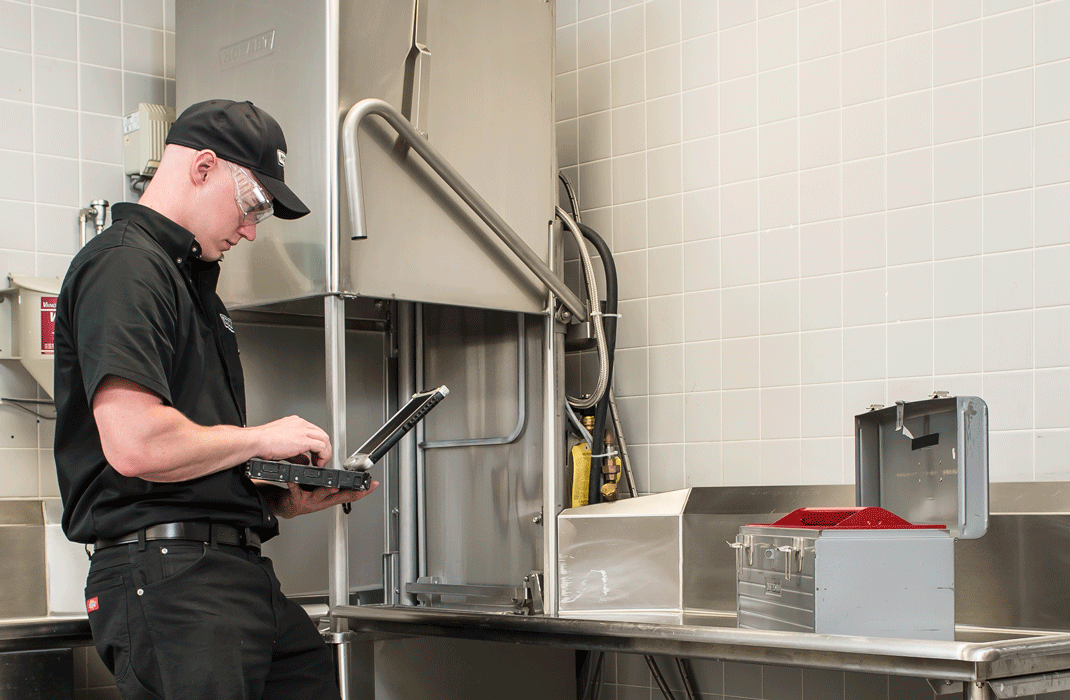
Deciding whether to hire a professional or do a DIY installation ultimately depends on your skill level and comfort with plumbing. If you have experience with basic plumbing tasks and feel confident in your abilities, a DIY installation can save you money. However, if you are not sure or have a more complex faucet to install, it may be best to hire a professional to ensure the job is done correctly.Professional vs. DIY Kitchen Sink Faucet Installation: Which is Right for You?


Professional vs. DIY Kitchen Sink Faucet Installation: Which is Right for You?

If you encounter any issues during the installation process, here are some troubleshooting tips:Troubleshooting Common Issues with Kitchen Sink Faucet Installation


Troubleshooting Common Issues with Kitchen Sink Faucet Installation


How to Install a Kitchen Sink Faucet: A Beginner's Guide

Why a Kitchen Sink Faucet is Important for House Design
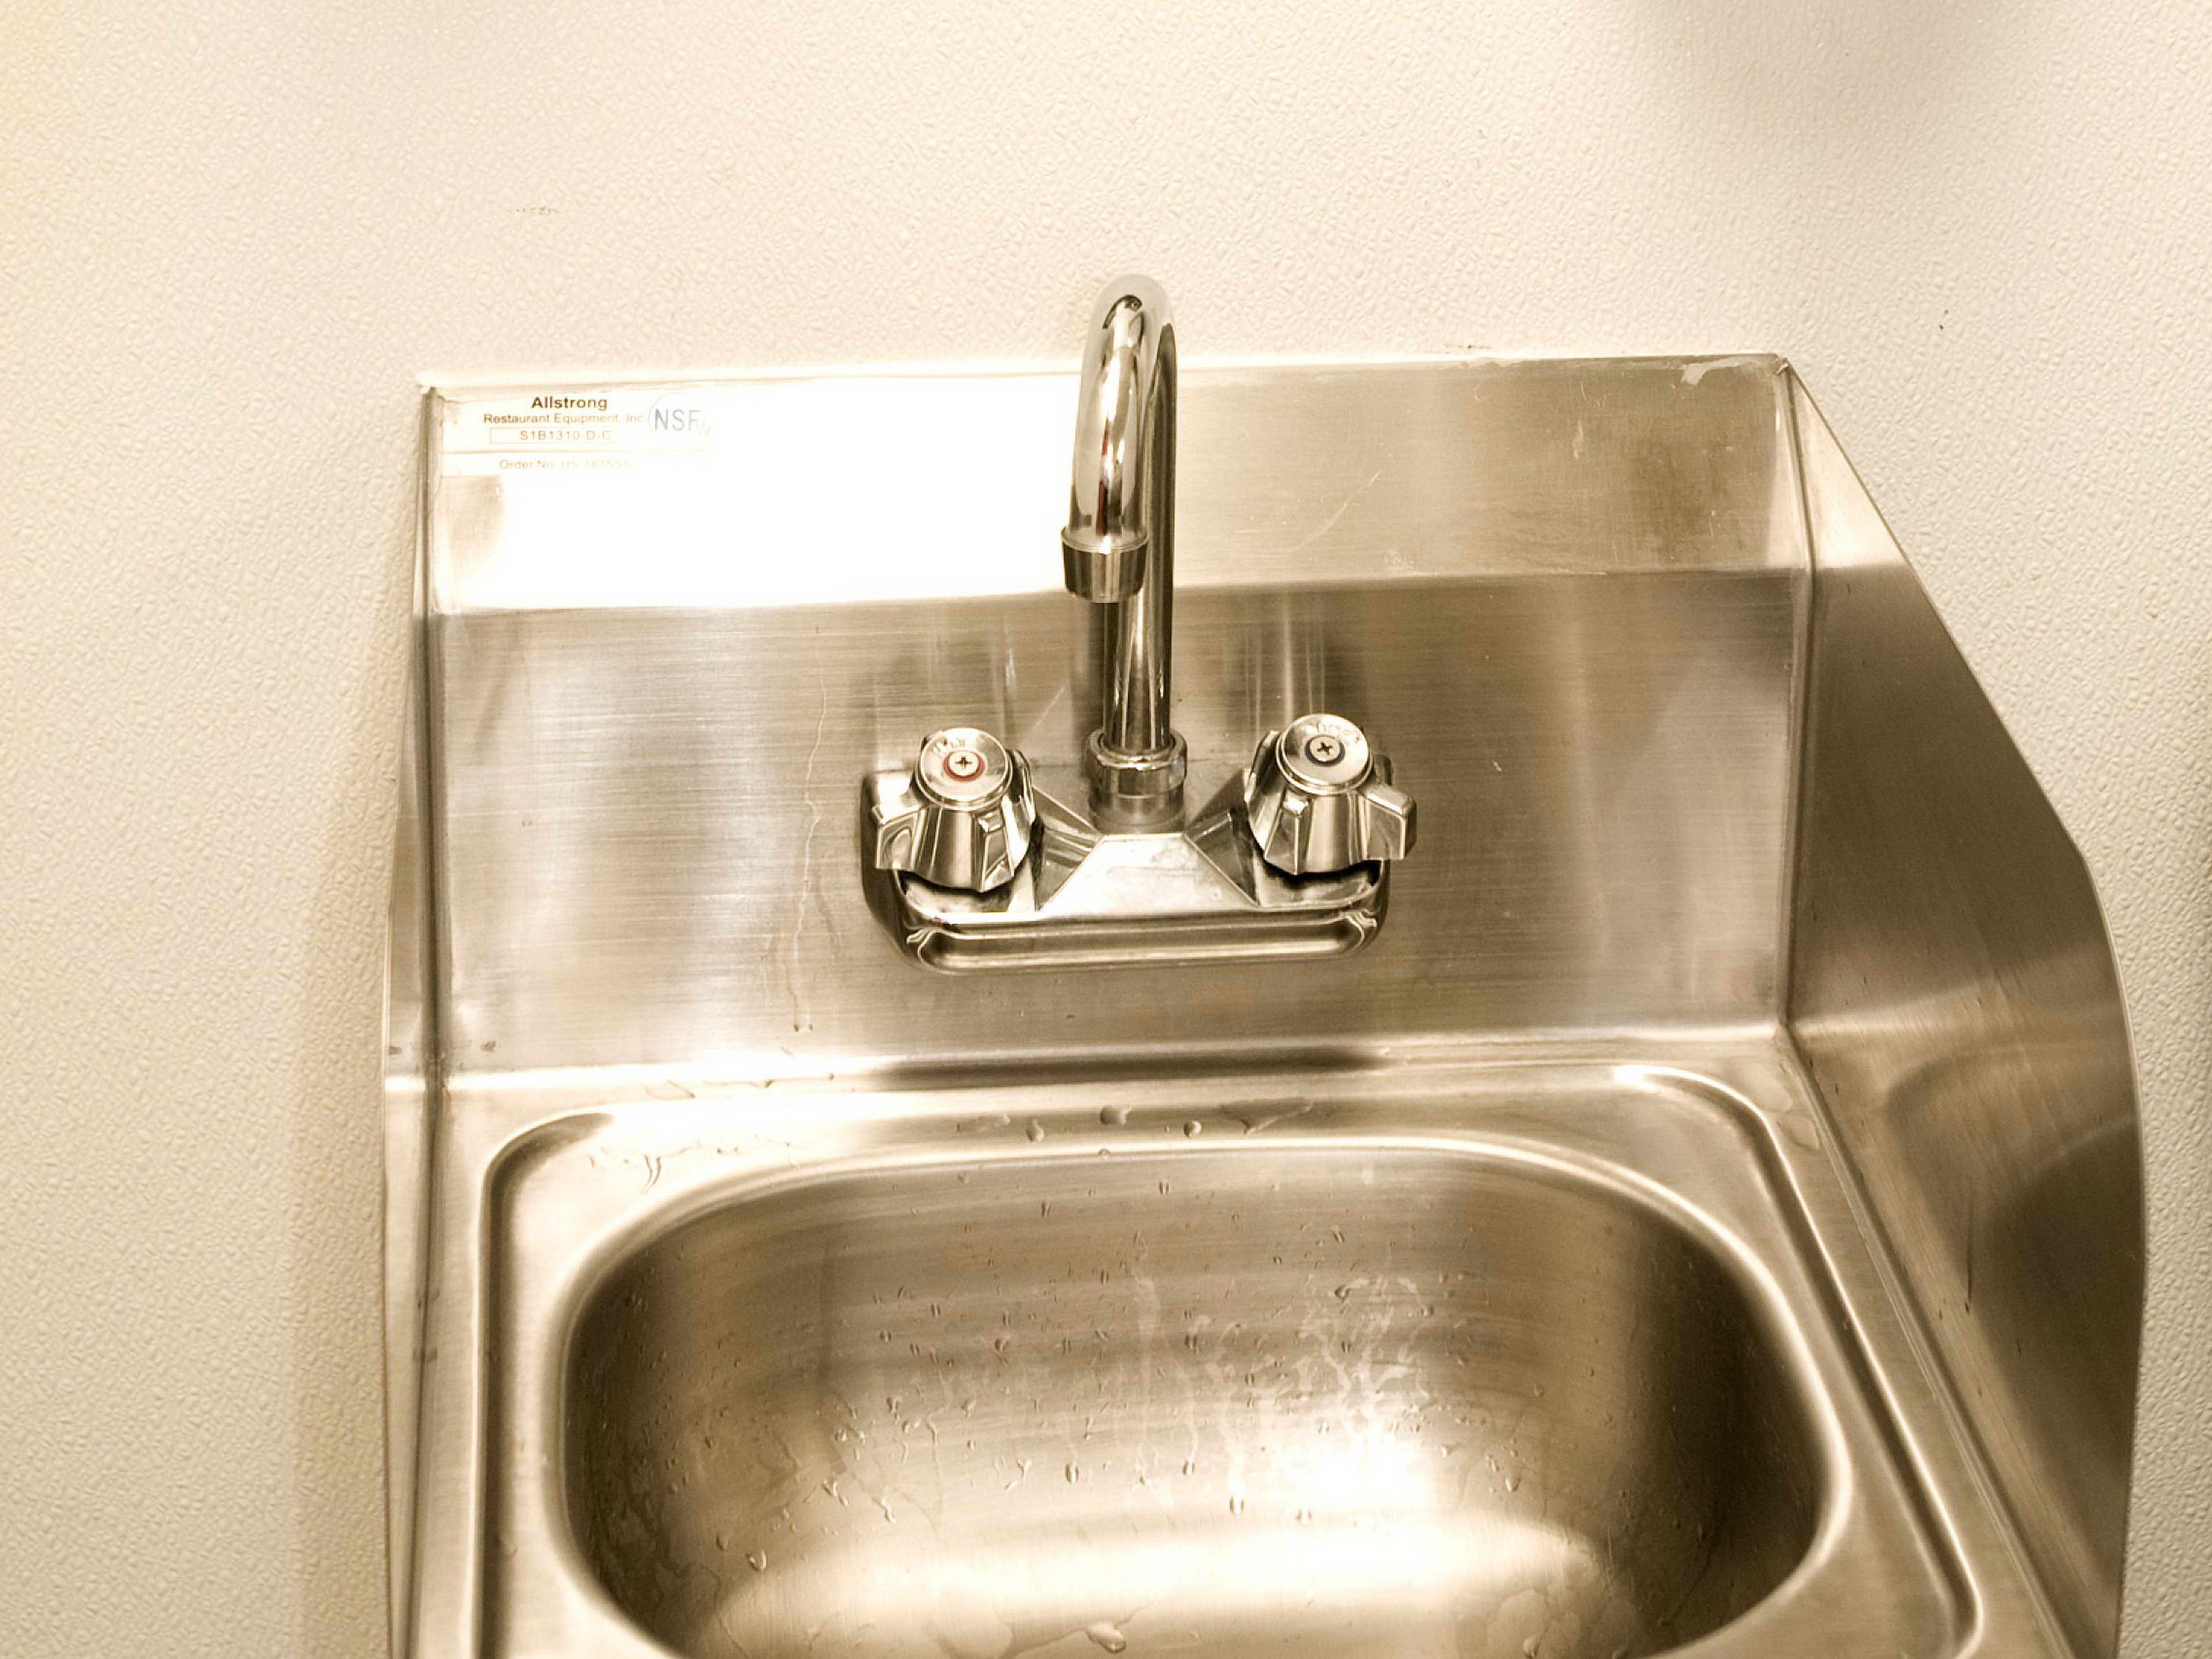
 When it comes to designing your dream kitchen, every little detail matters. This includes the kitchen sink faucet, which may seem like a small element but plays a crucial role in the overall functionality and aesthetics of your kitchen. Not only does it provide water for washing dishes and cooking, but it also adds to the overall look and feel of your kitchen. Therefore, it is important to choose and install the right kitchen sink faucet for your home.
Step-by-Step Guide to Installing a Kitchen Sink Faucet
 Installing a kitchen sink faucet may seem like a daunting task, but with the right tools and a little bit of patience, it can be done by anyone. Here is a step-by-step guide to help you install your kitchen sink faucet:
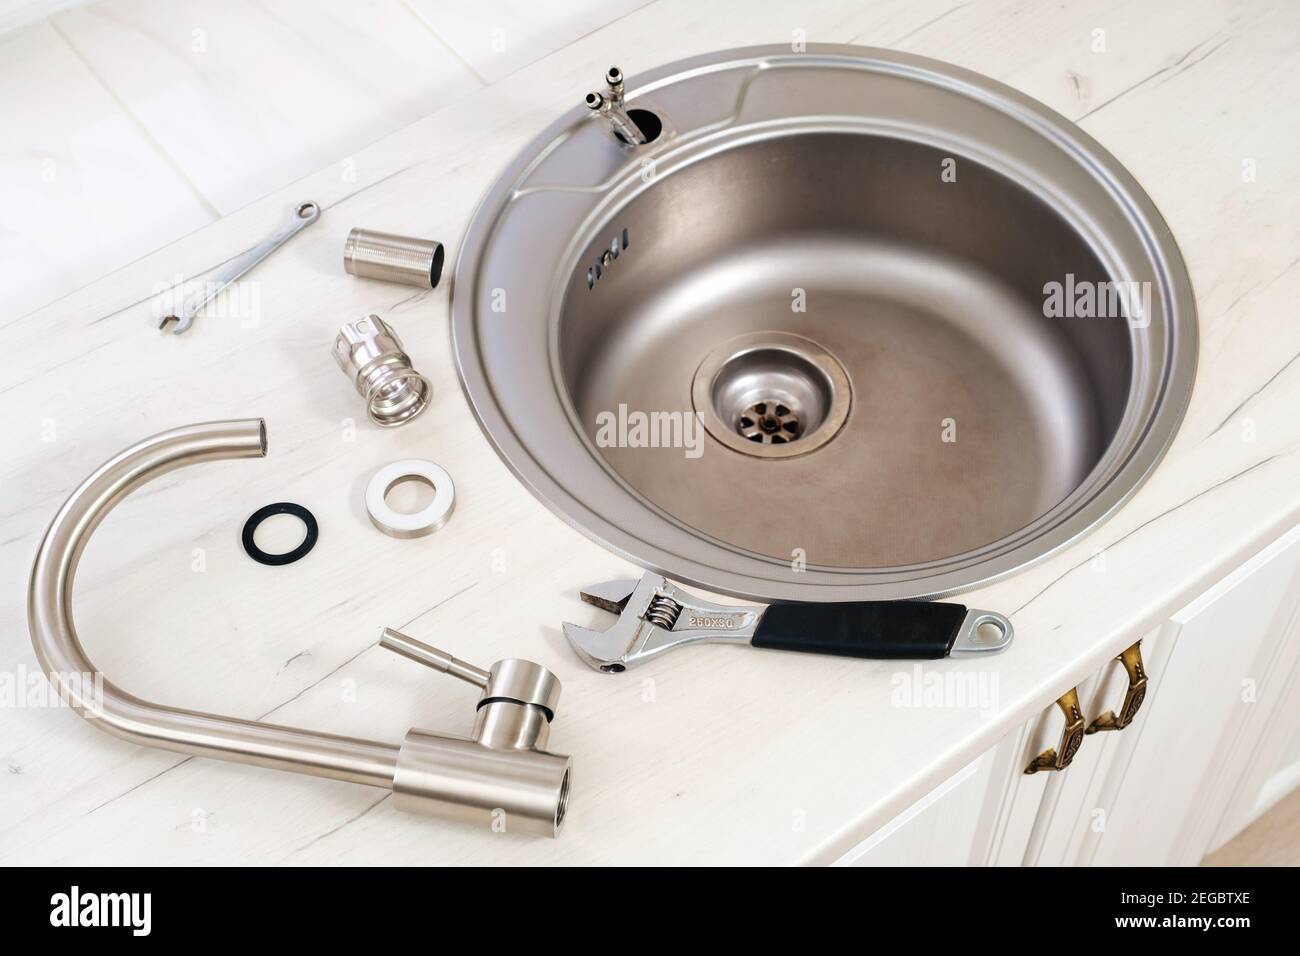
Step 1: Gather the Necessary Tools and Materials
Before you start the installation process, make sure you have all the necessary tools and materials. This includes a new kitchen sink faucet, adjustable wrench, plumber's tape, silicone caulk, and a bucket or towel to catch any water that may come out during the process.
Step 2: Shut Off the Water Supply
Before you begin, it is important to turn off the water supply to your kitchen. This can usually be done by turning the shut-off valves located under the sink in a clockwise direction.
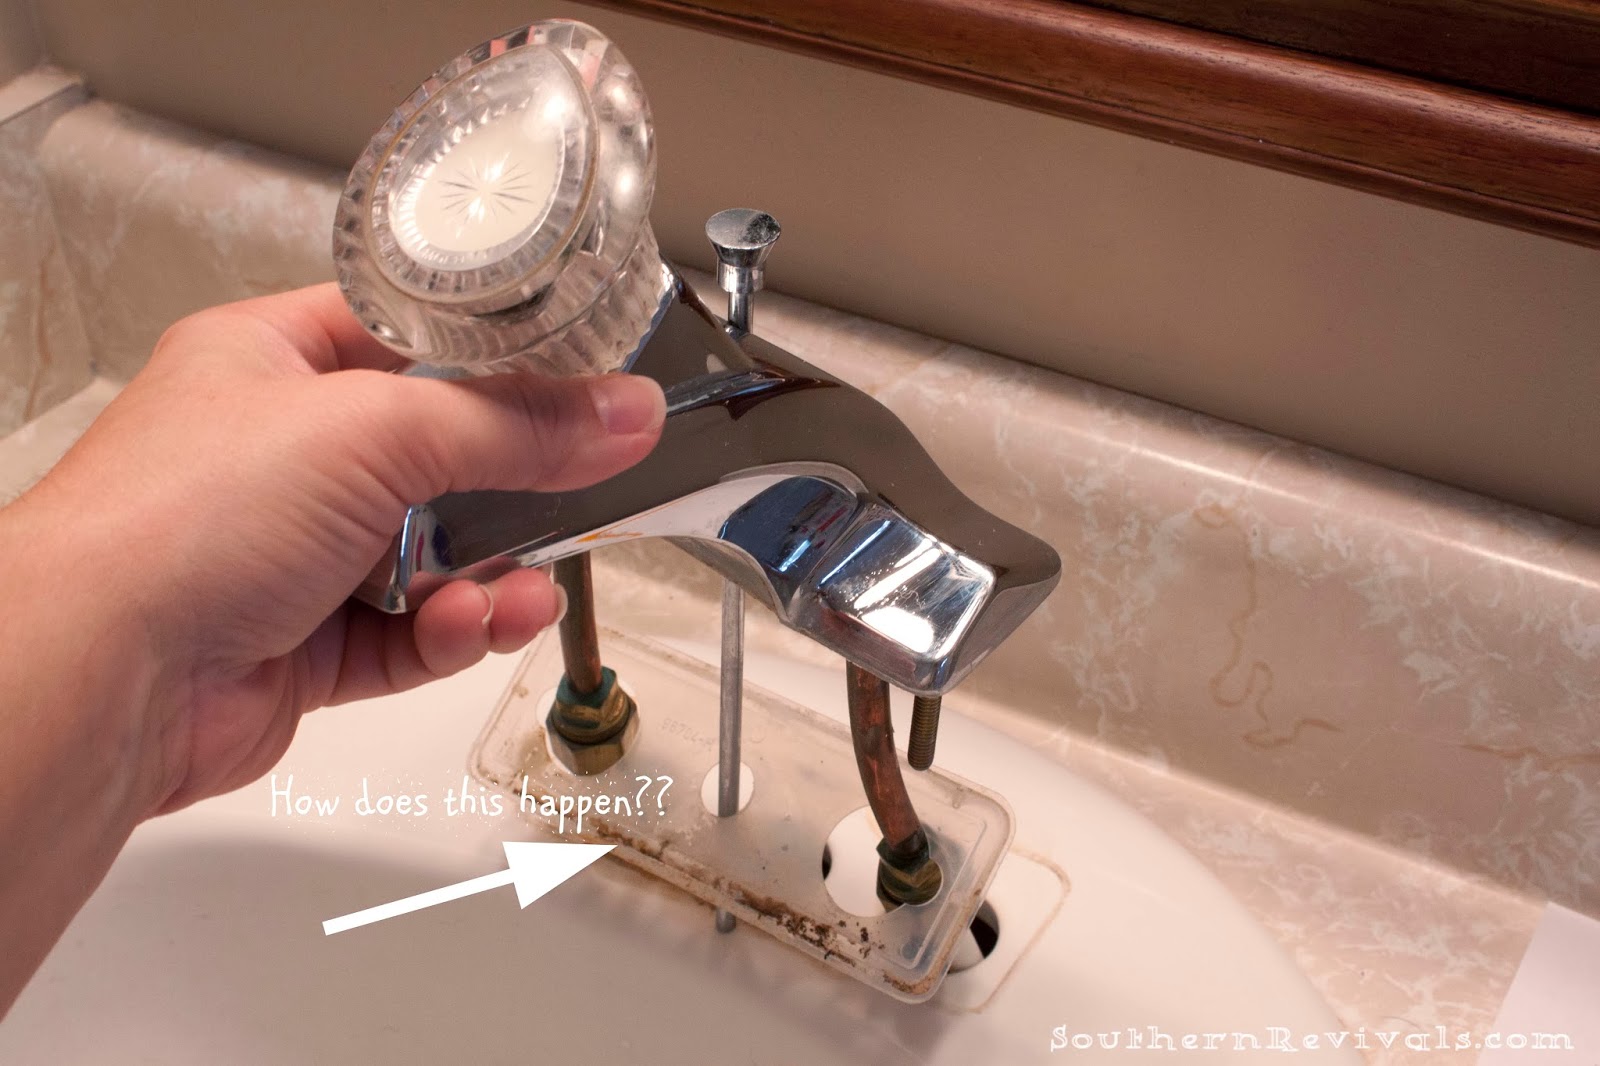
Step 3: Remove the Old Faucet
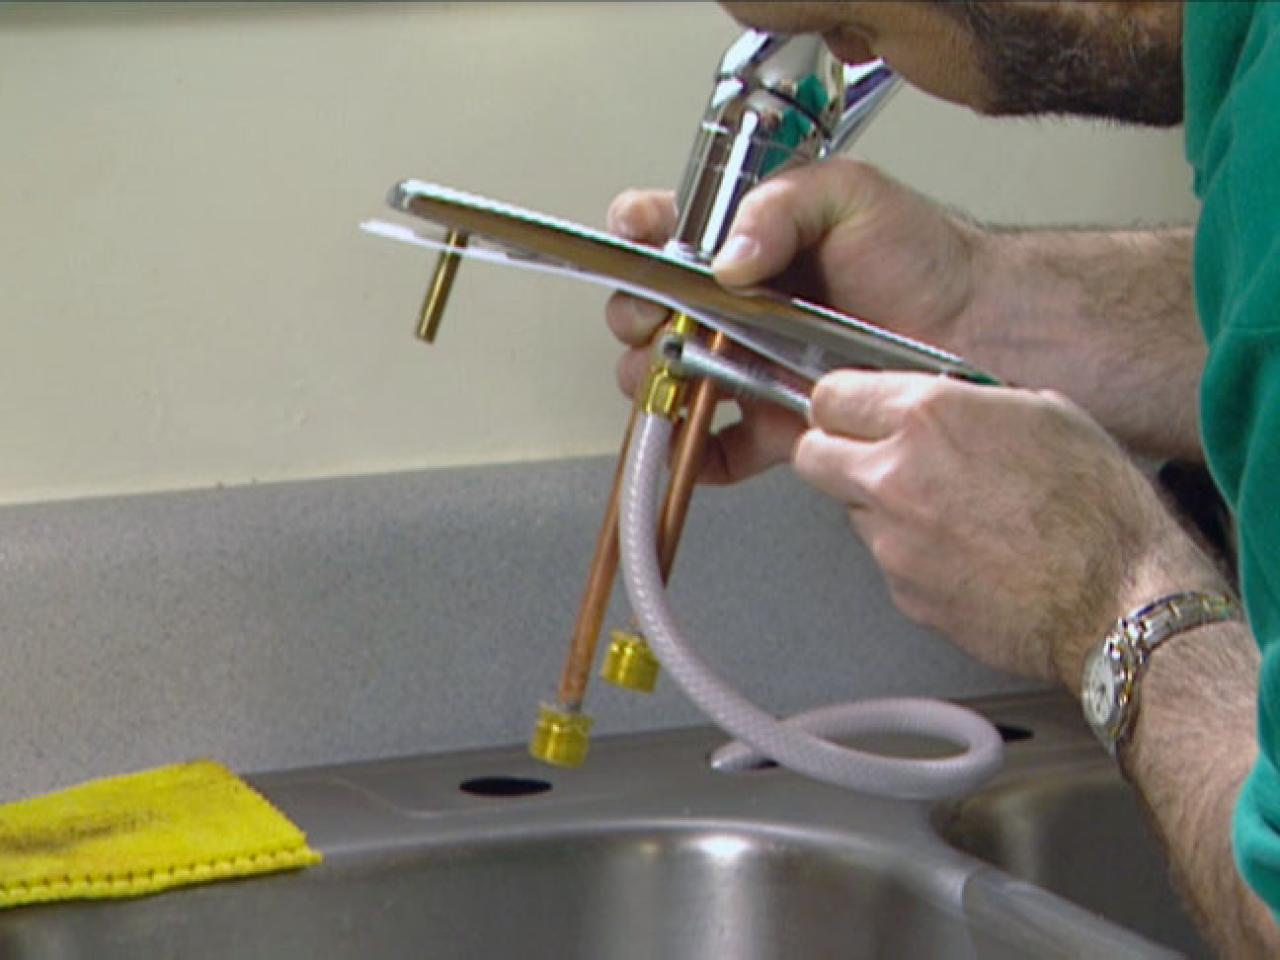
Using an adjustable wrench, loosen and remove the nuts and bolts that hold the old faucet in place. Once removed, gently lift the faucet and remove it from the sink. Use a putty knife to scrape off any old caulk or debris from the sink.
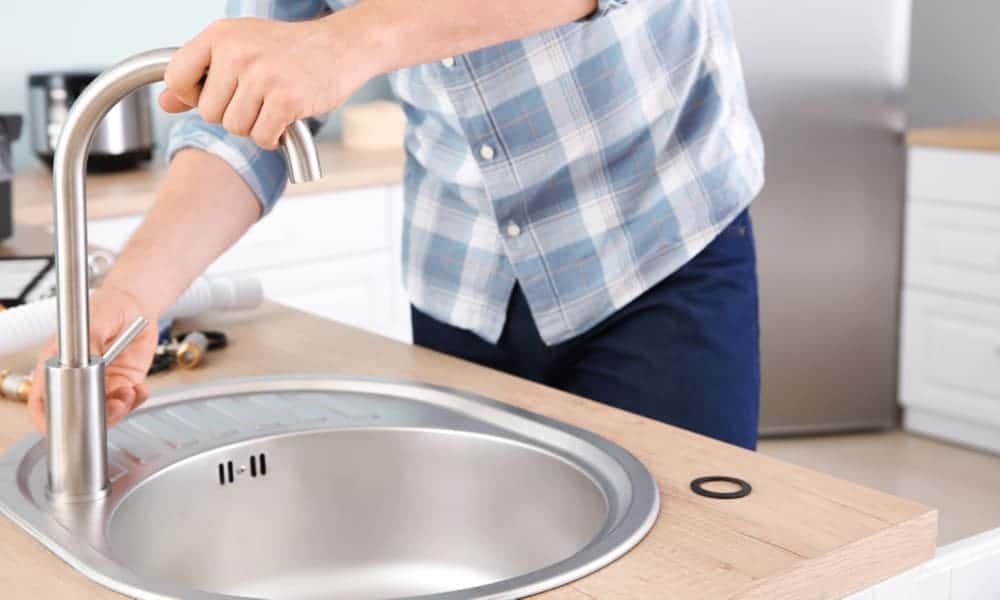
Step 4: Install the New Faucet
Take your new kitchen sink faucet and insert it into the hole in the sink. From underneath, secure it in place using the nuts and bolts provided. Make sure to use plumber's tape on the connections to prevent any leaks.
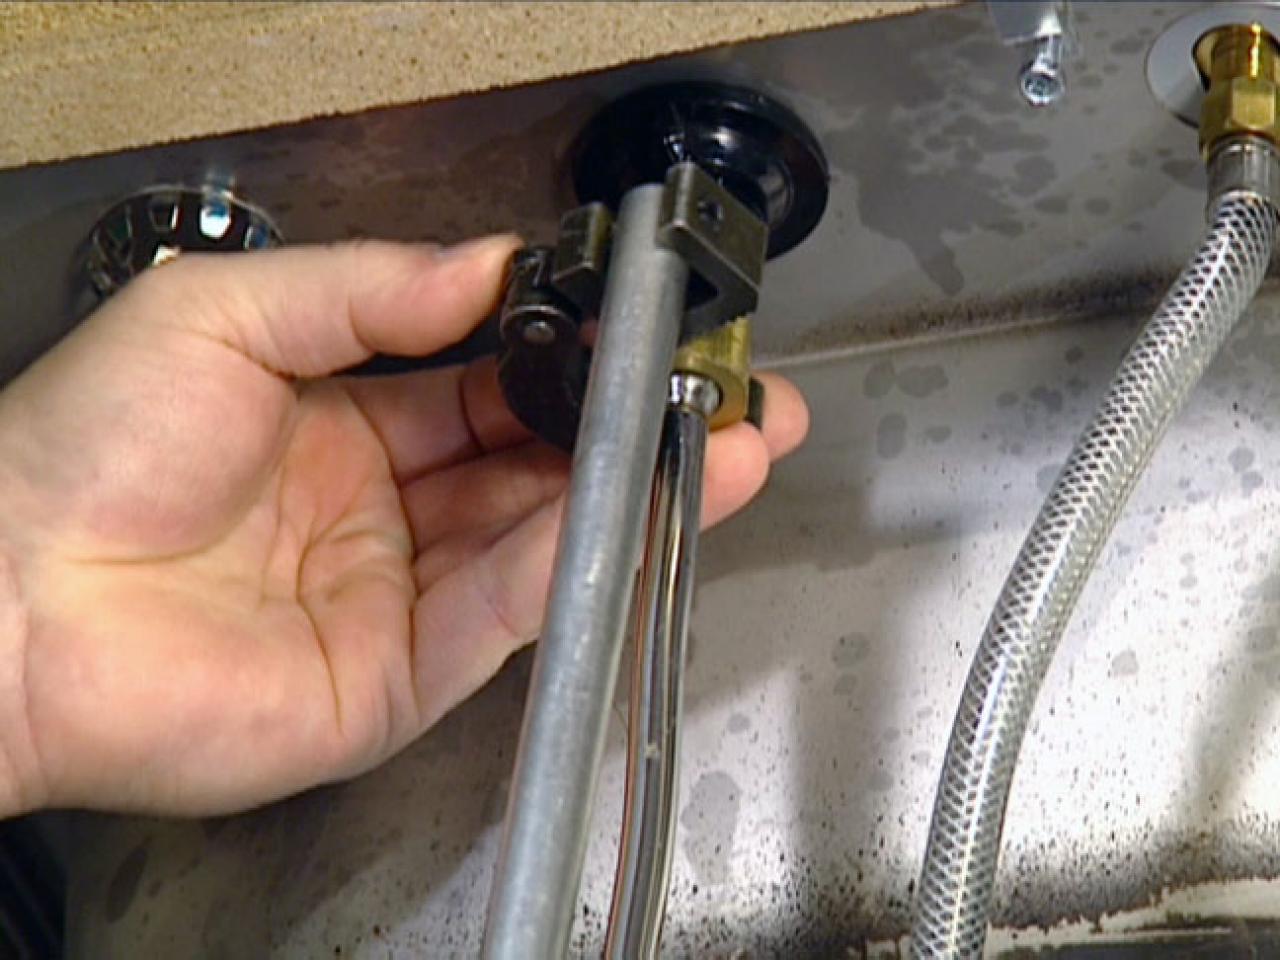
Step 5: Connect the Water Supply
Using your adjustable wrench, connect the hot and cold water supply lines to the corresponding valves on the faucet. Make sure they are securely tightened.
Step 6: Seal the Sink
To ensure a watertight seal, apply a thin layer of silicone caulk around the base of the faucet where it meets the sink. This will prevent any water from leaking underneath and causing damage.
Step 7: Turn on the Water and Test
Once the faucet is securely installed and sealed, turn the water supply back on and test your new kitchen sink faucet. If there are any leaks, tighten the connections or add more caulk as needed.
Installing a kitchen sink faucet may seem like a daunting task, but with the right tools and a little bit of patience, it can be done by anyone. Here is a step-by-step guide to help you install your kitchen sink faucet:
Step 1: Gather the Necessary Tools and Materials
Before you start the installation process, make sure you have all the necessary tools and materials. This includes a new kitchen sink faucet, adjustable wrench, plumber's tape, silicone caulk, and a bucket or towel to catch any water that may come out during the process.
Step 2: Shut Off the Water Supply
Before you begin, it is important to turn off the water supply to your kitchen. This can usually be done by turning the shut-off valves located under the sink in a clockwise direction.
Step 3: Remove the Old Faucet
Using an adjustable wrench, loosen and remove the nuts and bolts that hold the old faucet in place. Once removed, gently lift the faucet and remove it from the sink. Use a putty knife to scrape off any old caulk or debris from the sink.
Step 4: Install the New Faucet
Take your new kitchen sink faucet and insert it into the hole in the sink. From underneath, secure it in place using the nuts and bolts provided. Make sure to use plumber's tape on the connections to prevent any leaks.
Step 5: Connect the Water Supply
Using your adjustable wrench, connect the hot and cold water supply lines to the corresponding valves on the faucet. Make sure they are securely tightened.
Step 6: Seal the Sink
To ensure a watertight seal, apply a thin layer of silicone caulk around the base of the faucet where it meets the sink. This will prevent any water from leaking underneath and causing damage.
Step 7: Turn on the Water and Test
Once the faucet is securely installed and sealed, turn the water supply back on and test your new kitchen sink faucet. If there are any leaks, tighten the connections or add more caulk as needed.
Final Thoughts
 Installing a kitchen sink faucet is not only a practical task but also a chance to add a touch of style to your kitchen. With this step-by-step guide, you can easily install a new faucet and enhance the overall design of your kitchen. Remember to choose a faucet that complements your kitchen's style and meets your functional needs. Happy installing!
:max_bytes(150000):strip_icc()/cozylivingroomresized2-5ae3e1f8a96846e8a6ef8d01106625c1.jpg)