How to Install a Kitchen Sink and Countertop
Installing a new kitchen sink and countertop can give your kitchen a fresh, updated look while also improving its functionality. While this project may seem daunting, with the right tools and guidance, you can easily complete the installation yourself. In this guide, we will take you through the step-by-step process of installing a kitchen sink and countertop, along with tips, cost estimates, and the pros and cons of professional installation versus DIY. Let's get started!
DIY Kitchen Sink and Countertop Installation
If you're a handy homeowner looking to save some money, installing a kitchen sink and countertop on your own can be a rewarding and cost-effective project. However, it's crucial to do your research and follow the correct procedures to ensure a successful installation. With the right tools and materials, you can achieve professional-looking results without hiring a professional contractor.
Step-by-Step Guide for Installing a Kitchen Sink and Countertop
Before you begin, make sure to turn off the water supply and disconnect any plumbing attached to the sink and countertop. Then, follow these steps:
Step 1: Measure and Cut the Sink and Countertop
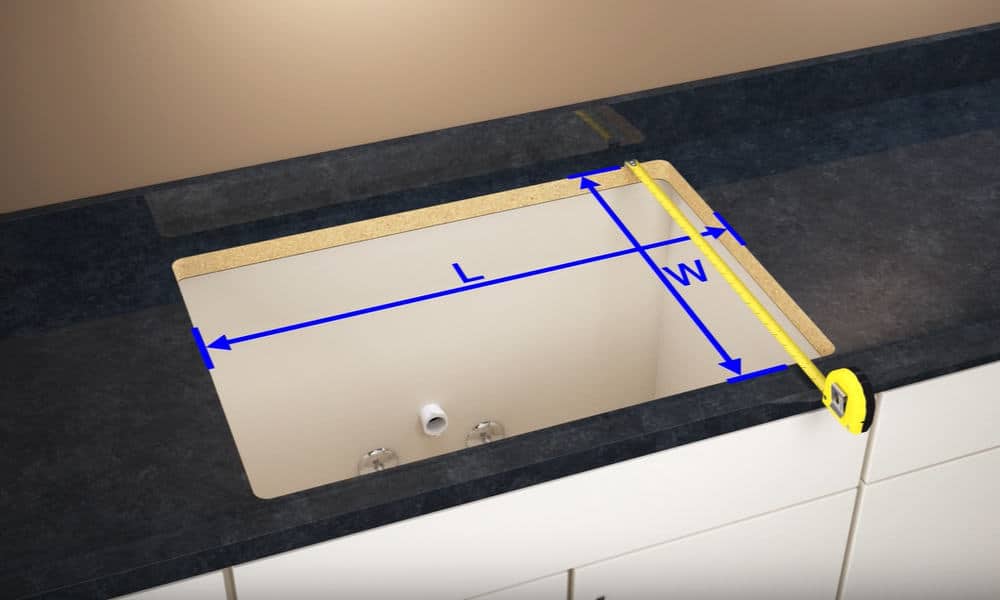
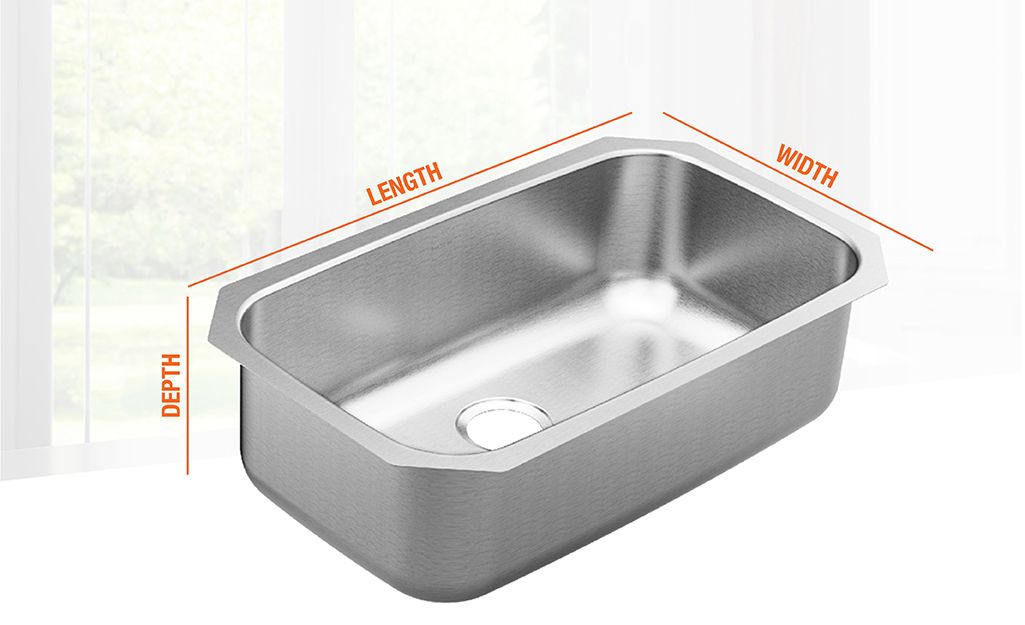
Using a measuring tape, measure the dimensions of your sink and countertop area. Then, use a jigsaw or circular saw to cut the sink and countertop to the correct size. This step is crucial to ensure a proper fit and a seamless installation.
Step 2: Install the Sink
Place the sink upside down on the countertop and trace its outline. Use a drill to create a starter hole, and then use a jigsaw to cut out the traced shape. Once the hole is cut, apply a bead of silicone caulk around the edge of the sink and carefully place it into the hole. Secure the sink in place with clips or brackets.
Step 3: Attach the Countertop to the Base Cabinets
If your countertop is not already attached to the base cabinets, use screws to secure it in place. Make sure the countertop is level and secure before moving on to the next step.
Step 4: Connect the Plumbing
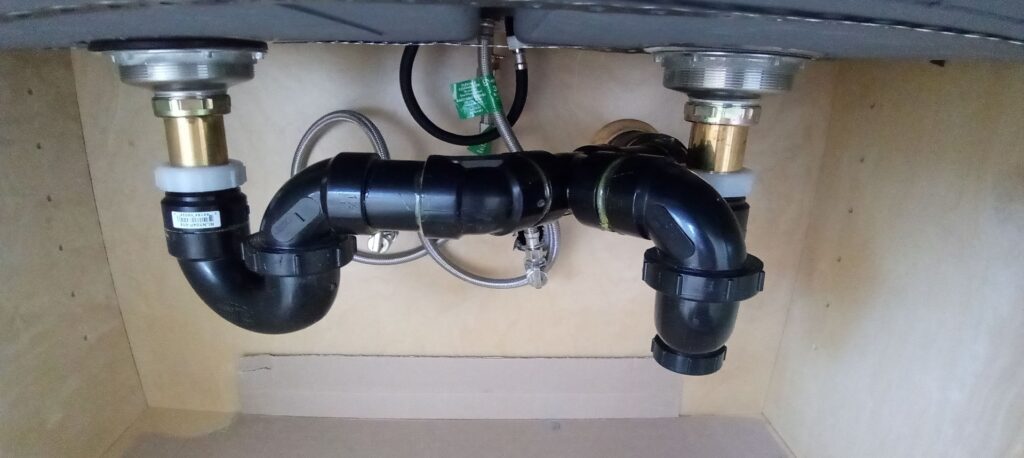
Reconnect the plumbing by attaching the sink drain and water supply lines. Make sure all connections are tight to avoid any leaks.
Step 5: Install the Faucet
If you are installing a new faucet, follow the manufacturer's instructions to attach it to the sink. Make sure to connect all water supply lines properly.
Step 6: Seal the Edges
Once the sink and countertop are in place, use silicone caulk to seal any gaps or edges. This will prevent water from seeping in and causing damage.
Tools and Materials Needed for Installing a Kitchen Sink and Countertop
To successfully install a kitchen sink and countertop, you will need the following tools and materials:
Tools:
- Measuring tape
- Jigsaw or circular saw
- Drill
- Screwdriver
- Adjustable wrench
- Silicone caulk gun
Materials:
- Kitchen sink
- Countertop
- Silicone caulk
- Screws
- Faucet (if installing a new one)
- Plumber's putty (if required for faucet installation)
Tips for a Successful Kitchen Sink and Countertop Installation
TIP: Before starting the installation, make sure to read and follow the instructions provided by the manufacturer for your specific sink and countertop. This will ensure that you have all the necessary tools and materials, and will save you time and potential mistakes.
TIP: When cutting the sink and countertop, always measure twice and cut once to avoid any mistakes.
TIP: Use a level to ensure that the sink and countertop are installed evenly and securely.
TIP: Take your time and be patient during the installation process. Rushing can lead to mistakes and a subpar result.
Common Mistakes to Avoid When Installing a Kitchen Sink and Countertop
Mistake: Not measuring accurately or cutting the sink and countertop incorrectly can result in an ill-fitting installation.
Mistake: Not properly securing the sink or countertop can lead to movement and potential damage in the future.
Mistake: Forgetting to turn off the water supply before disconnecting plumbing can result in a messy and potentially damaging situation.
Mistake: Not sealing the edges properly can lead to water damage and mold growth.
Costs and Time Estimates for Installing a Kitchen Sink and Countertop
The cost of installing a kitchen sink and countertop can vary depending on the materials used, the size of the project, and whether you choose to hire a professional or complete the installation yourself. On average, the cost can range from $500 to $2,500 for materials and labor.
The time it takes to complete the installation can also vary, but it typically takes 4-8 hours for a DIY installation, and 2-3 hours for a professional installation.
Connecting Plumbing and Finishing Touches for a Kitchen Sink and Countertop Installation
After the sink and countertop are installed, make sure to reconnect the plumbing and turn the water supply back on. Check for any leaks and fix them immediately if found. Once everything is connected and secure, you can add any finishing touches, such as caulk or trim, to complete the look.
Professional Installation vs. DIY for a Kitchen Sink and Countertop
While hiring a professional to install your kitchen sink and countertop may seem like the easier option, it can also be more costly. By completing the installation yourself, you can save money and have the satisfaction of completing the project on your own. However, if you are not confident in your DIY skills or do not have the necessary tools, it may be best to hire a professional for a seamless and stress-free installation.
Now that you have a better understanding of the process and requirements for installing a kitchen sink and countertop, you can confidently tackle this project on your own or decide to hire a professional. With the right tools, materials, and patience, you can transform your kitchen and create a beautiful and functional space for cooking and entertaining.
Why Proper Installation of Your Kitchen Sink and Countertop is Essential for a Functional and Stylish Home

The Importance of a Well-Designed Kitchen
 Kitchen
is often considered the heart of a home, and for good reason. It is where families come together to cook, eat, and bond. A well-designed
kitchen
not only adds value to your home, but it also enhances your daily routine and makes cooking an enjoyable experience. When it comes to designing a
kitchen
, the
sink
and
countertop
are two essential elements that can make or break the functionality and style of the space. That's why it's crucial to pay attention to the installation process of these two key components.
The Importance of a Properly Installed Kitchen Sink
 A kitchen sink
is one of the most frequently used fixtures in a
kitchen
. It serves multiple purposes, from washing dishes to filling up pots and pans for cooking. That's why it's crucial to have it installed correctly to ensure its functionality and durability. A
poorly installed kitchen sink
can lead to leaks, clogs, and even damage to your cabinets and flooring. It can also be a safety hazard, especially if the sink is not securely attached and can fall off. Therefore, it's essential to hire a professional to install your
kitchen sink
to avoid any potential issues in the future.
The Importance of a Properly Installed Countertop
 A kitchen countertop
is not only a functional surface for preparing food, but it also adds to the overall aesthetic of your
kitchen
. It is also exposed to a lot of wear and tear, from hot pots and pans to spills and scratches. That's why it's crucial to have it installed correctly to ensure its durability and longevity. A
poorly installed countertop
can lead to uneven surfaces, cracks, and stains, which not only affect its functionality but also its appearance. A professional installation will ensure that your
countertop
is secure, level, and sealed properly to withstand daily use.
The Importance of Hiring a Professional for Installation
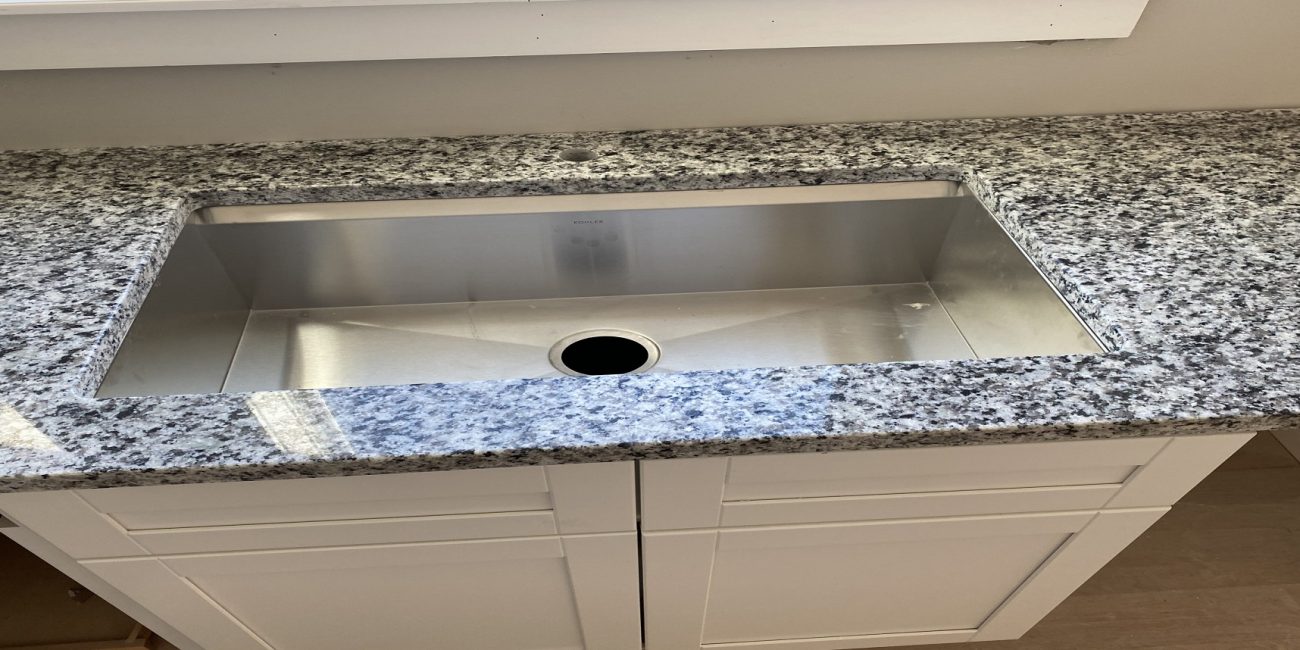 With
kitchen sink
and
countertop
being such crucial elements in a
kitchen
, it's essential to hire a professional for their installation. A professional will have the necessary experience, skills, and tools to ensure a proper and secure installation. They will also be able to provide guidance and advice on choosing the right materials and designs to fit your needs and preferences. Additionally, hiring a professional will save you time and effort, as they will handle all the necessary steps, from measuring to cutting and installing, leaving you with a functional and stylish
kitchen
.
In conclusion, a properly installed
kitchen sink
and
countertop
are crucial for a functional and stylish
kitchen
. It's essential to hire a professional for their installation to ensure their durability, functionality, and safety. So, if you're planning to
install a new kitchen sink and countertop
, make sure to do it right by hiring a professional for a hassle-free and successful installation process.







:no_upscale()/cdn.vox-cdn.com/uploads/chorus_asset/file/19495086/drain_0.jpg)



















:max_bytes(150000):strip_icc()/284559-article-a-guide-to-the-standard-crib-mattress-size-5ac50d3ac5542e0037d552d1.png)


