Installing an Ikea bathroom vanity can be a great way to update the look of your bathroom without breaking the bank. With its modern designs and affordable prices, Ikea offers a wide range of options for your bathroom vanity needs. But the idea of installing it yourself may seem daunting. Don't worry, we've got you covered. In this guide, we'll take you through the step-by-step process of installing an Ikea bathroom vanity.How to Install an Ikea Bathroom Vanity
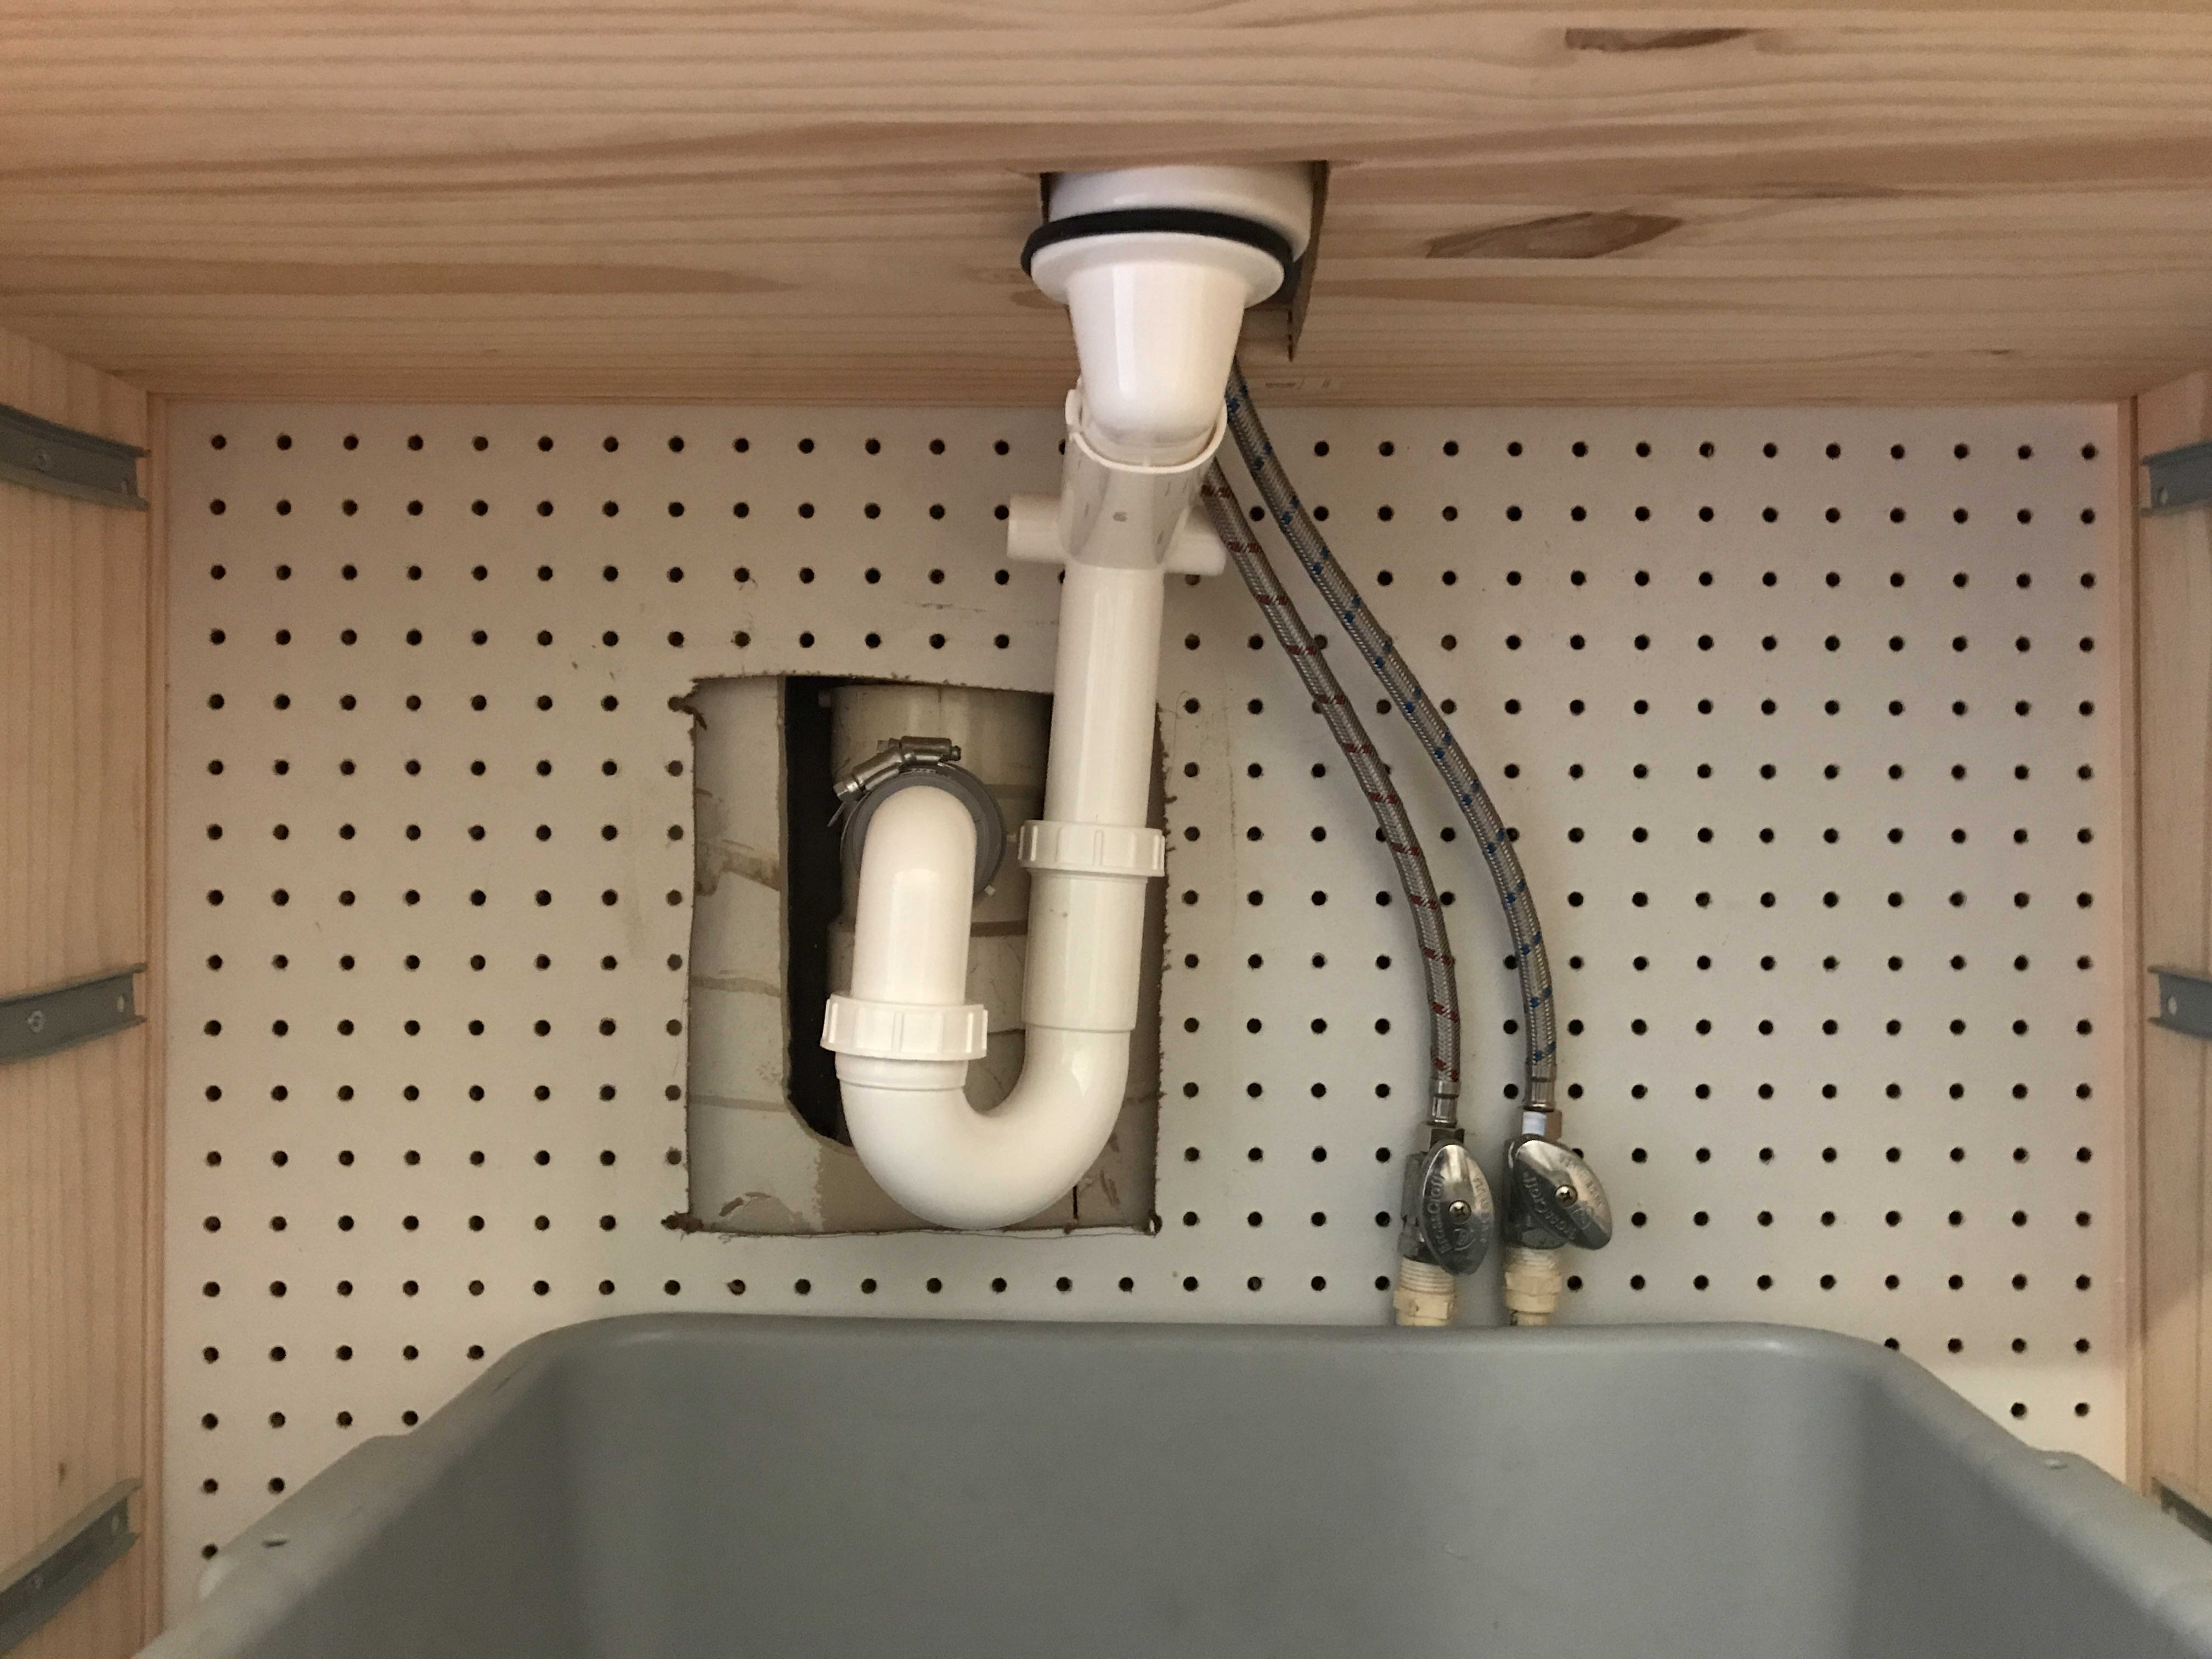
Step 1: Measure and Plan - Before you begin the installation process, it's important to measure the space where your vanity will go and make sure it fits. Take into account any pipes or other fixtures that may need to be accounted for. Once you've determined the size of your vanity, make a plan for where you will place it in your bathroom. Step 2: Gather Your Tools and Materials - To make the installation process smoother, gather all the necessary tools and materials beforehand. You will need a drill, screwdriver, level, measuring tape, and a hammer. You will also need the hardware that comes with your Ikea bathroom vanity, as well as any additional items like caulk and shims. Step 3: Prepare the Space - Before you install the vanity, make sure the space is prepared. Remove any old fixtures and clean the area thoroughly. If your vanity has a back panel, you may need to cut a hole in it for your pipes. Measure and mark where the hole needs to be before cutting it out. Step 4: Assemble the Vanity - Most Ikea bathroom vanities come with instructions for assembly. Follow these instructions carefully to ensure that your vanity is put together correctly. Use the provided hardware and tools to secure all the pieces in place. Step 5: Position the Vanity - Once your vanity is assembled, carefully move it into place in your bathroom. Use a level to make sure it is straight, and adjust as needed. This is also a good time to make sure the vanity is the correct height for your needs. Step 6: Secure the Vanity to the Wall - Using the screws provided, secure the vanity to the wall. Make sure it is level and secure before moving on to the next step. Step 7: Connect the Plumbing - Now it's time to connect your plumbing. If your vanity has pre-cut holes for the pipes, simply connect them and use the provided hardware to secure them in place. If not, you may need to cut holes for your pipes using a drill. Step 8: Add Finishing Touches - Once your vanity is secured and your plumbing is connected, it's time to add any finishing touches. Apply caulk around the edges of the vanity to seal it and prevent water damage. You may also want to add shims under the vanity to level it out.Step-by-Step Guide for Installing an Ikea Bathroom Vanity
Installing an Ikea bathroom vanity may seem like a daunting task, but with the right tools and a little bit of patience, it can be done easily. Follow our step-by-step tutorial for a smooth and successful installation process.Ikea Bathroom Vanity Installation Tutorial
If you're looking to save some money and take on a fun DIY project, installing an Ikea bathroom vanity is a great option. With its easy-to-follow instructions and affordable prices, it's a perfect project for any DIY enthusiast.DIY Ikea Bathroom Vanity Installation
Here are some tips to keep in mind when installing an Ikea bathroom vanity:Tips for Installing an Ikea Bathroom Vanity
Assembling and installing an Ikea bathroom vanity may seem like a daunting task, but with the right tools and instructions, it can be done easily. Make sure to carefully follow the provided instructions and take your time to ensure a successful installation.Ikea Bathroom Vanity Assembly and Installation
Before you begin the installation process, here are some important things to keep in mind:Installing an Ikea Bathroom Vanity: What You Need to Know
While installing an Ikea bathroom vanity can be a straightforward process, there are some common mistakes that can happen. Here are some to avoid:Ikea Bathroom Vanity Installation: Common Mistakes to Avoid
Before you begin the installation process, it's important to measure the space and prepare it accordingly. Here's how:How to Measure and Prepare for Installing an Ikea Bathroom Vanity
Here are the tools and materials you'll need to successfully install an Ikea bathroom vanity:Ikea Bathroom Vanity Installation: Tools and Materials You'll Need
How to Install an Ikea Bathroom Vanity

Gather Your Tools and Materials
 Before beginning your Ikea bathroom vanity installation, make sure you have all the necessary tools and materials. You will need a screwdriver, hammer, level, drill, measuring tape, and a pencil. It's also helpful to have a friend or family member to assist you with lifting and holding the vanity in place.
Prepare the Space
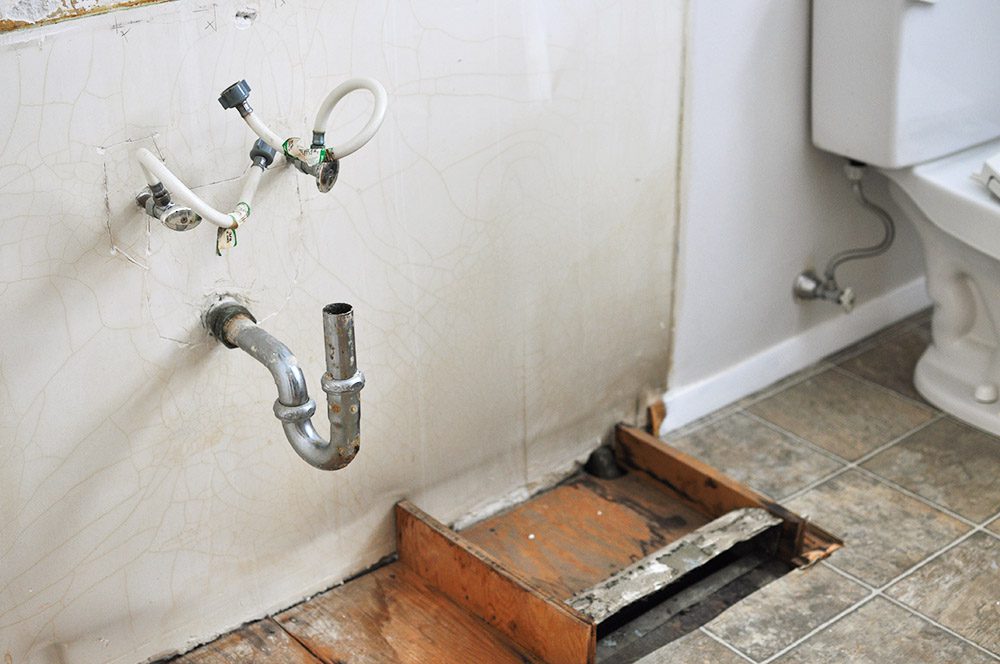
 The first step in installing your Ikea bathroom vanity is to prepare the space where it will be installed. Start by removing the old vanity and disconnecting the plumbing. Next, measure and mark the placement of the new vanity on the wall. Make sure to account for any gaps needed for plumbing and electrical outlets.
Assemble the Vanity
 Now it's time to assemble the Ikea bathroom vanity. Lay out all the pieces and follow the instructions provided. Use the included hardware and follow the diagrams carefully to ensure the vanity is put together correctly. Once assembled, flip the vanity over and attach the legs and feet.
Secure the Vanity to the Wall
Connect the Plumbing
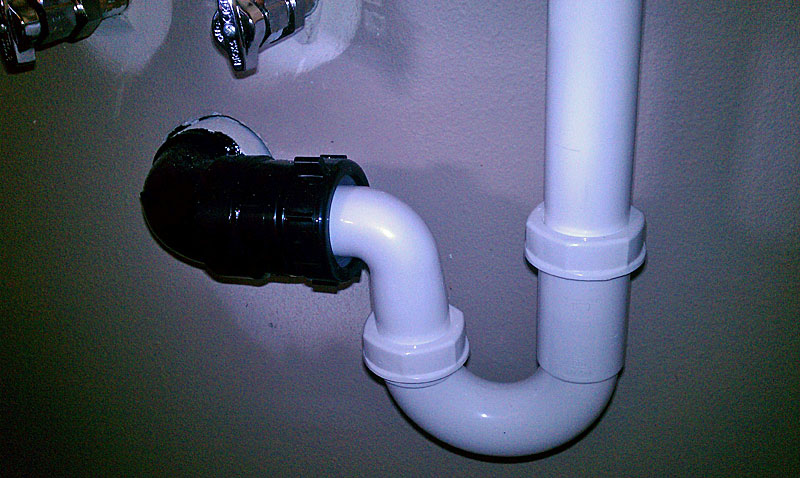
 With the vanity securely in place, it's time to reconnect the plumbing. This may involve installing a new faucet, sink, and drain. Follow the manufacturer's instructions and make sure all connections are tight and leak-free.
Add Finishing Touches
Enjoy Your New Ikea Bathroom Vanity
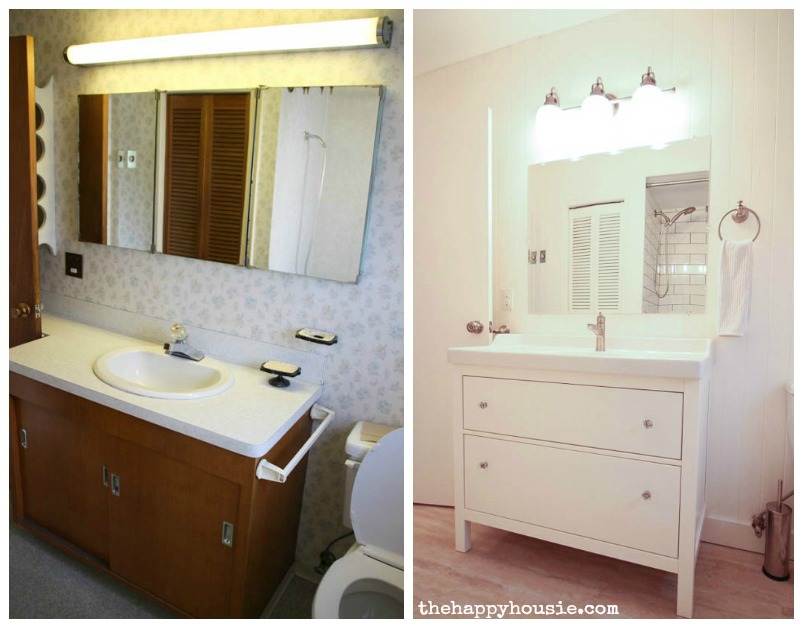
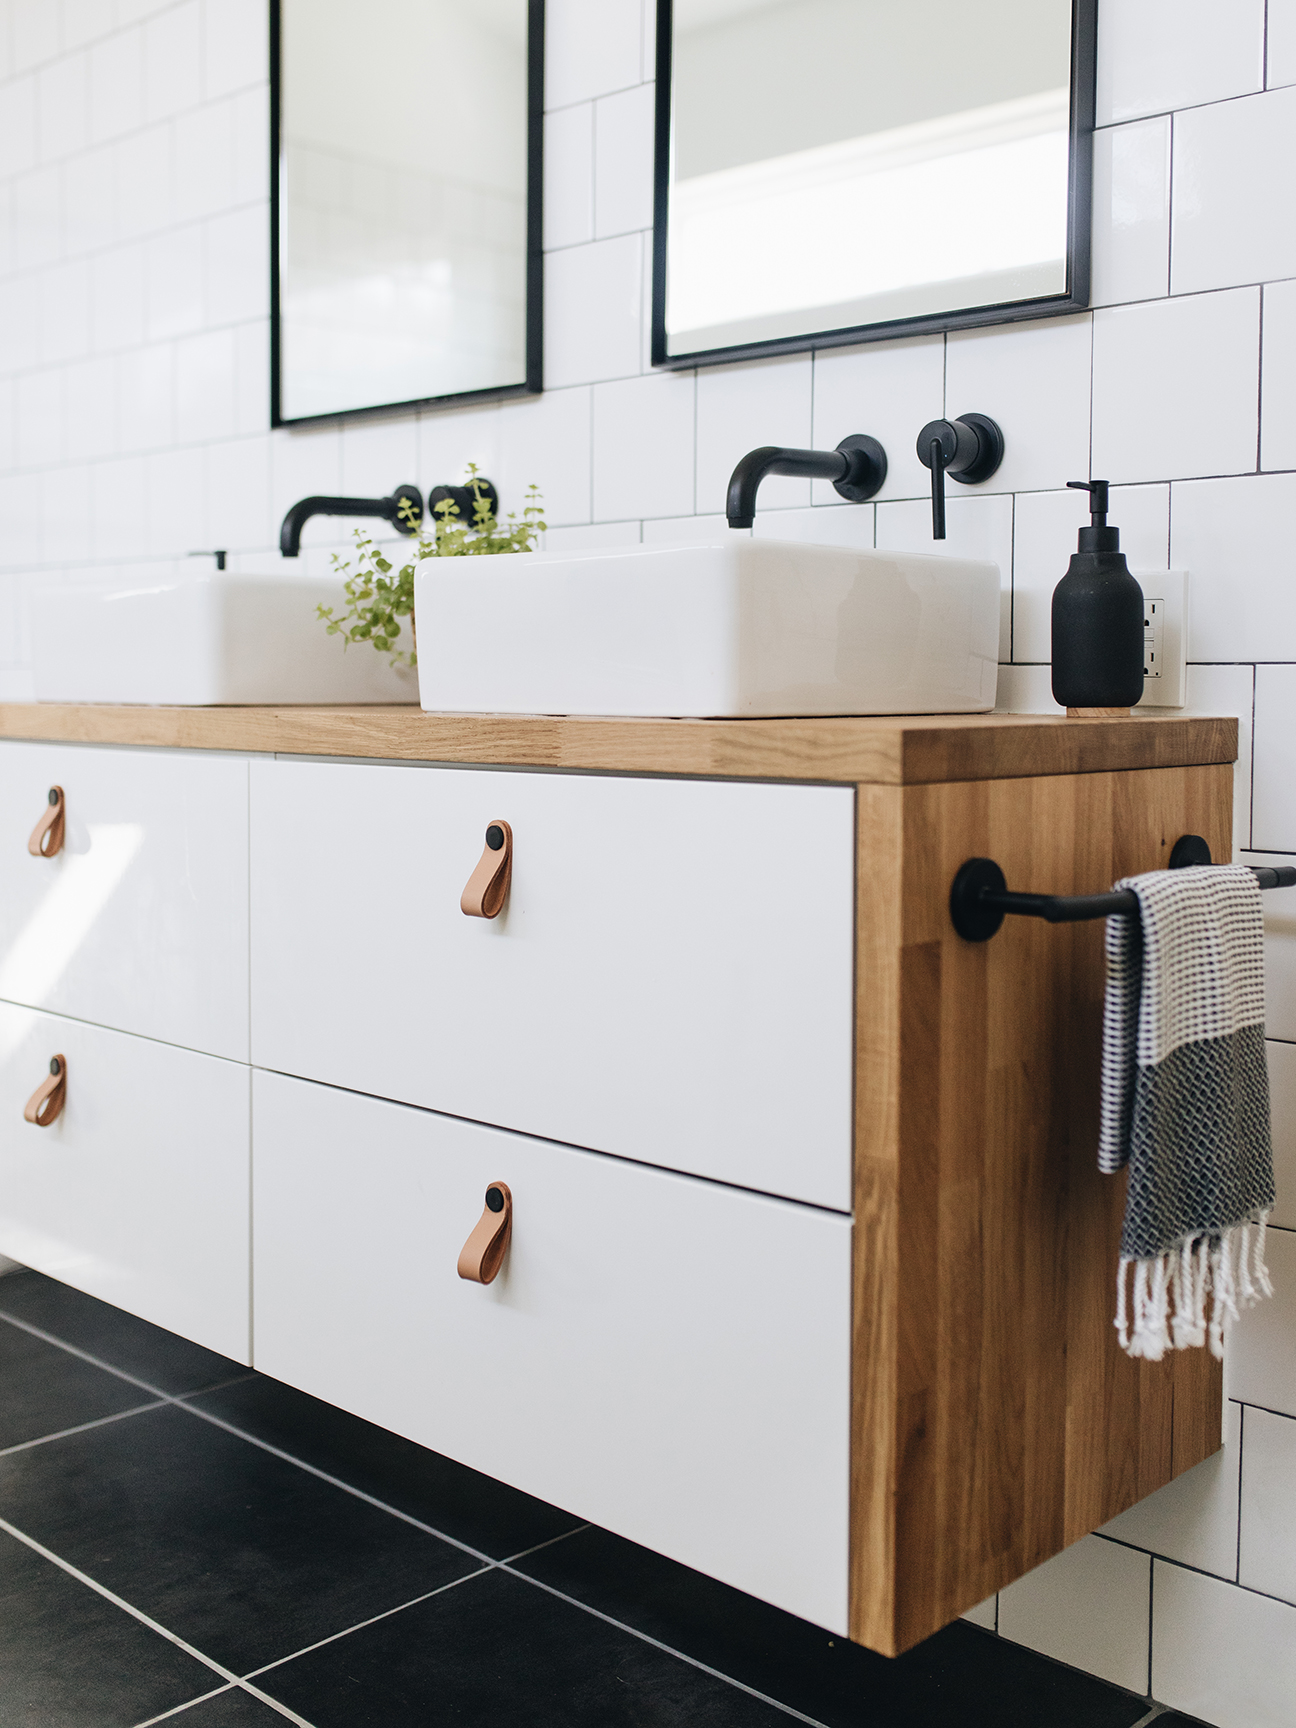
 Congratulations, you have successfully installed your Ikea bathroom vanity! Take a step back and admire your hard work. With a beautiful and functional vanity, your bathroom will feel like a whole new space. Don't forget to properly dispose of your old vanity and clean up any debris. Enjoy your newly designed bathroom!


