Installing a drop-in kitchen sink may seem like a daunting task, but with the right tools and knowledge, it can be a simple and satisfying DIY project. This type of sink, also known as a top-mount or self-rimming sink, is a popular choice for its easy installation and versatility. Follow these steps to learn how to install a drop-in kitchen sink in your own home.1. How to Install a Drop-In Kitchen Sink


1. How to Install a Drop-In Kitchen Sink


The first step is to prepare the sink and countertop for installation. This includes measuring the sink and cutting the appropriate hole in the countertop. It's important to carefully measure and double check the size of the hole before cutting, as it needs to be precise for the sink to fit properly. Next, apply a bead of silicone caulk around the edge of the sink opening on the countertop. This will create a seal between the sink and the countertop, preventing any water from leaking through. Gently lower the sink into the hole, making sure it is centered and level. Use clamps to hold the sink in place while the caulk dries, usually for about 24 hours. Once the caulk is dry, you can attach the mounting hardware that came with the sink. This will secure the sink to the countertop and prevent it from moving or shifting. Lastly, connect the plumbing fixtures and turn on the water to test for any leaks. If everything looks good, you're all set with your new drop-in kitchen sink!2. Step-by-Step Guide for Installing a Drop-In Kitchen Sink


2. Step-by-Step Guide for Installing a Drop-In Kitchen Sink


Installing a drop-in kitchen sink is a great DIY project for those looking to update their kitchen without breaking the bank. With just a few tools and some basic knowledge, you can have a new sink installed in no time. Gather all of your tools and materials before beginning the installation process. You will need a measuring tape, a jigsaw or circular saw, silicone caulk, clamps, and a screwdriver. Follow the steps outlined in the previous section to properly install the sink. Remember to take your time and double check all measurements for a perfect fit. With a little bit of effort and patience, you can have a beautiful new drop-in kitchen sink that you installed yourself.3. DIY: Installing a Drop-In Kitchen Sink


3. DIY: Installing a Drop-In Kitchen Sink


If you're short on time or just want a quick and easy installation, there are a few tricks you can use to make the process even smoother. First, consider purchasing a sink that comes with a template for cutting the hole in the countertop. This will ensure that the hole is the perfect size and shape for the sink. Additionally, some sink models come with clips that can be attached from underneath the countertop to secure the sink. This eliminates the need for clamps and allows for a quicker installation. By using these helpful tools, you can install a drop-in kitchen sink in a fraction of the time it would normally take.4. The Easy Way to Install a Drop-In Kitchen Sink


4. The Easy Way to Install a Drop-In Kitchen Sink


When preparing for a drop-in kitchen sink installation, it's important to keep a few things in mind to ensure a successful and hassle-free process. First, make sure to measure the sink and the hole in the countertop multiple times before cutting. This will save you from any potential mistakes and the headache of having to re-do the entire process. It's also important to choose a sink that is the right size and style for your kitchen. Make sure to take into consideration the size of your countertop and cabinets before purchasing a sink. Lastly, always follow the manufacturer's instructions for installation and make sure to use the appropriate tools and materials for the job.5. Tips for Installing a Drop-In Kitchen Sink


5. Tips for Installing a Drop-In Kitchen Sink


Before attempting to install a drop-in kitchen sink, there are a few things you should know to make the process as smooth as possible. First, make sure to turn off the water supply before beginning the installation. This will prevent any accidents and allow you to work without any disruptions. It's also important to check the condition of your countertop before installing the sink. If it is damaged or outdated, it may be a good idea to replace it before installing the sink. Lastly, consider enlisting the help of a friend or family member to assist you with the installation. This will make the process easier and quicker, and provide an extra set of hands if needed.6. What You Need to Know Before Installing a Drop-In Kitchen Sink


6. What You Need to Know Before Installing a Drop-In Kitchen Sink

:max_bytes(150000):strip_icc()/how-to-lay-laminate-flooring-1822250-01-0b84ff37785a4f8b94ab8bd30c300bfb.jpg)

:max_bytes(150000):strip_icc()/8_IMG_3767-56a4a2753df78cf772835b72.JPG)


If you're new to DIY projects, installing a drop-in kitchen sink may seem intimidating. However, with some basic knowledge and the right tools, it can be a manageable task for beginners. Start by researching the type of sink you want and familiarizing yourself with the installation process. Watch tutorials or read step-by-step guides to gain a better understanding of the process. It's also important to make sure you have all the necessary tools and materials before starting the installation. Taking your time and following instructions carefully will ensure a successful installation.7. Installing a Drop-In Kitchen Sink: A Beginner's Guide


7. Installing a Drop-In Kitchen Sink: A Beginner's Guide

To ensure a smooth and successful installation of a drop-in kitchen sink, it's important to know what to do and what not to do. Do: Take your time to properly measure and prepare the sink and countertop for installation. Do: Use the appropriate tools and materials for the job. Do: Follow the manufacturer's instructions carefully. Don't: Rush the installation process, as this can lead to mistakes and potential problems down the line. Don't: Over-tighten the mounting hardware, as this can cause damage to the sink or countertop.8. The Dos and Don'ts of Installing a Drop-In Kitchen Sink


8. The Dos and Don'ts of Installing a Drop-In Kitchen Sink


As with any DIY project, there are some common mistakes that can occur when installing a drop-in kitchen sink. By being aware of these mistakes, you can avoid them and ensure a smooth installation process. One common mistake is not properly measuring the sink and the hole in the countertop, resulting in an ill-fitting sink. Another mistake is not using enough silicone caulk, which can lead to water leaks. It's also important to make sure the sink is level before securing it in place, as an unlevel sink can cause drainage issues.9. Common Mistakes to Avoid When Installing a Drop-In Kitchen Sink


9. Common Mistakes to Avoid When Installing a Drop-In Kitchen Sink


Despite your best efforts, issues may still arise during the installation process of a drop-in kitchen sink. Here are some common problems and how to troubleshoot them. Leaky sink: If you notice water leaking from the sink after installation, check the silicone caulk to make sure it is properly sealed. If needed, re-apply caulk to create a better seal. Uneven sink: If the sink is not level, it can lead to poor drainage. Use a level to check and adjust the sink as needed before securing it in place. Ill-fitting sink: If the sink does not fit properly in the hole, double check your measurements and consider re-cutting the hole to ensure a better fit. With these tips and tricks, you can confidently install a drop-in kitchen sink in your home. This DIY project is a great way to update your kitchen and add value to your home without breaking the bank. Just remember to take your time, follow instructions carefully, and don't be afraid to ask for help if needed. Happy installing!10. Troubleshooting: Common Issues When Installing a Drop-In Kitchen Sink


10. Troubleshooting: Common Issues When Installing a Drop-In Kitchen Sink


Why Choose a Drop-In Kitchen Sink for Your Home?

Enhances the Aesthetics of Your Kitchen
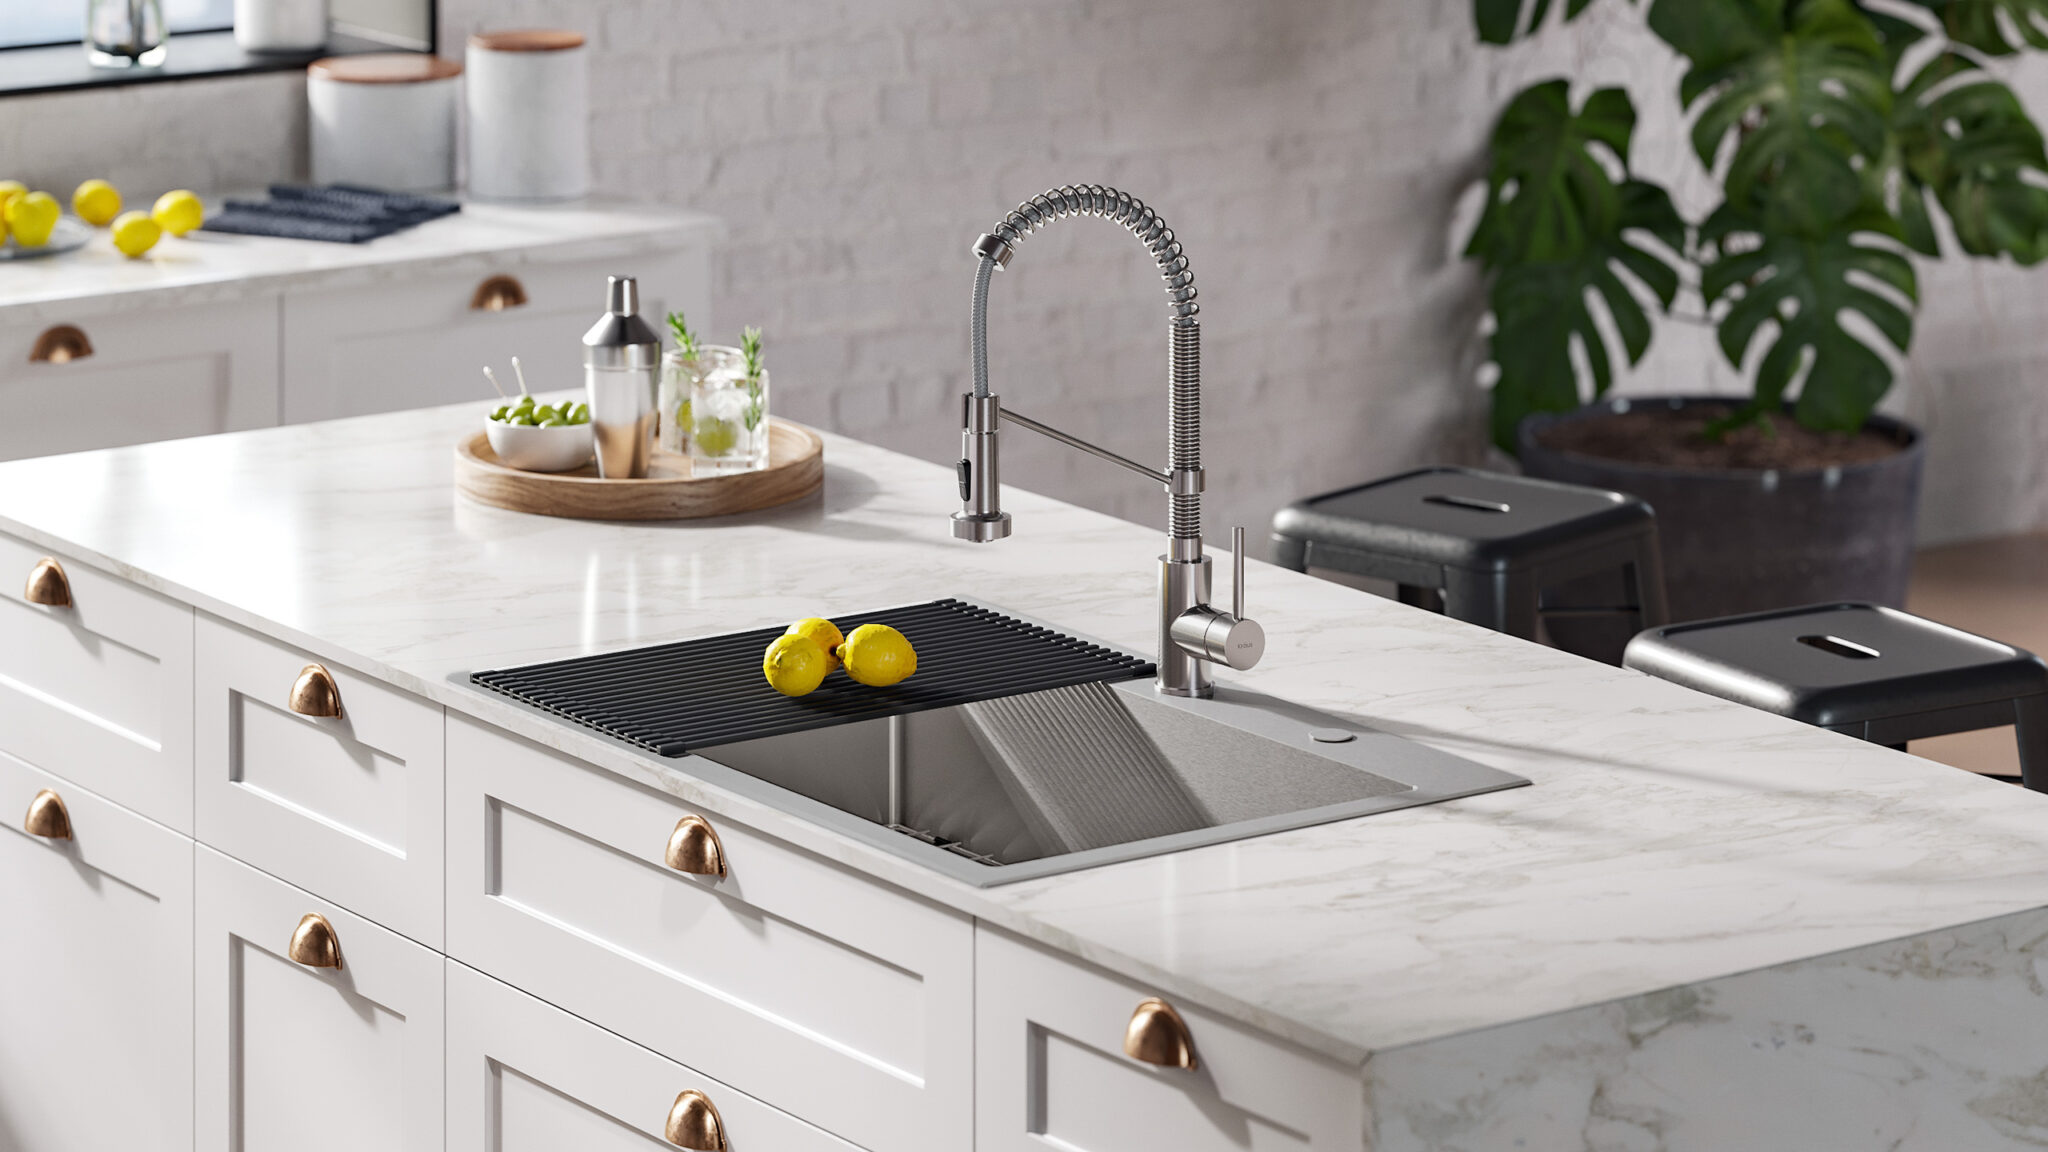
 When it comes to designing your kitchen, every detail matters. The
drop-in kitchen sink
is a popular choice for many homeowners due to its sleek and modern look. The seamless integration of the sink into the countertop adds a touch of elegance to your kitchen. With a wide range of materials and finishes available, you can easily find a
drop-in sink
that complements the style of your kitchen and enhances its overall aesthetic appeal.
When it comes to designing your kitchen, every detail matters. The
drop-in kitchen sink
is a popular choice for many homeowners due to its sleek and modern look. The seamless integration of the sink into the countertop adds a touch of elegance to your kitchen. With a wide range of materials and finishes available, you can easily find a
drop-in sink
that complements the style of your kitchen and enhances its overall aesthetic appeal.
Easy to Install and Replace
 One of the biggest advantages of a
drop-in kitchen sink
is its easy installation process. Unlike undermount sinks, which require professional installation and can be difficult to replace, drop-in sinks can be installed and replaced by homeowners themselves. This makes it a cost-effective option for those looking to update their kitchen without breaking the bank. Additionally,
drop-in sinks
can be installed on any type of countertop, making it a versatile choice for any kitchen design.
One of the biggest advantages of a
drop-in kitchen sink
is its easy installation process. Unlike undermount sinks, which require professional installation and can be difficult to replace, drop-in sinks can be installed and replaced by homeowners themselves. This makes it a cost-effective option for those looking to update their kitchen without breaking the bank. Additionally,
drop-in sinks
can be installed on any type of countertop, making it a versatile choice for any kitchen design.
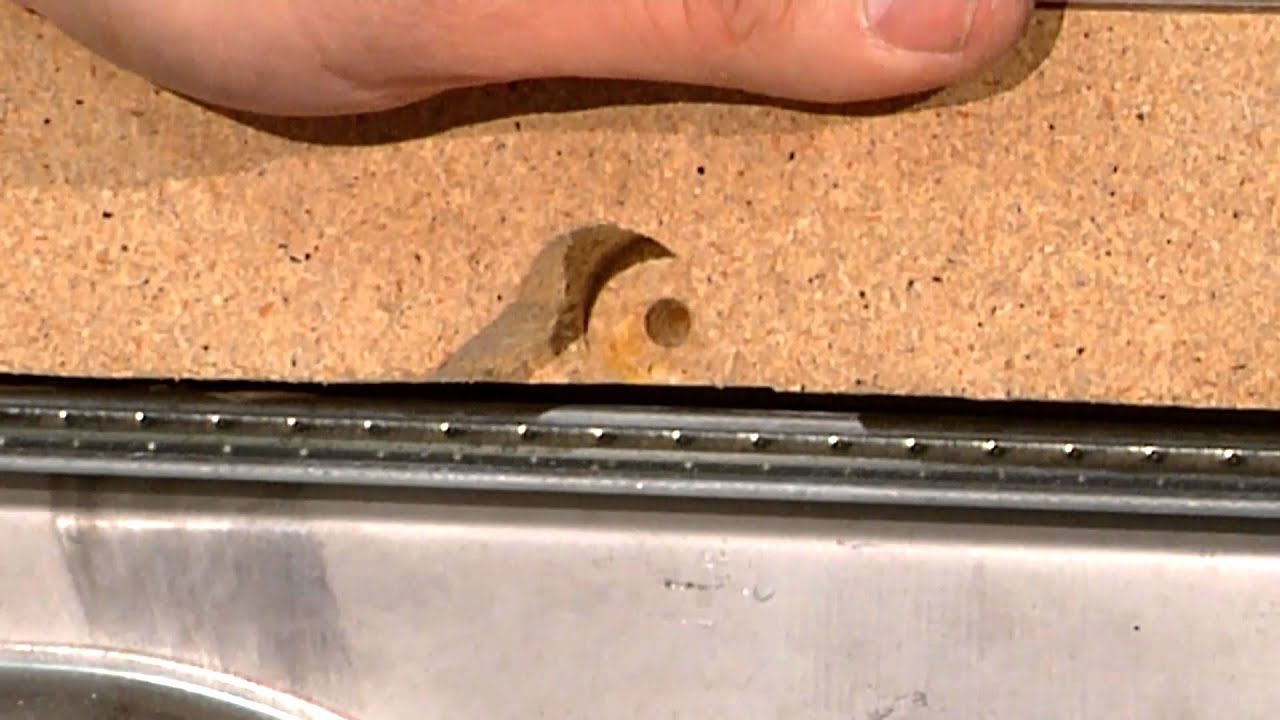
Provides a Durable and Functional Solution
:no_upscale()/cdn.vox-cdn.com/uploads/chorus_asset/file/19495086/drain_0.jpg) A
drop-in sink
is a durable and practical choice for your kitchen. The rim of the sink sits on top of the countertop, providing extra support and preventing it from sagging or cracking. This also makes it easier to clean and maintain, as the rim creates a barrier between the sink and the countertop. Additionally,
drop-in sinks
come in a variety of sizes and shapes, allowing you to choose one that best fits your needs and the layout of your kitchen.
A
drop-in sink
is a durable and practical choice for your kitchen. The rim of the sink sits on top of the countertop, providing extra support and preventing it from sagging or cracking. This also makes it easier to clean and maintain, as the rim creates a barrier between the sink and the countertop. Additionally,
drop-in sinks
come in a variety of sizes and shapes, allowing you to choose one that best fits your needs and the layout of your kitchen.
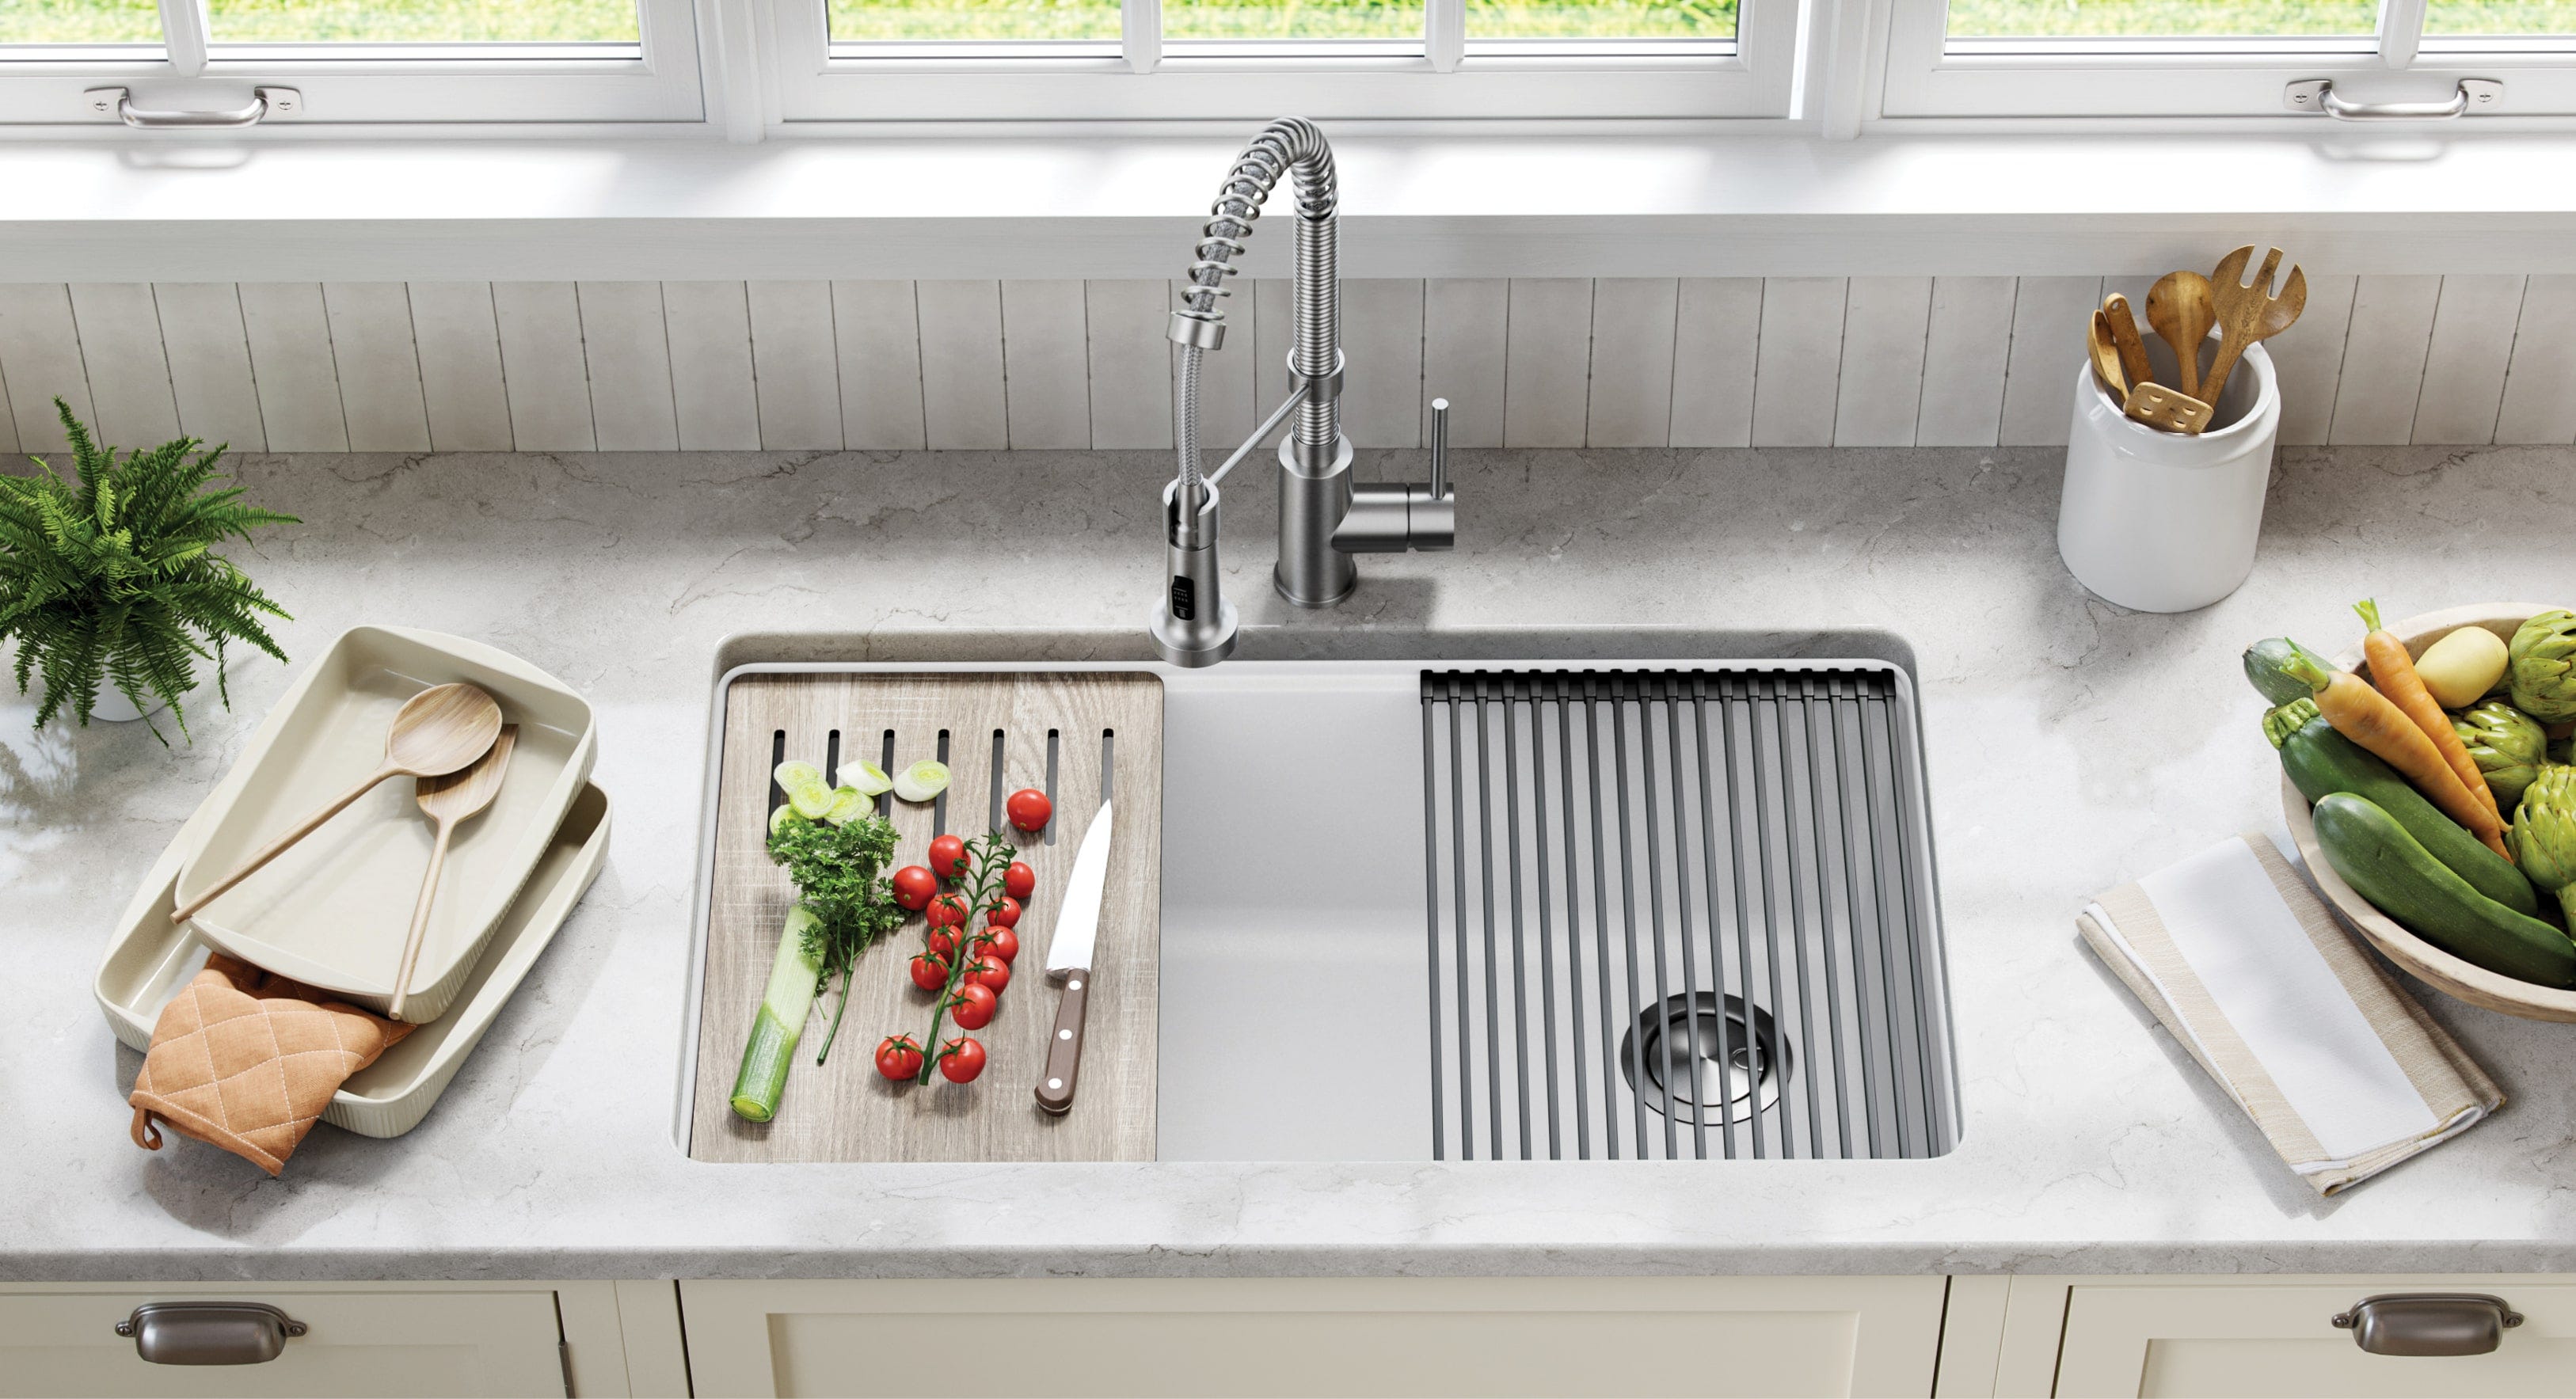
Effortless Integration with Other Kitchen Fixtures
 One of the key benefits of a
drop-in sink
is its ability to seamlessly integrate with other kitchen fixtures. The rim of the sink can be made of the same material as your faucet, creating a cohesive and visually appealing look. It also allows for easy installation of additional features such as soap dispensers or sprayers, making your kitchen more functional and convenient.
In conclusion, a
drop-in kitchen sink
is a versatile and practical choice for any homeowner looking to upgrade their kitchen. Its easy installation, durability, and seamless integration with other kitchen fixtures make it a top choice for both aesthetic and functional purposes. Consider adding a drop-in sink to your kitchen design and elevate the overall look and feel of your home.
One of the key benefits of a
drop-in sink
is its ability to seamlessly integrate with other kitchen fixtures. The rim of the sink can be made of the same material as your faucet, creating a cohesive and visually appealing look. It also allows for easy installation of additional features such as soap dispensers or sprayers, making your kitchen more functional and convenient.
In conclusion, a
drop-in kitchen sink
is a versatile and practical choice for any homeowner looking to upgrade their kitchen. Its easy installation, durability, and seamless integration with other kitchen fixtures make it a top choice for both aesthetic and functional purposes. Consider adding a drop-in sink to your kitchen design and elevate the overall look and feel of your home.