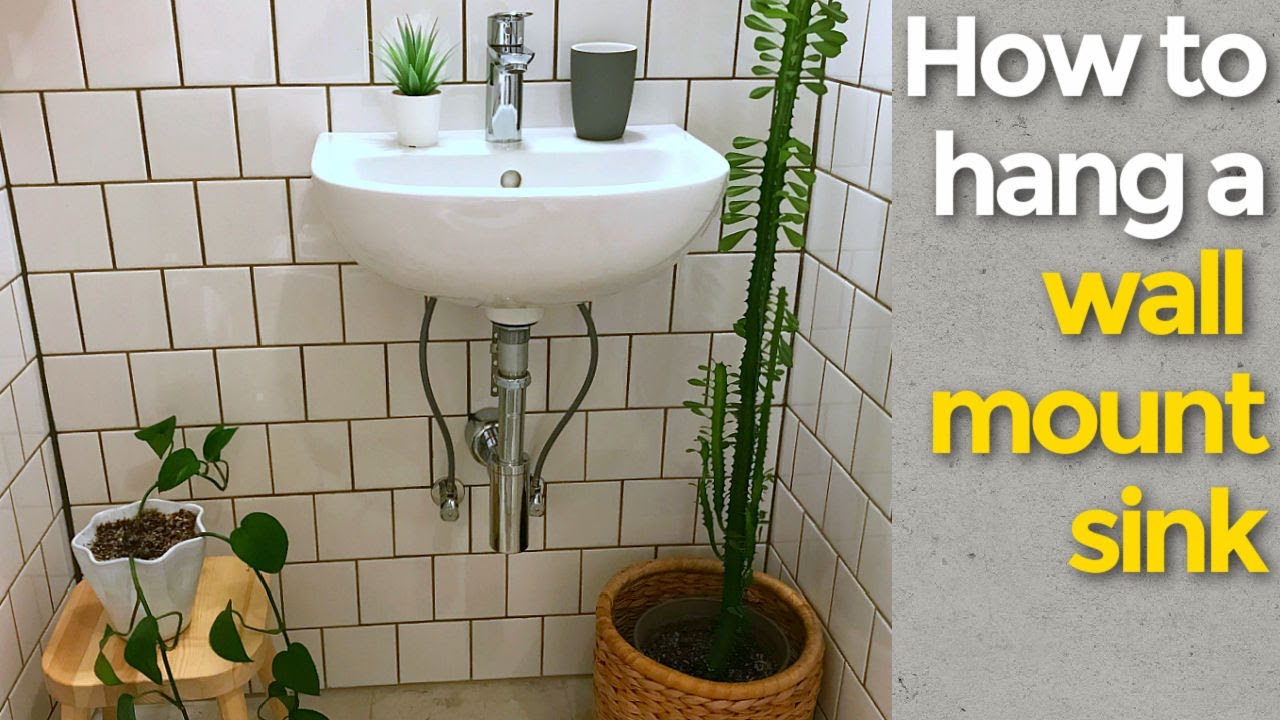
Install a Bathroom Sink to a Wall
Are you tired of your old, outdated bathroom sink and ready for a change? Installing a wall-mounted bathroom sink can be a great way to update your bathroom's look and save space. It may seem like a daunting task, but with the right tools and a bit of know-how, you can easily install a bathroom sink to a wall. In this article, we will provide a step-by-step guide on how to successfully install a wall-mounted bathroom sink.


Install a Bathroom Sink to a Wall


How to Install a Wall-Mounted Bathroom Sink
The first step in installing a wall-mounted bathroom sink is to prepare your workspace. Make sure you have enough room to work comfortably and gather all the necessary tools and materials. You will need a drill, drill bits, screwdriver, level, measuring tape, and plumber's putty, among other things. Once you have everything you need, you can begin the installation process.


How to Install a Wall-Mounted Bathroom Sink


Step-by-Step Guide for Installing a Wall-Mounted Bathroom Sink
Step 1: Before you begin, make sure to shut off the water supply to your bathroom. This will prevent any accidents and make the installation process smoother.
Step 2: Next, remove your old sink and any fixtures attached to the wall. This includes the faucet, drain, and water supply lines. Use a putty knife to loosen any caulk or adhesive around the sink and gently remove it from the wall.
Step 3: Once your old sink is removed, you can begin installing the new sink. Use a level to ensure that the sink will be installed straight. If necessary, use shims to level the sink.
Step 4: Using your drill and appropriate drill bits, create holes in the wall for the sink's mounting brackets. These brackets will hold the sink in place and should be installed at the sink's corners and the center. Make sure the holes are the proper size for the screws that came with your sink.
Step 5: Install the mounting brackets onto the wall using the screws provided. Make sure they are securely attached to the wall.
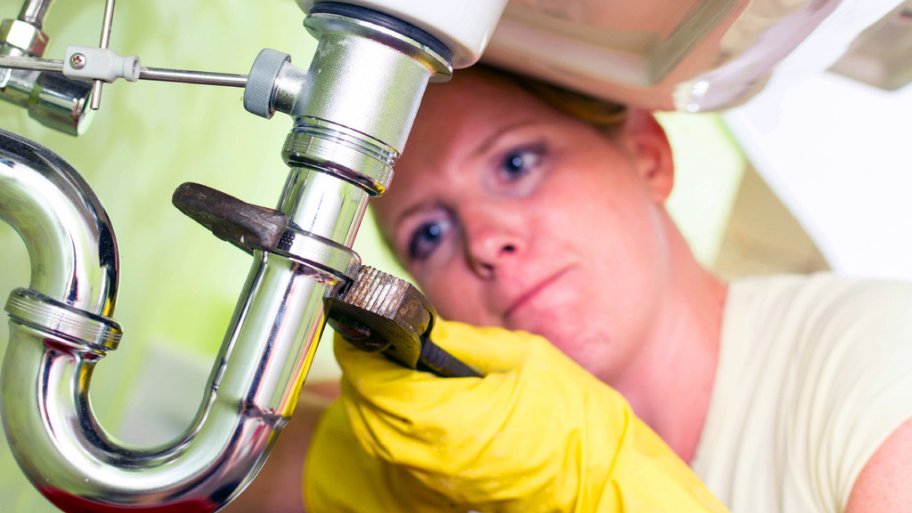
Step 6: Apply plumber's putty around the sink's drain opening and insert it into the wall's drain hole. This will create a tight seal and prevent any leaks.
Step 7: Once the sink is in place, attach the faucet and water supply lines according to the manufacturer's instructions.
Step 8: Finally, turn the water supply back on and test your new sink to make sure there are no leaks. If everything looks good, you're all set!


Step-by-Step Guide for Installing a Wall-Mounted Bathroom Sink


Wall-Mounted Bathroom Sink Installation Tutorial
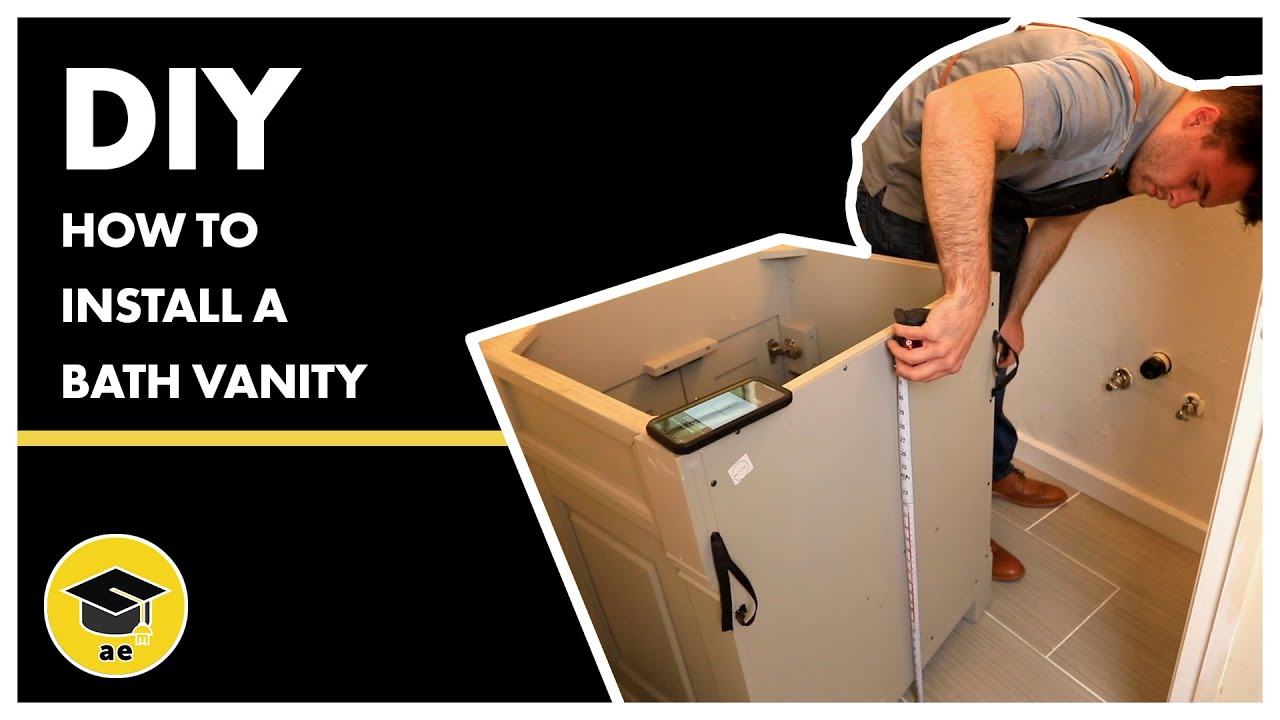
If you're more of a visual learner, there are plenty of tutorials available online that can guide you through the installation process. YouTube, in particular, has many helpful videos that show you exactly how to install a wall-mounted bathroom sink. Make sure to follow the tutorial carefully and take your time to ensure a successful installation.


Wall-Mounted Bathroom Sink Installation Tutorial


DIY: Installing a Bathroom Sink on a Wall
Installing a wall-mounted bathroom sink is a great DIY project for those with some basic plumbing and carpentry skills. Not only will it save you money, but it can also give you a sense of accomplishment and add a personal touch to your bathroom. Make sure to research and follow all safety precautions and instructions to avoid any accidents.


DIY: Installing a Bathroom Sink on a Wall
:max_bytes(150000):strip_icc()/8_IMG_3767-56a4a2753df78cf772835b72.JPG)


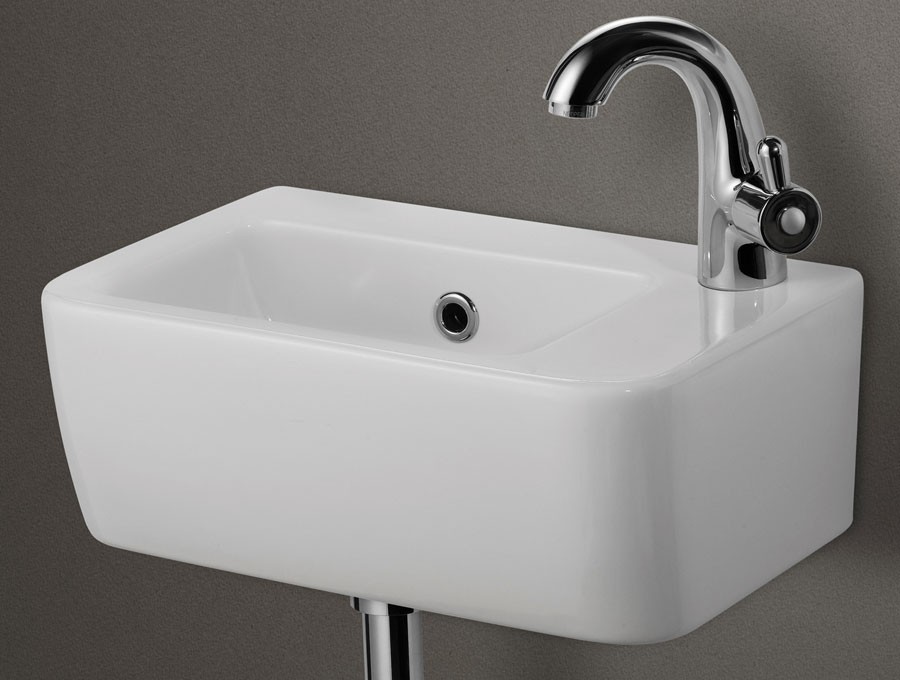
Wall-Mounted Bathroom Sink: Tools and Materials Needed for Installation
As mentioned earlier, there are a few essential tools and materials you will need to install a wall-mounted bathroom sink. These include a drill, drill bits, screwdriver, level, measuring tape, plumber's putty, and mounting brackets. It's also a good idea to have some shims and extra screws on hand, just in case.


Wall-Mounted Bathroom Sink: Tools and Materials Needed for Installation


Tips for Successfully Installing a Bathroom Sink on a Wall
Here are a few tips to keep in mind when installing a wall-mounted bathroom sink:
Tip 1: Make sure to shut off the water supply before beginning the installation process.
Tip 2: Use a level to ensure the sink is installed straight.
Tip 3: If you're unsure about any steps, don't hesitate to consult a professional plumber for assistance.


Tips for Successfully Installing a Bathroom Sink on a Wall


Common Mistakes to Avoid When Installing a Wall-Mounted Bathroom Sink
While installing a wall-mounted bathroom sink may seem simple, there are a few common mistakes that novice DIYers make. These include not properly sealing the drain, using the wrong size screws, and not securing the sink tightly enough. Make sure to avoid these mistakes to ensure a successful installation.


Common Mistakes to Avoid When Installing a Wall-Mounted Bathroom Sink


How to Securely Attach a Bathroom Sink to a Wall
To securely attach a bathroom sink to a wall, it's crucial to follow the manufacturer's instructions carefully. Use the appropriate tools and materials and make sure the sink is level before attaching the mounting brackets. It's also a good idea to double-check the sink's security after installation to ensure it won't come loose over time.


How to Securely Attach a Bathroom Sink to a Wall


Wall-Mounted Bathroom Sink Installation: Professional vs. DIY
While installing a wall-mounted bathroom sink can be a DIY project, it's always a good idea to consider hiring a professional plumber. They have the necessary skills and experience to ensure a successful and timely installation. Plus, it can save you time and alleviate any potential stress or frustration that may come with a DIY project.
Now that you know how to install a bathroom sink to a wall, you can confidently update your bathroom's look and save space. Just remember to follow instructions carefully and take your time to ensure a successful installation. Happy renovating!


Wall-Mounted Bathroom Sink Installation: Professional vs. DIY
Why Install a Bathroom Sink to the Wall: The Benefits of Wall-Mounted Sinks

Maximize Space and Create a Modern Look
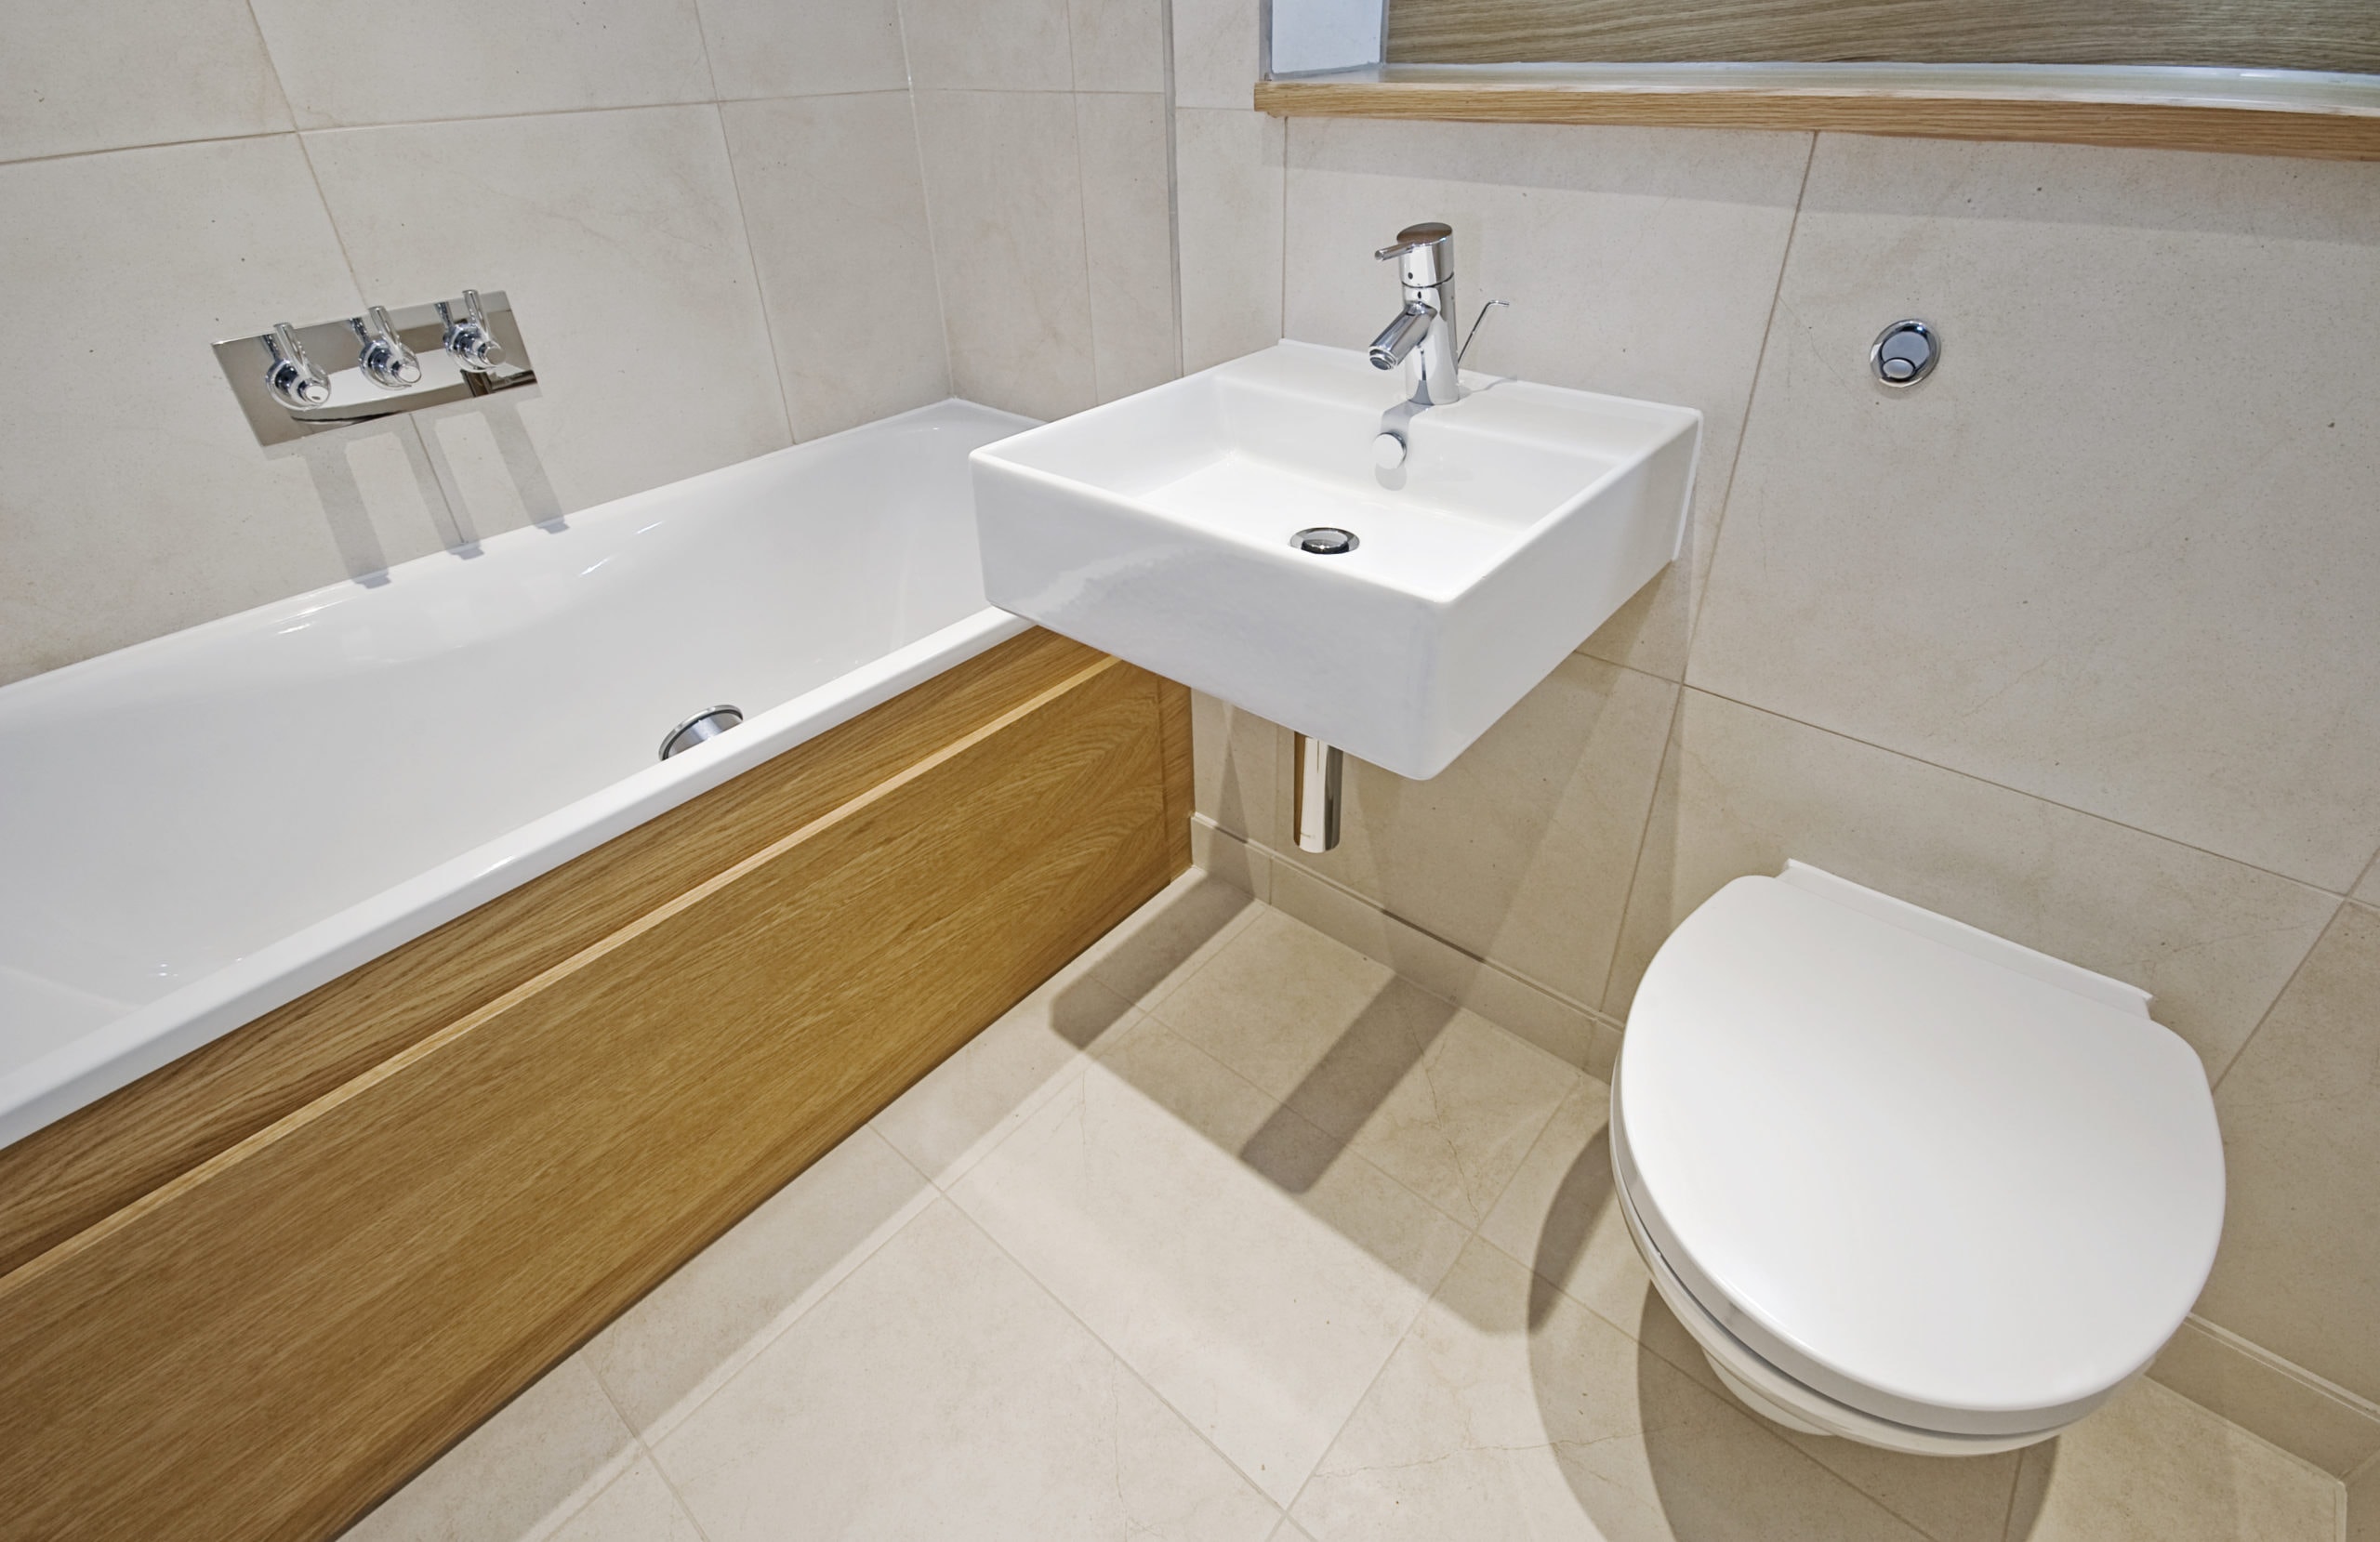
 When it comes to bathroom design, every inch of space matters. Traditional bathroom sinks that sit on top of a vanity take up valuable floor space, making the room feel cramped and cluttered. By installing a bathroom sink to the wall, you can free up that space and create a more open and spacious feel in your bathroom.
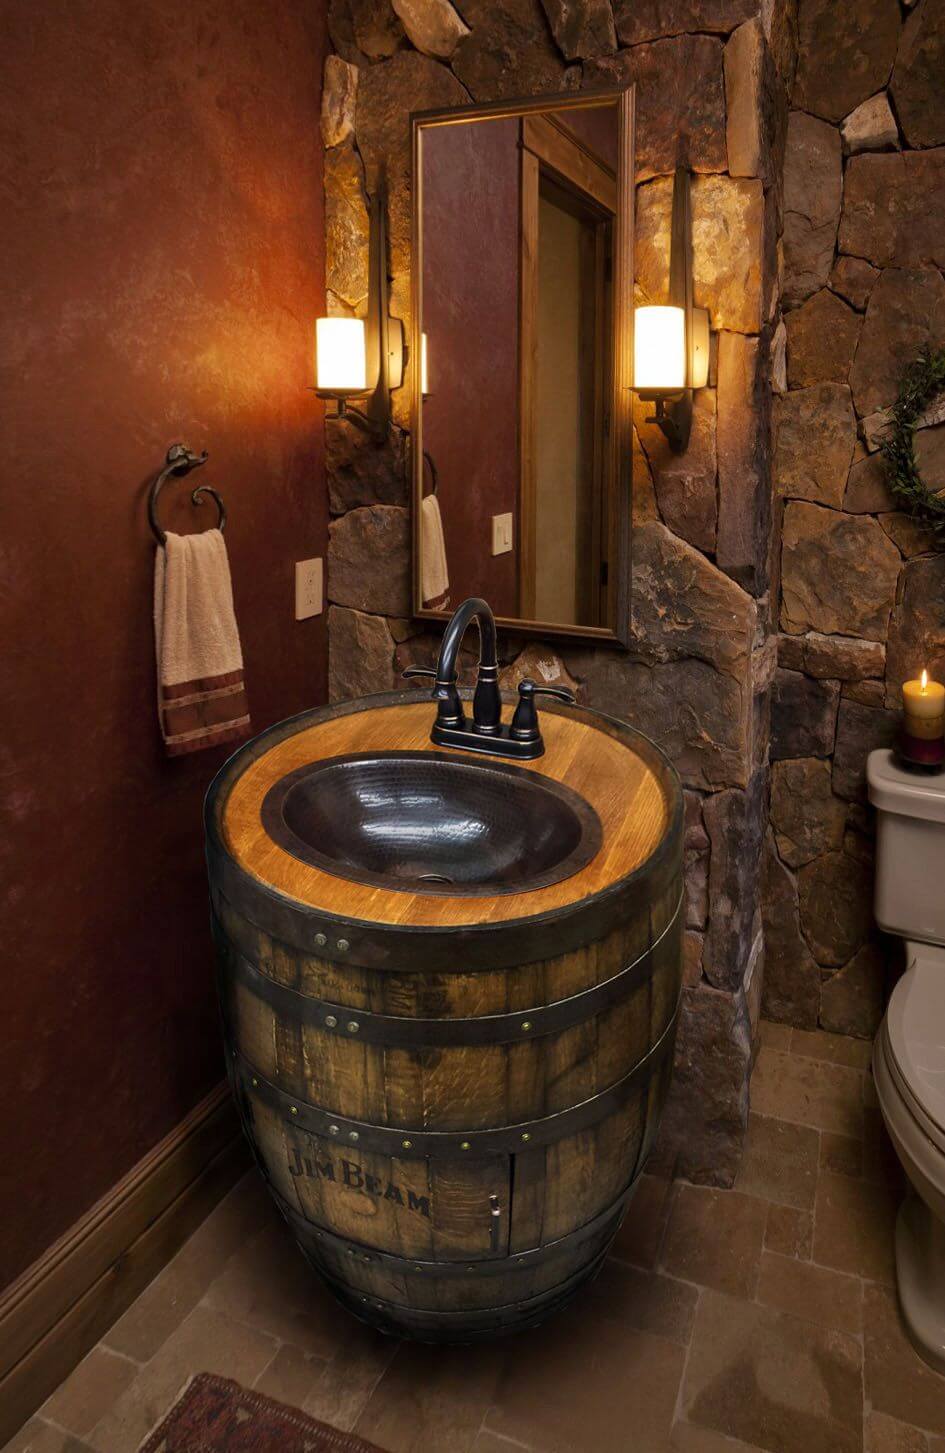
Not only does a wall-mounted sink maximize space, but it also adds a modern touch to your bathroom. With sleek, clean lines and a minimalist design, these sinks are perfect for creating a contemporary and stylish look. Plus, they come in a variety of sizes and styles, making it easy to find one that fits your specific design aesthetic.
When it comes to bathroom design, every inch of space matters. Traditional bathroom sinks that sit on top of a vanity take up valuable floor space, making the room feel cramped and cluttered. By installing a bathroom sink to the wall, you can free up that space and create a more open and spacious feel in your bathroom.
Not only does a wall-mounted sink maximize space, but it also adds a modern touch to your bathroom. With sleek, clean lines and a minimalist design, these sinks are perfect for creating a contemporary and stylish look. Plus, they come in a variety of sizes and styles, making it easy to find one that fits your specific design aesthetic.
Easier Cleaning and Maintenance
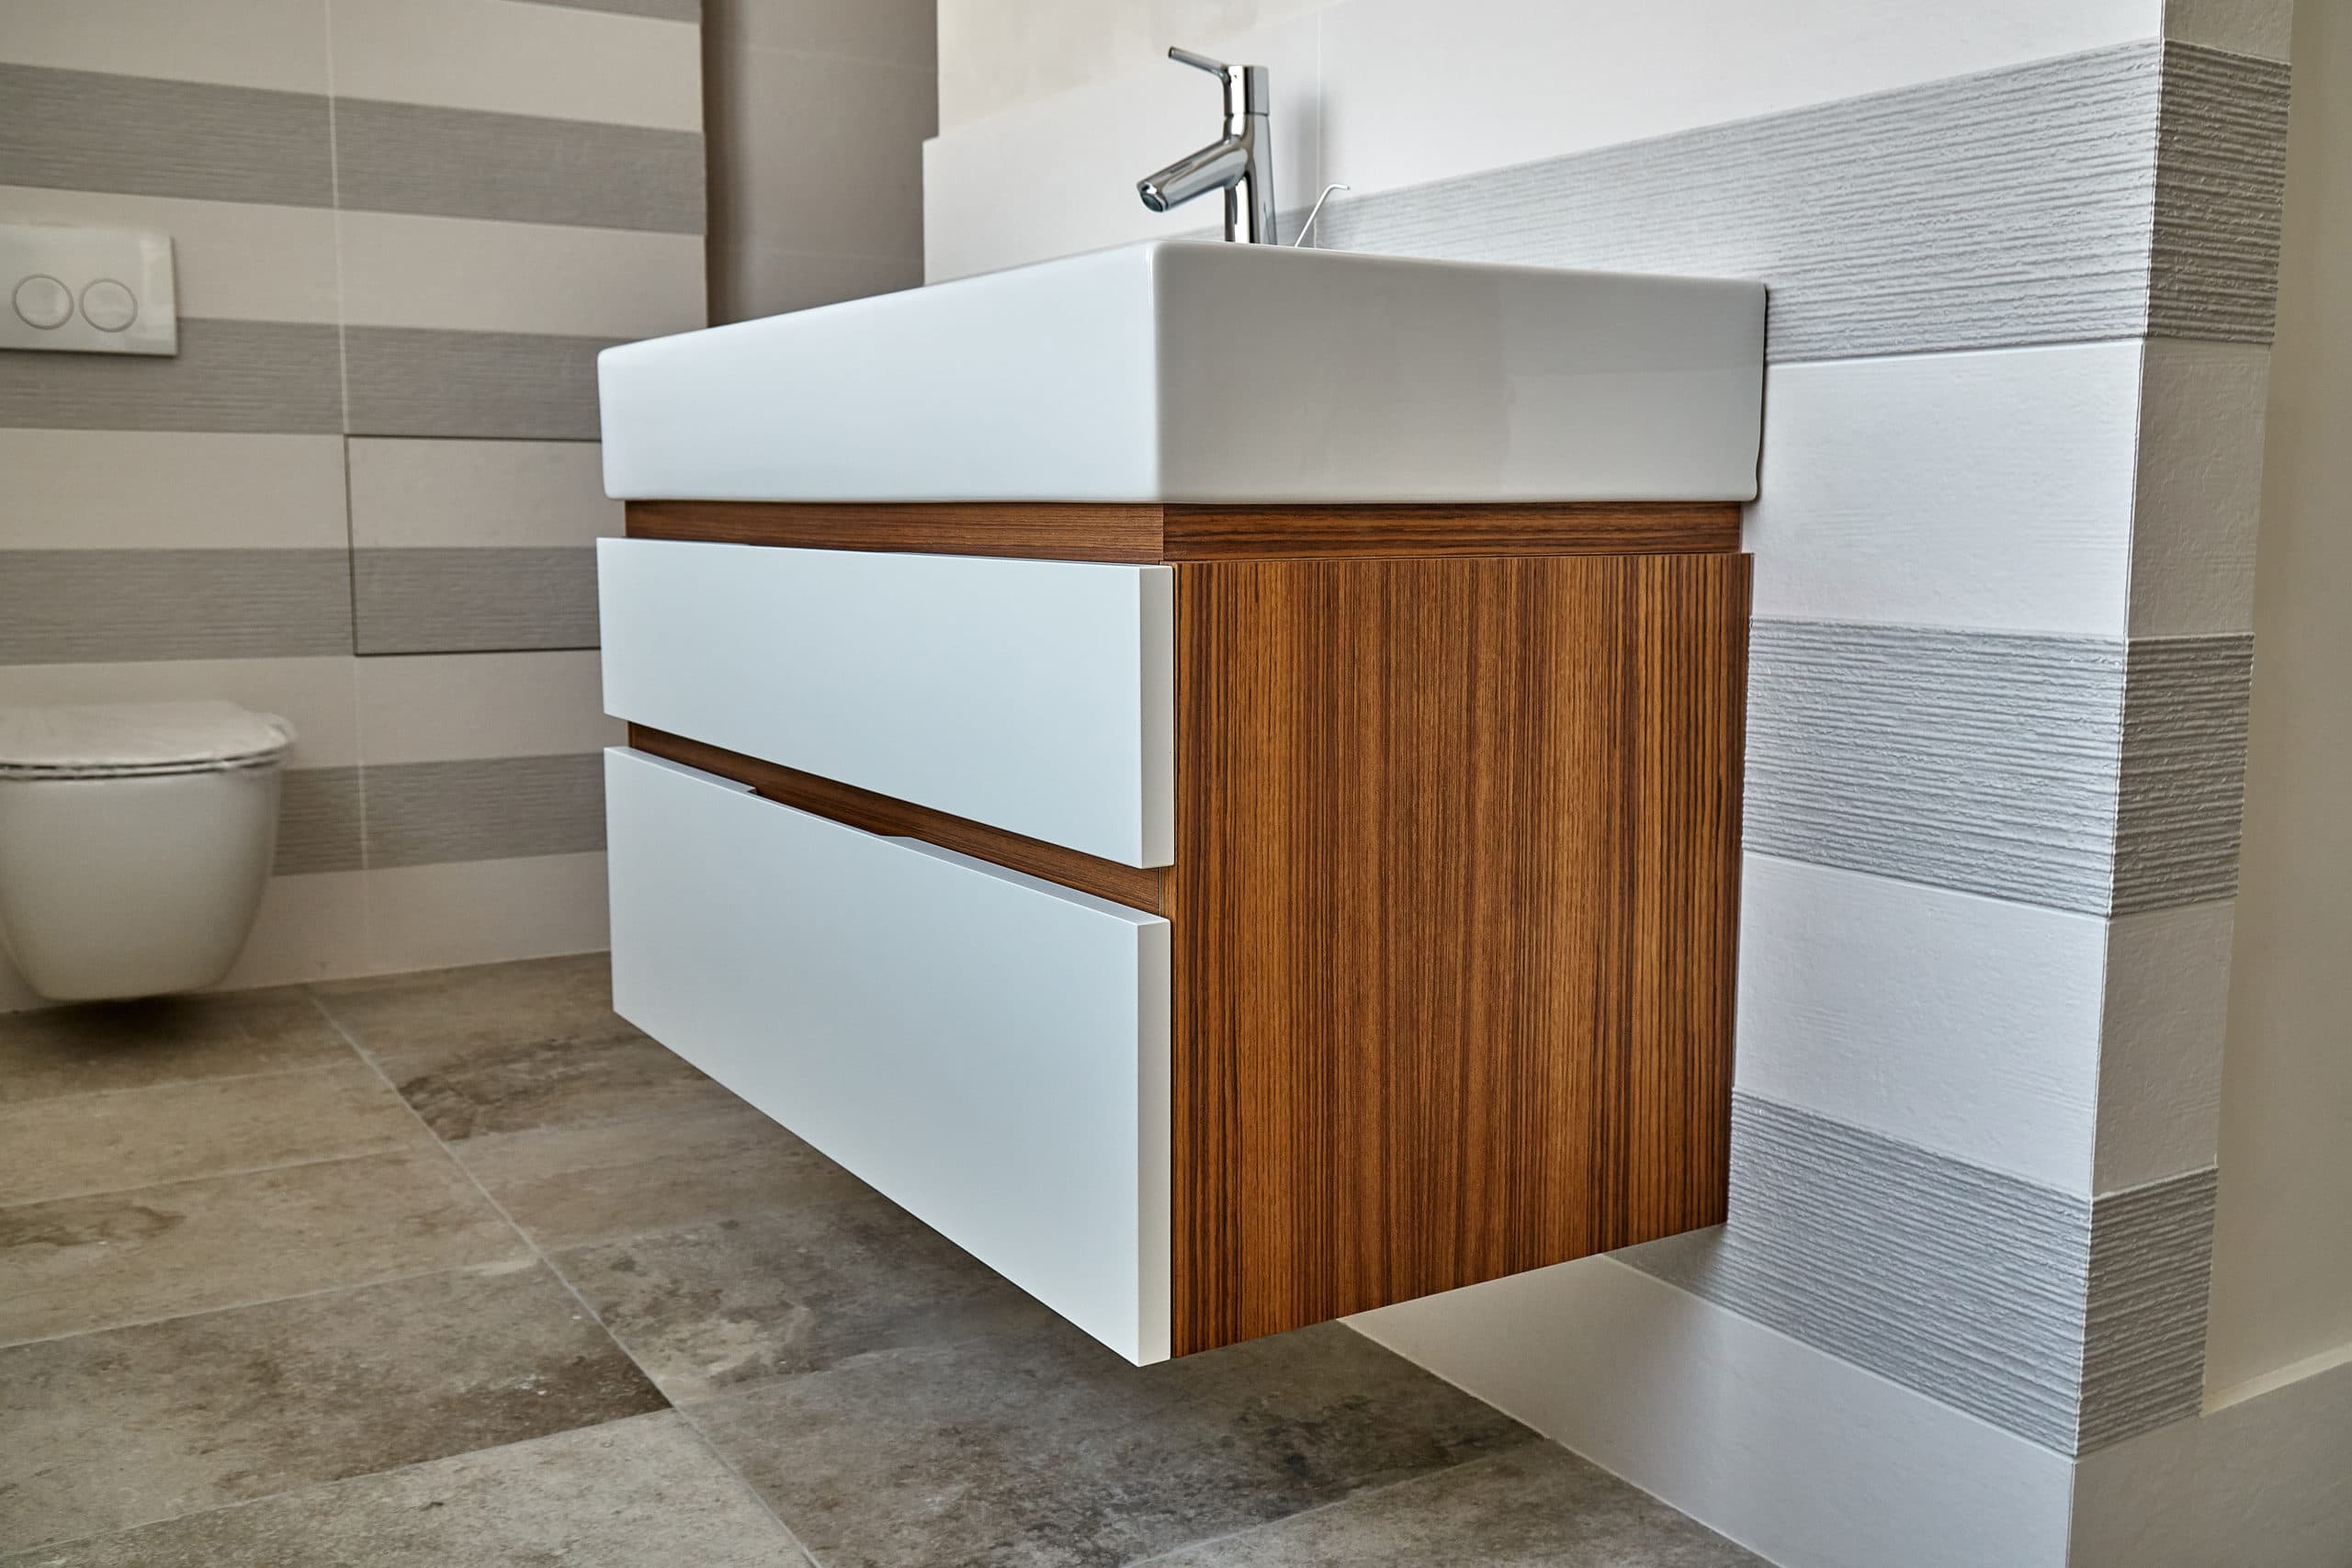
 A wall-mounted sink also offers practical benefits when it comes to cleaning and maintenance. Traditional sinks with vanities often have hard-to-reach areas that can harbor dirt and grime. With a wall-mounted sink, there is no vanity or cabinet to clean around, making it easier to keep your bathroom spotless.
Additionally, the lack of a vanity means there is no need to worry about water damage or mold growth under the sink. This makes maintenance and repairs much simpler and less time-consuming.
A wall-mounted sink also offers practical benefits when it comes to cleaning and maintenance. Traditional sinks with vanities often have hard-to-reach areas that can harbor dirt and grime. With a wall-mounted sink, there is no vanity or cabinet to clean around, making it easier to keep your bathroom spotless.
Additionally, the lack of a vanity means there is no need to worry about water damage or mold growth under the sink. This makes maintenance and repairs much simpler and less time-consuming.
Customizable Height and Accessibility
 One of the great things about wall-mounted sinks is that they can be installed at a customizable height. This is especially beneficial for households with individuals of different heights or those with accessibility needs. By choosing the perfect height for your sink, you can make it easier for everyone to use and avoid any strain or discomfort.
How to Install a Bathroom Sink to the Wall
 Now that you know the benefits of a wall-mounted sink, you may be wondering how to install one. The process may seem daunting, but with the right tools and instructions, it can be a relatively simple DIY project.
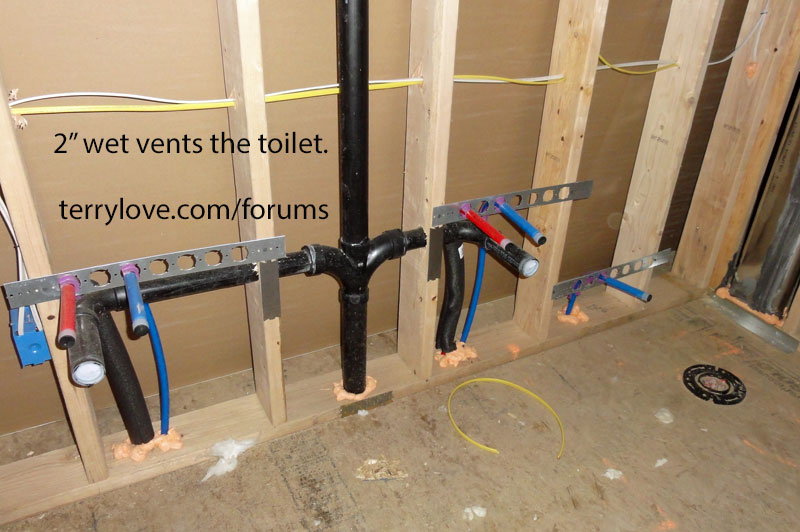
First, you will need to turn off the water supply and remove the existing sink and vanity. Next, locate the wall studs and mark where the sink will be mounted. Install the sink bracket and secure it to the studs using screws. Then, attach the sink to the bracket and connect the plumbing. Finally, caulk around the edges of the sink to seal it to the wall.
Now that you know the benefits of a wall-mounted sink, you may be wondering how to install one. The process may seem daunting, but with the right tools and instructions, it can be a relatively simple DIY project.
First, you will need to turn off the water supply and remove the existing sink and vanity. Next, locate the wall studs and mark where the sink will be mounted. Install the sink bracket and secure it to the studs using screws. Then, attach the sink to the bracket and connect the plumbing. Finally, caulk around the edges of the sink to seal it to the wall.
In Conclusion
 Installing a bathroom sink to the wall is a great way to maximize space, create a modern look, and make cleaning and maintenance easier. With customizable height options and a relatively simple installation process, it's a practical and stylish choice for any bathroom design. So if you're looking to upgrade your bathroom, consider a wall-mounted sink for added functionality and style.