If you're looking to give your kitchen a stylish and functional upgrade, installing an apron kitchen sink is a great option to consider. Not only does it add a touch of vintage charm to your space, but it also offers a deeper basin for washing larger pots and pans. If you're a fan of DIY projects, you'll be happy to know that installing an apron kitchen sink is a task you can tackle on your own. In this guide, we'll walk you through the step-by-step process of installing an apron kitchen sink.How to Install an Apron Kitchen Sink


How to Install an Apron Kitchen Sink
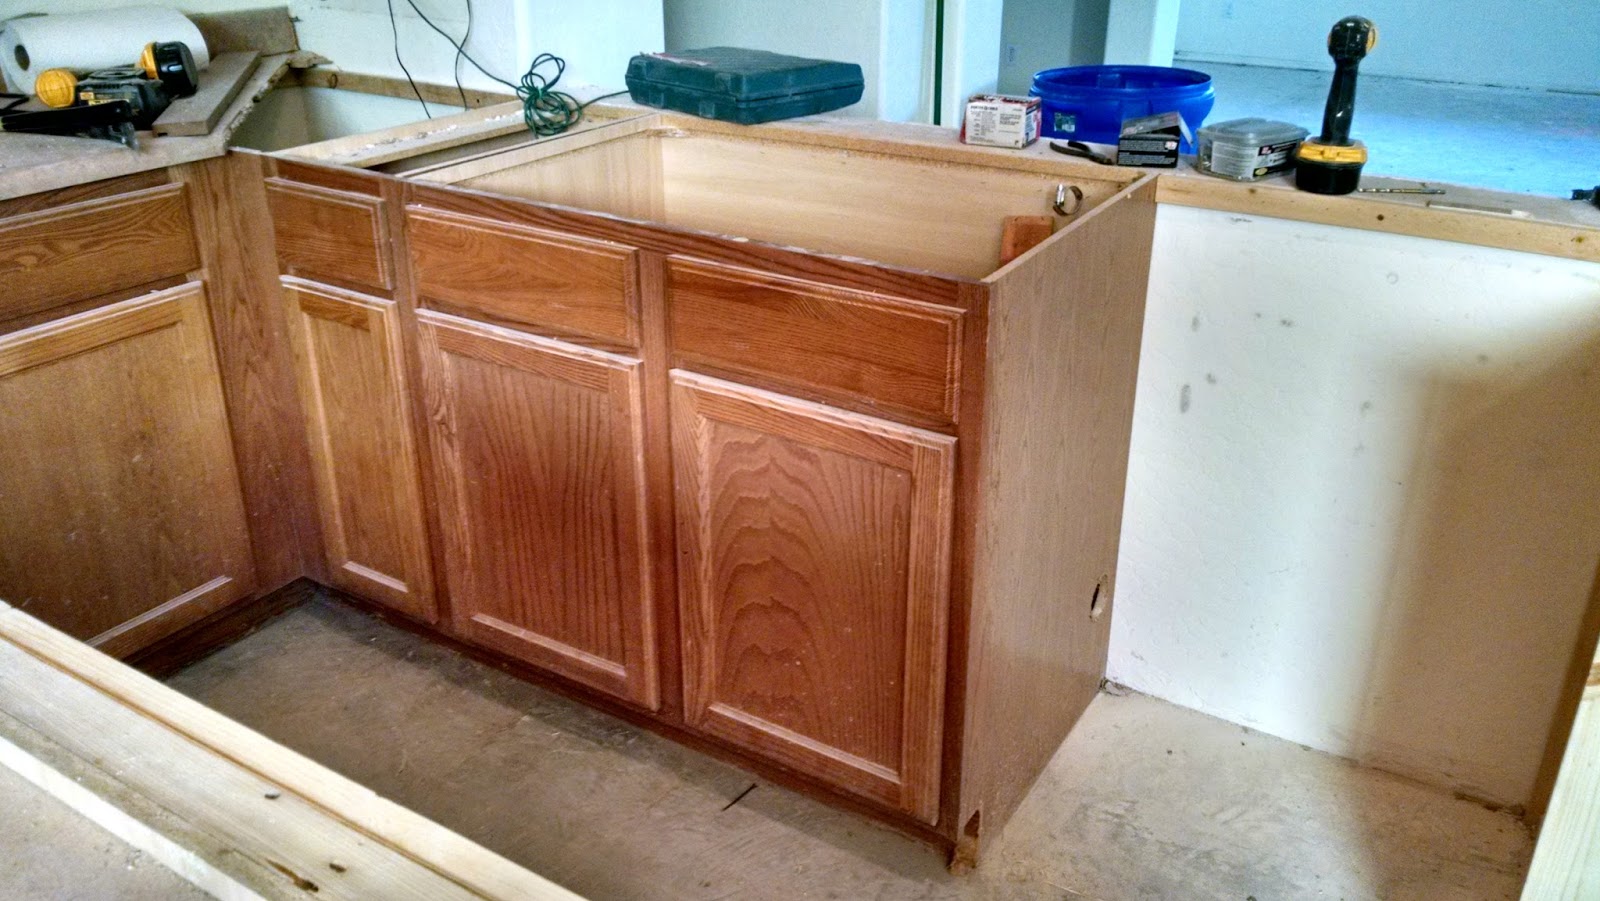
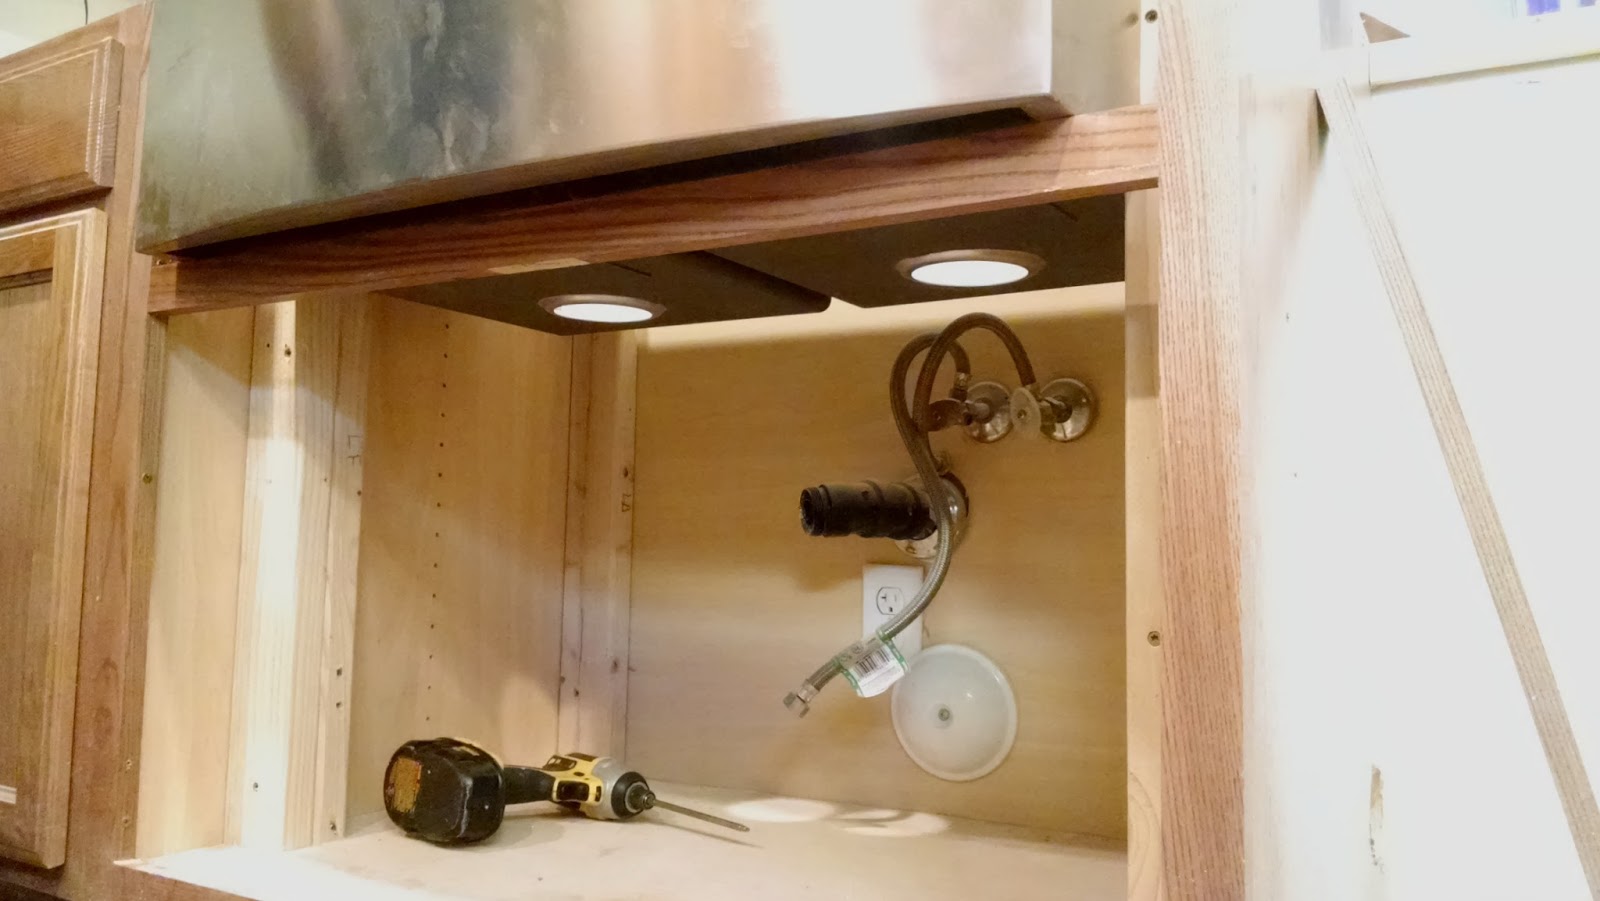
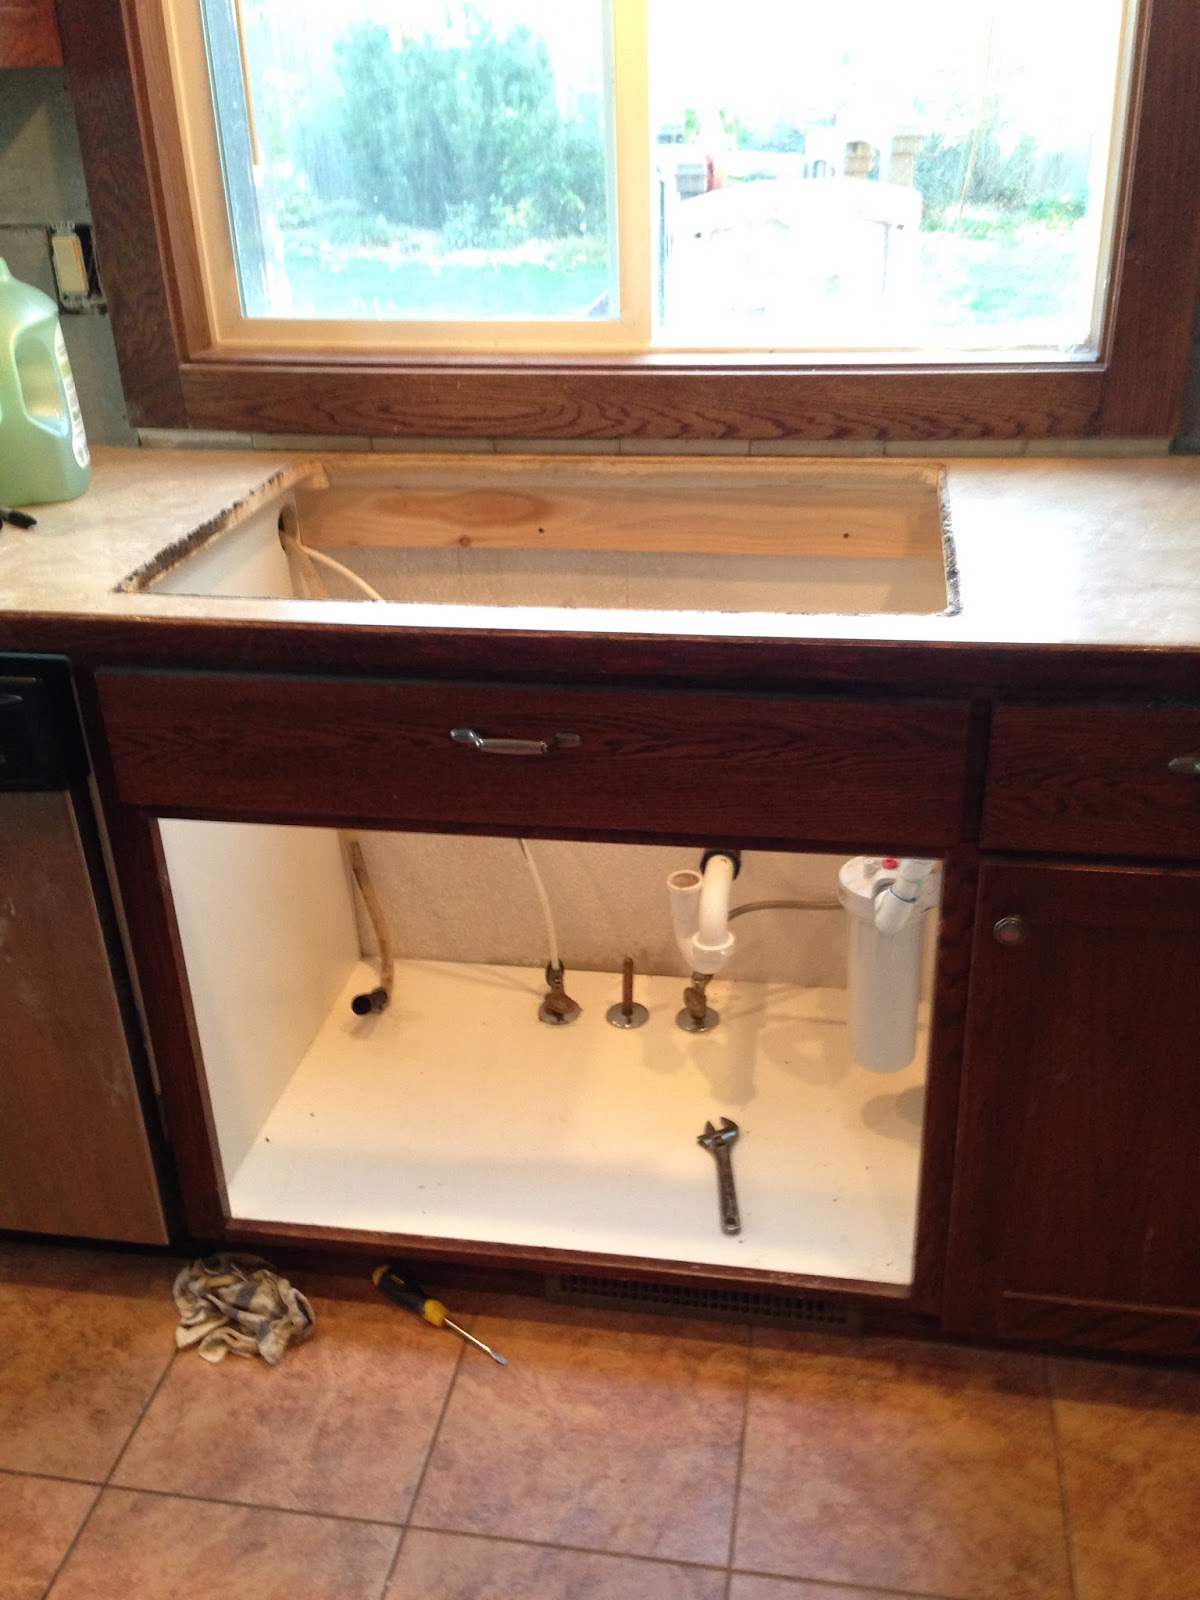
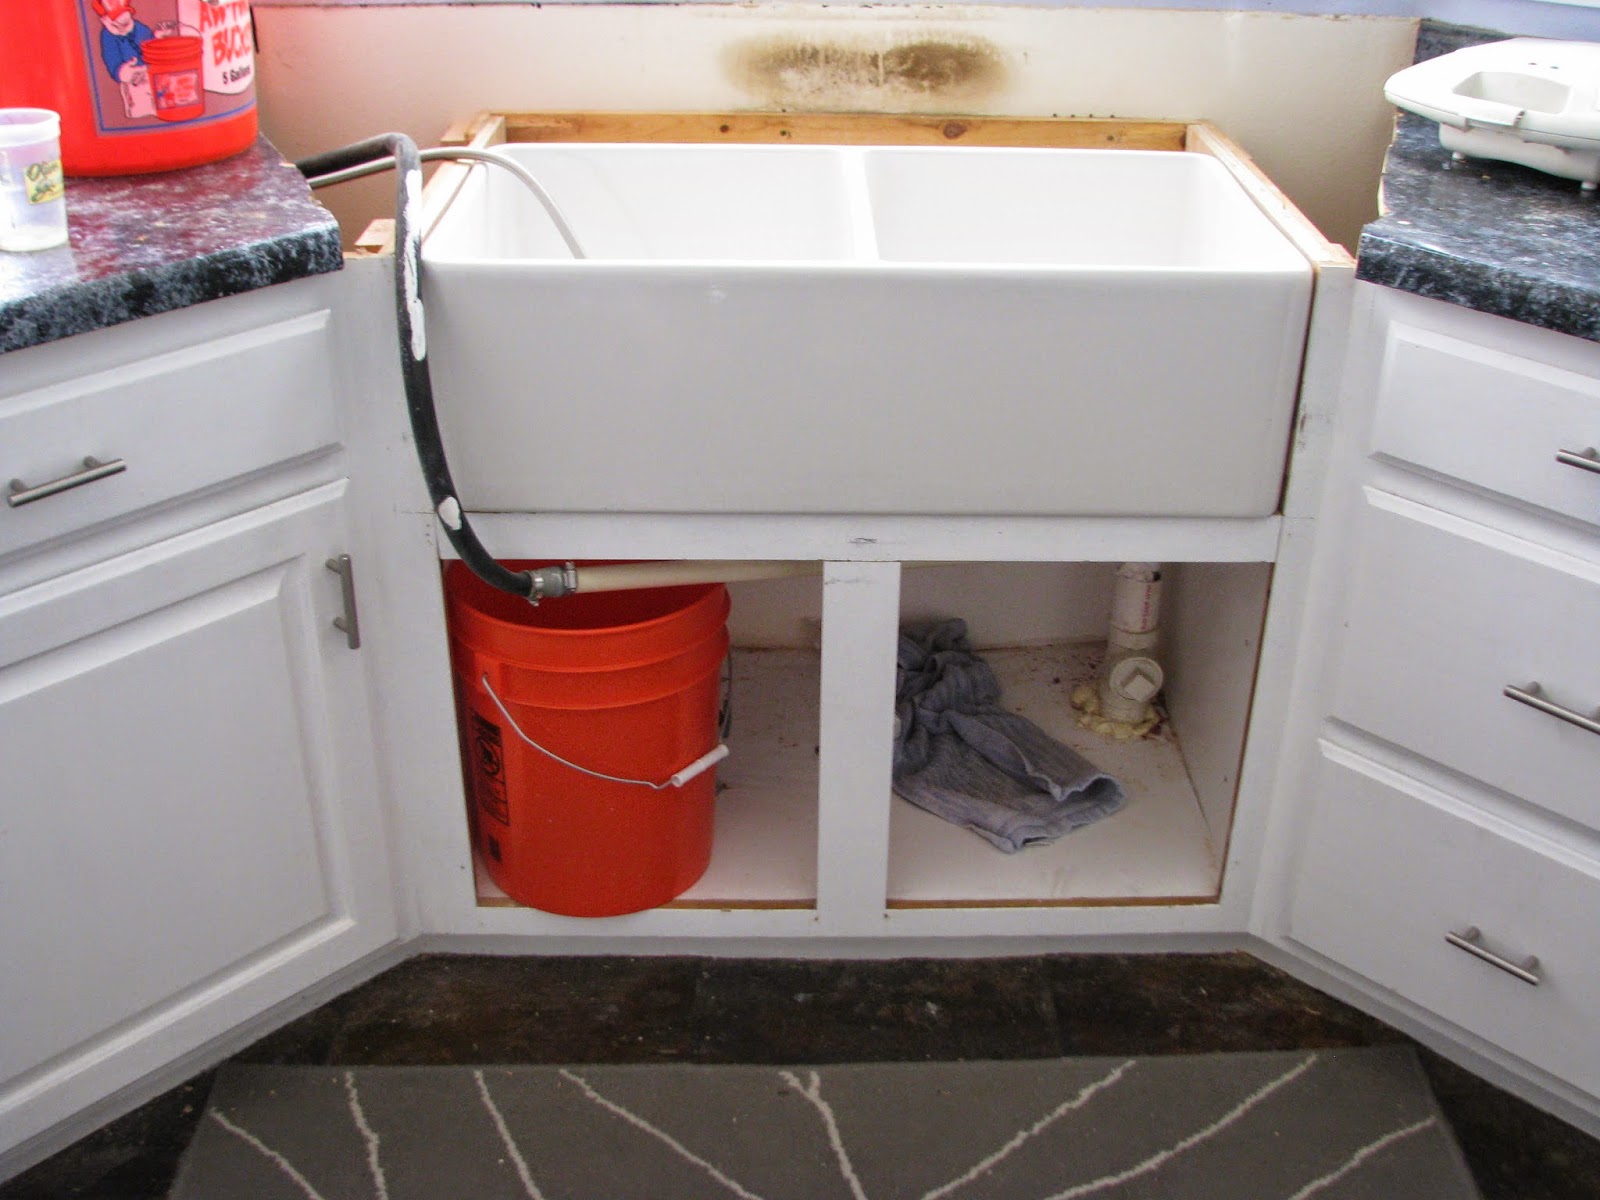
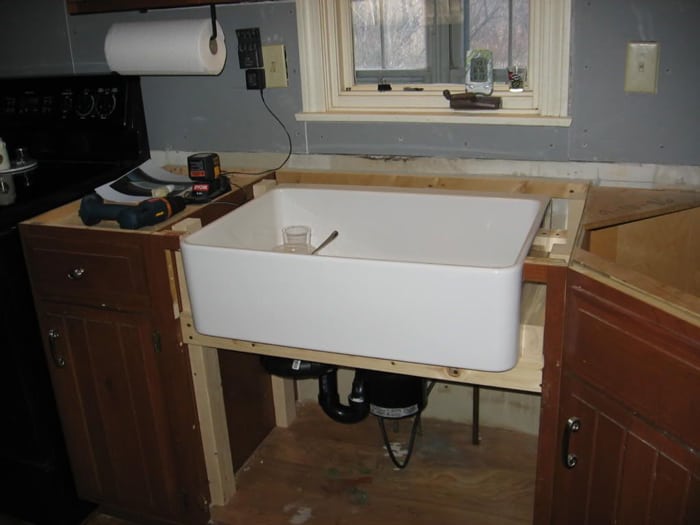
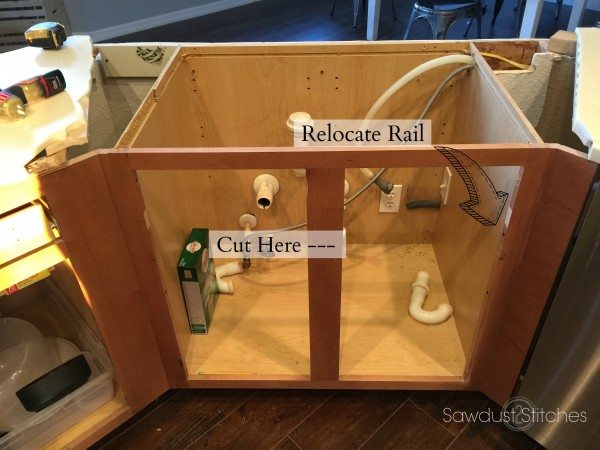
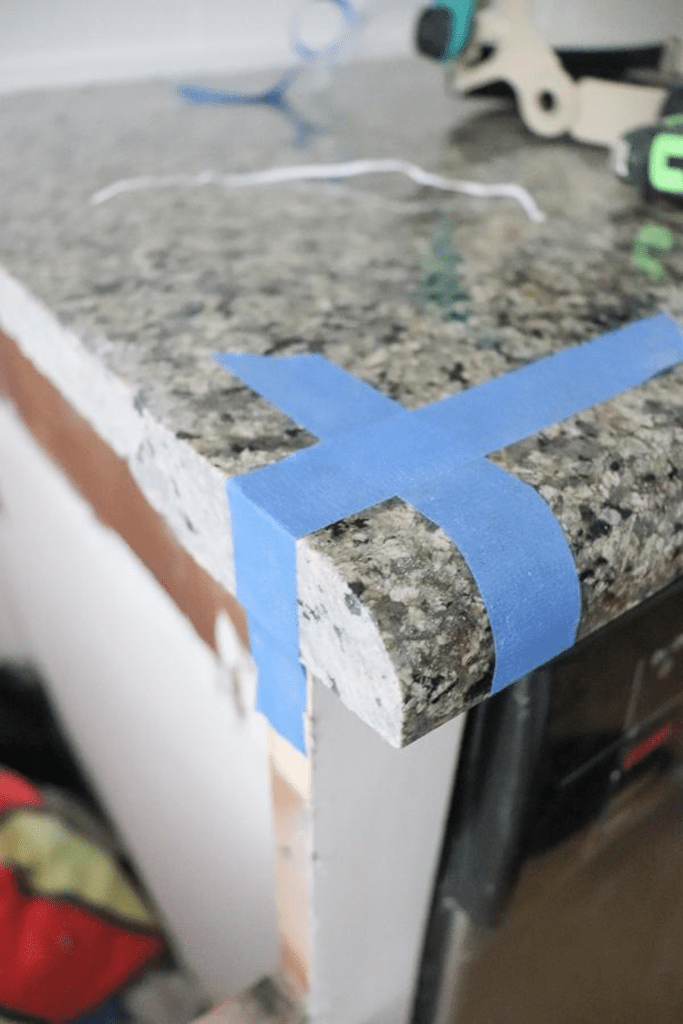
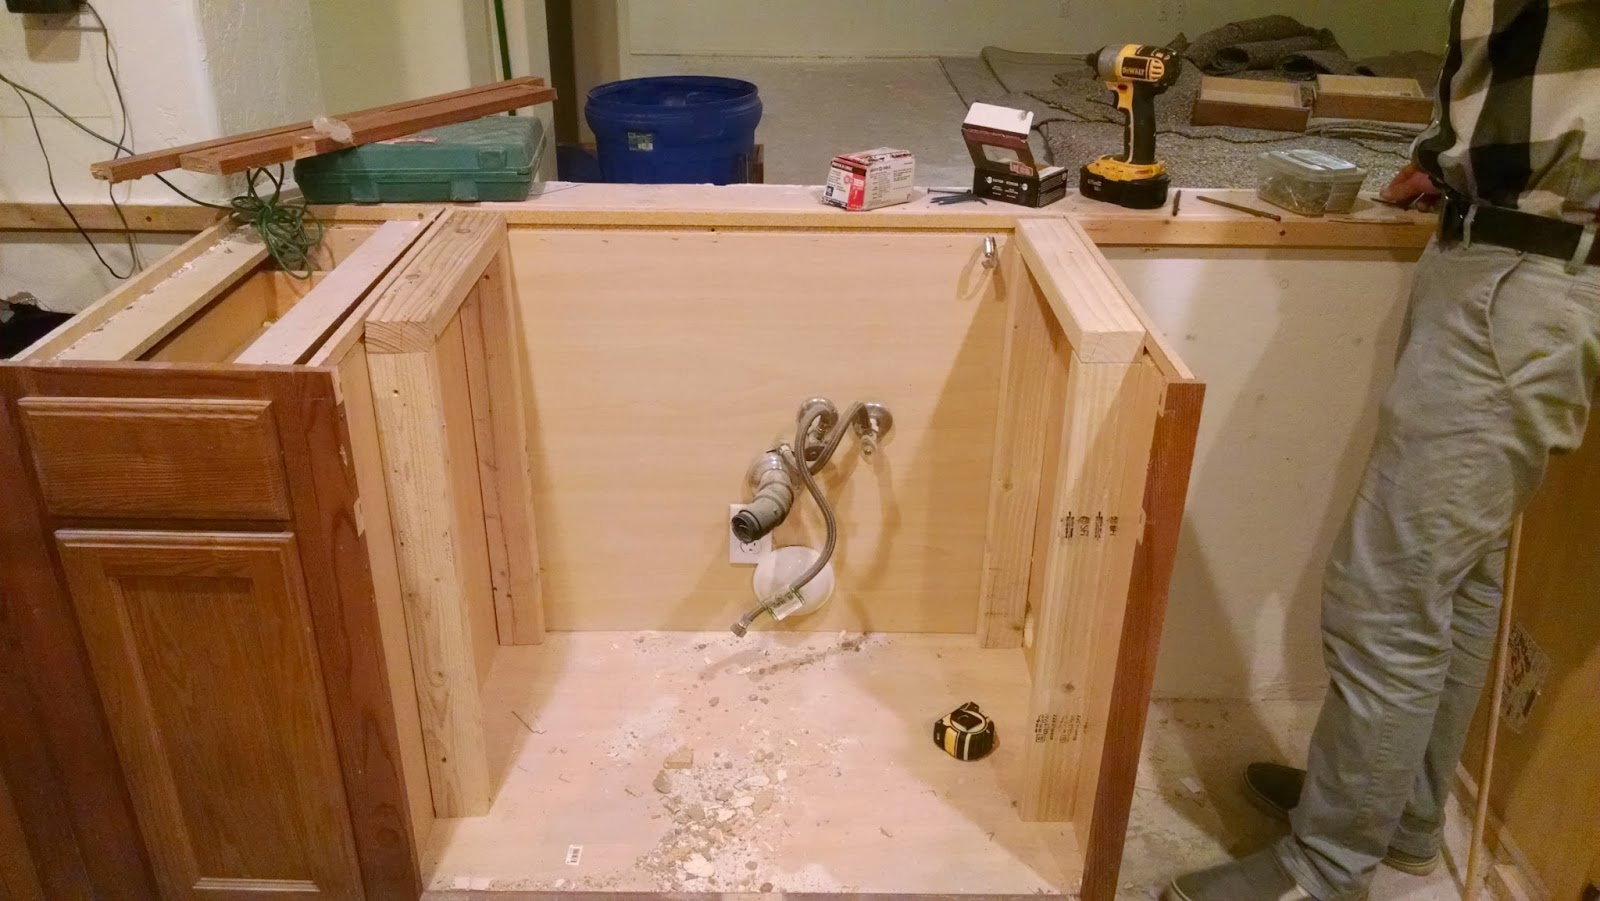
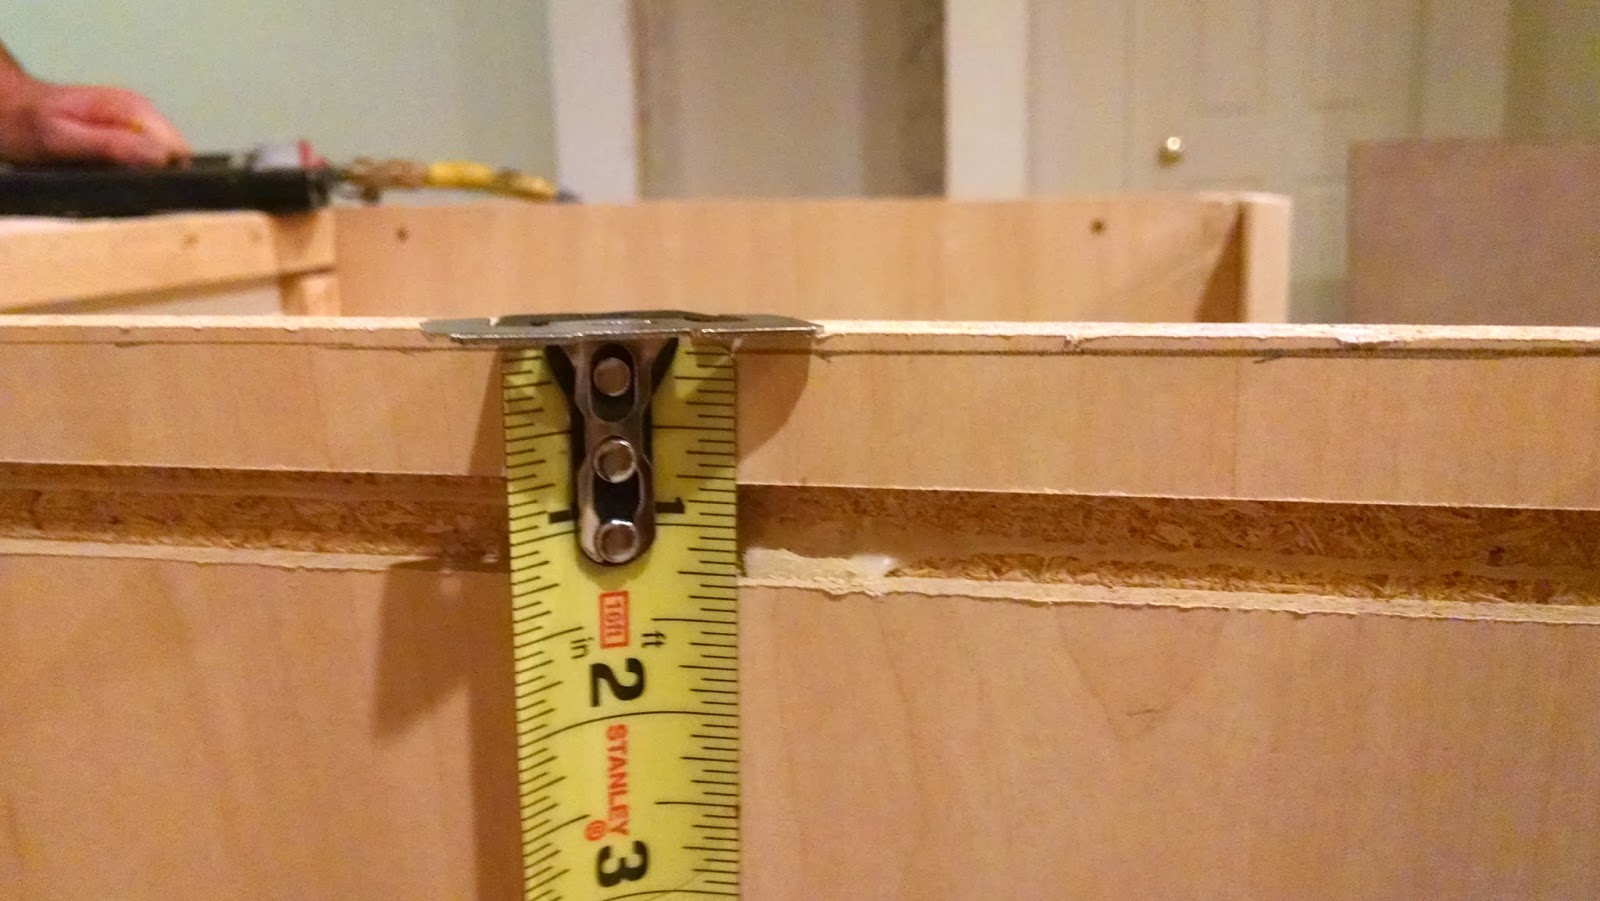
Before you begin the installation process, make sure you have all the necessary tools and materials. You'll need a drill, adjustable wrench, silicone adhesive, plumber's putty, and a screwdriver. Once you have everything ready, follow these steps: Step 1: Measure and mark the location of the sink on your countertop. Make sure the sink is centered and leave enough space for the faucet and any additional accessories. Step 2: Cut out the marked area on your countertop using a jigsaw. Make sure to wear safety glasses and work slowly to avoid any accidents. Step 3: Place the sink in the cutout and secure it with clips or screws provided by the manufacturer. Step 4: Apply a bead of silicone adhesive around the edge of the sink to create a watertight seal. Step 5: Install the faucet and any additional accessories, following the manufacturer's instructions. Step 6: Connect the water supply lines to the faucet and the drain pipes to the sink. Step 7: Turn on the water supply and check for any leaks. If there are leaks, tighten the connections until they stop. Step 8: Apply plumber's putty around the edges of the sink and faucet to create a finished look and prevent any water from seeping in. Congratulations! You have successfully installed your apron kitchen sink.Step-by-Step Guide for Installing an Apron Kitchen Sink


Step-by-Step Guide for Installing an Apron Kitchen Sink


Installing an apron kitchen sink is a task that can easily be done by a DIY enthusiast. Not only will it save you money on hiring a professional, but it's also a fun and rewarding project. Just be sure to follow the manufacturer's instructions carefully and take your time to avoid any mistakes.DIY: Installing an Apron Kitchen Sink


DIY: Installing an Apron Kitchen Sink


Here are a few tips and tricks to keep in mind when installing an apron kitchen sink: Tip #1: Make sure to use a good quality silicone adhesive to create a watertight seal around the sink. This will prevent any water from leaking into your cabinets. Tip #2: Use a drill with a hole saw attachment to create a hole for the faucet. This will ensure a clean and precise cut. Tip #3: Measure twice and cut once to avoid any mistakes and ensure a perfect fit for your sink.Apron Kitchen Sink Installation Tips and Tricks


Apron Kitchen Sink Installation Tips and Tricks


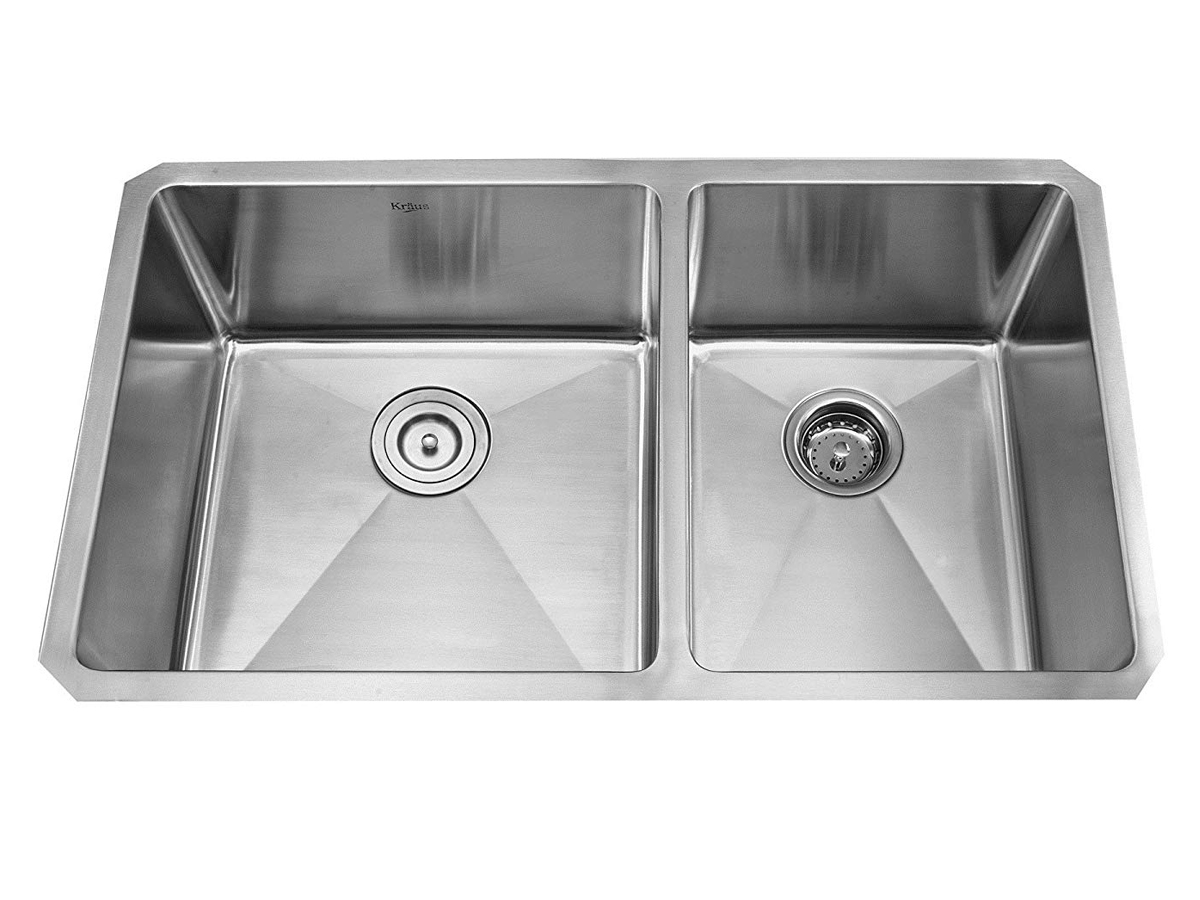
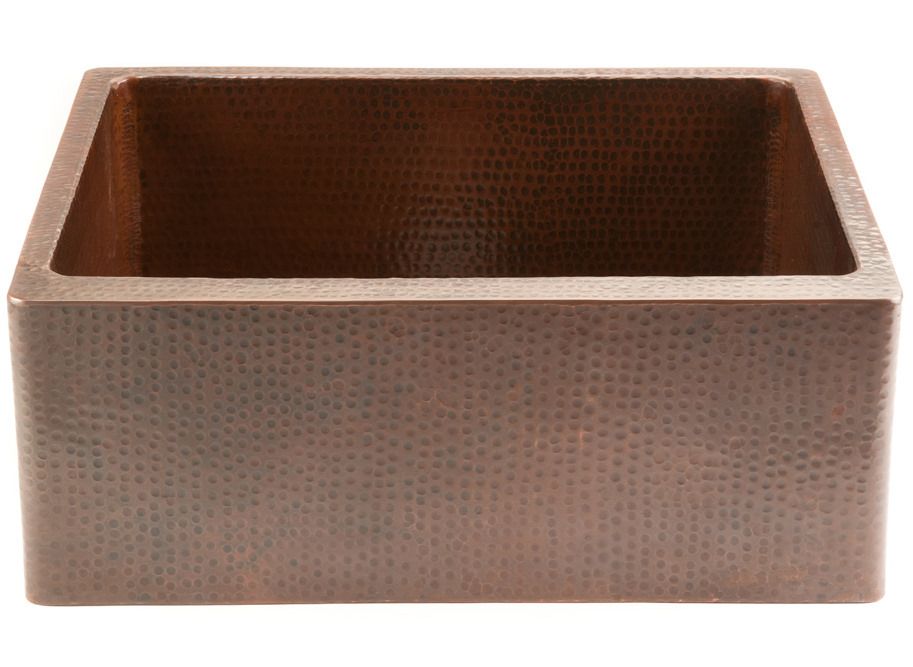
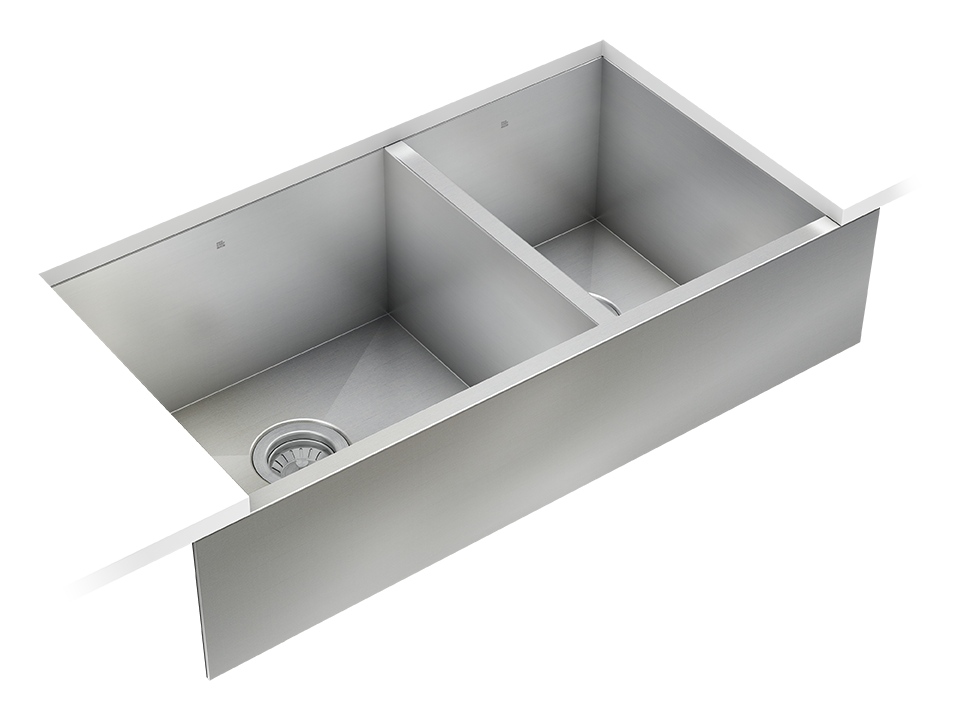
Before you start the installation process, there are a few things you should know about apron kitchen sinks: Fact #1: Apron kitchen sinks are also known as farmhouse sinks and were originally used in rural homes for washing large pots and pans. Fact #2: Apron kitchen sinks are available in different materials such as stainless steel, fireclay, and cast iron. Choose the one that best fits your style and budget. Fact #3: Apron kitchen sinks are deeper and wider than traditional sinks, making it easier to wash larger items.Installing an Apron Kitchen Sink: What You Need to Know


Installing an Apron Kitchen Sink: What You Need to Know


If you're a visual learner, you may find it helpful to watch a tutorial or read a comprehensive guide before starting your apron kitchen sink installation. This will give you a better understanding of the process and help you avoid any mistakes.Apron Kitchen Sink Installation: A Comprehensive Guide

Apron Kitchen Sink Installation: A Comprehensive Guide


The process of installing an apron kitchen sink may seem daunting, but it's actually quite straightforward. With the right tools and materials, you can have it installed in no time. Remember to take your time and follow the steps carefully for the best results.The Process of Installing an Apron Kitchen Sink


The Process of Installing an Apron Kitchen Sink

Even with the best intentions, mistakes can happen during the installation process. Here are a few common mistakes to avoid when installing an apron kitchen sink: Mistake #1: Not measuring the sink and countertop correctly, resulting in an ill-fitted sink. Mistake #2: Not properly securing the sink with clips or screws, causing it to shift and potentially cause leaks. Mistake #3: Not using enough plumber's putty, resulting in water seeping in between the sink and countertop.Apron Kitchen Sink Installation: Common Mistakes to Avoid


Apron Kitchen Sink Installation: Common Mistakes to Avoid


If you're feeling unsure about installing an apron kitchen sink on your own, don't hesitate to seek advice from an expert. They can provide valuable tips and advice to ensure a successful installation.Expert Tips for Installing an Apron Kitchen Sink

Expert Tips for Installing an Apron Kitchen Sink


Here's a quick list of the tools and materials you'll need for apron kitchen sink installation: Tools: Drill, adjustable wrench, jigsaw, screwdriver. Materials: Silicone adhesive, plumber's putty, clips or screws, faucet and accessories. Now that you know how to install an apron kitchen sink, it's time to get started on your kitchen upgrade. Remember to take your time and follow the instructions carefully for the best results. Happy installing!Apron Kitchen Sink Installation: Tools and Materials You'll Need

Apron Kitchen Sink Installation: Tools and Materials You'll Need

Why You Should Consider Installing an Apron Kitchen Sink

The Perfect Addition to Your Dream Kitchen
 When it comes to designing your dream kitchen, every detail matters. From the color of the cabinets to the type of flooring, each element plays a crucial role in creating a cohesive and functional space. One often overlooked feature that can make a big impact is the
apron kitchen sink
. Not only does it add a touch of elegance and charm, but it also provides numerous practical benefits that make it a must-have in any modern kitchen.
When it comes to designing your dream kitchen, every detail matters. From the color of the cabinets to the type of flooring, each element plays a crucial role in creating a cohesive and functional space. One often overlooked feature that can make a big impact is the
apron kitchen sink
. Not only does it add a touch of elegance and charm, but it also provides numerous practical benefits that make it a must-have in any modern kitchen.
What is an Apron Kitchen Sink?
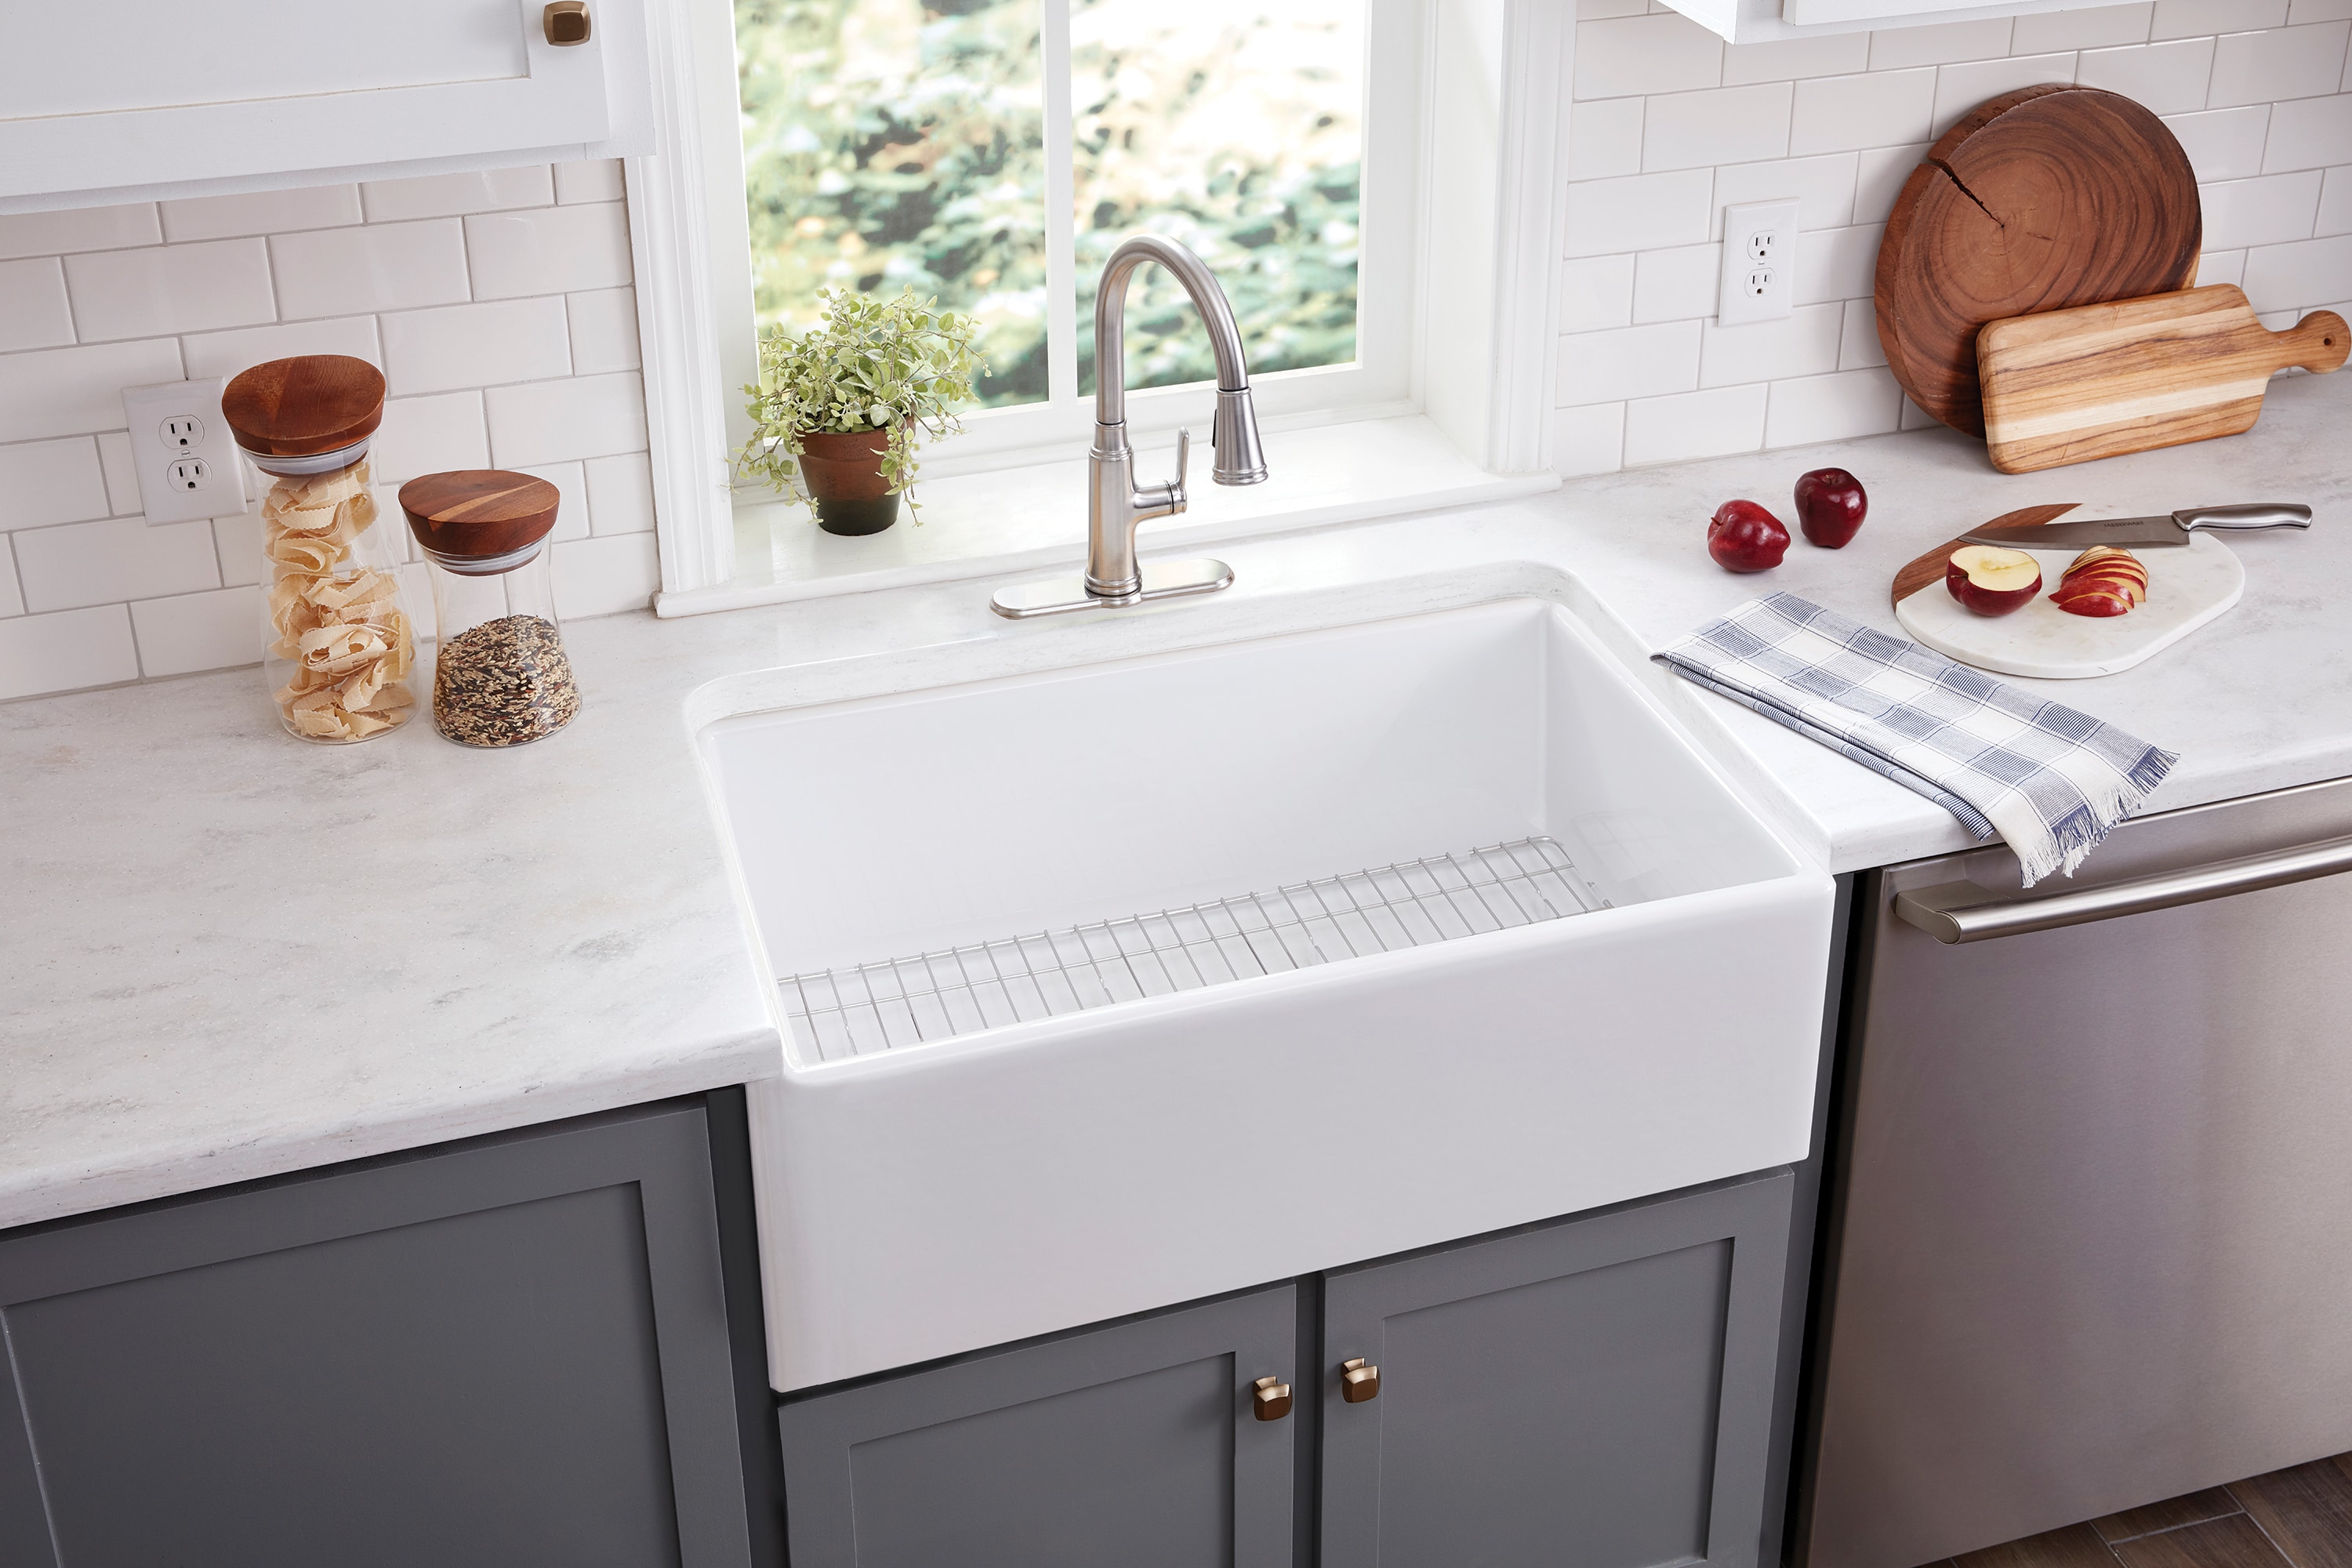
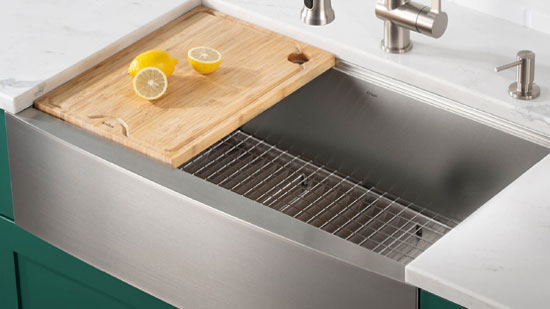
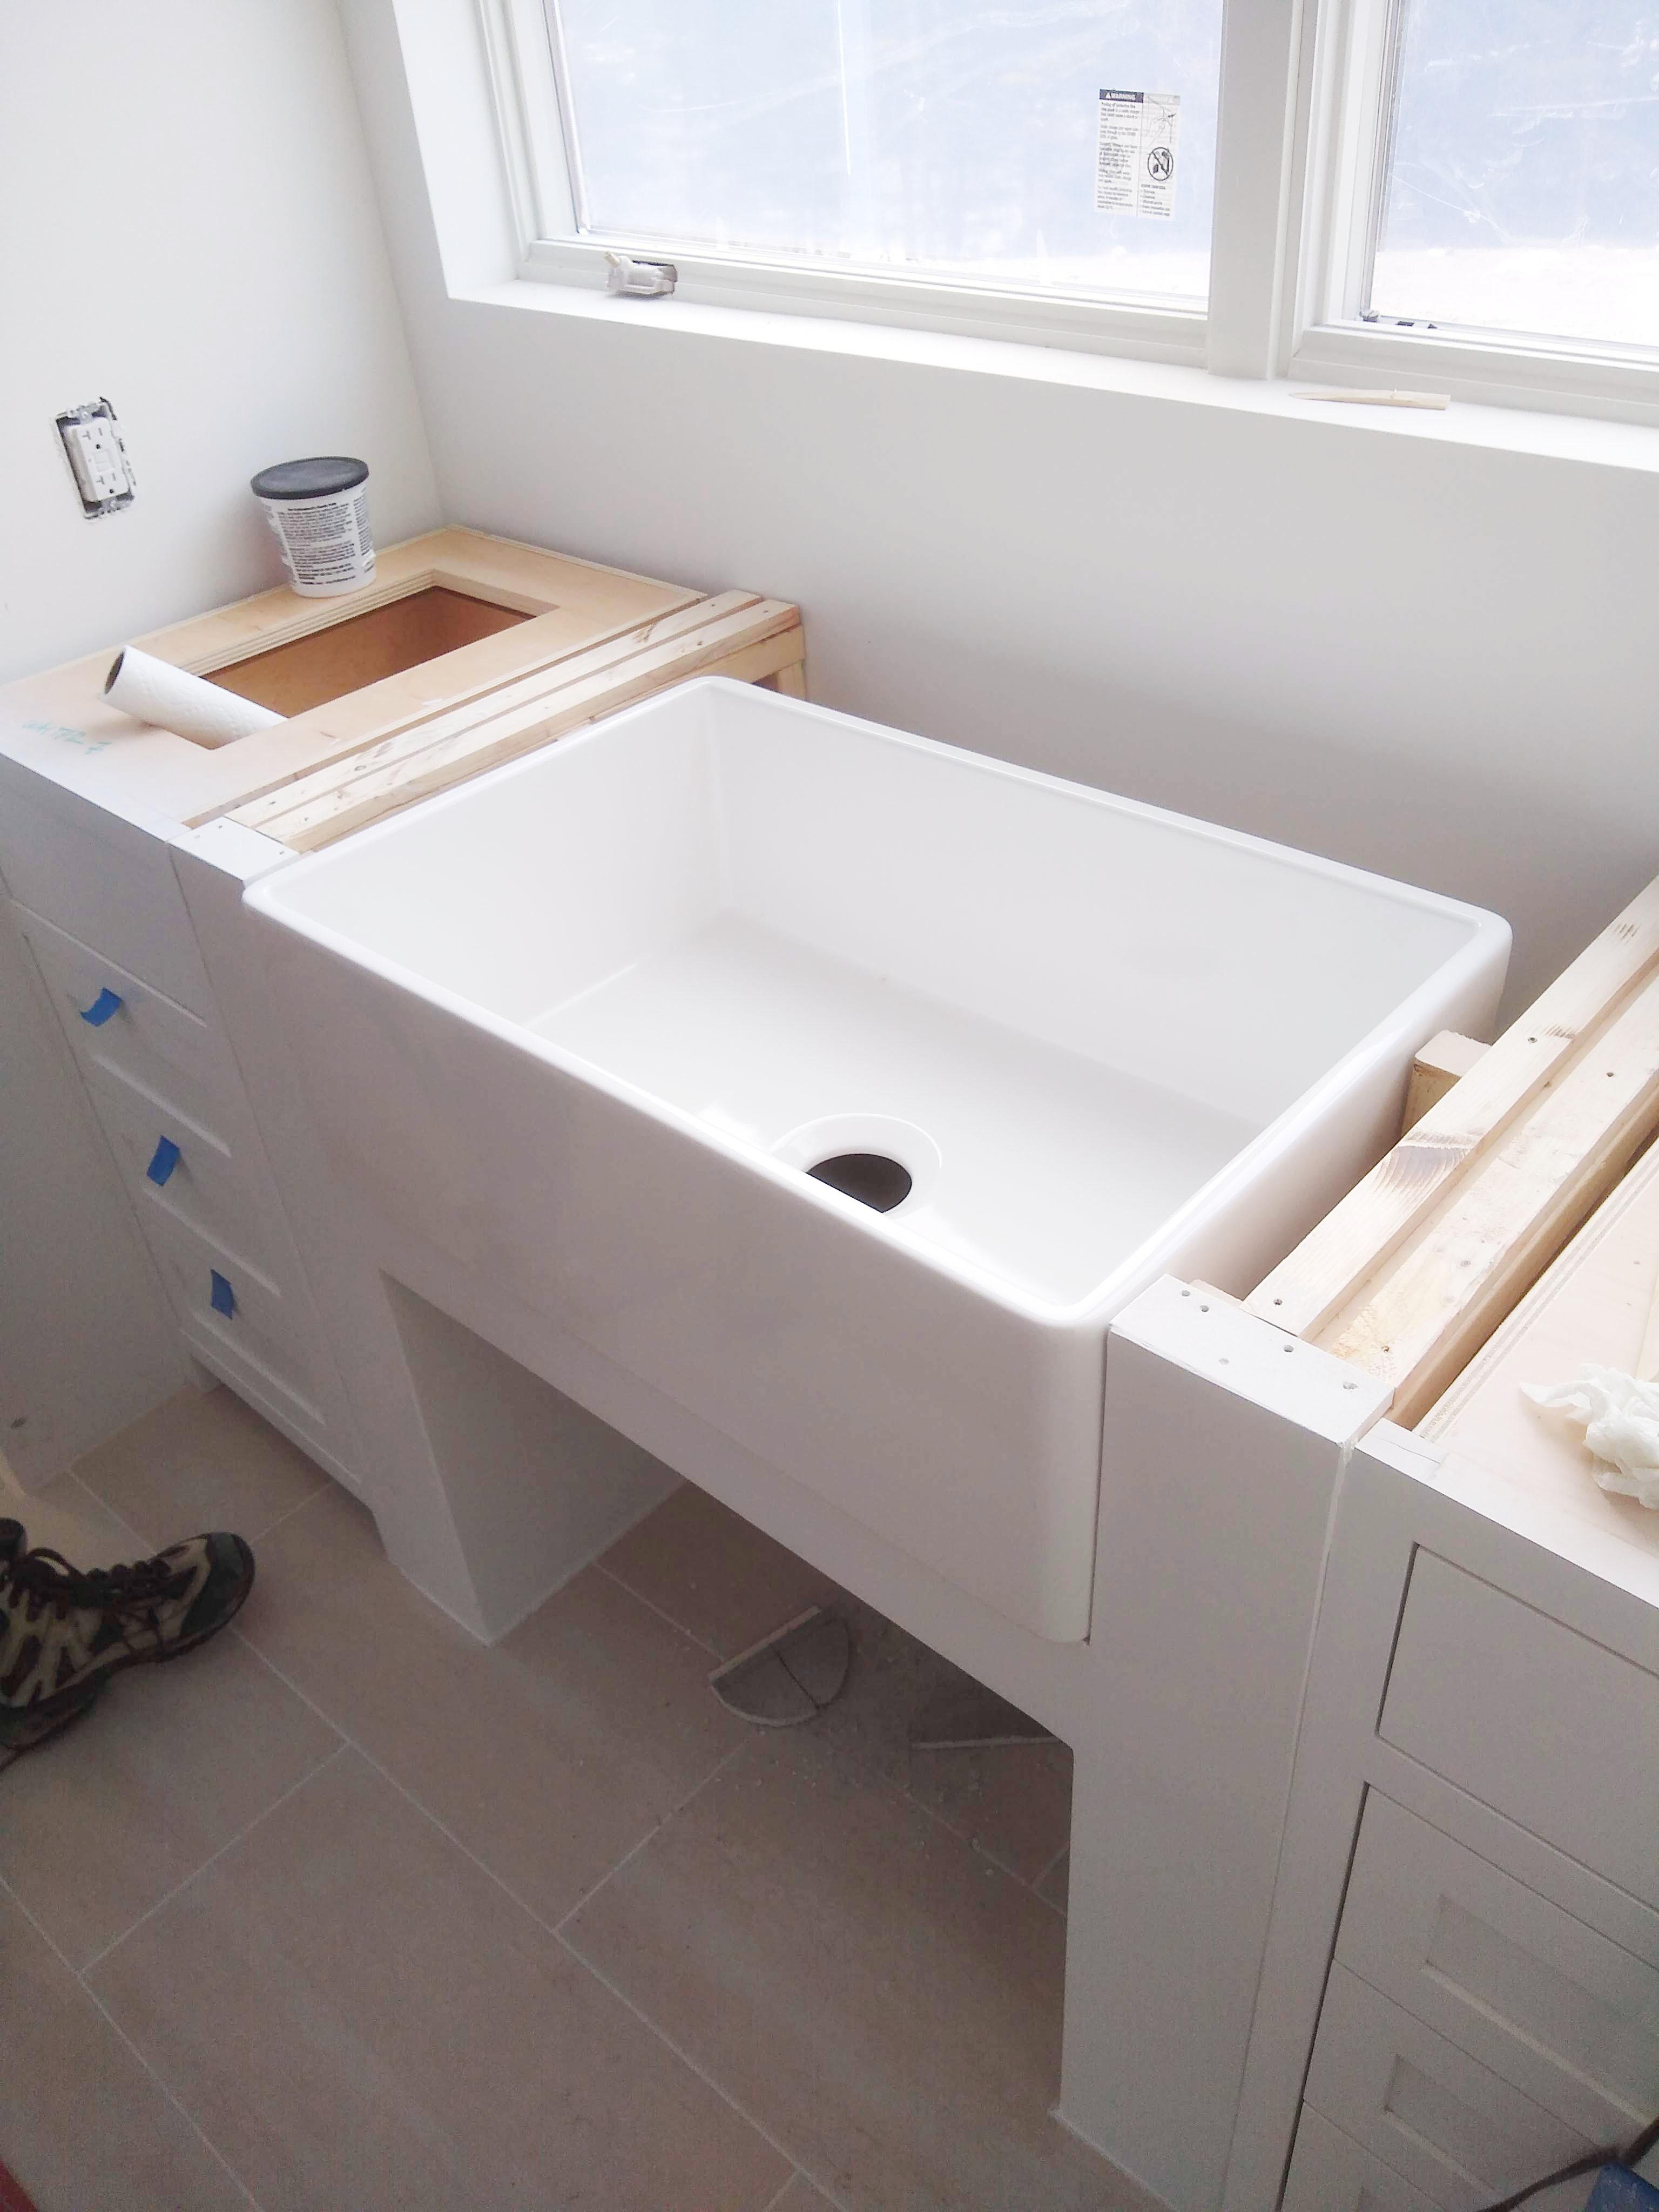
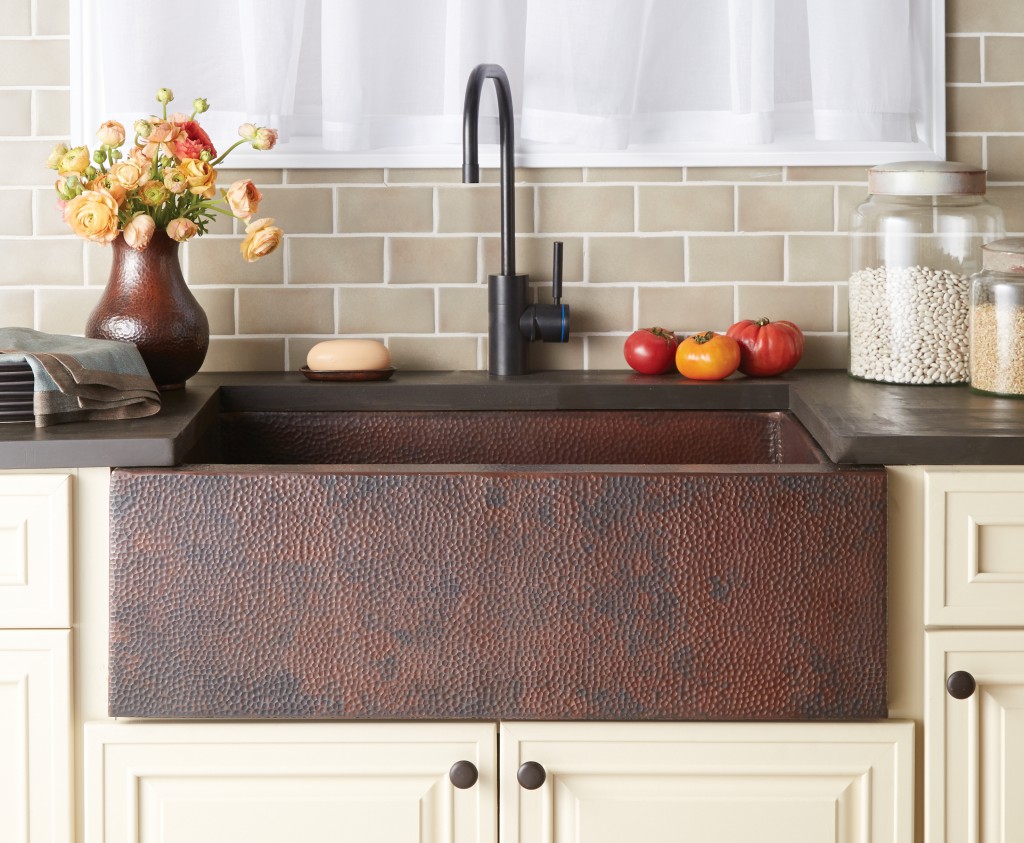
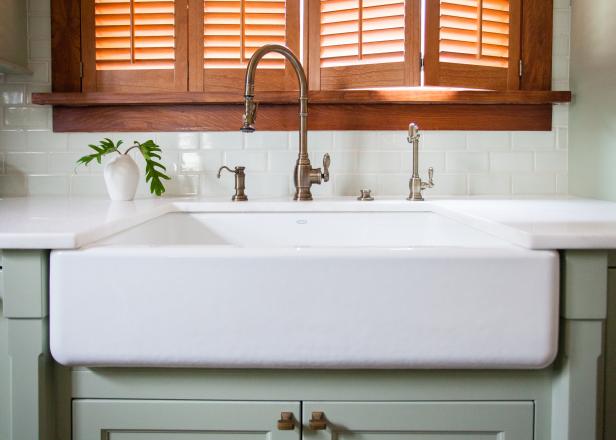
 Also known as a farmhouse sink, an apron kitchen sink is a large, single-basin sink that has a visible front panel that extends past the edge of the countertop. This unique design gives it a distinct look and makes it a focal point in any kitchen. Traditionally, apron sinks were made from porcelain or fireclay, but now they are available in a variety of materials such as stainless steel, copper, and even stone.
The Advantages of Installing an Apron Kitchen Sink
 1. Aesthetics
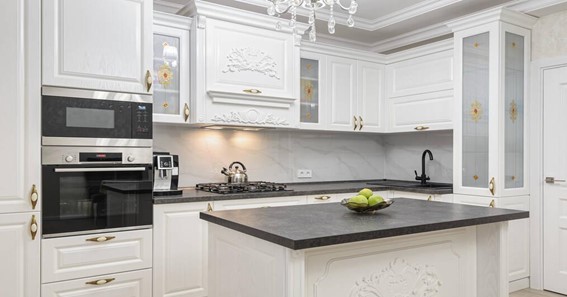
One of the main reasons people opt for an apron kitchen sink is because of its stunning visual appeal. The exposed front panel adds a touch of elegance and character to any kitchen, making it a statement piece that instantly elevates the overall design. The sleek and clean lines of the sink also make it a popular choice for modern and minimalist kitchens.
2. Functionality
Apart from its aesthetic appeal, an apron kitchen sink also offers numerous functional benefits. Its large size and deep basin make it perfect for washing large pots and pans, and even for bathing small children or pets. The front panel also eliminates the need for a cabinet or countertop between the sink and the user, providing more space and easier access.
3. Durability
Apron kitchen sinks are known for their durability and longevity. Made from high-quality materials, they can withstand heavy daily use without showing signs of wear and tear. This makes them a great investment for any homeowner looking for a long-term solution for their kitchen sink.
4. Easy to Clean
The exposed front panel of an apron kitchen sink also makes it easier to clean and maintain. Unlike traditional undermount sinks, there are no seams or edges where dirt and grime can accumulate. The large, single basin also means there are no dividers to scrub between, making it a breeze to keep clean.
1. Aesthetics
One of the main reasons people opt for an apron kitchen sink is because of its stunning visual appeal. The exposed front panel adds a touch of elegance and character to any kitchen, making it a statement piece that instantly elevates the overall design. The sleek and clean lines of the sink also make it a popular choice for modern and minimalist kitchens.
2. Functionality
Apart from its aesthetic appeal, an apron kitchen sink also offers numerous functional benefits. Its large size and deep basin make it perfect for washing large pots and pans, and even for bathing small children or pets. The front panel also eliminates the need for a cabinet or countertop between the sink and the user, providing more space and easier access.
3. Durability
Apron kitchen sinks are known for their durability and longevity. Made from high-quality materials, they can withstand heavy daily use without showing signs of wear and tear. This makes them a great investment for any homeowner looking for a long-term solution for their kitchen sink.
4. Easy to Clean
The exposed front panel of an apron kitchen sink also makes it easier to clean and maintain. Unlike traditional undermount sinks, there are no seams or edges where dirt and grime can accumulate. The large, single basin also means there are no dividers to scrub between, making it a breeze to keep clean.
Final Thoughts
 In conclusion, an apron kitchen sink is a perfect addition to any dream kitchen. With its stunning design, practical benefits, durability, and ease of maintenance, it is a wise choice for both style and functionality. So, if you're considering a kitchen remodel or simply looking to upgrade your sink, consider installing an apron kitchen sink for a touch of elegance and a whole lot of functionality.