Are you looking to update your bathroom with a sleek and modern look? Installing a wall mounted sink is a great way to achieve just that. Not only does it save space, but it also adds a touch of elegance to any bathroom. Follow these 10 easy steps to successfully install a wall mounted sink in your bathroom.Install a Wall Mounted Sink
Installing a wall mounted sink may seem daunting, but with the right tools and knowledge, it can be a straightforward process. Keep reading for a step-by-step guide on how to install a wall mounted sink in your bathroom.How to Install a Wall Mounted Sink
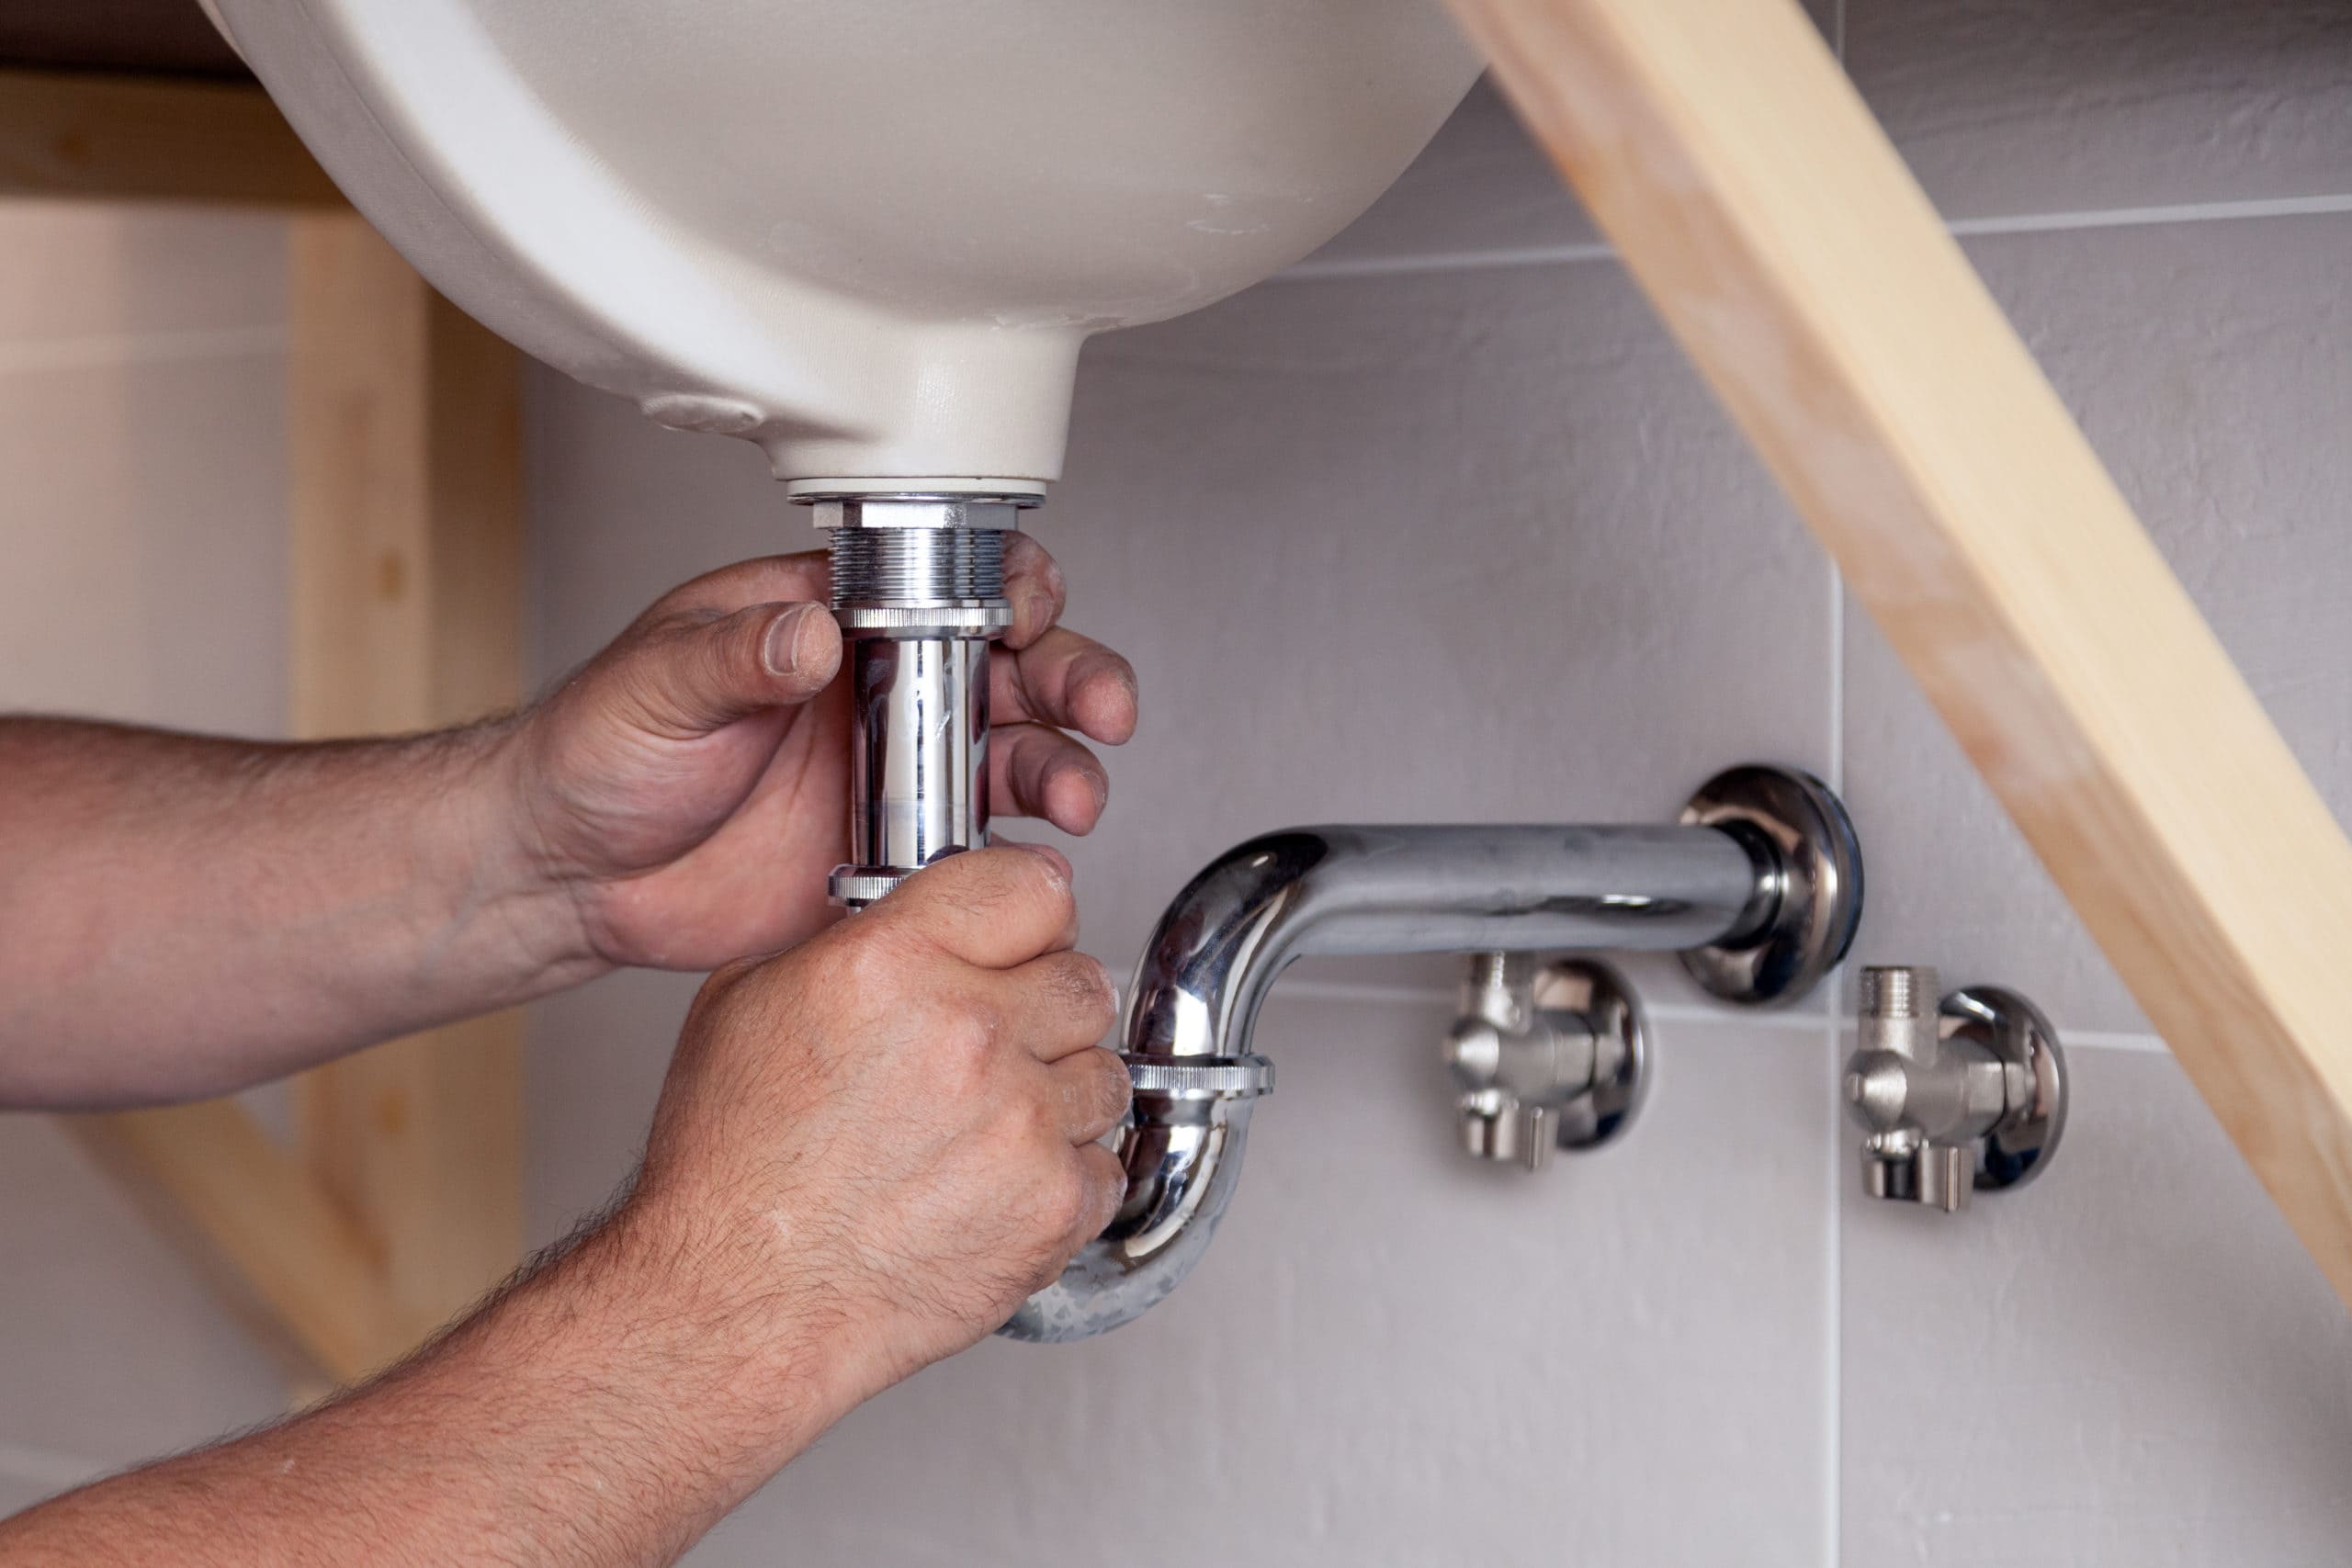
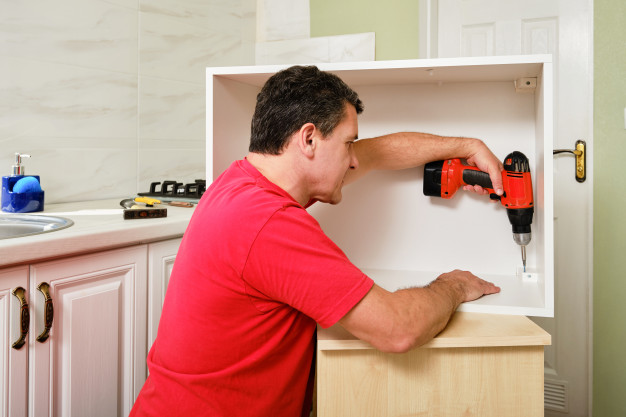
Before you begin, make sure you have all the necessary tools and materials. You will need a drill, adjustable wrench, level, silicone caulk, mounting brackets, and of course, the wall mounted sink. Step 1: Prepare the Area Start by clearing out the area where you will be installing the sink. Remove any old sink, countertop, or vanity. Make sure the wall is clean and free of any debris. Step 2: Measure and Mark Using a level, measure and mark where the sink will be mounted on the wall. Double check your measurements to ensure accuracy. Step 3: Drill Holes Use a drill to make holes in the wall where you marked for the sink. These holes will be used to secure the mounting brackets. Step 4: Install Mounting Brackets Attach the mounting brackets to the wall using the holes you drilled. Make sure they are level and secure. Step 5: Connect the Water Supply Next, connect the water supply lines to the sink. Make sure to use plumber's tape to ensure a tight seal. Step 6: Add Silicone Caulk Apply a thin layer of silicone caulk to the back of the sink where it will touch the wall. This will help create a seal and prevent water from leaking behind the sink. Step 7: Mount the Sink Carefully lift the sink and place it onto the mounting brackets. Make sure it is level before securing it in place. Step 8: Secure the Sink Use the adjustable wrench to secure the sink to the mounting brackets. Make sure it is tightly in place. Step 9: Connect the Drain Attach the drain to the bottom of the sink. Use plumber's tape to ensure a tight seal. Step 10: Finish Up Turn on the water supply and check for any leaks. If everything looks good, use silicone caulk to seal around the edges of the sink and make it look seamless.Step-by-Step Guide for Installing a Wall Mounted Sink
With these 10 easy steps, you can successfully install a wall mounted sink in your bathroom as a DIY project. Not only will it save you money, but it will also give you a sense of accomplishment.DIY Wall Mounted Sink Installation
If you prefer a visual guide, there are plenty of online tutorials and videos available to help you through the installation process. Just make sure to follow the steps carefully and have all the necessary tools and materials.Wall Mounted Sink Installation Tutorial
As you can see, installing a wall mounted sink is not as complicated as it may seem. With the right tools and steps, you can easily achieve a sleek and modern look in your bathroom.Easy Steps for Installing a Wall Mounted Sink
Here are a few tips and tricks to keep in mind while installing a wall mounted sink:Wall Mounted Sink Installation Tips and Tricks
Now that you have a better understanding of the installation process, you can confidently install a wall mounted sink in your bathroom. Just remember to follow these 10 steps and use the tips and tricks provided for a successful and seamless installation.Complete Guide to Installing a Wall Mounted Sink
Installing a wall mounted sink may seem like a big project, but with the right steps and tools, you can easily achieve a modern and elegant look in your bathroom. Whether you choose to DIY or hire a professional, now you know the necessary steps to install a wall mounted sink in your home.Wall Mounted Sink Installation: What You Need to Know
Additional Steps for Installing a Wall Mounted Bathroom Sink
Choosing the Right Location
 When installing a
wall mounted bathroom sink
, it is important to choose the right location. Consider the functionality and aesthetics of the sink. Is it easily accessible? Does it complement the overall design of your bathroom? Will there be enough space for other bathroom essentials? These are some important questions to keep in mind. Additionally, make sure to check for any existing plumbing and electrical connections in the chosen location to avoid any potential issues during installation.
Properly Measuring and Marking
 Before drilling any holes or attaching the sink to the wall, it is important to properly measure and mark the location. Use a measuring tape and a level to ensure accuracy. This step is crucial to avoid any mistakes and ensure that the sink is installed in a straight and level manner. Mark the location for the sink's mounting brackets and any other necessary holes for plumbing and faucet connections.
Attaching the Sink to the Wall
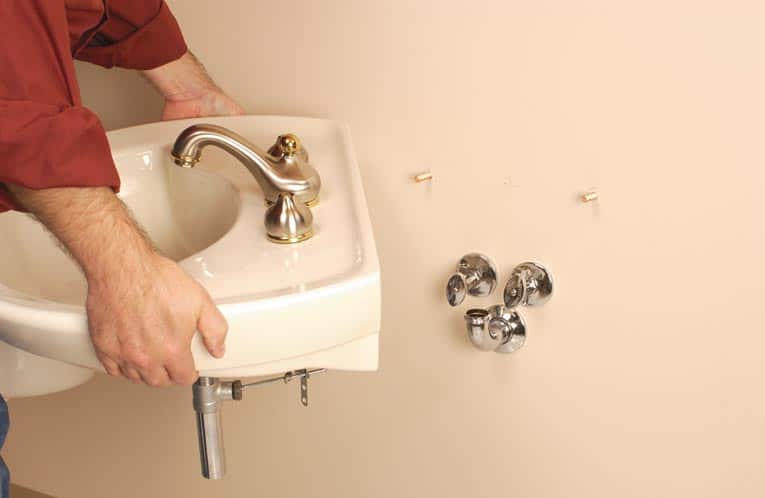
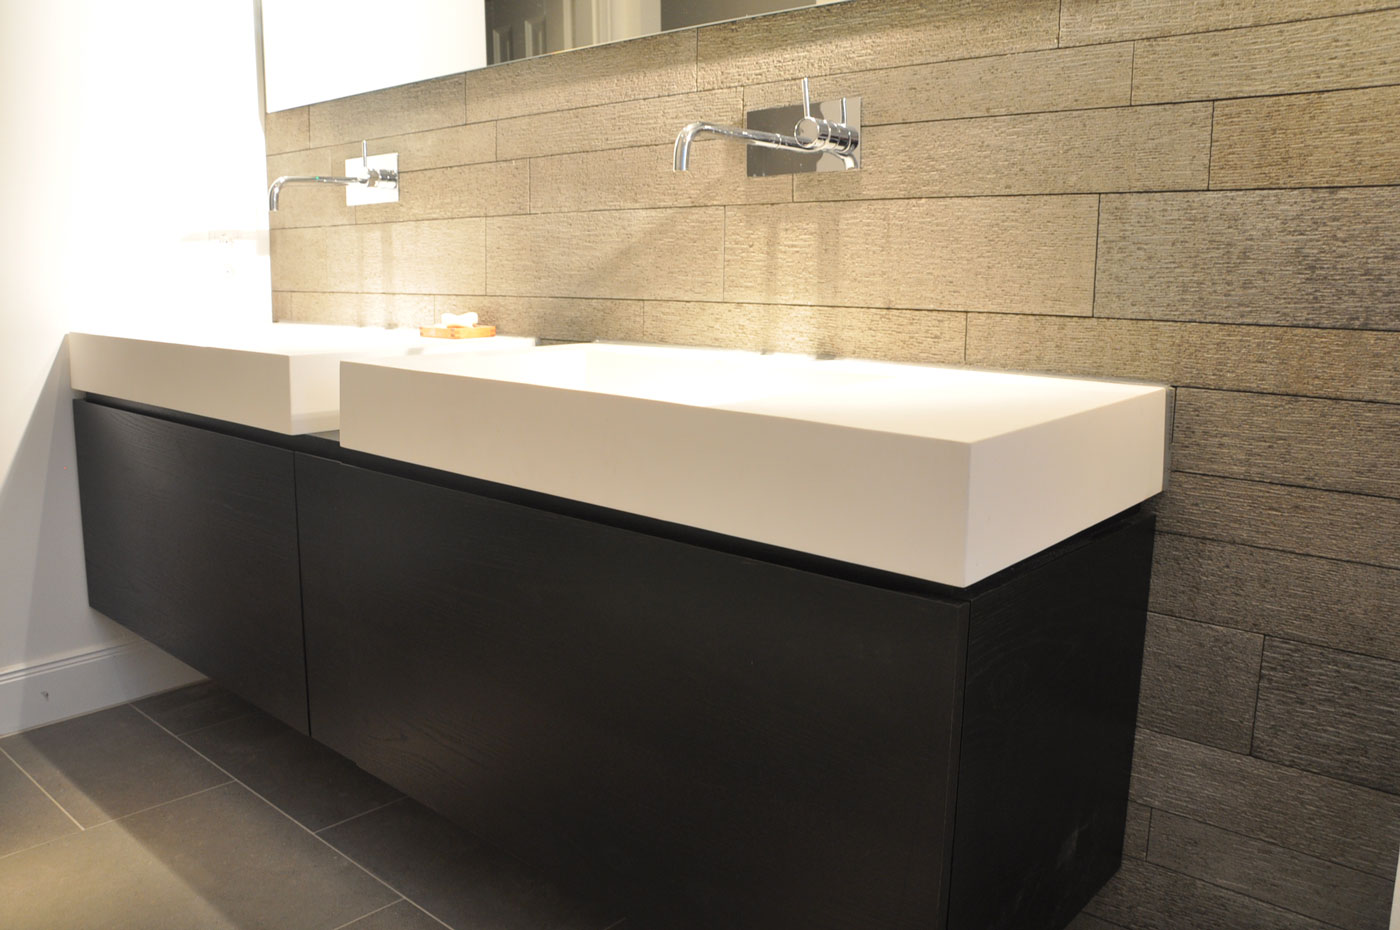 Once the location and measurements are finalized, it's time to attach the sink to the wall. Follow the manufacturer's instructions for proper installation. Typically, this involves attaching the mounting brackets to the wall and then securing the sink to the brackets. Use a level to ensure that the sink is straight and adjust the brackets if needed. It is recommended to have at least two people for this step to ensure proper installation.
Connecting Plumbing and Electrical
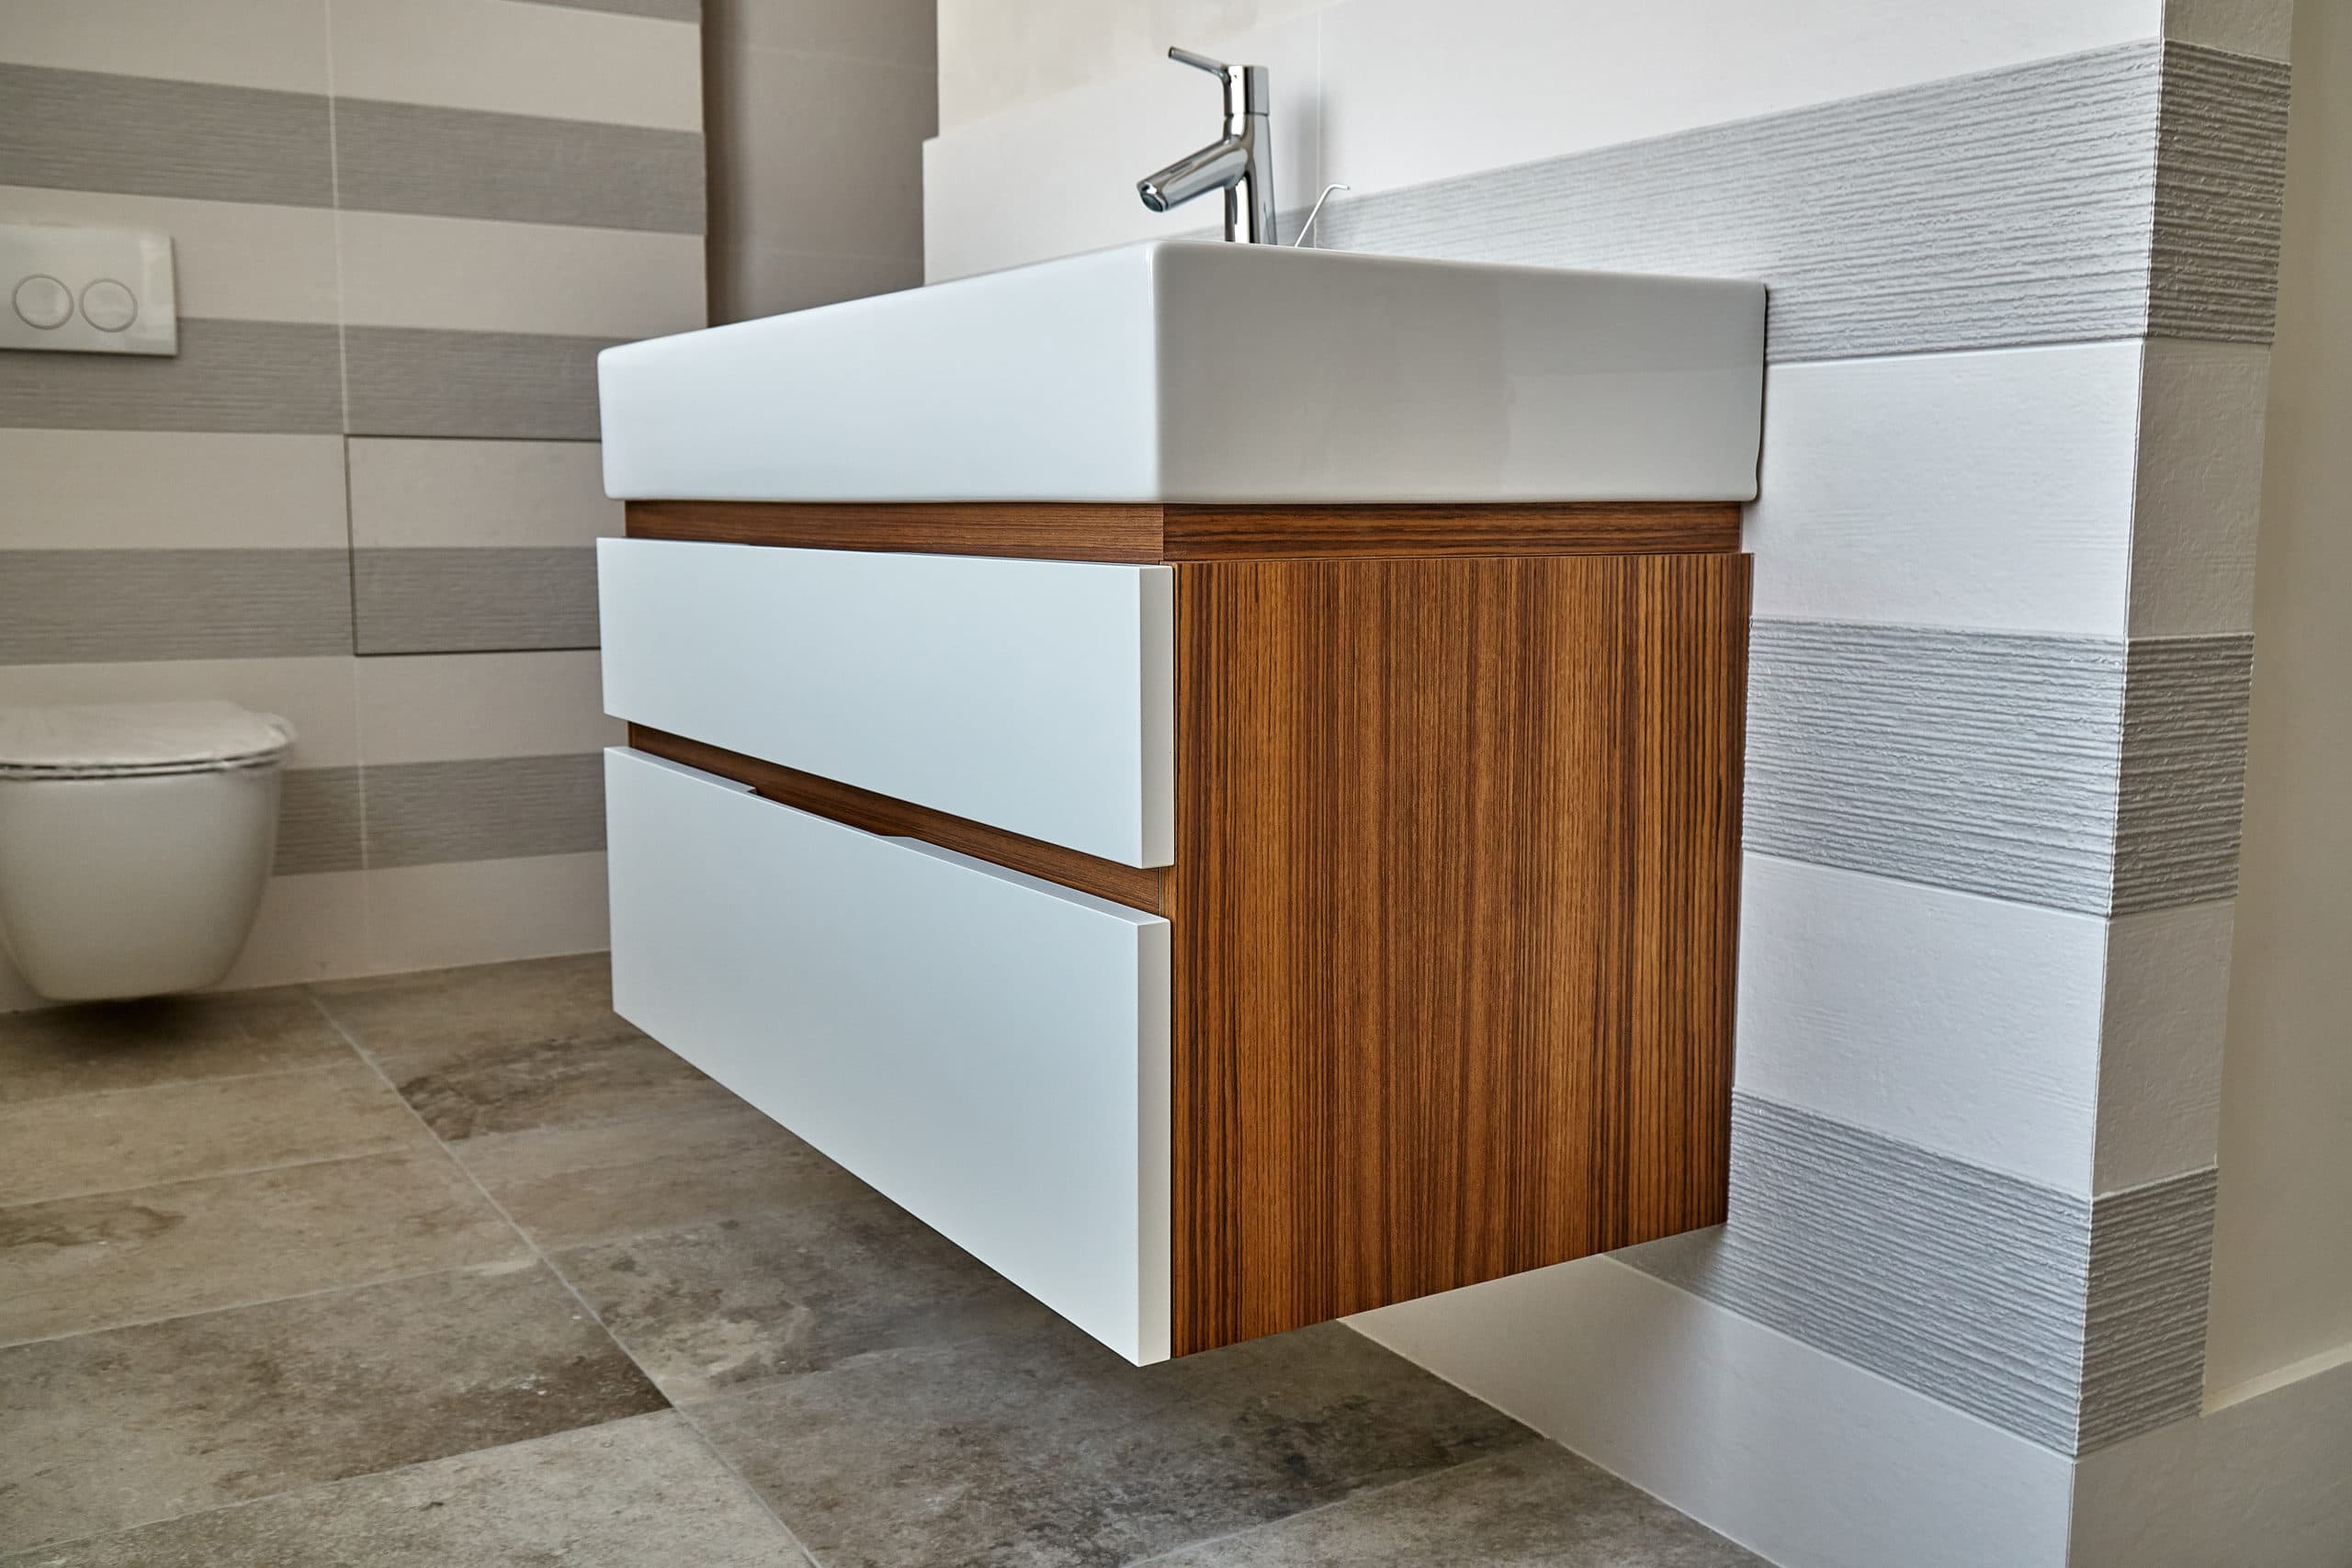 After the sink is securely attached to the wall, it's time to connect the plumbing and electrical connections. This step may require the help of a professional plumber or electrician, especially if you are not familiar with these systems. Make sure to properly connect the water supply lines, drain pipe, and any other necessary plumbing components. For electrical connections, follow the manufacturer's instructions and make sure all connections are secure and safe.
Adding Finishing Touches
 Once the sink is installed and all connections are made, it's time to add the finishing touches. This includes attaching the faucet, drain stopper, and any other accessories. Make sure to test the sink and all its components to ensure proper functionality. If everything is working properly, you can now enjoy your newly installed
wall mounted bathroom sink
and admire its sleek and modern design in your bathroom.
In conclusion, installing a wall mounted bathroom sink may seem like a daunting task, but with the right steps and proper preparations, it can be a straightforward and rewarding project. Remember to choose the right location, properly measure and mark, securely attach the sink to the wall, connect plumbing and electrical, and add the finishing touches. With these steps, you can have a beautiful and functional sink that adds character to your bathroom design.


/close-up-of-water-dripping-from-faucet-in-sink-913967940-5c8e3b1a46e0fb000177008d.jpg)


/grey-painted-mirror-surround-above-washbasin---london-103585284-59b6f74e845b3400105d81d3.jpg)
