Before you begin installing a breakfast bar in your kitchen, it is important to measure the available space. This will help you determine the appropriate size and type of breakfast bar to fit your kitchen layout. Use a measuring tape to measure the length and width of the area where you want to install the breakfast bar. Make sure to also take into account any appliances or cabinets that may be in the way. This will give you a better understanding of how much space you have to work with. Once you have the measurements, you can start planning for the type of breakfast bar that will best suit your kitchen.1. Measure the space for the breakfast bar
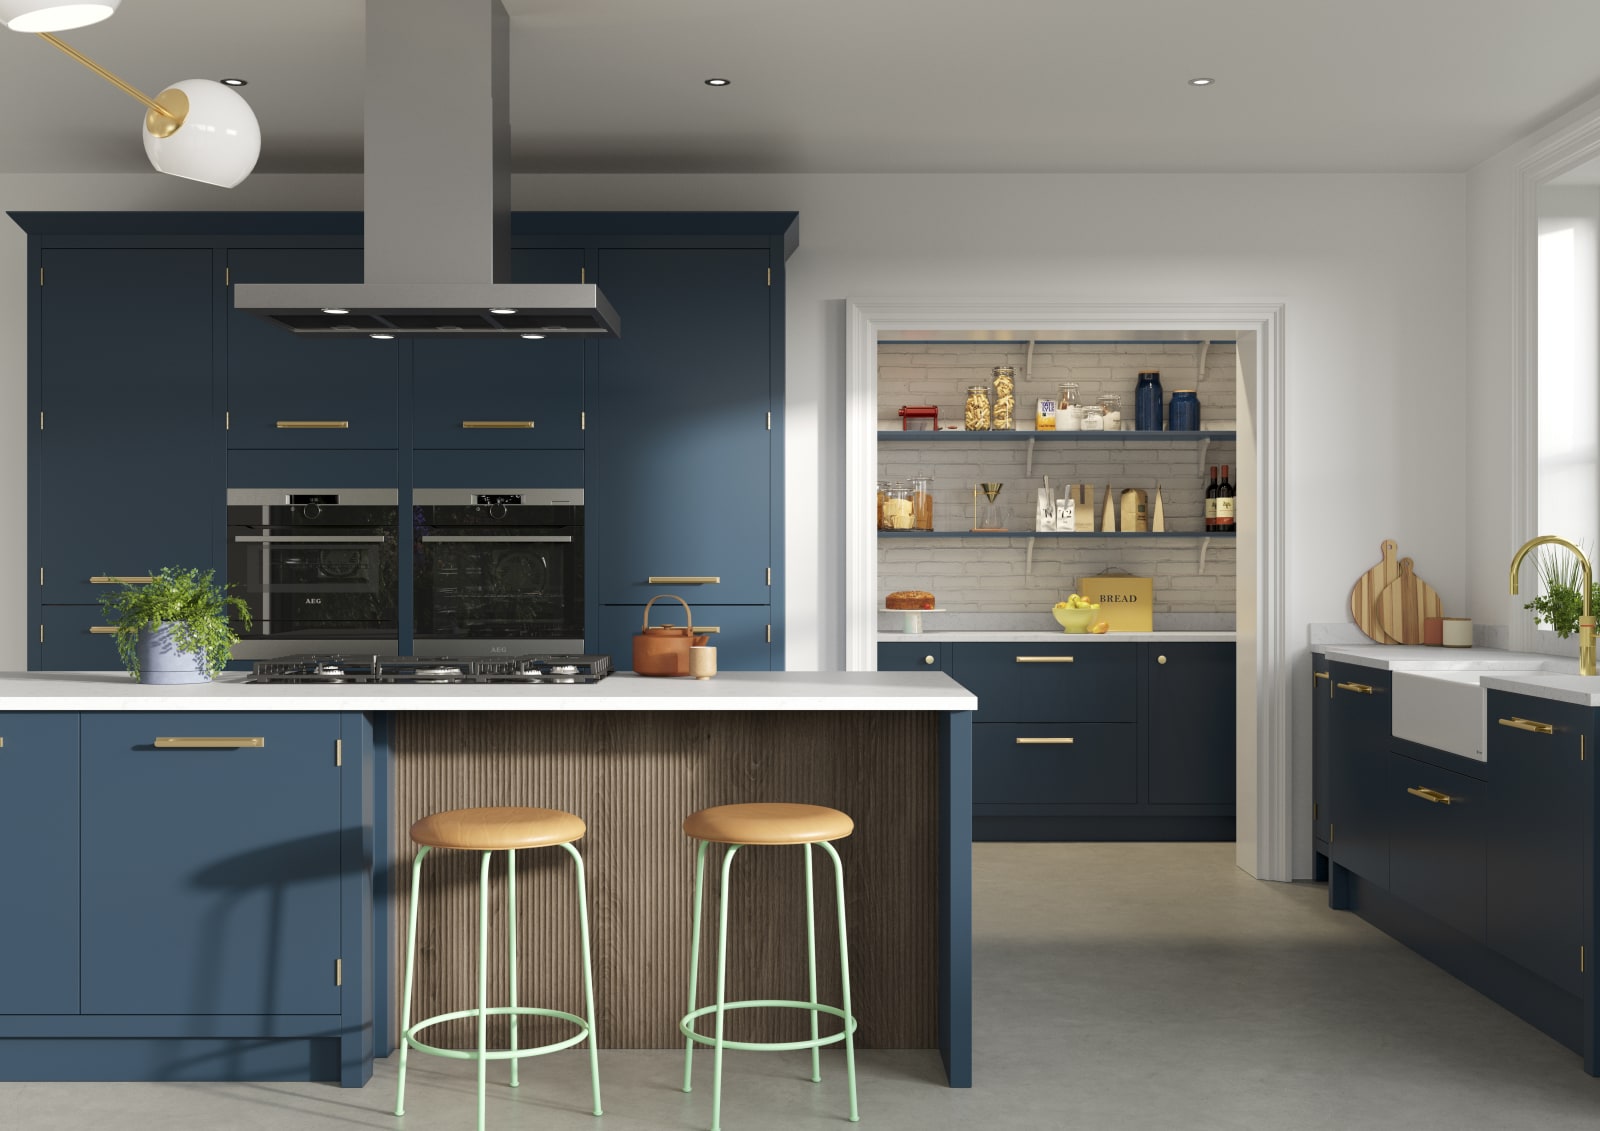
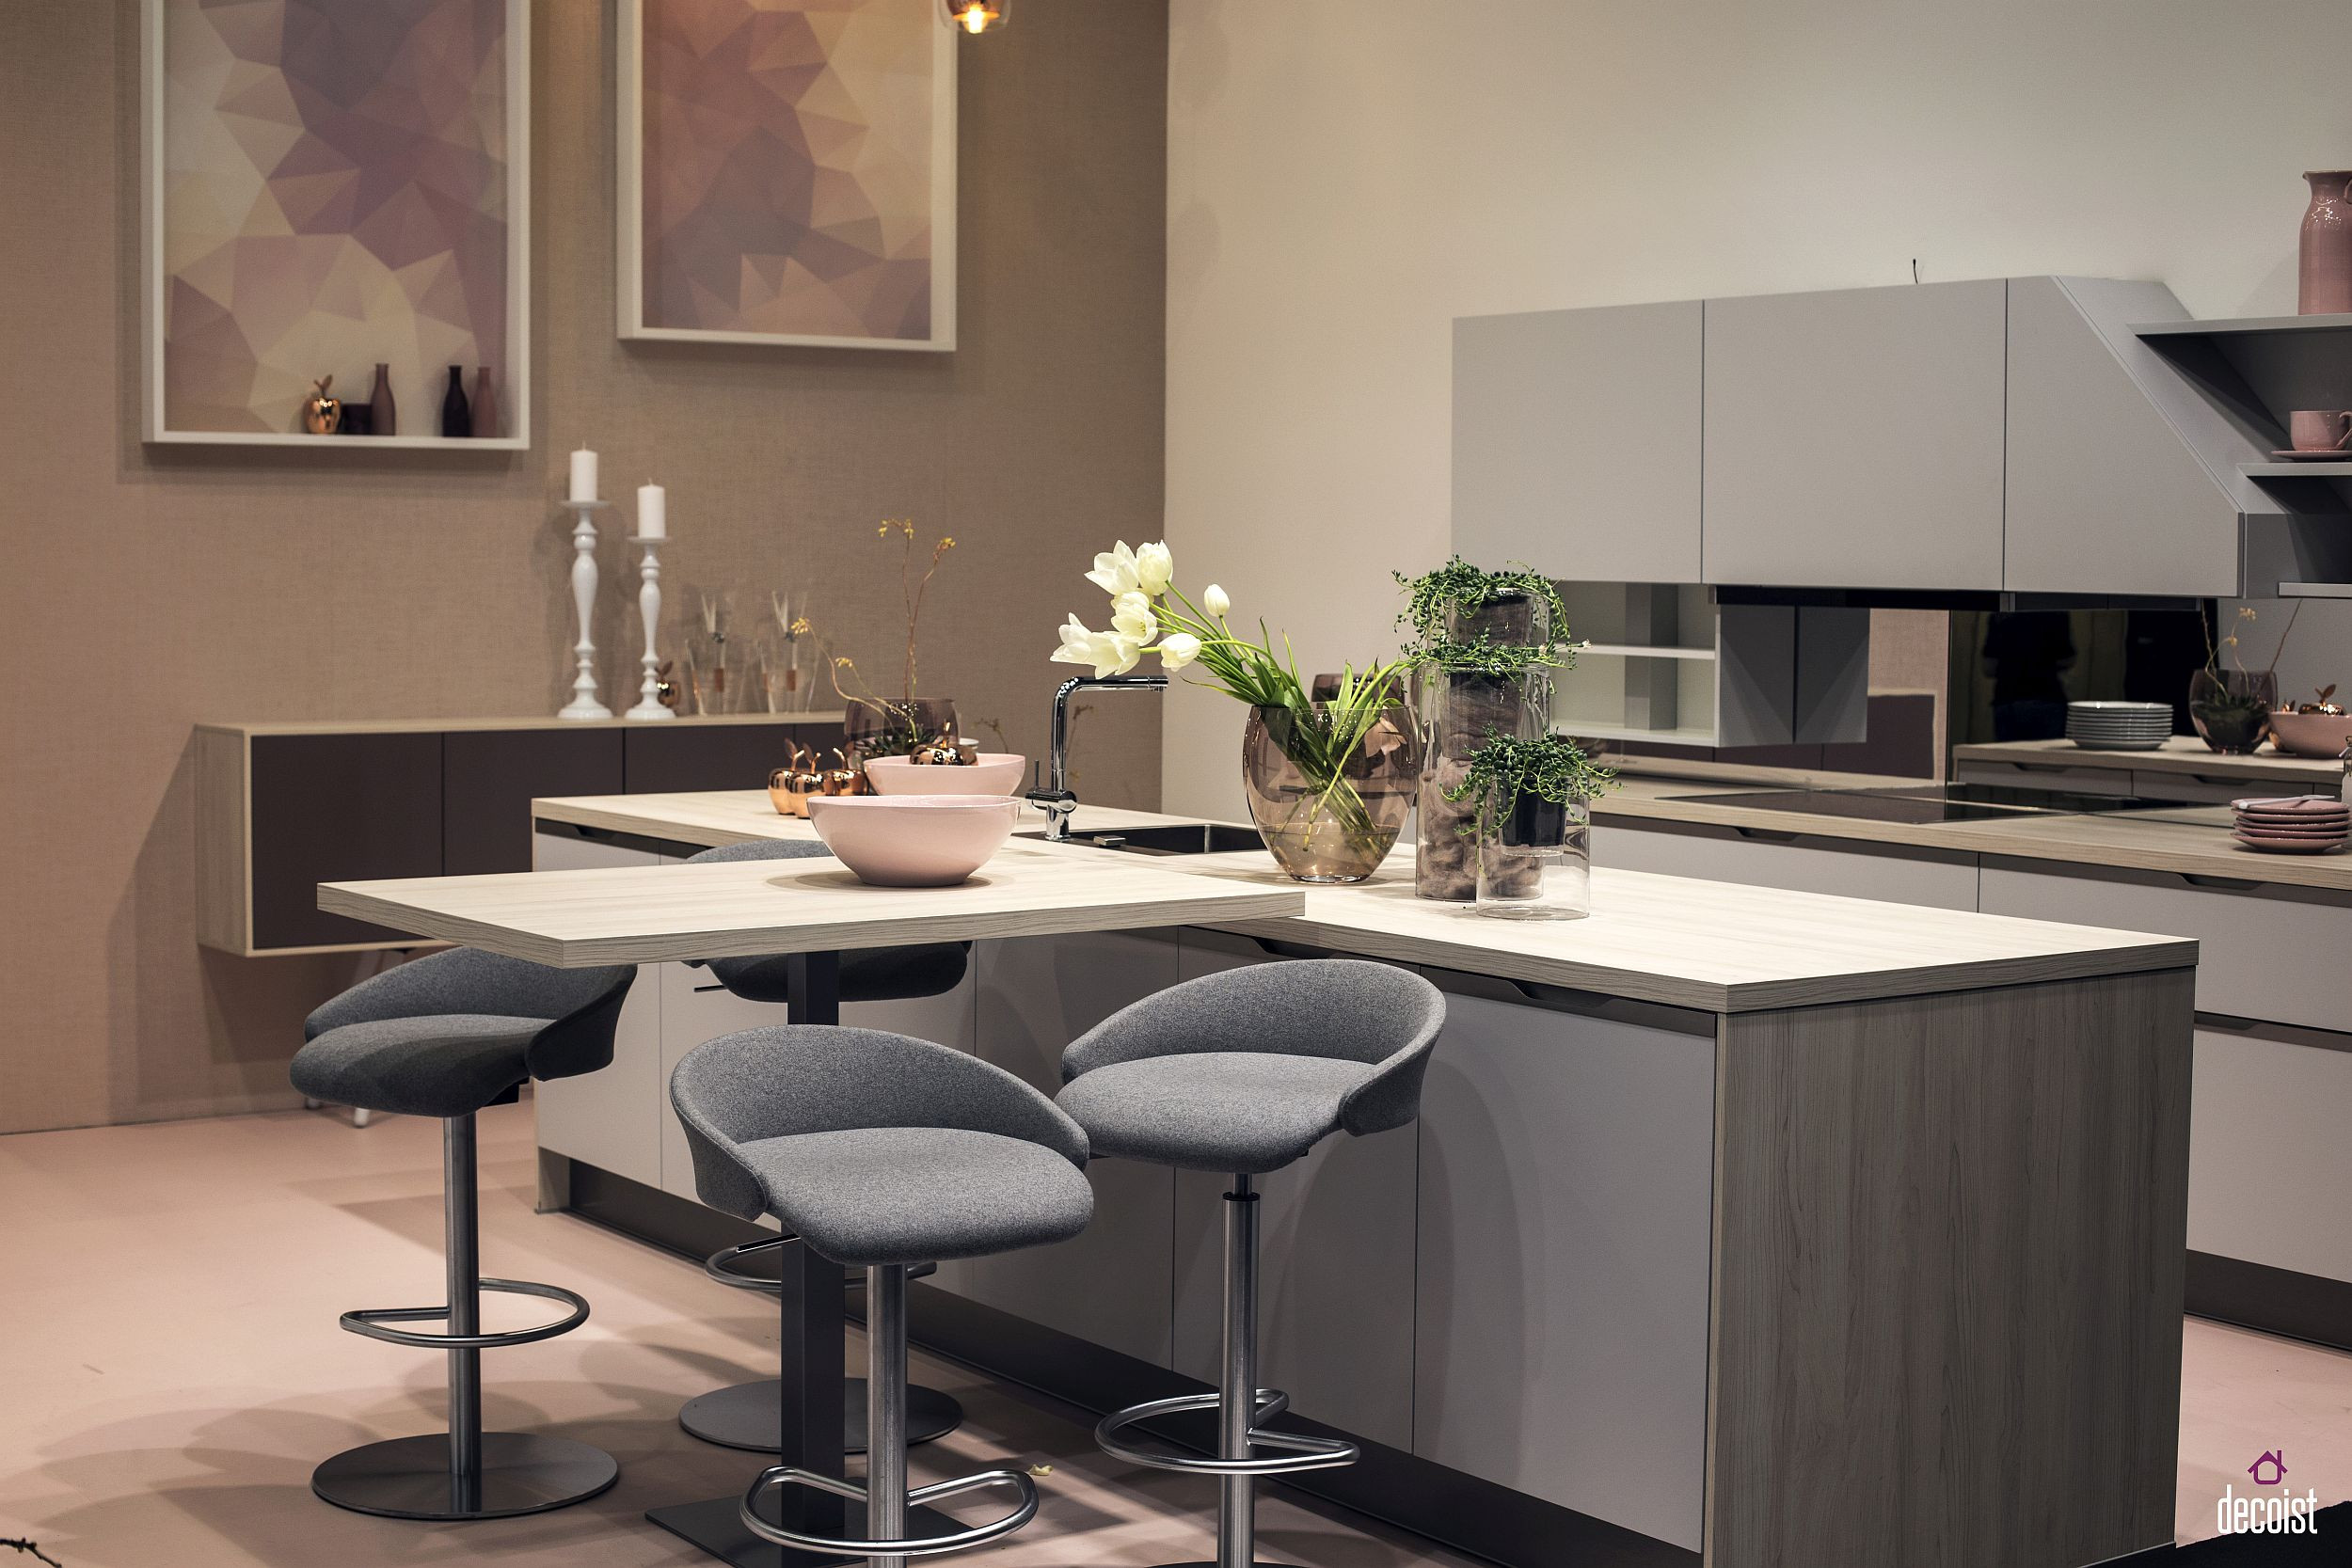
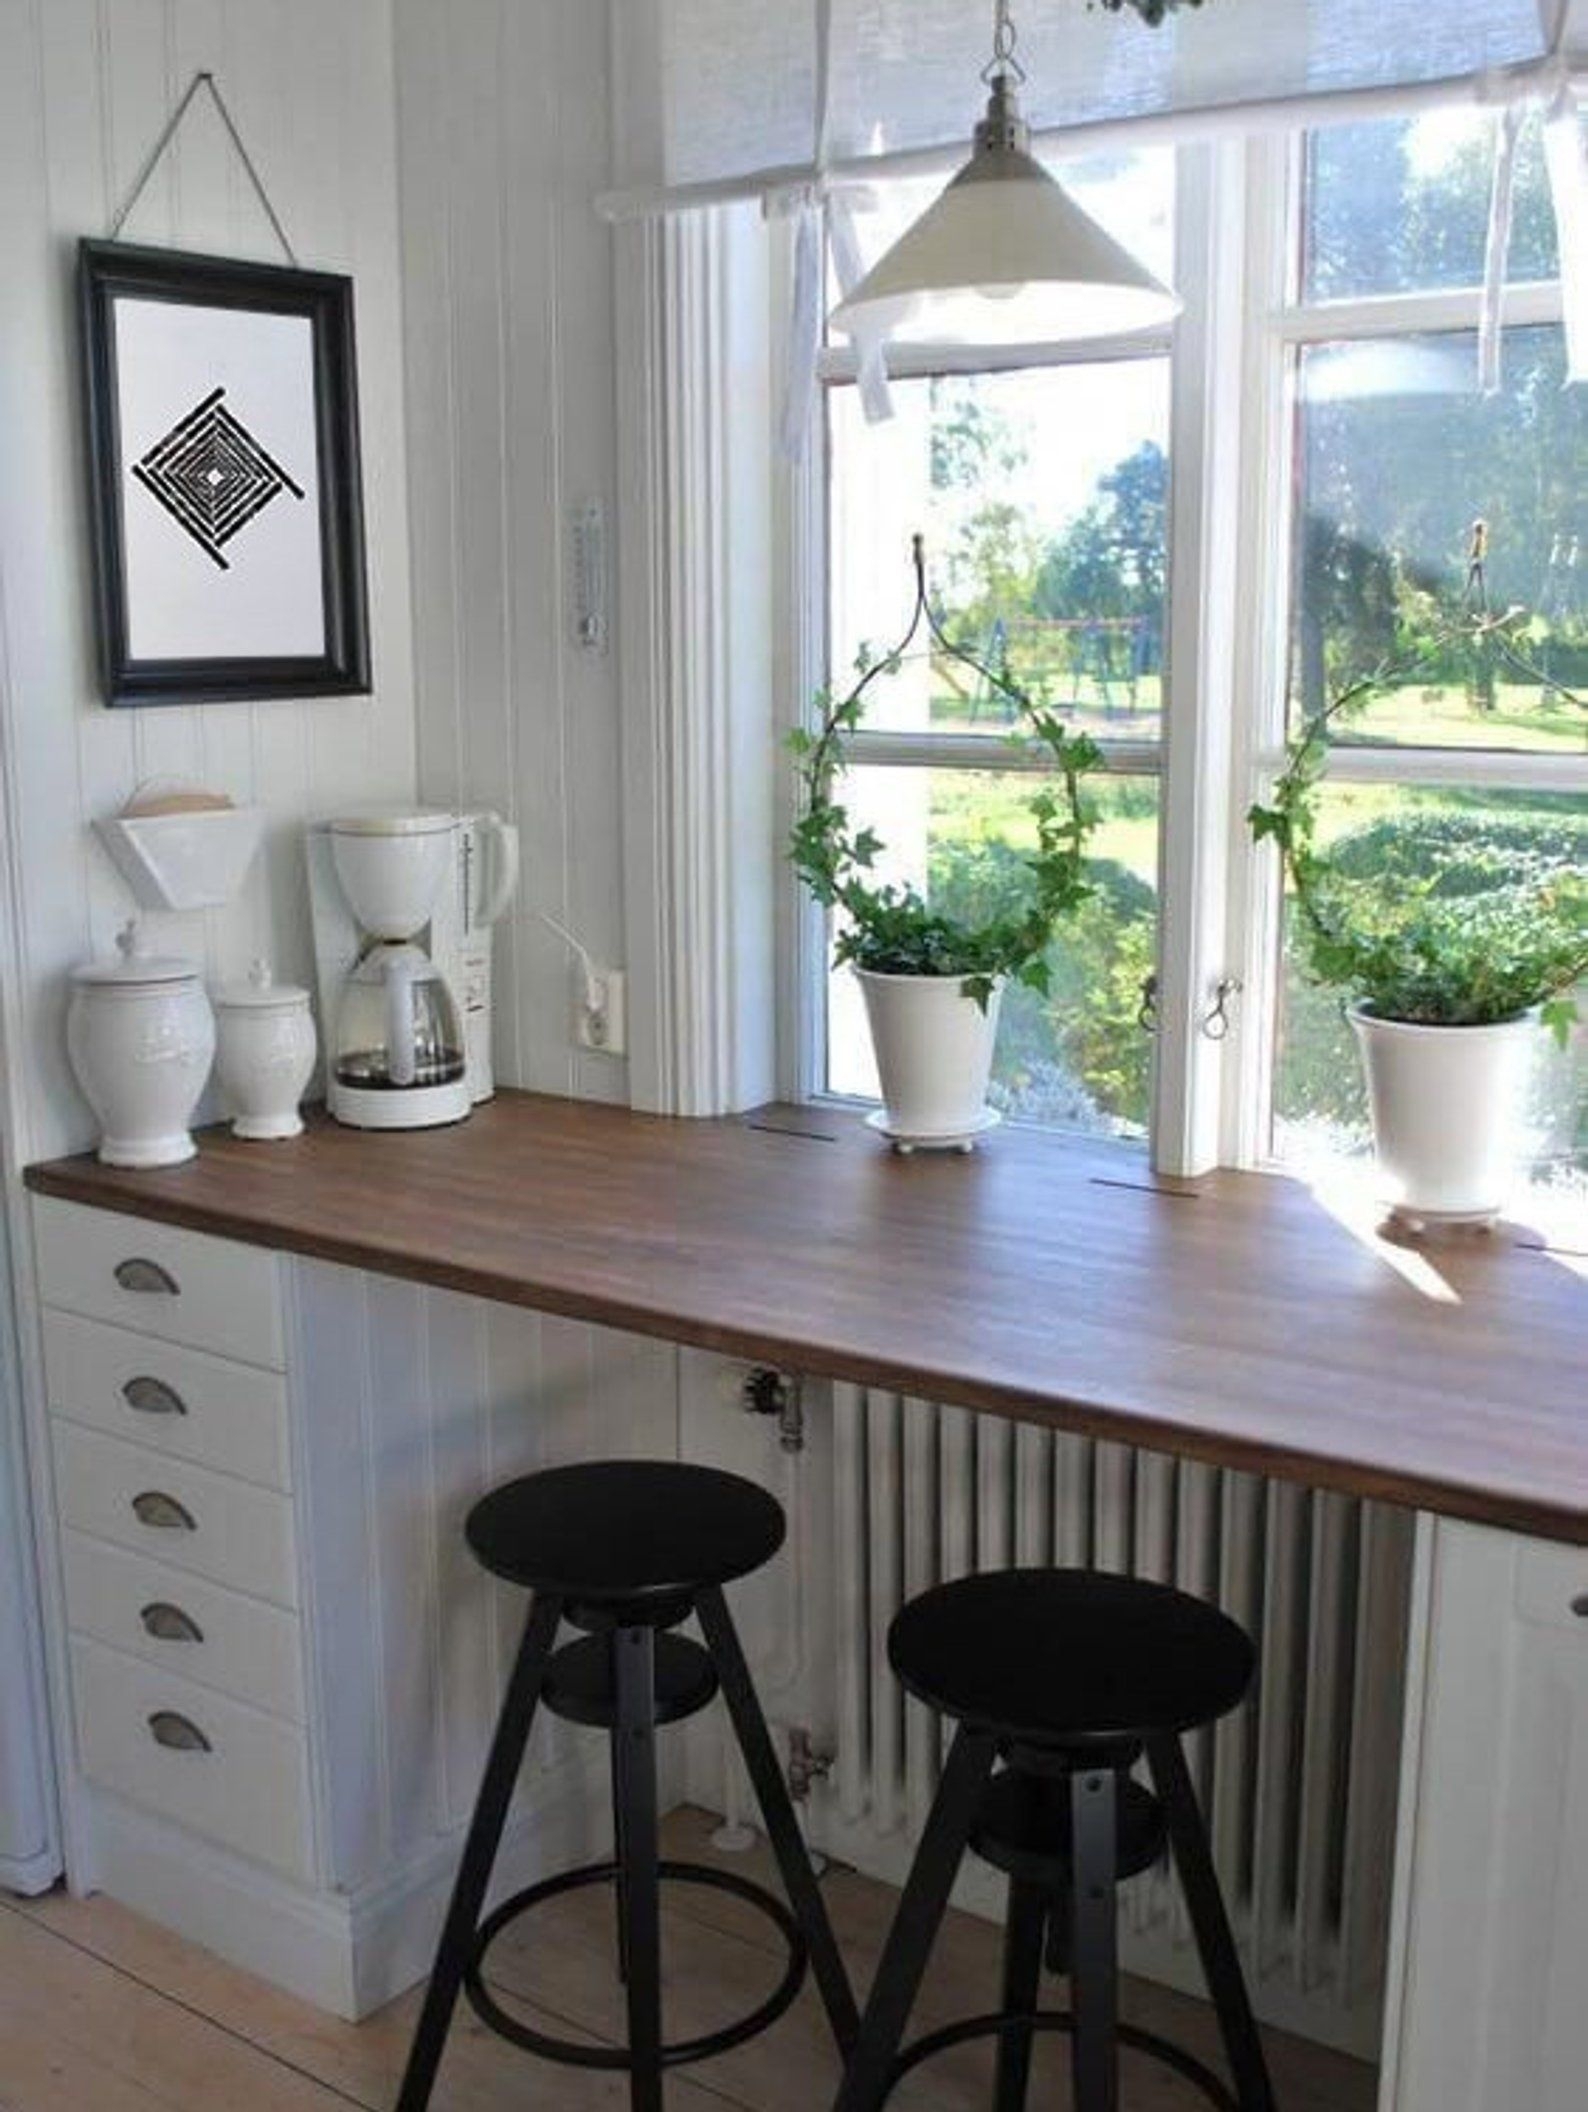
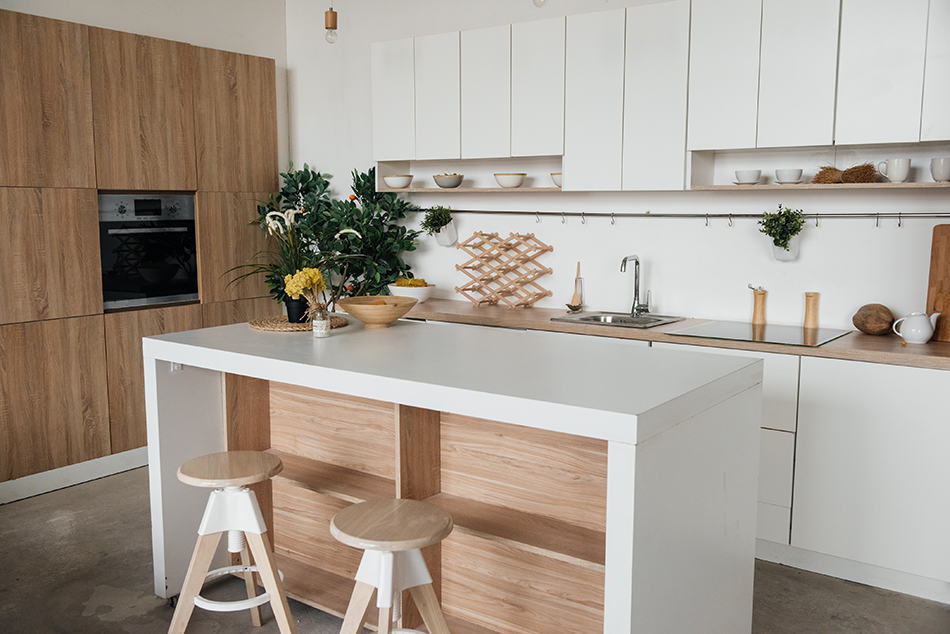
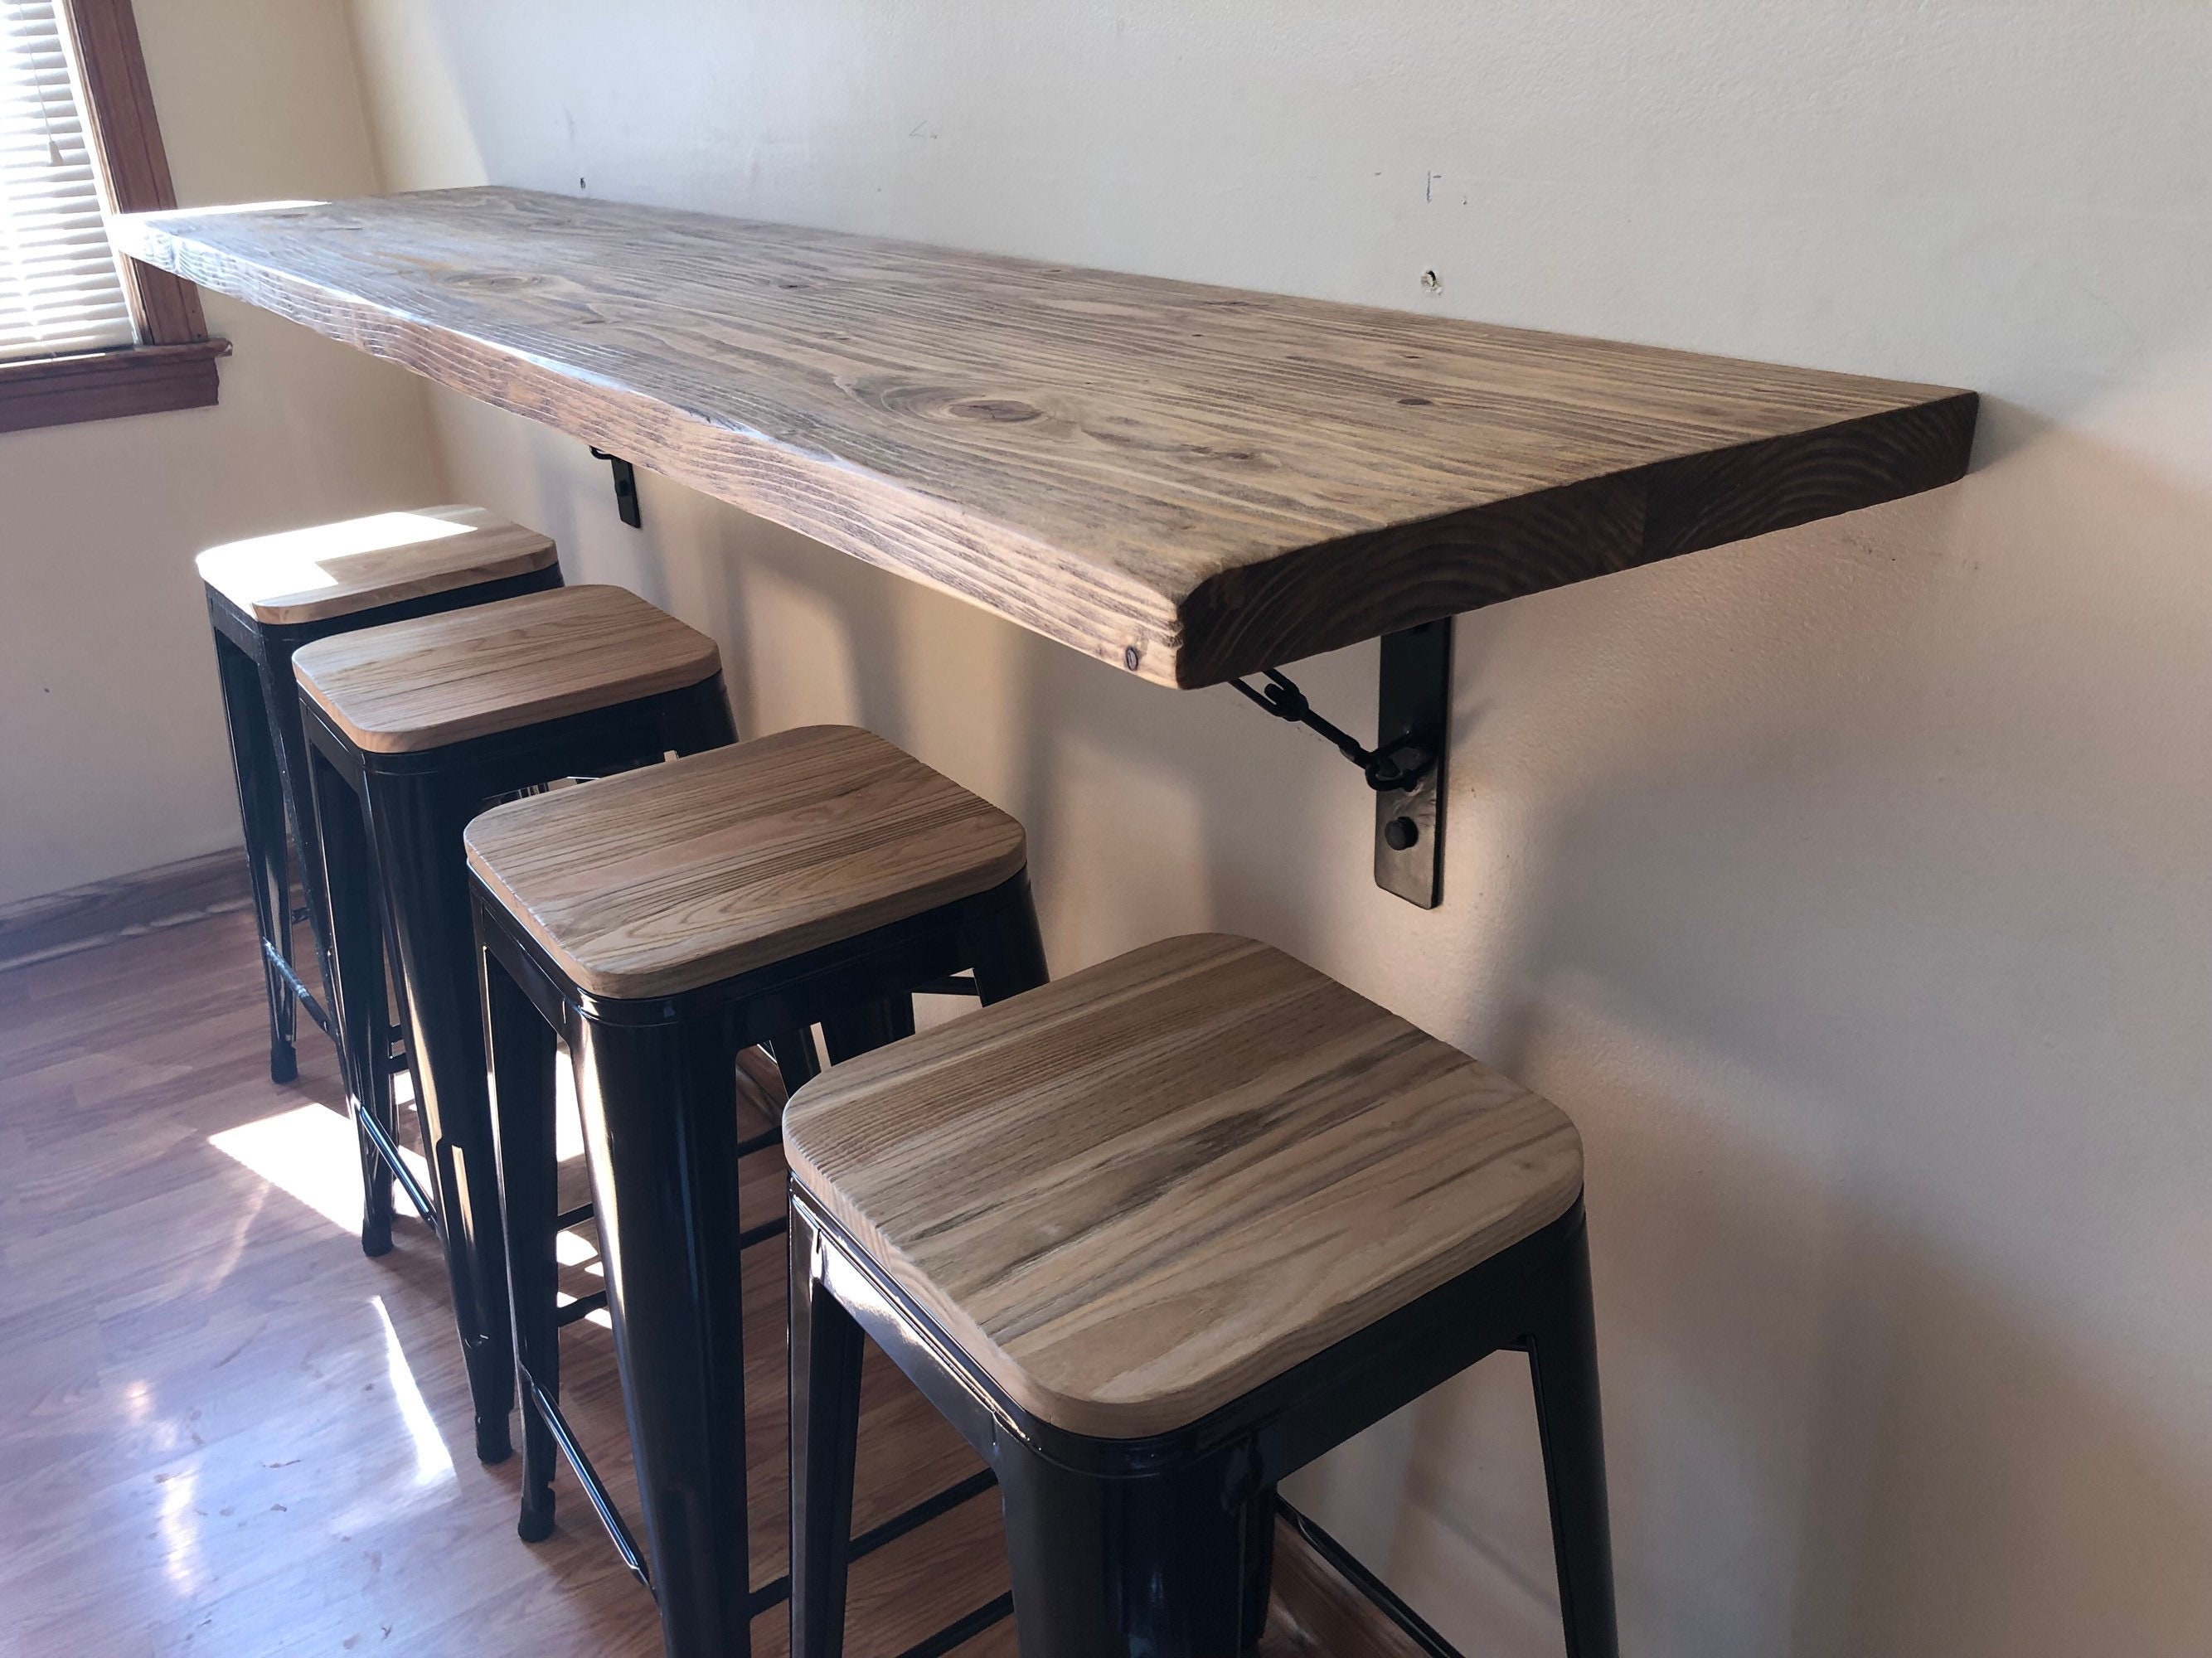
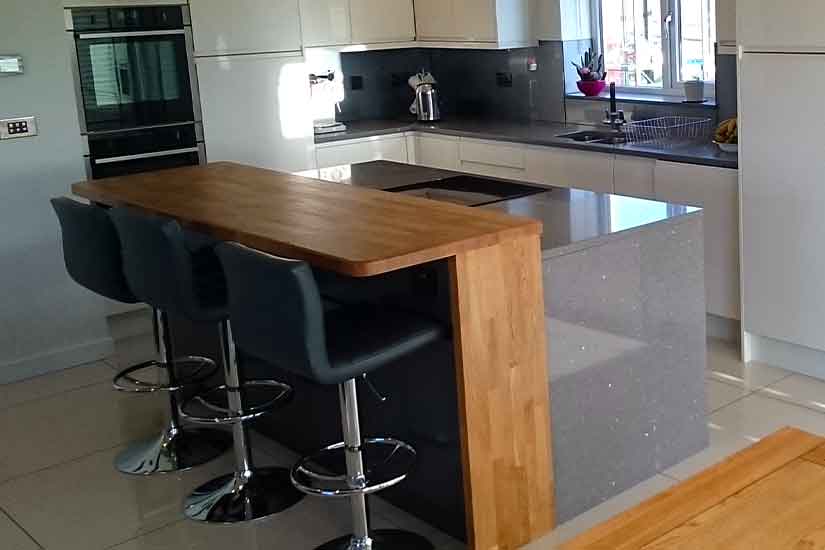
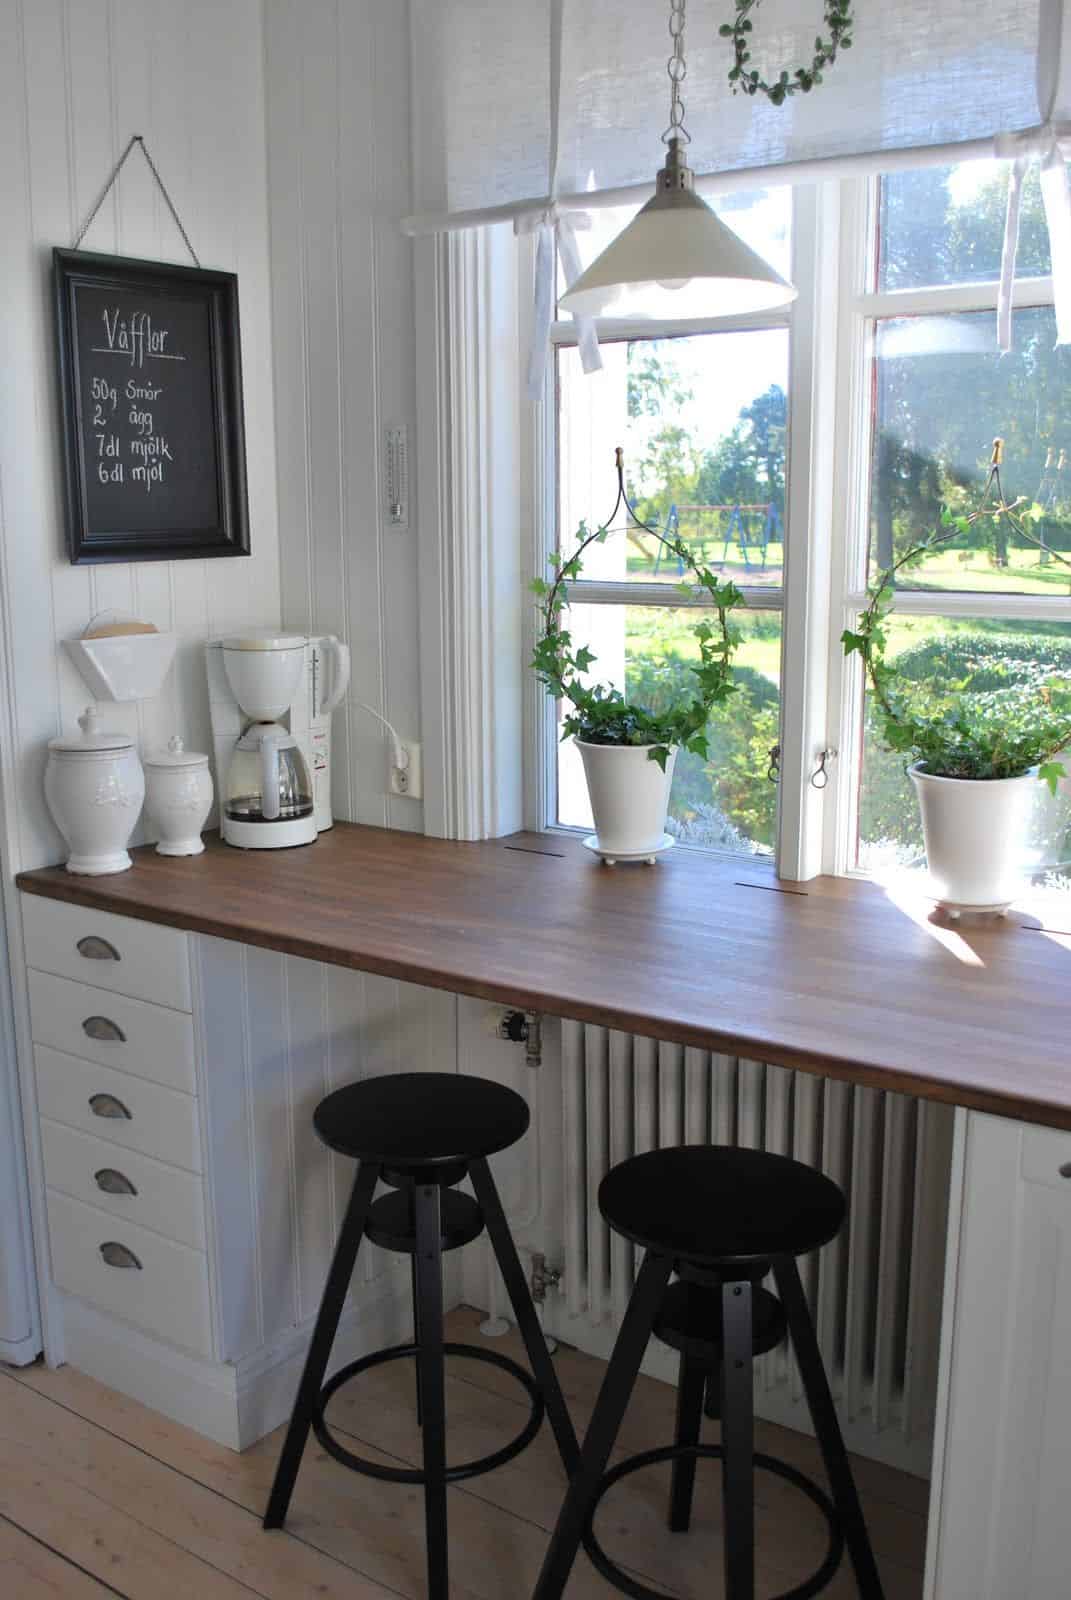
There are various types of breakfast bars to choose from, each with their own unique style and functionality. Some popular options include: - Freestanding breakfast bars: These are standalone units that can be moved around and don't require any installation. They are great for smaller kitchens or for those who like to change up their kitchen layout often. - Wall-mounted breakfast bars: These are attached to the wall and can be folded down when not in use. They are a great space-saving option for smaller kitchens. - Island breakfast bars: These are attached to an island or peninsula in the kitchen and provide additional counter space and seating. Consider the size of your kitchen, your budget, and your personal style when choosing the type of breakfast bar for your kitchen.2. Choose the type of breakfast bar
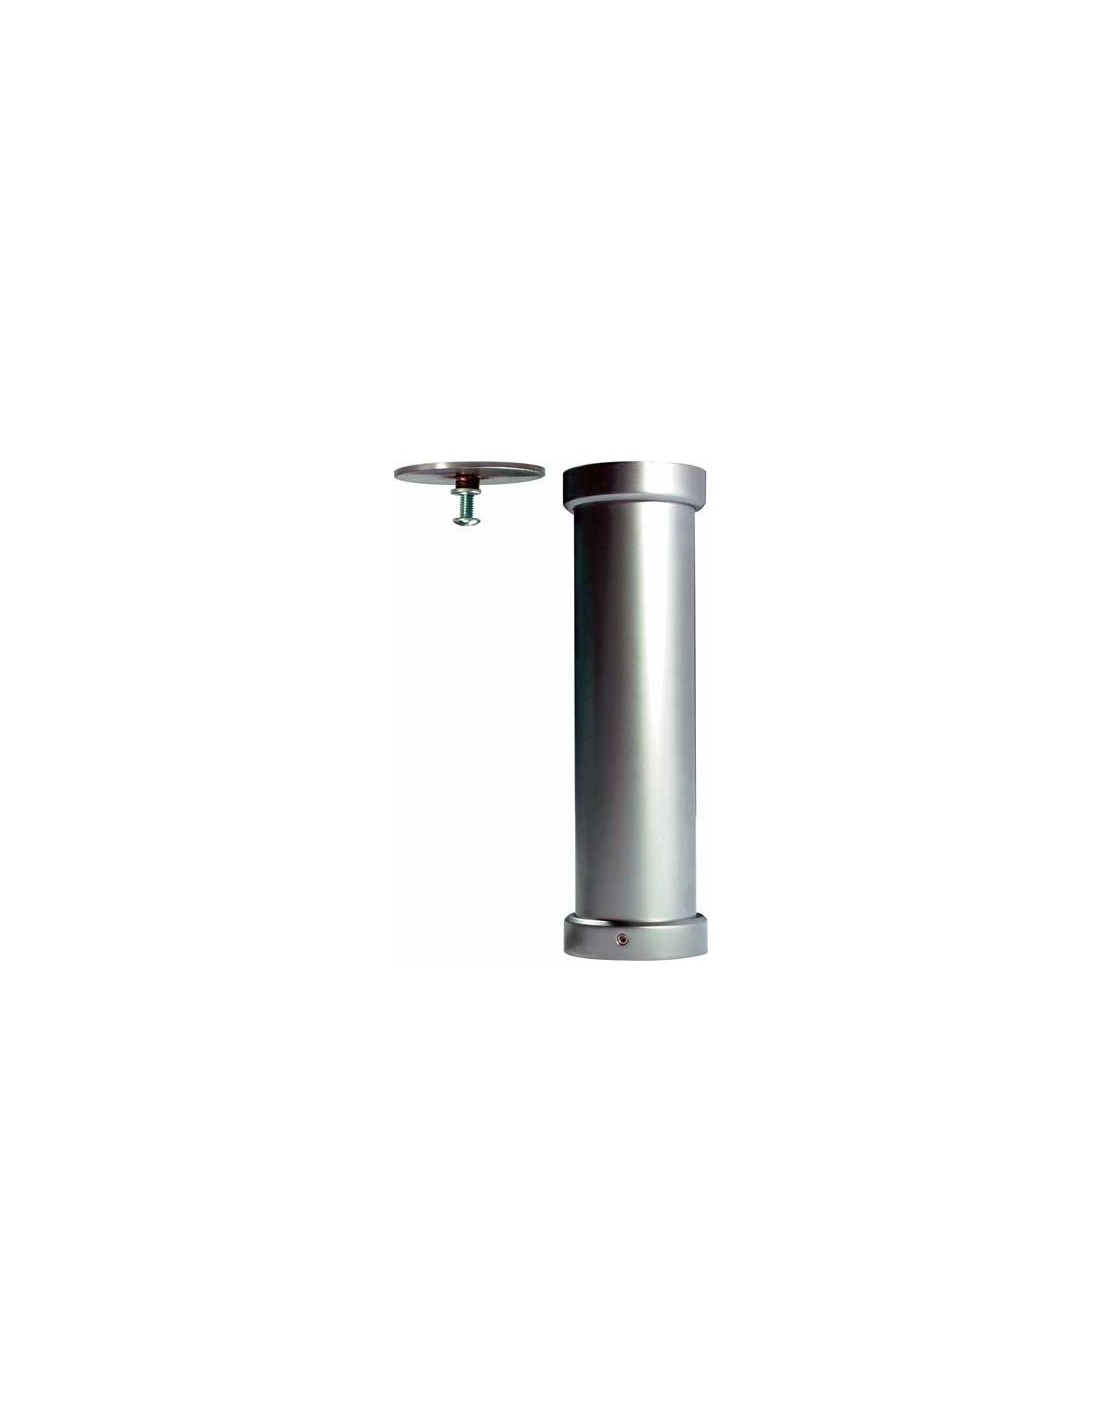
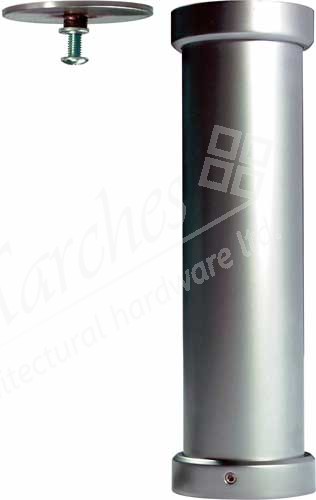
Once you have decided on the type of breakfast bar, it's time to purchase the necessary materials. This will vary depending on the type of breakfast bar you have chosen, but some common materials include: - Countertop material (wood, laminate, granite, etc.) - Brackets or supports - Screws and anchors - Drill Make sure to also have the appropriate tools on hand to make the installation process smoother.3. Purchase the necessary materials
Before you start assembling the breakfast bar, it's important to prepare the area where it will be installed. This may include removing any cabinets or appliances that are in the way, sanding down the countertop area if necessary, and ensuring the wall is strong enough to support the breakfast bar. If you are installing a wall-mounted breakfast bar, make sure to locate the studs in the wall and mark them for easier installation later on.4. Prepare the area for installation
If you are installing a freestanding or island breakfast bar, you will need to assemble it first before installing it in your kitchen. Follow the manufacturer's instructions carefully and make sure to use the appropriate tools for the job. For a wall-mounted breakfast bar, you will need to attach the brackets or supports to the countertop before installing it on the wall.5. Assemble the breakfast bar
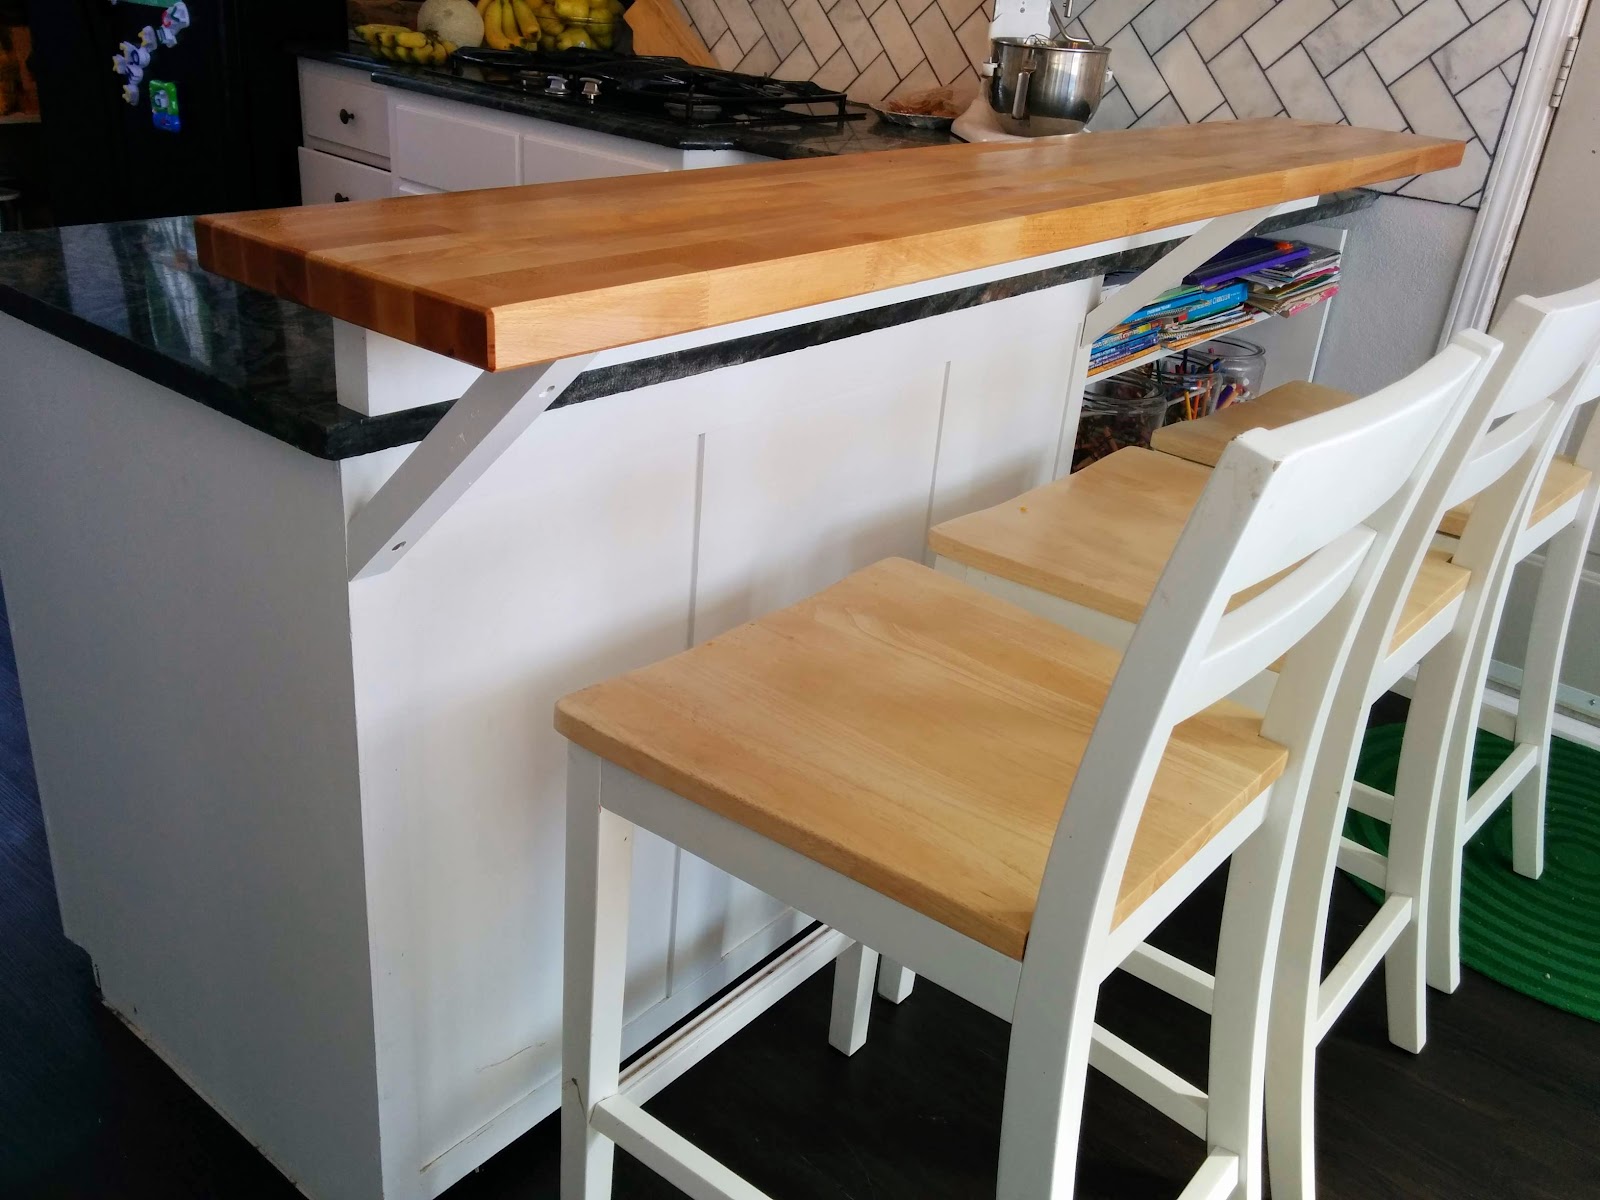
If you are installing a wall-mounted or island breakfast bar, you will need to install the supports or brackets on the wall. Make sure to use the appropriate anchors and screws for the type of wall you have (drywall, concrete, etc.) and follow the manufacturer's instructions carefully. For a freestanding breakfast bar, simply place it in the desired location and make sure it is level and stable.6. Install the breakfast bar supports
Once the supports are installed, it's time to secure the breakfast bar to them. If you are using brackets, drill them into the countertop and then attach them to the supports on the wall. If you are using a wall-mounted breakfast bar, make sure to fold it down and attach it securely to the wall before testing its stability.7. Secure the breakfast bar to the supports
Now that the breakfast bar is installed, it's time to add some finishing touches. This could include painting or staining the countertop, adding decorative molding, or installing a footrest for added comfort. Be creative and make the breakfast bar uniquely yours!8. Add finishing touches
Before you start using your new breakfast bar, it's important to test its stability. Give it a gentle push and make sure it doesn't wobble or feel unstable. If it does, make any necessary adjustments to the supports or brackets to ensure it is secure.9. Test the stability of the breakfast bar
Congratulations, you have successfully fitted a kitchen breakfast bar! Now it's time to enjoy the added counter space and seating in your kitchen. Whether you use it for breakfast, as a workspace, or for entertaining guests, your new breakfast bar is sure to become a favorite spot in your home.10. Enjoy your new kitchen breakfast bar!
Adding a Kitchen Breakfast Bar: A Practical and Stylish Addition to Your Home

When it comes to house design, the kitchen is often considered the heart of the home. Not only is it the place where meals are prepared, but it is also a common gathering spot for family and friends. If you're looking to add both functionality and style to your kitchen, consider installing a breakfast bar. This elevated counter space is not only a great spot for quick meals, but it also adds a touch of elegance to your kitchen. In this article, we'll guide you through the process of fitting a kitchen breakfast bar, so you can transform your kitchen into a modern and inviting space.
Step 1: Assess Your Space
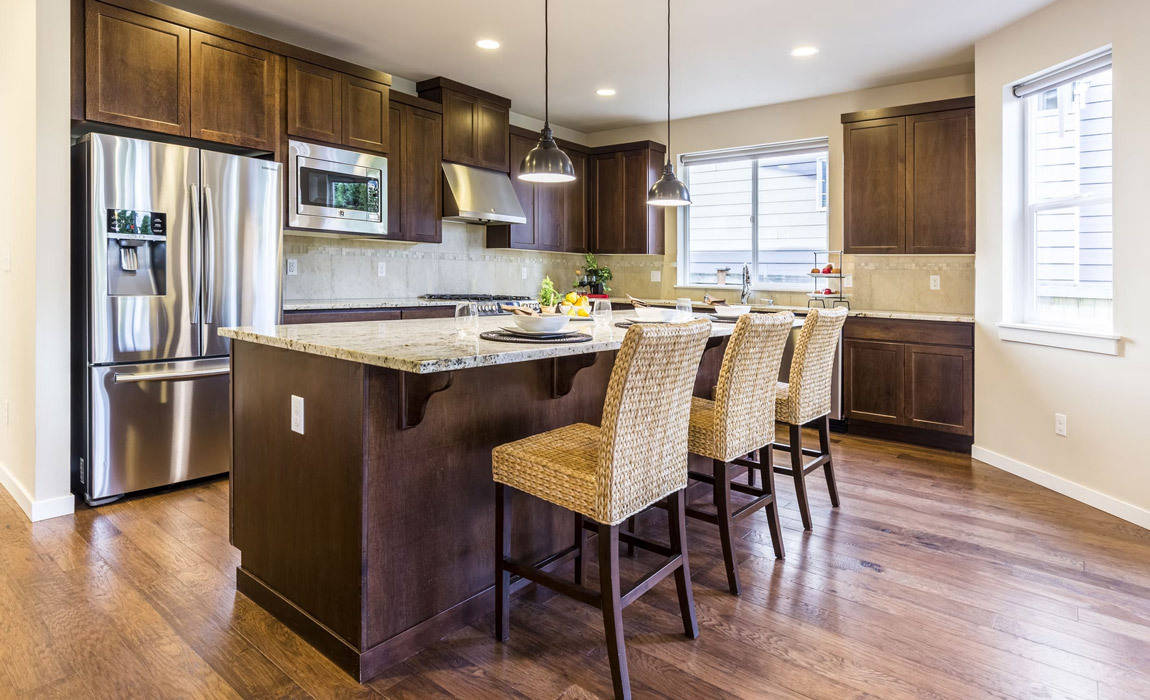
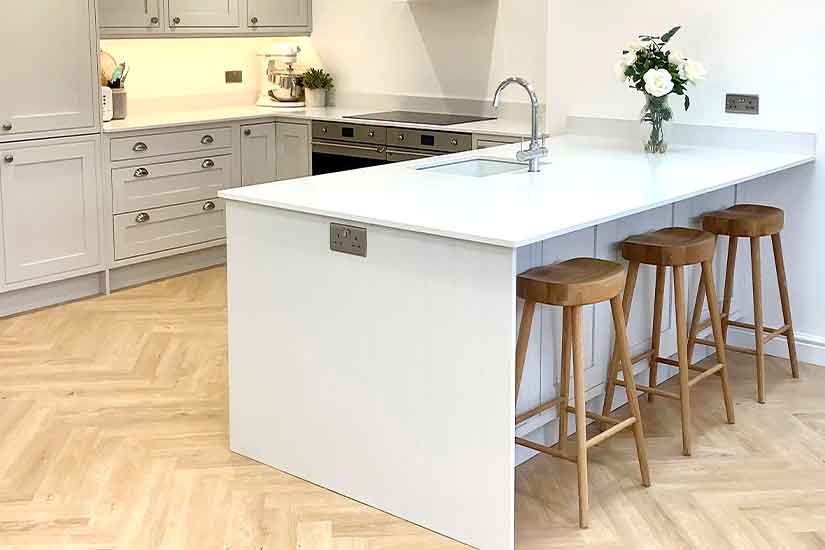
Before you start the installation process, it's important to take a good look at your kitchen and determine the best location for your breakfast bar. Consider factors such as the flow of your kitchen, the amount of available space, and the placement of your appliances. Ideally, your breakfast bar should be placed near your kitchen island or sink for easy access to food preparation and cleanup.
Step 2: Choose Your Design
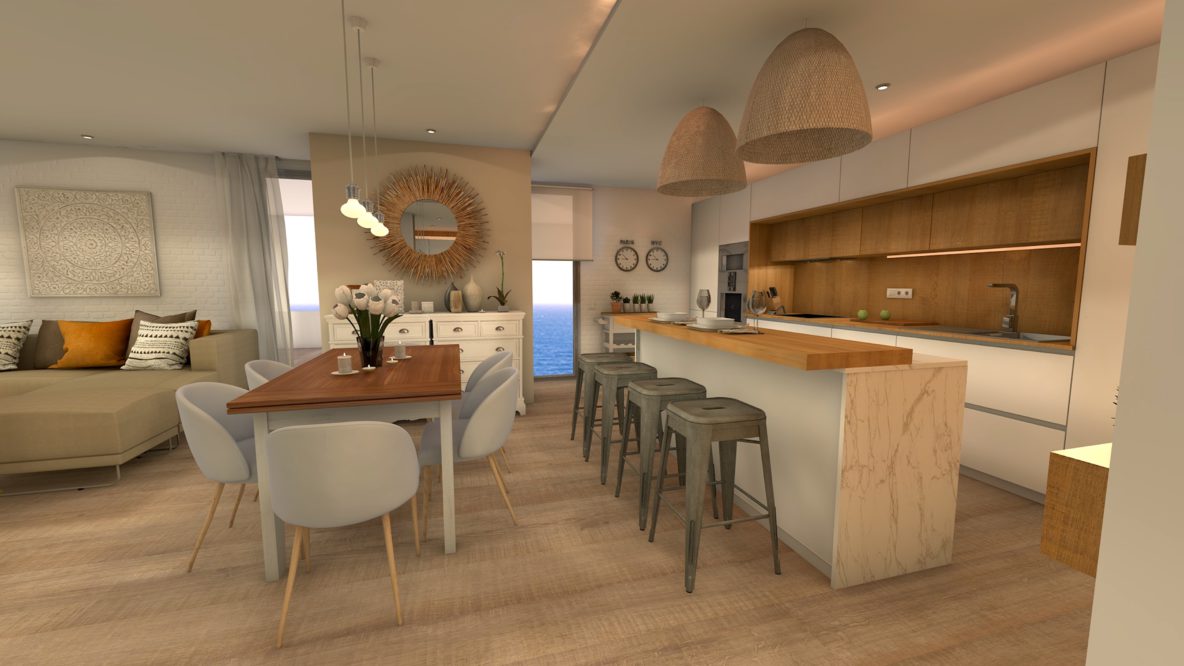
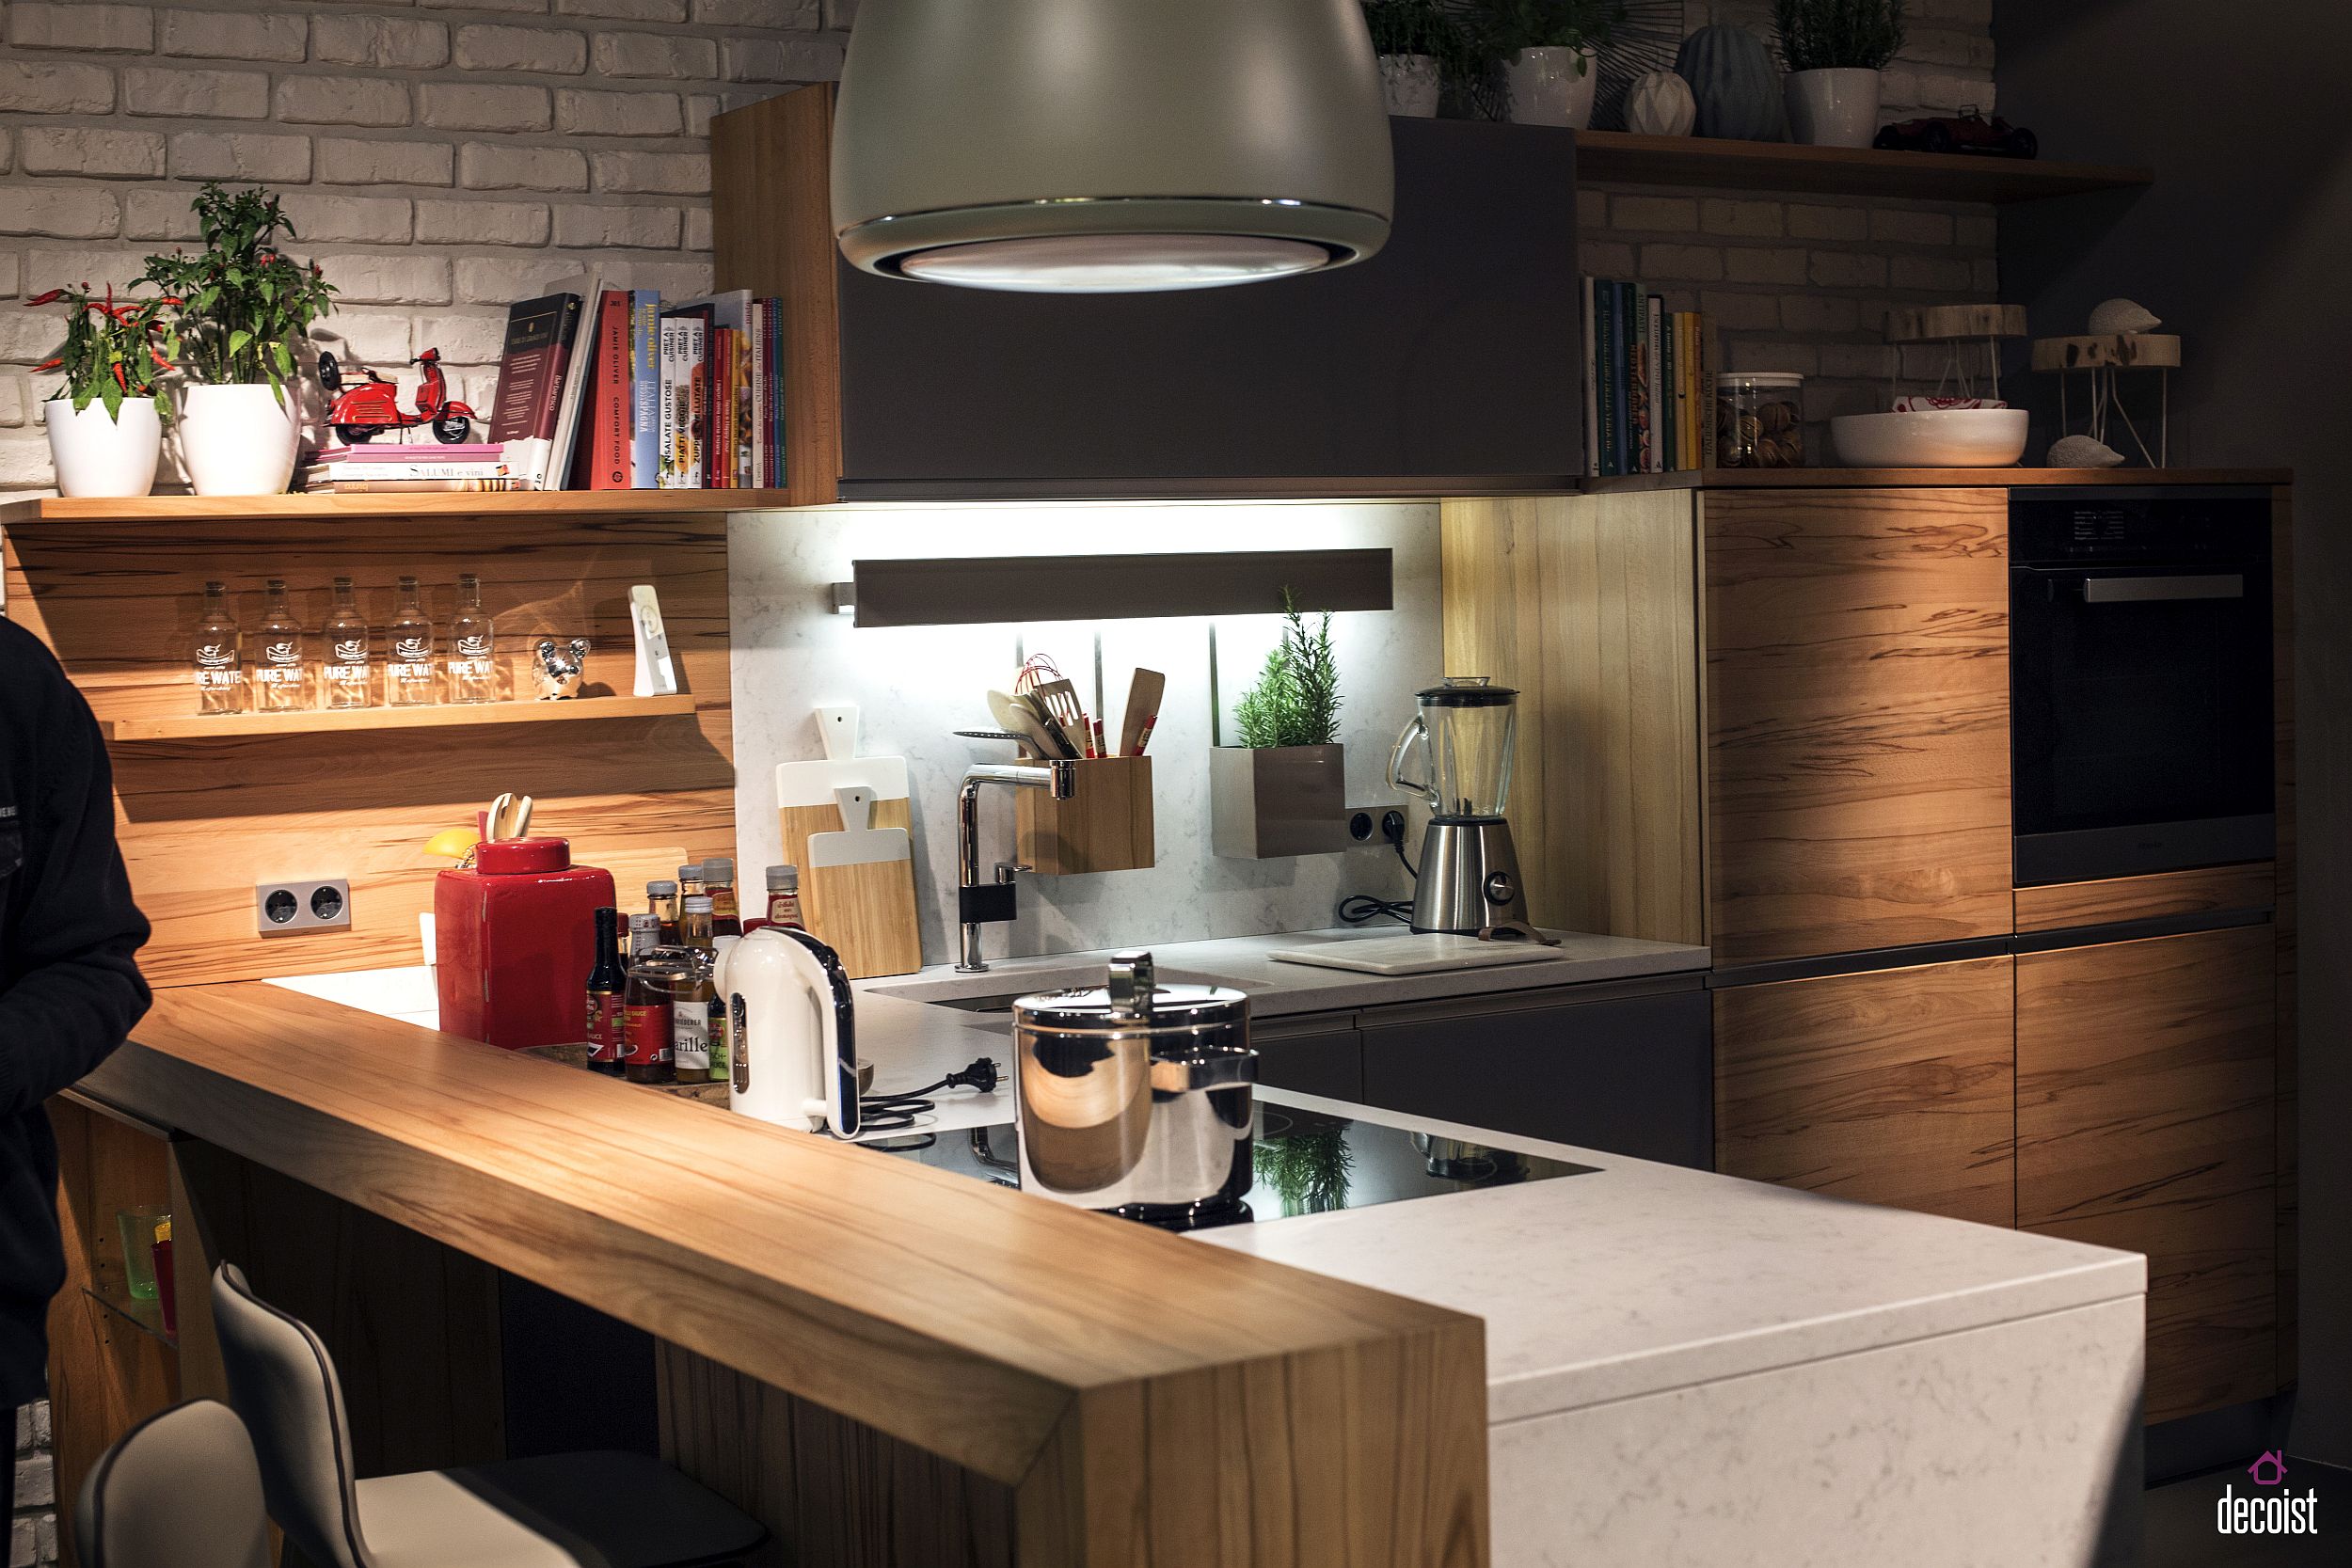
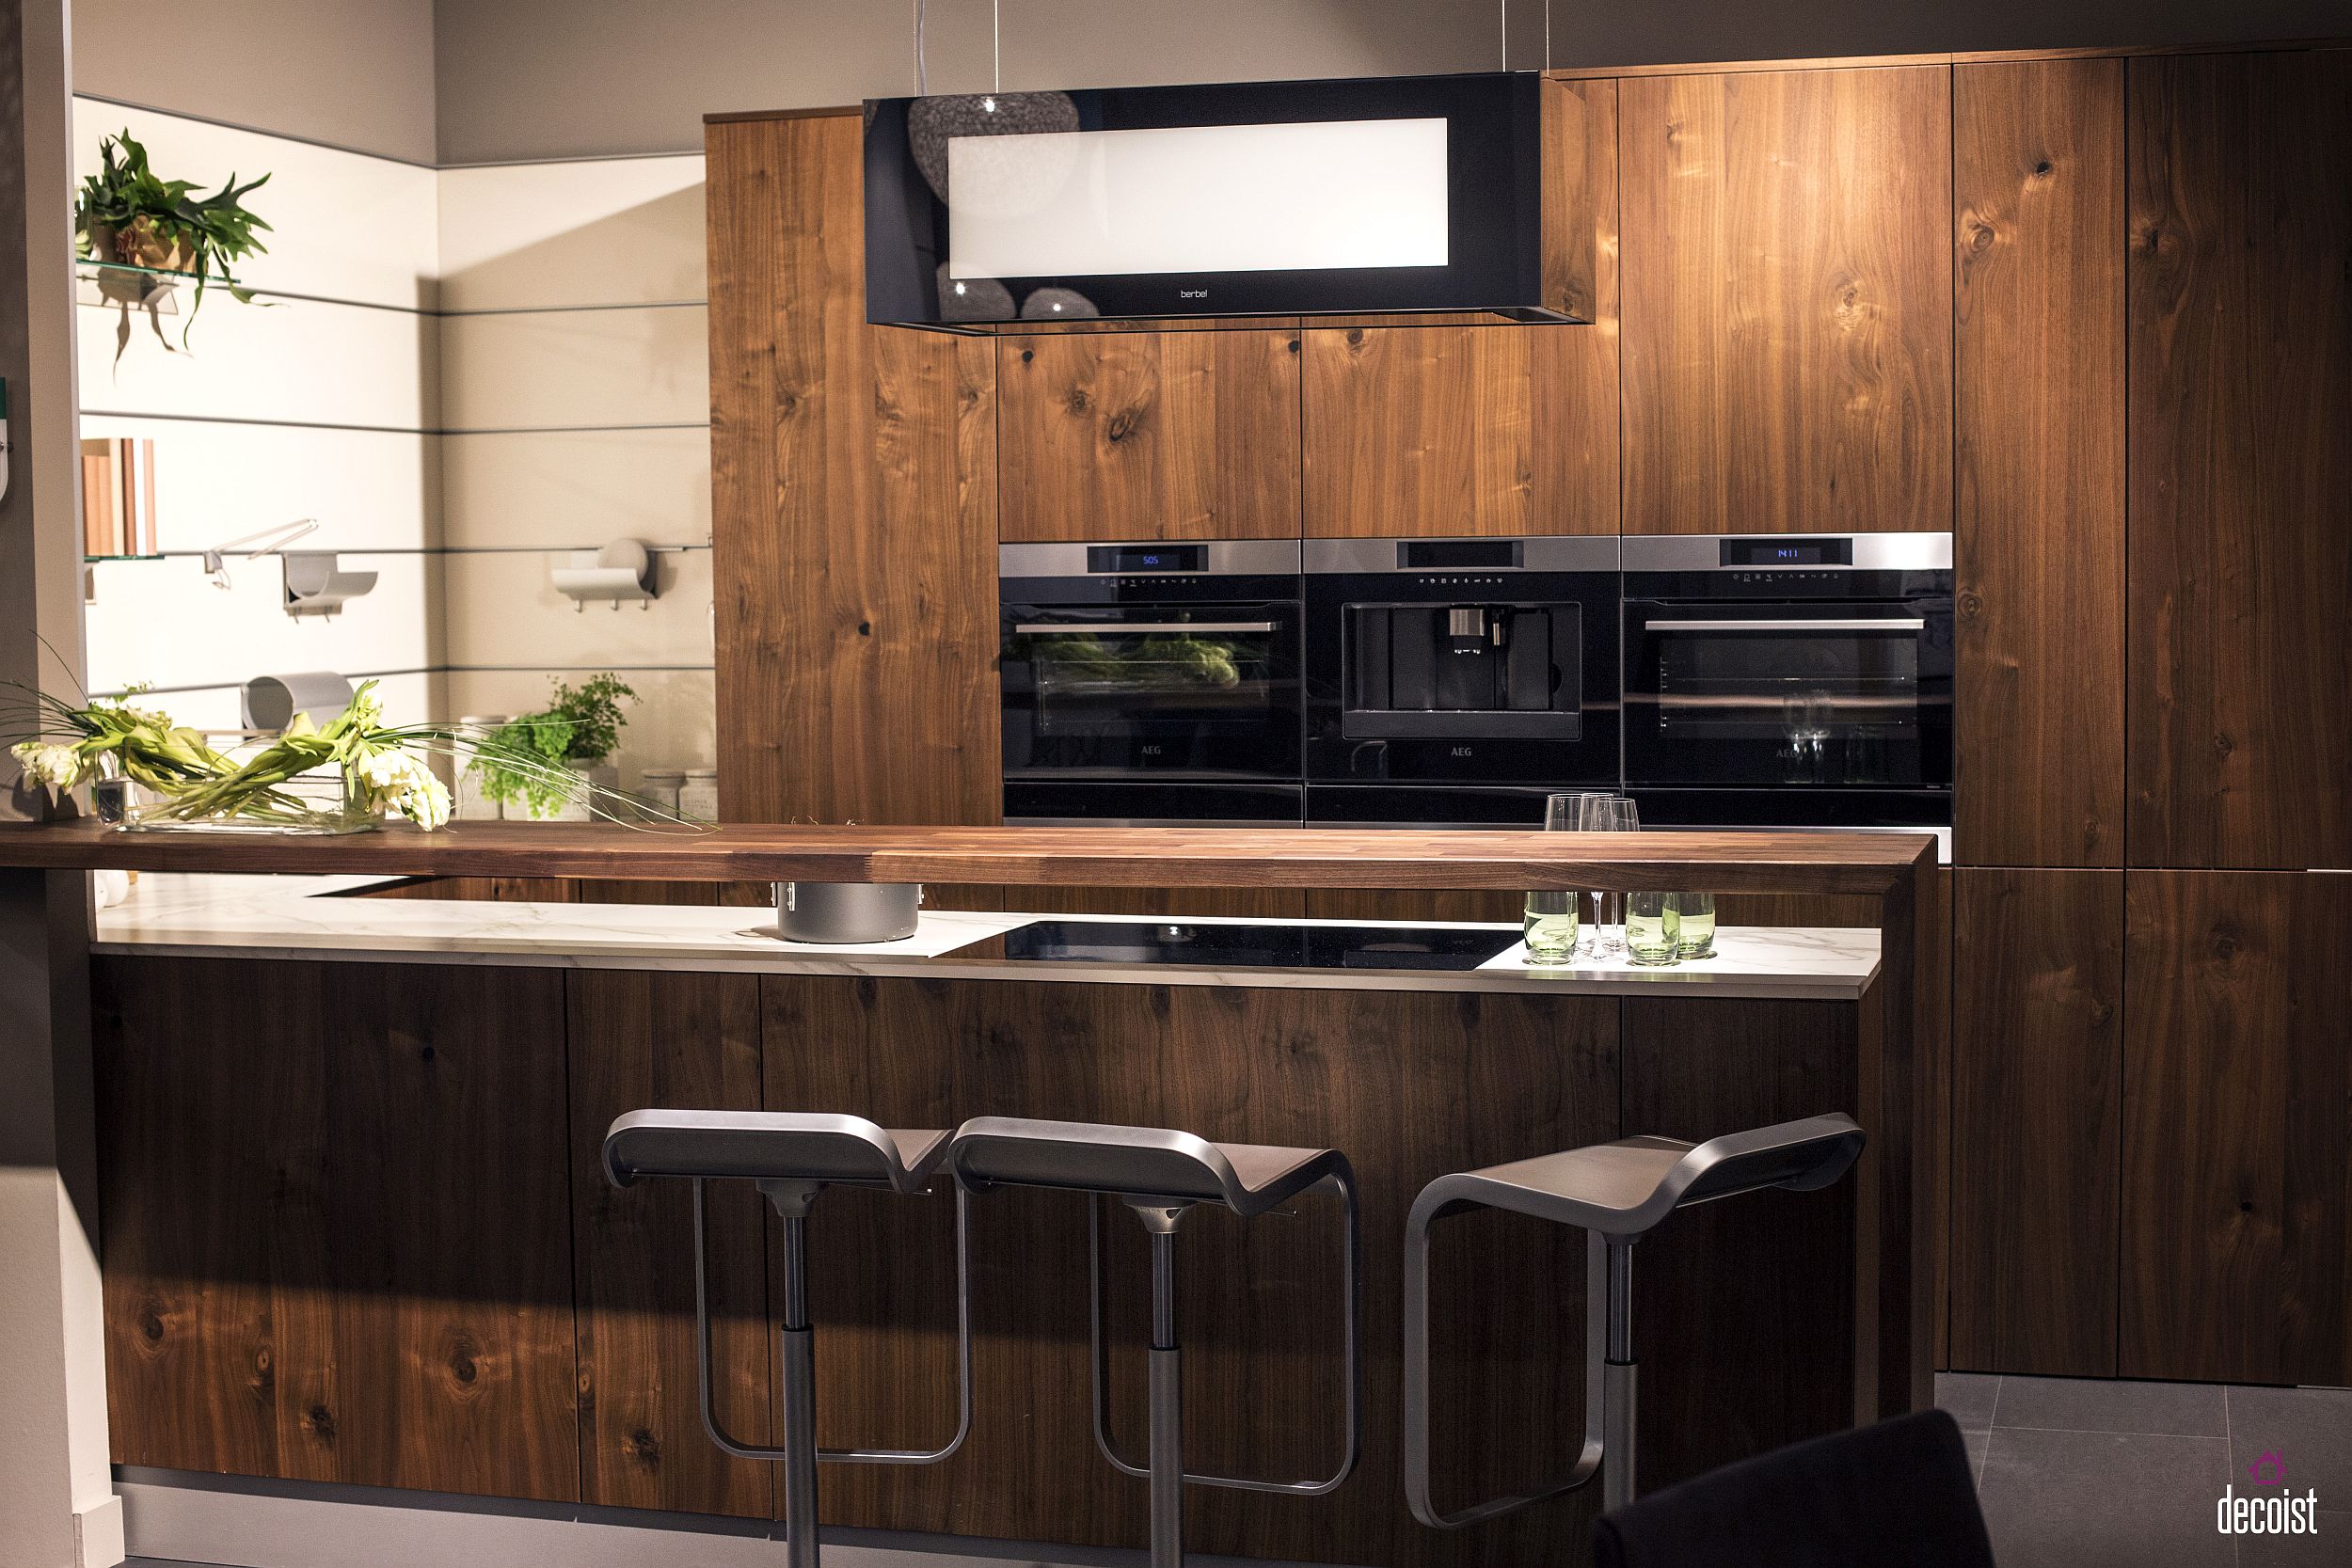
When it comes to breakfast bar designs, the options are endless. You can opt for a traditional style with matching cabinets and countertops, or go for a more modern look with contrasting materials. Whichever design you choose, make sure it complements the overall style of your kitchen. Featured keywords: kitchen, breakfast bar, design, style.
Step 3: Gather Materials and Tools
:max_bytes(150000):strip_icc()/kitchen-breakfast-bars-5079603-hero-40d6c07ad45e48c4961da230a6f31b49.jpg)
Once you have a design in mind, it's time to gather the necessary materials and tools. Depending on your chosen design, you may need to purchase additional cabinets, countertops, and hardware. You will also need tools such as a drill, level, and saw to complete the installation process.
Step 4: Install Cabinets and Countertops

The first step in actually fitting your breakfast bar is to install the cabinets and countertops. This step may require the help of a professional if you are not experienced in cabinetry installation. Make sure to measure and level everything carefully to ensure a seamless and sturdy fit.
Step 5: Add Finishing Touches

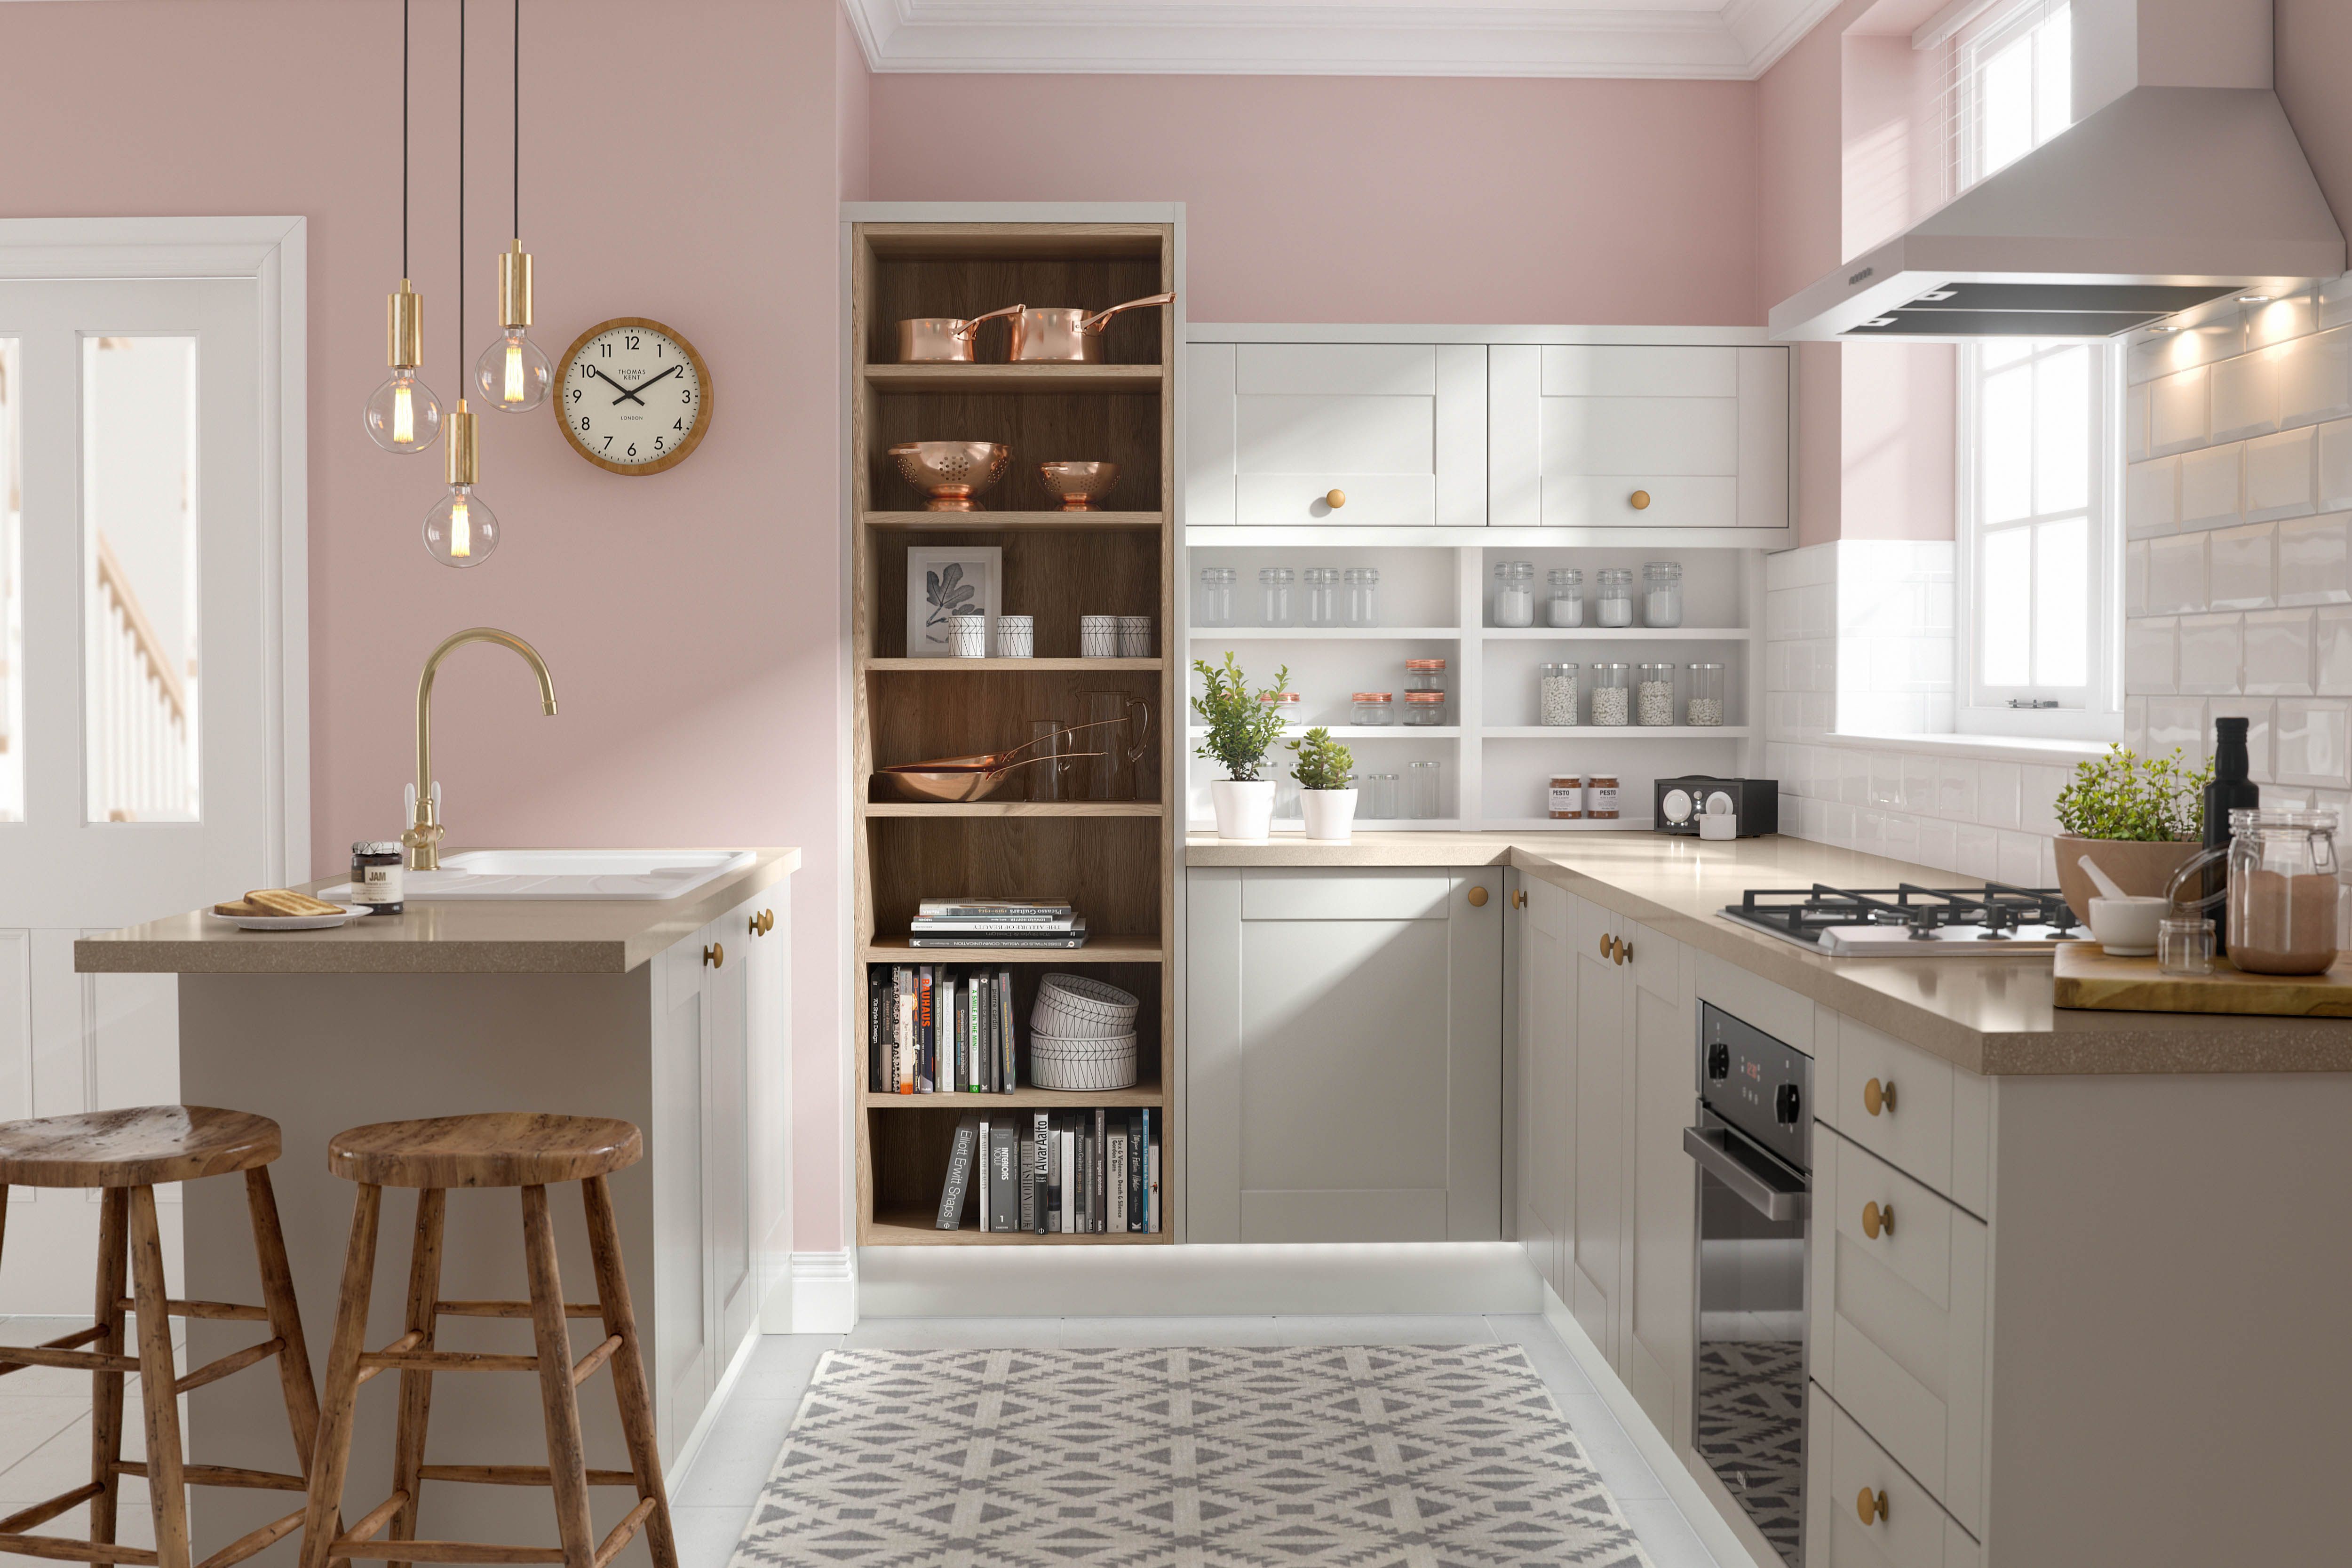
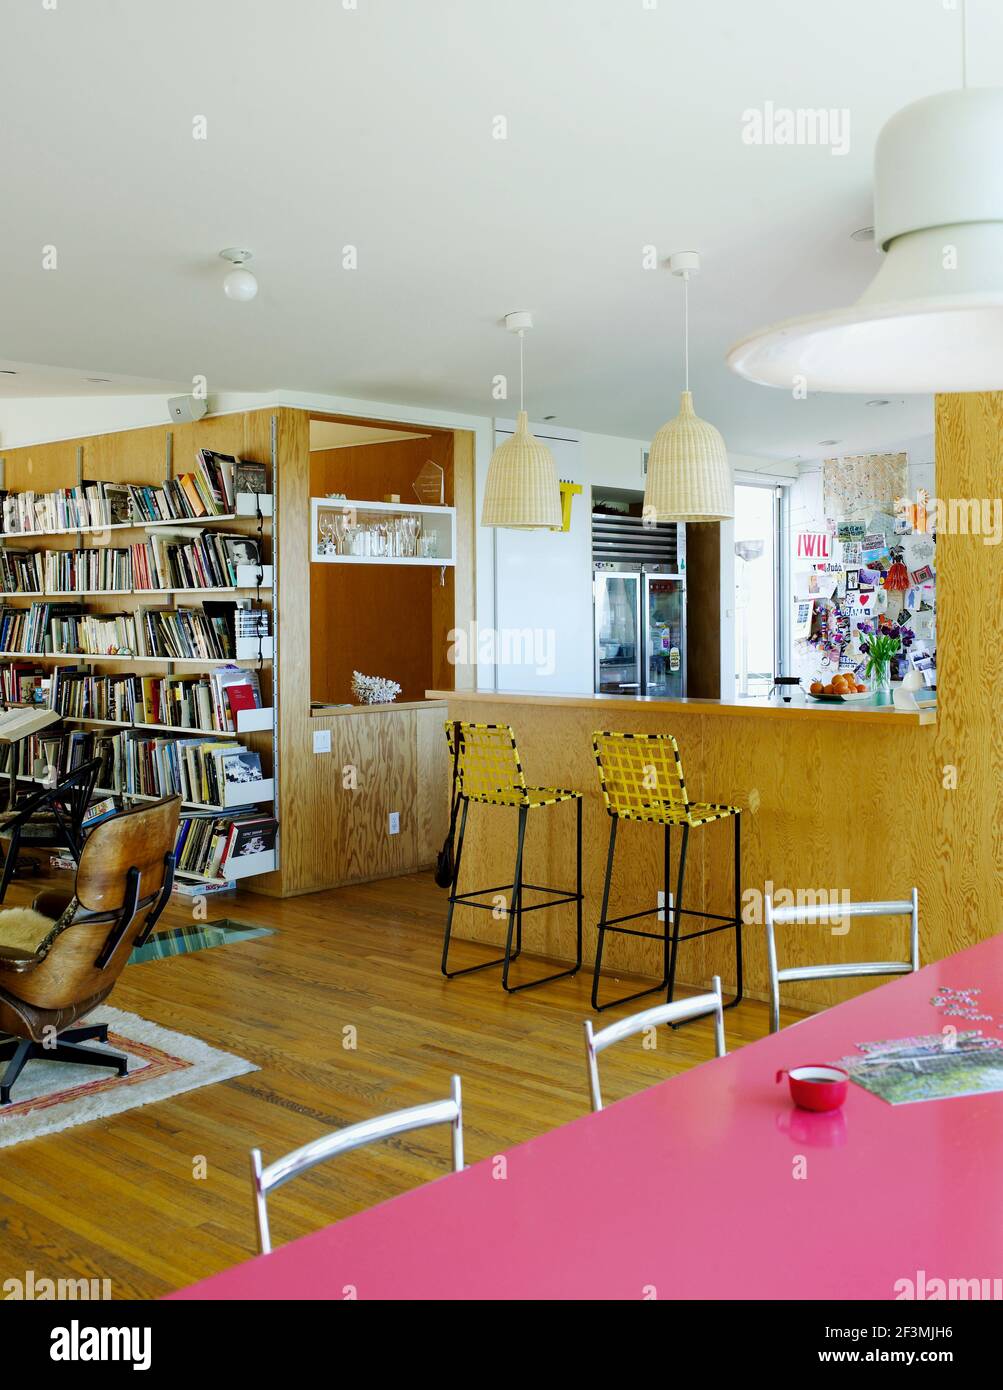
Once your breakfast bar is installed, it's time to add the finishing touches. This can include adding bar stools, pendant lights, and decorative accents to make your breakfast bar both functional and visually appealing. Related main keywords: bar stools, pendant lights, decorative accents.
With these simple steps, you can easily add a stylish and practical breakfast bar to your kitchen. Not only will it provide extra counter space, but it will also enhance the overall look and feel of your kitchen. So why wait? Start planning and fitting your kitchen breakfast bar today and enjoy a beautiful and functional space for years to come.

































:max_bytes(150000):strip_icc()/kitchen-breakfast-bars-5079603-hero-40d6c07ad45e48c4961da230a6f31b49.jpg)

