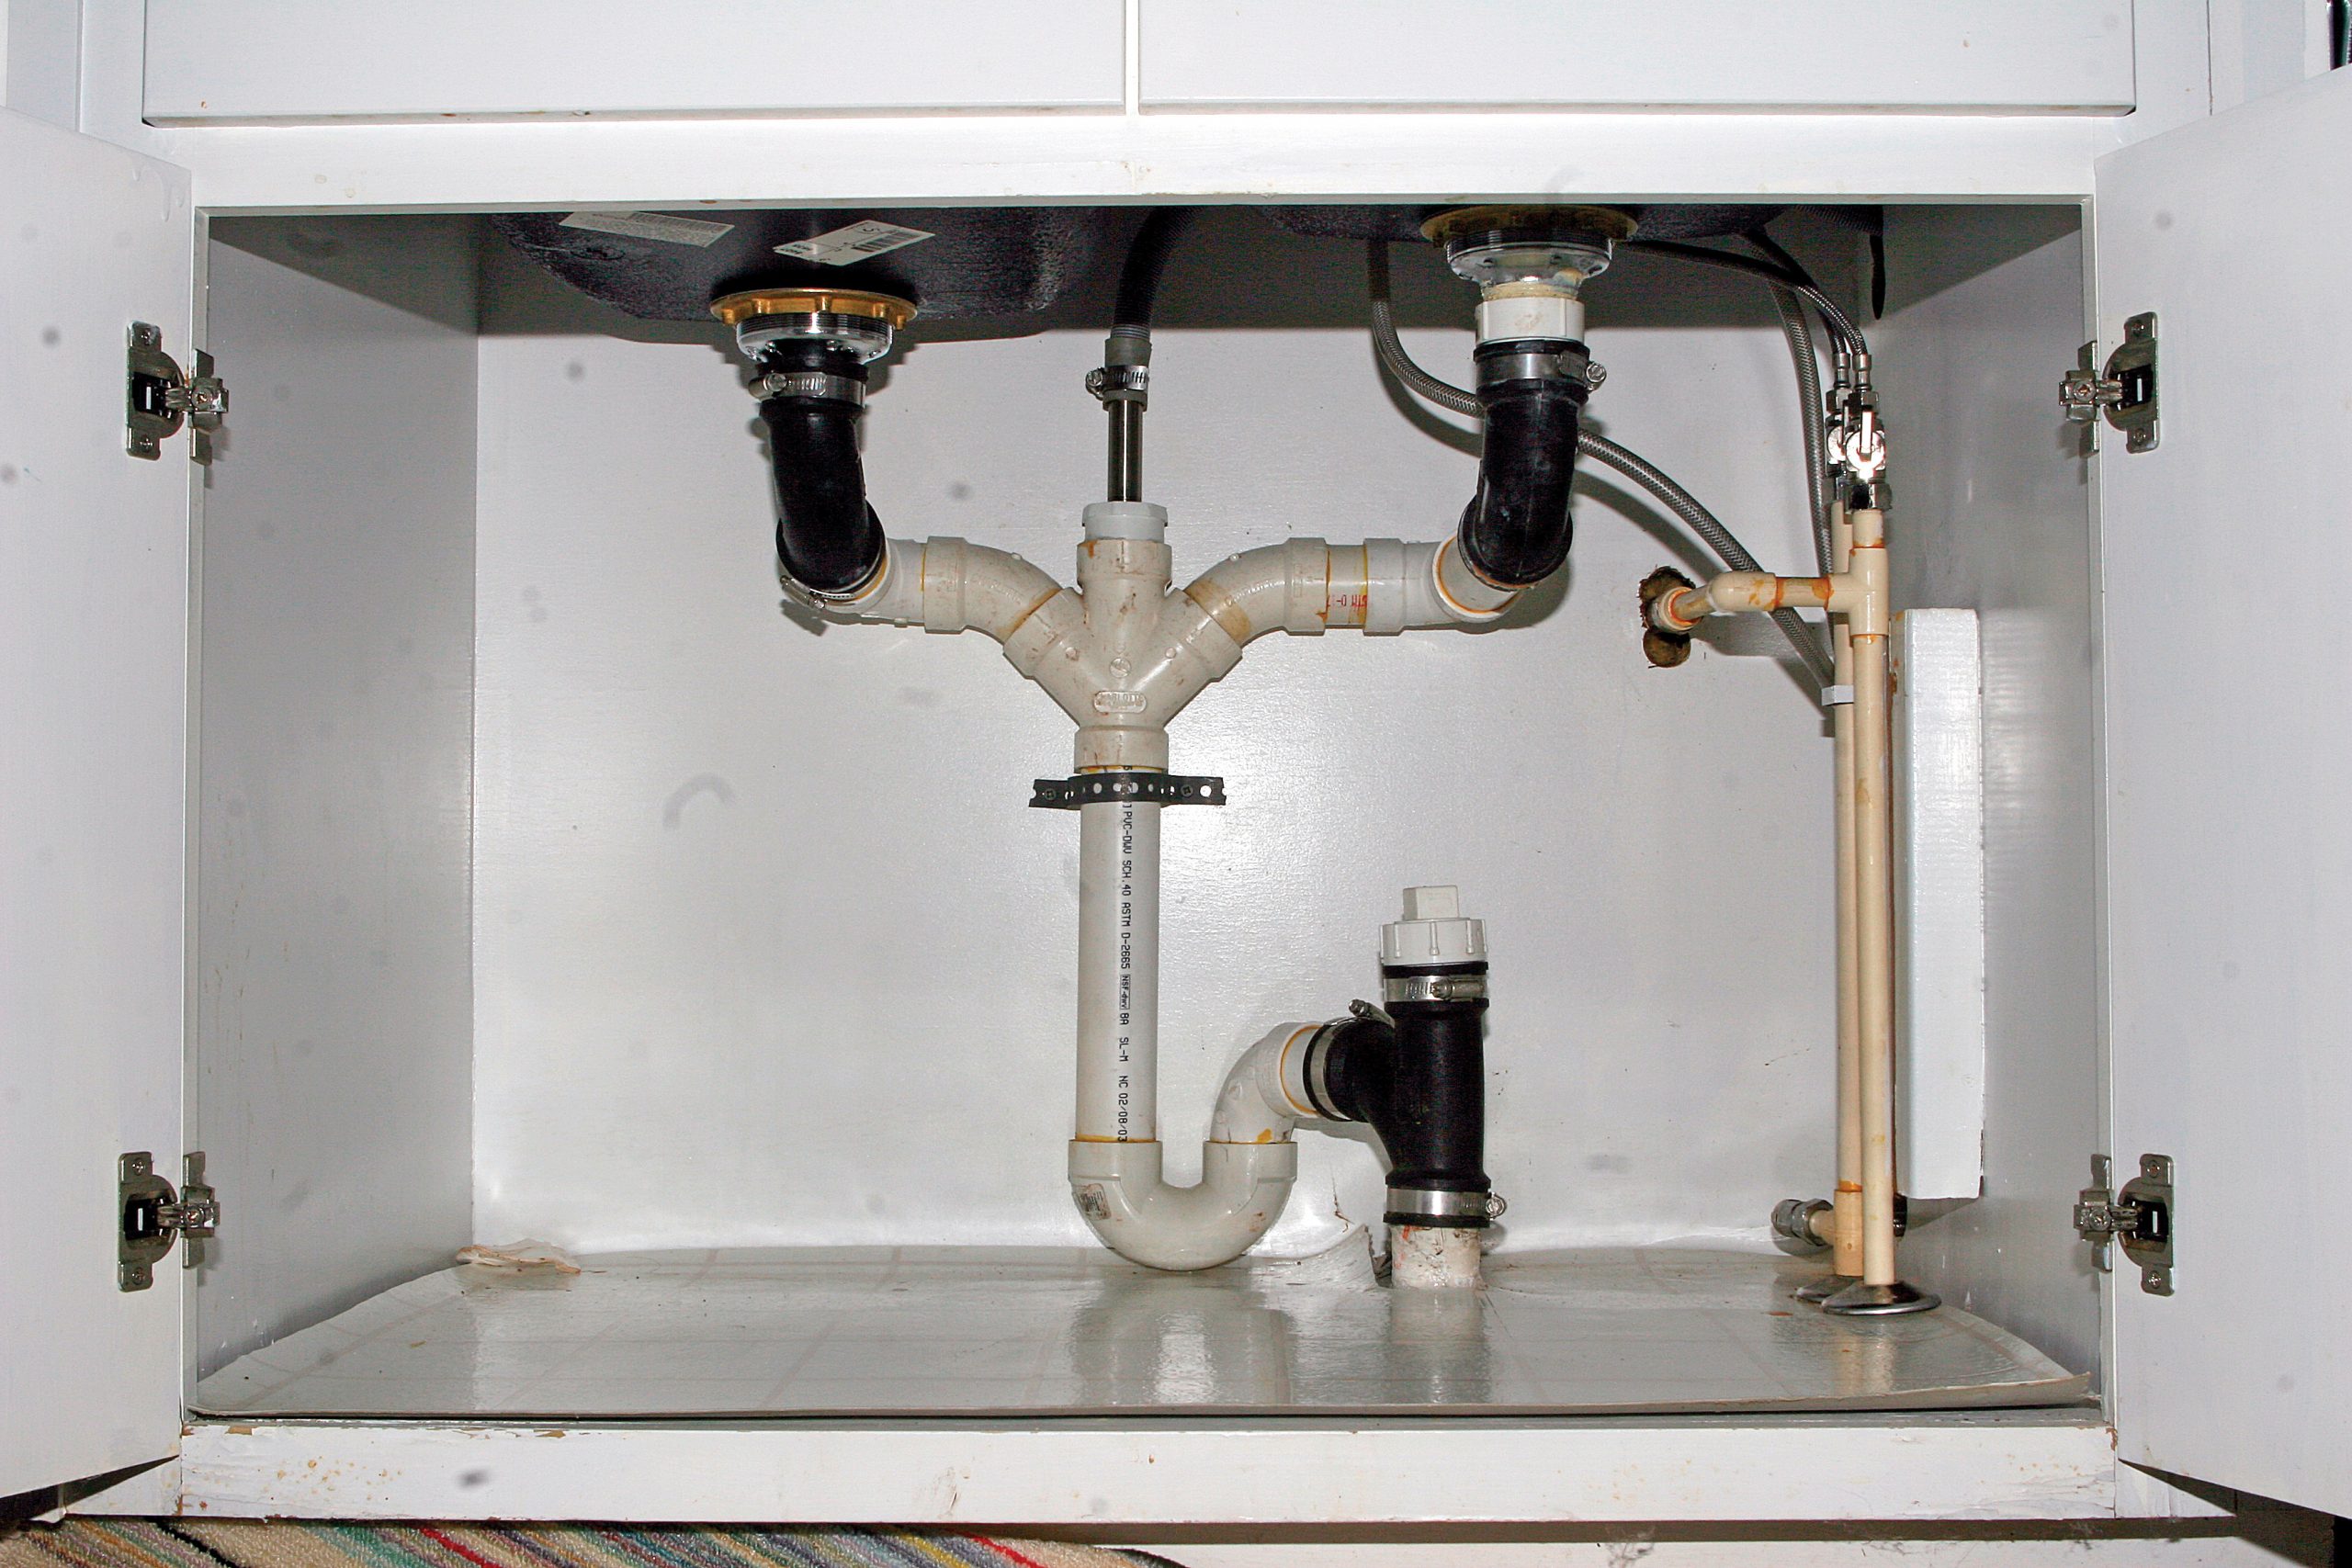
Hooking up a kitchen sink drain may seem like a daunting task, but with the right tools and knowledge, it can be a simple DIY project. Whether you are installing a new sink or replacing an old one, properly connecting the drain is crucial for the functionality and longevity of your kitchen sink. In this article, we will provide a step-by-step guide on how to hook up a kitchen sink drain, along with some helpful tips and common mistakes to avoid.How to Hook Up a Kitchen Sink Drain
The first step in installing a kitchen sink drain is to gather all the necessary tools. You will need a wrench, pliers, plumber's putty, plumber's tape, and a screwdriver. Once you have your tools, you can begin the installation process by first removing the old drain and cleaning the area where the new one will be installed. Make sure to shut off the water supply before starting any work.How to Install a Kitchen Sink Drain
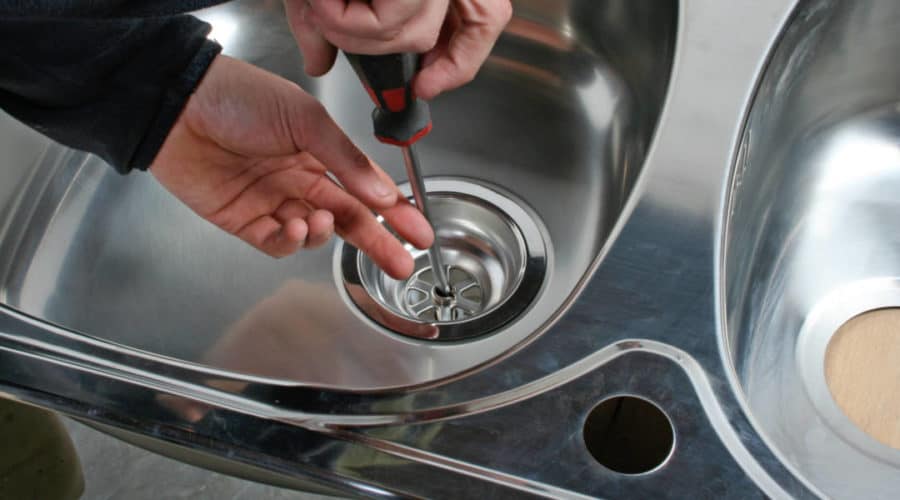
Installing a kitchen sink drain can save you money by avoiding hiring a plumber. However, it is essential to have some basic plumbing knowledge before attempting this project. Start by connecting the sink strainer to the sink's bottom, making sure it is tightly secured. Then, apply plumber's putty around the edge of the strainer and place it in the sink's drain hole. This will create a watertight seal.DIY Kitchen Sink Drain Installation
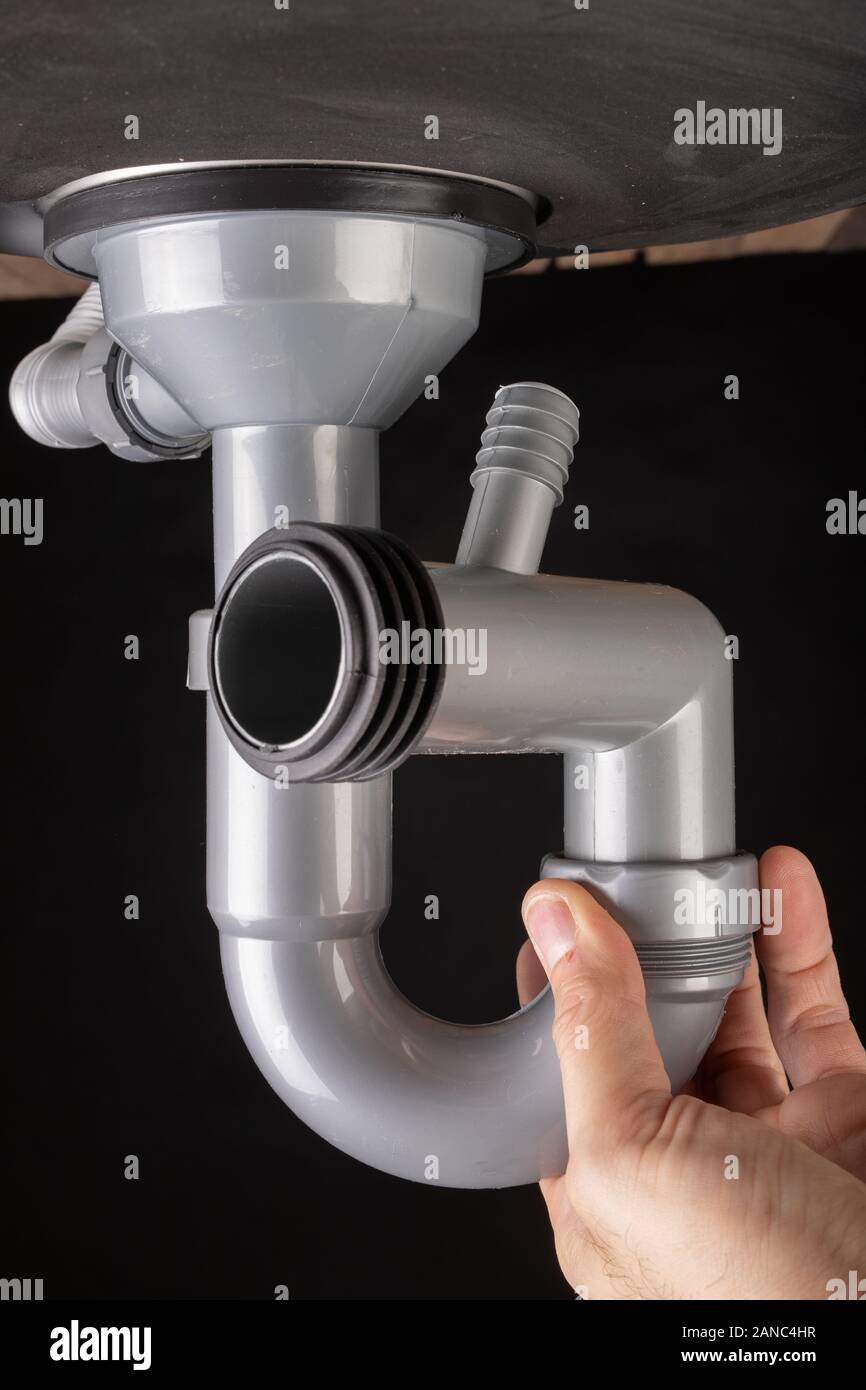
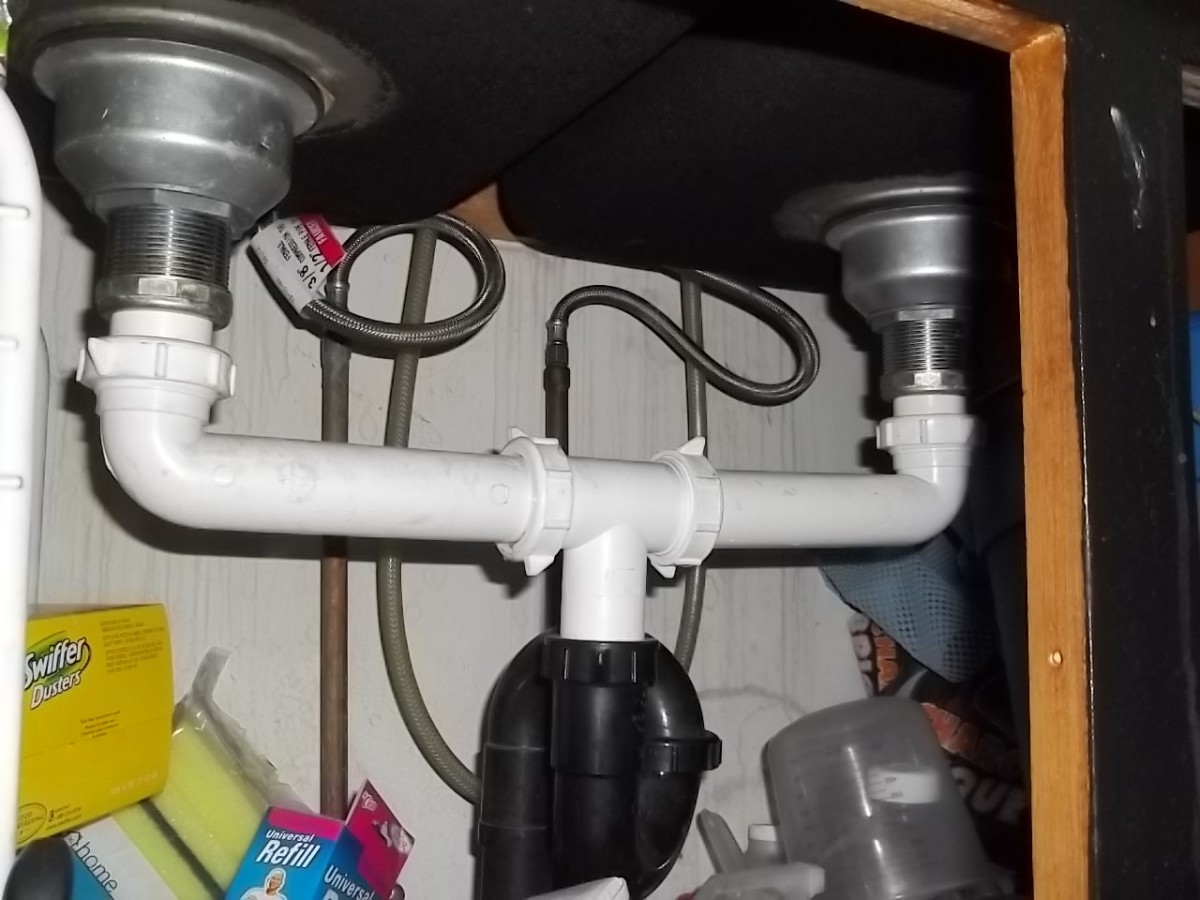
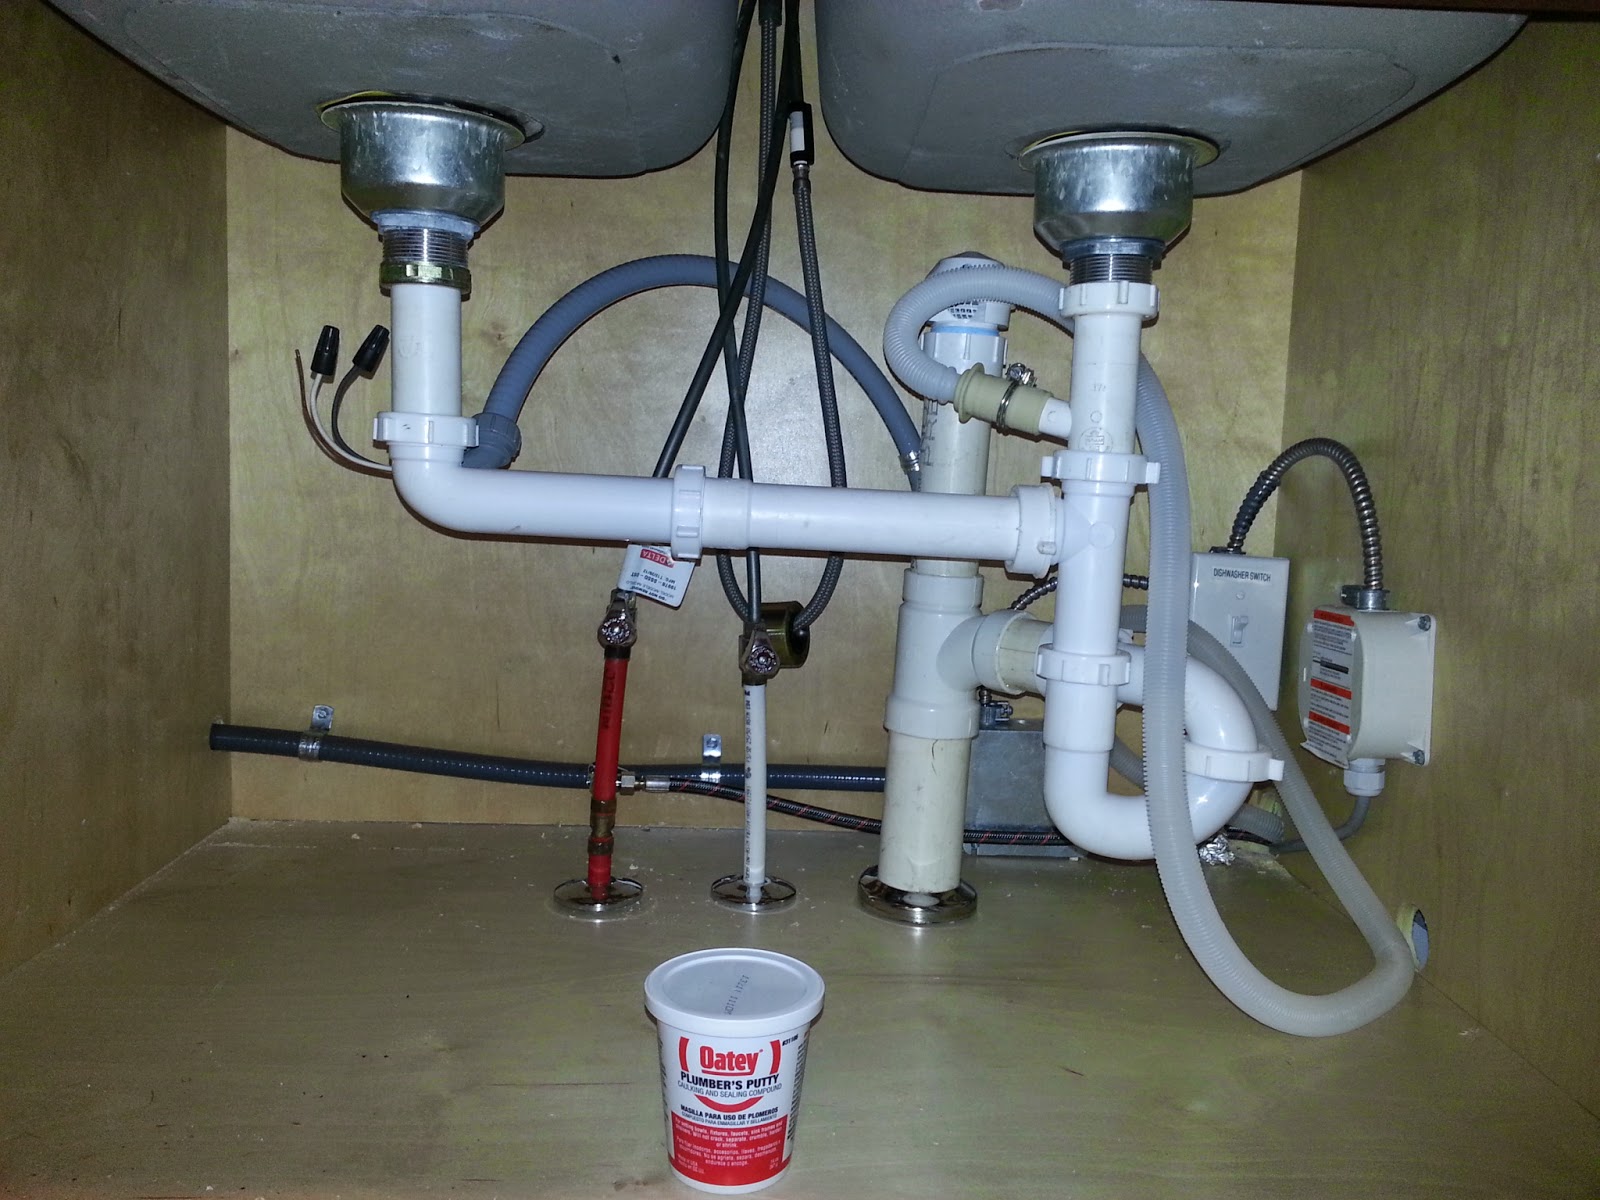
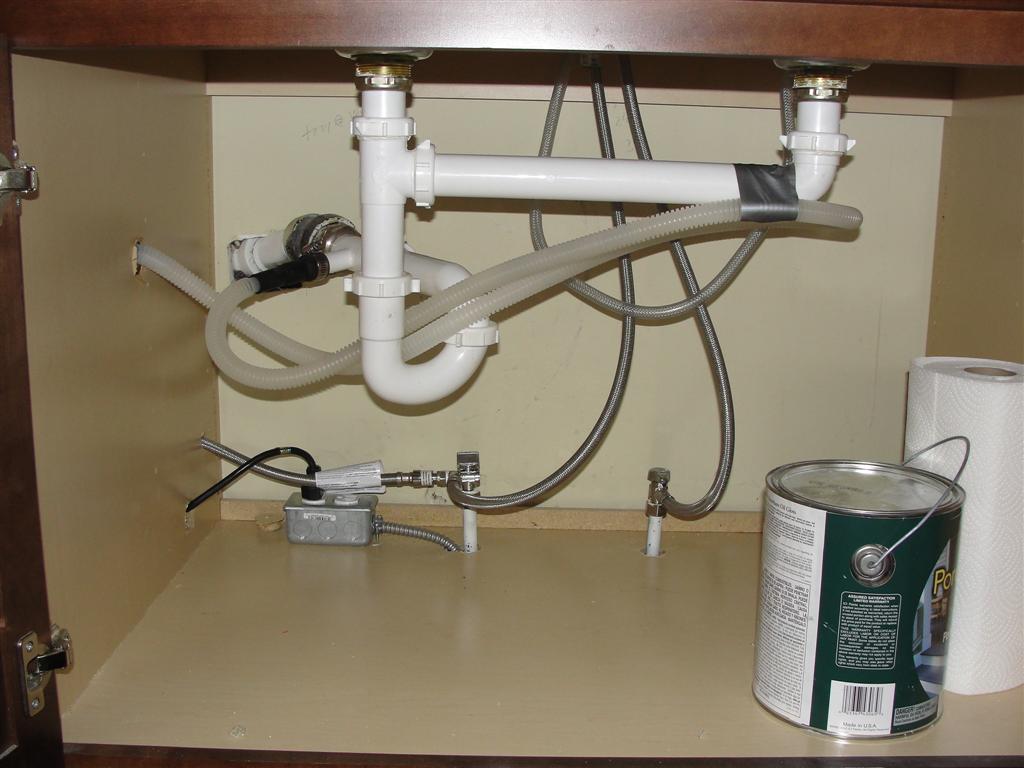
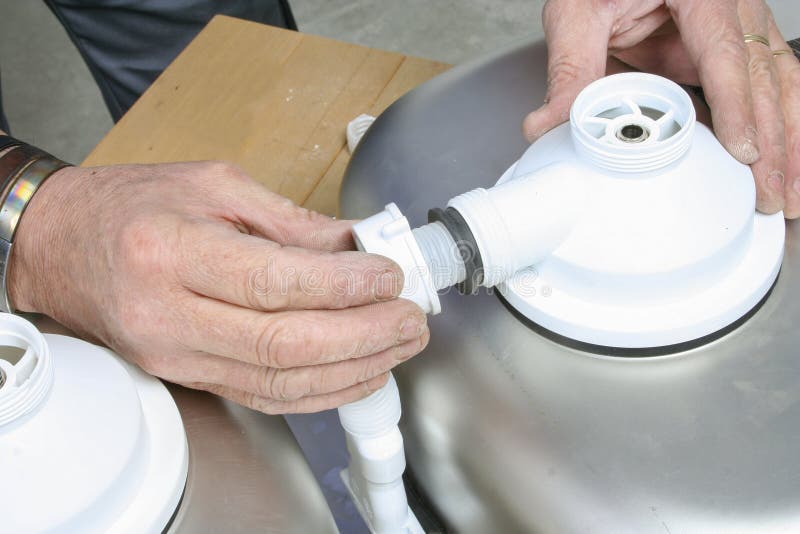
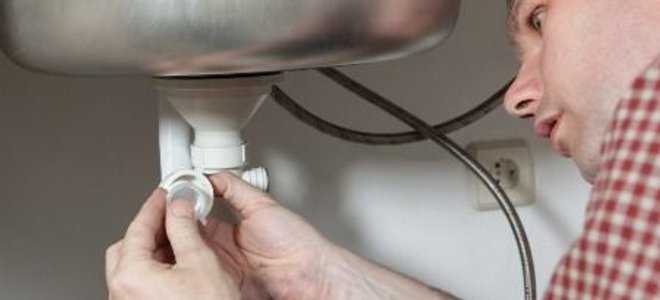
Now that the strainer is securely in place, you can move on to the rest of the drain installation. First, attach the rubber gasket and cardboard friction ring provided with the strainer to the underside of the sink. Then, screw the mounting nut onto the strainer from below the sink. Tighten the nut with pliers, making sure the strainer is snug against the sink's bottom. Next, attach the tailpiece, which is the straight pipe that connects the strainer to the rest of the drain. Use plumber's tape to secure the connection and prevent leaks. Then, install the trap, which is the curved pipe that will connect the tailpiece to the main drain line. Make sure to position the trap in a way that allows for proper water flow.Step-by-Step Guide for Hooking Up a Kitchen Sink Drain
As mentioned before, having the right tools is crucial for a successful kitchen sink drain installation. In addition to the tools mentioned earlier, you may also need a hacksaw to cut the tailpiece or trap to fit your specific sink. A flashlight can also come in handy for seeing under the sink while working.Tools Needed for Installing a Kitchen Sink Drain
While installing a kitchen sink drain may seem straightforward, there are some common mistakes that can lead to problems in the future. One mistake is not using enough plumber's putty, which can result in leaks. Another mistake is not properly aligning the drain pieces, which can also cause leaks. It is also crucial to make sure all connections are tight and secure to prevent any issues.Common Mistakes to Avoid When Hooking Up a Kitchen Sink Drain
Here are some additional tips to ensure your kitchen sink drain installation goes smoothly:Tips for a Successful Kitchen Sink Drain Installation
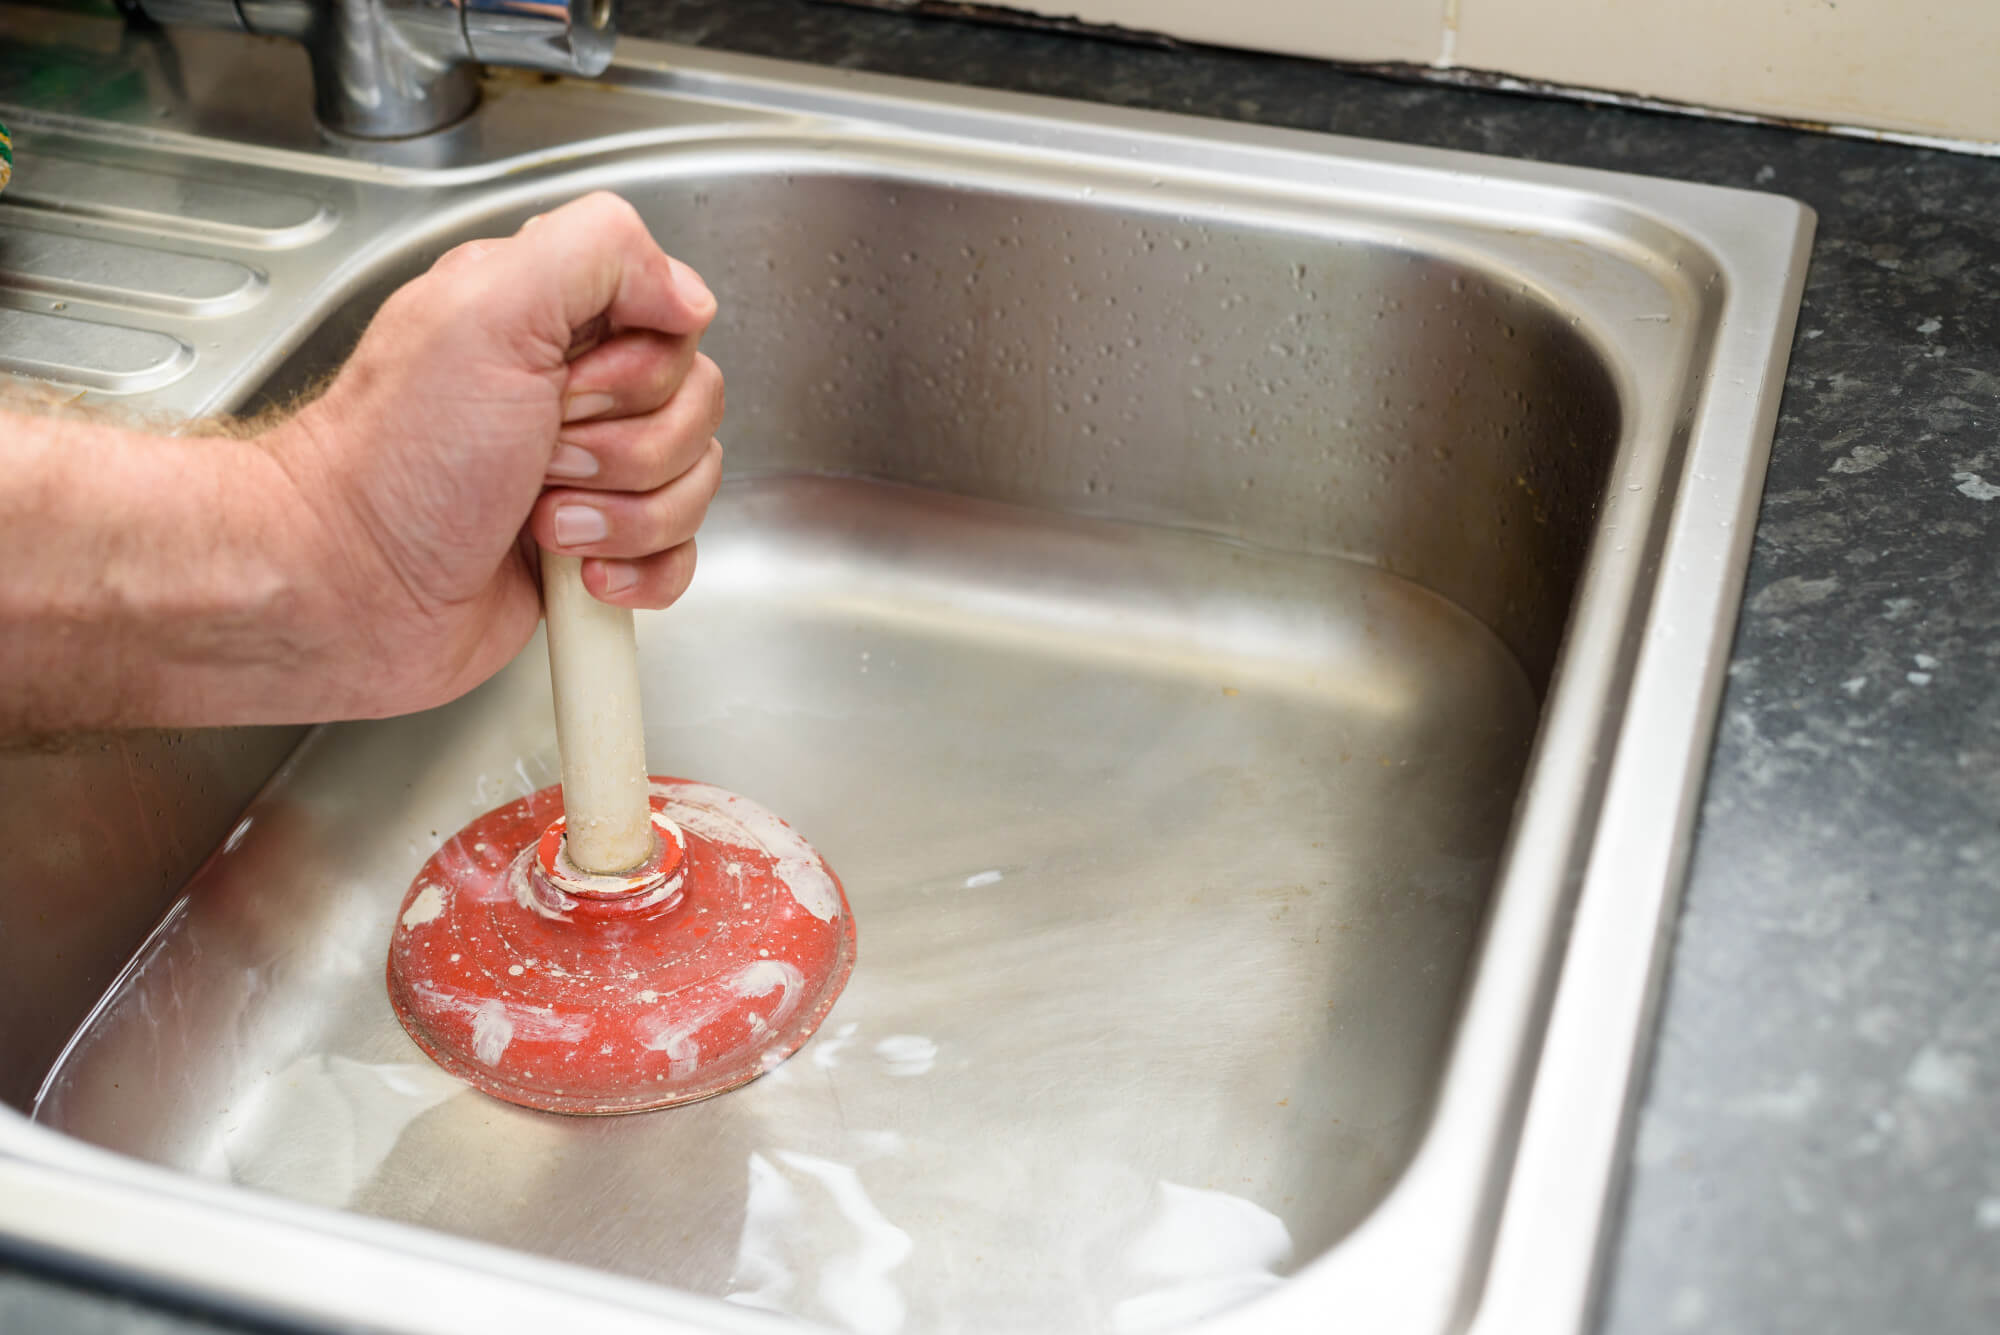
If you encounter any problems during the installation process, such as leaks or a clogged drain, do not panic. These issues can often be easily fixed by tightening connections, adjusting the position of the trap, or using a plunger to clear any blockages. If the problem persists, it may be best to consult a professional plumber.Troubleshooting Common Issues with Kitchen Sink Drain Hookup
If you have a garbage disposal, you will need to connect it to your kitchen sink drain as well. The process is similar to connecting the rest of the drain components, but you will also need to attach the discharge tube from the disposal to the drain pipe. Make sure to follow the manufacturer's instructions for your specific disposal model.How to Connect a Kitchen Sink Drain to a Garbage Disposal
To ensure your kitchen sink drain continues to function properly, it is essential to practice proper maintenance. Avoid putting large food particles, grease, or oil down the drain, as these can lead to clogs. Regularly clean the drain by pouring boiling water down it to help remove any buildup. And if you notice any leaks or strange odors coming from the drain, address them promptly to prevent further issues. In conclusion, hooking up a kitchen sink drain may seem like a daunting task, but with the right tools and knowledge, it can be a simple DIY project. By following the steps outlined in this article and avoiding common mistakes, you can successfully install a kitchen sink drain and ensure proper functionality for years to come.Proper Maintenance for a Kitchen Sink Drain
How to Properly Hook Up a Kitchen Sink Drain

Ensuring Proper Functionality and Aesthetics in Your Kitchen Design
 When designing your dream kitchen, it's important to pay attention to even the smallest details, such as the kitchen sink drain. This may seem like a minor aspect, but a properly hooked up drain is crucial for both functionality and aesthetics. In this article, we will discuss the steps to properly hook up a kitchen sink drain, ensuring that your kitchen not only looks great, but also functions efficiently.
Step 1: Gather Your Materials
Before beginning the installation process, it's important to have all the necessary materials on hand. This includes a sink drain kit, plumber's putty, a pipe wrench, and any other tools required by your specific sink model. Make sure to also have a bucket and some towels handy in case of any spills or leaks.
Step 2: Assemble the Drain
The first step in hooking up a kitchen sink drain is to assemble the drain itself. This typically involves attaching the strainer basket to the sink and connecting the drain pipe to the strainer. Follow the instructions provided with your drain kit for the specific assembly process.
Step 3: Apply Plumber's Putty
Once the drain is assembled, it's time to apply plumber's putty to the underside of the strainer basket. This will create a seal between the sink and the strainer, preventing any leaks. Make sure to evenly spread the putty around the edges of the strainer before placing it in the sink.
Step 4: Install the Drain
Carefully place the strainer basket into the sink and secure it in place by tightening the lock nut from the underside. Wipe away any excess putty that may have squeezed out during installation.
Step 5: Connect the Drain Pipe
Using the pipe wrench, connect the drain pipe to the strainer basket. Make sure to tighten the connections to prevent any leaks. If your sink has a garbage disposal, you will need to attach the drain pipe to the disposal as well.
Step 6: Test for Leaks
Once everything is connected, turn on the water and check for any leaks. If you notice any, tighten the connections or add more plumber's putty as necessary.
Congratulations, you have successfully hooked up your kitchen sink drain! Not only does this ensure proper functionality, but it also adds to the overall aesthetic of your kitchen. Remember to regularly check for any leaks and make repairs as needed to keep your sink in top condition.
In conclusion, properly hooking up a kitchen sink drain is an important step in creating a functional and visually appealing kitchen design. By following these steps and paying attention to the details, you can ensure that your kitchen sink will not only look great, but also work efficiently for all your cooking and cleaning needs.


/how-to-install-a-sink-drain-2718789-hero-24e898006ed94c9593a2a268b57989a3.jpg)




/how-to-install-a-sink-drain-2718789-hero-b5b99f72b5a24bb2ae8364e60539cece.jpg)

:max_bytes(150000):strip_icc()/how-to-install-a-sink-drain-2718789-hero-24e898006ed94c9593a2a268b57989a3.jpg)








:no_upscale()/cdn.vox-cdn.com/uploads/chorus_asset/file/19495086/drain_0.jpg)


