Are you looking to give your bathroom a fresh and stylish update? Installing a Hemnes bathroom vanity can be a great way to achieve that. The Hemnes series from IKEA offers a range of beautiful and functional bathroom vanities that are easy to install. In this guide, we will walk you through the steps to install your new Hemnes bathroom vanity and give you some tips to ensure a smooth and successful installation process. Hemnes Bathroom Vanity Installation Guide


Hemnes Bathroom Vanity Installation Guide

:max_bytes(150000):strip_icc()/8_IMG_3767-56a4a2753df78cf772835b72.JPG)

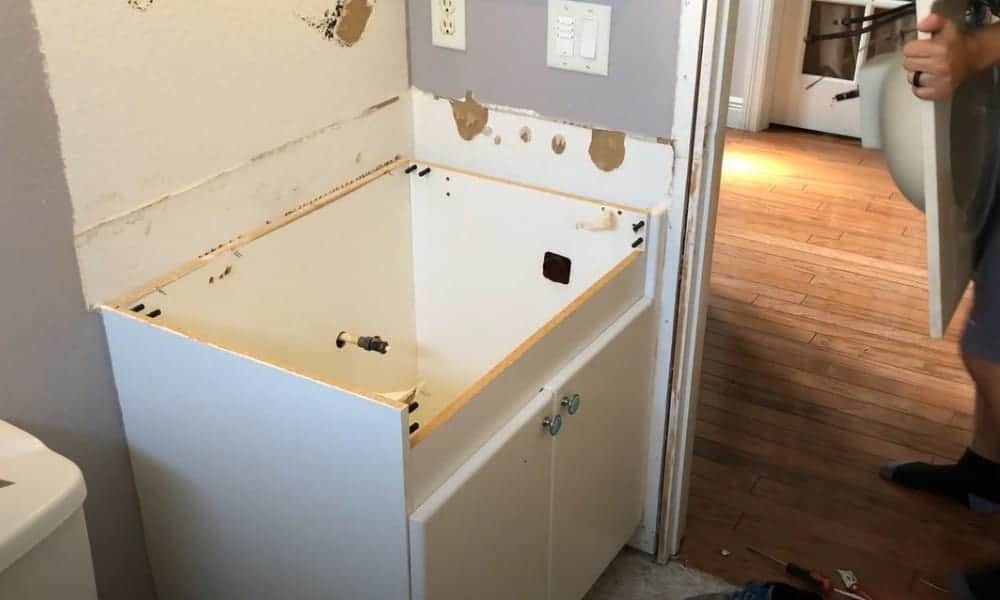
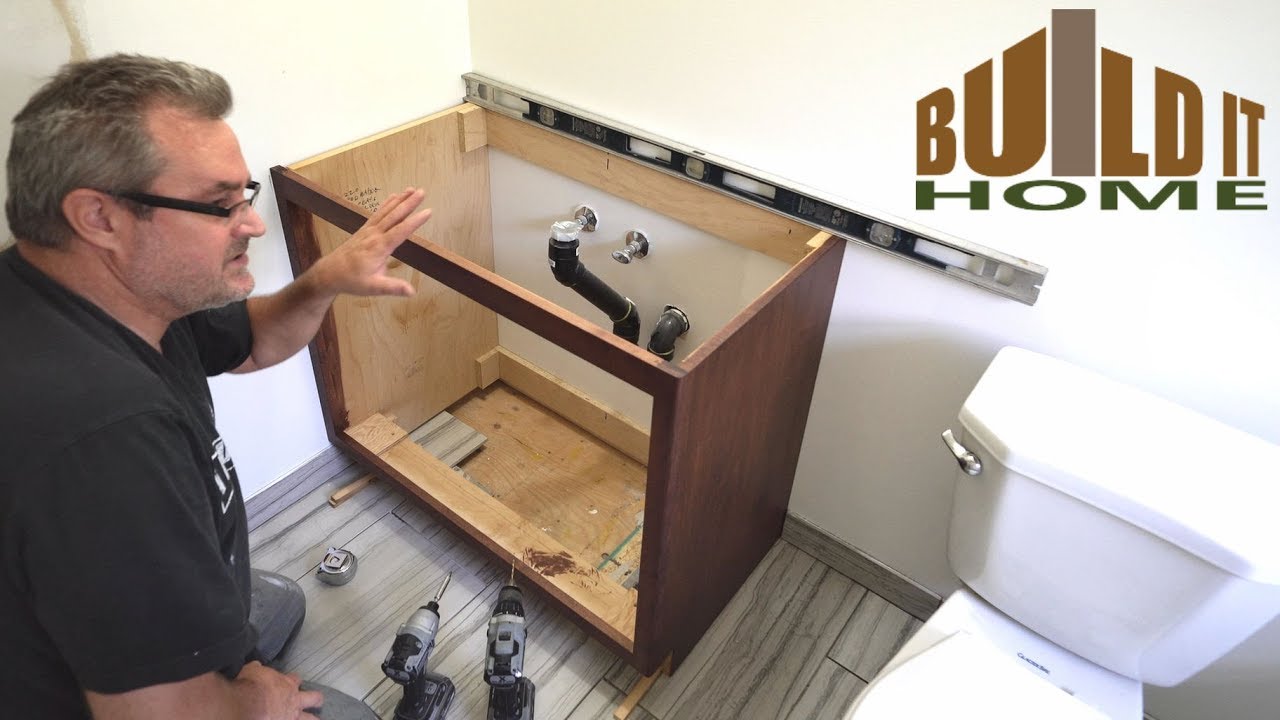
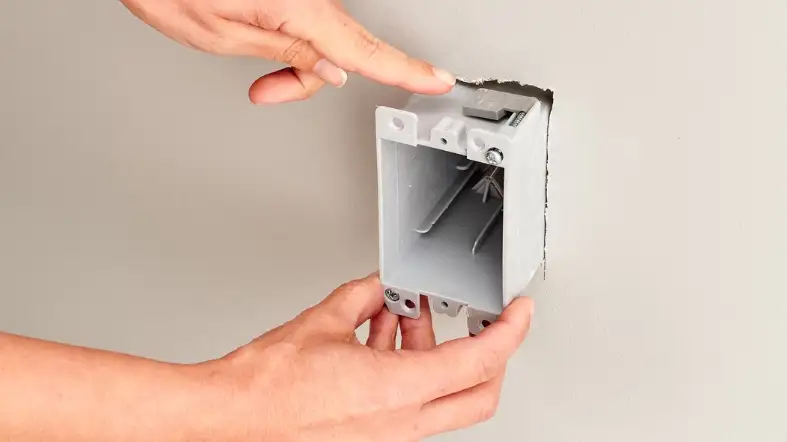
The first step in installing your Hemnes bathroom vanity is to assemble all the necessary tools and materials. These may include a screwdriver, hammer, level, measuring tape, and a drill. It's also a good idea to read through the instructions provided by IKEA before beginning the installation process. Once you have everything ready, you can start by attaching the legs to the bottom of the vanity using the provided screws. Make sure the legs are securely attached and level. Then, attach the back panel to the vanity using the provided screws. The next step is to install the top panel of the vanity. Place it on top of the vanity and secure it with the provided screws. Make sure the top panel is level and securely attached. Now it's time to attach the sink to the vanity. Apply a thin bead of silicone caulk around the edge of the sink and carefully place it on top of the vanity. Secure it in place with the provided screws and wipe off any excess caulk. Finally, install the faucet and drain according to the manufacturer's instructions. Your Hemnes bathroom vanity is now ready for use! How to Install a Hemnes Bathroom Vanity


How to Install a Hemnes Bathroom Vanity
:max_bytes(150000):strip_icc()/8_IMG_3767-56a4a2753df78cf772835b72.JPG)
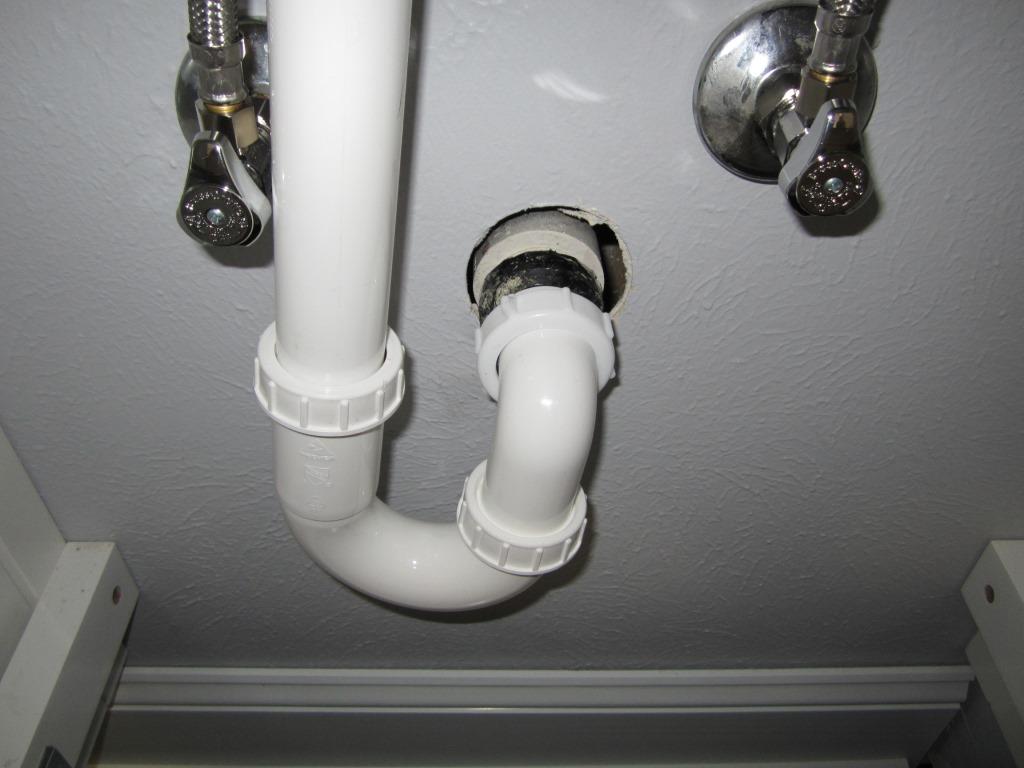

1. Gather all necessary tools and materials. 2. Attach the legs to the bottom of the vanity. 3. Attach the back panel to the vanity. 4. Install the top panel of the vanity. 5. Attach the sink to the vanity using silicone caulk. 6. Install the faucet and drain. 7. Enjoy your newly installed Hemnes bathroom vanity! Step-by-Step Hemnes Bathroom Vanity Installation


Step-by-Step Hemnes Bathroom Vanity Installation


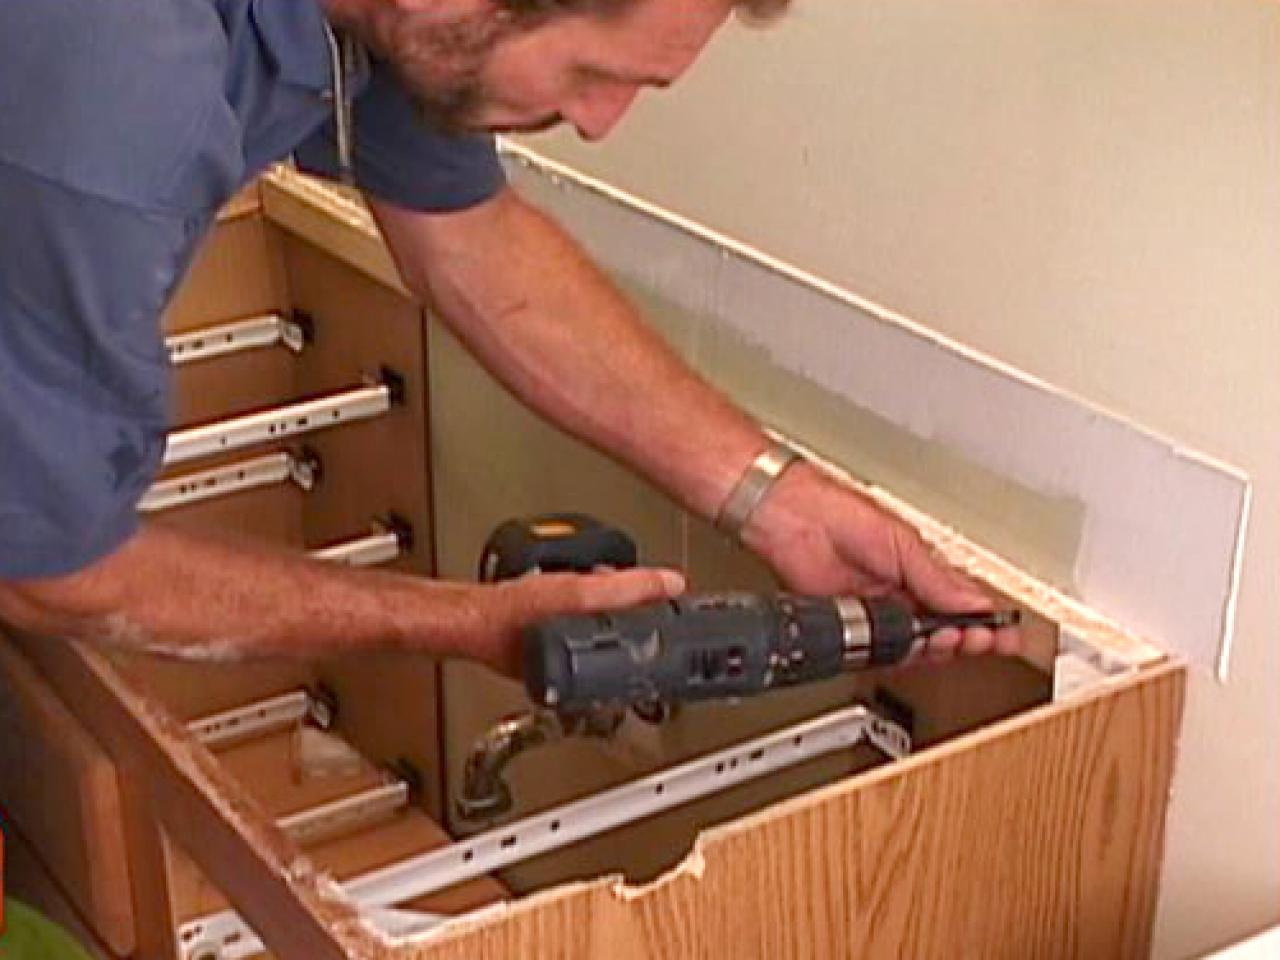
1. Take your time and read through the instructions carefully before starting the installation process. 2. Make sure all the pieces are securely attached and level to avoid any wobbling or unevenness. 3. Use a level to ensure everything is straight and aligned. 4. Don't be afraid to ask for help if needed, especially when lifting and attaching heavy pieces. 5. Use a drill to make installation faster and easier. Tips for Installing a Hemnes Bathroom Vanity


Tips for Installing a Hemnes Bathroom Vanity


If you are not confident in your DIY skills or simply don't have the time, you can always hire a professional to assemble and install your Hemnes bathroom vanity for you. Many furniture assembly services offer installation services as well, so you can enjoy your new vanity without any hassle. Hemnes Bathroom Vanity Assembly and Installation


Hemnes Bathroom Vanity Assembly and Installation


Installing a Hemnes bathroom vanity is a great DIY project that can save you money and give you a sense of accomplishment. With the right tools and some patience, you can easily install your new vanity and transform your bathroom. DIY Hemnes Bathroom Vanity Installation


DIY Hemnes Bathroom Vanity Installation


1. Not reading the instructions carefully. 2. Not having all the necessary tools and materials. 3. Not using a level to ensure everything is straight and level. 4. Not attaching the legs and back panel securely. 5. Forgetting to install the faucet and drain before attaching the sink. Common Mistakes to Avoid When Installing a Hemnes Bathroom Vanity


Common Mistakes to Avoid When Installing a Hemnes Bathroom Vanity


If you are a visual learner, you can also find video tutorials online that can guide you through the installation process step-by-step. These can be helpful in understanding the process and avoiding any mistakes. Hemnes Bathroom Vanity Installation Video Tutorial

Hemnes Bathroom Vanity Installation Video Tutorial
- Screwdriver - Hammer - Level - Measuring tape - Drill - Silicone caulk - Faucet and drain (included with the vanity) Tools and Materials Needed for Hemnes Bathroom Vanity Installation
Tools and Materials Needed for Hemnes Bathroom Vanity Installation

If you don't have the time or skills to install your Hemnes bathroom vanity yourself, you can always hire a professional. Many furniture assembly services offer installation services as well, so you can sit back and relax while your new vanity is installed for you. With these tips and instructions, you can easily install a Hemnes bathroom vanity in your home and give your bathroom a stylish and functional upgrade. Enjoy your new vanity and the refreshed look of your bathroom! Professional Hemnes Bathroom Vanity Installation Services

Professional Hemnes Bathroom Vanity Installation Services


Why Choose a Hemnes Bathroom Vanity for Your Home

Functional and Stylish Design
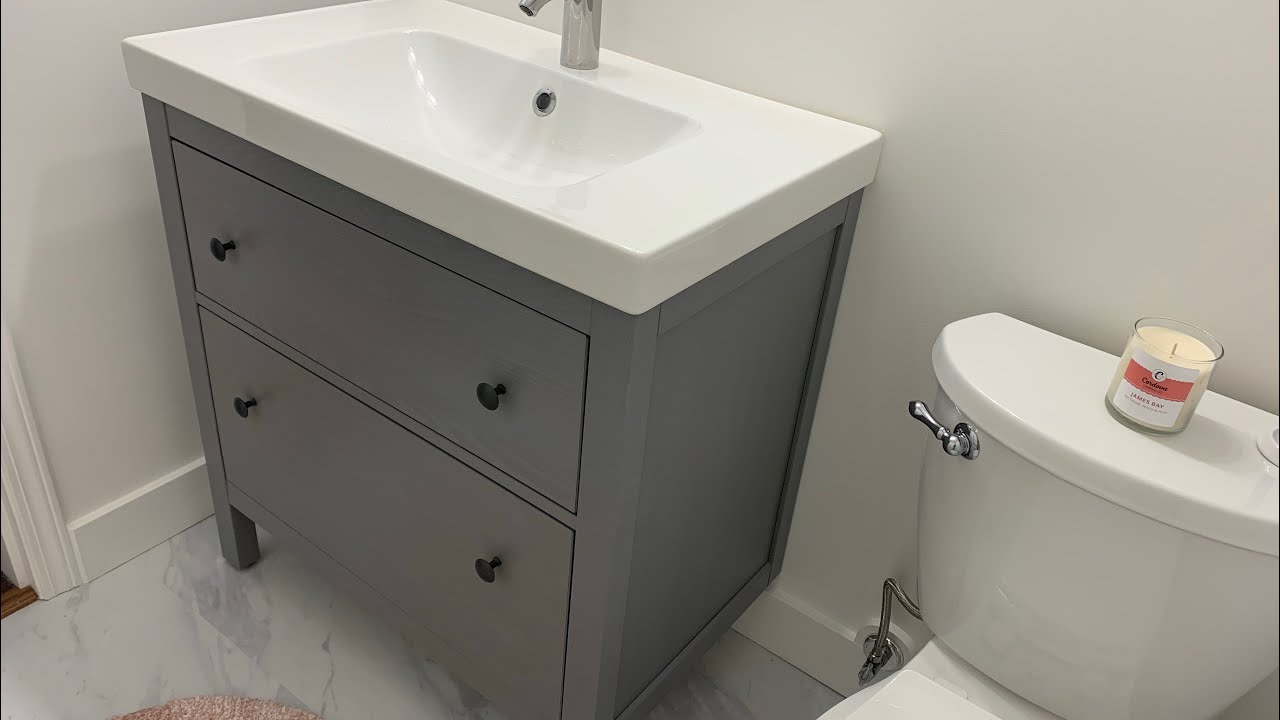
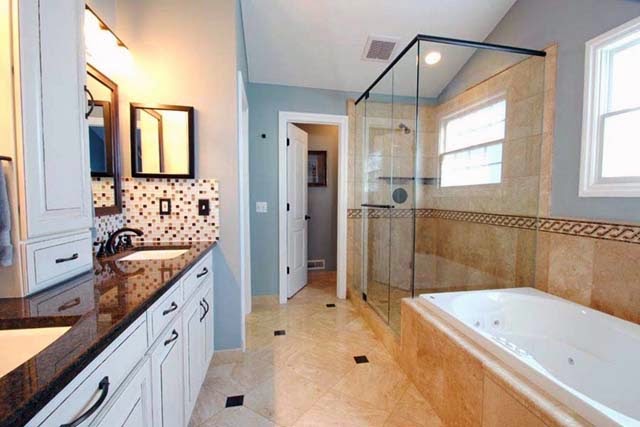
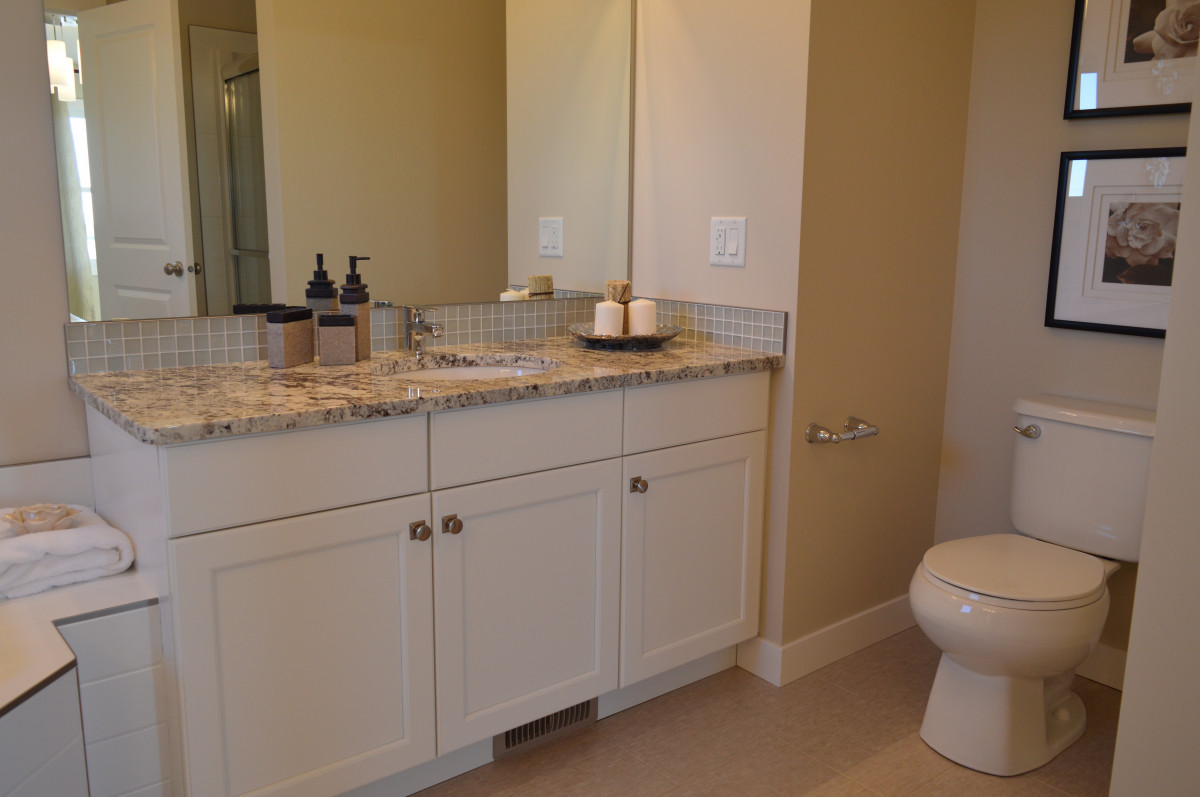
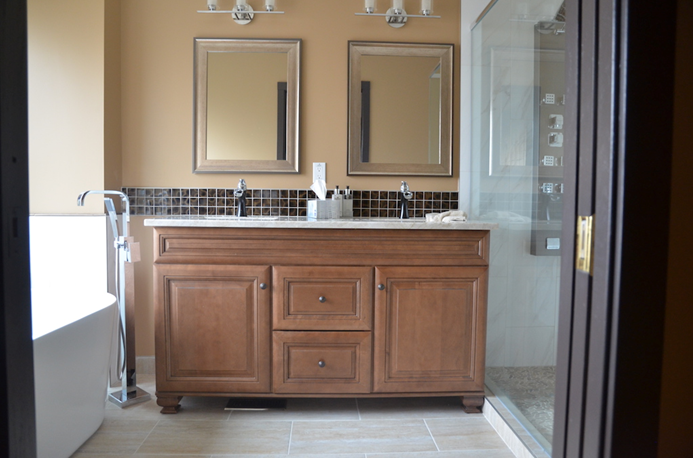
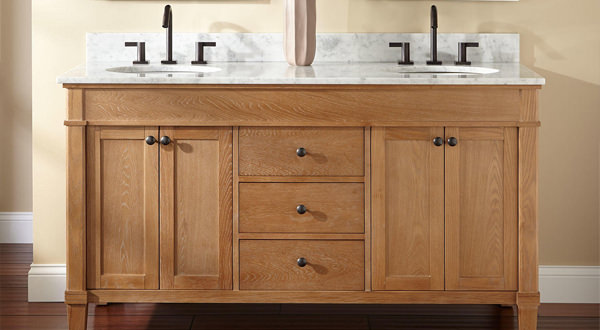
 The Hemnes bathroom vanity is the perfect addition to any home, offering both functionality and style. With its clean lines and modern design, it can easily fit into any bathroom aesthetic, from traditional to contemporary. The
versatile design
of the Hemnes vanity allows for easy customization, making it a great choice for any homeowner looking to add a touch of elegance to their bathroom.
The Hemnes bathroom vanity is the perfect addition to any home, offering both functionality and style. With its clean lines and modern design, it can easily fit into any bathroom aesthetic, from traditional to contemporary. The
versatile design
of the Hemnes vanity allows for easy customization, making it a great choice for any homeowner looking to add a touch of elegance to their bathroom.
Quality Materials
 When it comes to
home design
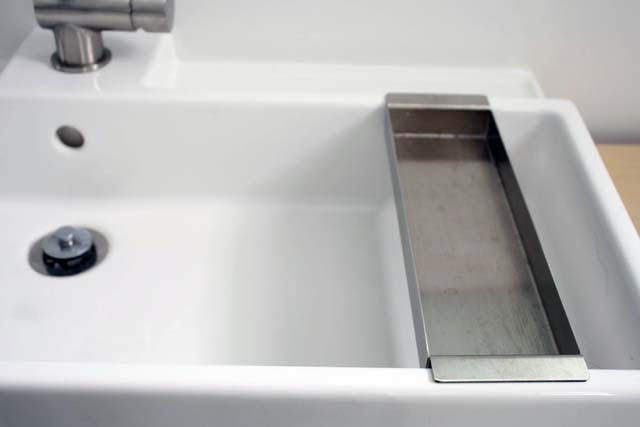
, quality should always be a top priority. The Hemnes bathroom vanity is made from
high-quality materials
, ensuring its durability and longevity. The solid wood frame and sturdy construction make it a reliable choice for any household. Plus, the
water-resistant
finish makes it perfect for use in a bathroom setting.
When it comes to
home design
, quality should always be a top priority. The Hemnes bathroom vanity is made from
high-quality materials
, ensuring its durability and longevity. The solid wood frame and sturdy construction make it a reliable choice for any household. Plus, the
water-resistant
finish makes it perfect for use in a bathroom setting.
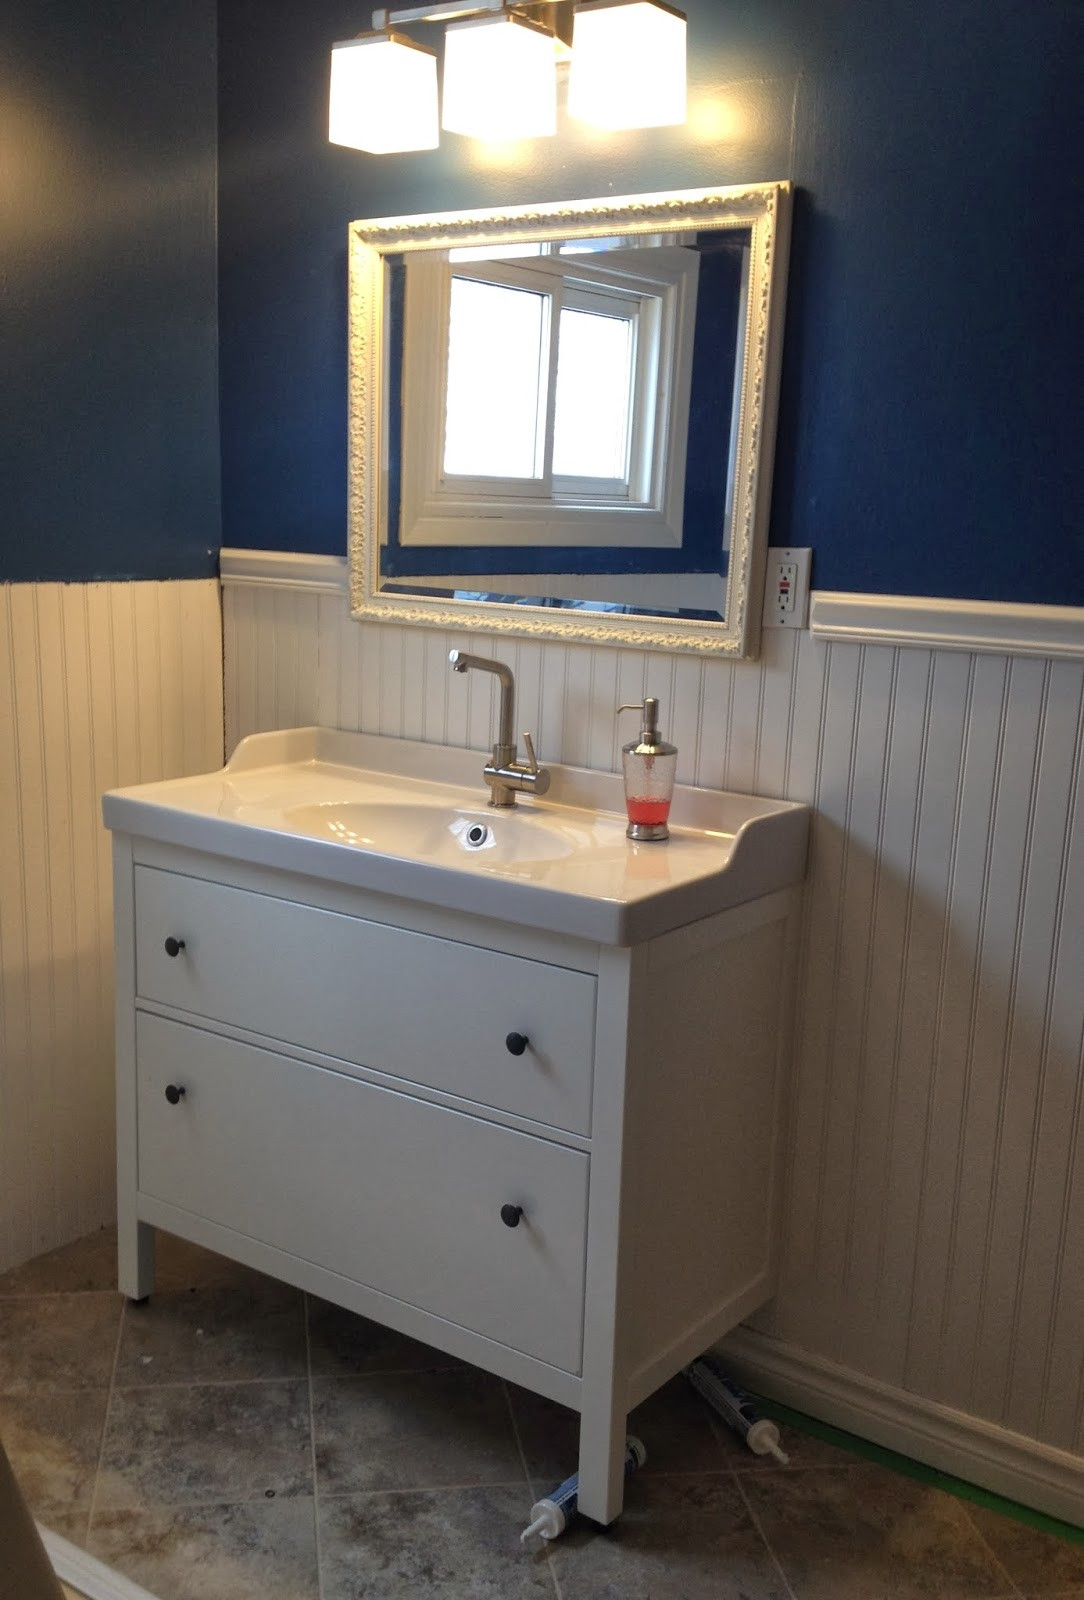
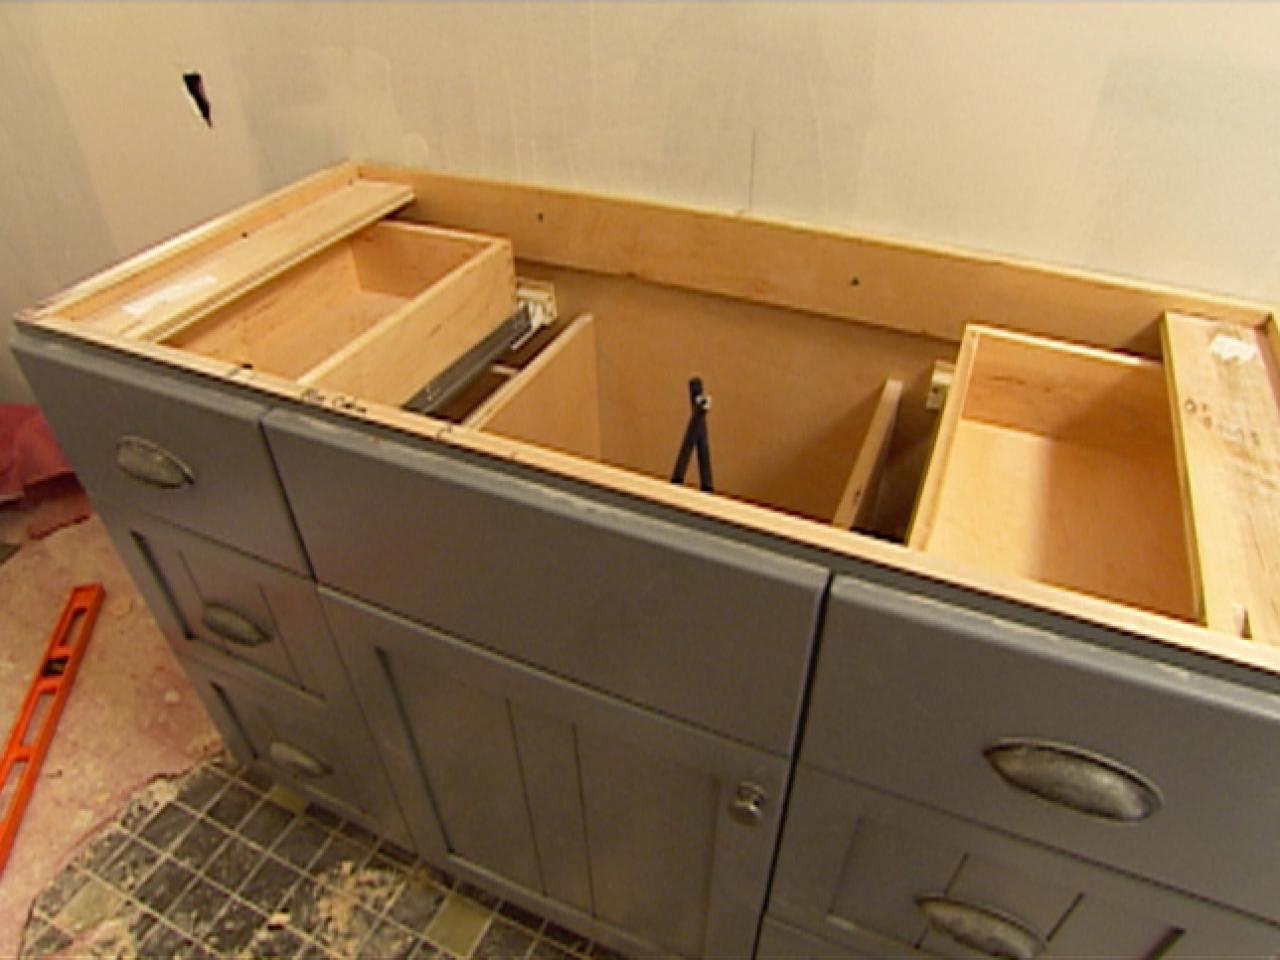
Ample Storage Space
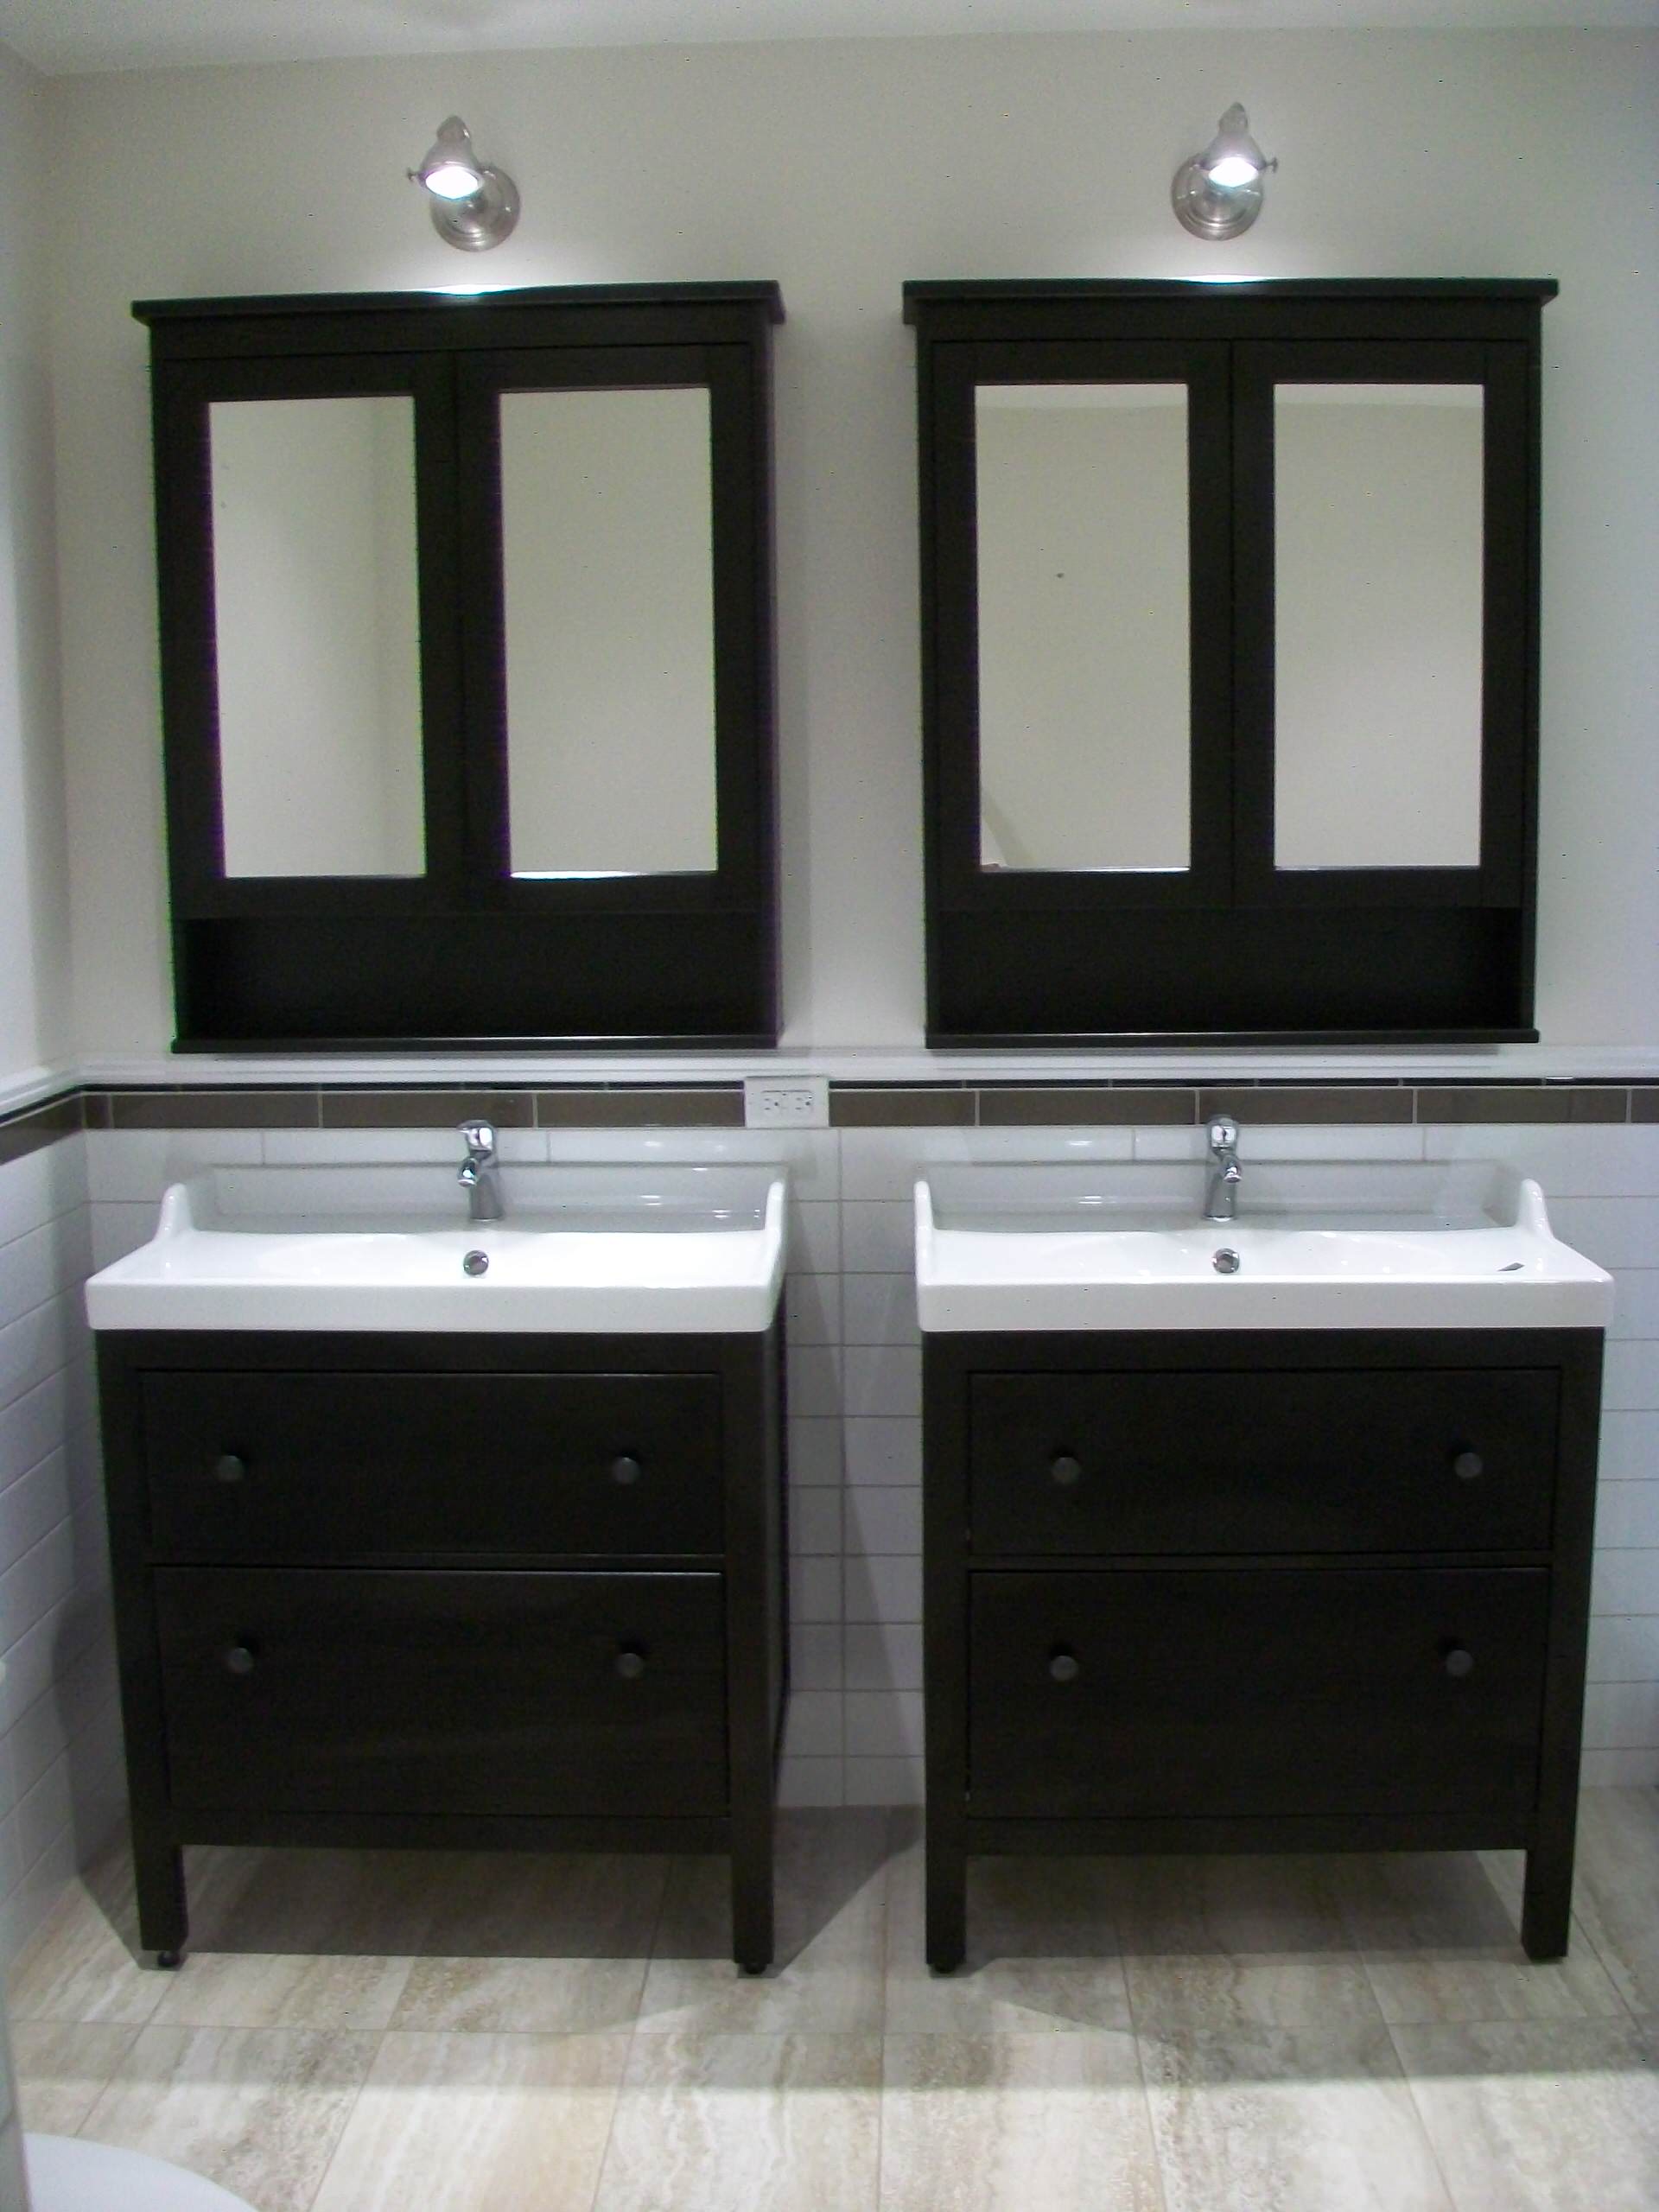
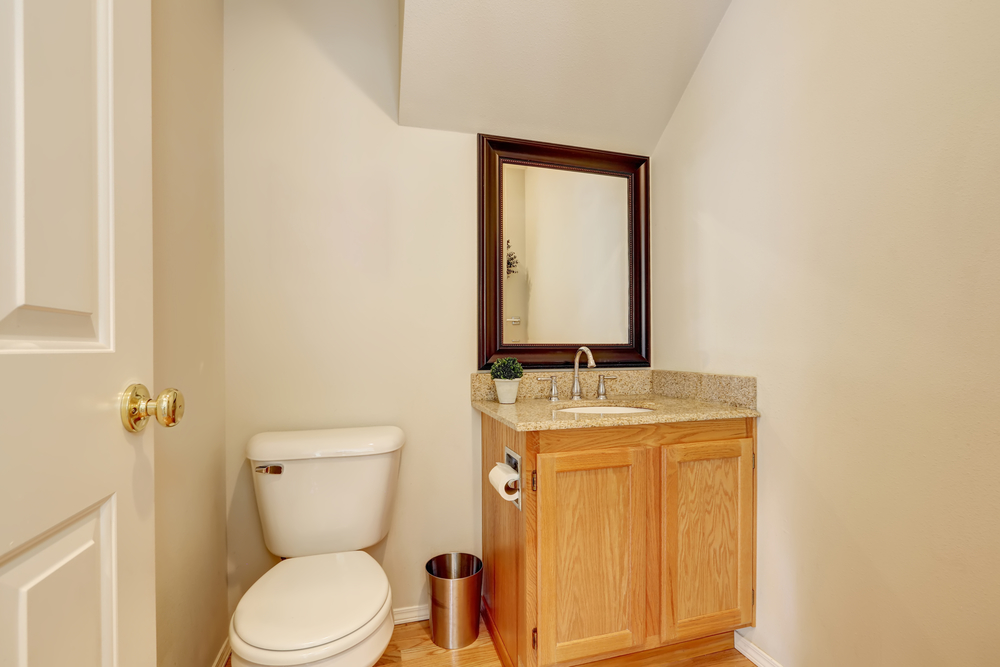 One of the main benefits of choosing a Hemnes bathroom vanity is the
ample storage space
it provides. With multiple drawers and shelves, you can easily store all your bathroom essentials in one place. This not only helps keep your bathroom organized and clutter-free but also adds to the overall functionality of the space.
One of the main benefits of choosing a Hemnes bathroom vanity is the
ample storage space
it provides. With multiple drawers and shelves, you can easily store all your bathroom essentials in one place. This not only helps keep your bathroom organized and clutter-free but also adds to the overall functionality of the space.
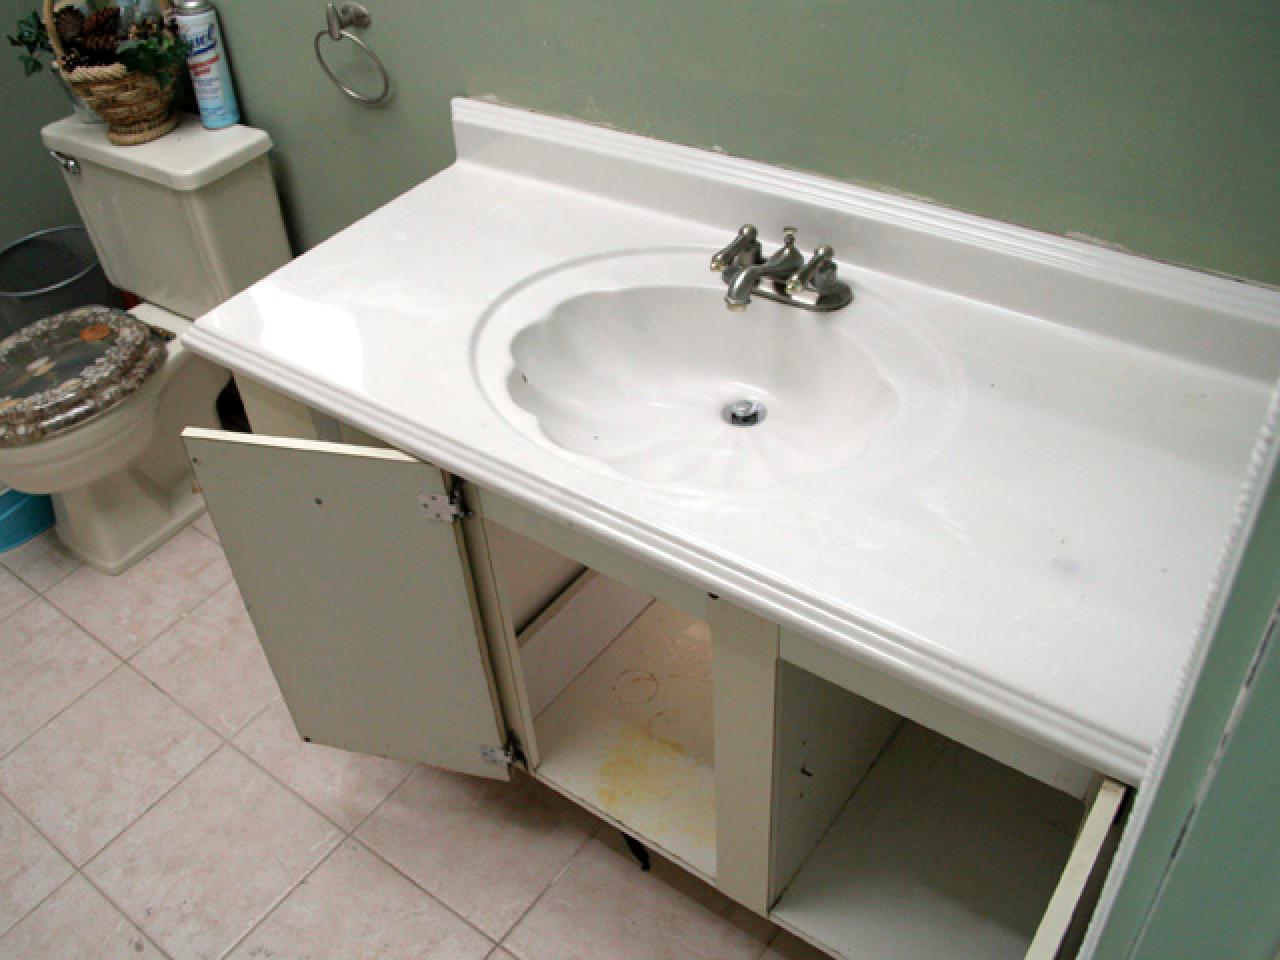
Easy Installation
 Installing a new bathroom vanity can seem like a daunting task, but with the Hemnes vanity, it's a breeze. The
simple and straightforward
installation process makes it a DIY-friendly project, saving you time and money on hiring a professional. With the right tools and some basic knowledge, you can have your new Hemnes vanity installed in no time.
Installing a new bathroom vanity can seem like a daunting task, but with the Hemnes vanity, it's a breeze. The
simple and straightforward
installation process makes it a DIY-friendly project, saving you time and money on hiring a professional. With the right tools and some basic knowledge, you can have your new Hemnes vanity installed in no time.
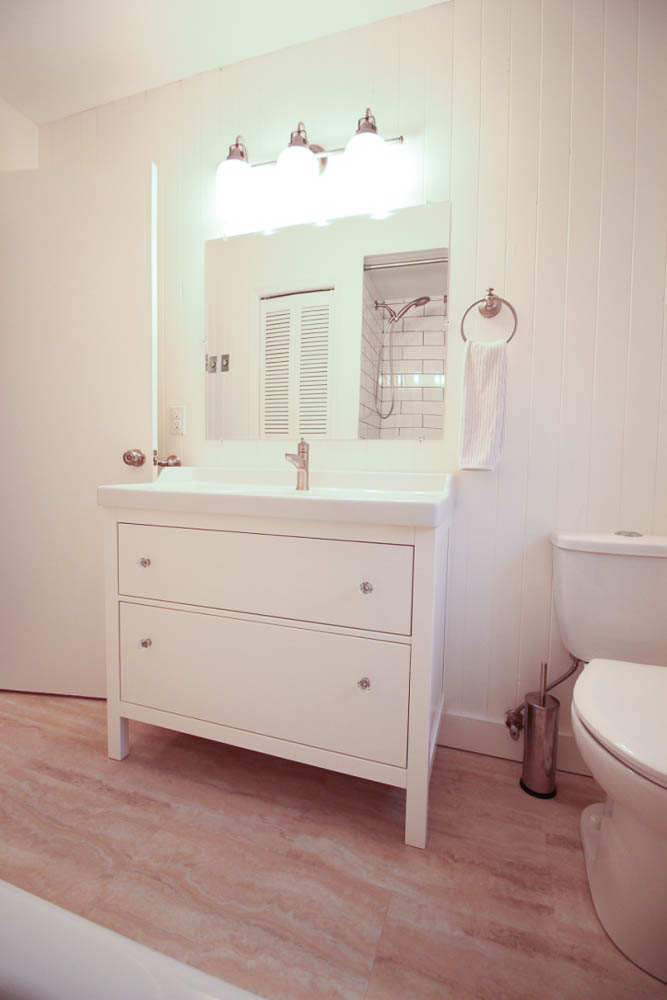
Affordable Luxury
 The Hemnes bathroom vanity offers the perfect blend of luxury and affordability. While it has a high-end and sophisticated look, it comes at a
budget-friendly
price. This makes it a great choice for homeowners looking to upgrade their bathroom without breaking the bank.
In conclusion, the Hemnes bathroom vanity is a top choice for any homeowner looking to add style, functionality, and quality to their bathroom. With its versatile design, quality materials, ample storage space, easy installation, and affordable price, it's no wonder why it's a popular choice among homeowners. Upgrade your bathroom today with a Hemnes vanity and see the difference it can make in your home.
The Hemnes bathroom vanity offers the perfect blend of luxury and affordability. While it has a high-end and sophisticated look, it comes at a
budget-friendly
price. This makes it a great choice for homeowners looking to upgrade their bathroom without breaking the bank.
In conclusion, the Hemnes bathroom vanity is a top choice for any homeowner looking to add style, functionality, and quality to their bathroom. With its versatile design, quality materials, ample storage space, easy installation, and affordable price, it's no wonder why it's a popular choice among homeowners. Upgrade your bathroom today with a Hemnes vanity and see the difference it can make in your home.