Growing microgreens in your kitchen is a great way to add fresh, nutrient-rich greens to your meals. And with the right setup, you can easily grow them right in your own home. One of the most popular and effective methods for growing microgreens indoors is by using fluorescent lights. In this article, we will explore the steps and benefits of growing microgreens in your kitchen with fluorescent lights.How to Grow Microgreens Indoors Using Fluorescent Lights
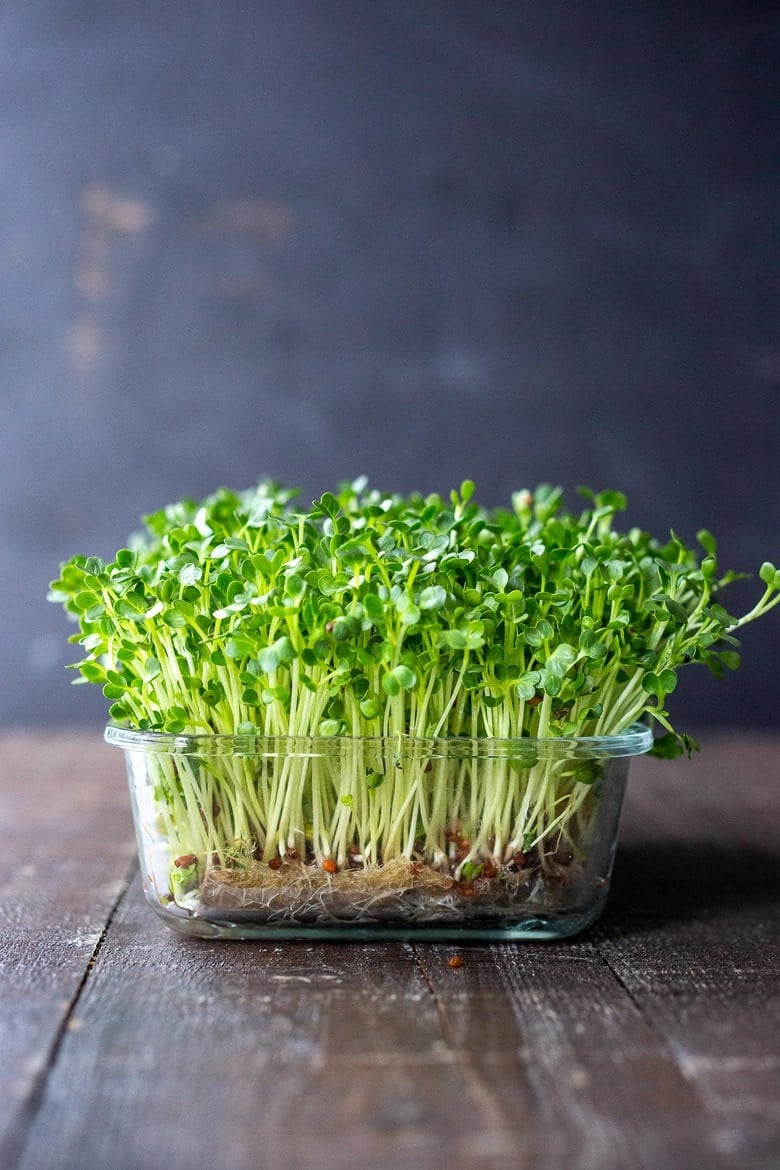
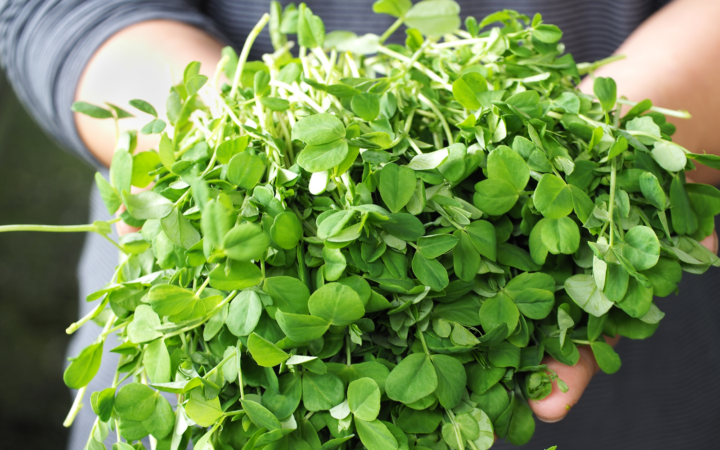
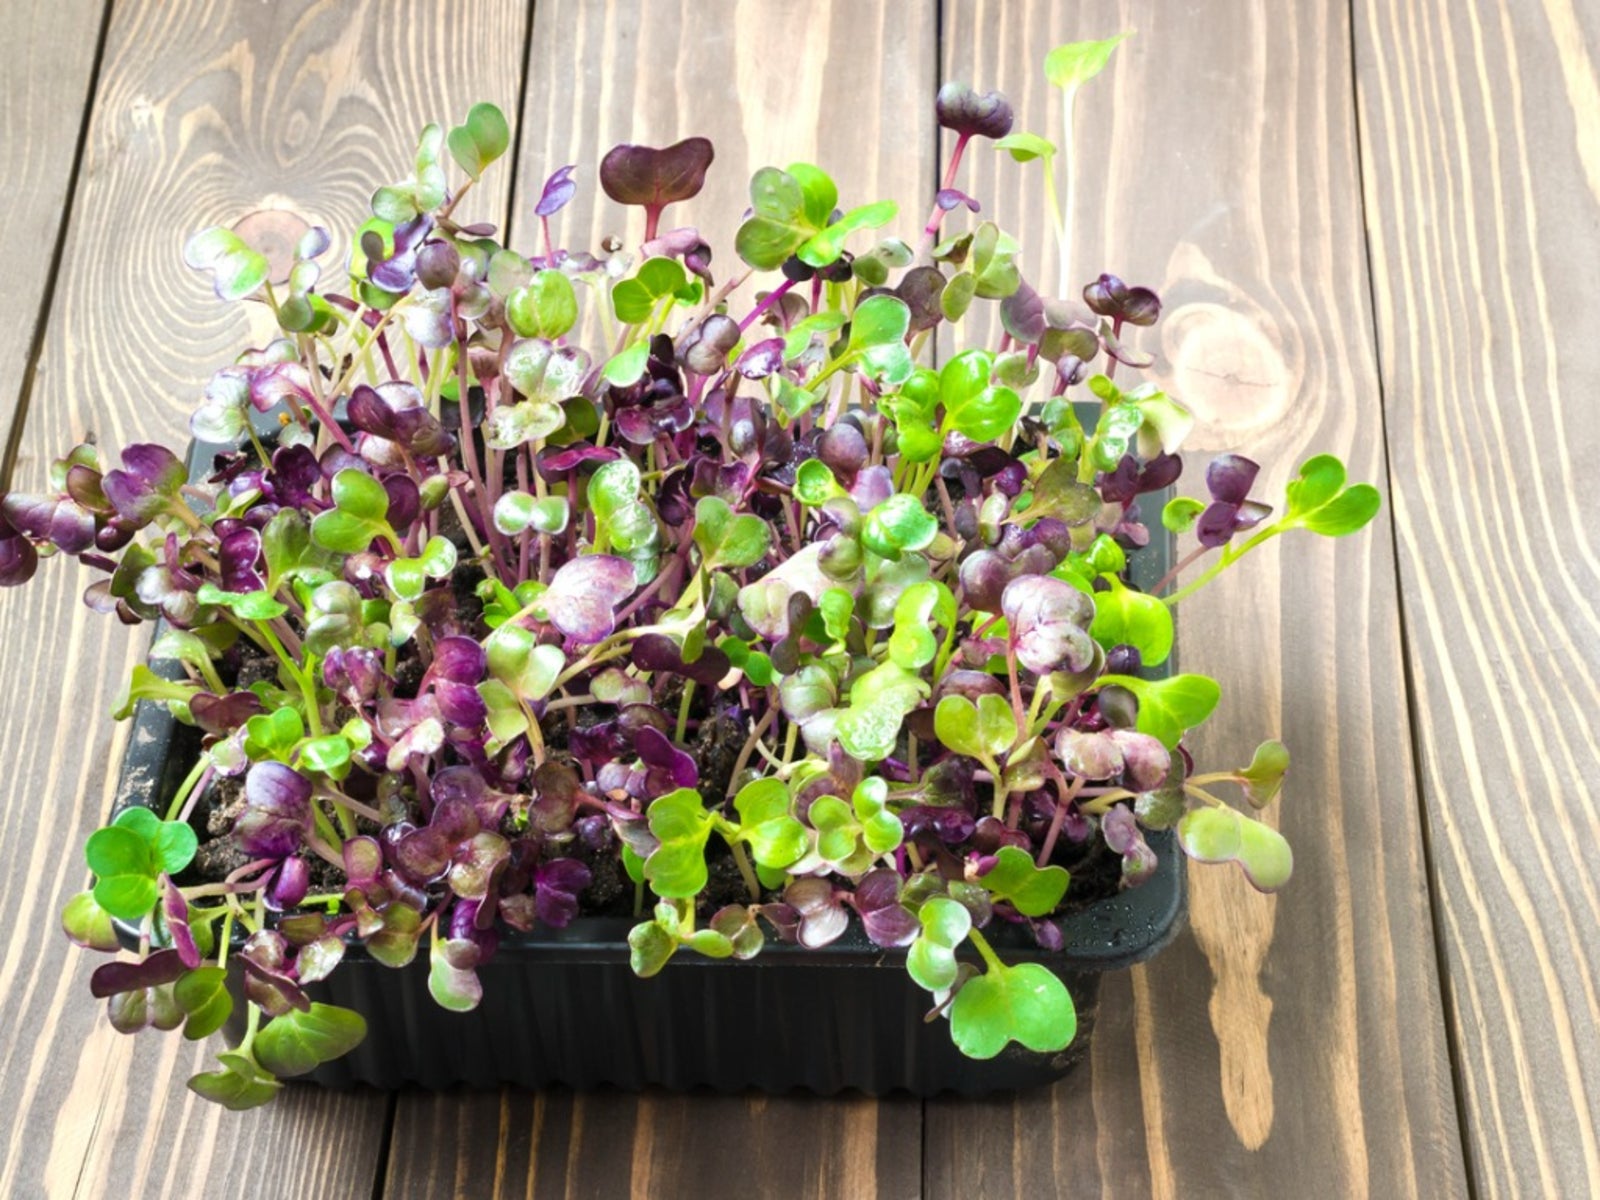
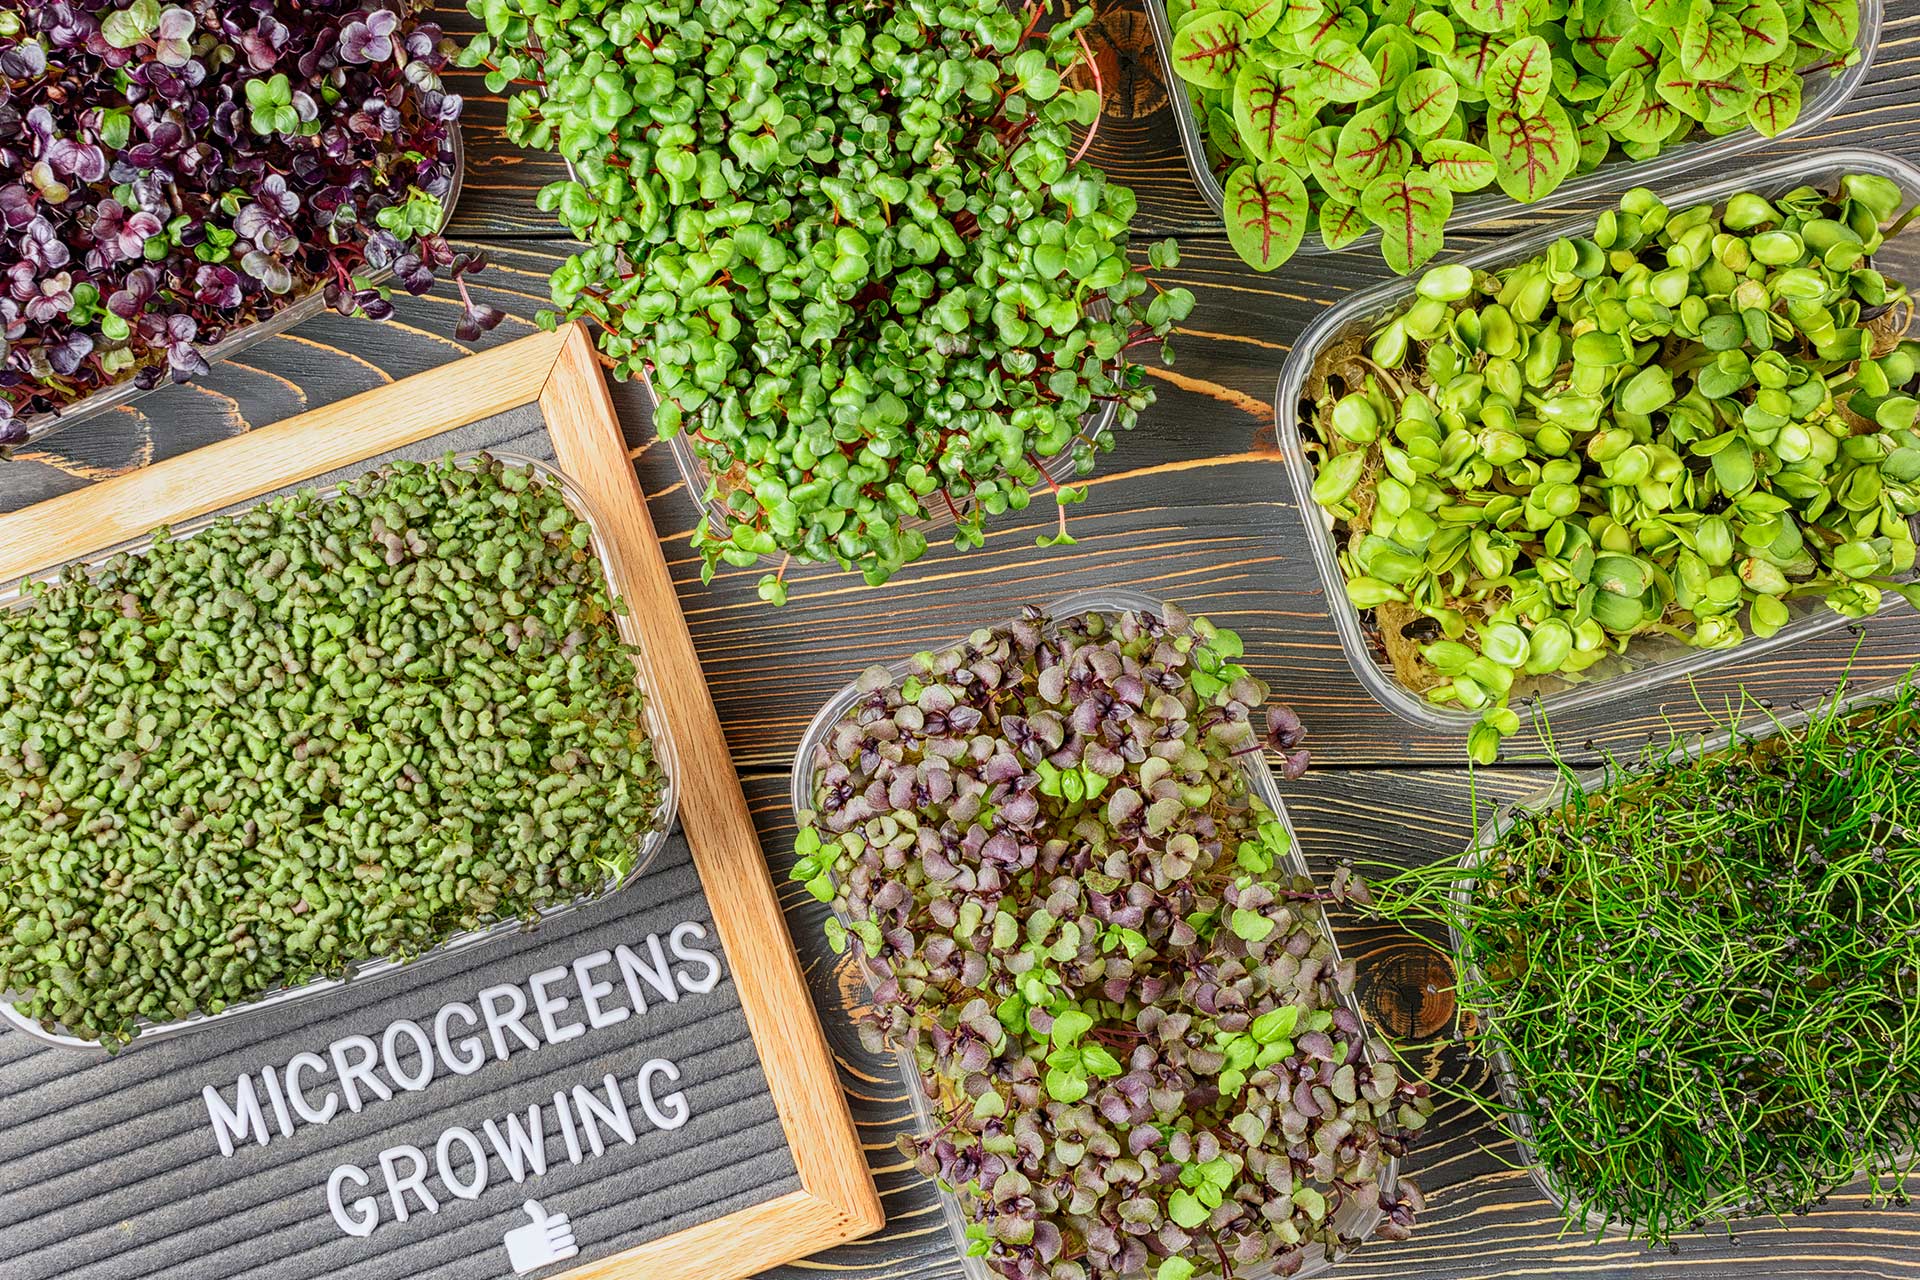
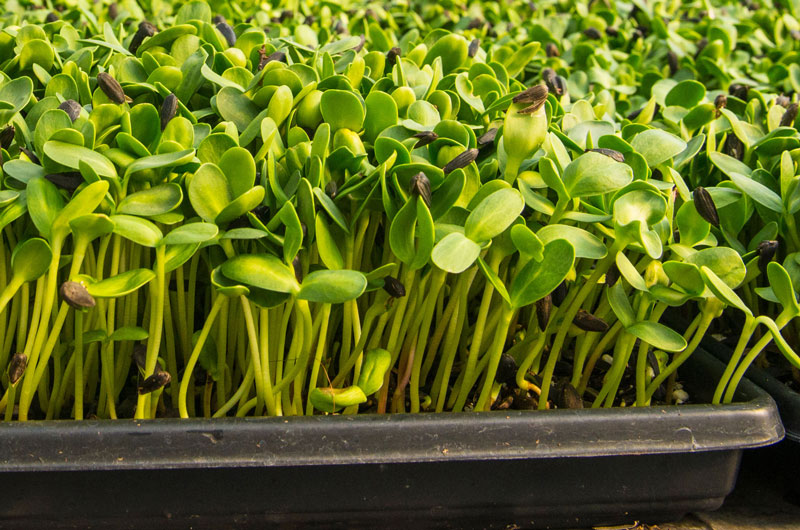
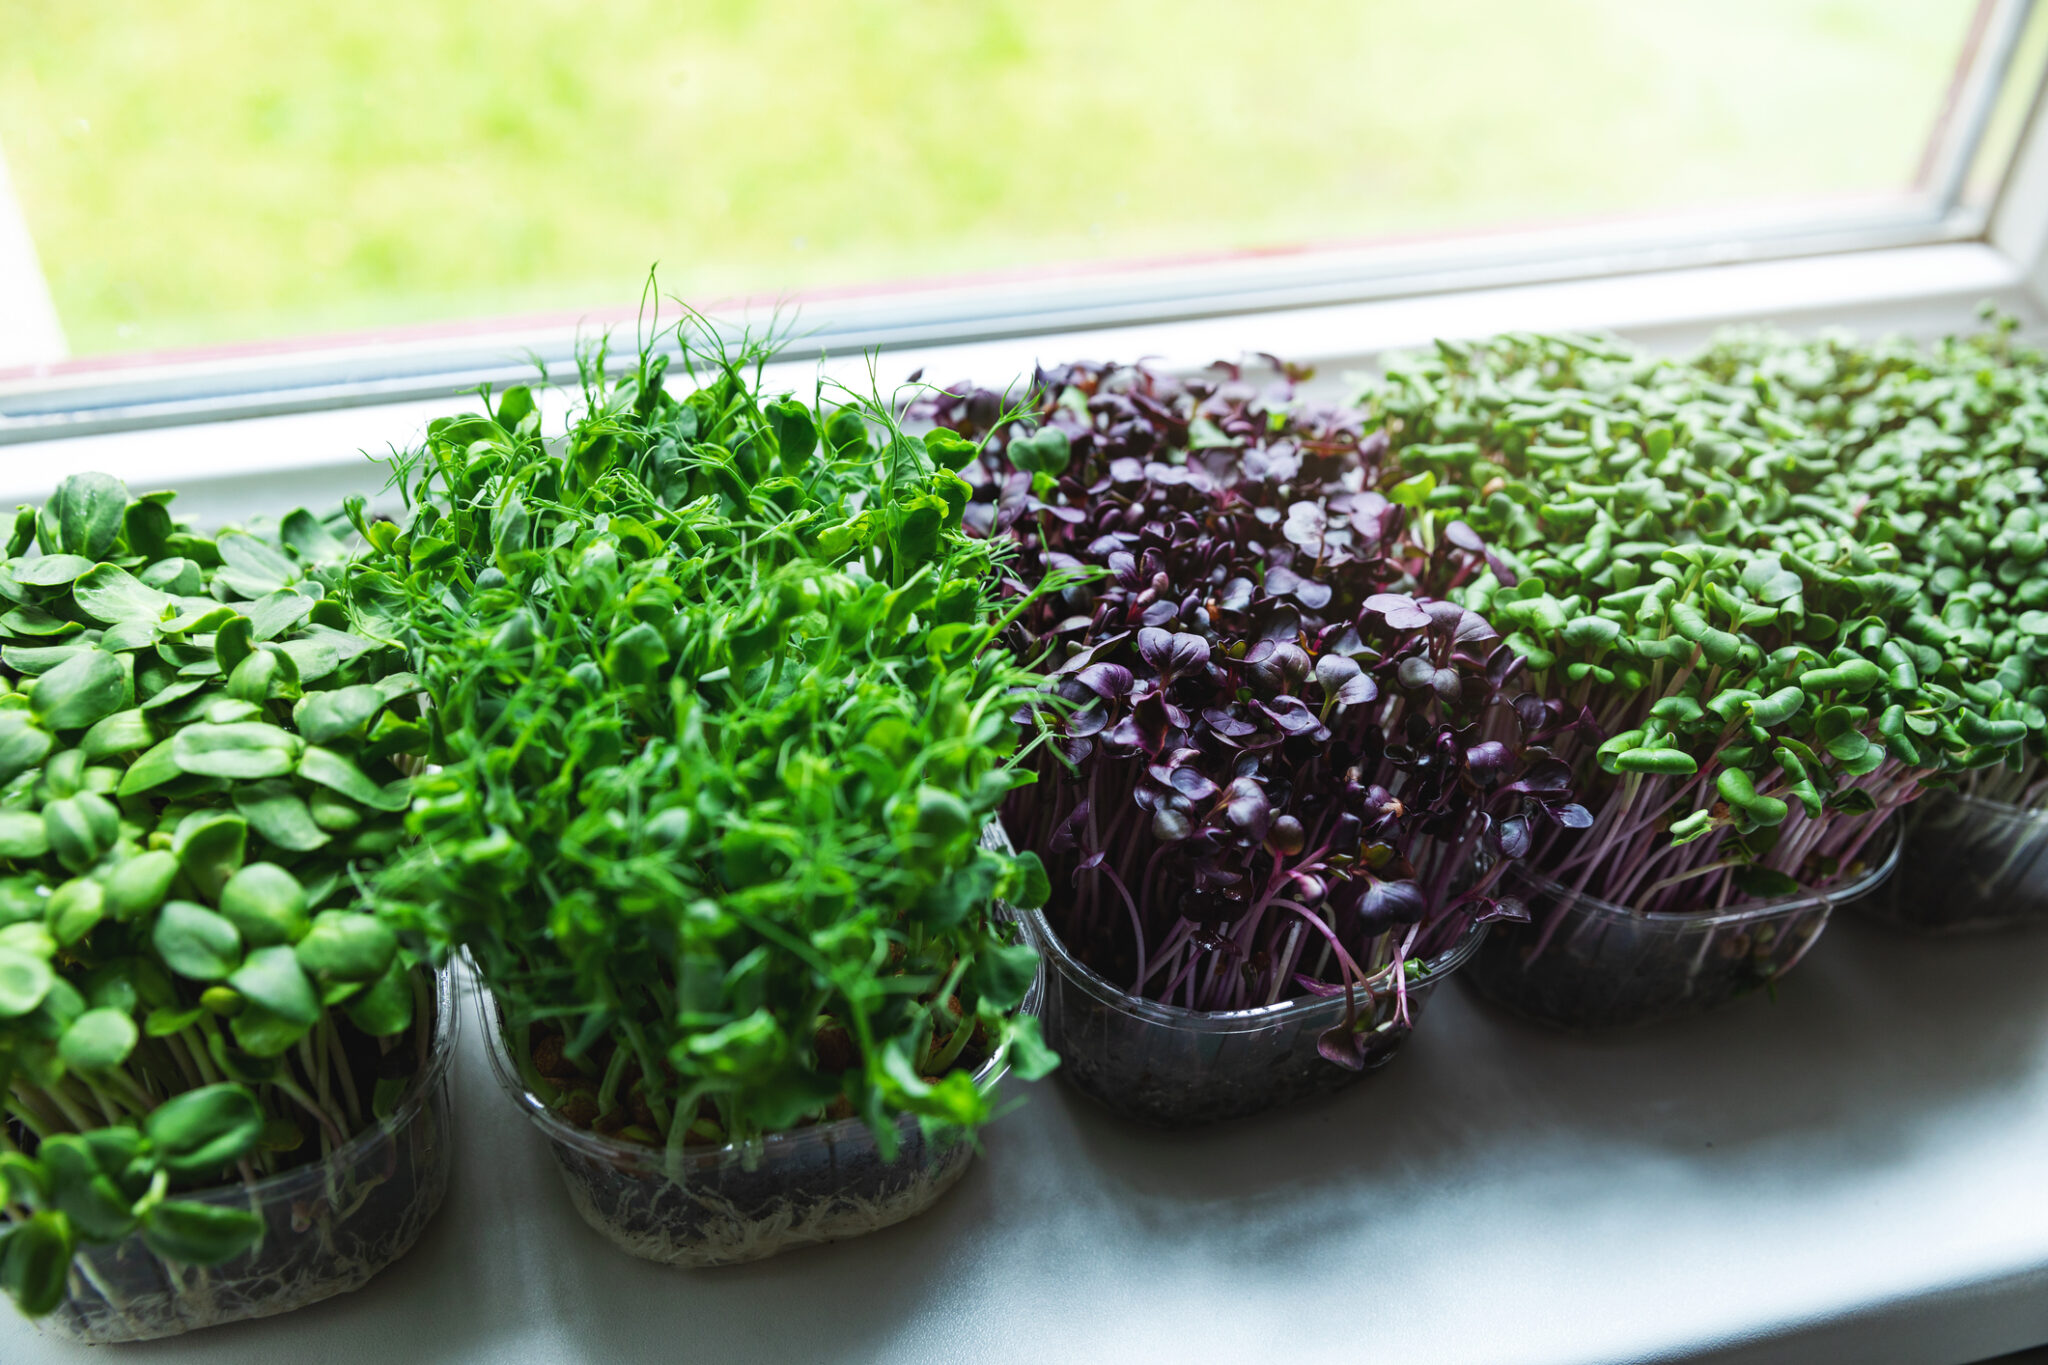
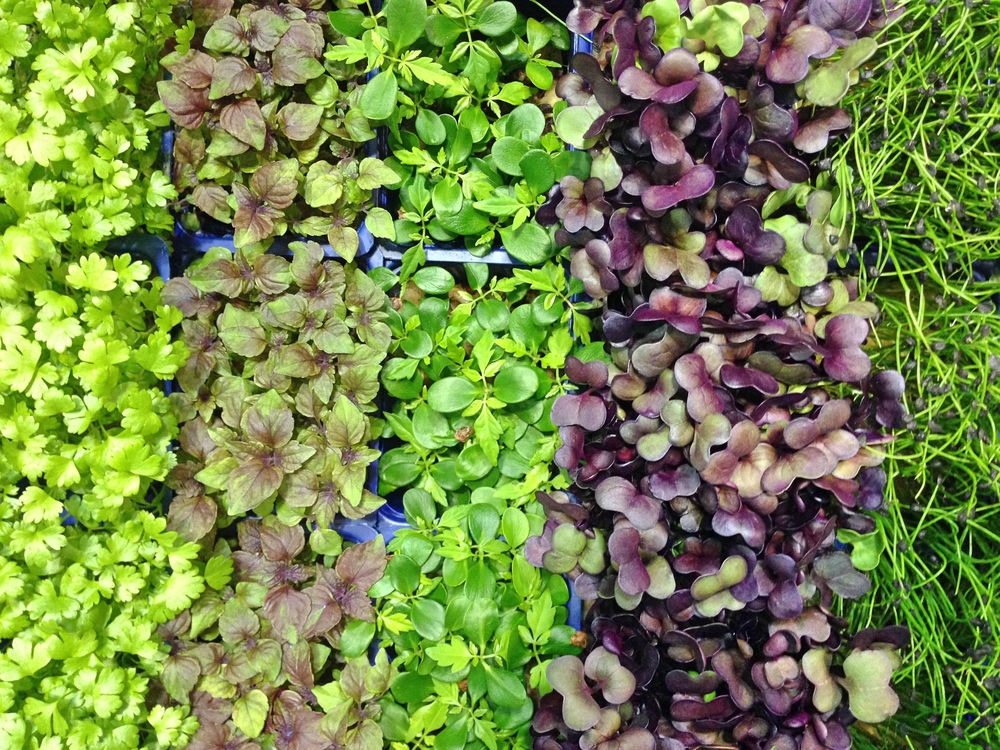
Before we dive into the how-to's, let's first identify the best microgreens to grow in your kitchen under fluorescent lights. While there are many different types of microgreens to choose from, some varieties are better suited for indoor growing than others. Some of the best microgreens to grow under fluorescent lights include kale, radish, broccoli, and sunflower. These greens are not only easy to grow, but they also have a high nutrient content, making them a great addition to any diet.Best Microgreens to Grow in Your Kitchen Under Fluorescent Lights
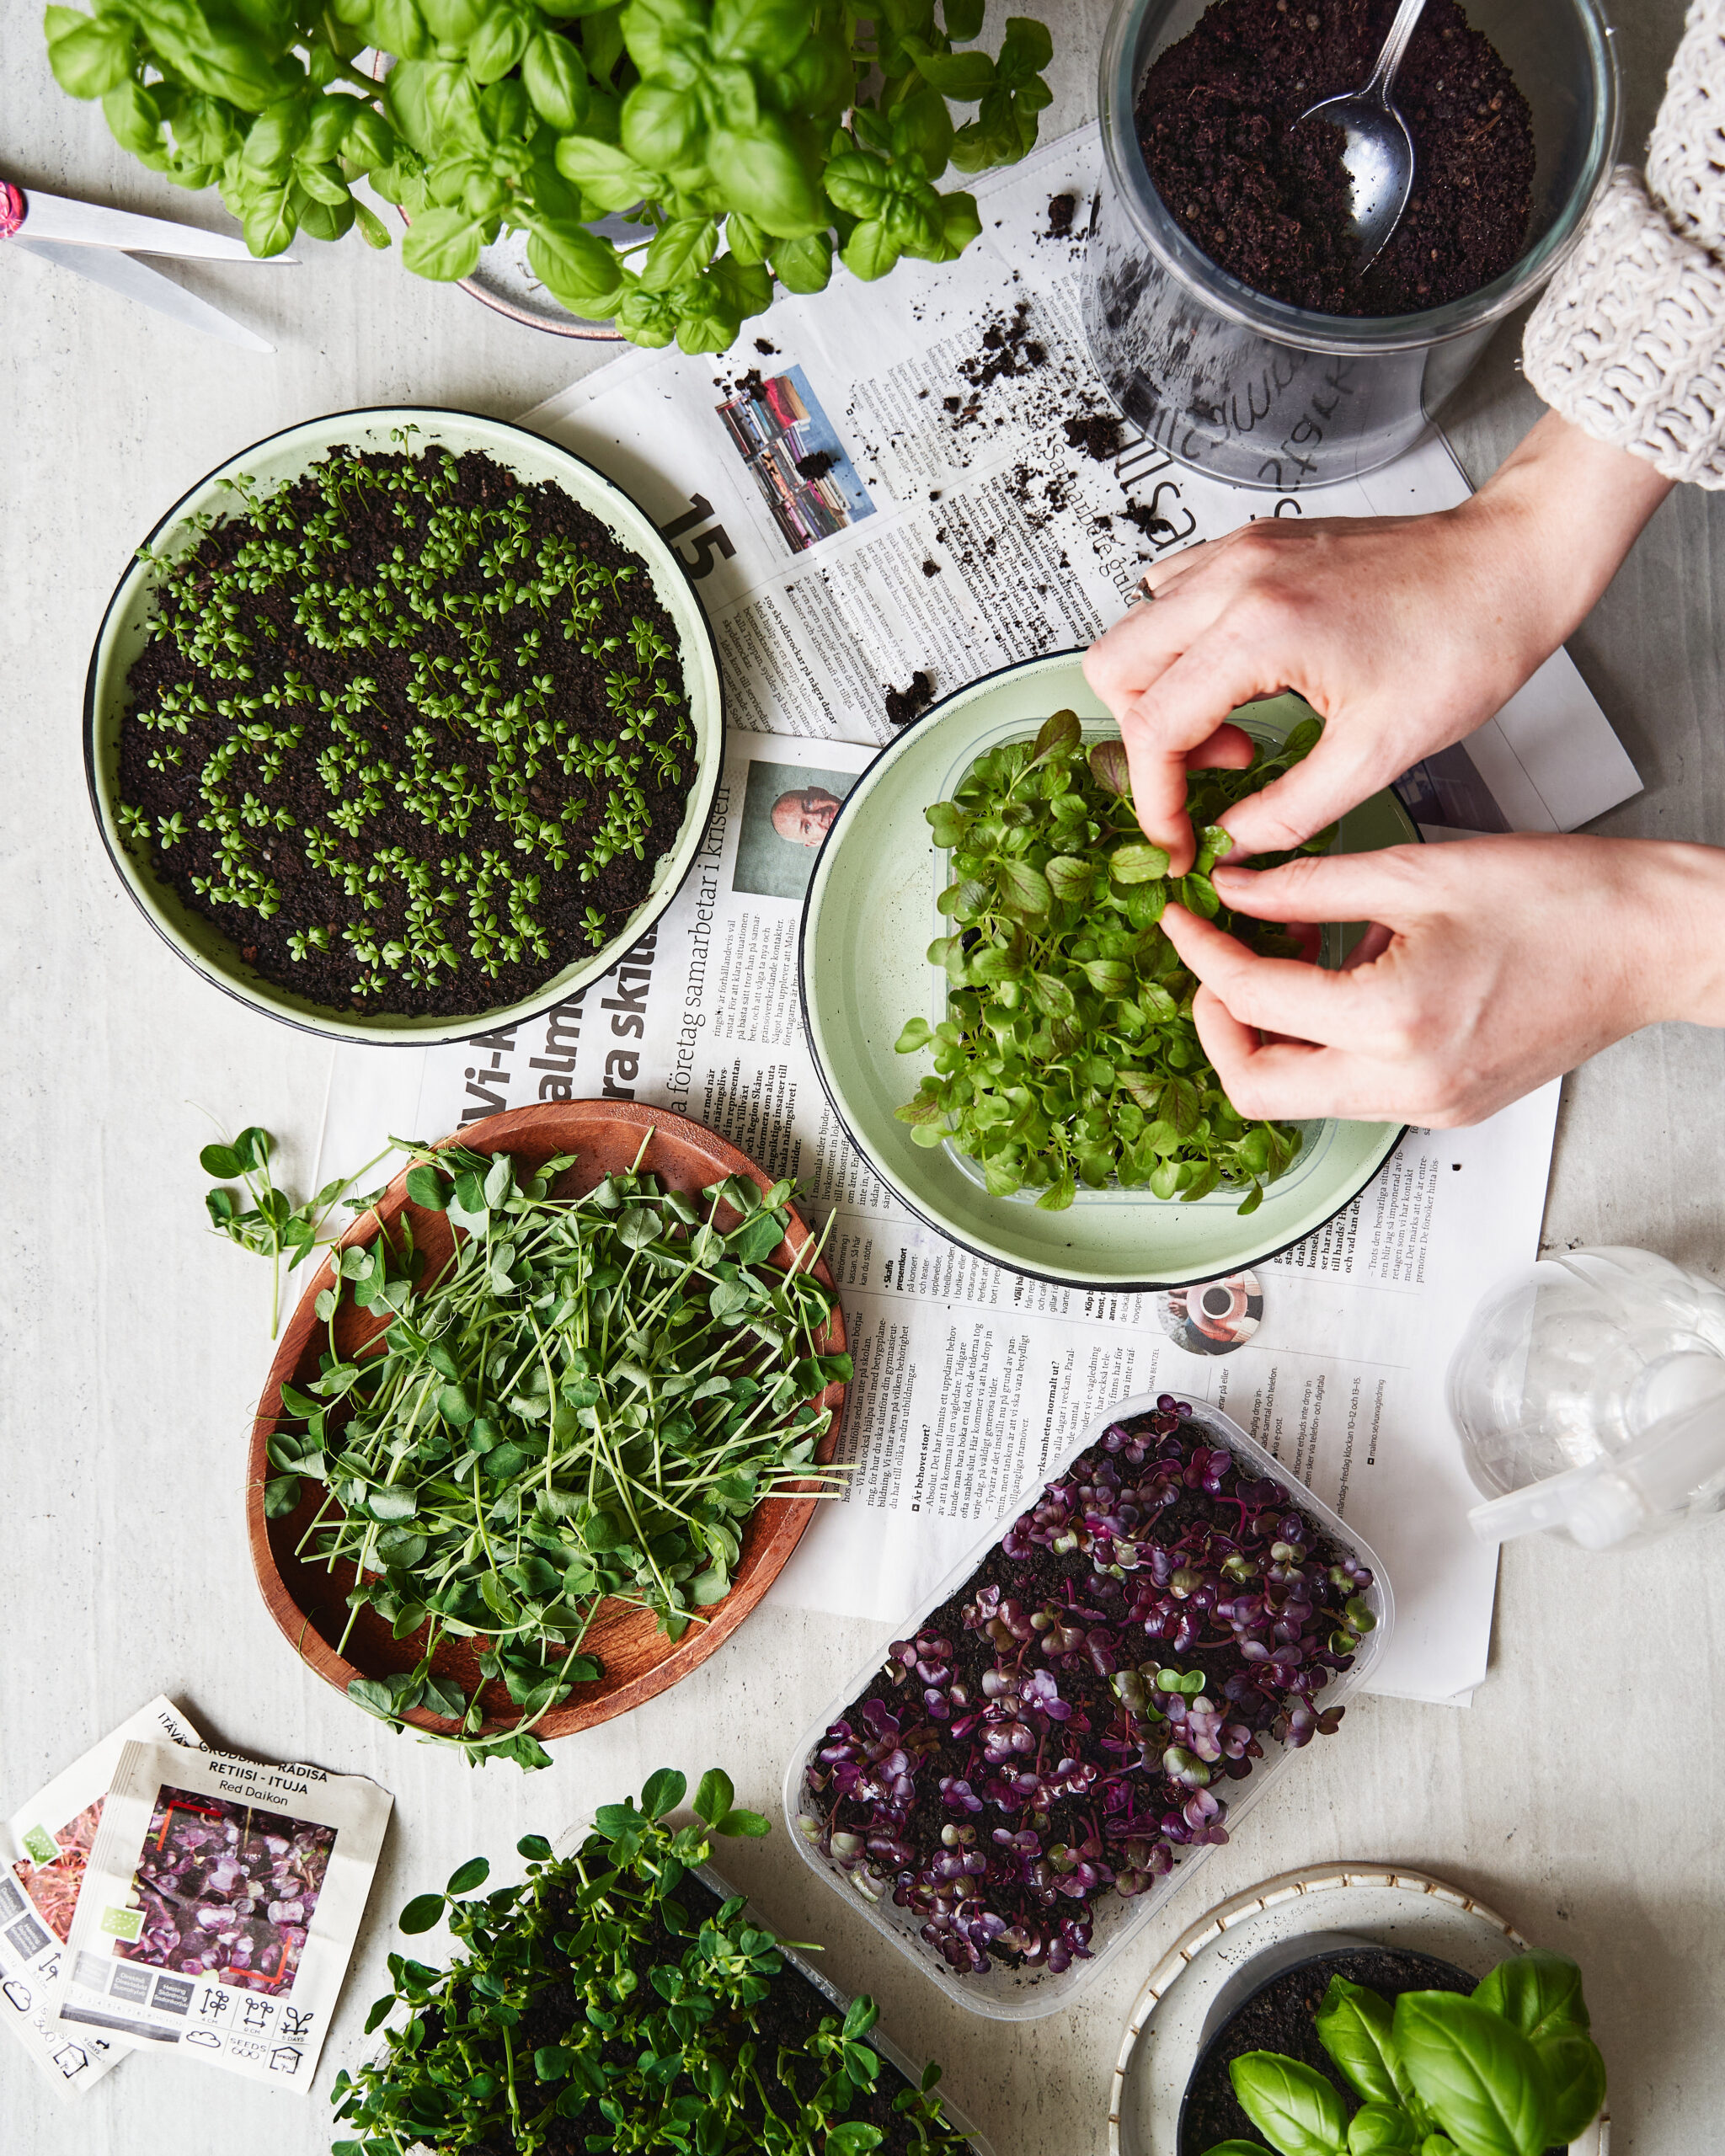
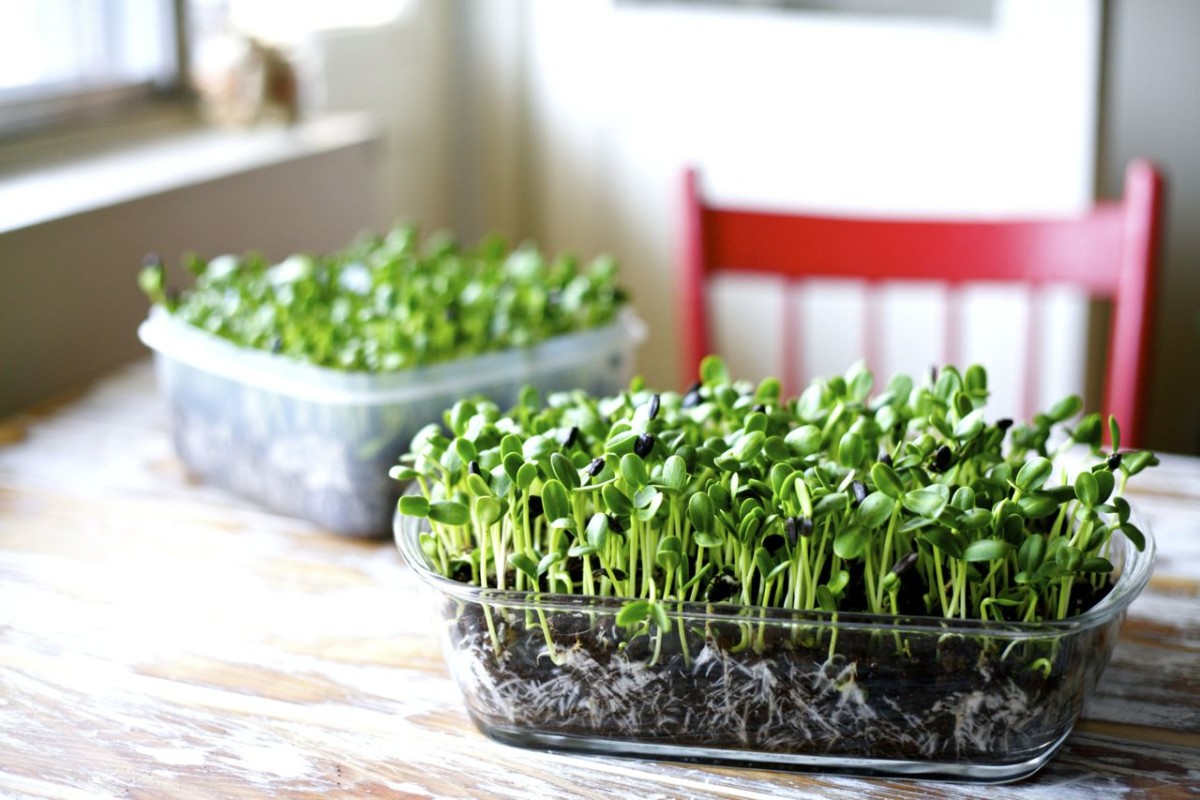
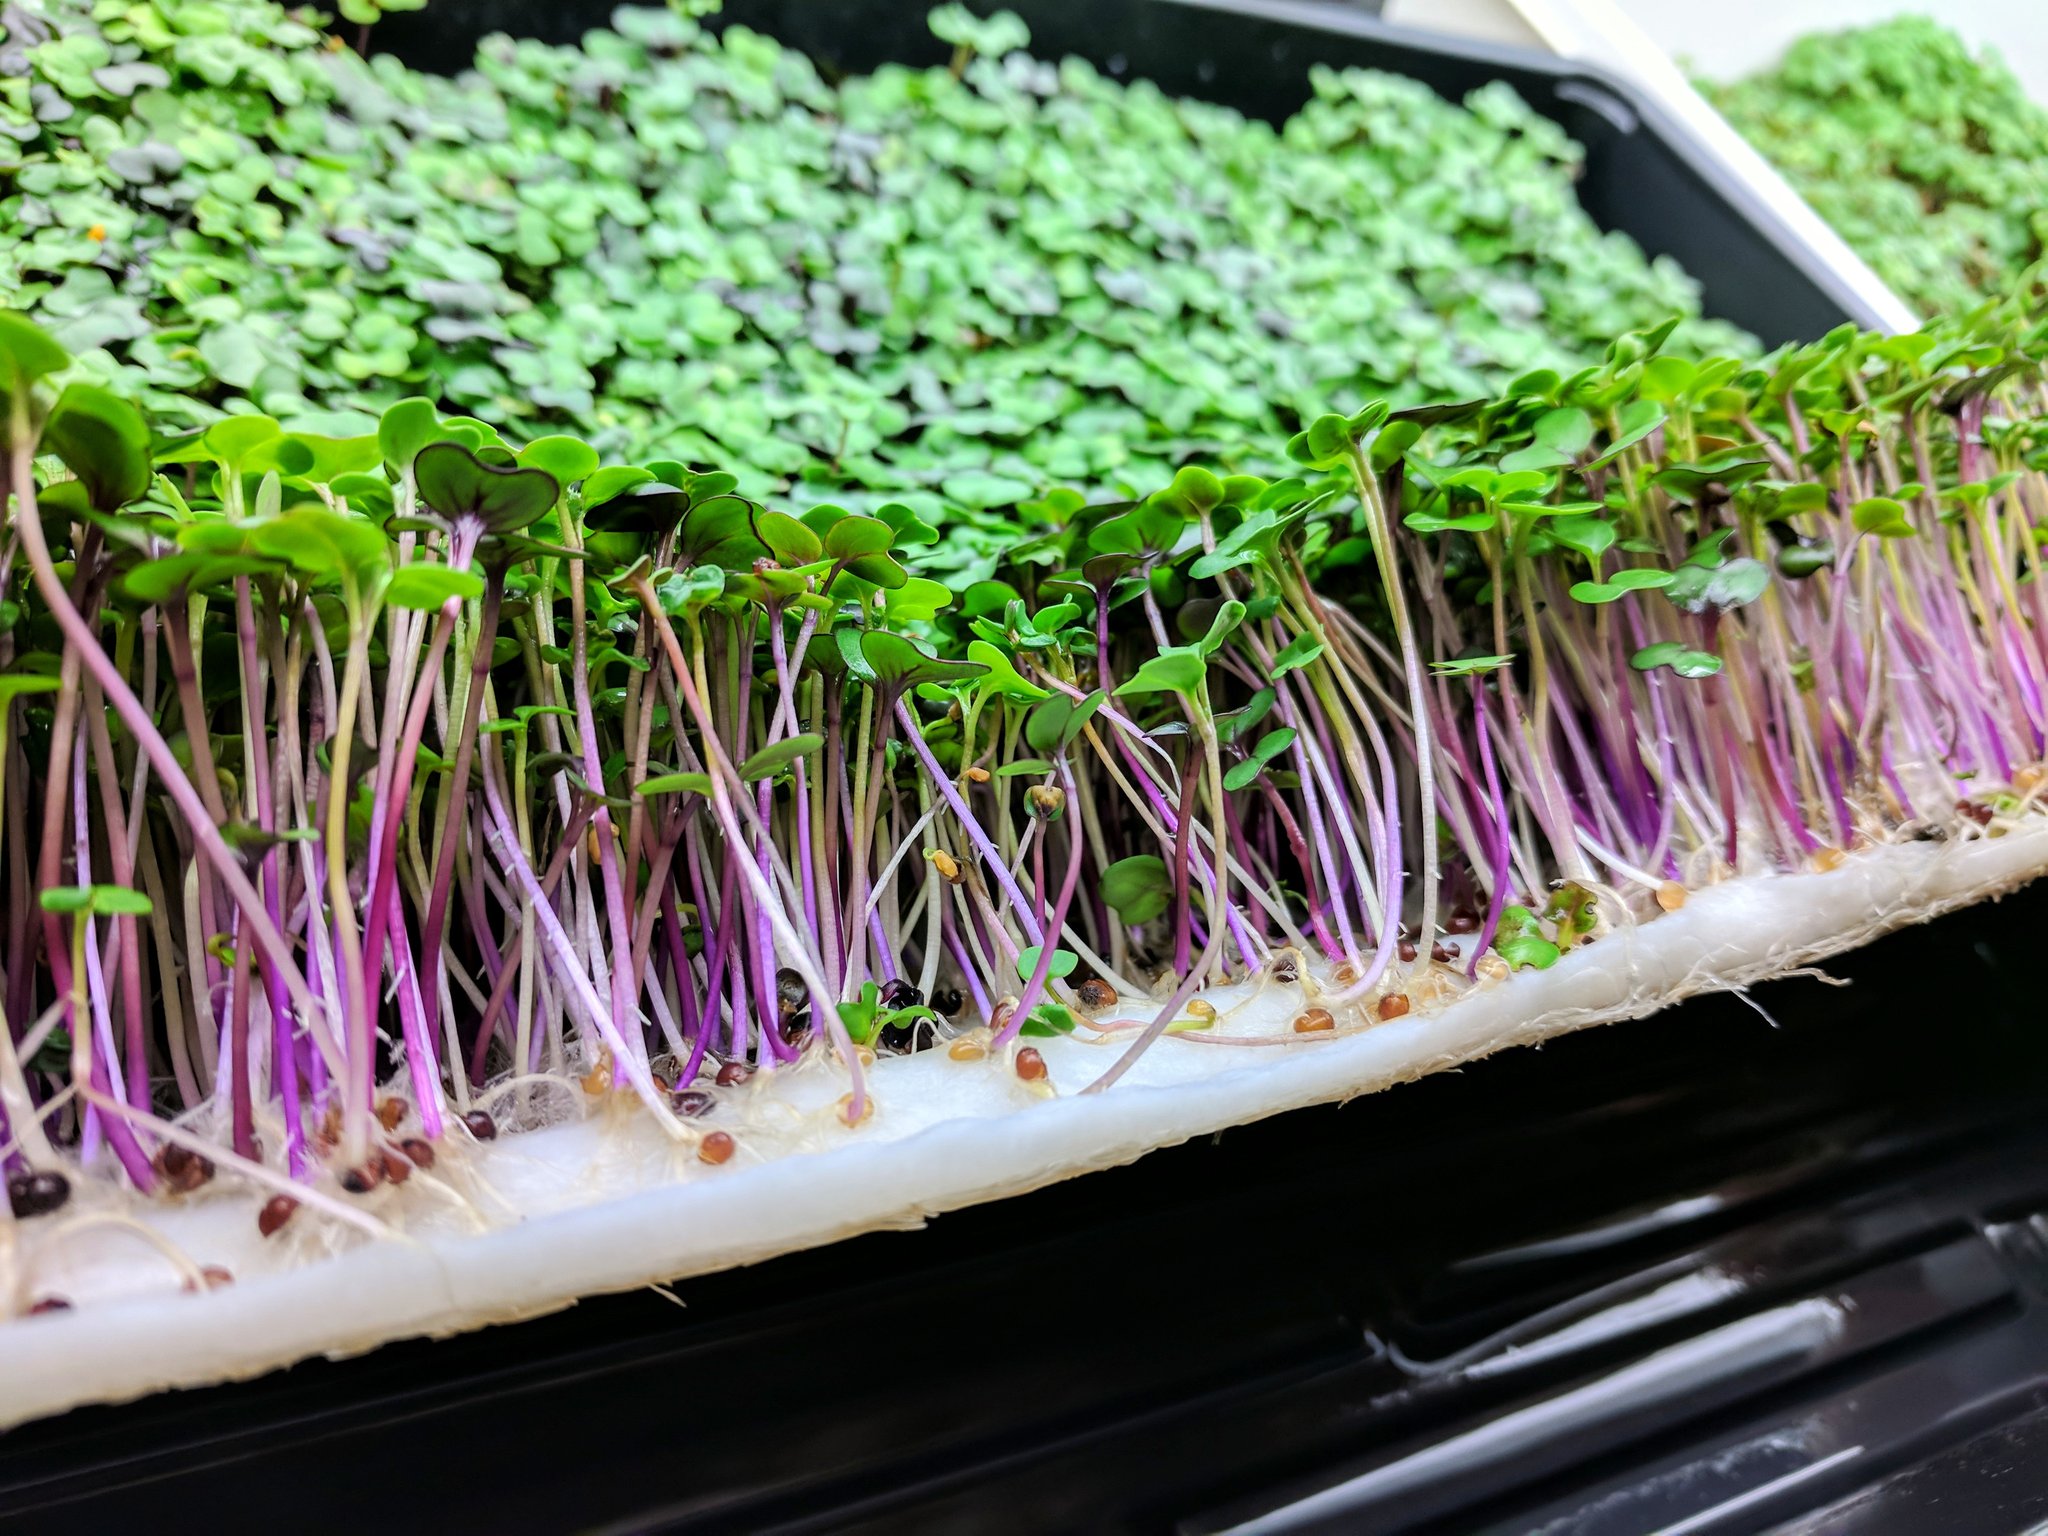
Now that you have chosen your microgreens, it's time to get started with the growing process. Here is a step-by-step guide to growing microgreens in your kitchen with fluorescent lights: Step 1: Gather your materials Step 2: Prepare the tray Step 3: Plant the seeds Step 4: Cover the seeds Step 5: Set up the lights Step 6: Water and care for the microgreensStep-by-Step Guide to Growing Microgreens in Your Kitchen with Fluorescent Lights
Before you begin, make sure you have all the necessary materials. This includes a tray or container with drainage holes, potting soil, seeds, and of course, fluorescent lights. It's important to use potting soil specifically designed for seed starting, as it has the right balance of nutrients for the delicate microgreens.
Fill your tray or container with the potting soil, leaving about 1-2 inches of space at the top. Smooth out the soil and lightly water it, making sure not to oversaturate it.
Sprinkle a layer of seeds over the top of the soil, making sure they are evenly distributed. Gently press the seeds into the soil, but do not cover them with soil as they need light to germinate.
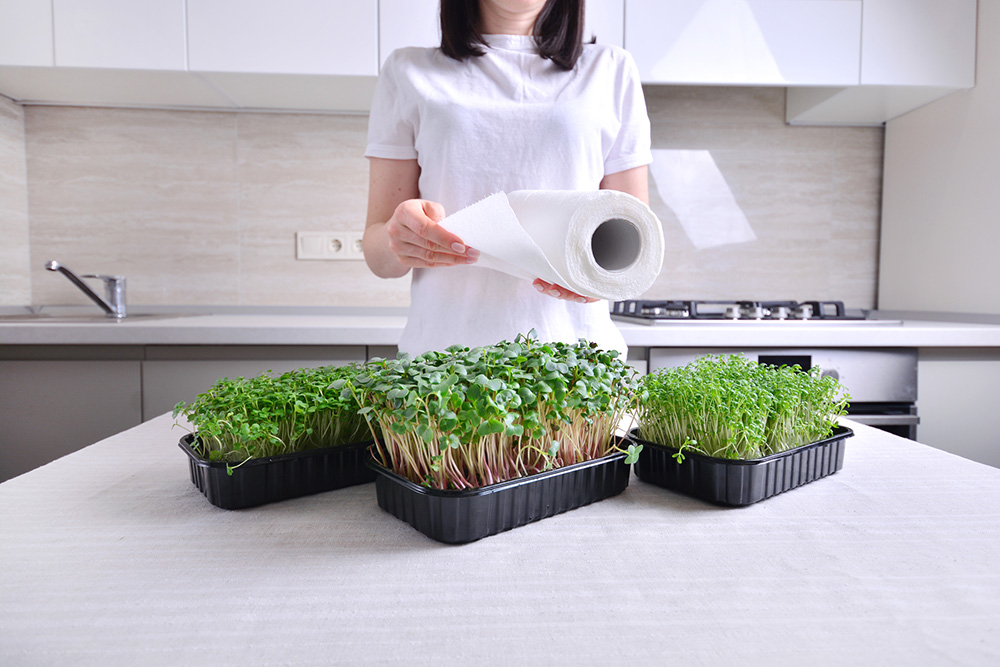
Place a thin layer of paper towel or cheesecloth over the seeds and lightly spray it with water. This will help keep the seeds moist as they germinate.
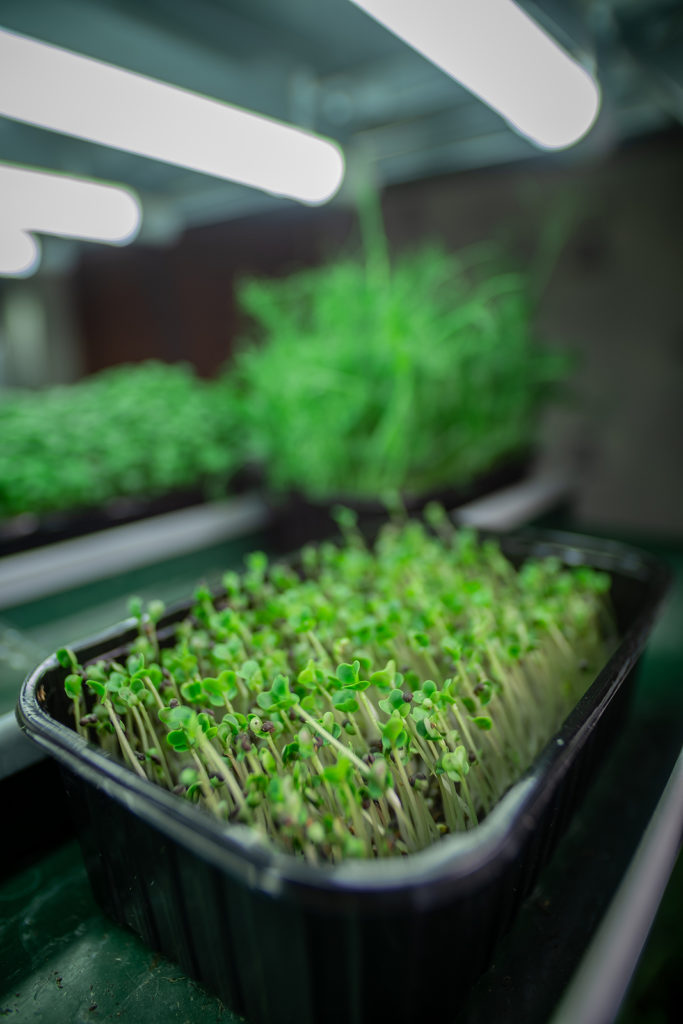
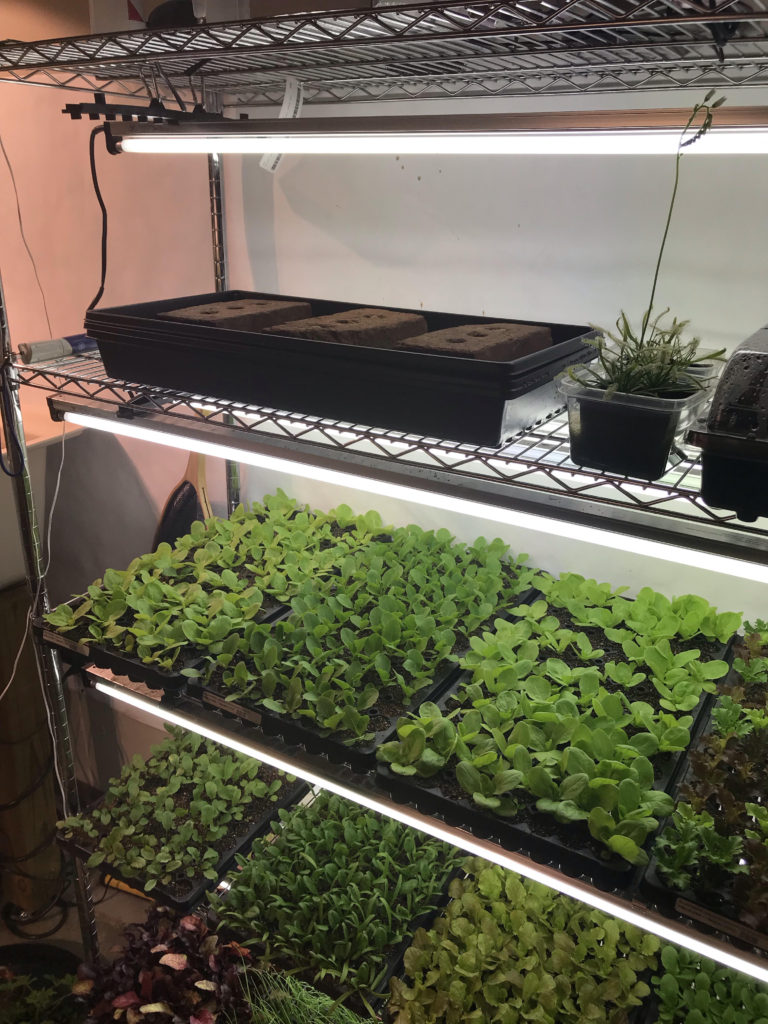
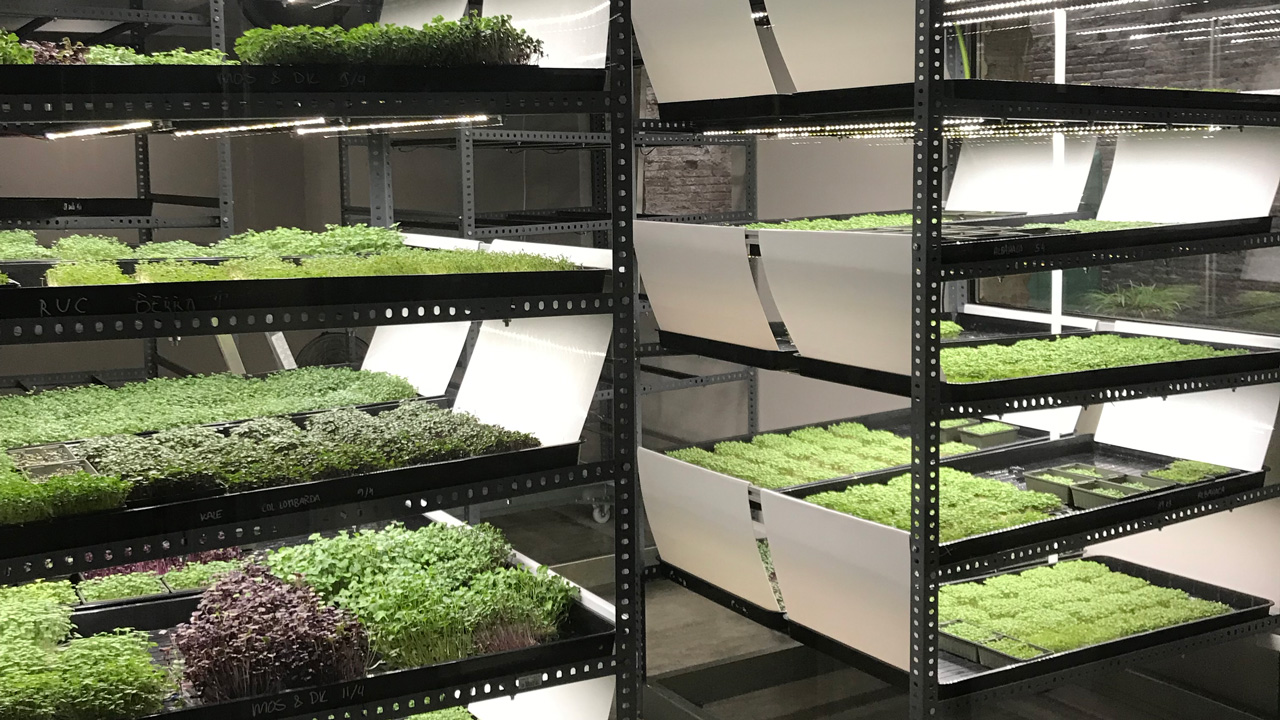
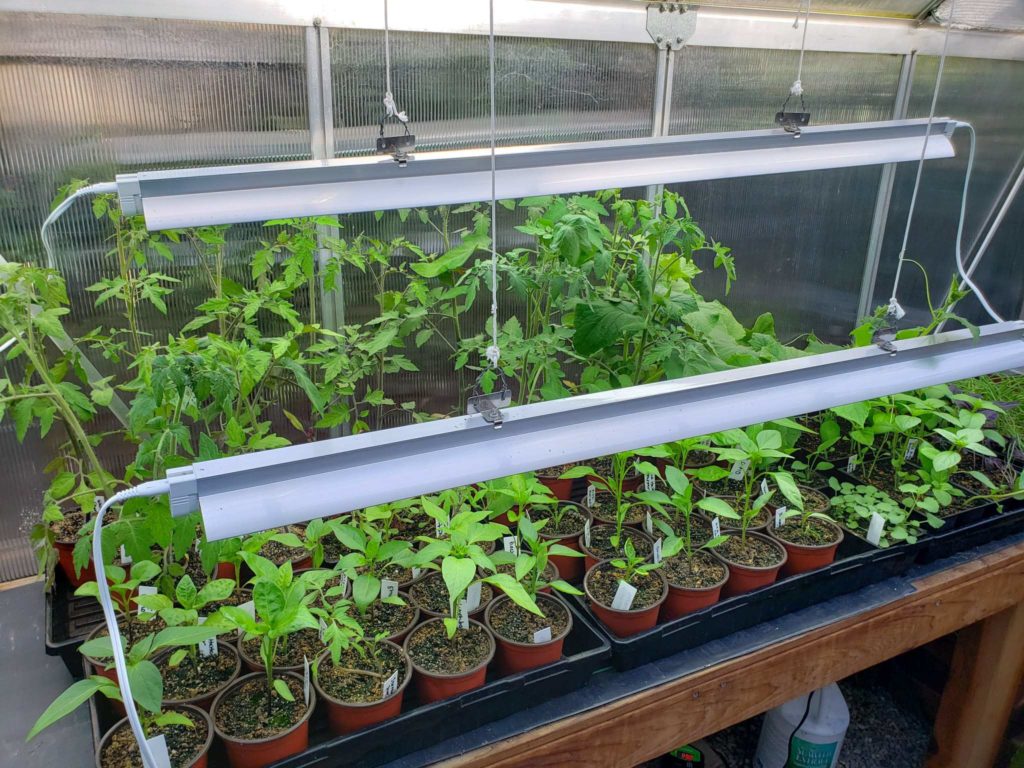
Position the fluorescent lights about 2-3 inches above the tray. As the seeds begin to sprout, you can lower the lights to maintain the 2-3 inch distance.
Keep the soil consistently moist, but not soggy. Water from the bottom by placing the tray in a shallow dish of water and allowing the soil to soak up the water. Also, make sure to rotate the tray daily to ensure even growth.
There are many benefits to growing microgreens in your kitchen under fluorescent lights, including: Convenience: Having a steady supply of fresh microgreens right in your kitchen is not only convenient, but it also saves you from having to constantly buy them from the store. Year-round growing: With the use of fluorescent lights, you can grow microgreens indoors all year round, regardless of the season or climate. Nutrient-packed: Microgreens are packed with nutrients, sometimes even more than their fully grown counterparts. Growing them in your kitchen ensures that you have access to these nutrient-rich greens at all times. Clean and safe: By growing your own microgreens, you have complete control over the growing process and can ensure they are grown without the use of harmful pesticides or chemicals.Benefits of Growing Microgreens in Your Kitchen Under Fluorescent Lights
To ensure a successful microgreen harvest, here are some top tips to keep in mind: Use quality seeds: It's important to use high-quality seeds specifically meant for microgreens. This will ensure better germination and a more flavorful harvest. Don't overcrowd the seeds: While it may be tempting to sprinkle a lot of seeds, it's important not to overcrowd them as this can inhibit growth and lead to mold or disease. Keep the lights close: As mentioned earlier, make sure to keep the lights 2-3 inches above the tray to provide adequate light for the microgreens to grow. Harvest at the right time: Microgreens are typically ready to harvest within 7-14 days after planting, depending on the type of microgreen. Harvest when the first set of true leaves appear.Top Tips for Growing Microgreens Indoors with Fluorescent Lights
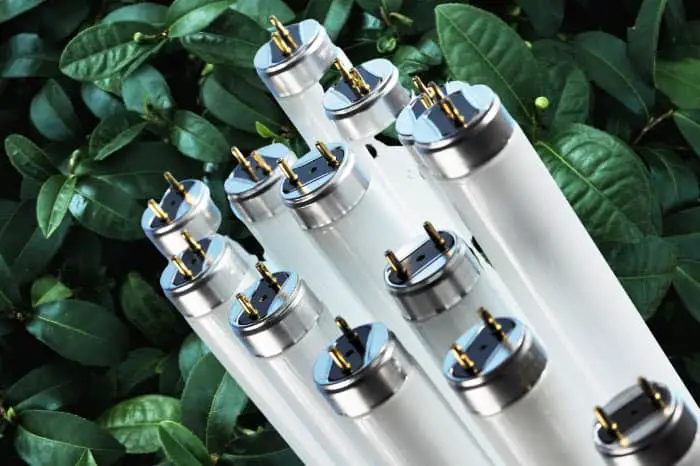
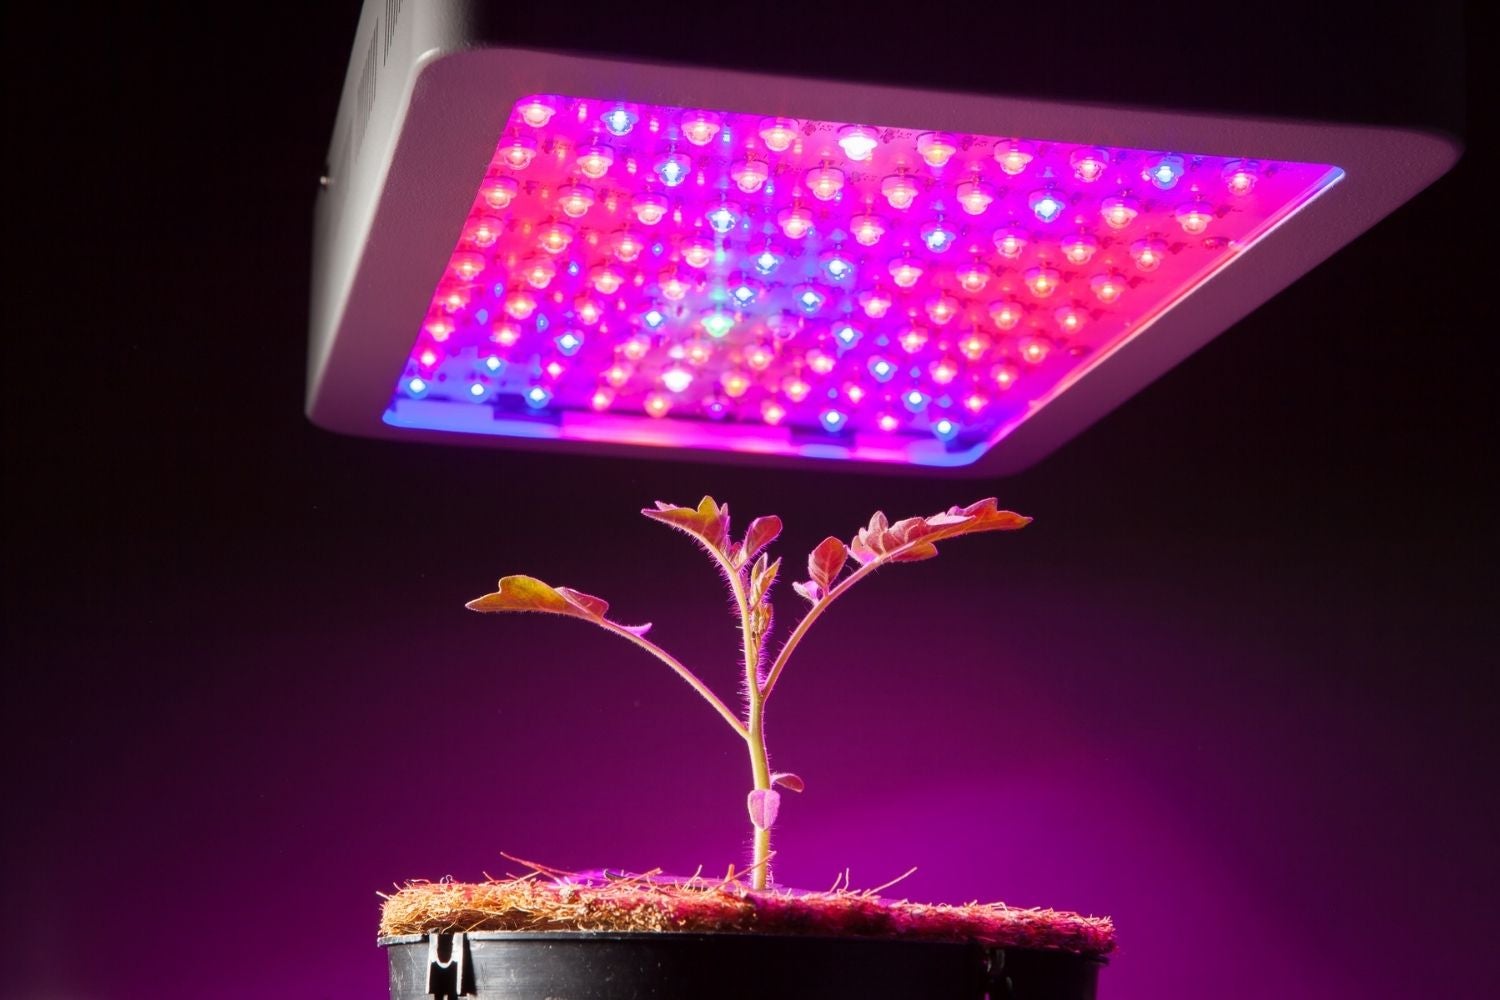
When it comes to choosing the right fluorescent lights for growing microgreens in your kitchen, there are a few key things to keep in mind: Color temperature: The ideal color temperature for growing microgreens is between 4000-6500K, which mimics natural sunlight. Wattage: The wattage of the fluorescent lights will determine the intensity of the light. Aim for lights with a wattage of 20-40 watts for best results. Type of bulb: T5 and T8 bulbs are the most commonly used for growing microgreens as they produce a good balance of warmth and light.Choosing the Right Fluorescent Lights for Growing Microgreens in Your Kitchen
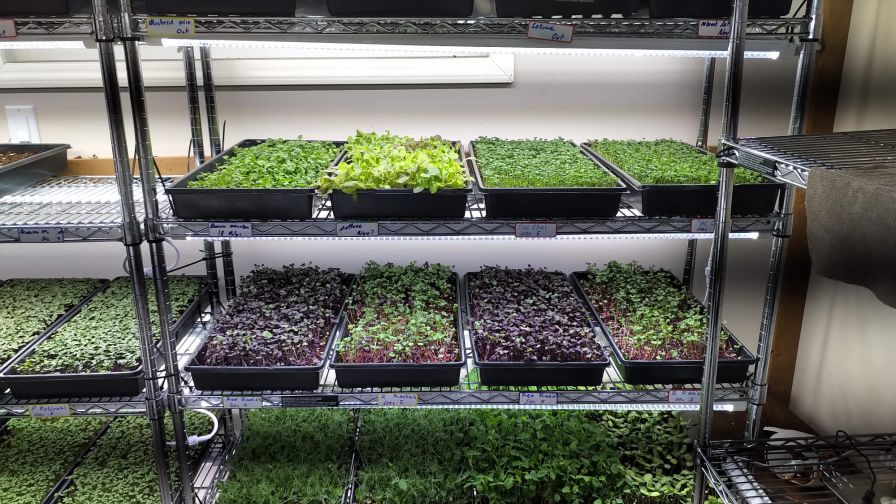
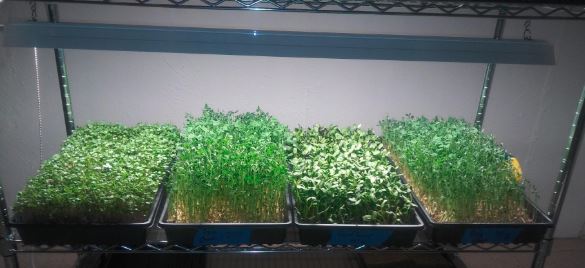
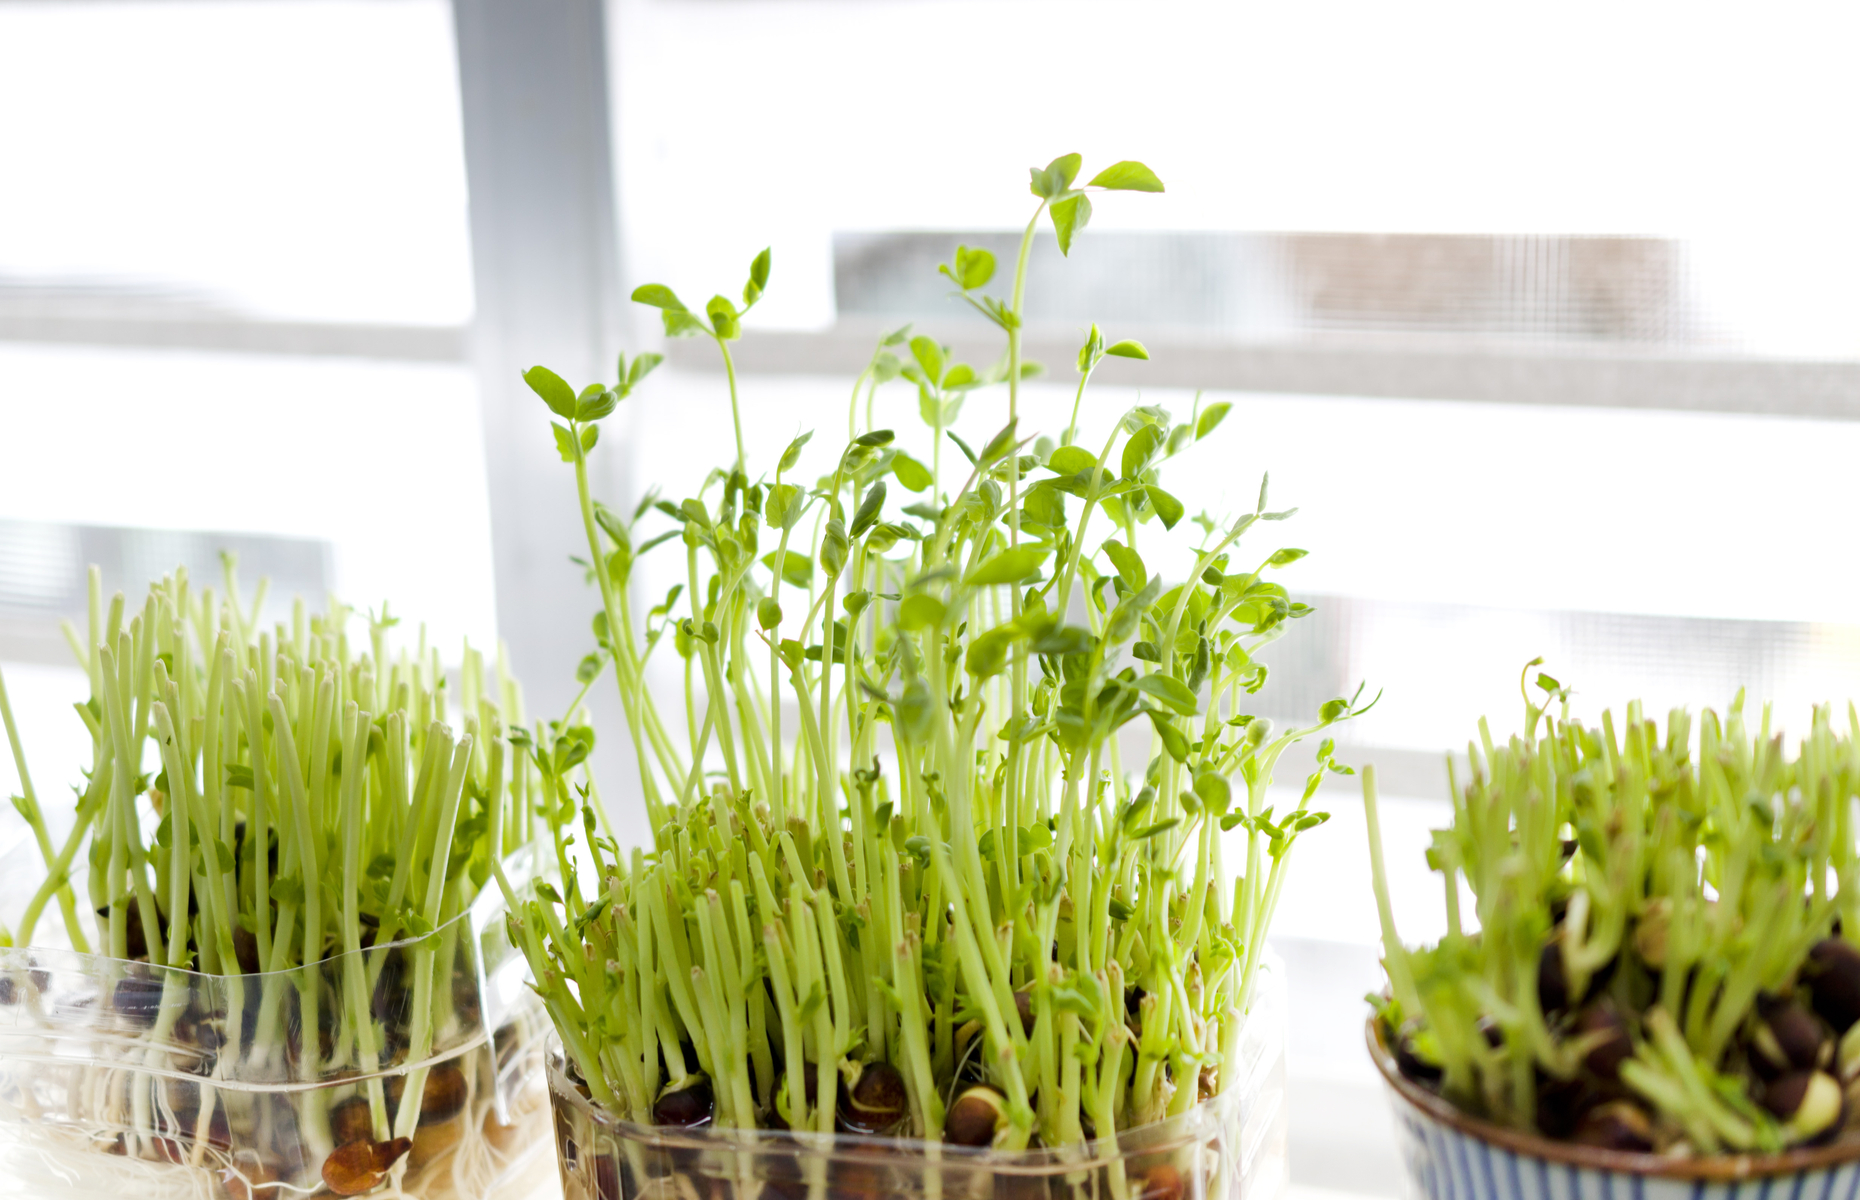
Setting up a microgreens growing station in your kitchen is relatively simple. You will need a small table or stand to place your trays on, as well as a lighting fixture to hold the fluorescent lights. Make sure the area is well-ventilated and has access to a power outlet. You can also get creative and use shelves or even a windowsill to set up your microgreen growing station.How to Set Up a Microgreens Growing Station in Your Kitchen with Fluorescent Lights
As with any type of gardening, there are some common mistakes to avoid when growing microgreens indoors with fluorescent lights. These include: Overwatering: Too much water can lead to mold and disease, so make sure to only water when necessary and drain any excess water. Not enough light: Microgreens require a lot of light to grow, so make sure to keep the lights close and on for 12-16 hours a day. Using old seeds: Using old or expired seeds can result in poor germination or stunted growth. Not rotating trays: Rotating the trays daily ensures even growth and prevents the microgreens from leaning towards the light source.Common Mistakes to Avoid When Growing Microgreens Indoors with Fluorescent Lights
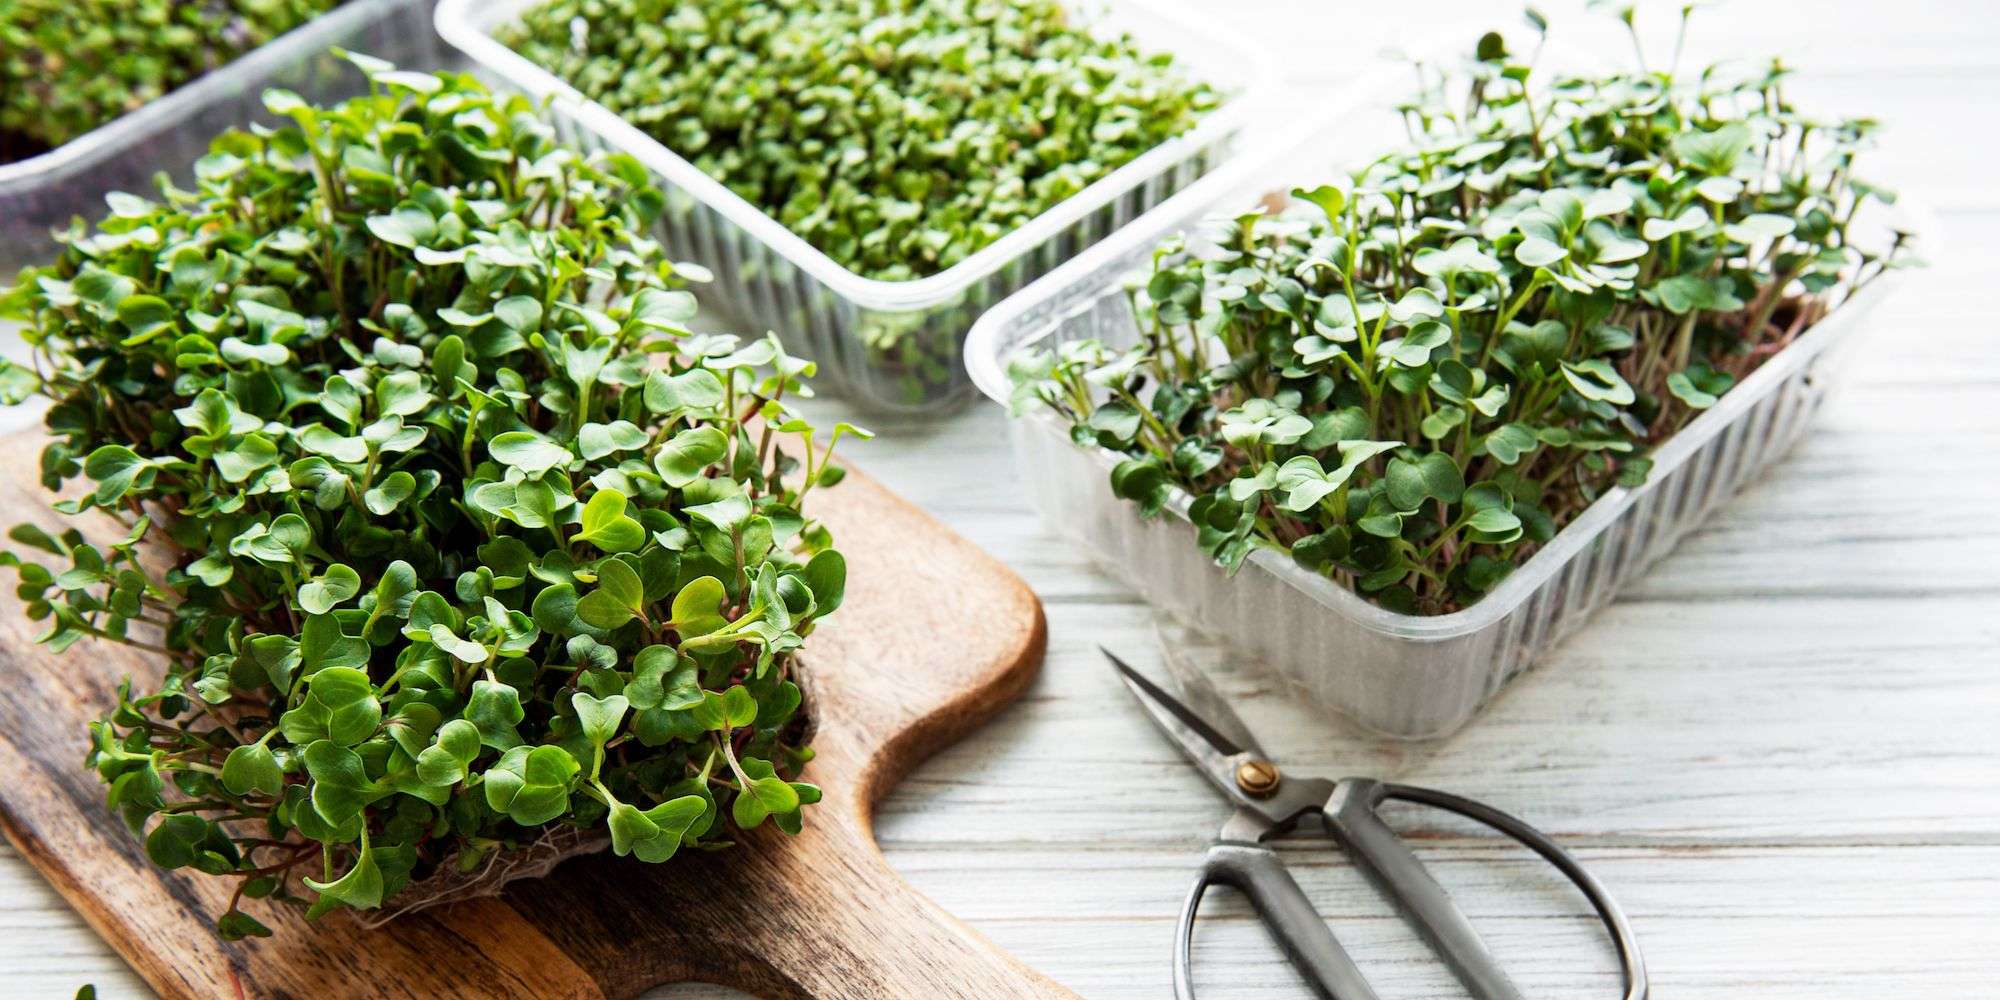
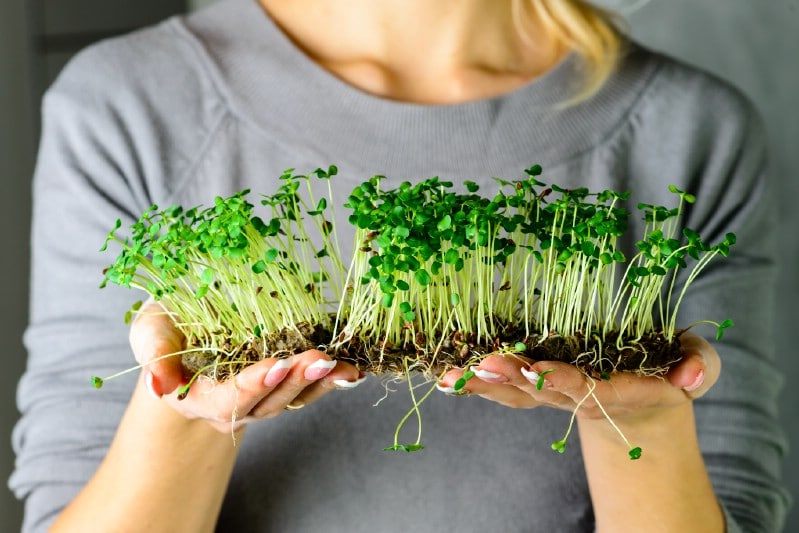
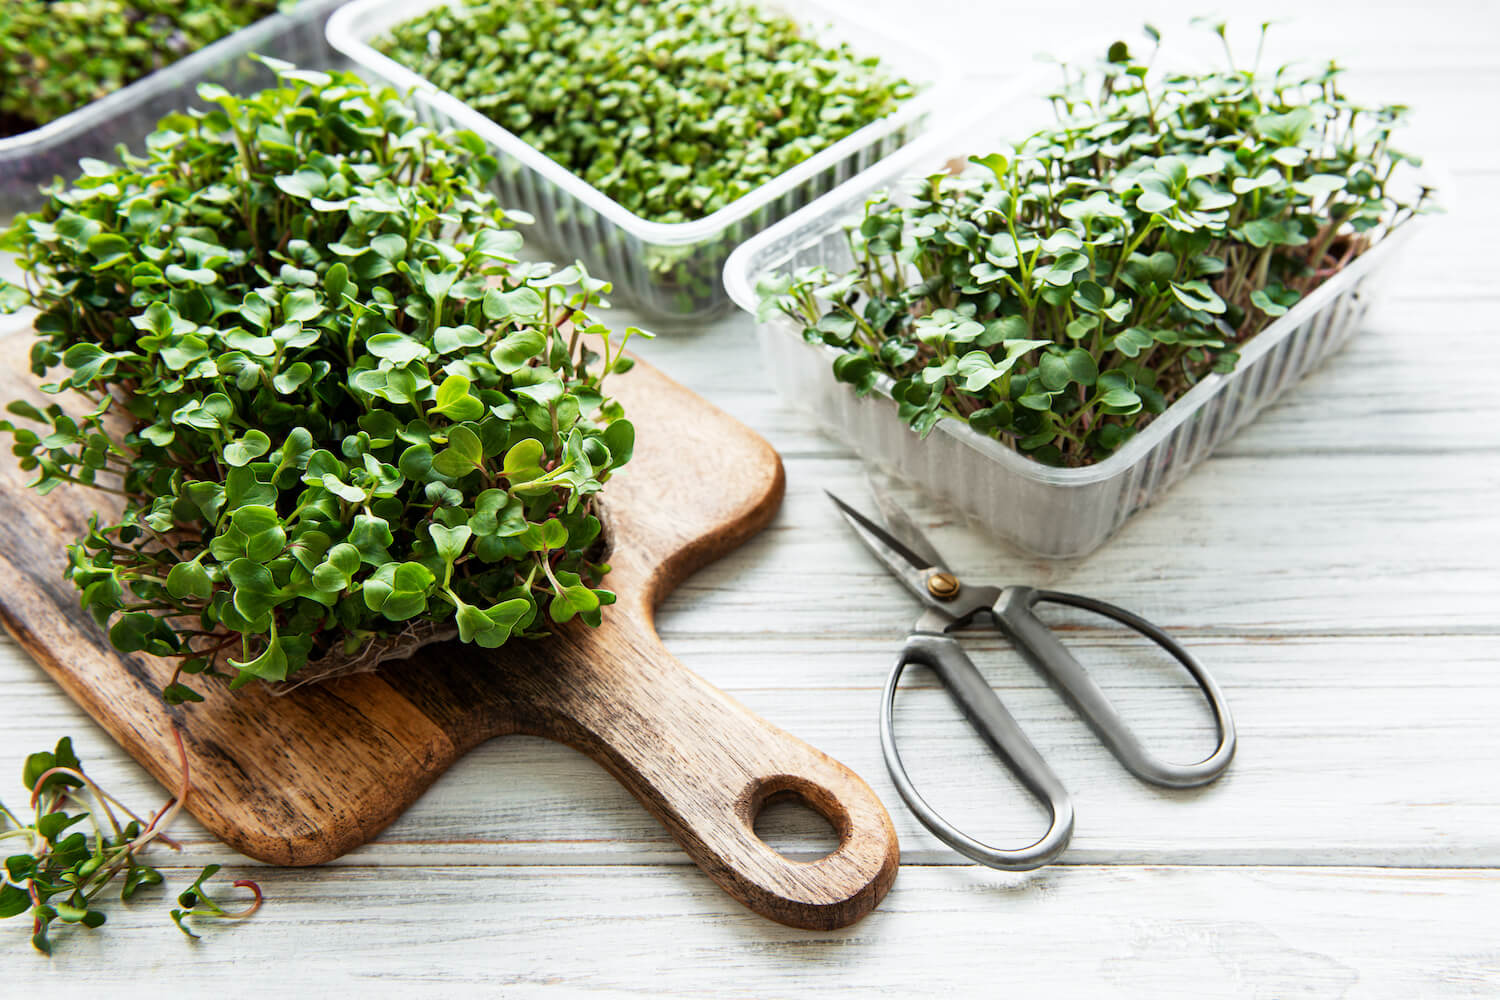
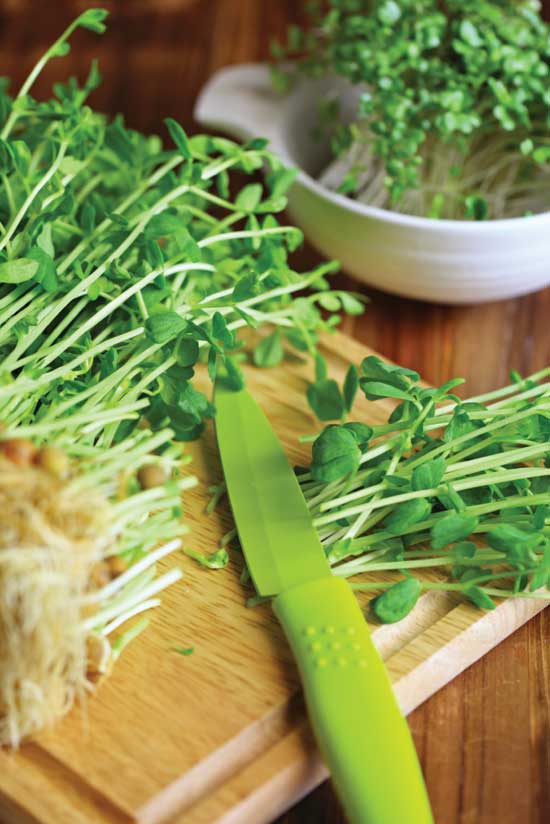
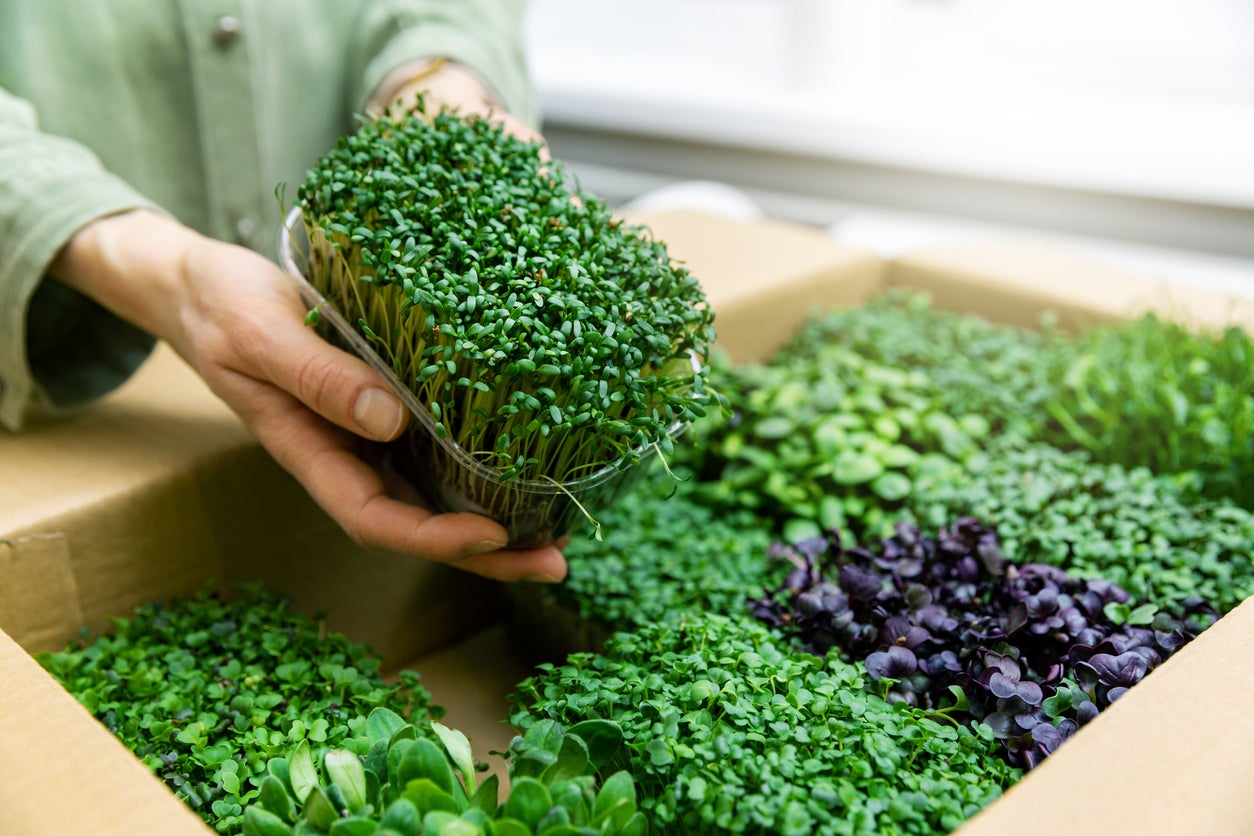
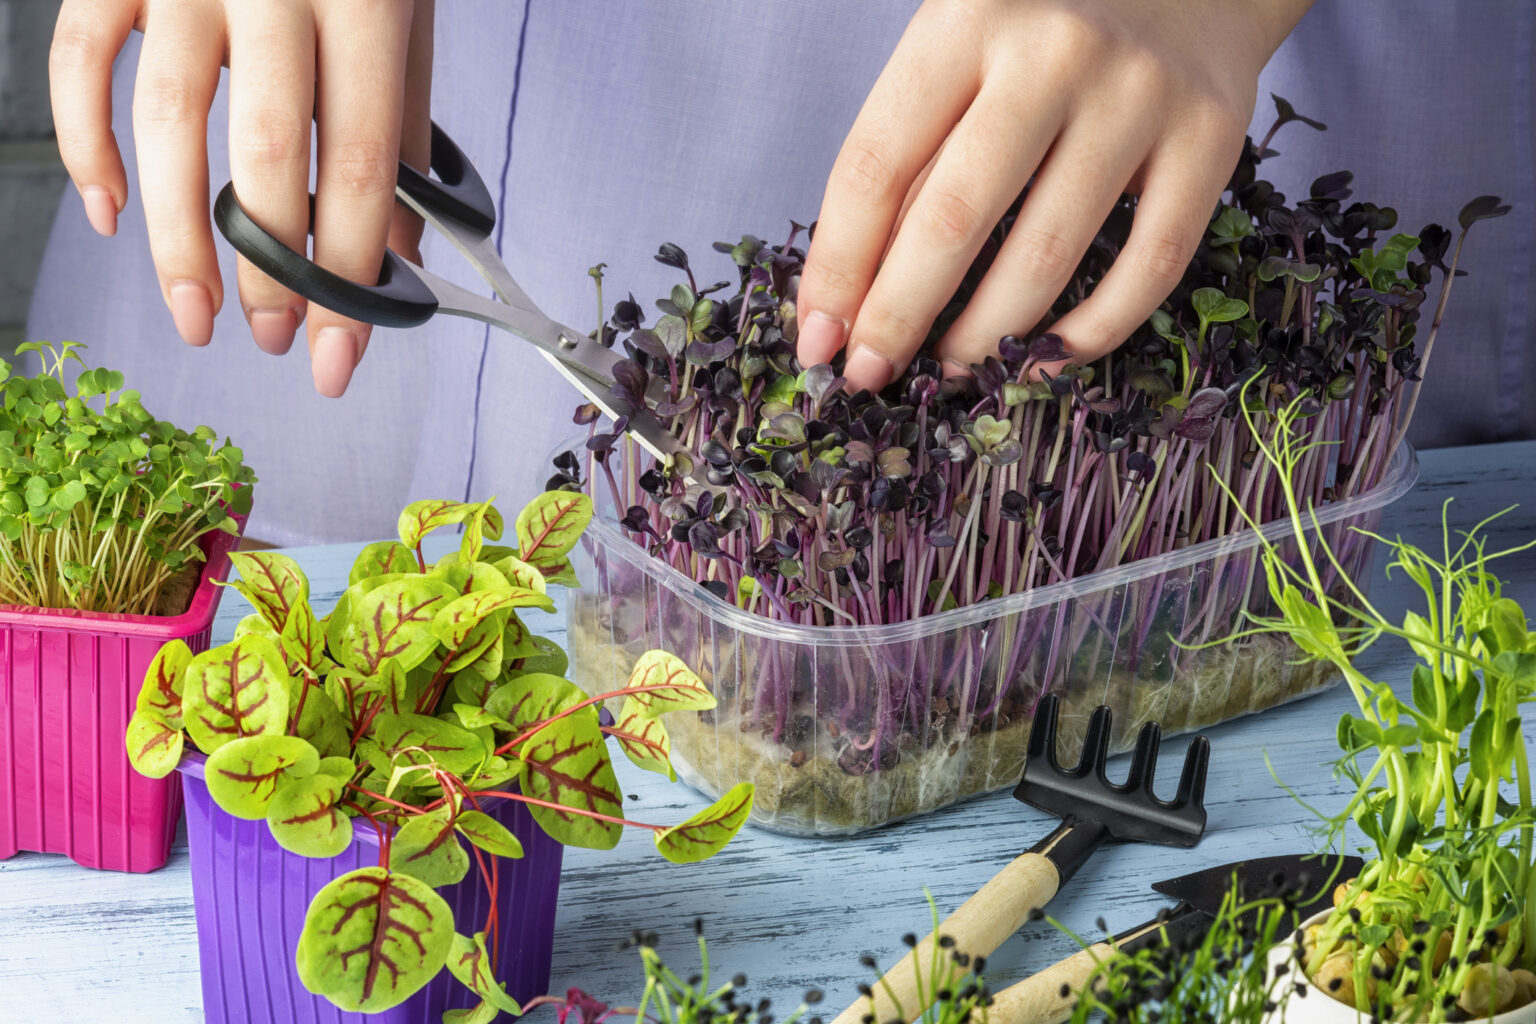
Once your microgreens have reached the desired size, it's time to harvest them. Using clean scissors or a sharp knife, cut the microgreens just above the soil level. Rinse them well and pat them dry before using them in your favorite dishes. Microgreens are a great addition to salads, sandwiches, wraps, and even smoothies.Harvesting and Using Your Microgreens Grown in Your Kitchen Under Fluorescent Lights
If you encounter any issues or challenges while growing microgreens in your kitchen with fluorescent lights, here are some troubleshooting tips: Yellowing leaves: This could be a sign of overwatering, not enough light, or a nutrient deficiency. Check the soil moisture and adjust the lighting or add a nutrient-rich fertilizer. Mold or disease: This is usually caused by overwatering or poor air circulation. Make sure to only water when necessary and provide adequate ventilation. Leggy microgreens: This occurs when the plants stretch for the light. Make sure to keep the lights close and rotate the trays daily to prevent this issue. With these tips and tricks, you are now ready to start growing microgreens in your kitchen with fluorescent lights. Not only will you have a fresh, healthy supply of greens, but you'll also have a fun and rewarding indoor gardening experience. Happy growing!Troubleshooting Guide for Growing Microgreens in Your Kitchen with Fluorescent Lights
The Benefits of Growing Microgreens Indoors with Kitchen Fluorescent Light
Save Space and Money
Year-Round Harvest
 Another advantage of growing microgreens indoors with kitchen fluorescent light is the ability to have a year-round harvest. Unlike traditional gardening where plants can only be grown during certain seasons, microgreens can be grown indoors all year long. This means you can have a constant supply of fresh, nutritious greens at your fingertips, regardless of the weather outside. Plus, with kitchen fluorescent light, you can control the amount of light and mimic ideal growing conditions for optimum growth.
Nutritious and Delicious
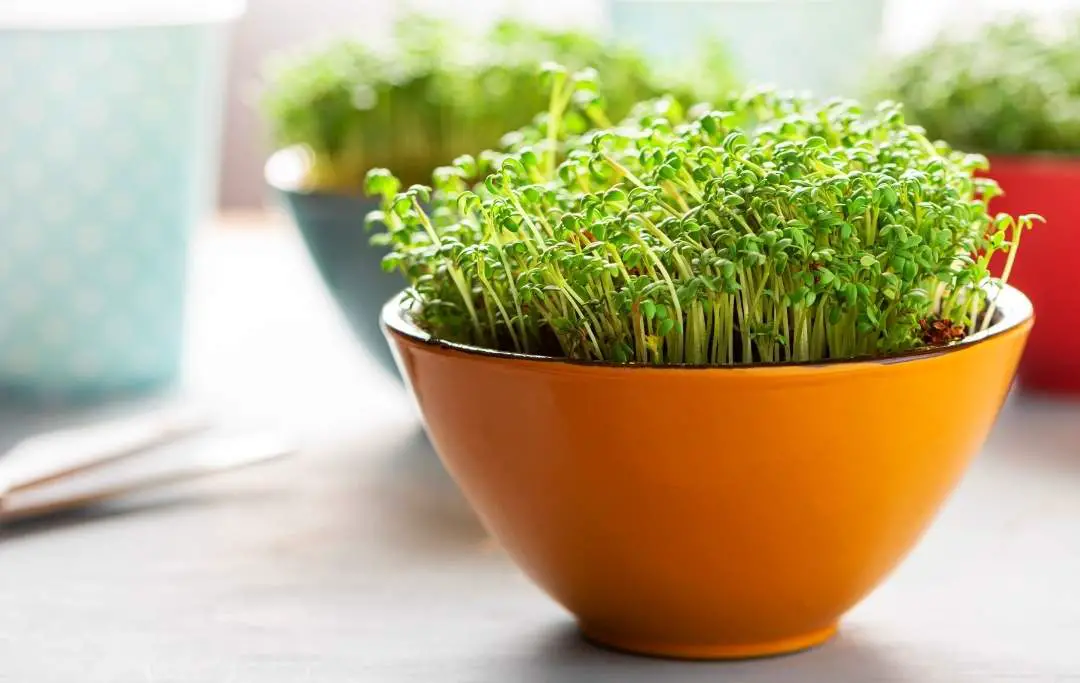 Microgreens are not only easy to grow, but they are also highly nutritious and delicious. These tiny greens pack a powerful punch of vitamins, minerals, and antioxidants, making them a superfood for your body. Plus, they come in a variety of flavors and textures, from spicy to sweet, making them a versatile addition to any dish. By growing them in your kitchen with fluorescent light, you can ensure that your microgreens are fresh and at their peak nutrition.
Enhance Your Kitchen Design
 Not only are microgreens a delicious and nutritious addition to your kitchen, but they can also enhance the overall design of your space. With their vibrant colors and delicate leaves, microgreens add a touch of greenery to any kitchen, creating a natural and inviting atmosphere. Plus, by using kitchen fluorescent light to grow them, you can add a unique and modern element to your kitchen design.





:max_bytes(150000):strip_icc()/grow-your-own-microgreens-2540008-hero-7716c53ad1a84b1298fec9b683df210c.jpg)







 (1).png?width=2000&name=7 benefits of microgreens - one source (2) (1).png)

