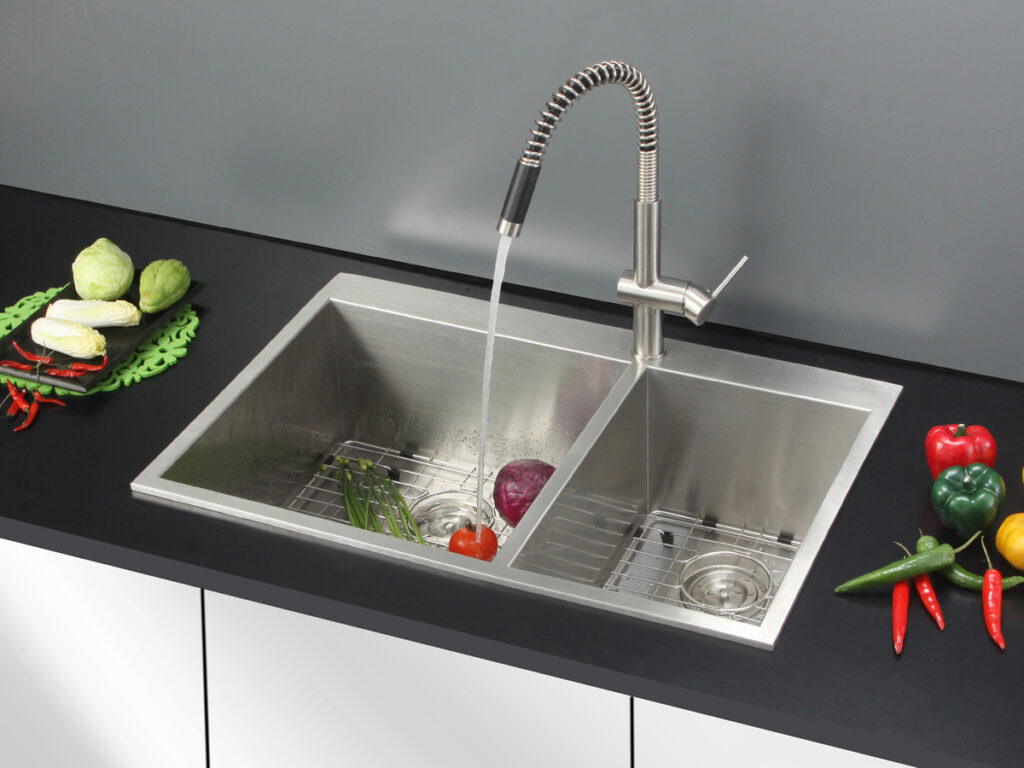
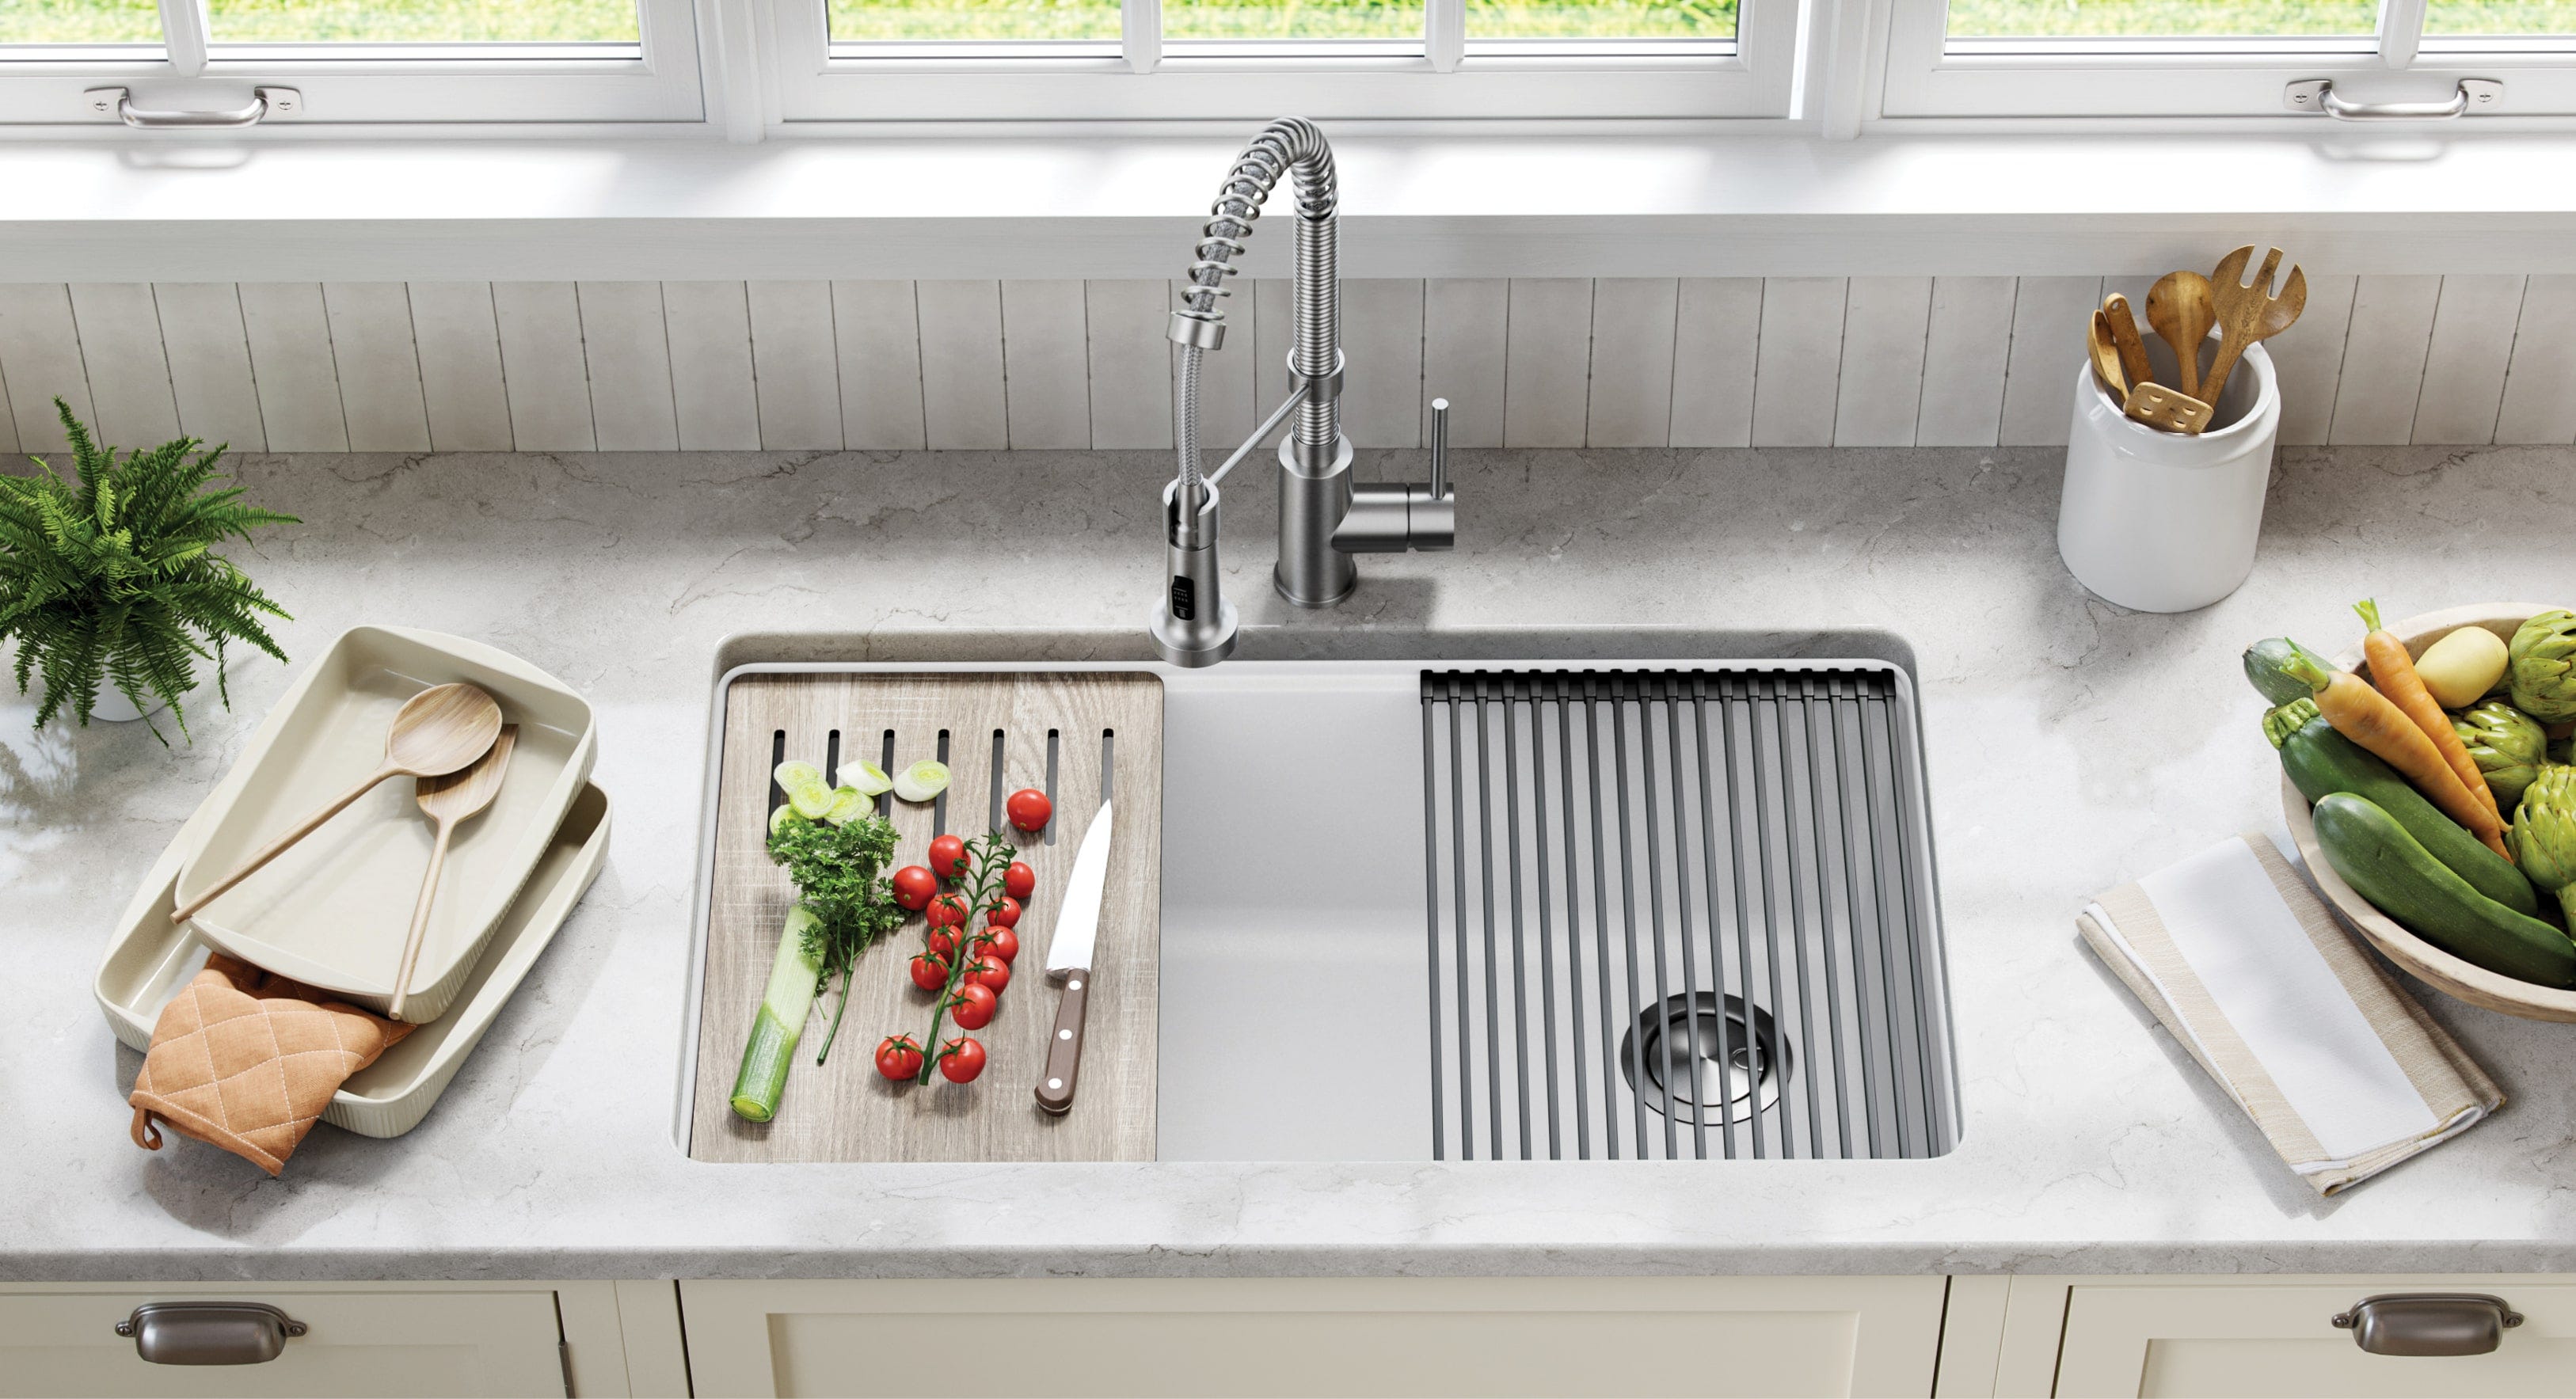
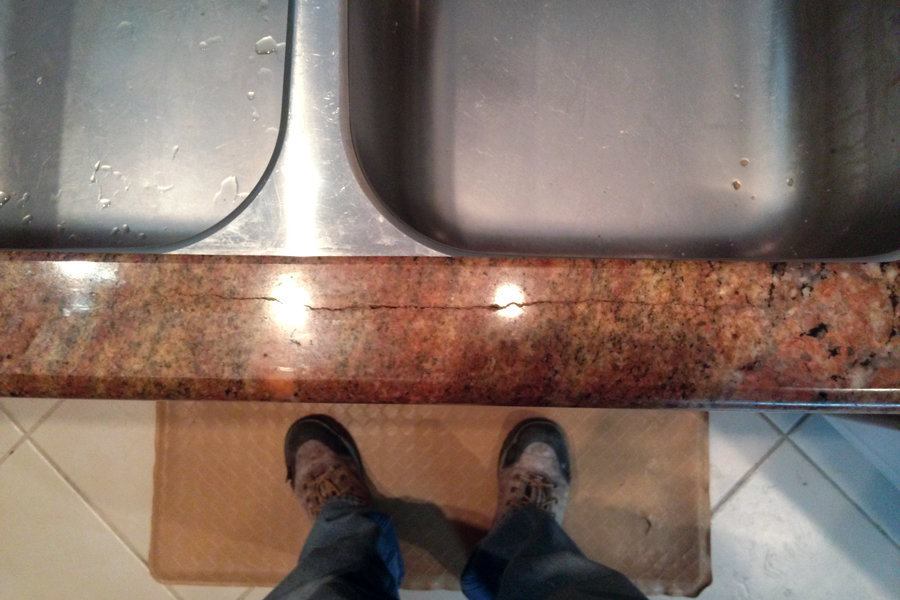
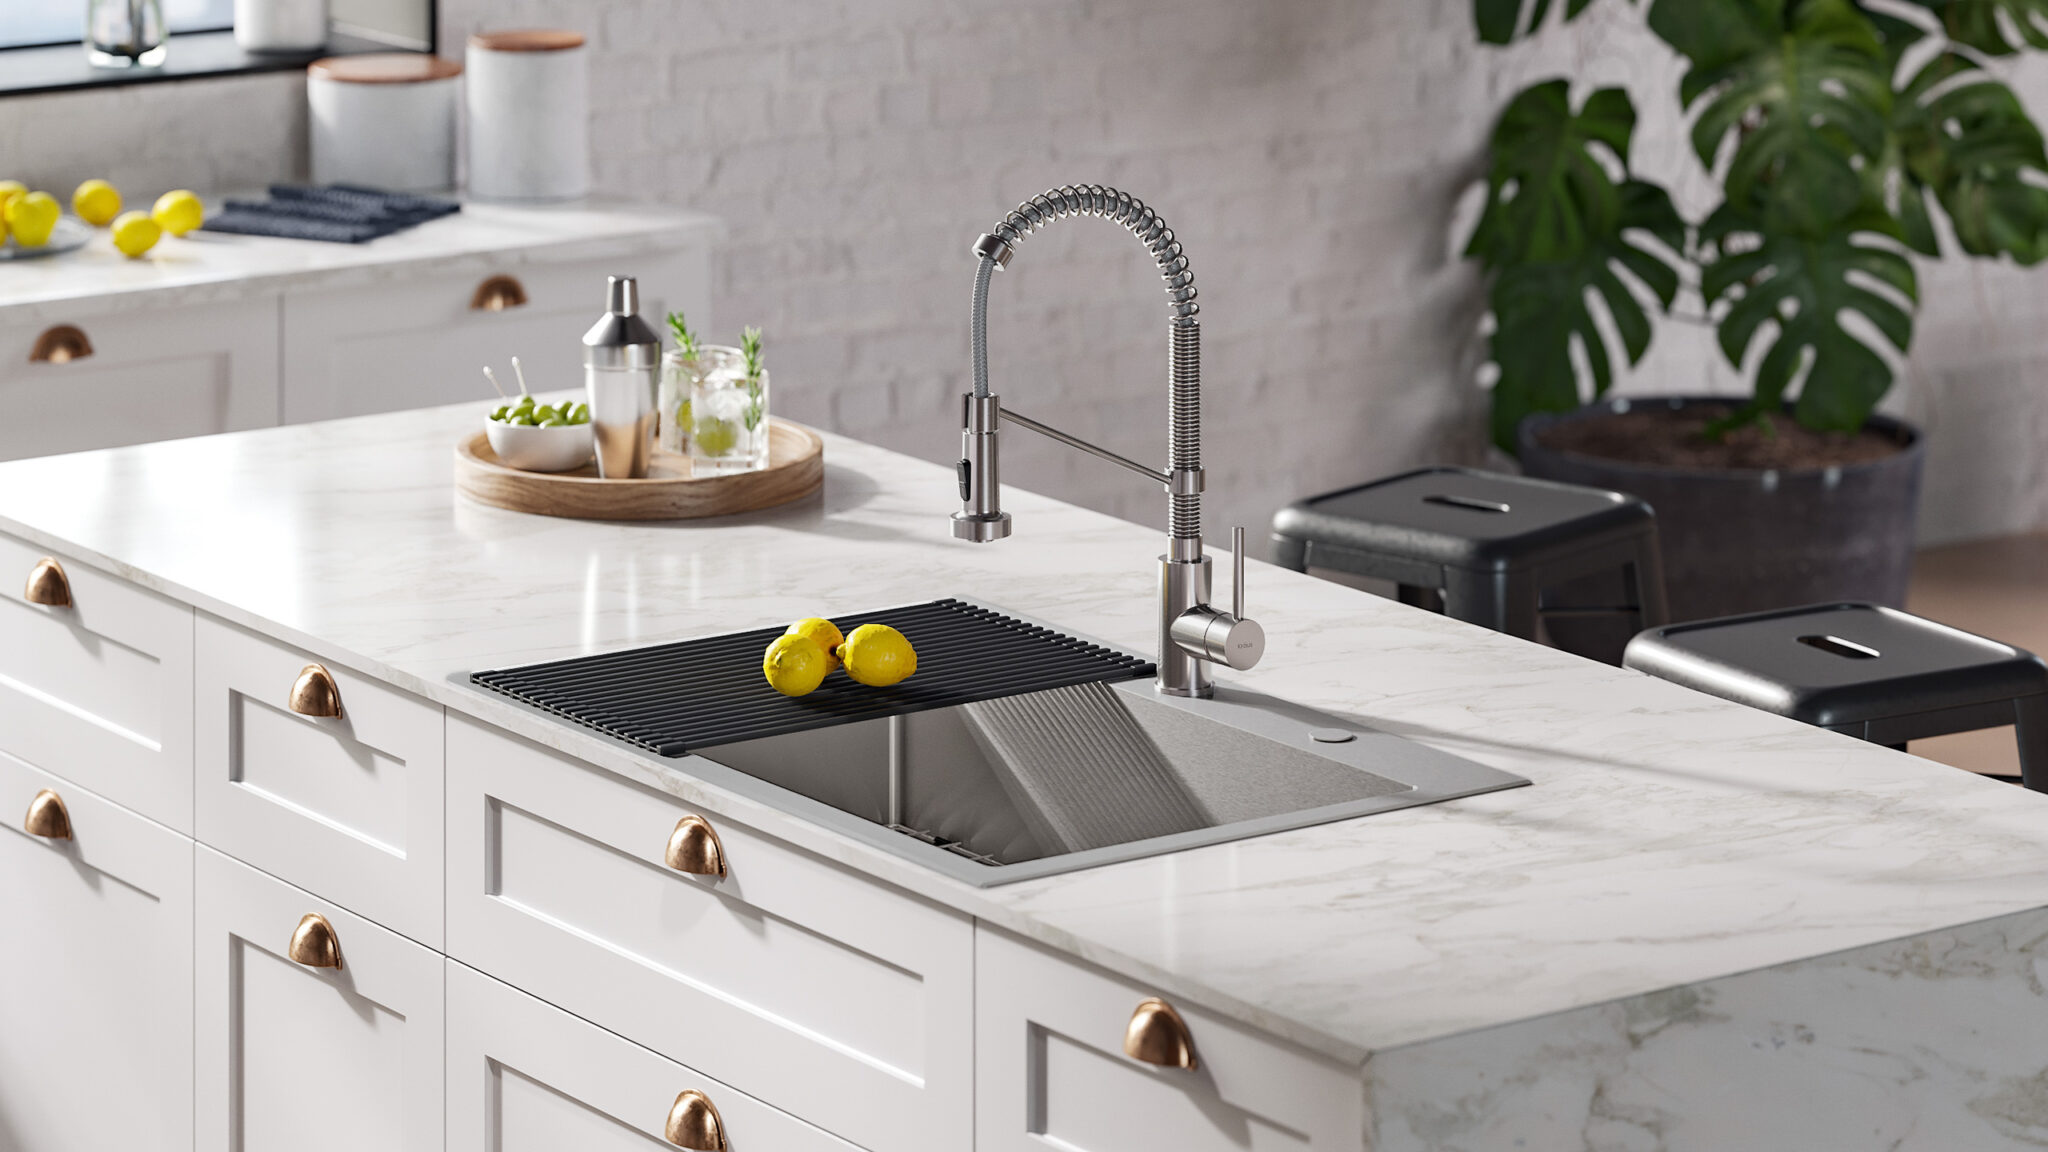
Installing a drop-in kitchen sink may seem like a daunting task, but with the right tools and techniques, it can be a relatively simple process. Before you begin, make sure you have all the necessary equipment, including the sink, mounting clips, adhesive, and caulk. Begin by measuring the opening in your countertop and tracing the outline onto the sink. Then, use a jigsaw to cut along the traced line. Once the sink fits snugly into the opening, secure it in place with the mounting clips and adhesive. Finish by applying a bead of caulk around the edges to seal the sink to the countertop. With these steps, you can easily install a drop-in kitchen sink in your home.1. How to Install a Drop-In Kitchen Sink


1. How to Install a Drop-In Kitchen Sink


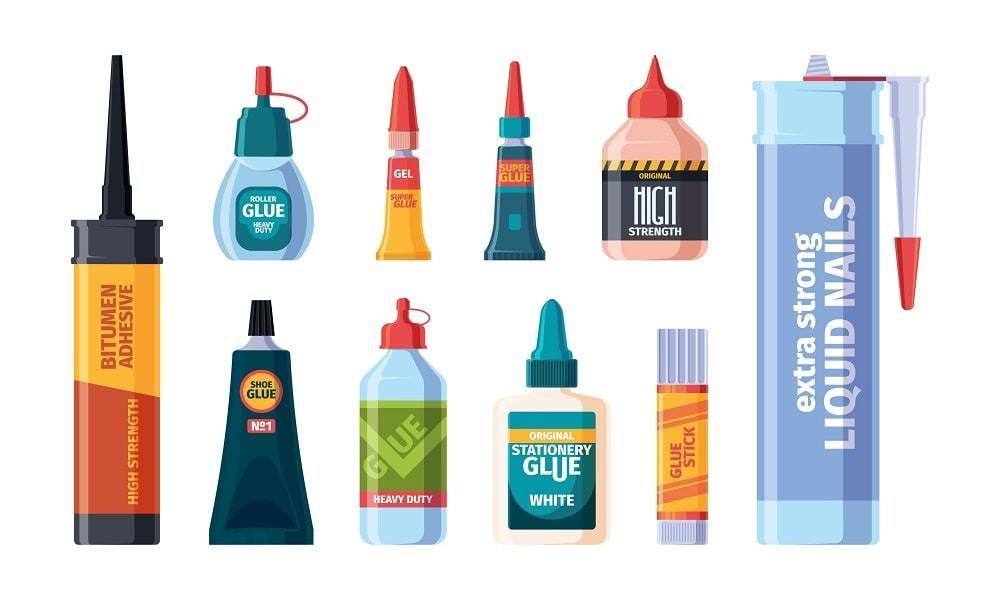
When it comes to securing a drop-in kitchen sink, it's important to choose the right adhesive. Epoxy glue is often recommended for its strong bonding capabilities and resistance to water and heat. It is also a good option for non-porous materials, such as stainless steel or porcelain sinks. Another popular choice is silicone adhesive, which is flexible and waterproof, making it ideal for use in a kitchen sink. Whichever adhesive you choose, make sure it is specifically designed for use with kitchen sinks and can withstand constant exposure to water and high temperatures.2. Best Glue for Drop-In Kitchen Sink


2. Best Glue for Drop-In Kitchen Sink


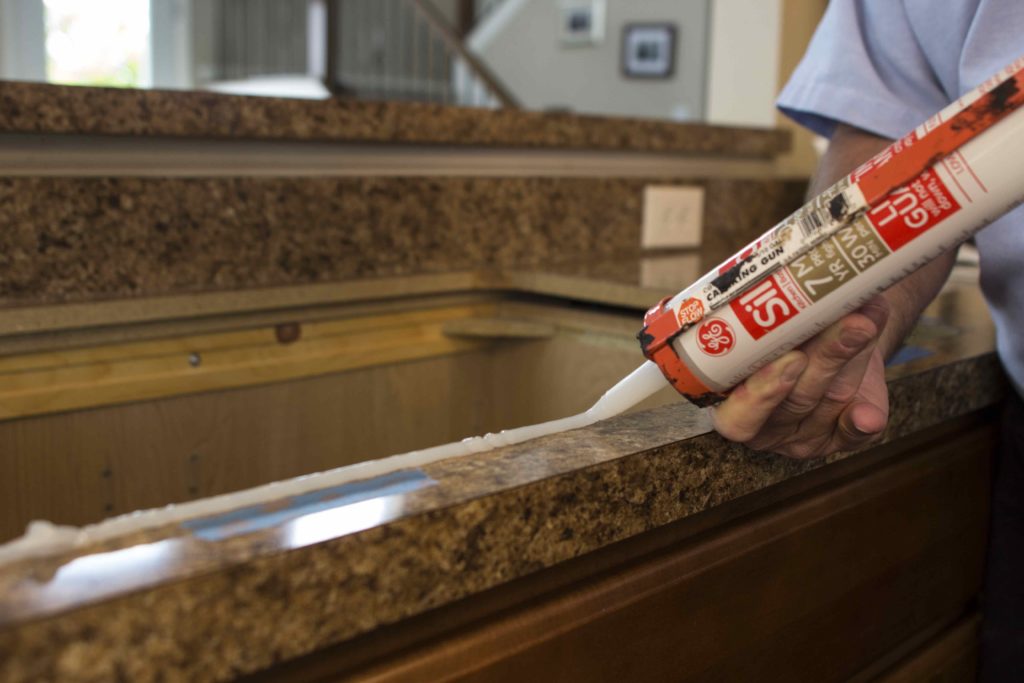
Caulking is an essential step in installing a drop-in kitchen sink as it helps to seal the sink to the countertop and prevent any water leakage. To properly caulk a drop-in kitchen sink, start by cleaning the edges of the sink and the countertop. Then, apply a thin line of caulk along the edges of the sink, making sure to fill any gaps between the sink and the countertop. Use a damp finger or a caulk finishing tool to smooth out the caulk and create a clean, even line. Allow the caulk to dry completely before using the sink.3. Caulking a Drop-In Kitchen Sink


3. Caulking a Drop-In Kitchen Sink


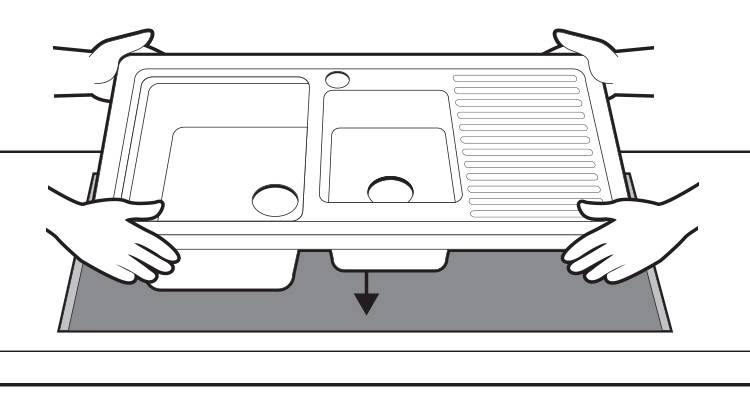
If you're new to installing a drop-in kitchen sink, it can be helpful to follow a step-by-step guide to ensure you don't miss any important steps. First, measure and mark the opening for the sink in your countertop. Then, cut along the marked line using a jigsaw. Next, place the sink into the opening and secure it in place with mounting clips and adhesive. Once the sink is securely in place, apply a bead of caulk around the edges to seal it to the countertop. Finally, connect the sink's plumbing and let the caulk dry before using the sink.4. Drop-In Kitchen Sink Installation Guide


4. Drop-In Kitchen Sink Installation Guide
/how-to-install-a-sink-drain-2718789-hero-24e898006ed94c9593a2a268b57989a3.jpg)


When it comes to securing a drop-in kitchen sink, not all adhesives are created equal. It's important to choose an adhesive that is specifically designed for use with kitchen sinks and can withstand exposure to water and high temperatures. Some popular options include epoxy glue, silicone adhesive, and construction adhesive. Consider the material of your sink and the type of countertop you have when selecting the best adhesive for your drop-in kitchen sink.5. Choosing the Right Adhesive for a Drop-In Kitchen Sink


5. Choosing the Right Adhesive for a Drop-In Kitchen Sink


Installing a drop-in kitchen sink can be a simple process if you follow the right steps. Begin by measuring and marking the opening for the sink in your countertop. Then, use a jigsaw to cut along the marked line. Next, place the sink into the opening and secure it with mounting clips and adhesive. Once the sink is securely in place, apply a bead of caulk around the edges to seal it to the countertop. Finally, connect the sink's plumbing and let the caulk dry before using the sink.6. Step-by-Step Guide for Installing a Drop-In Kitchen Sink

6. Step-by-Step Guide for Installing a Drop-In Kitchen Sink


Properly caulking a drop-in kitchen sink is crucial to ensuring it remains securely in place and prevents any water leakage. To achieve a professional-looking caulk line, start by cleaning the edges of the sink and the countertop. Then, apply a thin and even line of caulk around the edges of the sink, making sure to fill any gaps between the sink and the countertop. Use a damp finger or a caulk finishing tool to smooth out the caulk and create a clean, even line. Finally, let the caulk dry completely before using the sink.7. Tips for Properly Caulking a Drop-In Kitchen Sink


7. Tips for Properly Caulking a Drop-In Kitchen Sink


When it comes to securing a drop-in kitchen sink, there are various adhesives to choose from. Epoxy glue is a popular choice for its strong bonding capabilities and resistance to water and heat. Silicone adhesive is another great option as it is flexible and waterproof. Construction adhesive is also a reliable choice for securing heavy sinks. Whichever adhesive you choose, make sure it is specifically designed for use with kitchen sinks and can withstand constant exposure to water and high temperatures.8. Top Adhesives for Securing a Drop-In Kitchen Sink


8. Top Adhesives for Securing a Drop-In Kitchen Sink
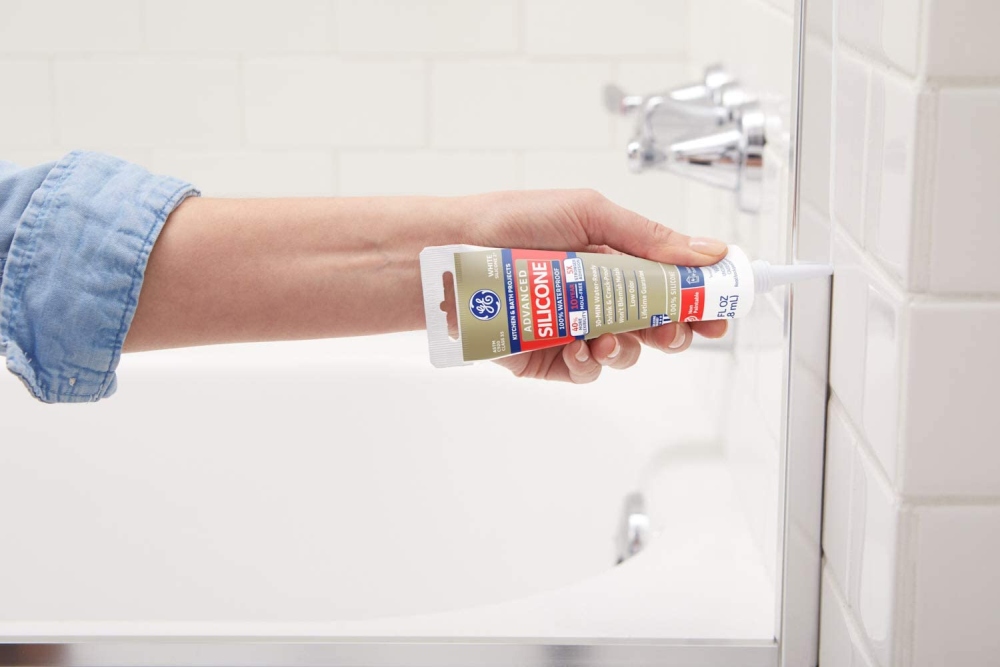

Sealing a drop-in kitchen sink with caulk is an essential step in the installation process. After placing the sink into the opening and securing it with mounting clips and adhesive, it's important to seal the edges with caulk to prevent any water leakage. Start by cleaning the edges of the sink and the countertop. Then, apply a thin and even line of caulk around the edges, making sure to fill any gaps. Use a damp finger or a caulk finishing tool to smooth out the caulk and create a clean, even line. Allow the caulk to dry completely before using the sink.9. How to Seal a Drop-In Kitchen Sink with Caulk


9. How to Seal a Drop-In Kitchen Sink with Caulk


Using the right glue for securing a drop-in kitchen sink is crucial to ensuring it stays in place and prevents any water leakage. Epoxy glue is often recommended for its strong bonding capabilities and resistance to water and heat. Silicone adhesive is also a popular choice as it is flexible and waterproof. Whichever adhesive you choose, make sure it is specifically designed for use with kitchen sinks and can withstand constant exposure to water and high temperatures. This will help to ensure the longevity and stability of your drop-in kitchen sink.10. The Importance of Using the Correct Glue for a Drop-In Kitchen Sink


10. The Importance of Using the Correct Glue for a Drop-In Kitchen Sink


The Importance of Choosing the Right Adhesive for Your Drop-In Kitchen Sink
Why Adhesive Matters
 When it comes to installing a drop-in kitchen sink, one of the most important decisions you will make is choosing the right adhesive. Many homeowners debate whether to use glue or caulk for this task, but the truth is that both have their own advantages and disadvantages. Ultimately, the type of adhesive you choose will depend on your personal preferences and the specific needs of your kitchen.
The Benefits of Glue
 Glue
is a popular choice for securing a drop-in kitchen sink because it provides a strong, permanent bond. It is also highly resistant to water, making it a great option for use in kitchens where water exposure is common. Another advantage of using glue is that it adheres quickly, allowing you to complete your sink installation in a timely manner. Additionally, most glues are budget-friendly and easy to find at any hardware store.
Glue
is a popular choice for securing a drop-in kitchen sink because it provides a strong, permanent bond. It is also highly resistant to water, making it a great option for use in kitchens where water exposure is common. Another advantage of using glue is that it adheres quickly, allowing you to complete your sink installation in a timely manner. Additionally, most glues are budget-friendly and easy to find at any hardware store.
The Advantages of Caulk
 On the other hand,
caulk
also has its own set of benefits for installing a drop-in kitchen sink. One of the main advantages of using caulk is its flexibility. Unlike glue, caulk is able to expand and contract with temperature changes, making it ideal for sinks that are exposed to hot and cold water. Caulk is also easy to work with, as it can be easily wiped away with a damp cloth if you make a mistake during installation.
On the other hand,
caulk
also has its own set of benefits for installing a drop-in kitchen sink. One of the main advantages of using caulk is its flexibility. Unlike glue, caulk is able to expand and contract with temperature changes, making it ideal for sinks that are exposed to hot and cold water. Caulk is also easy to work with, as it can be easily wiped away with a damp cloth if you make a mistake during installation.
Which One Should You Choose?
 Ultimately, the decision between using glue or caulk for your drop-in kitchen sink comes down to personal preference and the specific needs of your kitchen. If you are looking for a strong, permanent bond and are not worried about temperature changes, then glue may be the better option for you. However, if you want a more flexible adhesive that can withstand temperature changes, caulk may be the way to go.
Conclusion
 In the end, the most important thing is to make sure that you choose an adhesive that is specifically designed for use with kitchen sinks. Whichever option you choose, be sure to follow the manufacturer's instructions carefully for a successful and long-lasting installation. By taking the time to carefully consider your options and choosing the right adhesive, you can ensure that your drop-in kitchen sink will remain securely in place for years to come.