1. Glacier Bay Kitchen Sink Drain Installation Guide
If you have just purchased a Glacier Bay kitchen sink drain and are ready to install it, you've come to the right place. In this guide, we'll walk you through the steps for a successful installation, so you can enjoy your new sink without any hassle. So, let's get started!


1. Glacier Bay Kitchen Sink Drain Installation Guide


/bathroom-sink-drain-installation-2718843-03-6fee5b9d9f7d475abfe06a95ddb1f695.jpg)

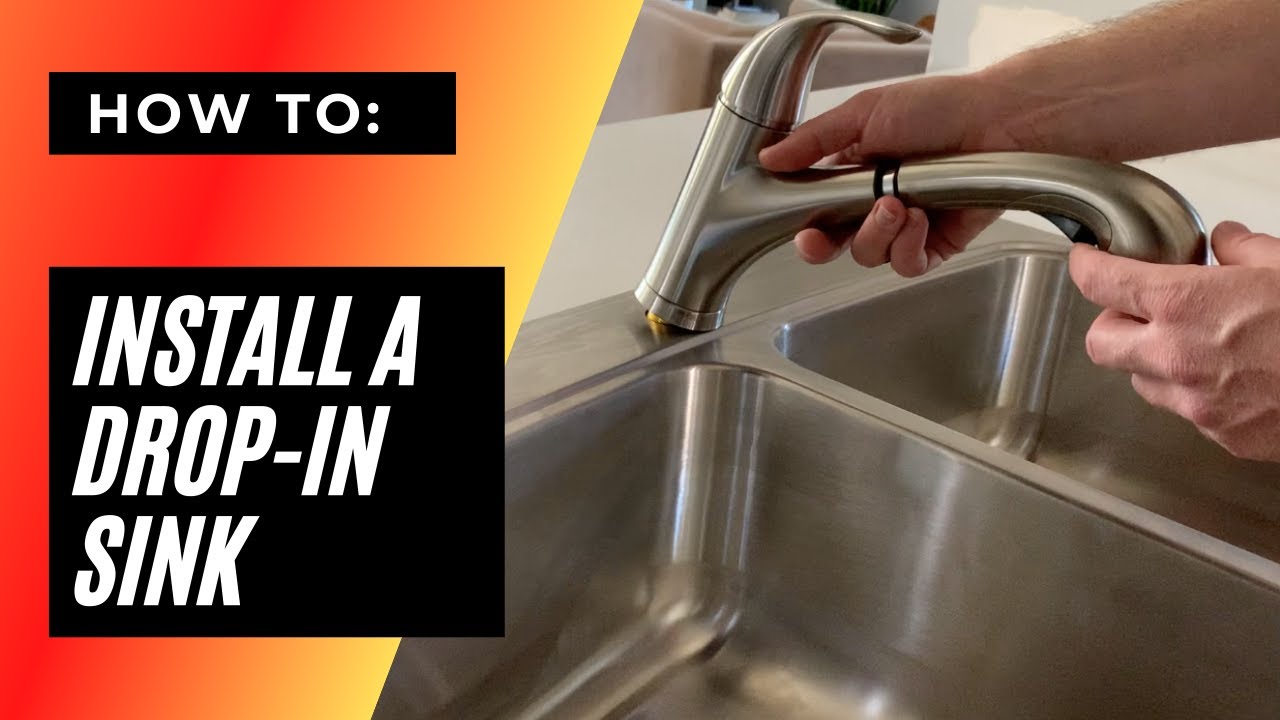
2. How to Install a Glacier Bay Kitchen Sink Drain
The first step in installing a Glacier Bay kitchen sink drain is to familiarize yourself with the different parts. The drain assembly typically consists of a strainer, a gasket, a locknut, a rubber washer, and a tailpiece. Make sure you have all the necessary parts before beginning the installation.


2. How to Install a Glacier Bay Kitchen Sink Drain

:no_upscale()/cdn.vox-cdn.com/uploads/chorus_asset/file/19495086/drain_0.jpg)

3. Step-by-Step Guide for Installing a Glacier Bay Kitchen Sink Drain
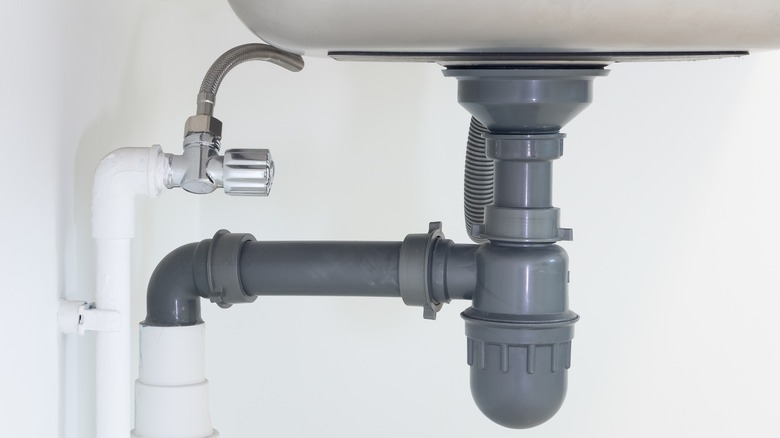
Start by removing the old drain assembly if you have one. If not, skip to the next step. Next, place the rubber washer on the bottom of the strainer, followed by the locknut. Hand tighten the locknut until it is snug. Then, place the gasket on the bottom of the sink and insert the strainer through the hole.
Underneath the sink, place the gasket and the rubber washer on the tailpiece. Insert the tailpiece into the strainer and hand tighten the locknut. Make sure the strainer is centered in the sink before tightening the locknut completely.
If your sink has multiple holes for a faucet and other accessories, you may need to install a strainer flange. This will cover the extra holes and provide a clean look. Simply place the flange over the hole and secure it in place with the included screws.


3. Step-by-Step Guide for Installing a Glacier Bay Kitchen Sink Drain


4. Glacier Bay Kitchen Sink Drain Installation Tips
When tightening the locknut, be careful not to over-tighten it, as this can cause the gasket to crack or the strainer to become misaligned. It is also important to make sure the drain assembly is level to avoid any potential leaks. You can use a level to check this.
If you are having trouble getting the locknut tight enough, you can use a pair of pliers to help you. However, be gentle to avoid damaging the parts. Additionally, it is recommended to use plumber's putty or silicone sealant around the edges of the strainer to ensure a watertight seal.


4. Glacier Bay Kitchen Sink Drain Installation Tips
/how-to-install-a-sink-drain-2718789-hero-24e898006ed94c9593a2a268b57989a3.jpg)


5. Common Mistakes to Avoid When Installing a Glacier Bay Kitchen Sink Drain
One of the most common mistakes people make when installing a kitchen sink drain is not aligning the parts correctly. This can result in leaks and even damage to your sink. Make sure to take your time and double-check the alignment before tightening the locknut.
Another mistake is not using enough plumbers putty or silicone sealant. This can also lead to leaks, so it is important to properly seal the edges of the strainer to prevent any water from seeping through.


5. Common Mistakes to Avoid When Installing a Glacier Bay Kitchen Sink Drain


6. Tools and Materials Needed for Installing a Glacier Bay Kitchen Sink Drain
Before beginning the installation, make sure you have all the necessary tools and materials. Here's a list of what you'll need:

6. Tools and Materials Needed for Installing a Glacier Bay Kitchen Sink Drain


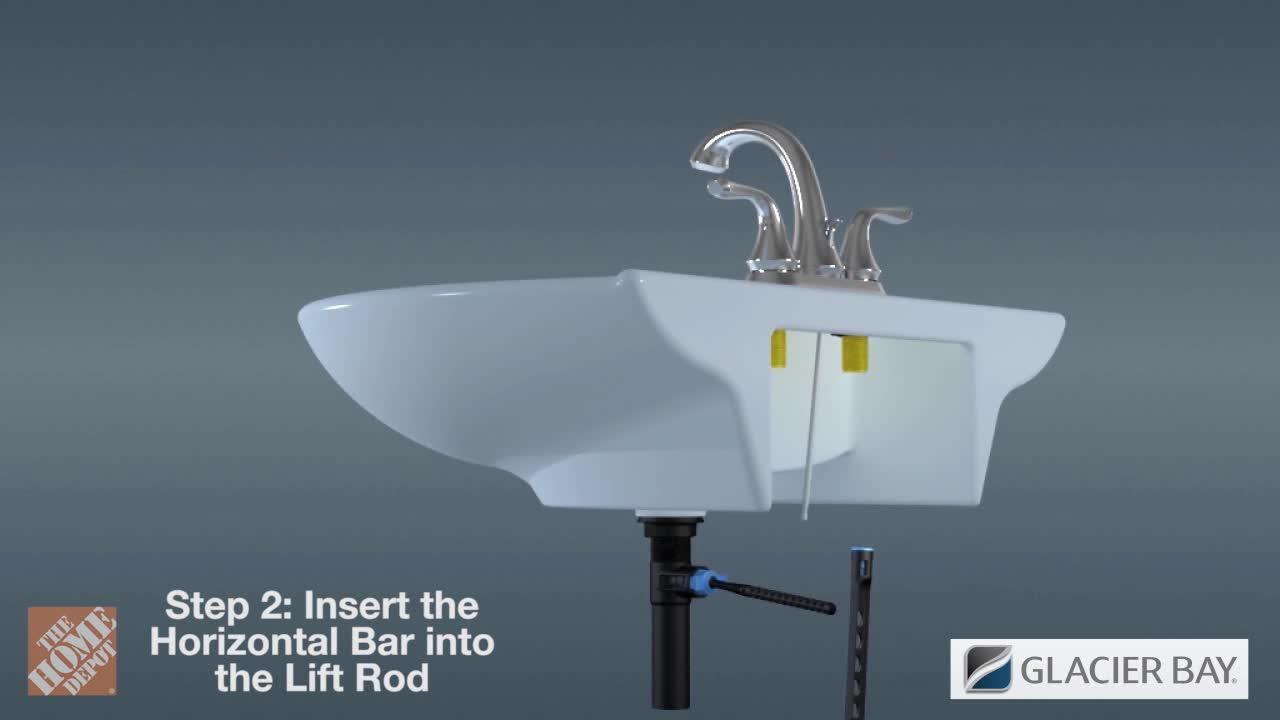
7. Video Tutorial: Installing a Glacier Bay Kitchen Sink Drain
If you're a visual learner, there are many helpful videos online that can guide you through the installation process. Watching someone else do it can give you a better understanding of the steps involved and help you avoid any mistakes.


7. Video Tutorial: Installing a Glacier Bay Kitchen Sink Drain


8. Troubleshooting Guide for Glacier Bay Kitchen Sink Drain Installation
If you encounter any issues during the installation process, don't panic. Here are a few common problems and their solutions:


8. Troubleshooting Guide for Glacier Bay Kitchen Sink Drain Installation


9. Professional Installation vs DIY: Glacier Bay Kitchen Sink Drain
While installing a kitchen sink drain may seem like a simple task, it can be tricky for those who are not familiar with plumbing. If you are not confident in your DIY skills, it may be best to hire a professional to install your Glacier Bay kitchen sink drain. This will ensure that it is done correctly and will save you the hassle of any potential mistakes.

9. Professional Installation vs DIY: Glacier Bay Kitchen Sink Drain
10. Where to Find Replacement Parts for Glacier Bay Kitchen Sink Drain Installation
If you ever need to replace any parts of your Glacier Bay kitchen sink drain, you can find them at most home improvement stores or online. Be sure to check the brand and model number of your sink before purchasing the replacement parts to ensure they are compatible.
With this guide, you should now have all the necessary information to successfully install a Glacier Bay kitchen sink drain. Remember to take your time, follow the instructions carefully, and double-check your work to avoid any potential issues. Happy installing!


10. Where to Find Replacement Parts for Glacier Bay Kitchen Sink Drain Installation


How to Properly Install a Glacier Bay Kitchen Sink Drain for Your Home

Understanding Your Glacier Bay Kitchen Sink Drain
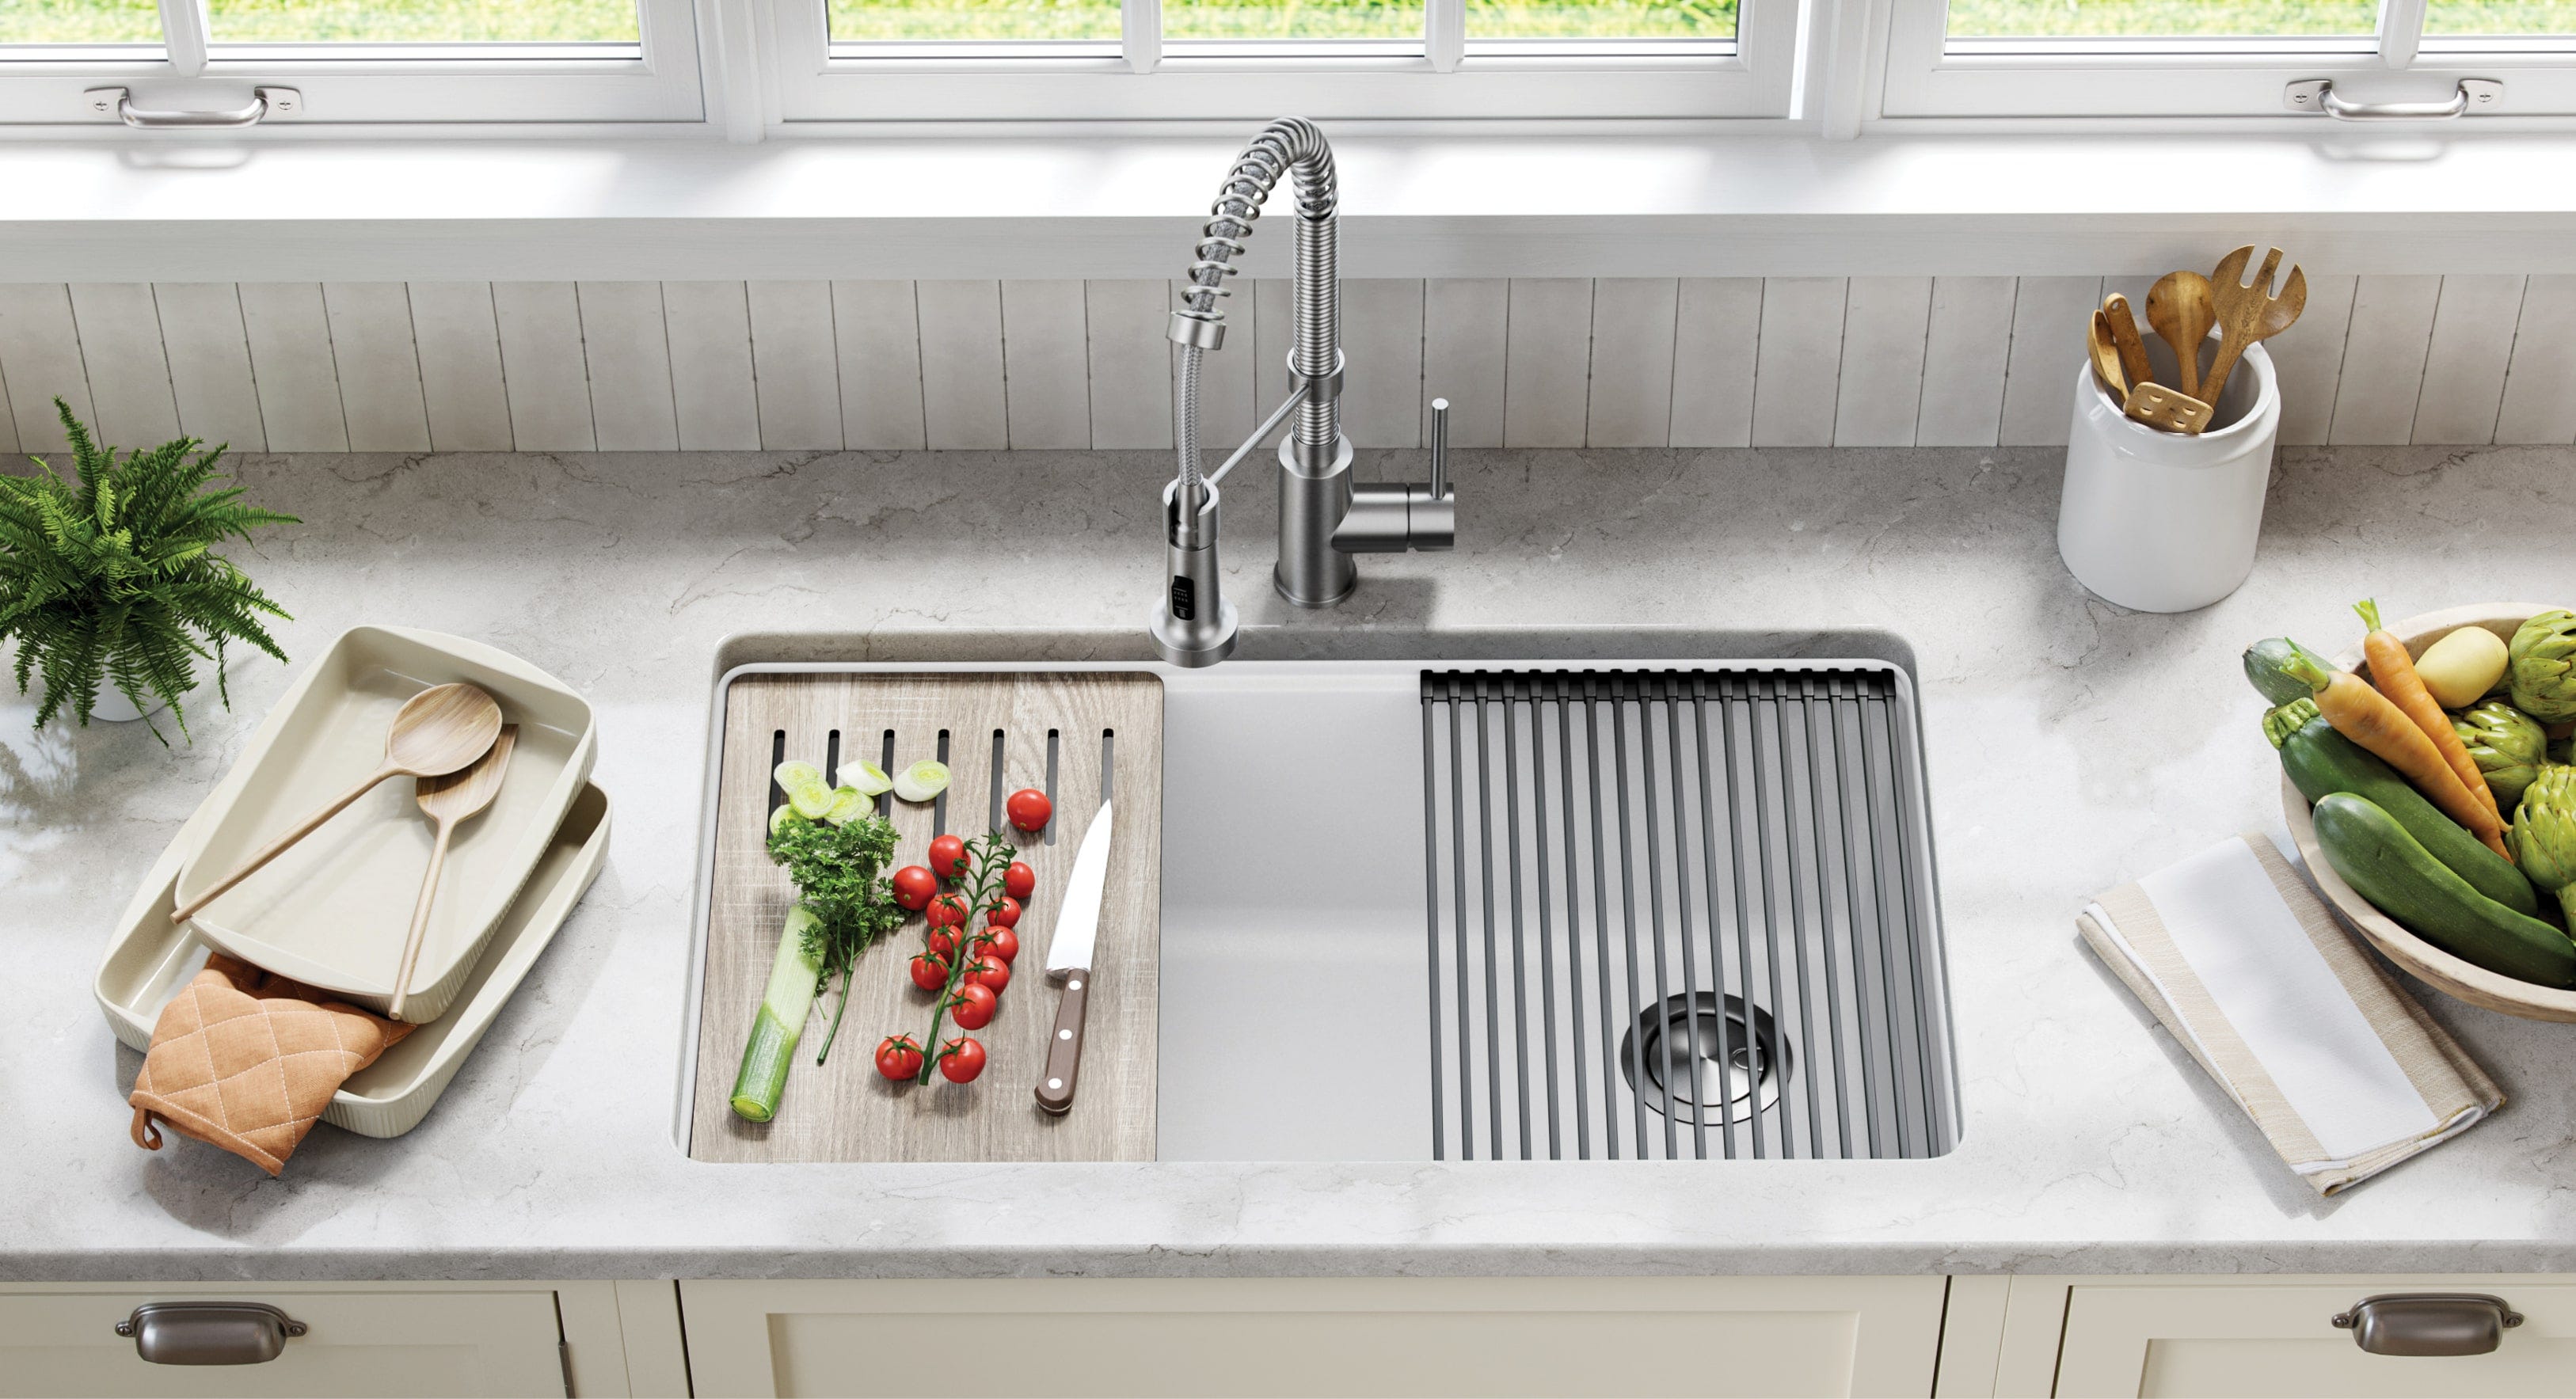
 If you are looking to upgrade your kitchen sink, Glacier Bay offers a variety of options that are both stylish and functional. However, before you can enjoy your new sink, you will need to properly install the drain. The drain is an essential part of any sink, as it helps to remove wastewater and prevent clogs. In this article, we will go over the steps to properly install a Glacier Bay kitchen sink drain.
Gather Your Materials
 Before you begin, it is important to gather all the necessary materials for the installation process. This includes the new Glacier Bay kitchen sink drain, plumber's putty, a screwdriver, and an adjustable wrench. You may also need a hacksaw or pipe cutter if you need to shorten the drain pipe.
Remove the Old Drain
:max_bytes(150000):strip_icc()/how-to-install-a-sink-drain-2718789-hero-24e898006ed94c9593a2a268b57989a3.jpg) The first step is to remove the old drain from your sink. Start by unscrewing the locknut that holds the drain in place. You may need to use pliers or a wrench to loosen it. Once the locknut is removed, you can pull out the drain assembly from the sink. Be sure to clean any old putty or debris from the sink opening.
The first step is to remove the old drain from your sink. Start by unscrewing the locknut that holds the drain in place. You may need to use pliers or a wrench to loosen it. Once the locknut is removed, you can pull out the drain assembly from the sink. Be sure to clean any old putty or debris from the sink opening.
Prepare the New Drain
 Now that you have removed the old drain, it is time to prepare the new one. Apply a generous amount of plumber's putty to the underside of the drain flange. This will create a watertight seal between the sink and the drain.
Install the Drain
 Place the new drain into the sink opening and press it down firmly to secure it in place. From underneath the sink, slide the rubber gasket and cardboard friction ring onto the drain. Then, screw on the locknut and tighten it with pliers or a wrench.
Connect the Drain Pipe
 Next, you will need to connect the drain pipe to the bottom of the sink drain. The length of the pipe may need to be adjusted depending on your sink's configuration. Use a hacksaw or pipe cutter to cut the pipe to the appropriate length. Then, attach the pipe to the sink drain using a slip nut and washer.
Test for Leaks
 Once the drain pipe is connected, run water into the sink and check for any leaks. If you notice any, tighten the connections as needed.
Enjoy Your New Glacier Bay Kitchen Sink Drain
 Congratulations, you have successfully installed your new Glacier Bay kitchen sink drain! With proper installation, it should provide you with years of trouble-free use. If you have any questions or concerns, consult the manufacturer's instructions or seek the help of a professional plumber.