Before using GE Premium Waterproof Silicone in your kitchen or bath, it's important to properly prepare your surfaces. Clean the area thoroughly with a mild soap and water to remove any dirt, grime, or soap scum. For best results, use an alcohol-based cleaner to ensure a completely clean surface. Allow the area to dry completely before moving on to the next step. Main Keywords: GE Premium Waterproof Silicone, kitchen, bath, surfaces, application, clean, soap, water, alcohol-based cleaner1. How to Prepare Your Surfaces for Application


GE Premium Waterproof Silicone Kitchen Bath Plumbing Instructions


GE Premium Waterproof Silicone comes in a variety of colors to match any kitchen or bath design. Take your time to choose the perfect color for your project to ensure a seamless and professional finish. You can also mix colors to create a custom shade that best suits your needs. Main Keywords: GE Premium Waterproof Silicone, colors, kitchen, bath, design, project, seamless, professional finish, mix2. Choosing the Right Color for Your Project
GE Premium Waterproof Silicone Kitchen Bath Plumbing Instructions
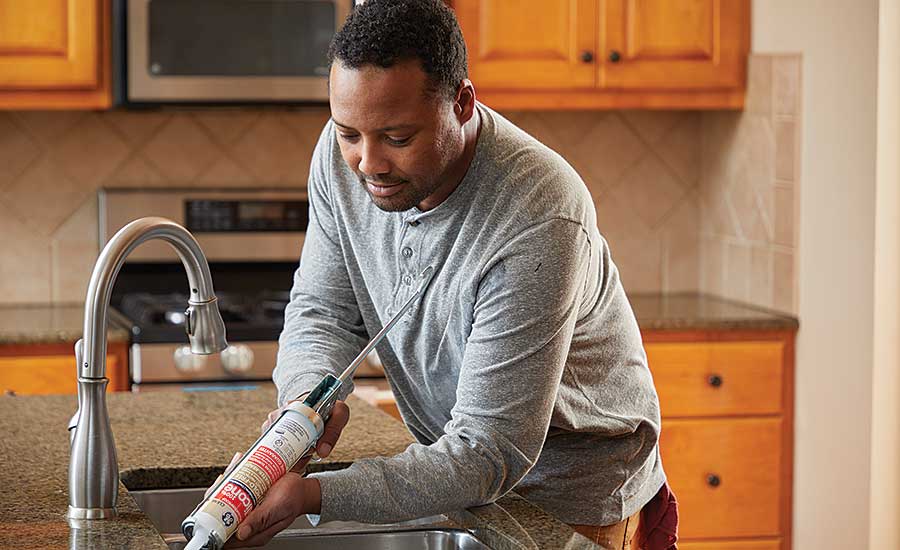
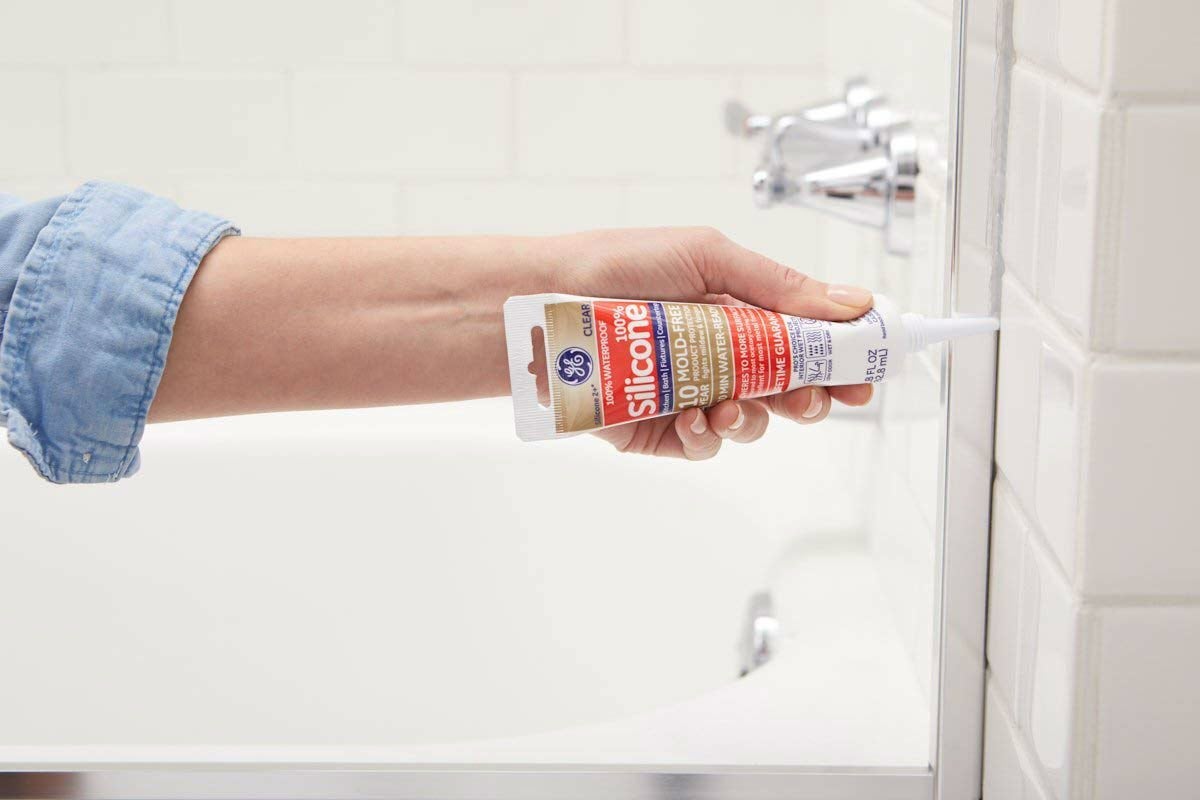
Using a caulking gun, cut the tip of the GE Premium Waterproof Silicone tube at a 45-degree angle. Apply the silicone in a continuous bead along the intended joint or seam. Smooth the bead immediately using a tool or your finger, making sure to remove any excess silicone. For best results, work in small sections at a time. Main Keywords: GE Premium Waterproof Silicone, caulking gun, cut, tip, 45-degree angle, continuous bead, joint, seam, smooth, excess, small sections3. How to Apply GE Premium Waterproof Silicone
GE Premium Waterproof Silicone Kitchen Bath Plumbing Instructions
To achieve a professional-looking finish, use a tool to smooth out the silicone bead. You can also use a damp cloth to wipe away any excess silicone. If you need to remove any silicone, use a razor blade or a silicone remover. Remember to work in small sections and smooth out the bead immediately after application. Main Keywords: professional-looking finish, tool, smooth, silicone bead, damp cloth, excess, remove, razor blade, silicone remover, small sections4. Tips for a Professional-Looking Finish

GE Premium Waterproof Silicone Kitchen Bath Plumbing Instructions
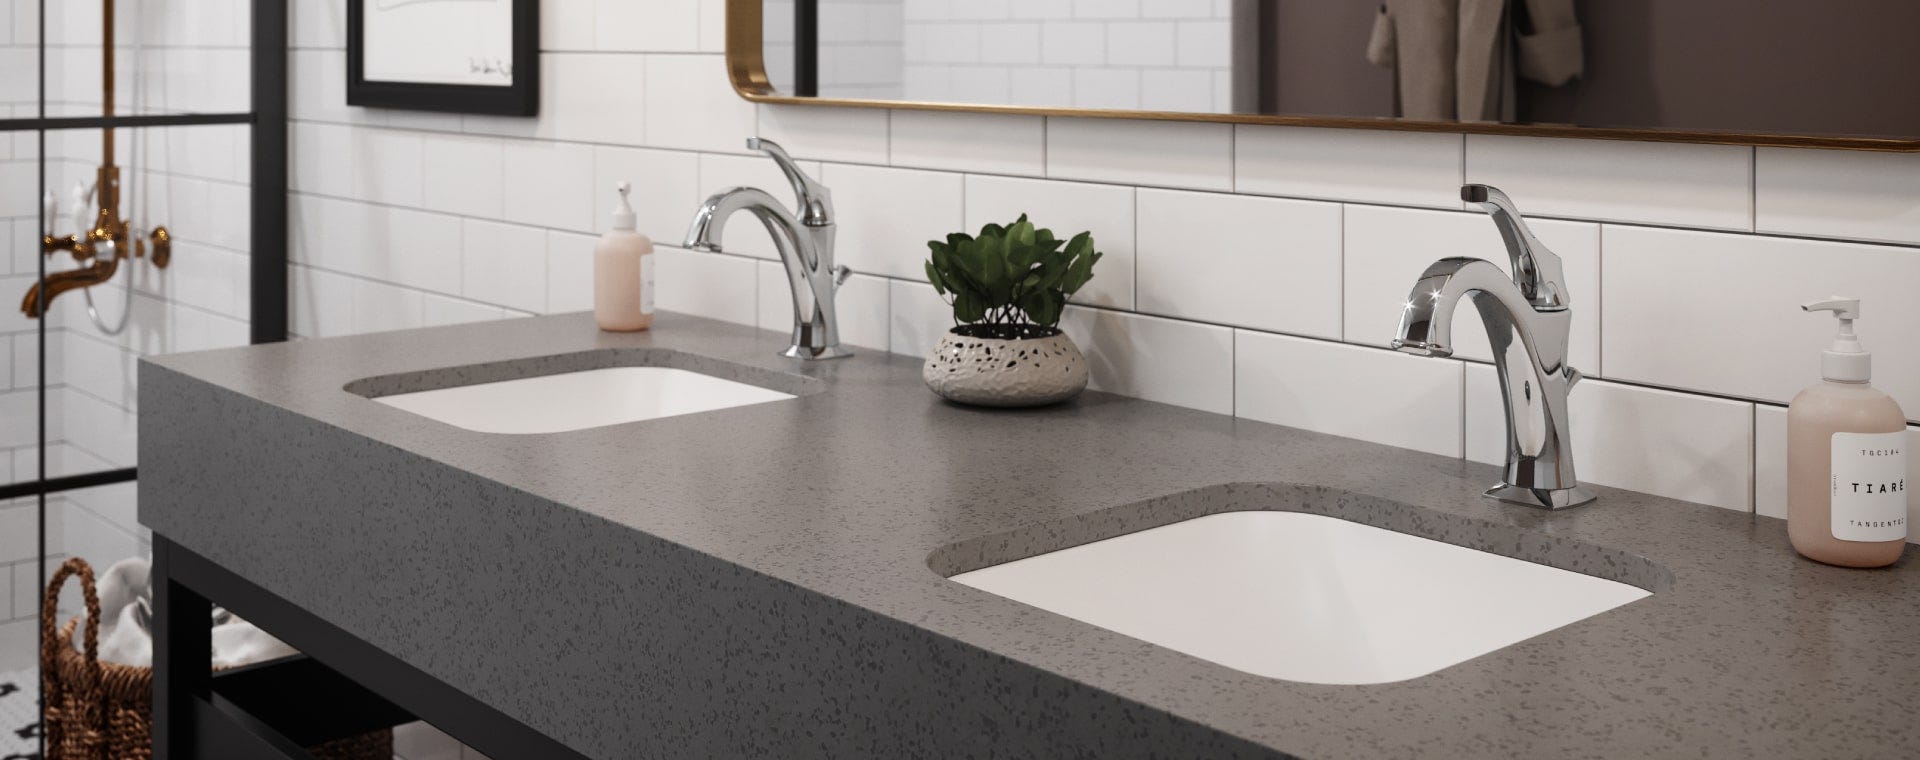
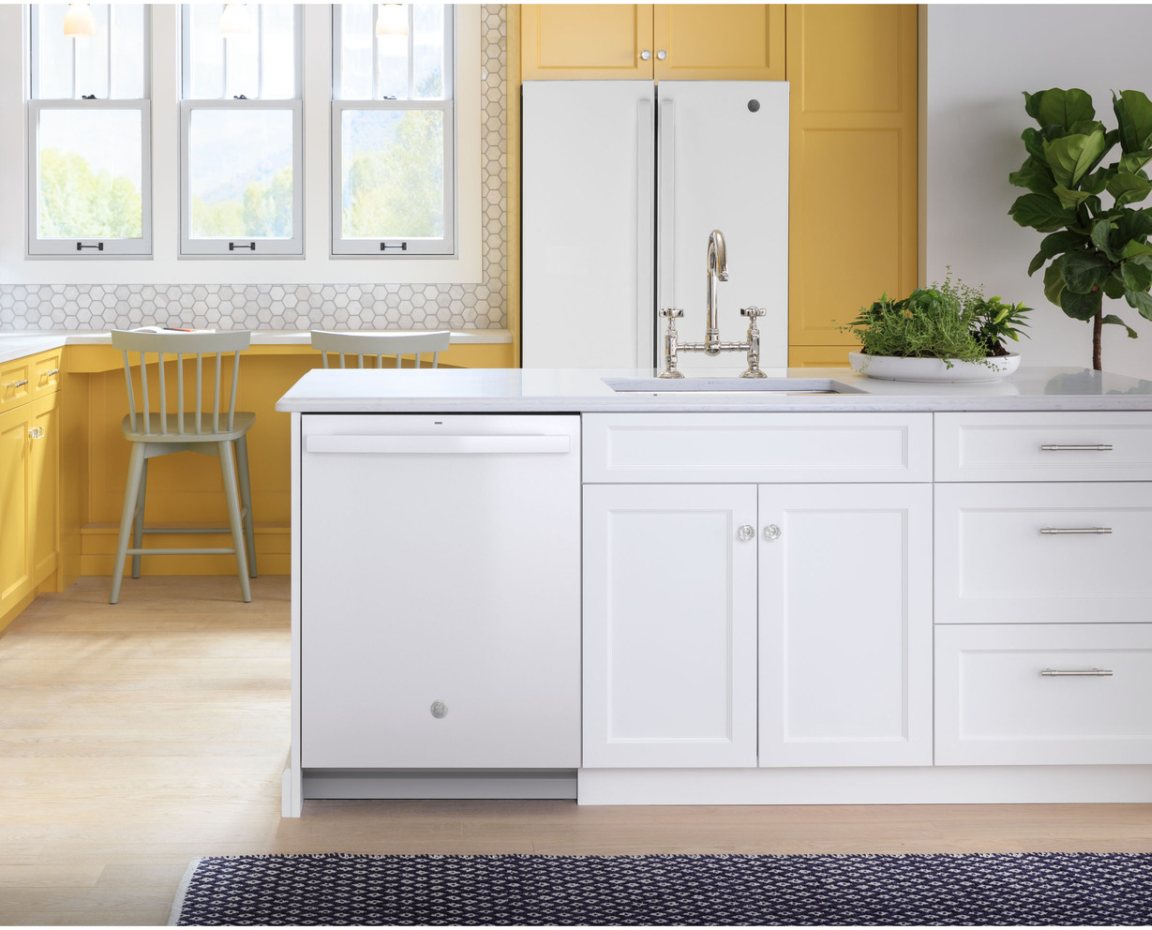
For fixtures and appliances in your kitchen or bath, apply a continuous bead of GE Premium Waterproof Silicone around the base to create a watertight seal. Smooth the bead immediately with a tool or your finger, and wipe away any excess silicone. Allow the silicone to dry completely before using the fixture or appliance. Main Keywords: fixtures, appliances, kitchen, bath, continuous bead, GE Premium Waterproof Silicone, watertight seal, smooth, excess, dry5. How to Seal Around Fixtures and Appliances
GE Premium Waterproof Silicone Kitchen Bath Plumbing Instructions
If you want a clean and precise line with your GE Premium Waterproof Silicone, use painter's tape to mask off the area around the joint or seam. Apply the silicone as usual and carefully remove the tape before the silicone dries. This will give you a clean and professional finish. Main Keywords: clean, precise line, GE Premium Waterproof Silicone, painter's tape, mask off, joint, seam, usual, remove, dry, professional finish6. Achieving a Clean and Precise Line
GE Premium Waterproof Silicone Kitchen Bath Plumbing Instructions
GE Premium Waterproof Silicone is designed to last, but it's important to properly maintain it to ensure its longevity. Avoid using harsh chemicals or abrasive cleaners on the silicone, as this can damage the seal. Instead, use a mild soap and water to clean the area regularly. Main Keywords: maintain, GE Premium Waterproof Silicone, last, longevity, harsh chemicals, abrasive cleaners, damage, seal, mild soap, water, clean, area, regularly7. How to Maintain Your GE Premium Waterproof Silicone
GE Premium Waterproof Silicone Kitchen Bath Plumbing Instructions
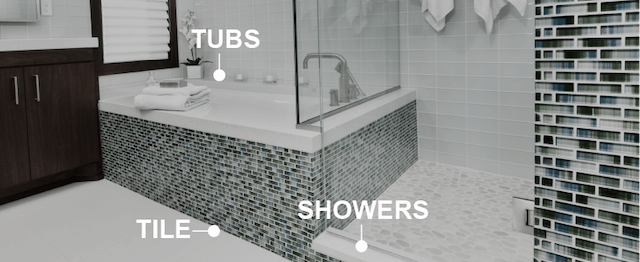
If you're looking to waterproof your kitchen backsplash, GE Premium Waterproof Silicone is the perfect solution. Apply a continuous bead along the edges and seams of your backsplash to create a watertight seal. Smooth out the silicone and allow it to dry completely for a clean and pristine finish. Main Keywords: waterproof, kitchen backsplash, GE Premium Waterproof Silicone, continuous bead, edges, seams, watertight seal, smooth, dry, clean, pristine finish8. Waterproofing Your Kitchen Backsplash
GE Premium Waterproof Silicone Kitchen Bath Plumbing Instructions
GE Premium Waterproof Silicone is not just for kitchen and bath surfaces, it's also great for repairing leaks in your plumbing. Simply apply a continuous bead of silicone around the leak, smooth it out, and allow it to dry completely. This will create a strong and durable seal that will prevent any further leaks. Main Keywords: repair, leaks, plumbing, GE Premium Waterproof Silicone, continuous bead, smooth, dry, strong, durable seal, prevent, further9. Repairing Leaks in Your Plumbing
GE Premium Waterproof Silicone Kitchen Bath Plumbing Instructions
If you need to remove GE Premium Waterproof Silicone for any reason, use a razor blade or a silicone remover. Carefully cut away the silicone and clean the area with a mild soap and water. Allow the area to dry completely before applying new silicone. Make sure to follow all safety precautions when handling the razor blade. Main Keywords: remove, GE Premium Waterproof Silicone, razor blade, silicone remover, cut, clean, mild soap, water, dry, apply, safety precautions10. Removing GE Premium Waterproof Silicone
GE Premium Waterproof Silicone Kitchen Bath Plumbing Instructions
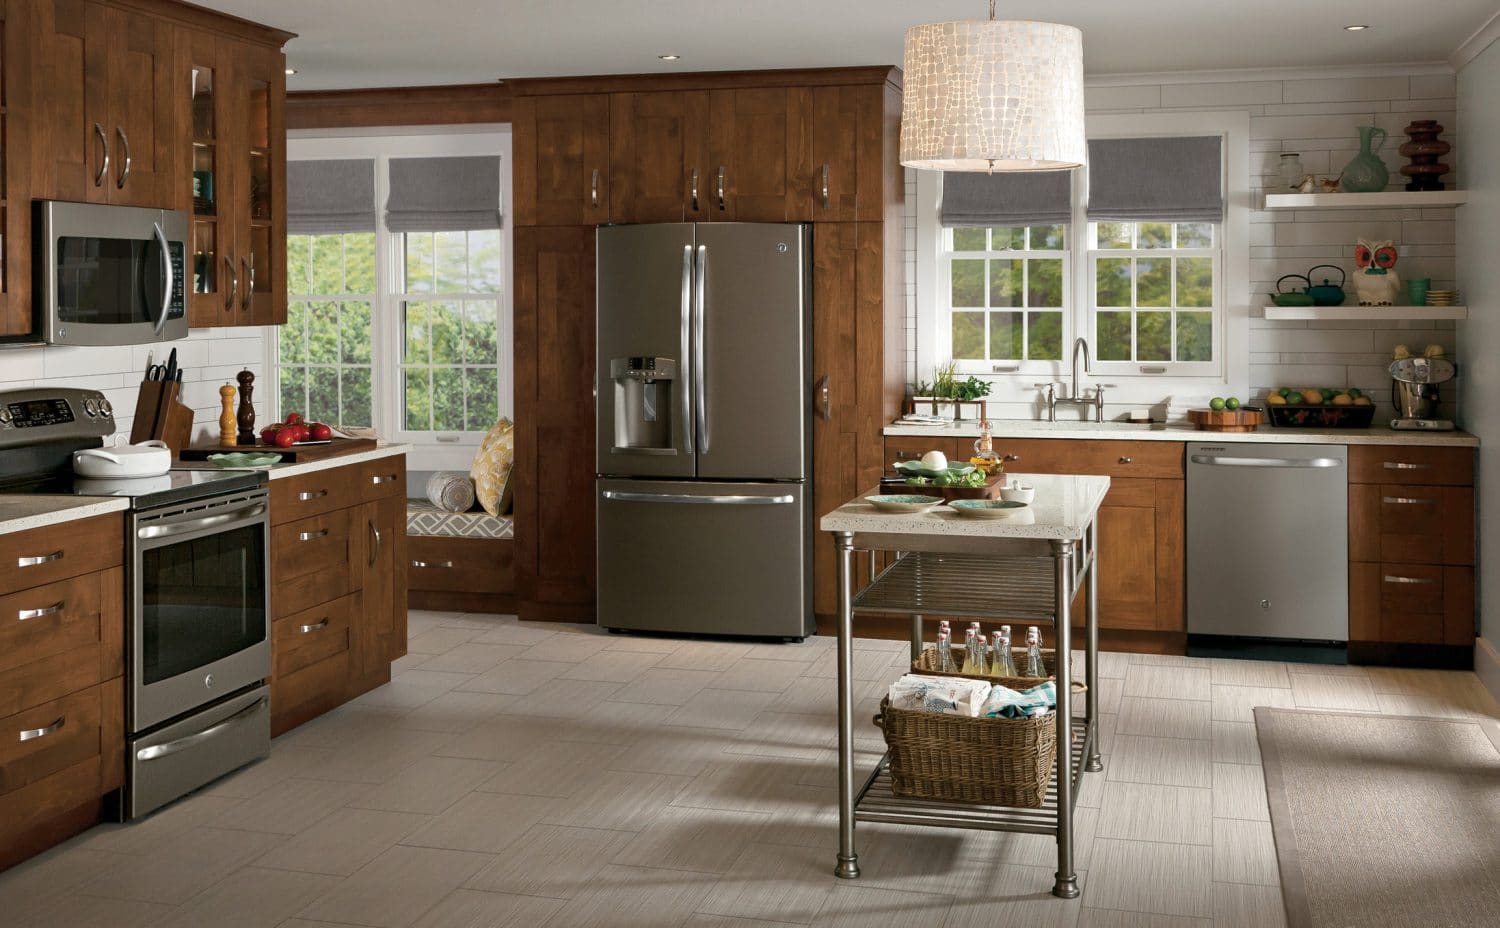
How GE Premium Waterproof Silicone Can Elevate Your Kitchen and Bath Design

The Importance of Choosing the Right Silicone for Your Kitchen and Bath
 When it comes to designing your kitchen and bath, every detail matters. From the fixtures to the flooring, every element contributes to the overall aesthetic and functionality of these important spaces in your home. One crucial aspect that often gets overlooked is the
sealing and caulking
of these areas. This is where
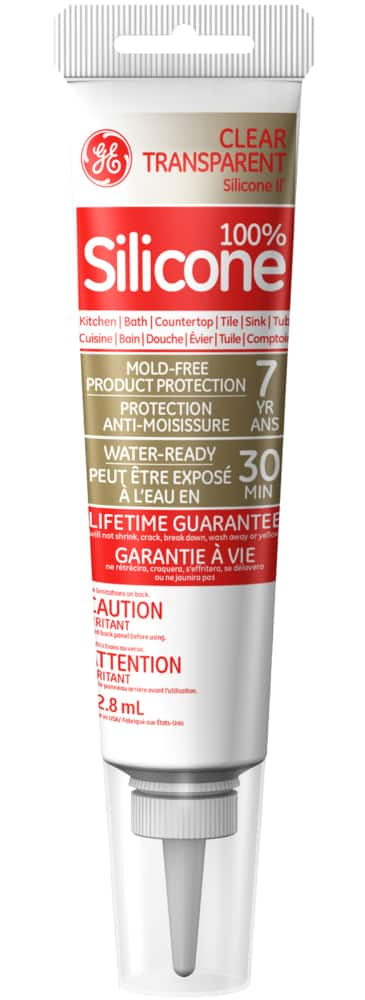
GE Premium Waterproof Silicone
comes in. This versatile product not only provides a secure seal, but also adds a touch of style to your kitchen and bath design.
When it comes to designing your kitchen and bath, every detail matters. From the fixtures to the flooring, every element contributes to the overall aesthetic and functionality of these important spaces in your home. One crucial aspect that often gets overlooked is the
sealing and caulking
of these areas. This is where
GE Premium Waterproof Silicone
comes in. This versatile product not only provides a secure seal, but also adds a touch of style to your kitchen and bath design.
The Benefits of GE Premium Waterproof Silicone
 GE Premium Waterproof Silicone is specially formulated for use in kitchens and bathrooms, making it the perfect solution for your sealing and caulking needs. It is
waterproof
,
mold and mildew resistant
, and
flexible
, making it ideal for areas that are exposed to moisture and frequent use. Additionally, it
adheres to a variety of surfaces
, including tile, glass, metal, and porcelain, making it a versatile choice for all your kitchen and bath projects.
GE Premium Waterproof Silicone is specially formulated for use in kitchens and bathrooms, making it the perfect solution for your sealing and caulking needs. It is
waterproof
,
mold and mildew resistant
, and
flexible
, making it ideal for areas that are exposed to moisture and frequent use. Additionally, it
adheres to a variety of surfaces
, including tile, glass, metal, and porcelain, making it a versatile choice for all your kitchen and bath projects.
Elevate Your Design with GE Premium Waterproof Silicone
 Not only does GE Premium Waterproof Silicone provide practical benefits, but it also adds a touch of style to your kitchen and bath design. It is available in a variety of colors to match your existing decor or create a bold contrast. The smooth and
shiny finish
of this silicone adds a touch of elegance to your kitchen and bath, elevating the overall look and feel of these spaces.
Not only does GE Premium Waterproof Silicone provide practical benefits, but it also adds a touch of style to your kitchen and bath design. It is available in a variety of colors to match your existing decor or create a bold contrast. The smooth and
shiny finish
of this silicone adds a touch of elegance to your kitchen and bath, elevating the overall look and feel of these spaces.
Easy to Use, Easy to Maintain
 Using GE Premium Waterproof Silicone is a breeze. Its
easy-to-use applicator
allows for precise and clean application, ensuring a professional finish every time. And because it is
stain and dirt resistant
, maintaining the beauty of your kitchen and bath will be a breeze.
Using GE Premium Waterproof Silicone is a breeze. Its
easy-to-use applicator
allows for precise and clean application, ensuring a professional finish every time. And because it is
stain and dirt resistant
, maintaining the beauty of your kitchen and bath will be a breeze.
Conclusion
 In conclusion, when it comes to designing your kitchen and bath, every detail matters. Don't overlook the importance of choosing the right silicone for your sealing and caulking needs. With GE Premium Waterproof Silicone, you can
protect, enhance, and elevate
your kitchen and bath design. So why settle for ordinary silicone when you can have the best? Upgrade your kitchen and bath today with GE Premium Waterproof Silicone.
In conclusion, when it comes to designing your kitchen and bath, every detail matters. Don't overlook the importance of choosing the right silicone for your sealing and caulking needs. With GE Premium Waterproof Silicone, you can
protect, enhance, and elevate
your kitchen and bath design. So why settle for ordinary silicone when you can have the best? Upgrade your kitchen and bath today with GE Premium Waterproof Silicone.